
Walkthrough for the BADTFL Regional Office in Fallout 4.
The BADTFL Regional Office building can be found northwest of [Bunker Hill] in Cambridge. You can get there easily enough by just following the coast southeast from Tucker Memorial Bridge, if you don’t mind fighting your way through some Mirelurks.
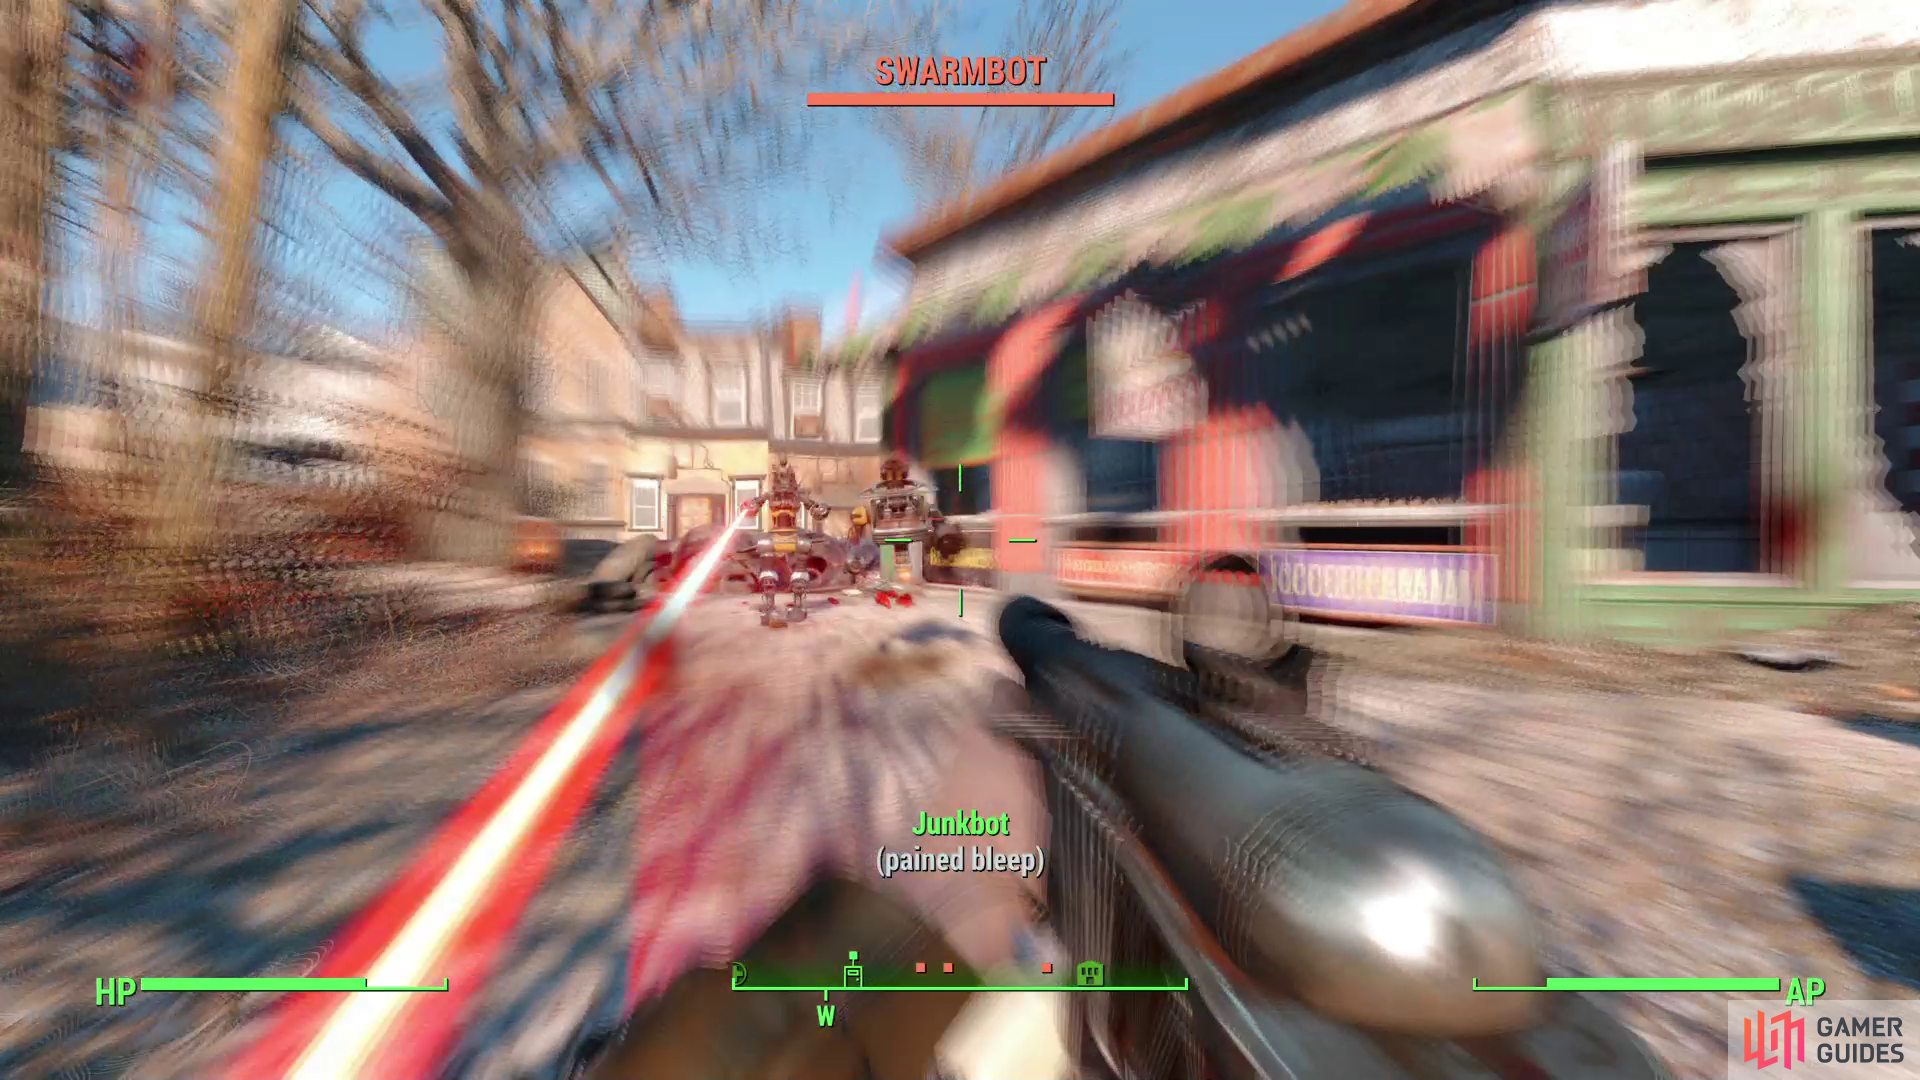
Alternatively, follow the road south from Tucker Memorial Bridge until you reach a fork. This is where you’ll find robots fighting if you have the Automatron DLC installed. At this fork, turn southeast until you reach another, four-way fork. If you turn southwest at this fork you’ll reach Cambridge Park while if you go southeast you’ll find Cambridge Cathedral. To get to your destination you’ll need to turn northeast, cross under a collapsed highway, and when you reach another fork near an unmarked bridge, turn southeast to reach another fork. At this third fork, if you head uphill to the southwest you’ll find the [Mass Chemical] building to your left, just before a blue trailer truck in the middle of the road. If you go south, southeast under the streetlight and follow the road you’ll reach the [Super Mutant Skyscraper] - the spikes and hanging Meat Bags are a clear sign of Super Mutants, and you may need to tread carefully to avoid drawing their attention. Finally, if you continue through the intersection you should shortly thereafter find BADFTL Regional Office will be on your left.
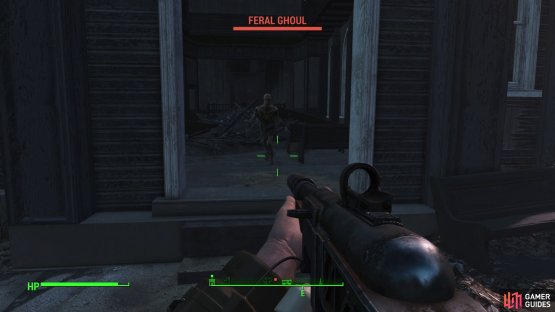

(1 of 2) Enroute to BADTFL Regional Office you can find the Ghoul-infested Cambridge Cathedral,
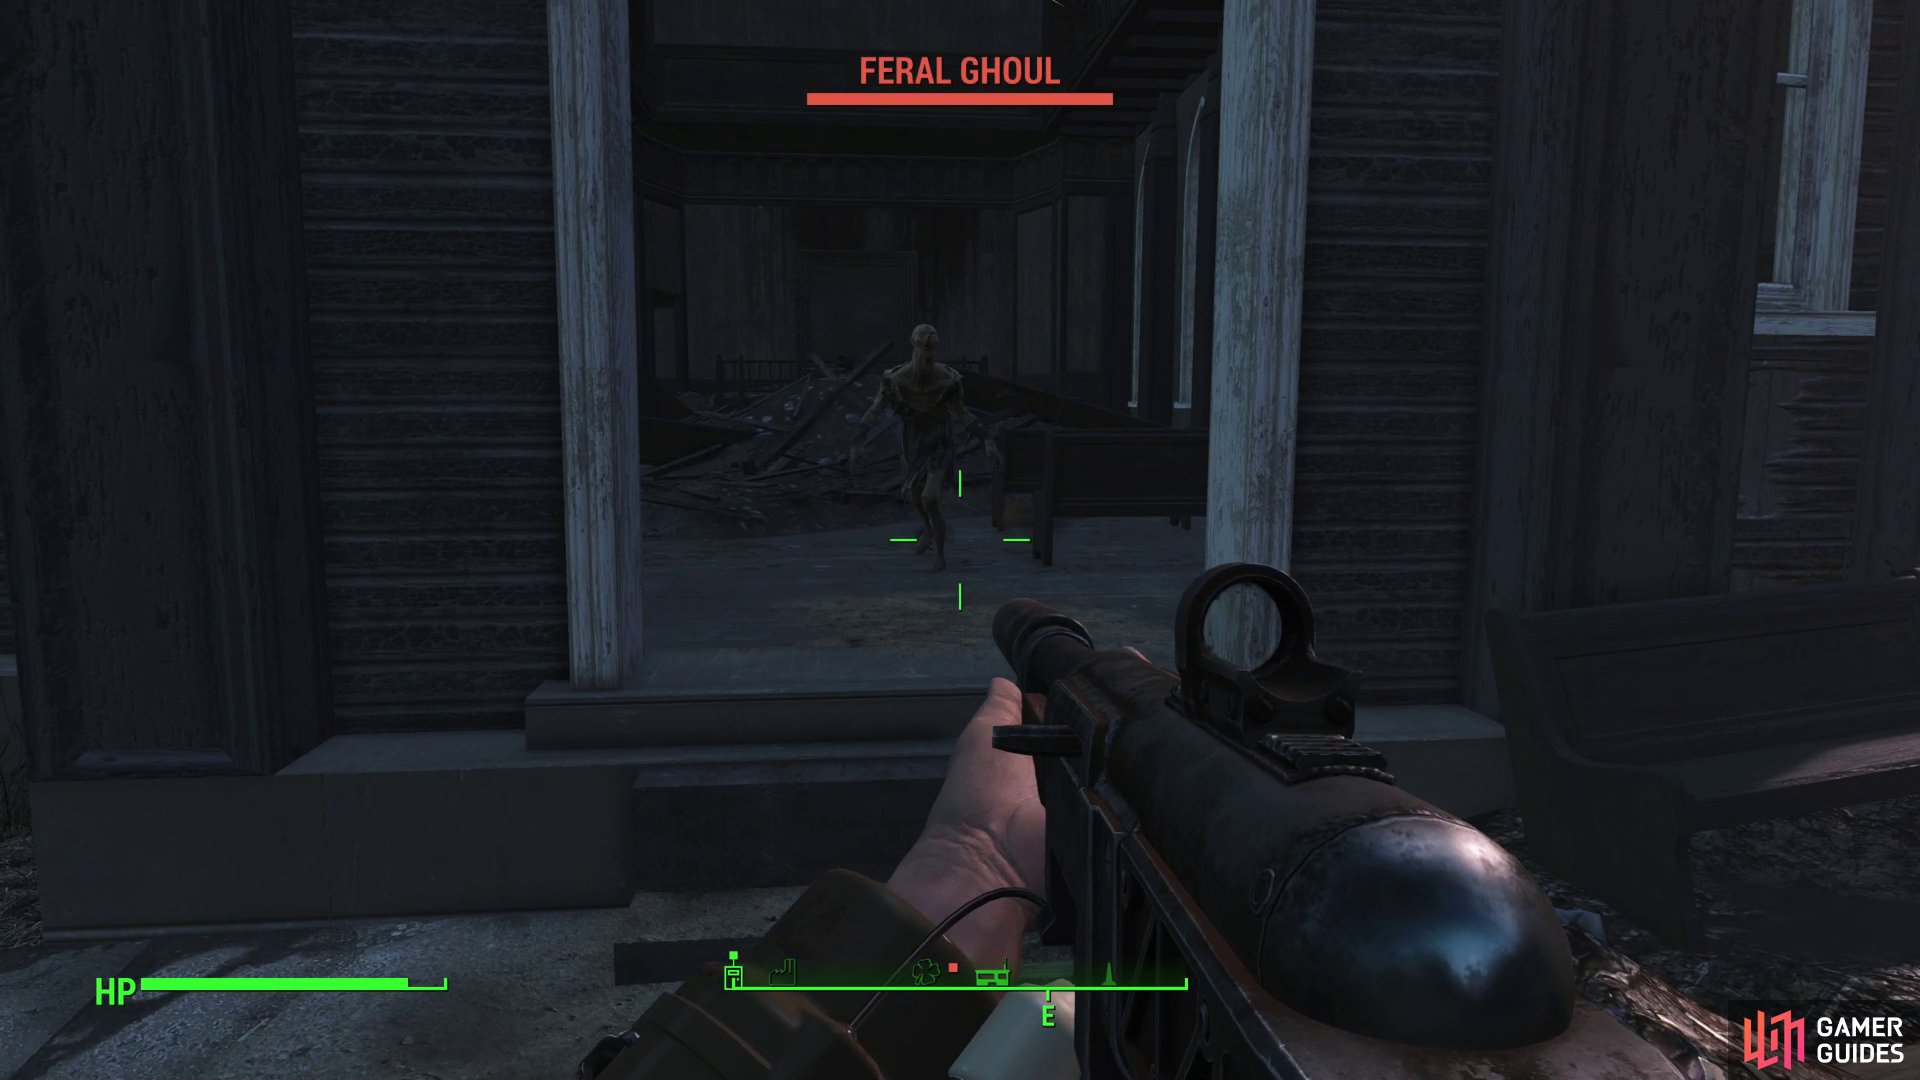
Enroute to BADTFL Regional Office you can find the Ghoul-infested Cambridge Cathedral, (left), and Cambridge Park, the latter of which is the site of recurring random encounters. (right)
Cambridge Cathedral
At the second fork from the Tucker Memorial Bridge, continue southeast a short distance and you’ll find the cathedral on your left - the giant bell tower should give it away.
Inside you’ll find several Ghouls, which will be lightly leveled, if at all. There’s little of interest besides the Ghouls in this area, save for its potential as a landmark.
Cambridge Park
At the second fork from the Tucker Memorial Bridge, head down a road to the southwest and you’ll find a white brick building on high ground ahead of you.
This white building is a cafe on the edge of a park in the center of the city, and you’ll regularly find a random encounter in the vicinity, often within or just in front of the cafe itself, but the enemies and their locations can vary. Given that this is a random encounter, you should be cautious, as you don’t know what will spawn - it could include enemies significantly stronger than you might otherwise expect to find.
Aside from the random encounter, there’s a ruined house to the west which you can explore. Head upstairs to find a Safe [Novice], a Duffle Bag and a Sleeping Bag. Behind (northwest of) this house you can find a small raider camp, which is little more than a Cooking Station with several Raiders nearby. You can reach this Raider camp by going through a hole in the wall to the west from the second floor of the house with the Safe in it.
Return to the park and from there head east to find a road leading down into a flooded tunnel. This road will take you just outside of [Monsignor Plaza], which is a bit far afield for our current goals. If you stick to the high ground and work your way to an overhang east of the tunnel you’ll find a Chemistry Station, while if you head up a road southwest you can pass through a makeshift barricade to reach the edge of [Cambridge Crater].
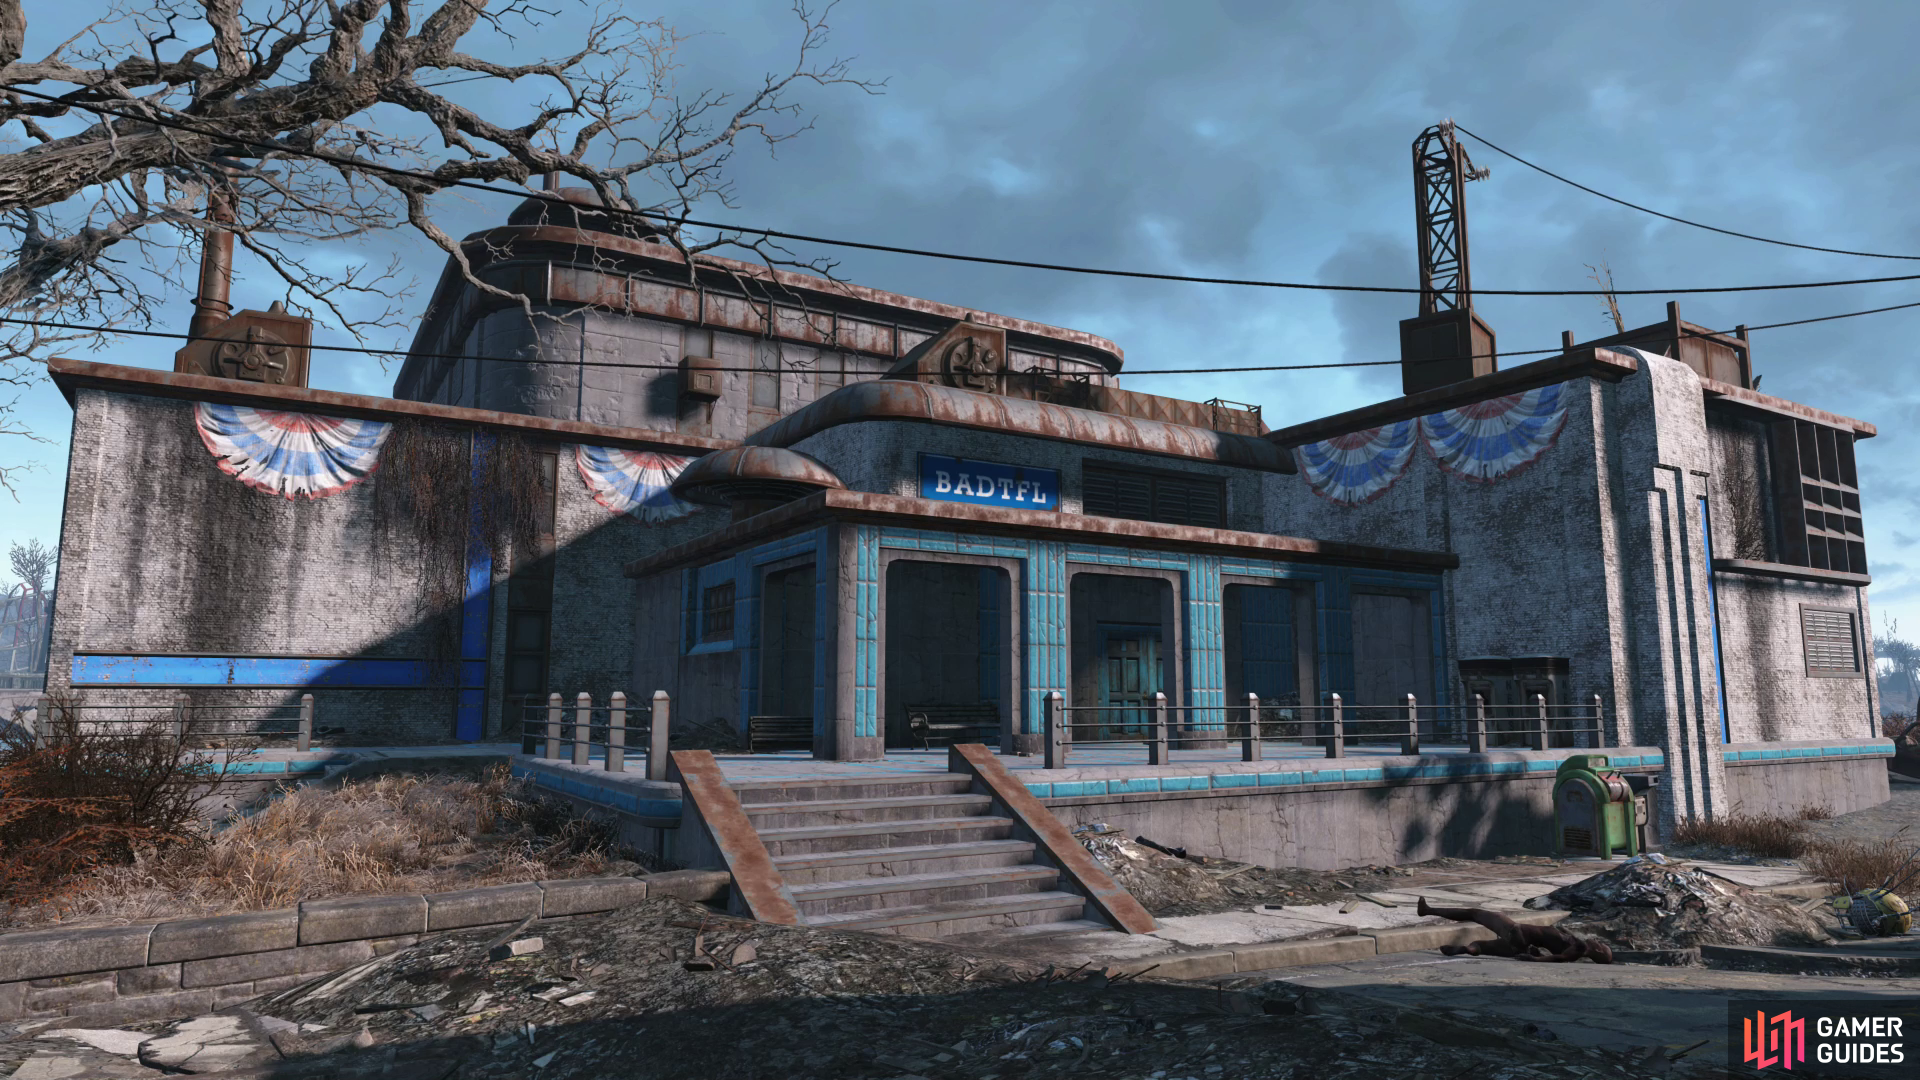
BADTFL Regional Office.
Exploring BADTFL Regional Office
| Important Items in This Area |
|---|
| Eddie Winter Holotape 0 |
| Guns and Bullets |
Make your way to the BADTFL Regional Office building (just to the left after you pass the third intersection) and dispatch any Raiders outside. These enemies set the tone for what you can expect inside.
Enter the building and you’ll find two ways to leave the reception area: through a doorway to the north or through some double doors to the east. There’s no real wrong way to go about this, but you’ll be fed a constant supply of keys that we’ll follow for the sake of structure, if nothing else.
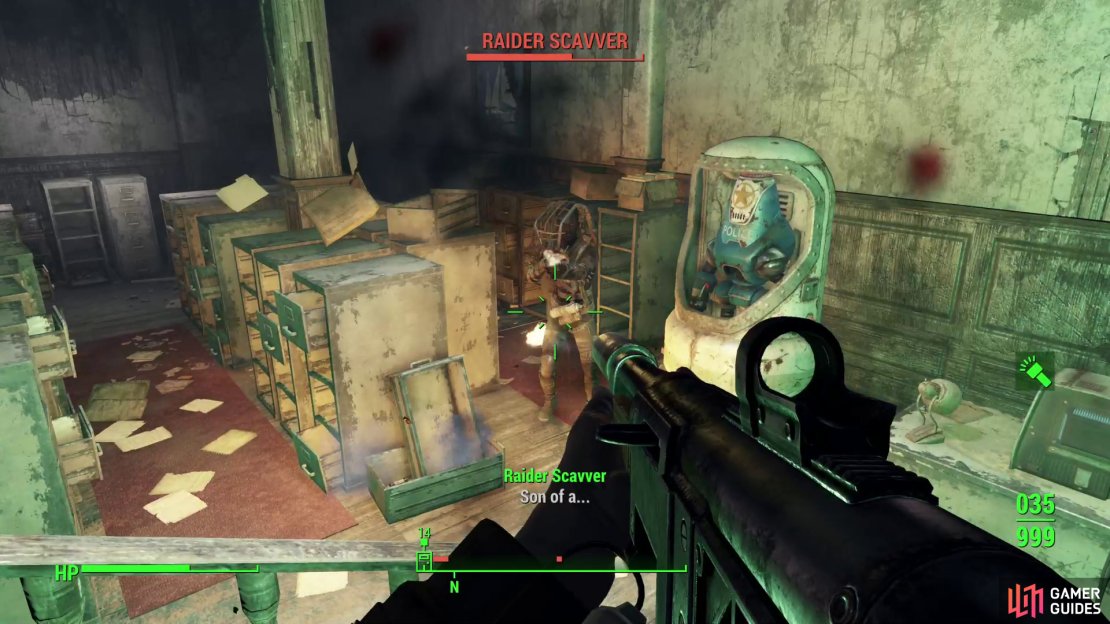
(1 of 3) BADTFL Regional Office is full of Raiders,
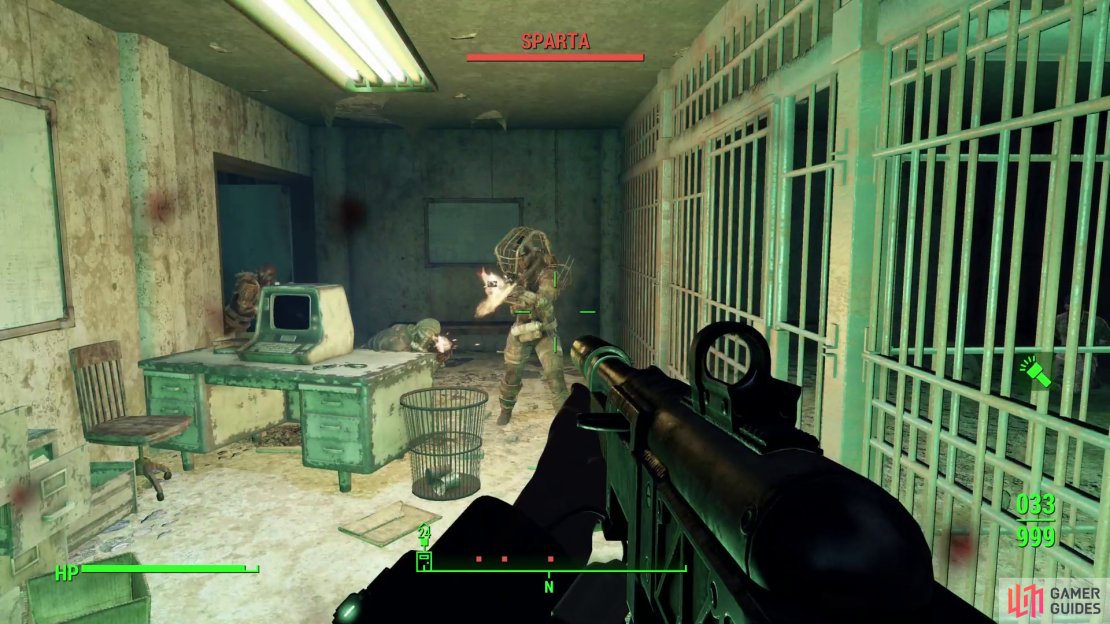
Go through the doors to the east, descend some stairs, turn left (north) and go through another door to reach a room full of File Cabinets. Kill two Raiders (both of which are likely leveled), then either hack a Terminal [Expert] on desk to sic a Protectron on your enemies or take up position in the northeastern corner of the room and defend a hole in the wall to the north, from which several Raiders will attack. These Raiders may include their leader, Sparta, who is really nothing special.


(1 of 2) You’ll likely find a Settler in a cell - leave them there until you’re ready to leave.
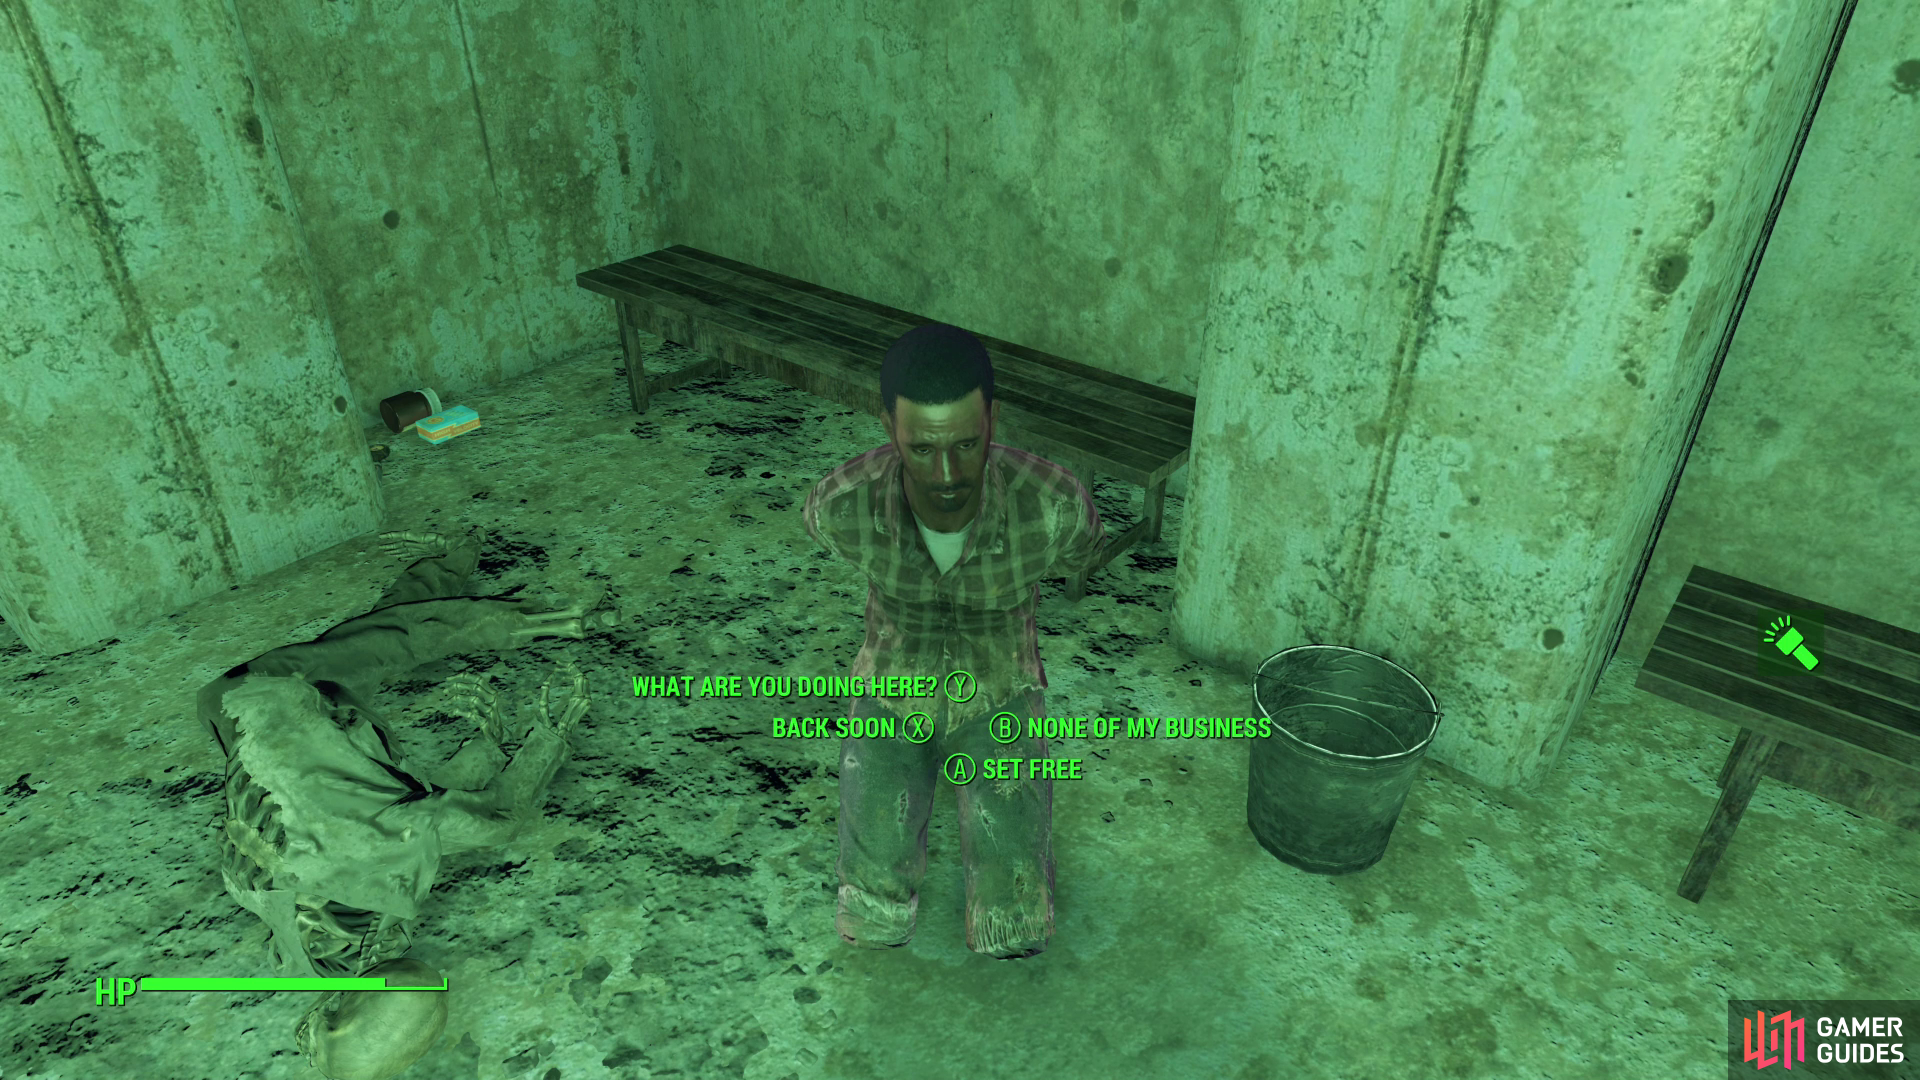
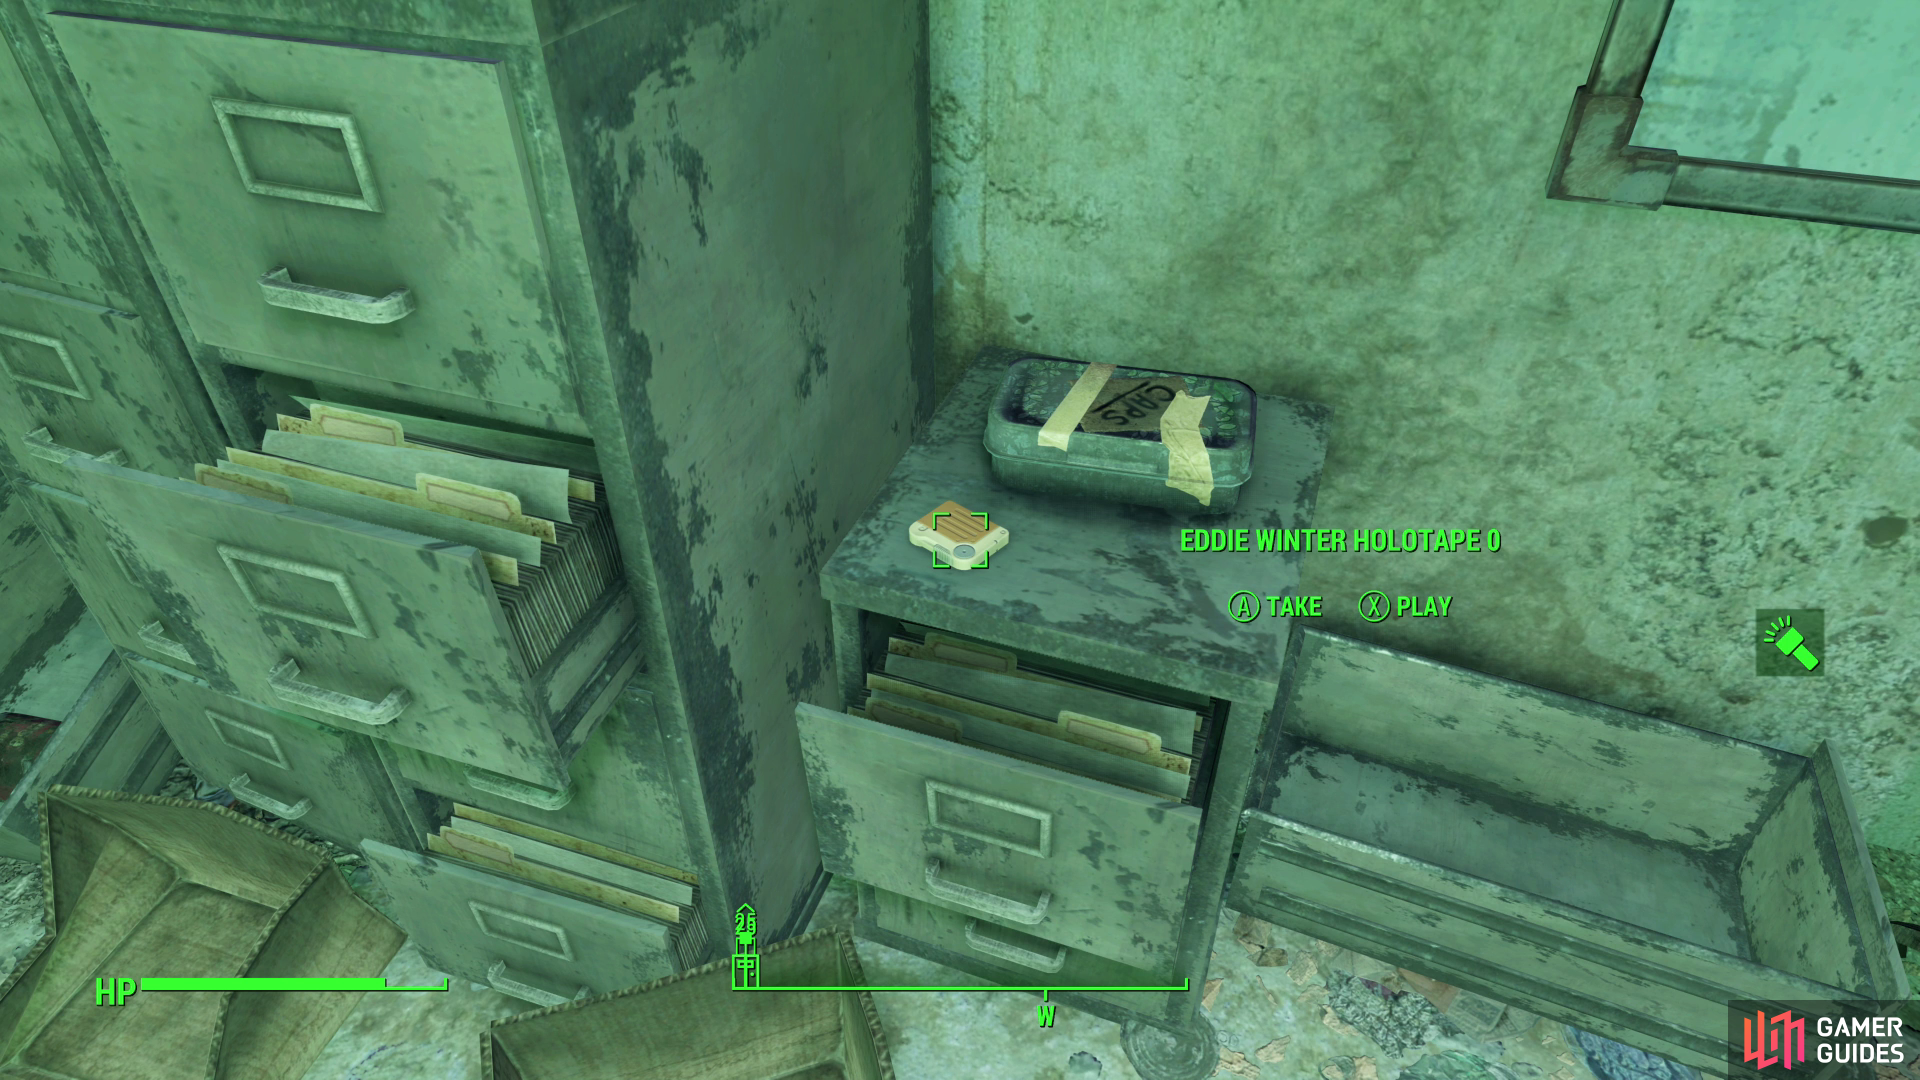
You’ll likely find a Settler in a cell - leave them there until you’re ready to leave. (left), Be sure to grab the Eddie Winter Holotape 0 from the prison room. (right)
Press on north through the hole in the wall to reach some cells, where up to three Raiders (including Sparta) may dwell, if they were too skittish to come through the wall earlier. Make sure they’re dead, and be wary of more Raiders potentially lurking through some doors and up some stairs to the west. Hack a Terminal [Novice] if you want to check out some prisoner files, grab a Caps Stash and the Eddie Winter Holotape 0 off some file cabinets against the wall to the west. This tape is part of the quest [Long Time Coming], but you don’t need to have started it to collect these holotapes, nor will doing so prematurely cause any complications, so spare yourself a trip and pick it up. You can also unlock the cell door [Novice], where a Settler may be held captive; you can free them, but there’s little reward and they’ll follow you around afterwards, so save it until you’re about to leave.
Pass through some double doors and go up some stairs, where you’ll likely have to fight a Raider and an Attack Dog. Down a hallway to the west you’ll find a large office occupied by two more Raiders, who will probably be drawn to the sounds of combat. Put them all down, then get to exploring. In the room with the stairs leading to the jail you can find the aforementioned hallway to the west and a door up some smaller flights of stairs to the south. This latter door leads to the evidence locker, which is where most of the treasure in this area can be found - we’ll get there, but let’s keep chasing the keys and explore to the west first.
There will be some actual keys soon, we promise.
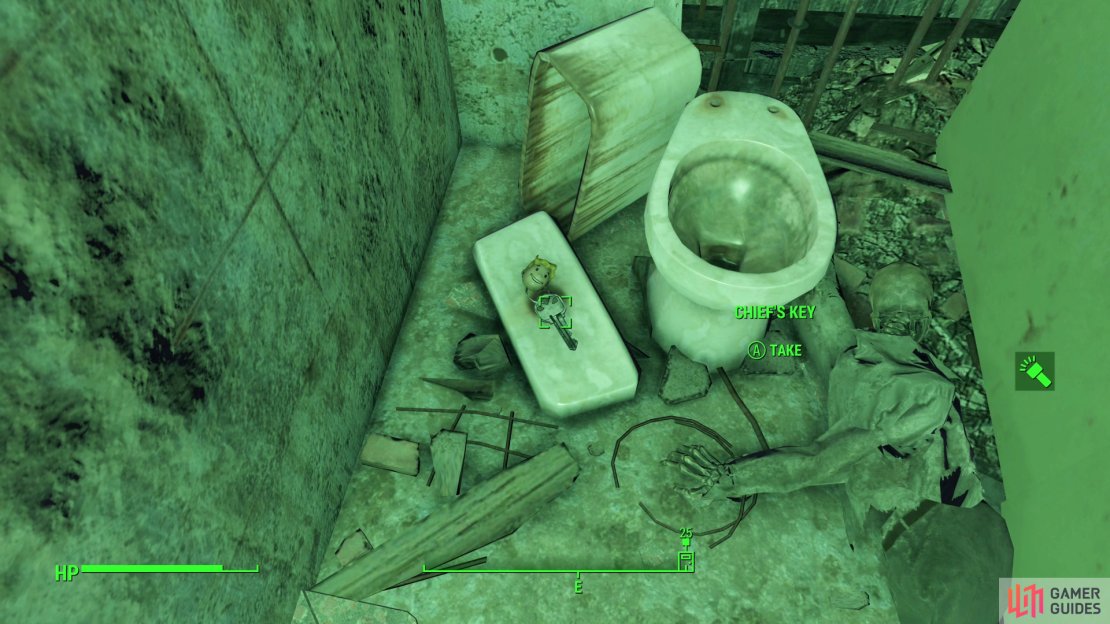


(1 of 5) Grab the Chief’s Key from the bathroom to bypass the lock on the door to the chief’s office.
Go down the hallway to the west and note a door [Novice] to the south. Pick the lock to reach a bathroom, then open the stall door to find the Chief’s Key on top of a toilet tank cover. See? Keys.
Exit the bathroom and continue west into the large office room, where you may encounter another Raider or two, if you didn’t aggro them earlier. Still the pitter-patter of Raider feet, then loot the room for whatever valuables you find interesting. Up some stairs to the south you’ll find a doorway that leads to the evidence locker, so we’ll ignore that for now. Instead, turn your attention to the western wall where you’ll find two rooms and a partitioned office. The latter two have little of interest inside (save for a grisly scene on a table in an interrogation room) while the office [Novice] (can be opened with the Chief’s Key) is more interesting.
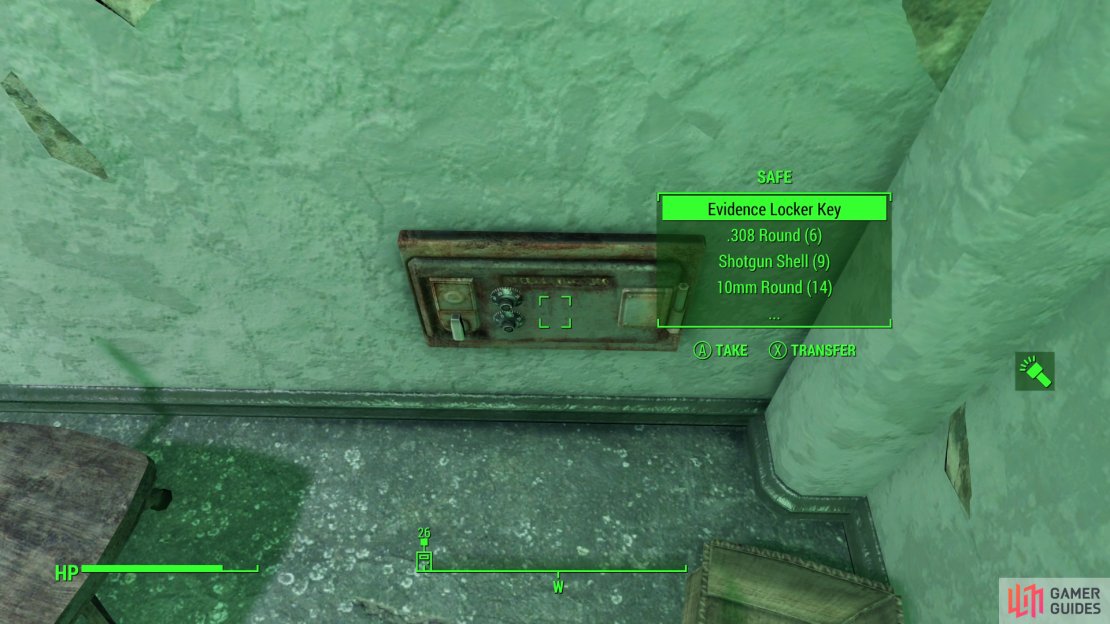
Inside the chief’s office you’ll find an issue of Guns and Bullets on the desk, next to a terminal [Novice] which you can use to unlock a wall Safe [Expert] near the floor in the corner behind the desk. Pick the lock or hack the terminal, either way, get inside and loot the Evidence Locker Key, along with whatever else you find in there. You can also use the [Turret Control] option to deactivate a Laser Turret near the evidence lockup area, or turn it against the Raiders - the former might not be a bad idea, as Laser Turrets are surprisingly dangerous. Finally, search a File Cabinet next to the desk to find a Cell Key, which will open the jail cell if you didn’t bother picking it already.
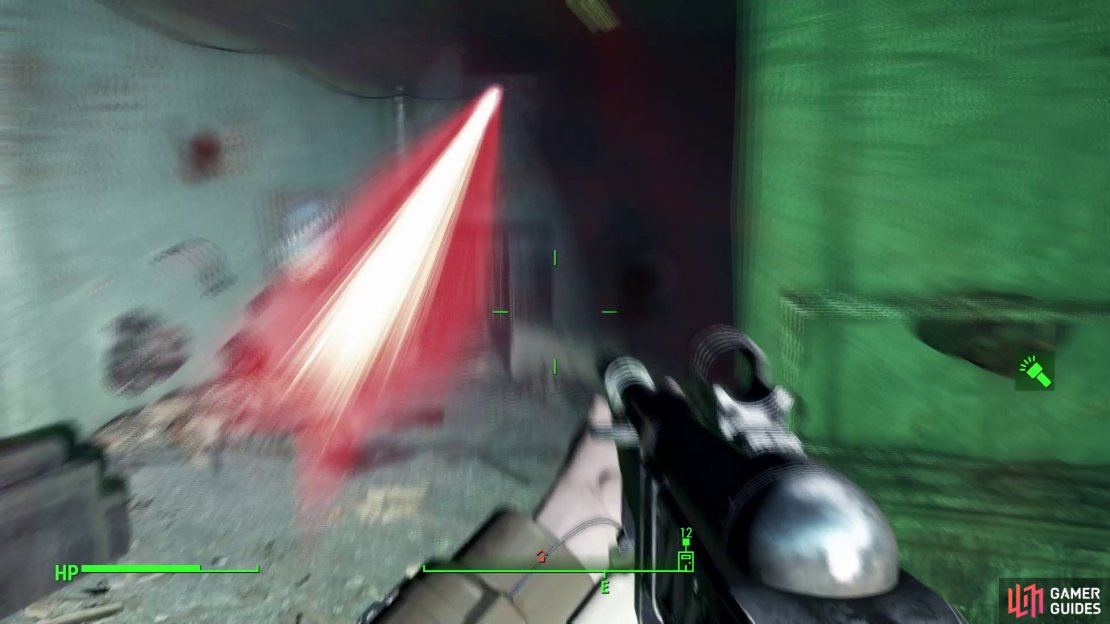
Time to finally deal with this evidence lockup. Exit the chief’s office, head upstairs and pass through the door to the south, then turn east and go through another door. On the ceiling to the east you’ll find a Laser Turret, which can carve through your HP with startling speed. Using VATS comes highly recommended, and of course, remember that it can’t take cover or heal, but you can do both. As long as you’re aware of it and don’t get caught out in the open you should be fine. There’s also a Raider prowling near here, unless he fell victim to said turret. Pre-war tech is a fickle mistress.
Loot the room ahead of you and note a door to the north that leads back to the room with the stairs, a door to the north that leads back to the lobby, and another door to the north [Novice] which leads to a maintenance closet. There’s some low-value loot inside as well as a Safe [Advanced].
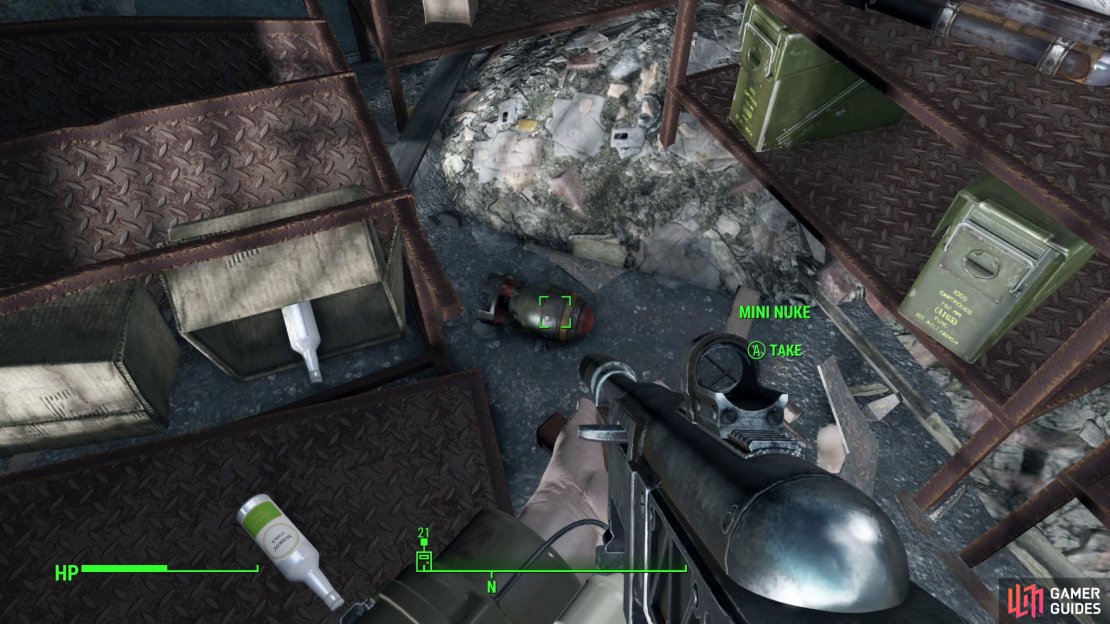
Finally, make your way east to reach the cage door barring off the evidence locker [Novice]. Use the Evidence Locker Key to get inside or make the trivial amount of effort required to pick the lock. Either way, once inside you can loot a Steamer Trunk, a variety of smokes and alcohol, a Fat Man, a Mini Nuke, two Ammo Boxes, a Stealth Boy, the We Are Done holotape, a variety of chems, a Duffle Bag and a Safe [Expert].
Not a bad haul, considering you only had to kill around a dozen Raiders for it all. Speaking of which, be wary when you leave this area, as several Raiders like to spawn every time you zone out.
No Comments