
This page will cover ![]() Vault 111 in Fallout 4.
Vault 111 in Fallout 4.
Vault 111 is, for all intents and purposes, the first playable area in Fallout 4 - it’s the first place you’ll fight enemies, obtain loot, and earn XP. You’ll travel to - and awaken in - this area during the quest Out of Time.
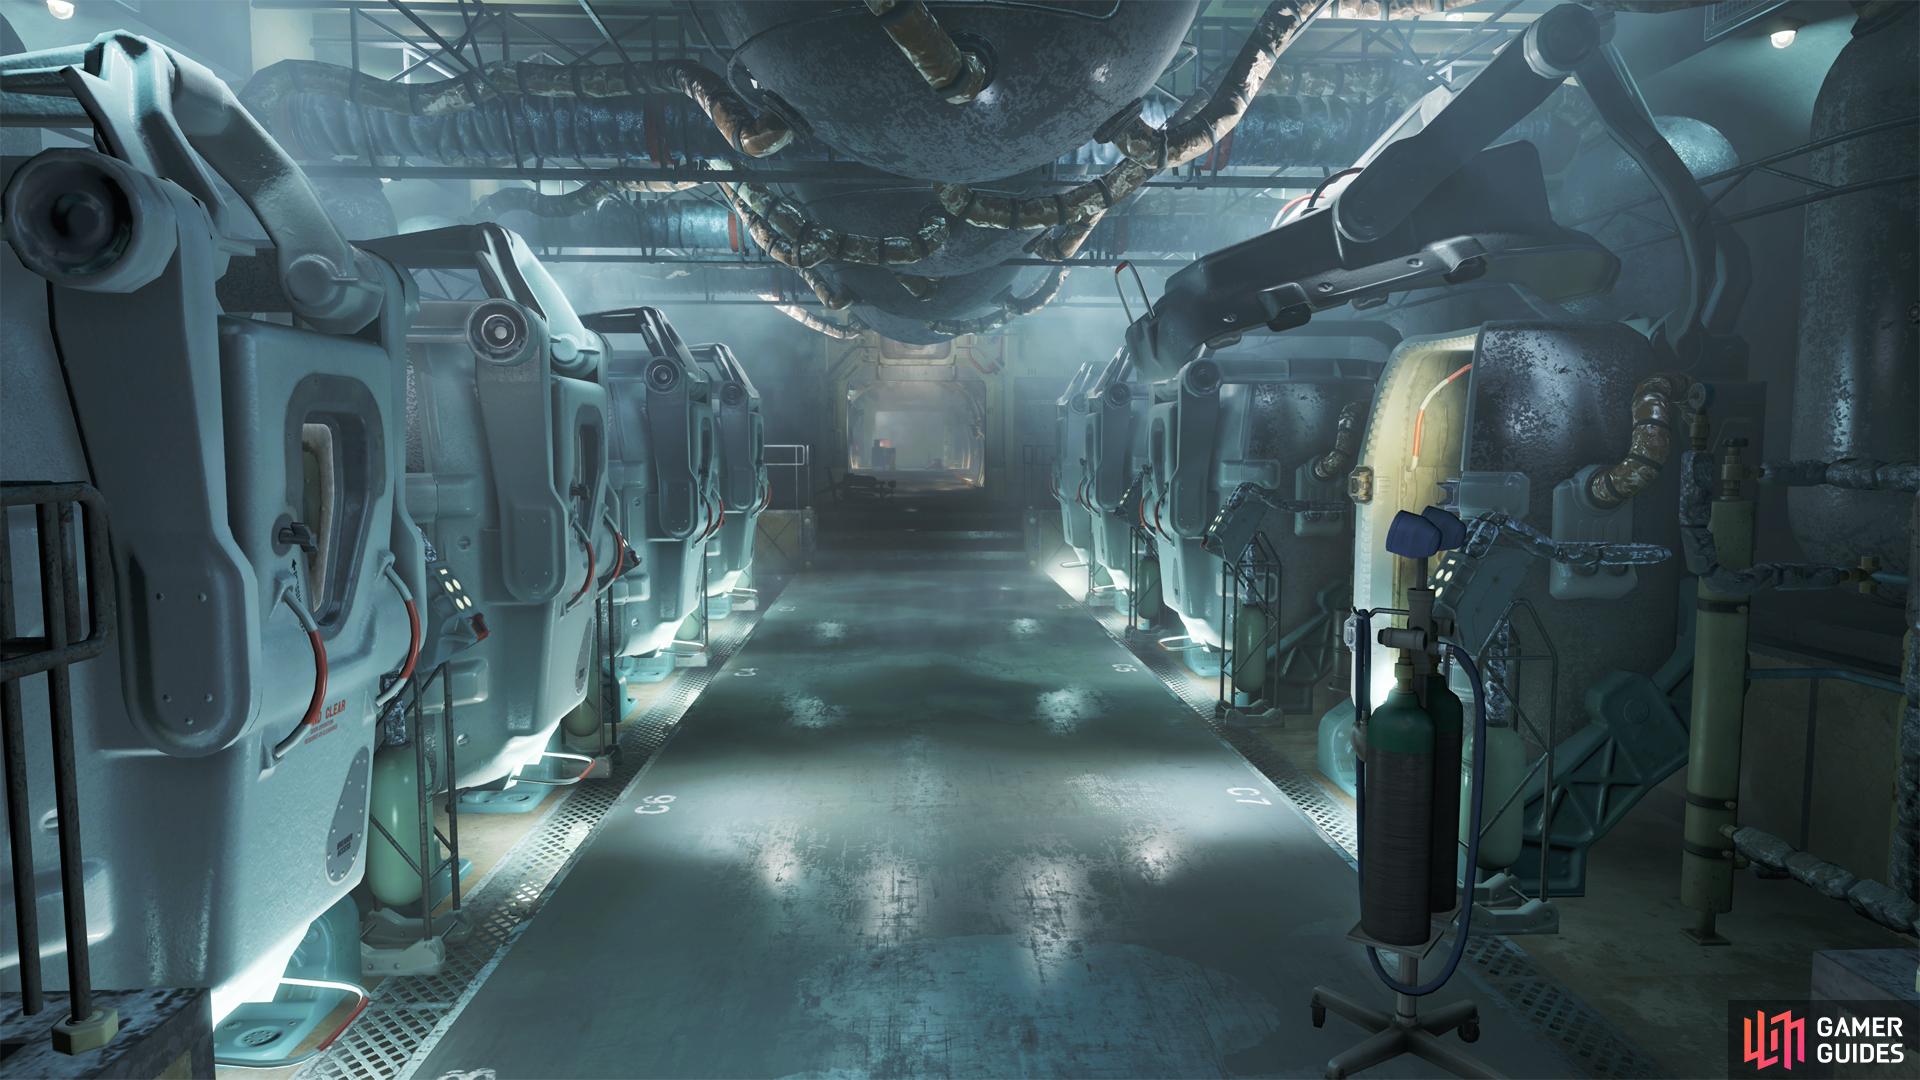
The cryolabs in Vault 111.
From where you awaken, exit the cryo chamber and take the first right (north) and follow the path ahead until you find your first foe, a Radroach. Grab the ![]() Security Baton on a crate nearby and smash the oversized bug - this serves as your melee combat tutorial. Loot the security room to the right (south) if you wish, then continue through a doorway to the east and follow the tunnels until you reach a fork.
Security Baton on a crate nearby and smash the oversized bug - this serves as your melee combat tutorial. Loot the security room to the right (south) if you wish, then continue through a doorway to the east and follow the tunnels until you reach a fork.


(1 of 2) Defeat your first foe - a lowly Radroach, as is Bethesda tradition.
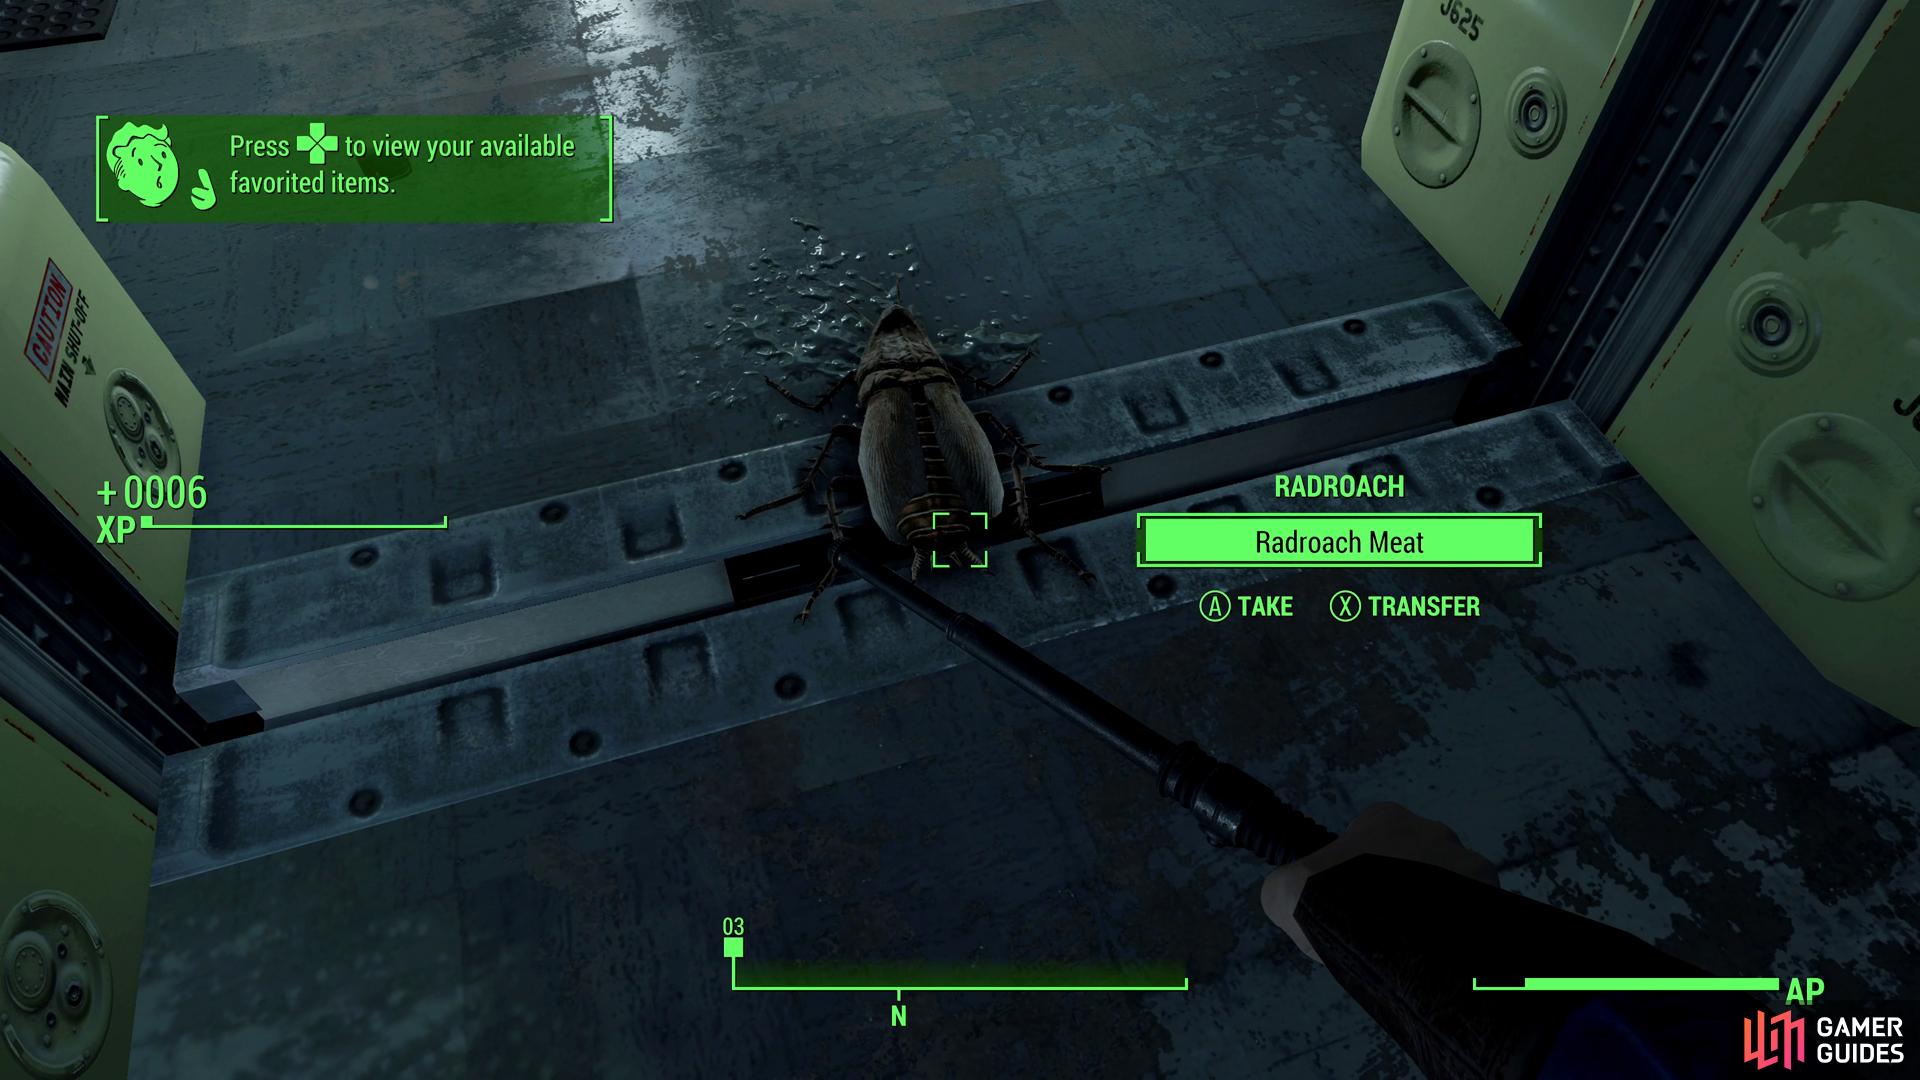
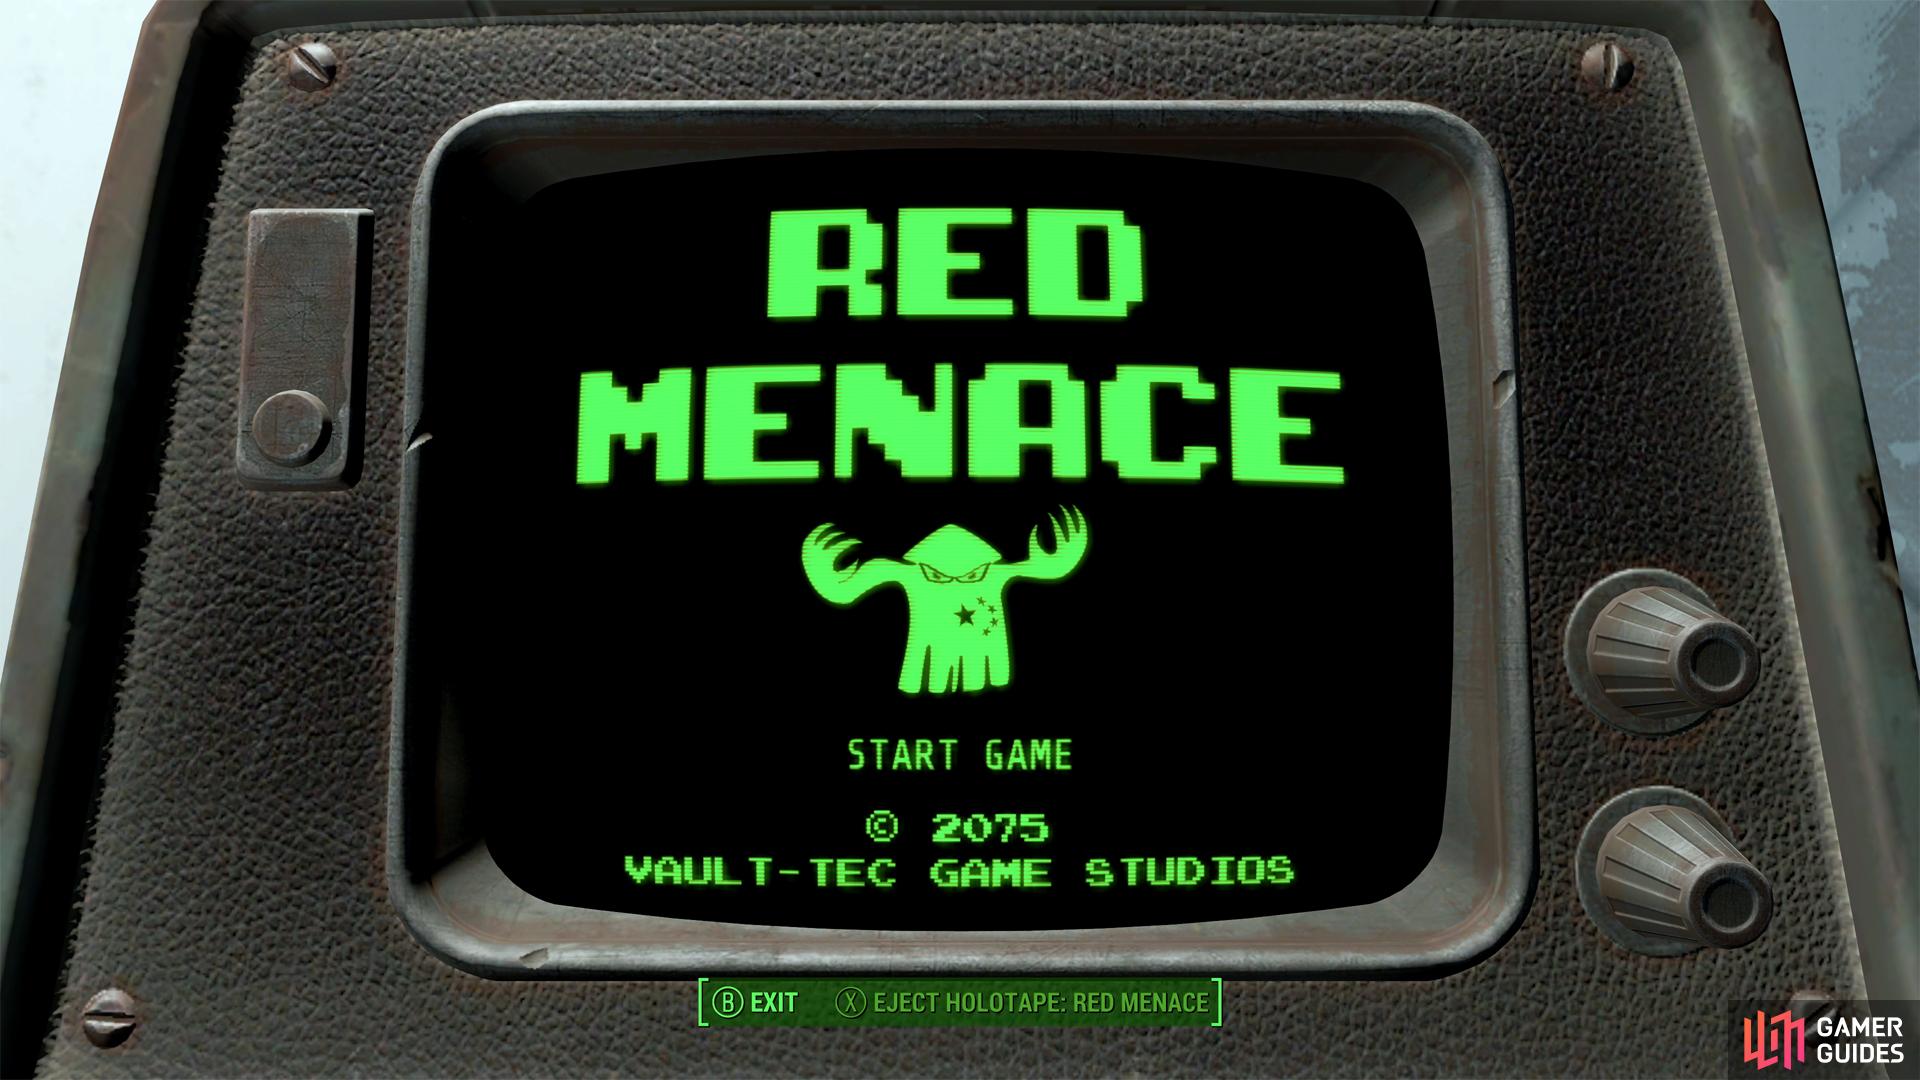
Defeat your first foe - a lowly Radroach, as is Bethesda tradition. (left), You can play the game Red Menace on a recreational terminal, or better yet, eject the holotape and take it with you. (right)
If you go into break room (north) you can find a Recreation Terminal inside of which is the ![]() Red Menace holotape. Play it on the computer for an easy achievement, then eject the holotape so you can take it with you wherever you go.
Red Menace holotape. Play it on the computer for an easy achievement, then eject the holotape so you can take it with you wherever you go.


Exit the break room and go into the reactor room (west), where you’ll find time has caused more than just the cryo chambers to fail, as the reactors are now spitting off bolts of electricity. Stay on high ground to avoid damage, and be wary of several more Radroaches lurking about.
Go through a door to the west and eventually you’ll reach the Overseer’s chamber. Pick up the 10mm Pistol and ammo from the desk, then searched a caged-in area to the west to find more ammo, as well as the Cryolater Case [Master]. A unique weapon lies confined in its case, but you won’t be able to access it until you invest four ranks into Locksmith, which requires you to reach Lv41. This isn’t happening anytime soon, but it’s worth noting it and keeping it in mind.


(1 of 2) The Cryolator is out of reach… for now.
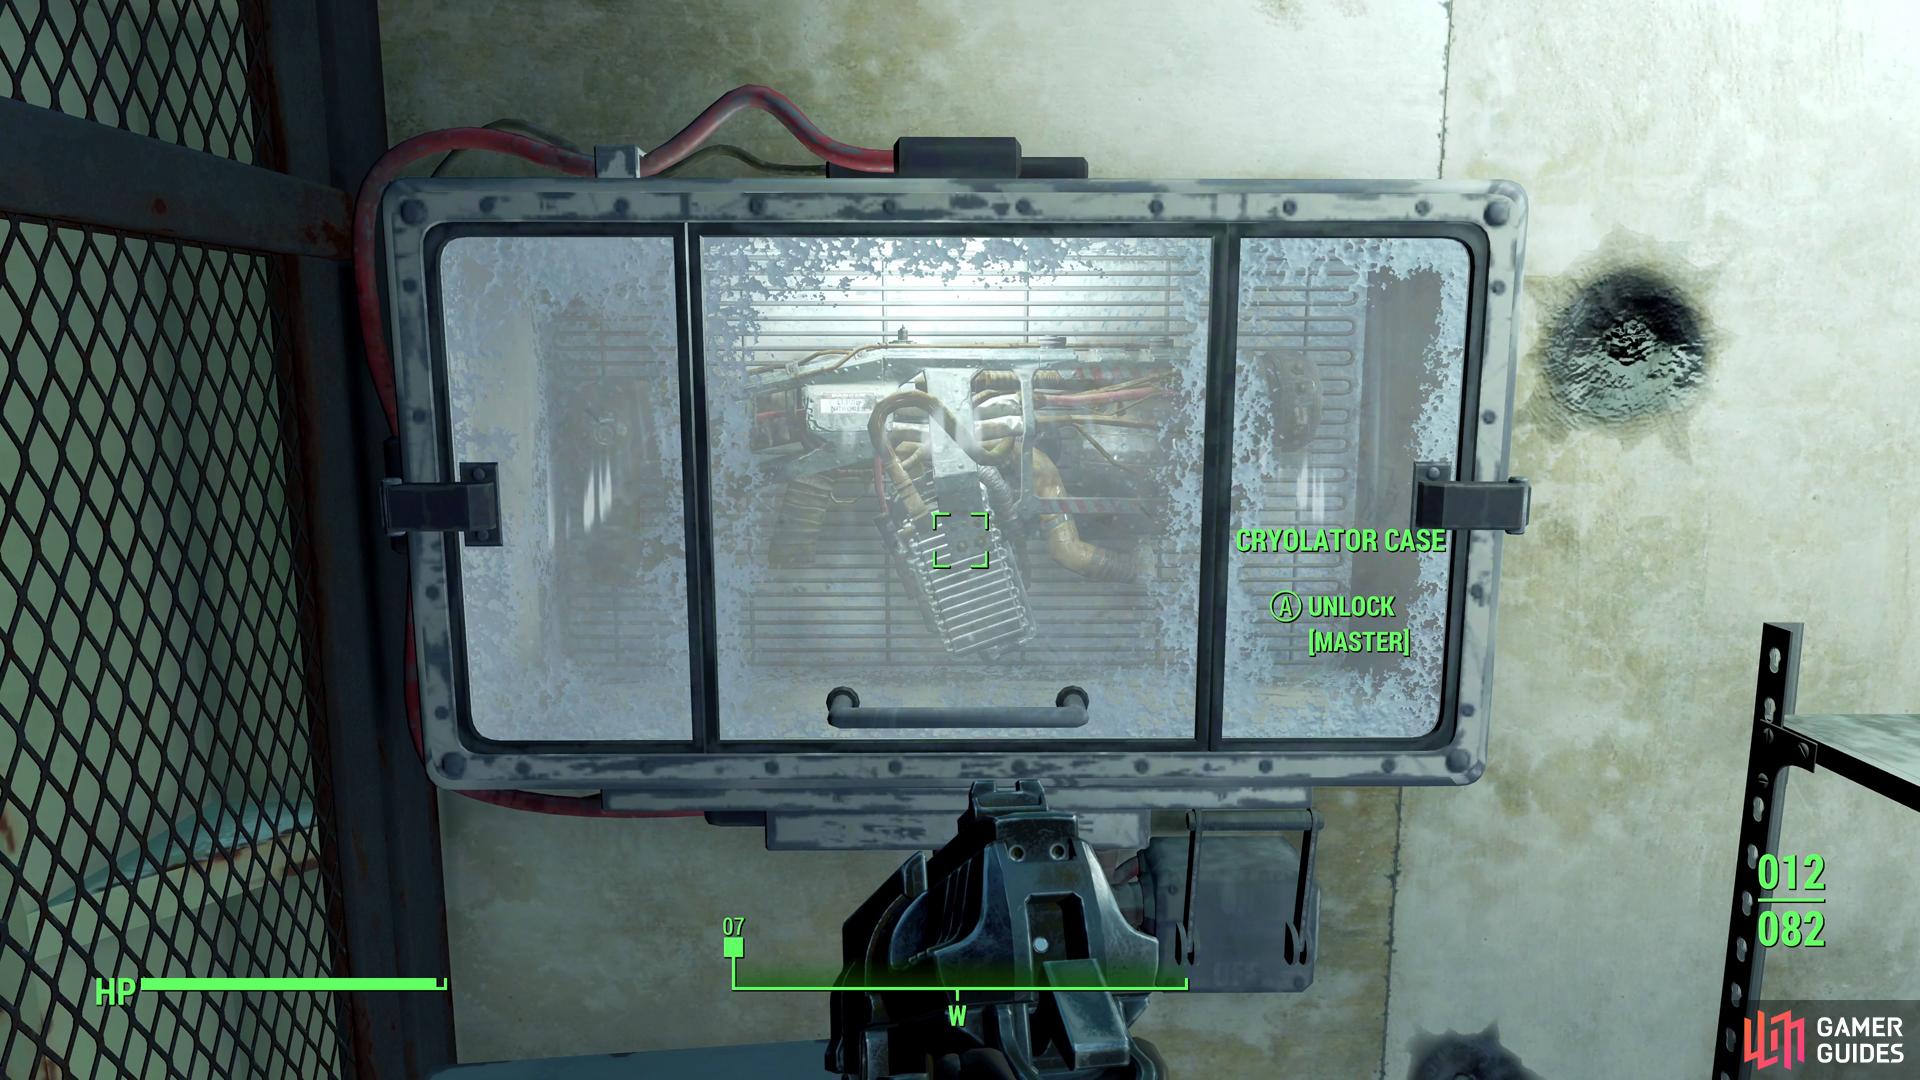
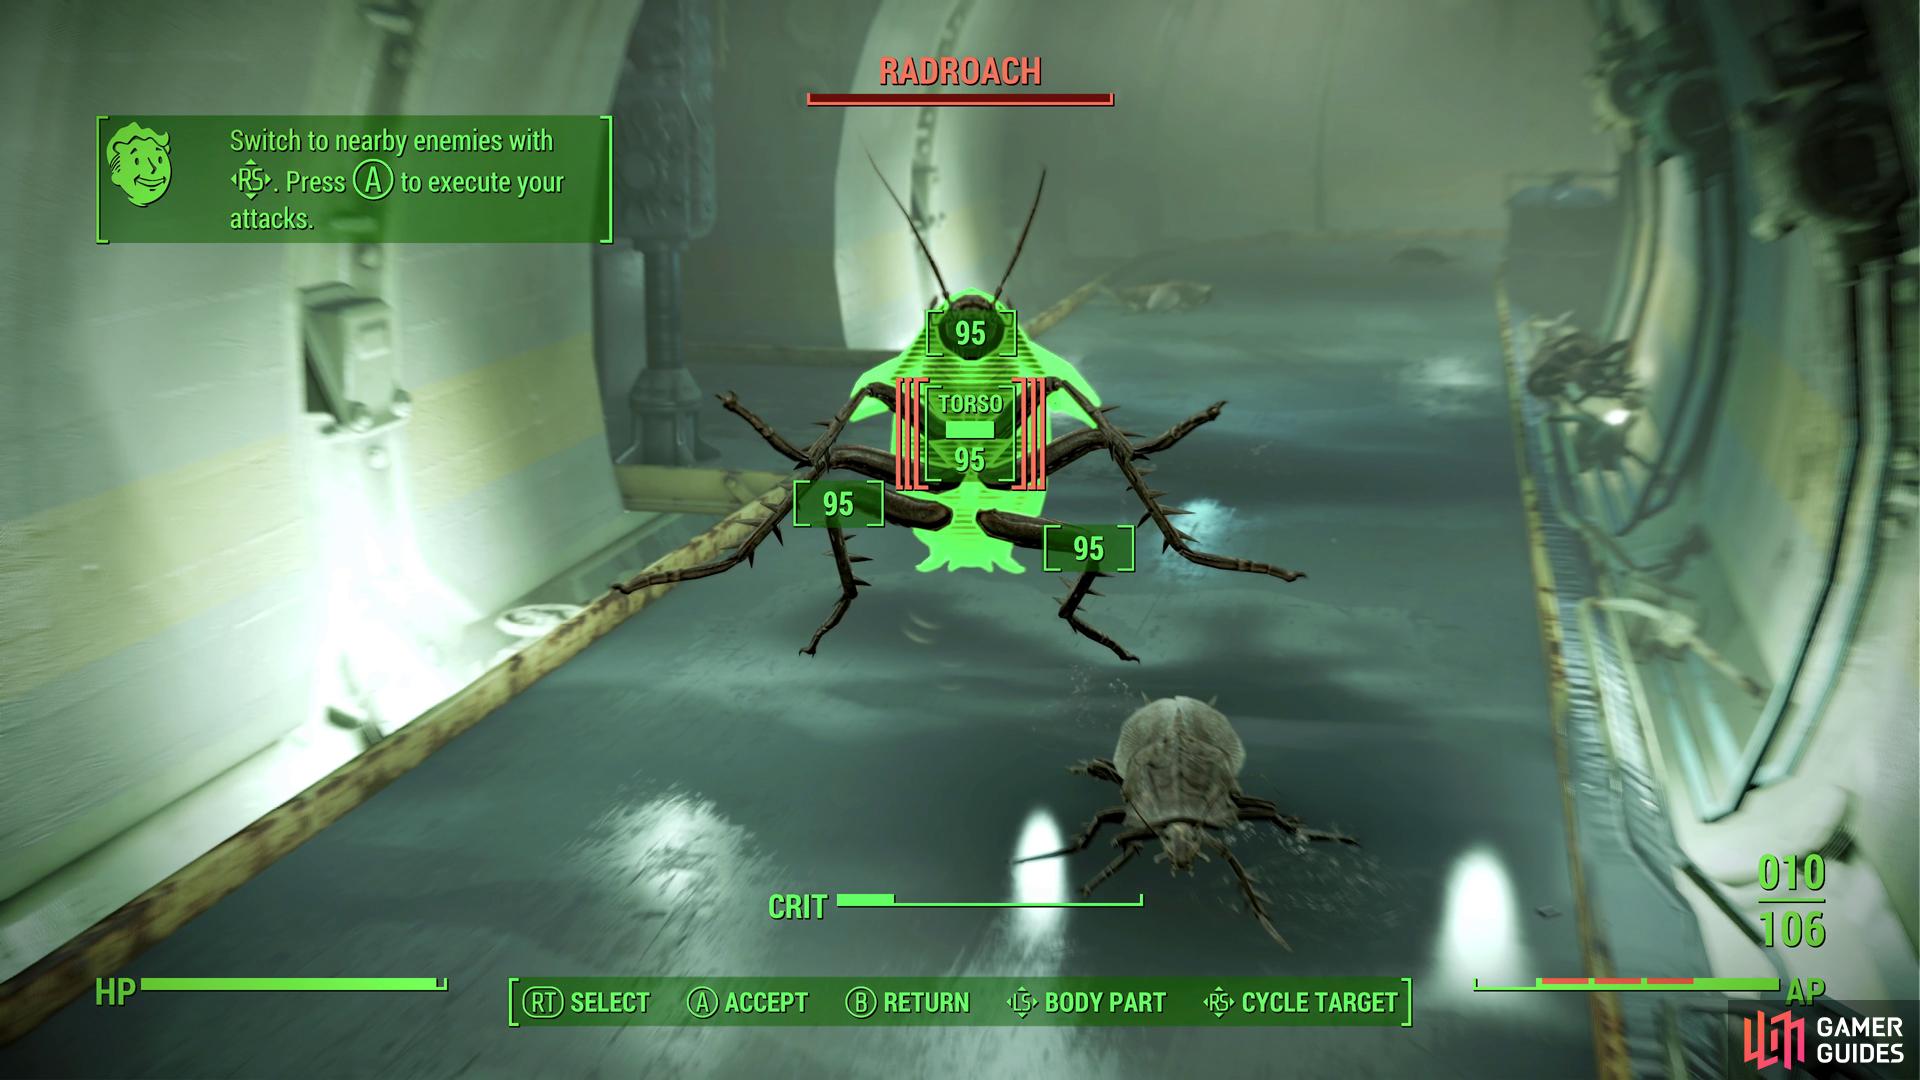
The Cryolator is out of reach… for now. (left), Use VATs to clear out a hallway full of Radroaches. With VATS you can dilate time and target specific body parts, potentially dealing greater damage or crippling foes. (right)
Search the Overseer’s quarters (north) if you wish, then go through a doorway to the south to find a large mob of Radroaches. You’ll get your VATS tutorial here, and you’ll also be able to put your new pistol to use, so get a feel for these gameplay elements, then follow the linear path ahead until you reach the vault entrance.
Kill two more Radroaches and pick up the Pip-Boy 3000 lying near the Vault Door Controls. This forearm computer will serve as your all-in-one gameplay management device, allowing you to check your stats, inventory, quests, map and radio controls. Go flick through the various menus to get a feel for it - you’ll be using this device an awful lot going forward.

(1 of 2) Grab the Pip-Boy, your all-in-one personal computer that’ll serve as your character screen, inventory manager, map, quest log, radio and more.
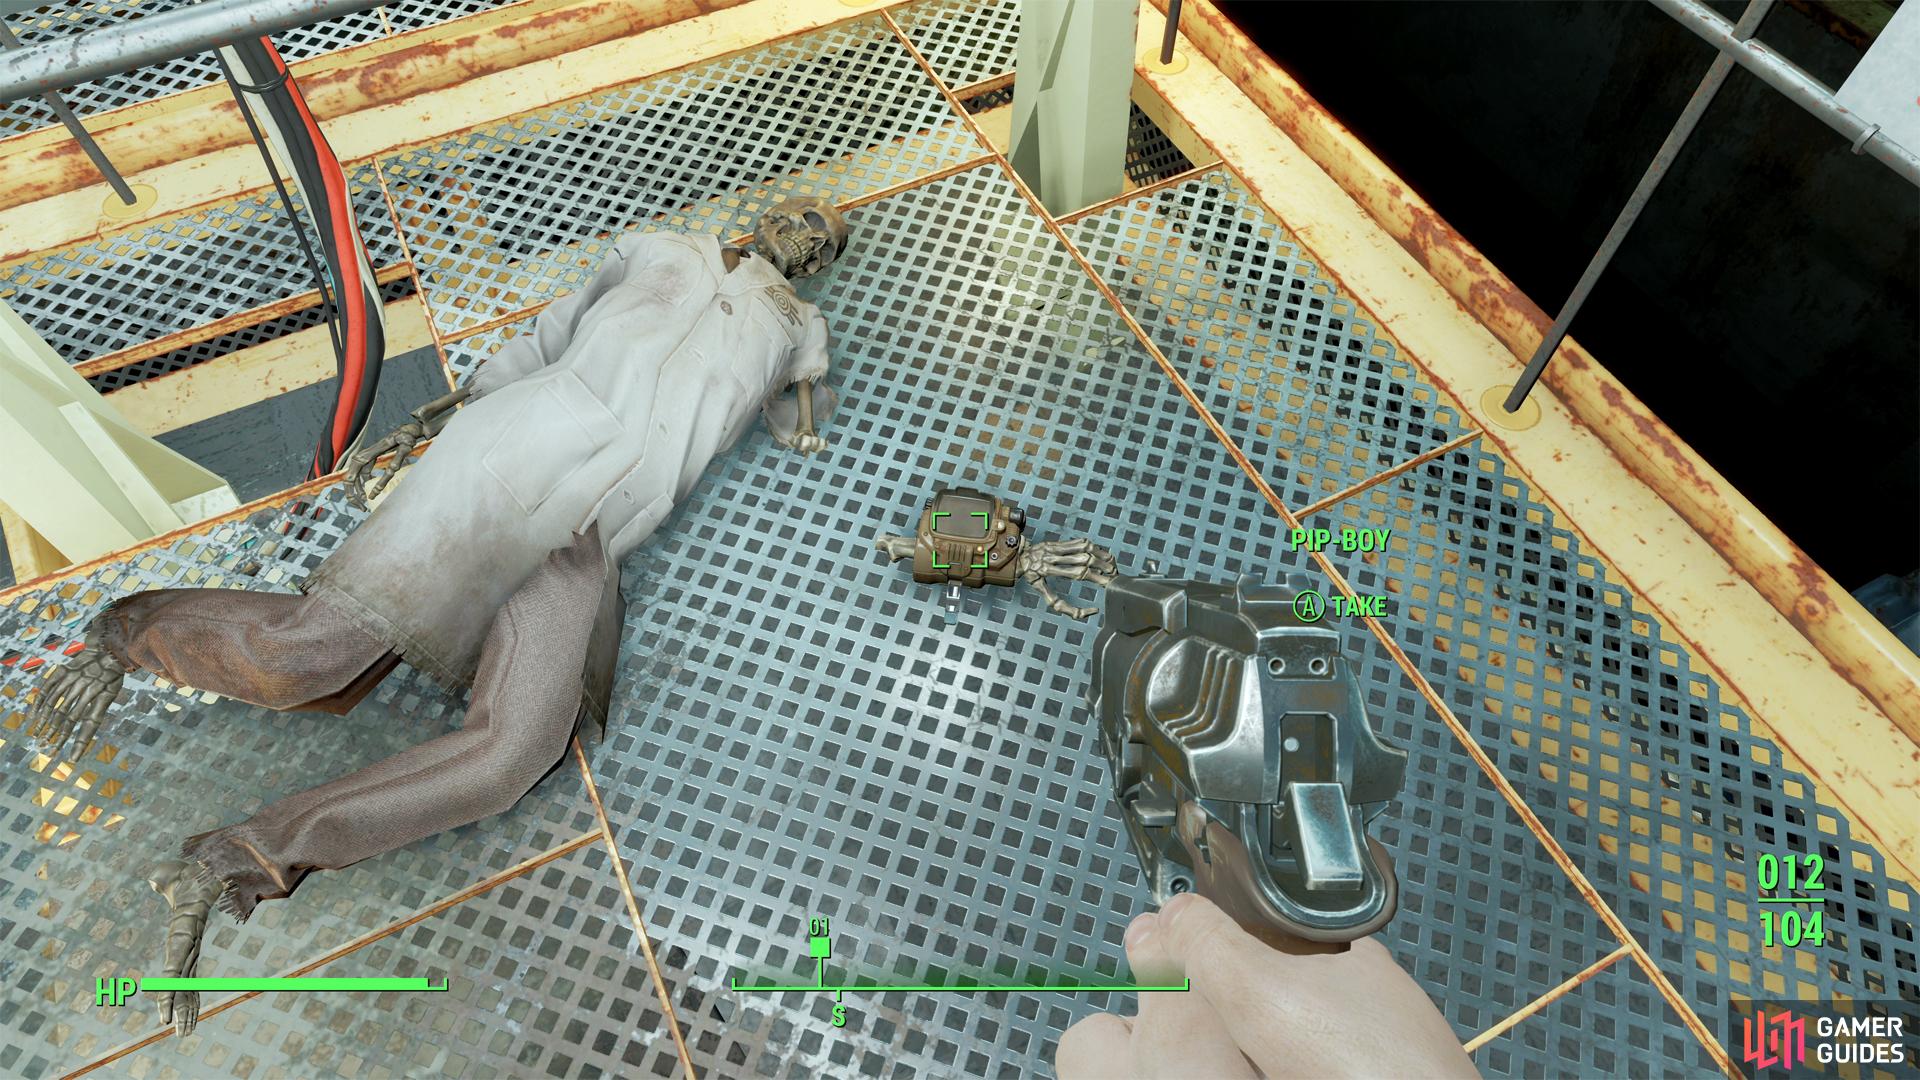

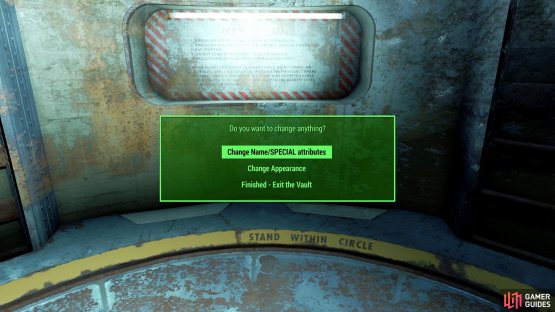
Grab the Pip-Boy, your all-in-one personal computer that’ll serve as your character screen, inventory manager, map, quest log, radio and more. (left), When you go to leave Vault 111 the first time, you’ll get the option to respec your character. (right)
Once you’re ready, interact with the Vault Door Controls and head out onto the elevator. If you’re exiting the vault for the first time, you’ll get the opportunity to respec your character and customize their appearance… you know, in case your character looked a bit closer to Frakenstein’s monster than you’d like (or not enough like said monster, as suits your tastes). When you’re happy, exit the vault.
Enemies and items will not restock in Vault 111 like in most other areas, although you can return to Vault 111 should you desire (perhaps to claim the elusive ![]() Cryolator?). From the exterior elevator, note a small control building to the northeast. Inside you’ll find a Vault 111 Elevator Button, which will prime the elevator to take you back down. Just press it and stand on the gear-shaped vault elevator.
Cryolator?). From the exterior elevator, note a small control building to the northeast. Inside you’ll find a Vault 111 Elevator Button, which will prime the elevator to take you back down. Just press it and stand on the gear-shaped vault elevator.
No Comments