
This page will cover the ![]() Sanctuary area (not to be confused with the quest Sanctuary) 111 in Fallout 4.
Sanctuary area (not to be confused with the quest Sanctuary) 111 in Fallout 4.
| Important Items in This Area |
|---|
| Grognak the Barbarian |
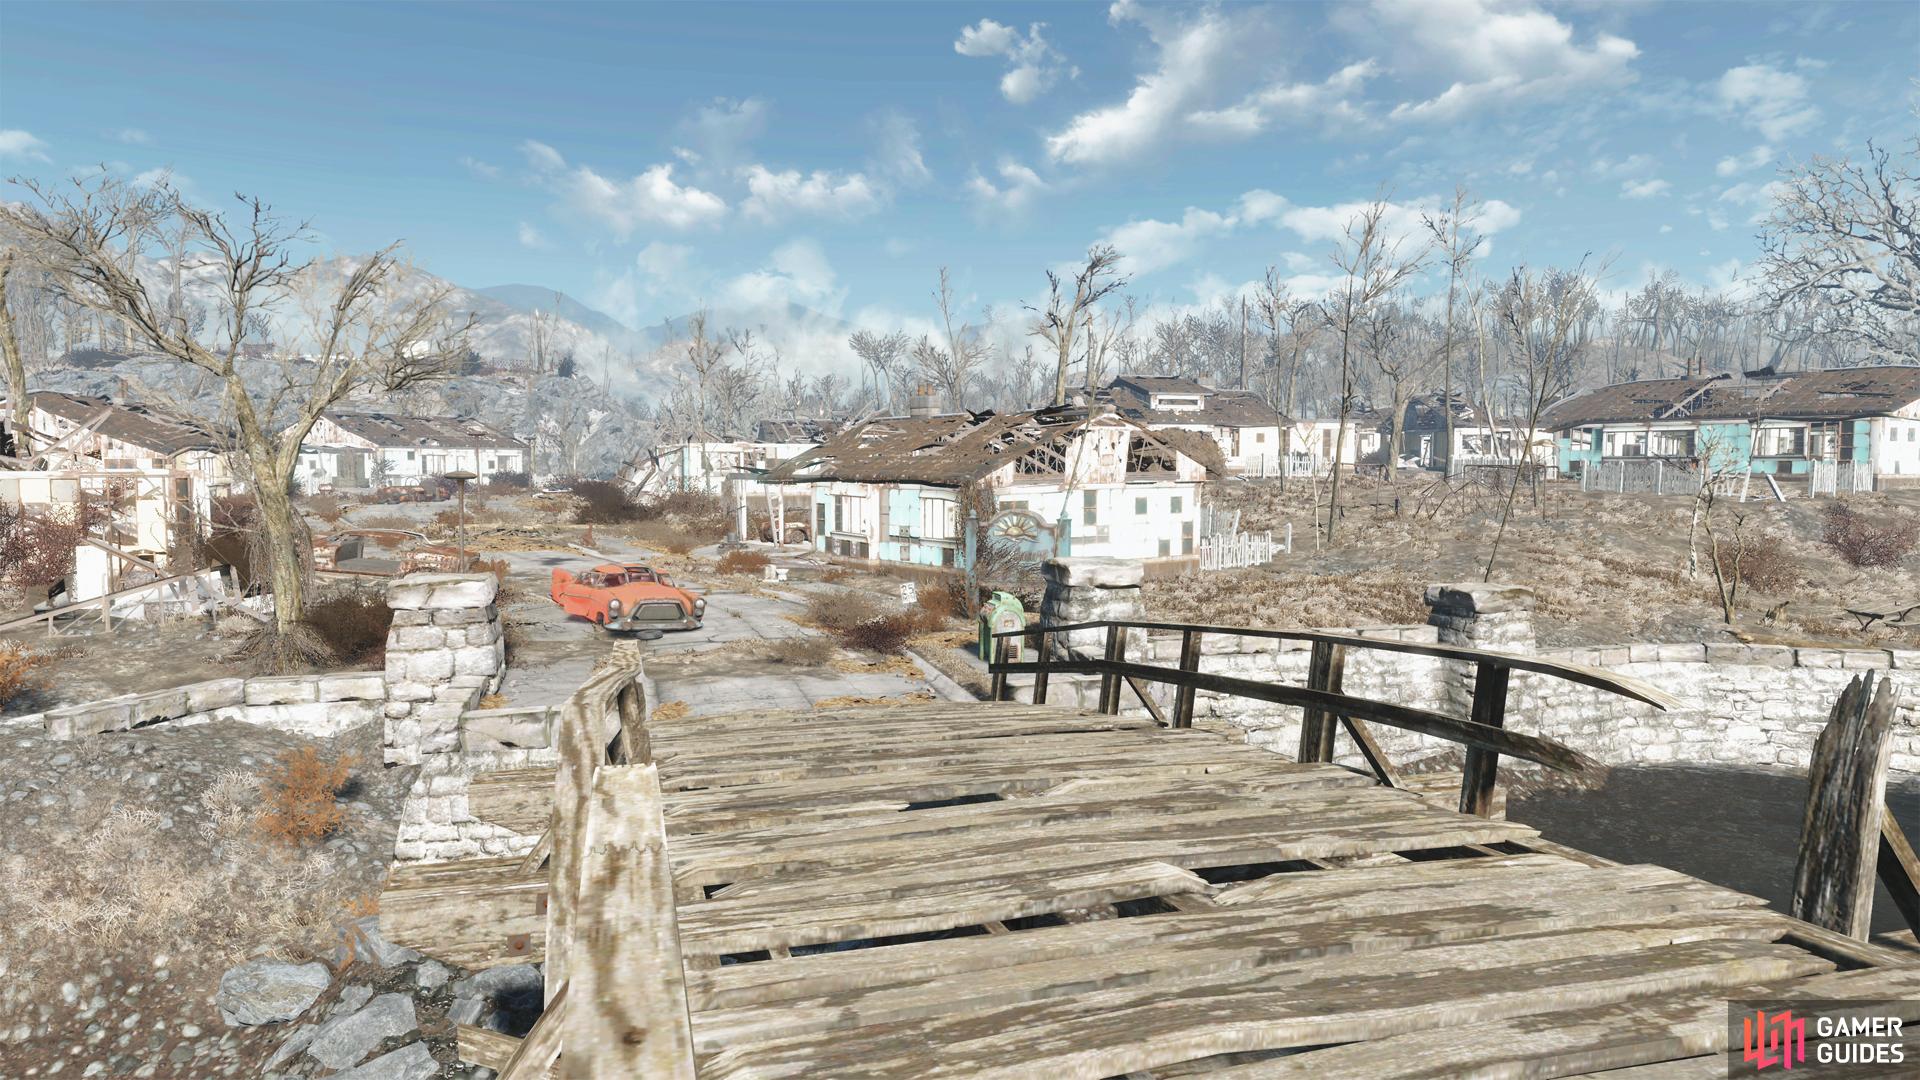
The post-apocalyptic Sanctuary Hills.
Sanctuary is your pre-apocalypse home, and a settlement shortly thereafter. You start the game here, but aside from customizing your character, you won’t do much of consequence here before traveling to Vault 111, where the game begins in earnest. After you escape ![]() Vault 111, Sanctuary is the next logical (but optional) stop, as Sanctuary is just down a hill to the southeast.
Vault 111, Sanctuary is the next logical (but optional) stop, as Sanctuary is just down a hill to the southeast.
A house-lined cul de sac, Sanctuary was an island community with one egress - a partially intact bridge along the southeastern end of said island. Since the bridge is the most recognizable landmark, it is from there where we’ll start exploring the settlement. Most houses are full of pre-war relics in various states of degradation, and while they may have some use as crafting/building materials, they’re of little immediate use for your short-term survival. Still, if you want to maximize your gains, search every house and scrounge what you want.
Exploring Sanctuary
As for houses of particular interest, follow the road from the bridge and enter the first blue house to the right. Not a whole lot here, but you can search vanity Mirror above the sink in the bathroom to score some chems or Bobby Pins - be sure to search Mirrors when you find yourself in bathrooms, as they’re regularly a source of such goods. In a nearby bedroom you can find a Safe [Advanced] on the floor under a Dresser. You likely cannot get into this safe yet, but if you’re impatient there’s a workaround we’ll discuss shortly.
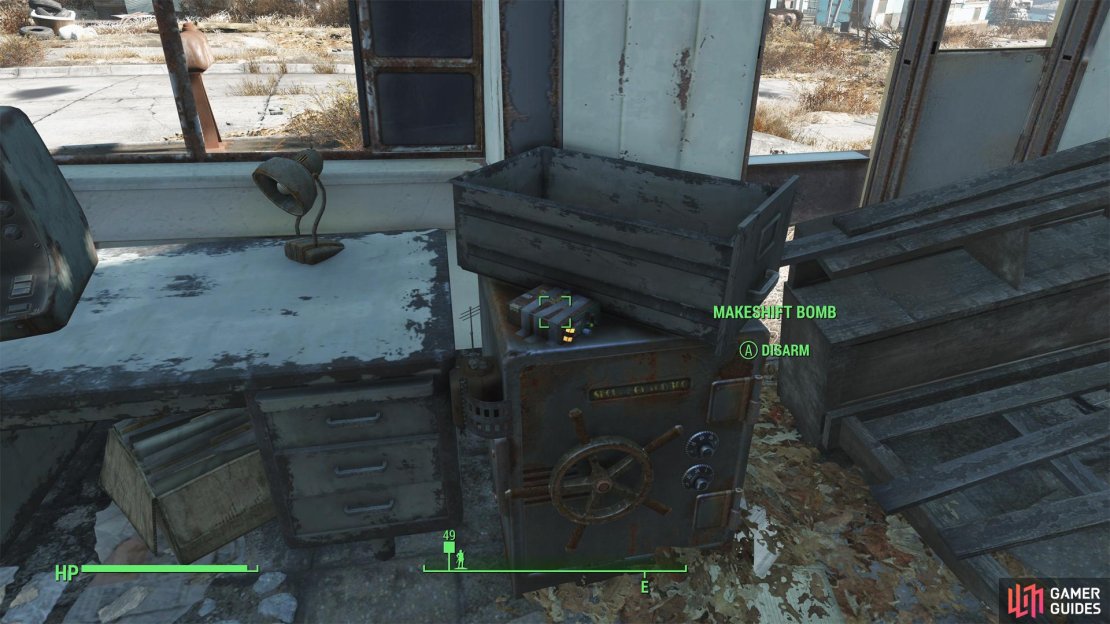

(1 of 3) Disarm a makeshift bomb on a safe .
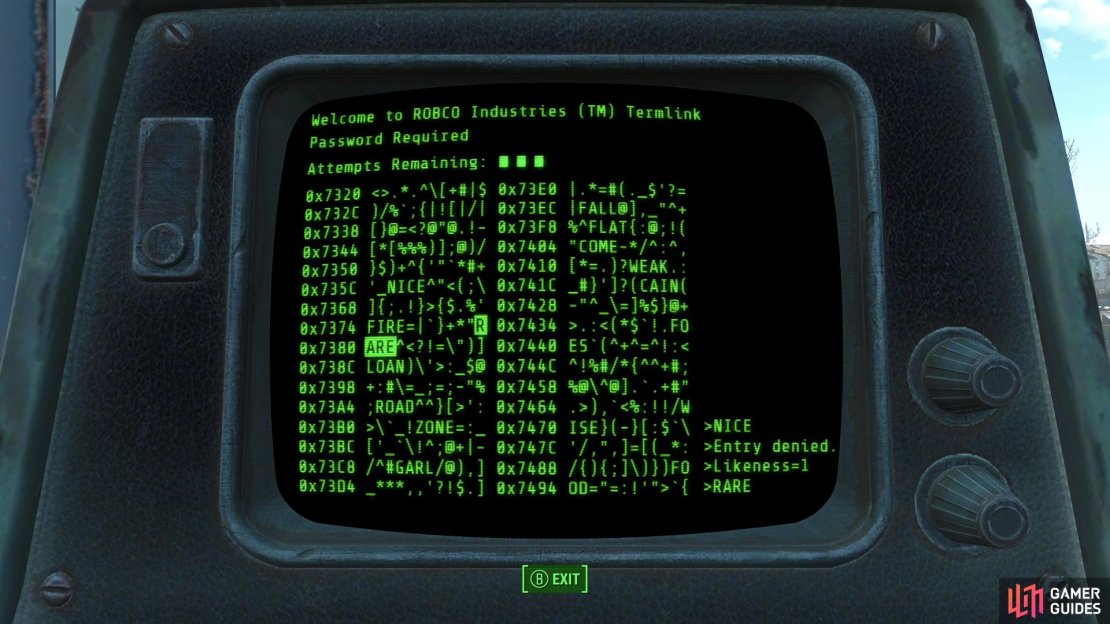
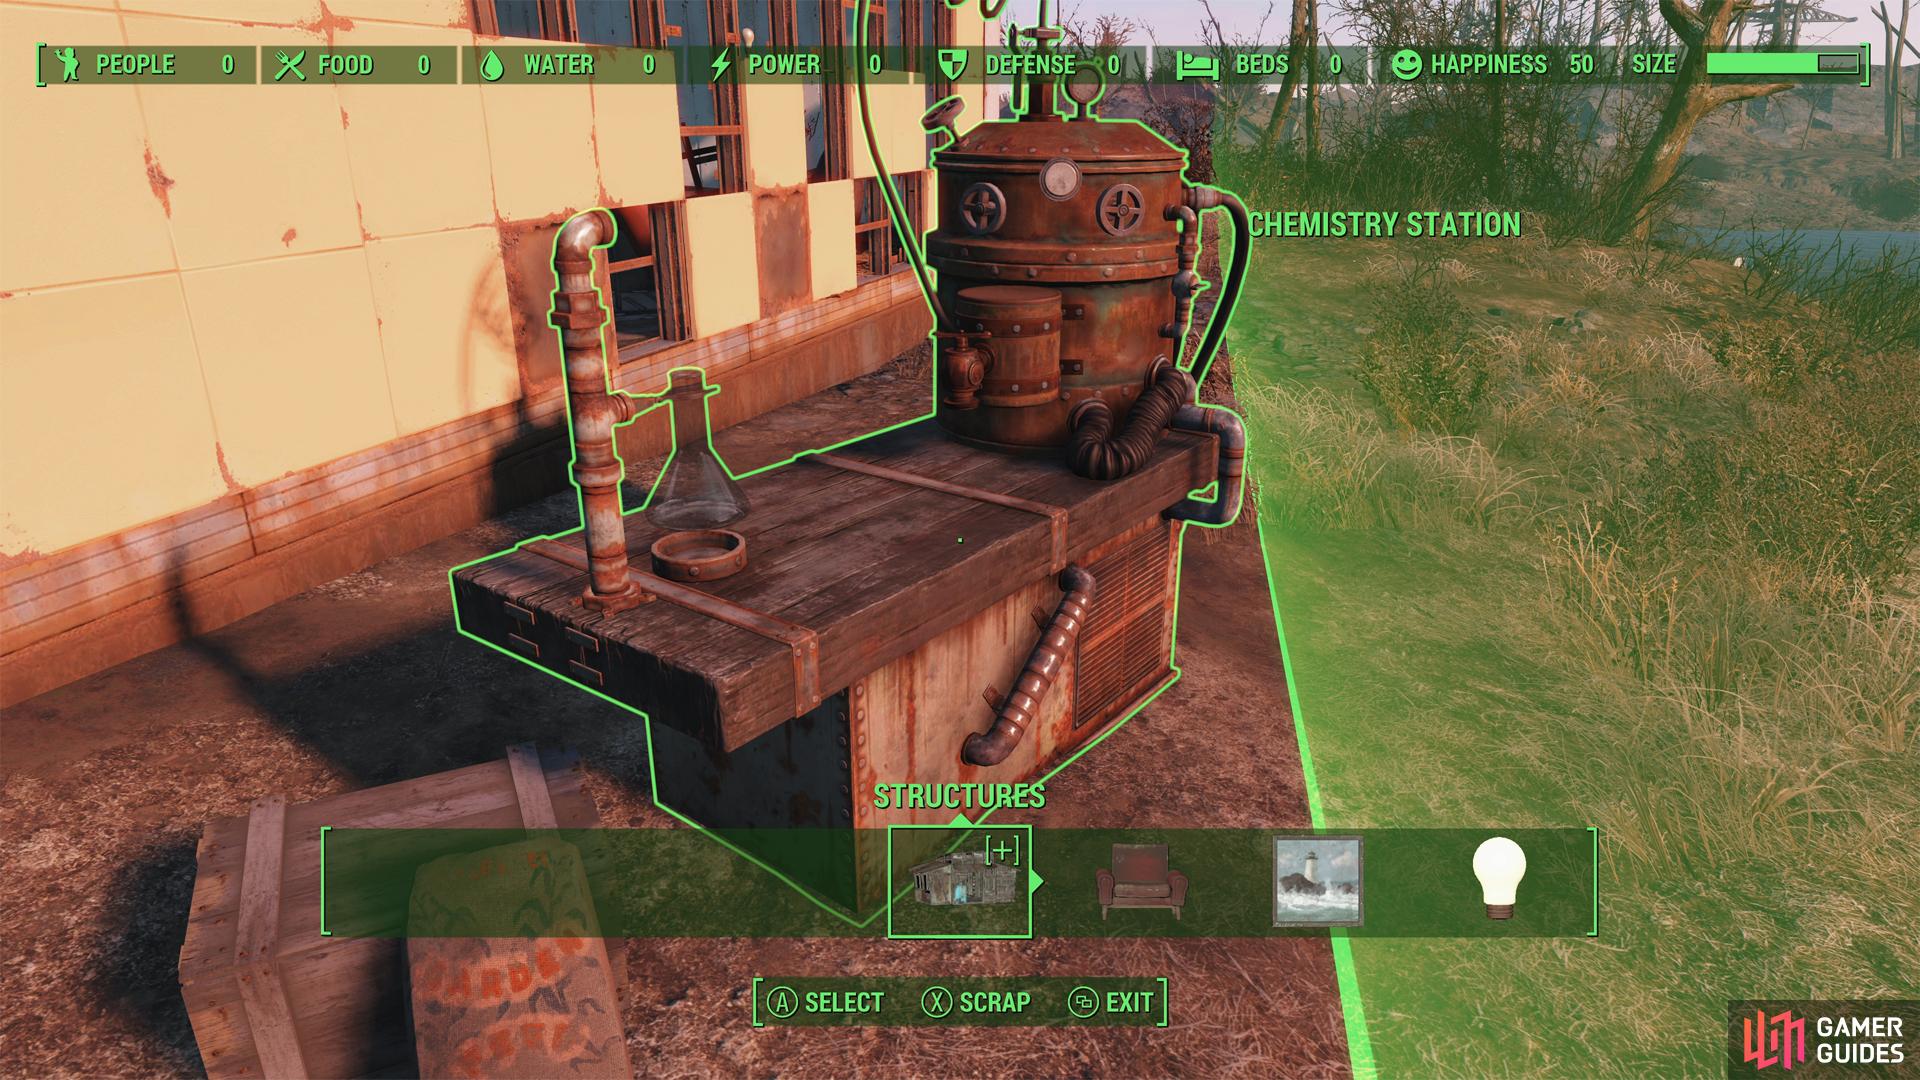
Next, enter the second yellow house to the left. In one of the back rooms you’ll find a Safe [Novice] upon which is a Makeshift Bomb. It takes no special skill to disarm the bomb, and the Safe is merely an excuse for you to try out the lockpicking minigame. Better get used to it, you’ll be doing it a lot over the course of Fallout 4. You can also hack a Ledger Terminal [Novice] nearby to give the hacking minigame a try. Succeeding at either minigame will get you into the Safe, but they’re both also worth XP, if you care to bother. Getting into the safe should reward you with some ammo, at the very least. There’s also a Chemistry Station in the backyard of this house, which you can use to craft chems… or at least, you could if you have the materials for it.
The next house on the left - a blue house - provides shelter for two Radroaches, and they’re not inclined to share their domicile with you. If you exterminate them, you can grab a ![]() Nuka-Cherry out of a busted refrigerator. You can also loot the bathroom for a First Aid box, while in the master bedroom you’ll find a Suitcase [Novice], which is really only worth opening for the XP.
Nuka-Cherry out of a busted refrigerator. You can also loot the bathroom for a First Aid box, while in the master bedroom you’ll find a Suitcase [Novice], which is really only worth opening for the XP.
Skip the next house to the left - another blue house with precious little of interest inside - and you’ll come to a third blue house to the left flanked by an intact yellow house to the right. Both are interesting.
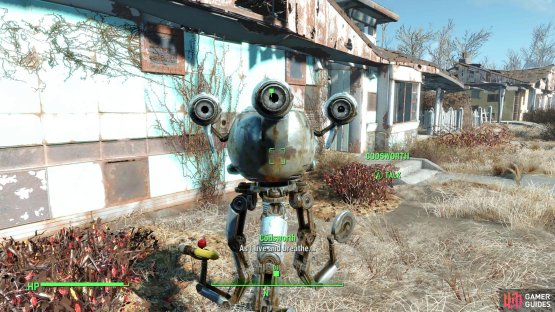
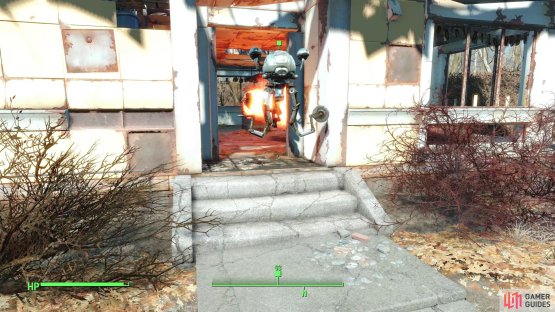
(1 of 2) You’ll find your faithful robo-butler, Codsworth, still pantomiming his pre-war chores.


You’ll find your faithful robo-butler, Codsworth, still pantomiming his pre-war chores. (left), Follow Codsworth through Sanctuary and let him do the heavy lifting against infesting Bloatflies. (right)
The blue house to the left is your old house, which is easily identifiable as you’ll find your loyal robobutler ![]() Codsworth still futilely trying to carry out his chores. Listen to his chipper dialogue and endure his attempts to deflect or spin the bad news you give him, then pass an easy speech check by saying “You Okay?” to finally penetrate his cheerful veneer and witness an epic Mr. Handy breakdown. Poor thing. After he recovers he’ll give you the “Hi Honey!” holotape and offers to search the neighborhood with you. If you accept he’ll head ott to the end of the cul de sac and kill some Bloatflies in various houses - you can follow him and observe, conserve some ammo, after which Codsworth will apologize that his search proved futile and elect to remain home while you continue searching for Shaun.
Codsworth still futilely trying to carry out his chores. Listen to his chipper dialogue and endure his attempts to deflect or spin the bad news you give him, then pass an easy speech check by saying “You Okay?” to finally penetrate his cheerful veneer and witness an epic Mr. Handy breakdown. Poor thing. After he recovers he’ll give you the “Hi Honey!” holotape and offers to search the neighborhood with you. If you accept he’ll head ott to the end of the cul de sac and kill some Bloatflies in various houses - you can follow him and observe, conserve some ammo, after which Codsworth will apologize that his search proved futile and elect to remain home while you continue searching for Shaun.
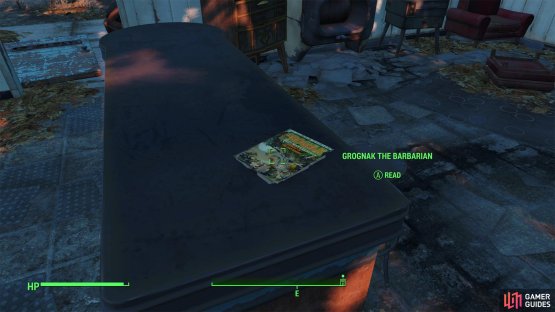
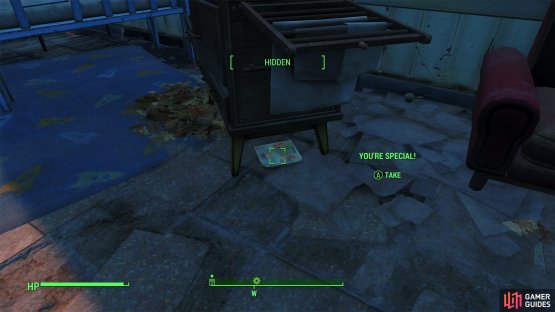
(1 of 2) In your old house you can find a copy of Grognak the Barbarian, which will yield permanent boosts.


In your old house you can find a copy of Grognak the Barbarian, which will yield permanent boosts. (left), Search under some furniture in Shaun’s room to find “You’re SPECIAL”, earning a +1 boost to any one SPECIAL stat in the process. (right)
When you’re done with Codsworth, head on into the ruins of your house, where there’s a few wonderful bits of loot worth grabbing. First, search the counter in the kitchen to obtain an issue of Grognak the Barbarian . Once that’s yours, head into Shaun’s room (the north-western most room in the house) and search under a dresser near the bed to find the book YOU’RE SPECIAL! , which will allow you to distribute one SPECIAL Attribute point to any stat of your choosing. Mega score.


(1 of 2) Interact with the Workshop to claim Sanctuary as a settlement.
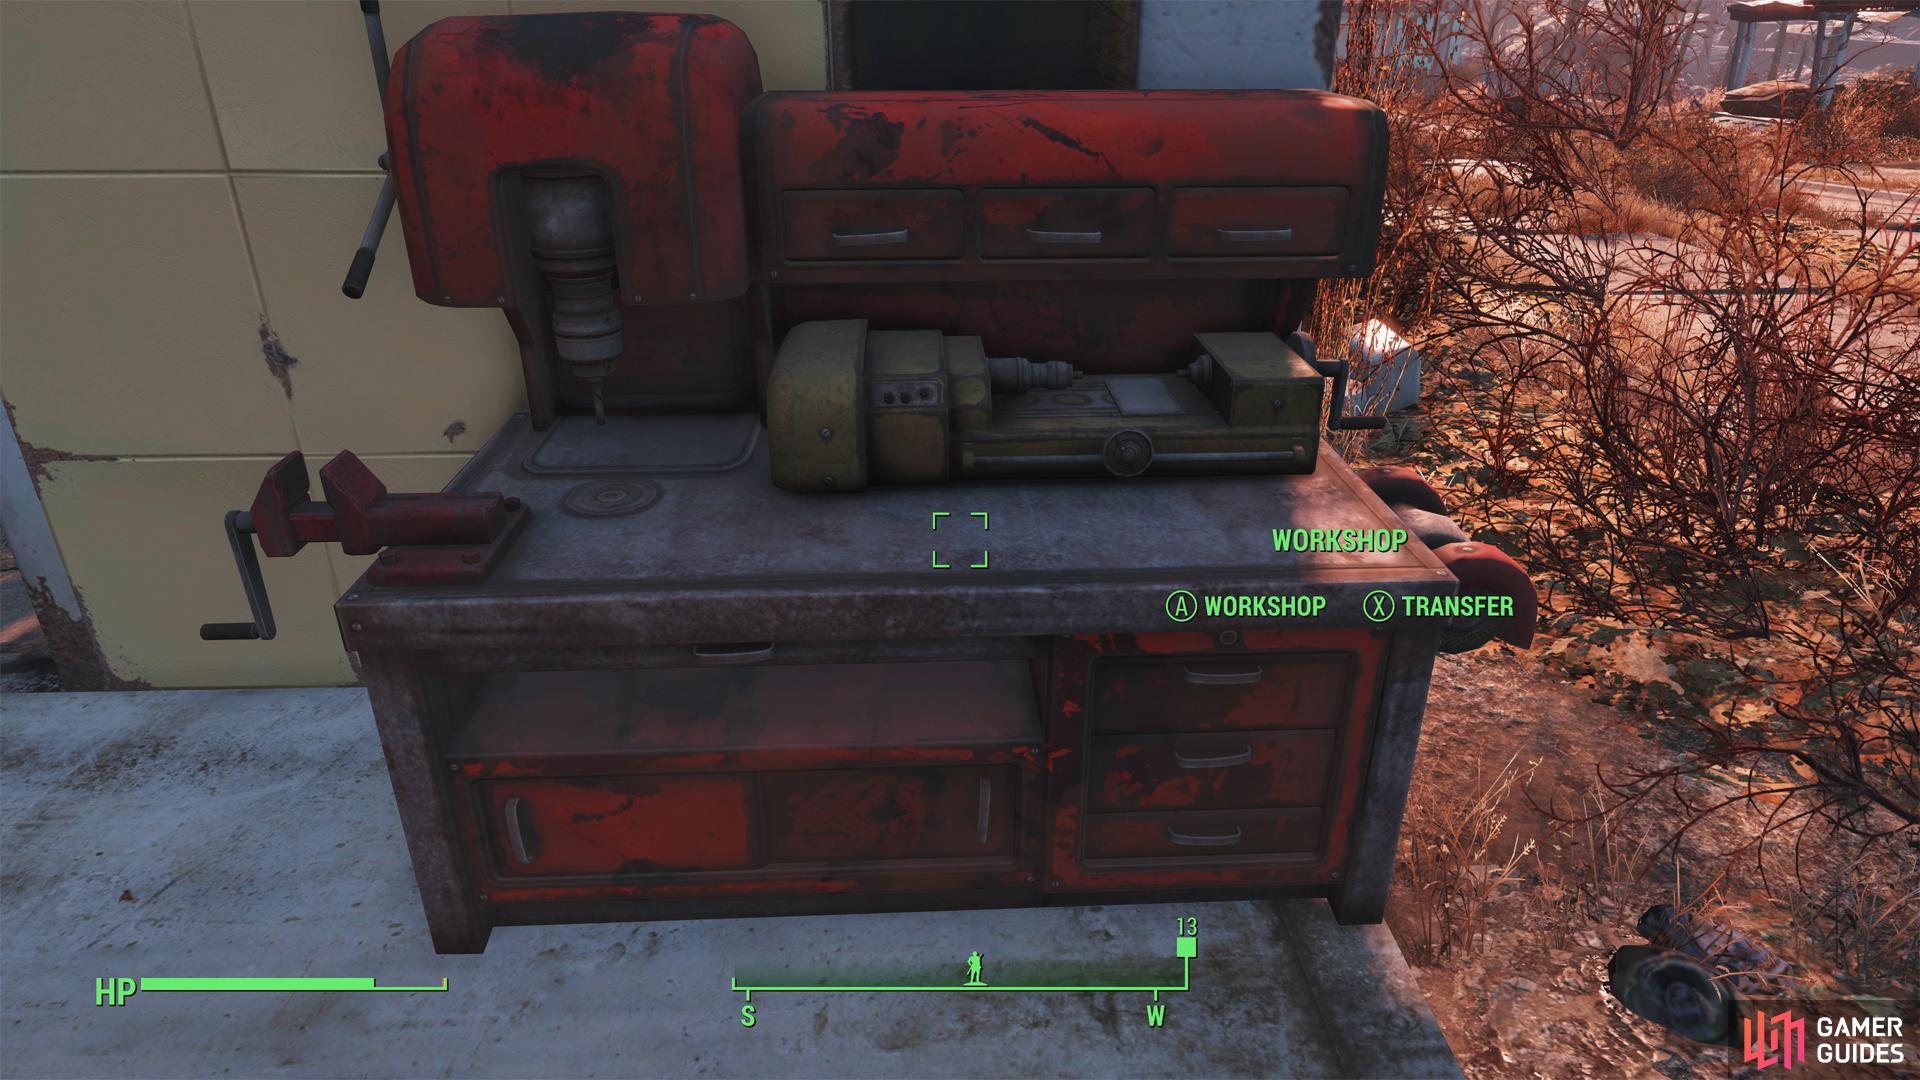
Interact with the Workshop to claim Sanctuary as a settlement. (left), While in build mode you can break down, build and move objects. (right)
Outside the yellow house across the street from your old home you’ll find a Workshop, which you can interact with to claim ![]() Sanctuary Hills as a settlement. The quest Sanctuary deals with this in more detail, and frankly it’s more lucrative to wait for that quest before you bother building anything. That said, once Sanctuary is claimed as a settlement you’ll be able to enter “build mode” and break down the junk you’ll find in and around various houses, turning it from eyesore remnants of pre-war America into resources useful for both building and crafting. If you were to, say, break down containers - perhaps locked containers - the contents of said containers would be transferred to your Workshop (which also functions like a permanent, safe stash). You can use this to bypass locks you otherwise can’t pick, should you feel so inclined.
Sanctuary Hills as a settlement. The quest Sanctuary deals with this in more detail, and frankly it’s more lucrative to wait for that quest before you bother building anything. That said, once Sanctuary is claimed as a settlement you’ll be able to enter “build mode” and break down the junk you’ll find in and around various houses, turning it from eyesore remnants of pre-war America into resources useful for both building and crafting. If you were to, say, break down containers - perhaps locked containers - the contents of said containers would be transferred to your Workshop (which also functions like a permanent, safe stash). You can use this to bypass locks you otherwise can’t pick, should you feel so inclined.
Also worth noting are the various crafting stations nearby, including a Weapons Workbench (used to modify weapons), an Armor Workbench (used to modify armor) and a Power Armor Station (used to store, repair, modify and customize power armor). You can also grab the Chemistry Station behind the yellow house near the bridge and move it closer to the other crafting stations. Finally, note the crops growing in the fenced-in area behind the house. You can harvest them, but they won’t regrow until you have settlers you can assign to tend them.
Continue down the street and enter the next yellow house to the left, wherein you’ll find several Bloatflied, assuming Codsworth didn’t dispose of them already. Deal with them one way or another, then check out the master bedroom/bathroom, which are now a single room. Search a Mirror for more chems/Bobby Pins, then find a Safe [Novice] near the ruins of the bed, which you can pick to get more loot, or just break down via “build mode” to get the loot with less bother.

(1 of 2) Behind one of the houses you’ll find the door to a root cellar,
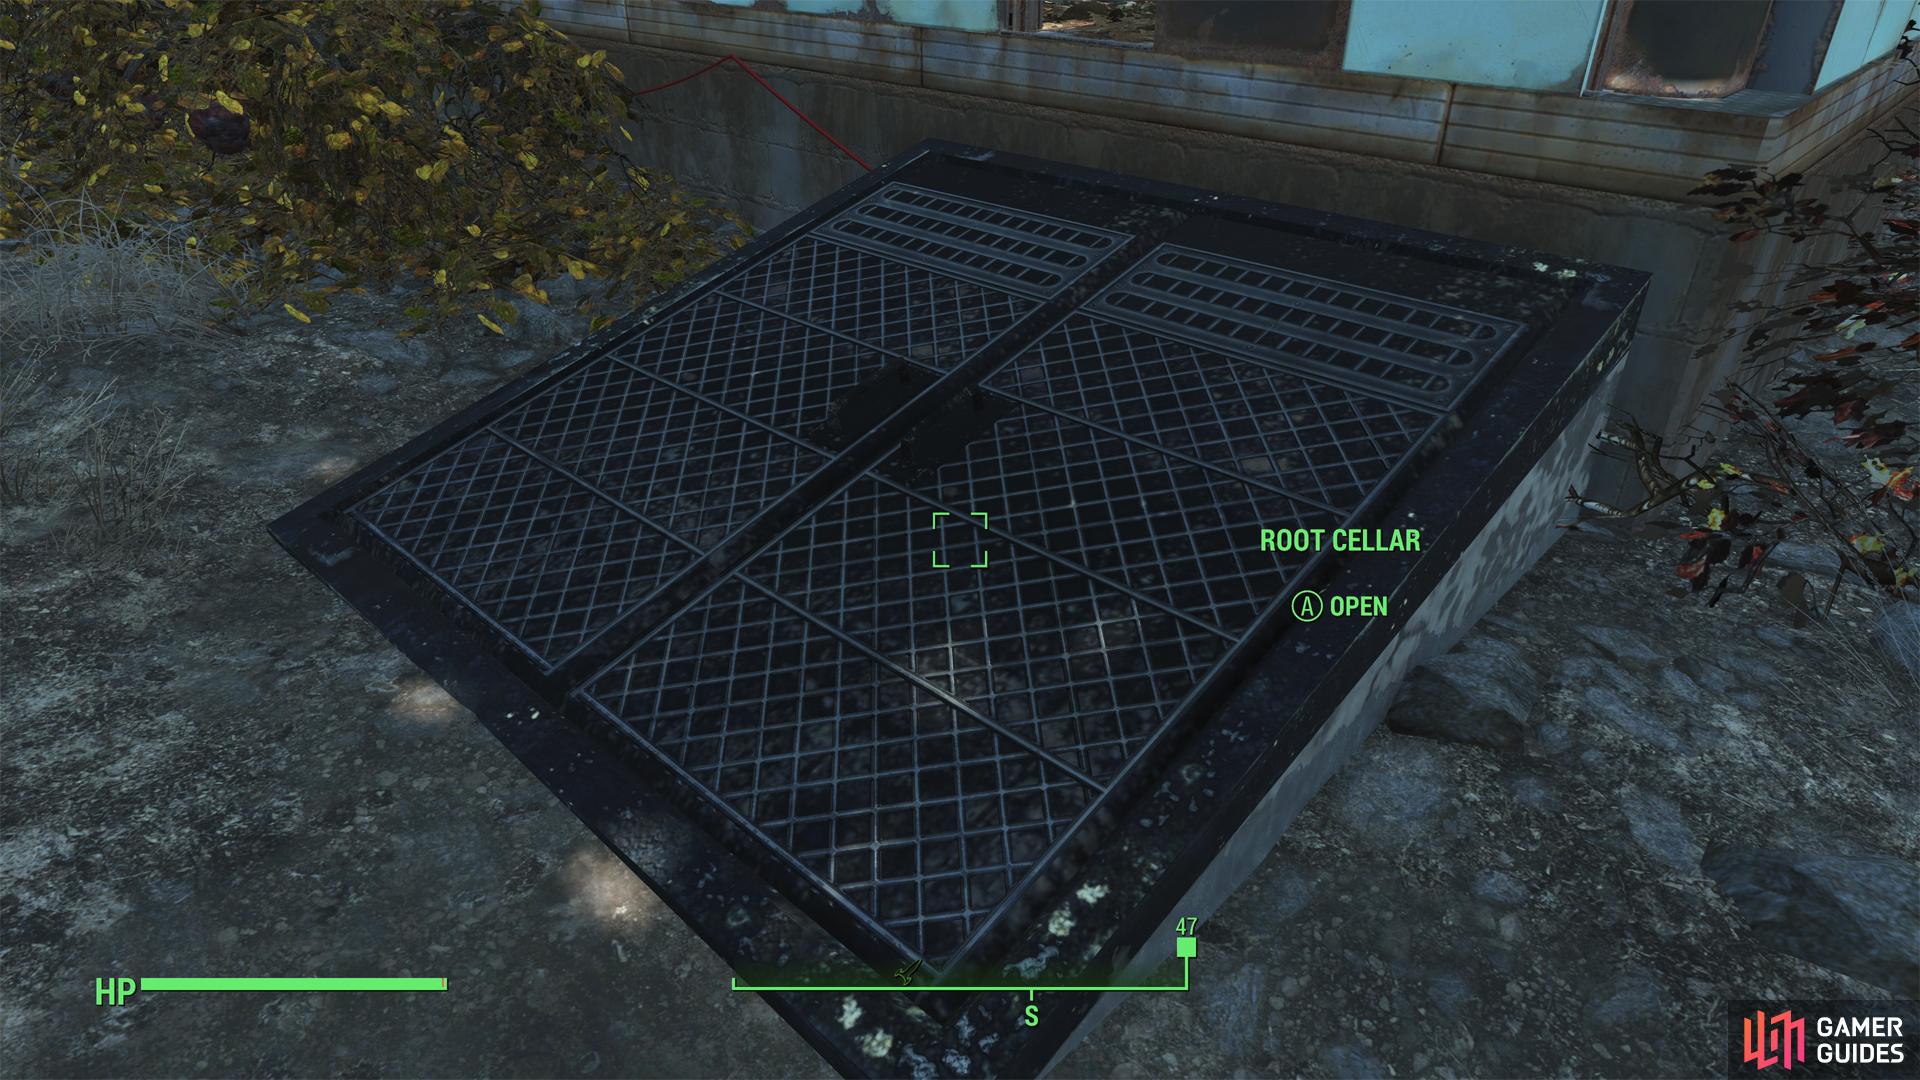

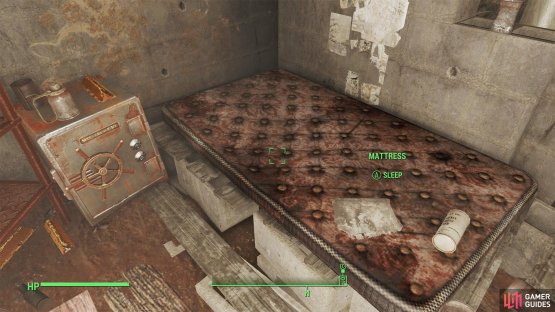
Behind one of the houses you’ll find the door to a root cellar, (left), which contains a good bit of loot and a bed you can use to recover from injuries. (right)
The next house, a blue house to the left, contains a Caps Stash and an Ammo Box, which is all well and good. More interesting, however, if you circle around to the back of the house you can find a ![]() Root Cellar, which will lead to a shelter. You can find a Safe [Advanced] down here, but unlike the last one, you can’t break this one down, as it’s technically not part of the Sanctuary settlement. Load screens are apparently a barrier to such things. There’s also plenty of other loot down here, but perhaps most importantly, there’s a bed you can sleep on to recover all your lost health for free… even a single hour will do the trick! This won’t heal radiation damage, however, so be cautious about exposing yourself to radiation until you’ve got a more reliable means of removing Rads.
Root Cellar, which will lead to a shelter. You can find a Safe [Advanced] down here, but unlike the last one, you can’t break this one down, as it’s technically not part of the Sanctuary settlement. Load screens are apparently a barrier to such things. There’s also plenty of other loot down here, but perhaps most importantly, there’s a bed you can sleep on to recover all your lost health for free… even a single hour will do the trick! This won’t heal radiation damage, however, so be cautious about exposing yourself to radiation until you’ve got a more reliable means of removing Rads.
With that, there’s only one intact house left, a festive blue structure at the end of the street. Inside you’ll find a trio of Bloatflies (unless Codsworth cleared them out). Dispose of them if necessary, then seek out a bedroom in the back, where you’ll find a crib. Under the crib is a Safe [Novice] on the floor.
Sanctuary as a Settlement
Sanctuary is technically a settlement the moment you interact with the Workshop, but you should wait until after finishing When Freedom Calls to deal with it. You’ll escort the survivors from the Museum of Freedom to Sanctuary, and the quest Sanctuary will begin, tasking you with building basic resources, namely beds, food, water and defenses. This will earn you some XP and provide you a practical excuse to indulge in building.
Complete the quest and you’ll be free to customize Sanctuary as you please, even if it means undoing things you build during the aforementioned quest of the same name. Sanctuary is a wonderful starter settlement, with numerous houses, trees and cars you can break down (not to mention numerous smaller objects in and around houses) for a decent starter supply of Wood and Steel. The foundations of these houses can go on to serve as ready-built templates for new structures, but you can also just build your own foundations and construct whatever you want. You’ve got plenty of space to work with, access to a river where you can place Water Purifiers, and enough dirt on which to plant whatever crops you wish.
If Sanctuary has a weakness as a settlement, it’s that it might be too much of a good thing. The sheer size of the place can make it difficult to defend unless you wall off possible approaches between houses or build in a centralized location.
For a more restrictive settlement, you’ll find the Red Rocket Truck Stop a short ways southeast of Sanctuary. Just leave via the bridge and follow the road - you can’t miss it.
No Comments