
Walkthrough for the quest Road to Freedom in Fallout 4.
Road to Freedom is the first quest in the Railroad faction questline. Despite being the introductory quest for this faction, you don’t actually technically have to complete it to reach the Railroad inasmuch as you can skip most of the quest and avoid ever having it in your quest log, while still completing its objective and obtaining its reward. The quest itself tasks you with taking a long, dangerous (albeit scenic) trek through downtown Boston along the eponymous “Freedom Trail”, during which you’ll find various Freedom Trail murals that give you bits of a code. If you already know the code and where to enter it, however, you can just skip to the end of the quest.
For everybody who wants to actually follow this quest the way it was designed, it’ll be covered on this page.

You can start the “Road to Freedom” quest by overhearing some NPCs talk near the Valentine Detective Agency.
Starting Road to Freedom
One of the more obtuse aspects of Road to Freedom is simply starting it. There’s no specific NPC to talk to, holotape to listen to, broadcast to tune into, or other static means of starting this quest. You just have to hear about the Freedom Trail and the Railroad from some source or another, and perhaps the most reliable way to start this quest is by visiting [Diamond City].
Seek out the Valentine Detective Agency and look for two NPCs to start talking about the Railroad - simply overhearing them is enough to start the quest. If they’re not there, go rest or wait for an hour, then return. Zone in and out of Diamond City (perhaps even fast traveling to and from the area) until these NPCs spawn. After overhearing them, this quest should start.
Freedom Trail: Boston Common Code
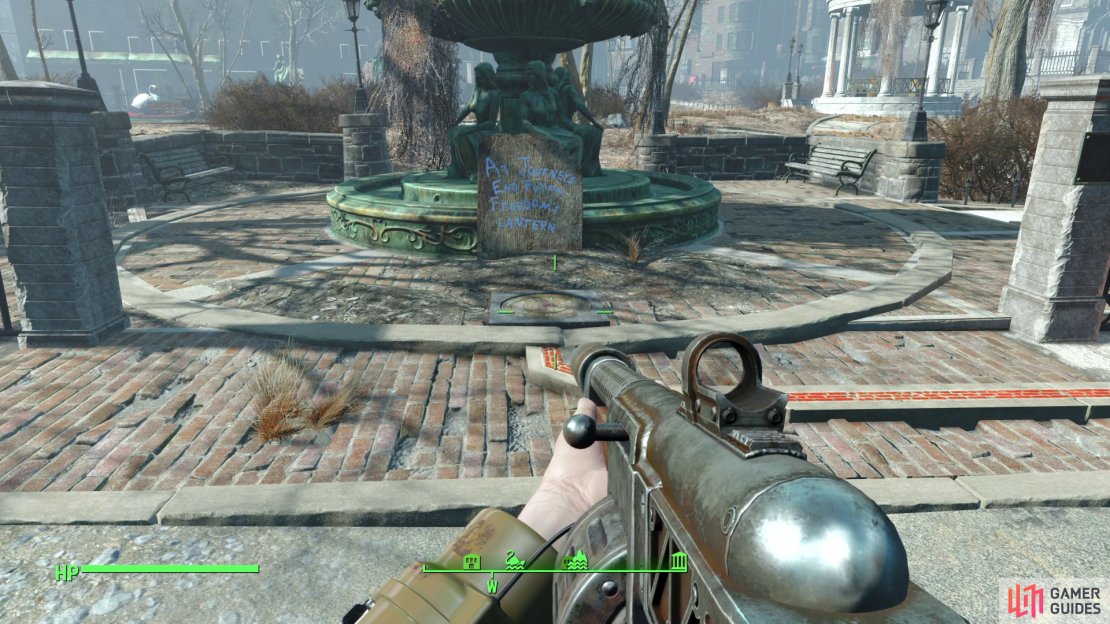
To start walking the Freedom Trail, you’ll need to head to [Swan’s Pond], a location in the ruins of a park in the [Boston Common] region. Work your way around to the eastern end of the park and you’ll find a fountain against which leans a sign stating “At Journey’s End, Follow Freedom’s Lantern”. More importantly you’ll find a “Freedom Trail” mural on the ground with the text “THE FREEDOM TRAIL - BOSTON” on it. The mural itself has been marked, with the letter “A” highlighted and the number “7” drawn on the mural.
Your first code is 7 - A.
Look at the ground near the mural and you’ll spot a red tile trail leading down the sidewalk - the physical manifestation of the “Freedom Trail”. You’ll need to follow this red line throughout Boston. Before you go, however, note that you’re in a densely packed area, with the [Swan’s Pond], [Boylston Club], [Boston Common] and [Park Street Station] map markers nearby. If you go after the [Swan’s Pond] map marker, be wary, as this eponymous “Swan’ is a Super Mutant Behemoth whose back ornamentation and penchant for floating around in the pond give him his name.
Freedom Trail: Massachusetts State House Code
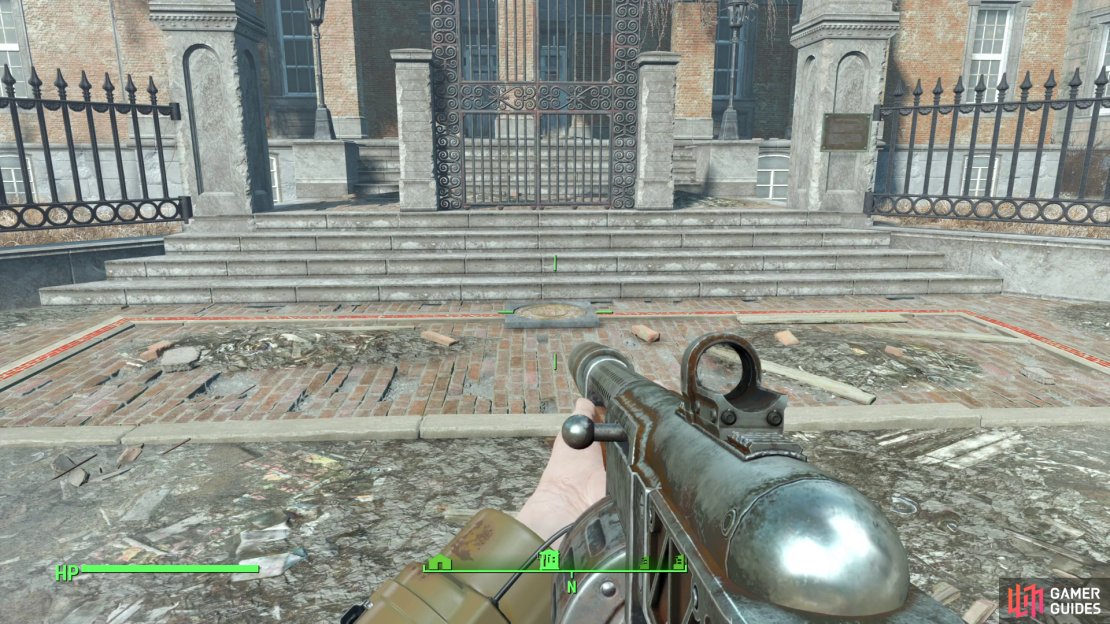
Follow the Freedom Trail up the sidewalk to the north and northwest before crossing the road (red paint will mark the Freedom Trail where tile lapses. In front of the [Massachusetts State House] you’ll find the mural 4 - L.
Freedom Trail: Old Granary Burying Ground
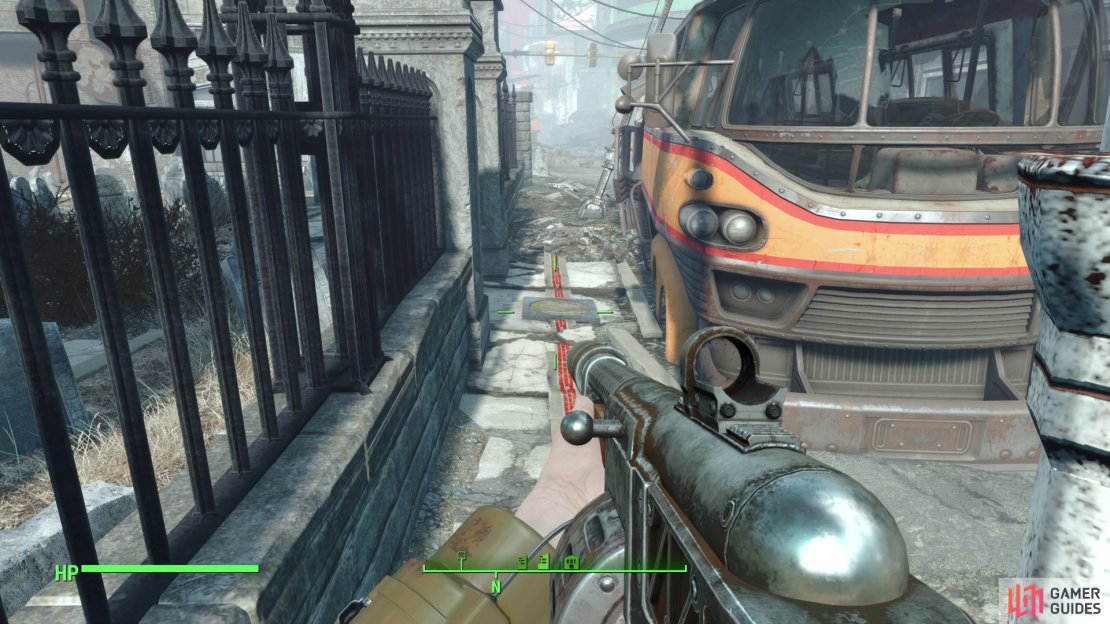
The trail now leads east a short distance before red paint extends it across the street. Beyond some rubble you’ll find tile again, this time running down the sidewalk to the southeast, mirroring the trail on the sidewalk on the opposite sidewalk. Keep following the trail and it’ll veer northish down a street, running past the [Old Granary Burying Ground] to the left and a bus to the right. Kill the leveled Ghouls infesting the cemetery, then search the sidewalk between the bus and the cemetery, where you’ll find another mural: 2 - A.
Freedom Trail: Goodneighbor
Continue following the trail to the north, northeast and it’ll quickly be buried in rubble. A paint streak ahead shows that the trail crosses the street and continues up the sidewalk to the right, but this is mostly buried in rubble, too, so just keep heading north, northeast up the street. This is easier said than done, however, as the ruined building to the left is occupied by Super Mutants, including one highly leveled and hence dangerous specimen.
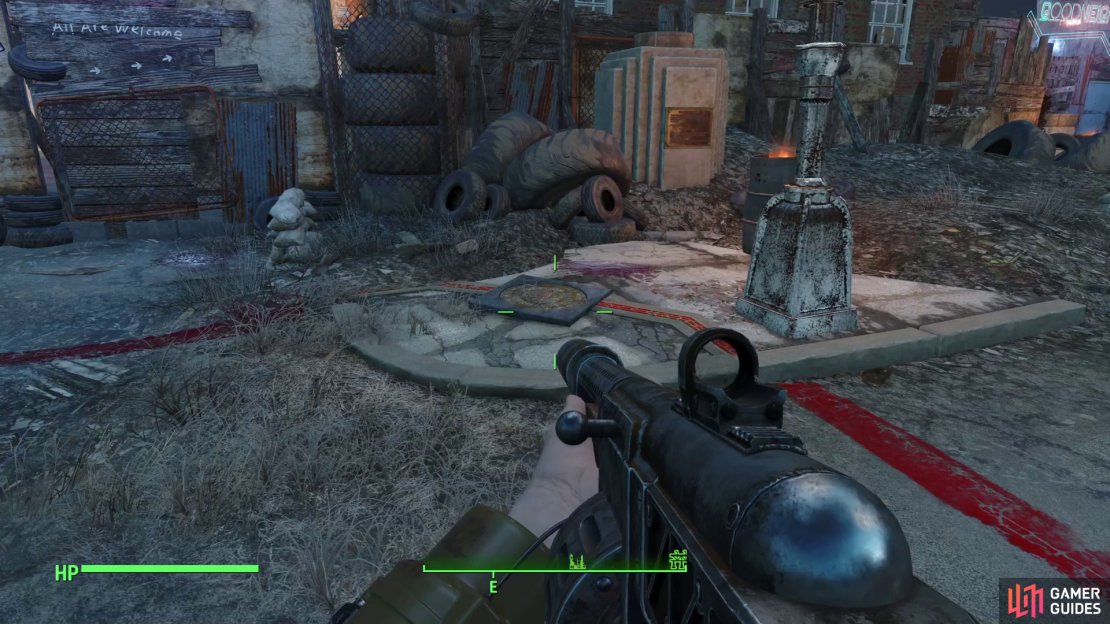
Survive the muties and follow the rubble-strewn alley until you reach a fork. If you veer north you’ll cross by the [Mass Fusion Building], where some Gunners have staked their claim. The Freedom Trail, however, follows the rubbled-obscured sidewalk to the east, southeast, using some pain to bridge the road to a mural just outside the entrance to [Goodneighbor]. Check out the mural to find the code 6 - O.
Freedom Trail: Old Corner Bookstore
From the Goodneighbor mural, follow the Freedom Trail up the sidewalk to the north. The trail will vanish for a significant length of time, but keep going north, kill some Feral Mongrels, ascend a rubble mound, then drop down off a trailer truck, which is the only thing holding the rubble at bay.
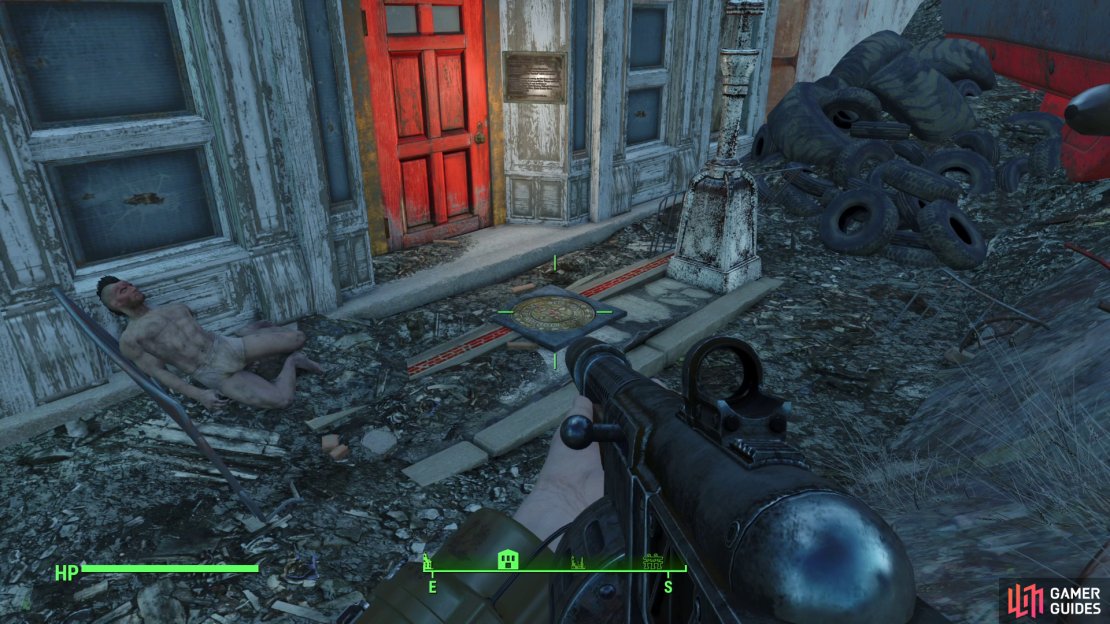
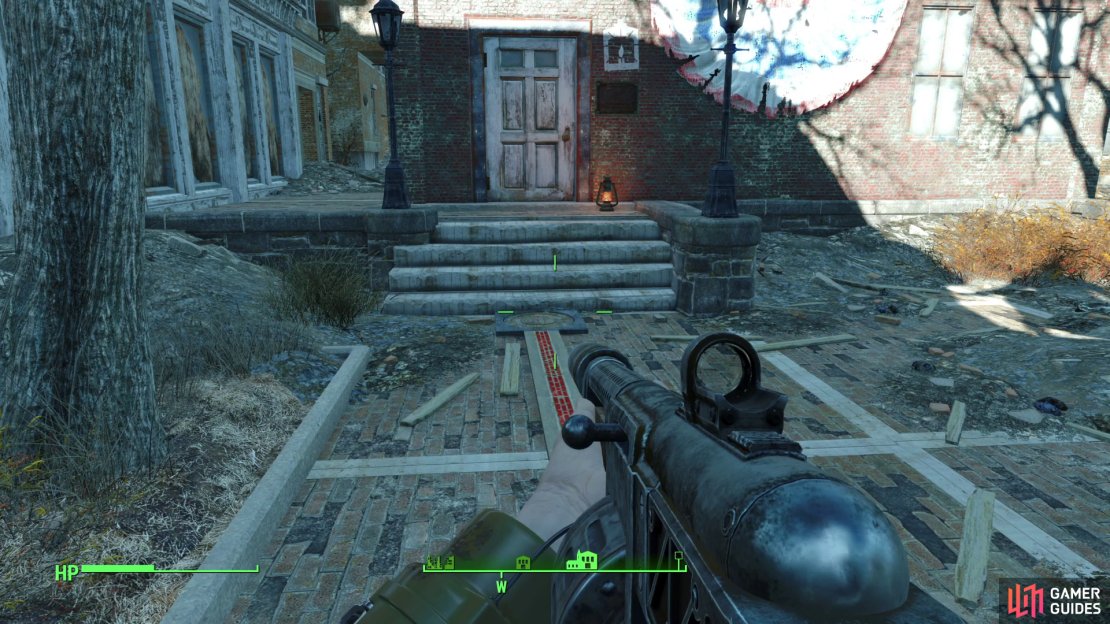
You should land right next to the [Old Corner Bookstore], whose big red door is still lit up and easily visible. Kill some Ghouls lurking in the rubble outside of the bookstore and search the sidewalk to find the mural 3 - I.
Freedom Trail: Faneuil Hall
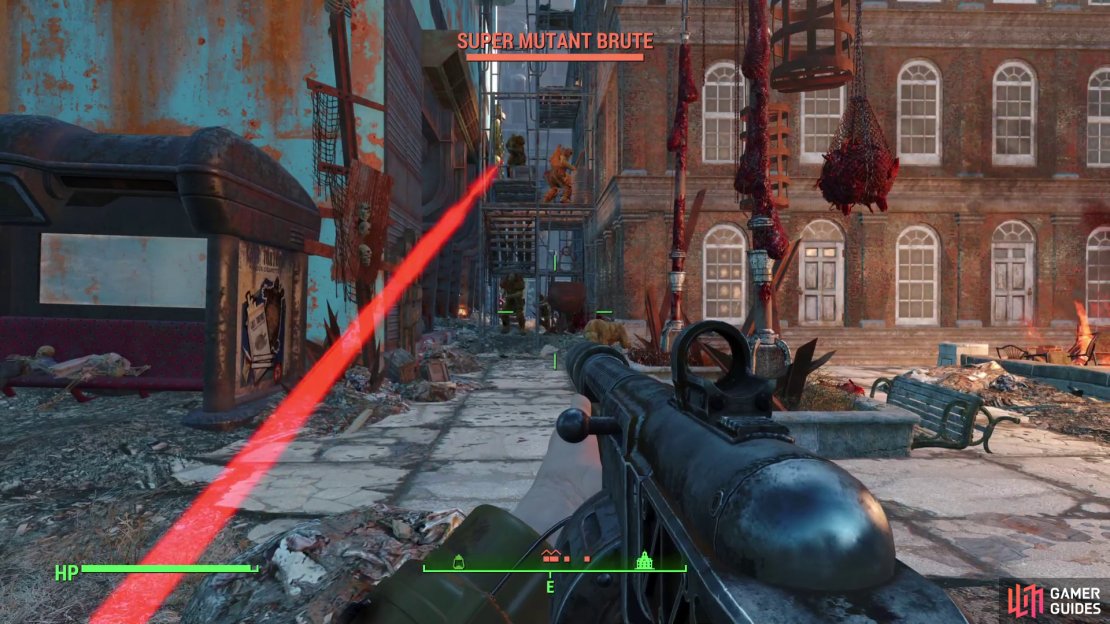
The next leg of the Freedom Trail is the most difficult, as it’ll take you through some rather dangerous territory. The Super Mutants and Ghouls you’ve encountered thus far haven’t exactly been a cakewalk, but they were either few in number or you could run past a lot of them. The foes up ahead are both more numerous and more dangerous.
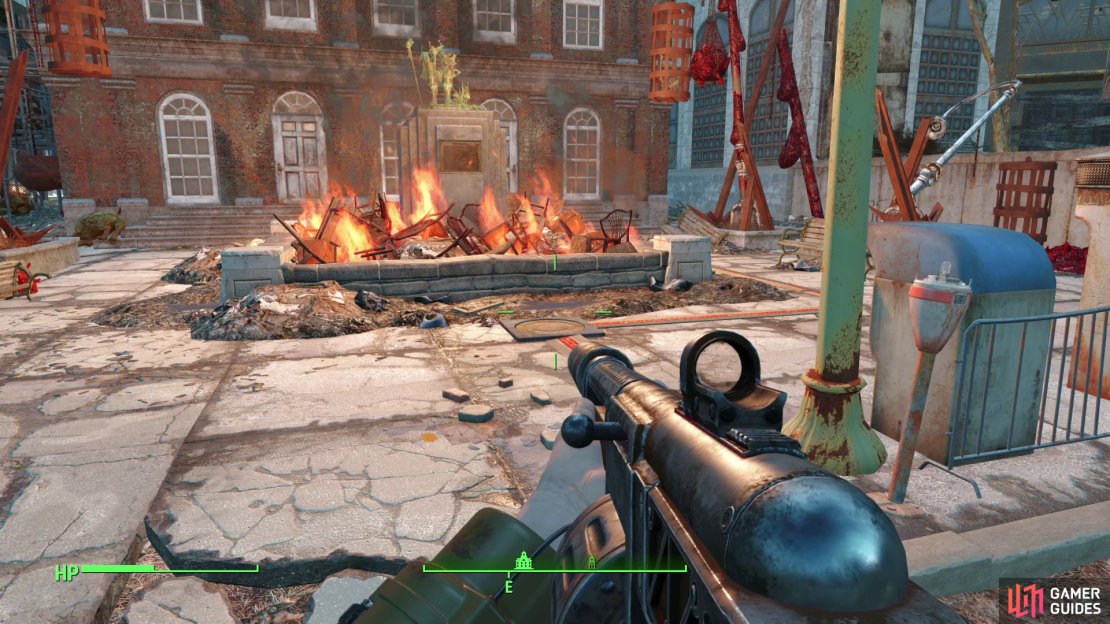
From the [Old Corner Bookstore], follow the sidewalk east, go up some stairs, then continue east and descend another flight of stairs. Ahead of you is [Faneuil Hall], a structure made more intimidating by the bonfire, Meat Bags, and cages outside - clear signs of Super Mutant inhabitation. Freedom Trail runs to the western end of this building before veering around the south side of the building.
Super Mutants dwell around this building, several along the northern side and another group along the eastern side. You’ll likely find a Suicider to the east and a Super Mutant armed with a Missile Launcher to the north. Sneaking around to the south is likely the safest bet, but the odds of you being able to avoid conflict entirely while following the Freedom Trail is slim.
Be sure to find the mural on the western end of the building to get the code 5 - R, fight through the Super Mutants, follow the trail along the southern side of the building, then turn north.
Freedom Trail: Paul Revere’s House
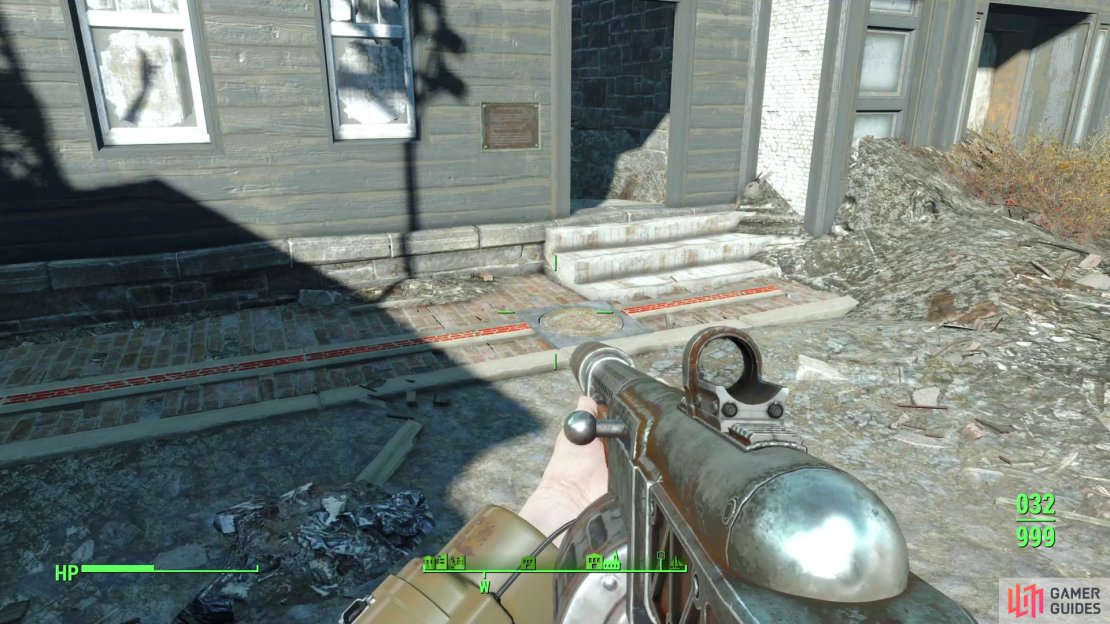
Freedom Trail now runs north along the eastern end of [Faneuil Hall] before being lost under some rubble, including a baseball advertisement. Keep heading north along the road past the obstruction and a paint trail will cross the road, leading you back to the Freedom Trail. Follow the Freedom Trail east and it’ll turn north in front of a brick house, running past a barricade. Kill the Super Mutant and its two Mutant Hounds and check out the sidewalk just north of the barricade to find another mural: 8 - D.
Freedom Trail: Old North Church
Continue following the Freedom Trial past the barricade and when the trail veers left (west, northwest), follow it to reach the back entrance to the Old North Church. This is the last stop on the Freedom Trail, in front of which you’ll find a mural with the code 1 - R.
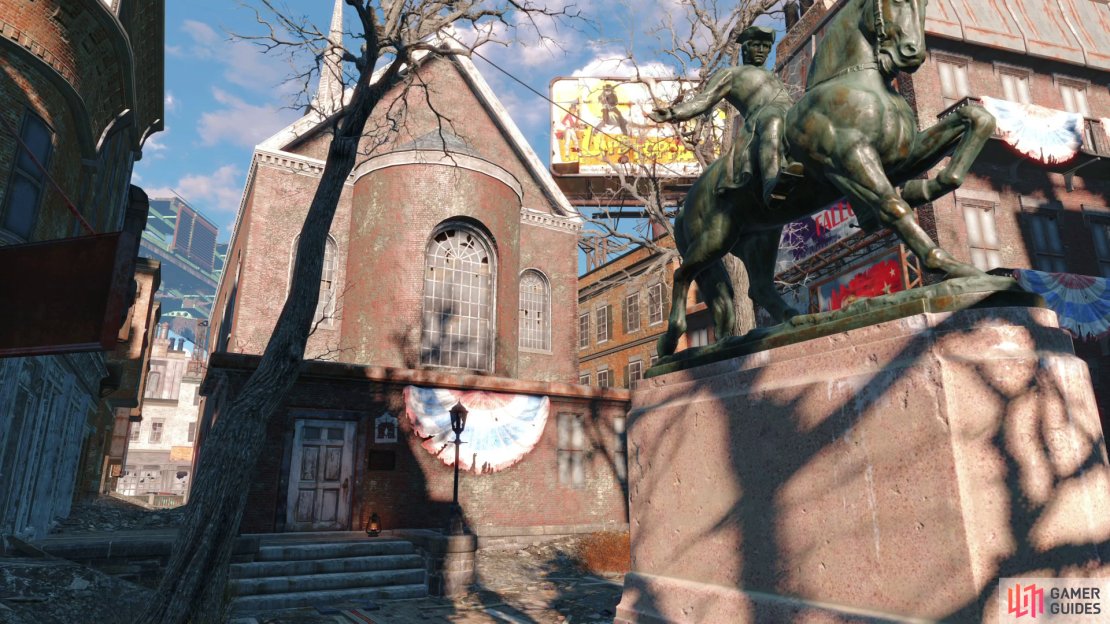
(1 of 3) The Freedom Trail will lead you to the Old North Church.
Old North Church
Enter the Old North Church, head through a hole in the wall to the west, then immediately turn right to find a doorway to the right. Go through it and continue on, descending two flights of stairs, then turn right through another door to reach the catacombs. Worm your way through the catacombs, putting down Ghouls as you go, and when you reach the end of the catacombs examine the eastern wall to find another Freedom Trail Ring.
Freedom Trail Puzzle
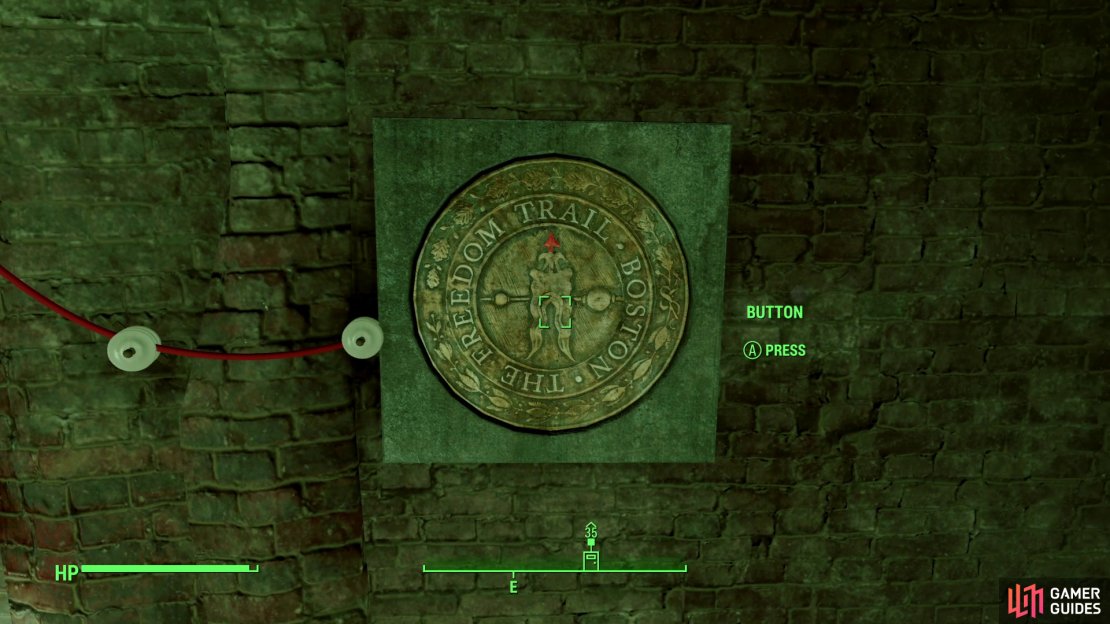
On the ring are the words “THE FREEDOM TRAIL - BOSTON”, and if you aim at the edges of the ring you’ll be prompted to spin the word ring counterclockwise (left) and clockwise (right), while selecting the center of the ring will confirm whatever letter the red arrow on the ring is pointing at. Select the letters to spell out the code and you’ll cause a section of the wall to the left to open up. The code, of course, was found on the numerous murals you found along the Freedom Trail:
| Number | Letter |
|---|---|
| 1 | R |
| 2 | A |
| 3 | I |
| 4 | L |
| 5 | R |
| 6 | O |
| 7 | A |
| 8 | D |
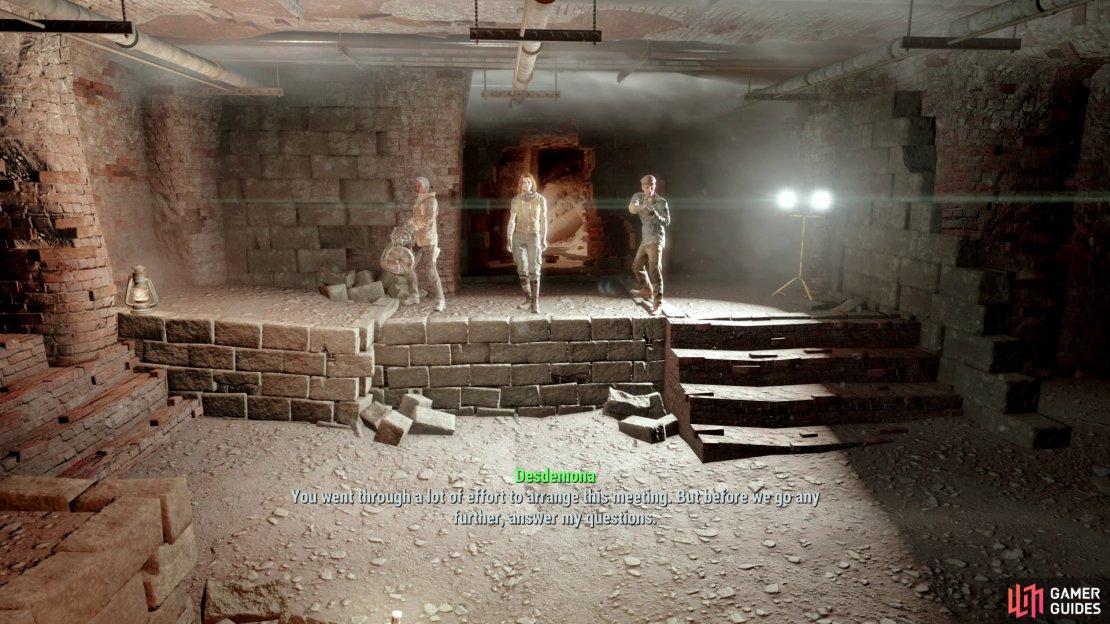
Spell out the word “RAILROAD” using only the words “FREEDOM TRAIL” on the ring mural and the wall to the left will open up. Pass through the opening and you’ll be confronted by Desdemona and some goons. Say what you will - you can attempt a hard dialog check to lie, but it doesn’t really matter what you say as long as you express a willingness to lay your life on the line for synths. This will complete the quest Road to Freedom, even if you haven’t started it yet.
The Railroad questline continues with the quest Tradecraft.
No Comments