Hey everyone, welcome back to even more Fallout 4 Goodness!
Fallout 4: Far Harbor is the THIRD DLC for Fallout 4! You can buy it from the online store for around $25, or if you happened to get the Season Pass for Fallout 4 it will be available for free. In order to follow along with this DLC walkthrough, be sure to download it.
You can tell that you have done so successfully by checking the “Add-Ons” option in Fallout 4’s main menu. If it says “Far Harbor” you are good to go!
Also, welcome back if you haven’t hung out with BK or Haeravon in a guide for awhile. It’s good to hang out with you in text-form once again! Let’s do this!
| Important Items in This Area |
|---|
| Kasumi’s Projects: Television |
| Kasumi’s Projects: Kitchen |
| Kasumi’s Projects: Lamp |
| Kasumi’s Projects: Radio |
| Kasumi’s Projects: Dreams |
| Grandfather’s Note |
| Boathouse Safe Key |
| Kasumi’s Final Holotape |
| Kasumi’s Holotape to Grandad |
Another Day on the Job for Valentines Detective Agency
Time to get this DLC started! Once you load up the game with the DLC, you will get a new quest called “Far From Home” , which just gives you the very easy instructions of “Listen to the Valentine Detective Agency Radio”.
Go ahead and tune into the radio frequency to hear Elie from the agency calling out to you to let you know you have a job. Head to Diamond City to meet with her and you’ll learn a fisherman named Kenji Nakano, a friend of Nick’s, has hired you. Note that you CAN get an easy speech check out of Elie here so equip that Charisma gear, quicksave, and pass it for the bump of easy experience. Elie suspects a kidnapping case and she’s likely right given her reasoning. Time to go pay Mr. Nakano a visit.
The Nakano Residence is in the far north-eastern corner of the map. It’s recommended that you explore the area naturally first of course, as the town of Salem is nearby and you can get some quests that take you up here as well (such as the “The Secret of Cabot House” questline, which takes you up that way). The closest spot is “Mahkra Fishpacking”, so let’s head there to start our journey. If you don’t have that, just head to “Parsons State Insane Asylum” and head northeast.
From “Mahkra Fishpacking” head west past the bridge, watching out for a possible Mirelurk Queen to the south (engage as you wish… this fight might just get you used to combat again, if you’ve been taking a break since the last DLC!). After crossing the bridge, you will want to head north, up the coastline. Follow it up watching out for ghouls as you go (we found a Glowing One on the way upwards… stuck on a piece of wood and unwilling to get off to come at us! Ha!). Soon you will be at the “Nakano Residence” where Kenji will tell you to come inside.
The Curious Case of the Missing Fishermans Daughter…
Head inside and put on your Charisma gear, then talk to Kenji. Kenji will have a moderate speech check here if you ask him about how he knows Nick, which causes Nick to remember (really Nick… guy takes a bullet for you and you can’t remember him!?!).
Listen to Kenji’s story and sure enough, his daughter Kasumi has ran away. At least… so he believes. His wife, Rei thinks she just left to be her own person. Either way, if you wish you can ask for Caps before accepting the case which means haggling opportunities. Here you can pass two moderate speech checks and a hard speech check to up your pay from 350 Caps, to 400 Caps, to a max of 500 Caps for passing the hard speech check. Do so if you wish. Or just accept the case because you’re a swell guy. You are, right? Right? Fine, take the money… either wall, you’ll now be tasked to “Investigate the Nanako Residence”.
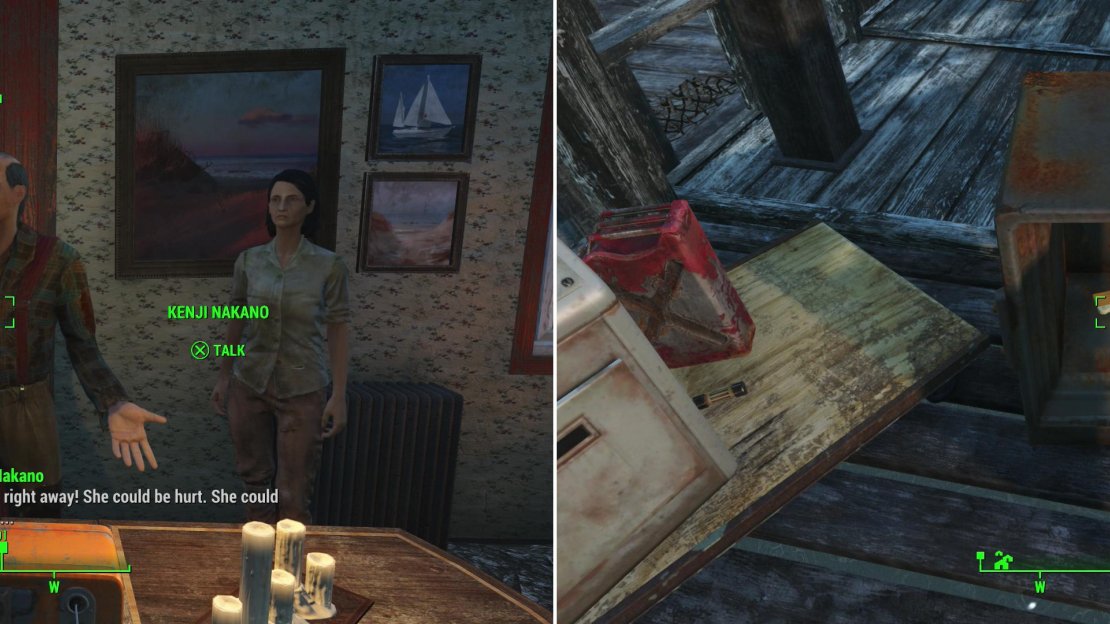
Head over to the Nanako Residence, where two parents will ask you to find their missing child (left). Search the safe in the boathouse to find out where Kasumi went (right).
Part of your investigation means gleaning more info from Kenji and Rei. Talk to Kenji first and ask him everything you can. You’ll learn about Kasumi’s Grandfather here as well. Next up is Rei. She actually has a moderate speech check, so your Charisma Gear will come in handy. Once you are done talking to both of them you’ll be told to “Investigate the Boathouse”. You’re not done with the main house though! Time to investigate proper!
First, check the TV by the door for the holotape “Kasumi’s Projects: Television” . You will find a lot of these tapes as Kasumi liked to holo-blog. Totally a real word that wasn’t just made up. On the table by Kenji is “Kasumi’s Radio”, but it is nothing but dead air. Next, check the kitchen for the “Kasumi’s Projects: Kitchen” holotape. She really wanted to explore. Head upstairs now.
On the upstairs table just past the stairs is the holotape “Kasumi’s Projects: Lamp” ,. Gotta love the lamp. Kasumi’s room is the last one on the right by the way. Kenji and Rei’s bedroom is completely unremarkable, so head to Kasumi’s room and look on her desk for the “Kasumi’s Projects: Radio” tape. Next up, look under her bed for the “Kasumi’s Projects: Dreams” tape. Be sure to give that one a listen, it should REALLY make you wonder how she was, um… born.
That’s it for the house, so let’s head to the boathouse, which is a bit north. Be sure to check out Kenji’s docked boat as well. Looks automated, right? Plus cats! In the boathouse, head to the back to find a safe with “Grandfather’s Note” . Sounds like a clue when he says “picture where the key is”. It very much is! However, you can ignore that completely if you wish and just pick this [Expert] level safe. If you don’t have the picking skills though, you can head to the front of the boathouse and check the desk. Here you’ll see a somewhat out-of-place picture that you can examine, which is weird but nets you the “Boathouse Safe Key” . Use that to get into the safe and inside you’ll find “Kasumi’s Final Holotape” . Listen to this one as well for sure (part of the objectives) and you’ll figure out where Kasumi went.
Head back to Kenji and Rei to have a chat with them. This can include whether or not Kasumi is, um… human or not, but no matter what it means that you have to make a trip up north to Far Harbor and look for Kasumi the runaway, which the game agrees by telling us to “Travel to Far Harbor”. Agree to take Kenji’s boat and you’ll be set, and he’ll reward you… even if you didn’t ask for anything!
| Objective | Reward |
|---|---|
| For finding out where Kasumi went | 300 - 500 Caps |
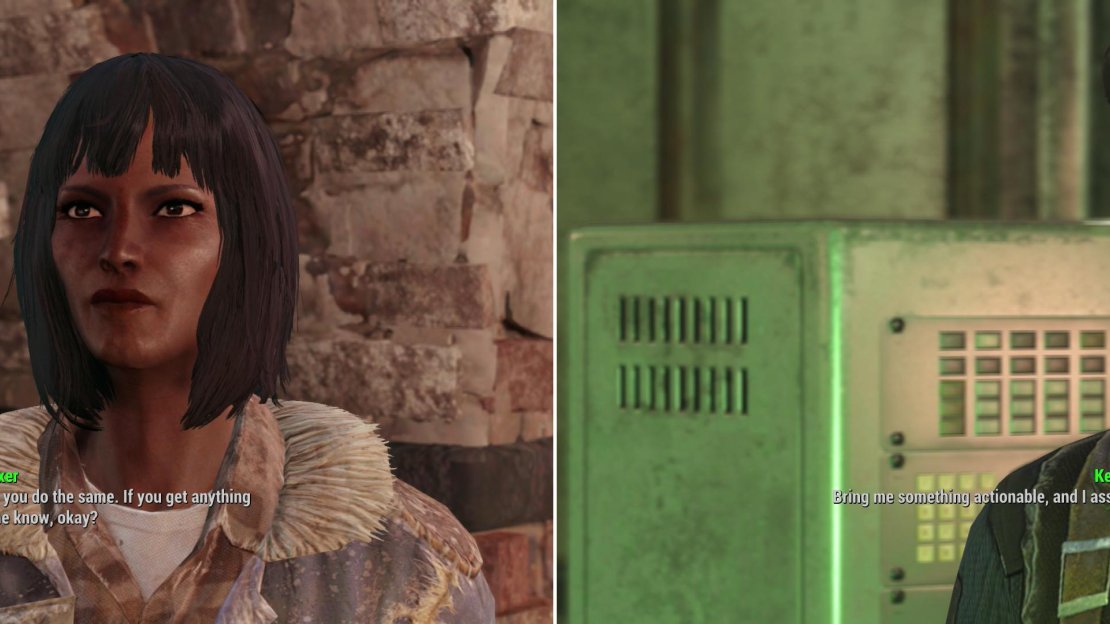
Tell the Railroad (left) or the Brotherhood of Steel (right) about the supposed Synth colony up north, and they’ll respond as their ideology demands.
Railroad
If you do choose to tell the Railroad, just travel to their HQ and talk to a woman named “Boxer”. She’ll tell you that she doesn’t have a branch up there but to keep her in the loop with any info that you dig up.
Brotherhood of Steel
Talk to Lancer Captain Kells and tell him about your lead and he’ll just tell you to get “actionable” information (after complaining about having to search for Synths outside of the Commonwealth), after which he intends to deal with the situation. Knowing the Brotherhood, that probably means Power Armor, Miniguns, and not a good day for any Synths.
Before you run off anywhere, head out of the house and make your way up a rocky ledge to the west to find a grave, on which you’ll find “Kasumi’s Holotape to Grandad” , which is worth a listen. Once done, go ahead and travel to Far Harbor now, which means getting in Kenji’s boat and well… just letting it do its thing. You’re on your way to rescue Kasumi! Once the screen loading is done, you’ll gain the “Far From Home” trophy/achievement. Congrats!


No Comments