
Walkthrough for the Ticonderoga area in Fallout 4.
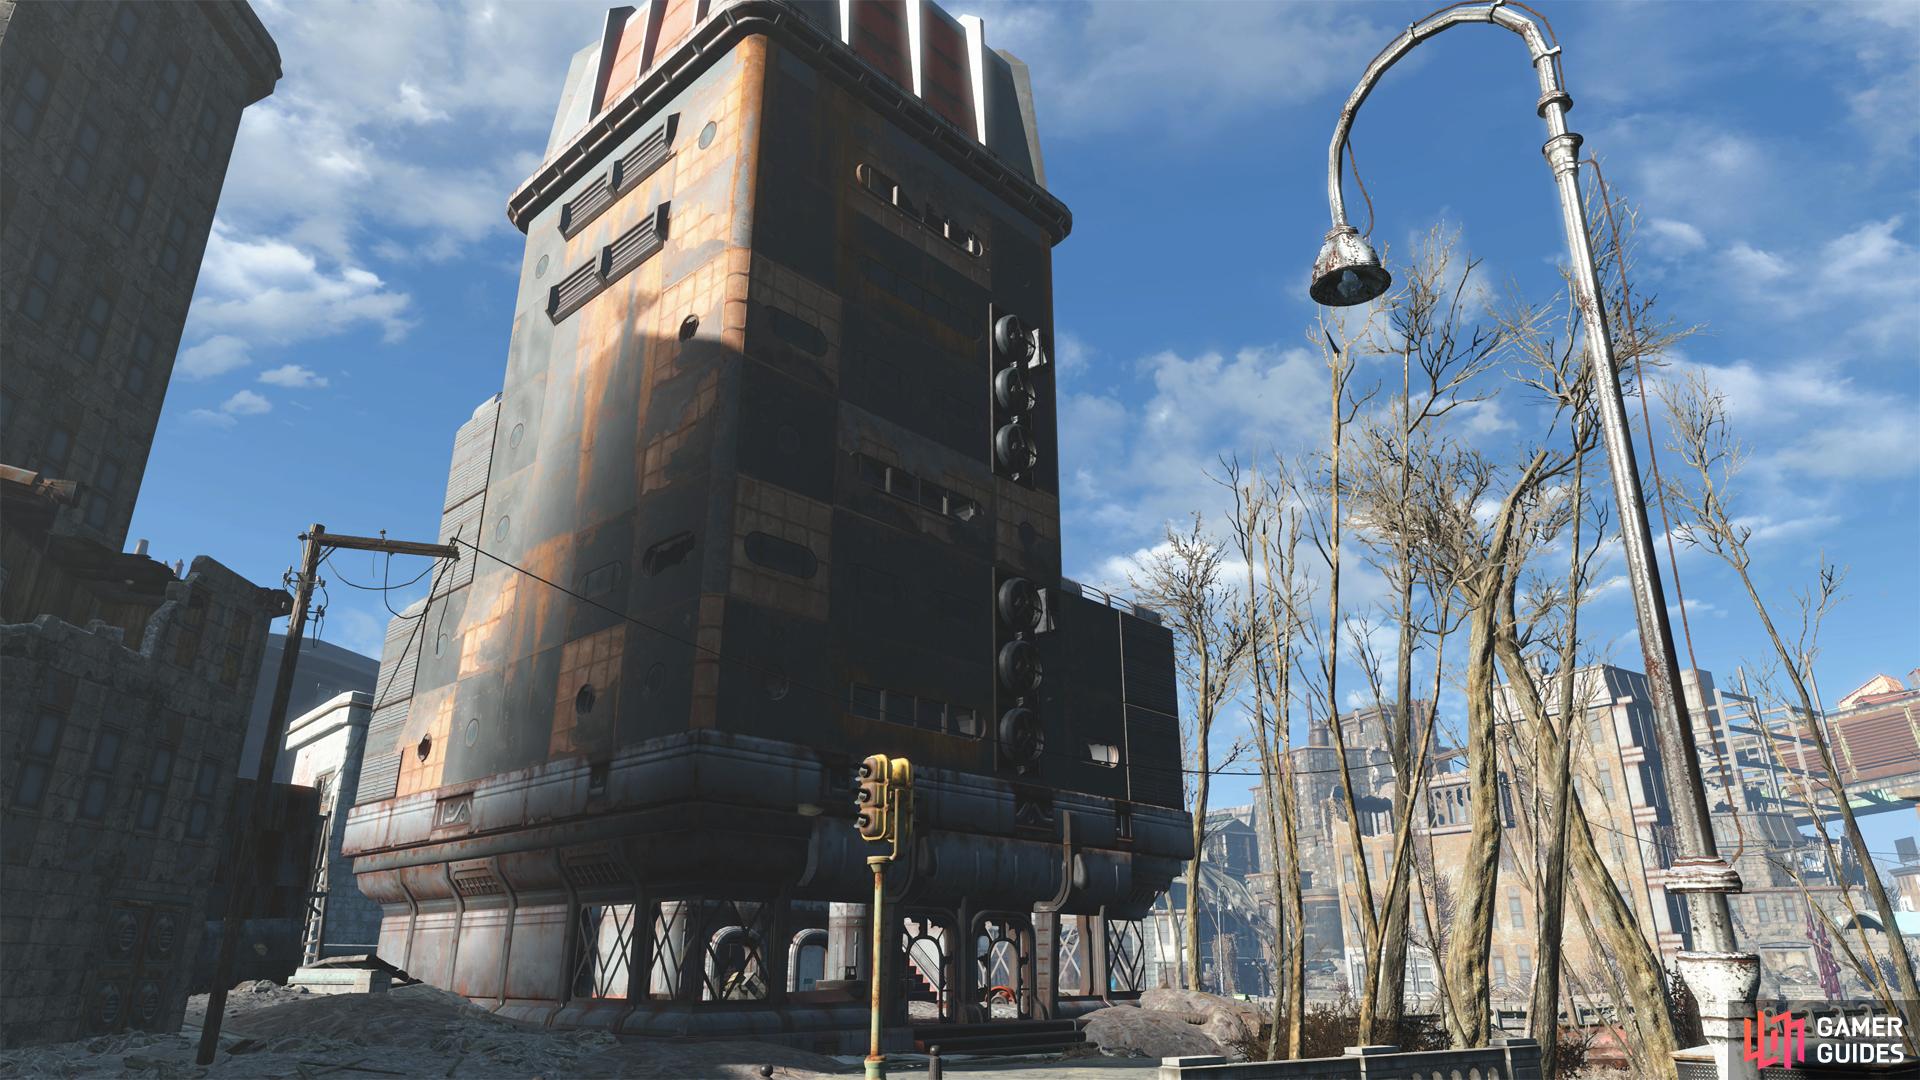
Ticonderoga safehouse.
| Important Items in This Area |
|---|
| Guns and Bullets |
Ticonderoga is an area along the southeastern edge of the Cambridge region, just south of Monsignor Plaza. In order to access this area, you must join the Railroad by completing the quests Road to Freedom, Tradecraft, after which you’ll need to complete the quest Boston After Dark. At the end of Boston After Dark you’ll find yourself at Ticonderoga as part of the aforementioned quest, whereupon you’ll be given access.
Given that this location is a Railroad safehouse, there aren’t any enemies inside. Just a trove of loot, ripe for the taking. At first you can only enter via an elevator in the lobby (accessible via the southern side of the building), but after your first visit you can use a door up some stairs, provided you unlock it from the inside before you leave.
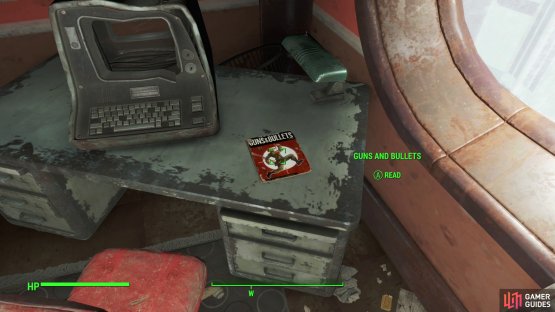

(1 of 2) On the upper floors you can find a copy of Guns and Bullets,
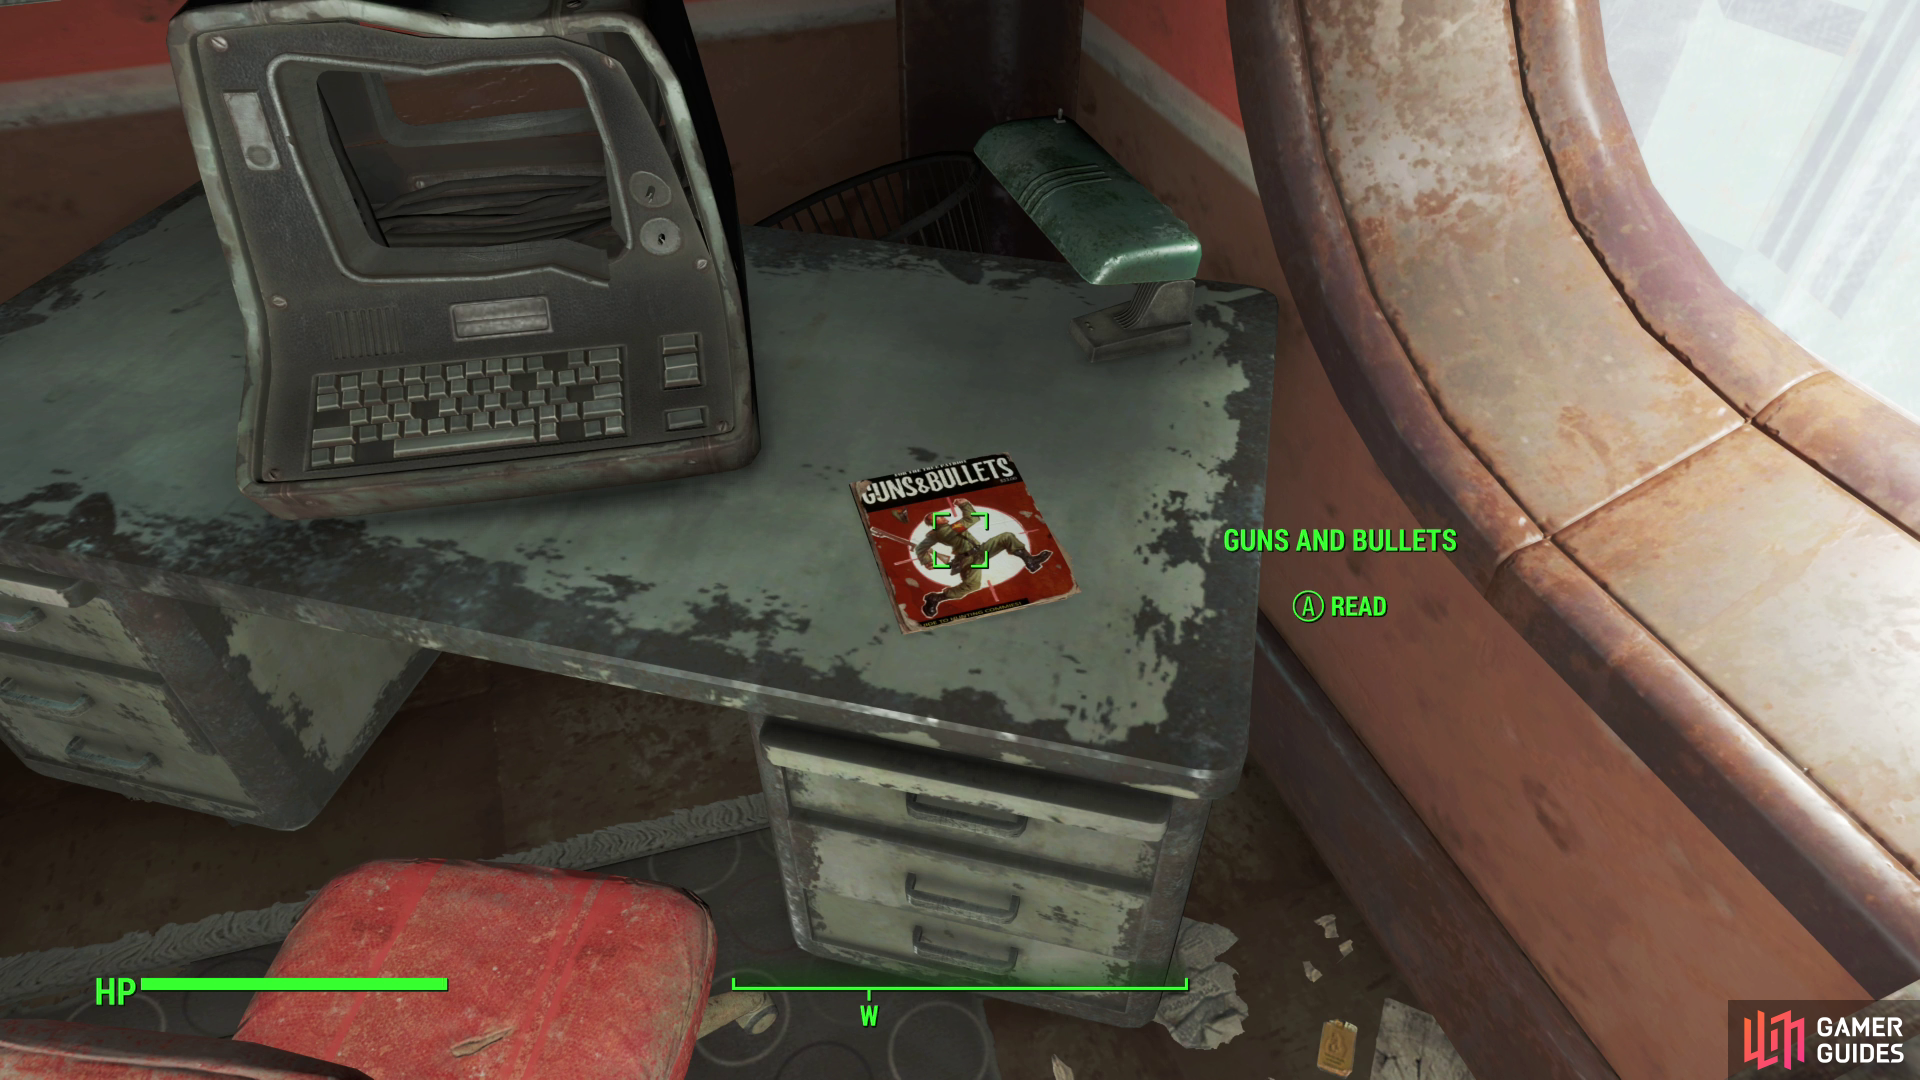
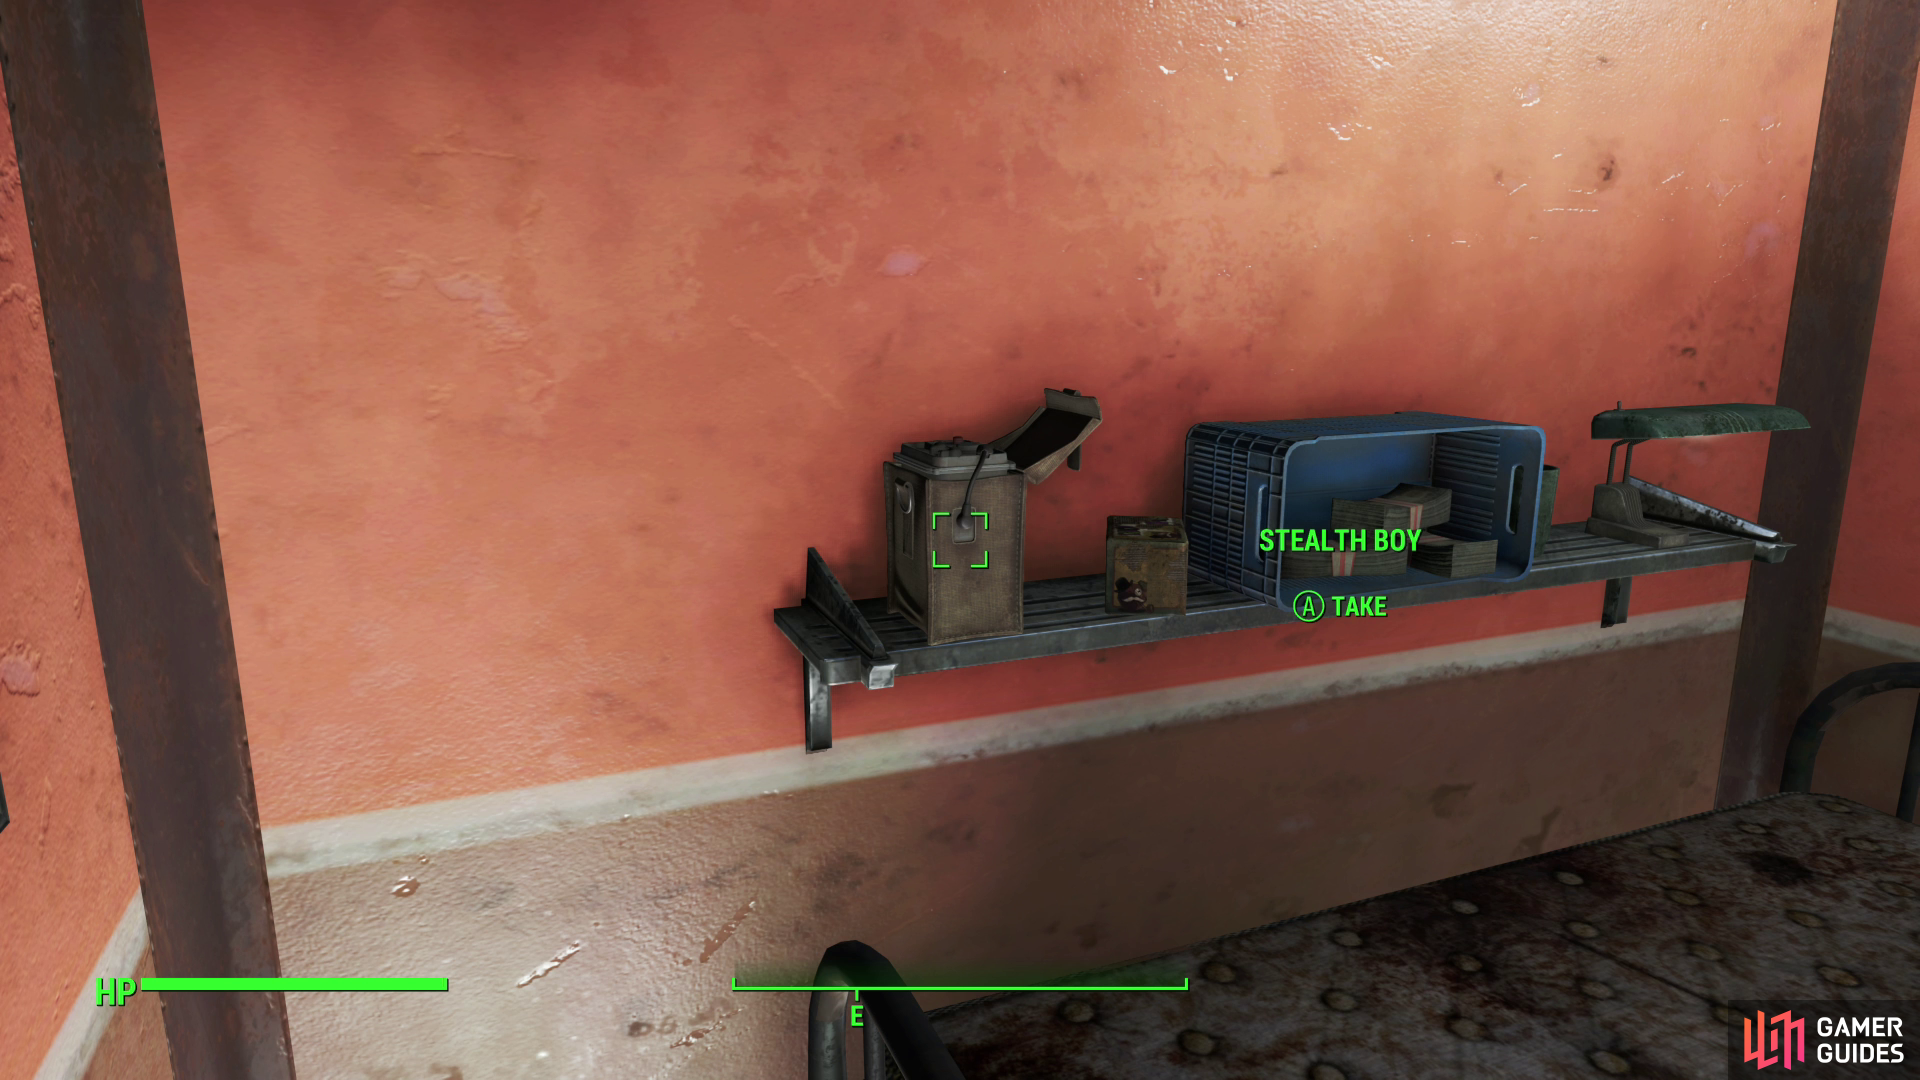
On the upper floors you can find a copy of Guns and Bullets, (left), and a Stealth Boy - the best of Ticonderoga’s loot. (right)
Exploring Ticonderoga
Enter via the elevator and you’ll find yourself in the inhabited upper floors of Ticonderoga. What the place lacks in cleanliness and structural integrity it makes up for with loot. On the inhabited upper floors you’ll run into numerous Railroad agents and rogue Synths, possibly including High Rise and H2-22, but none of them have anything particularly interesting to say.
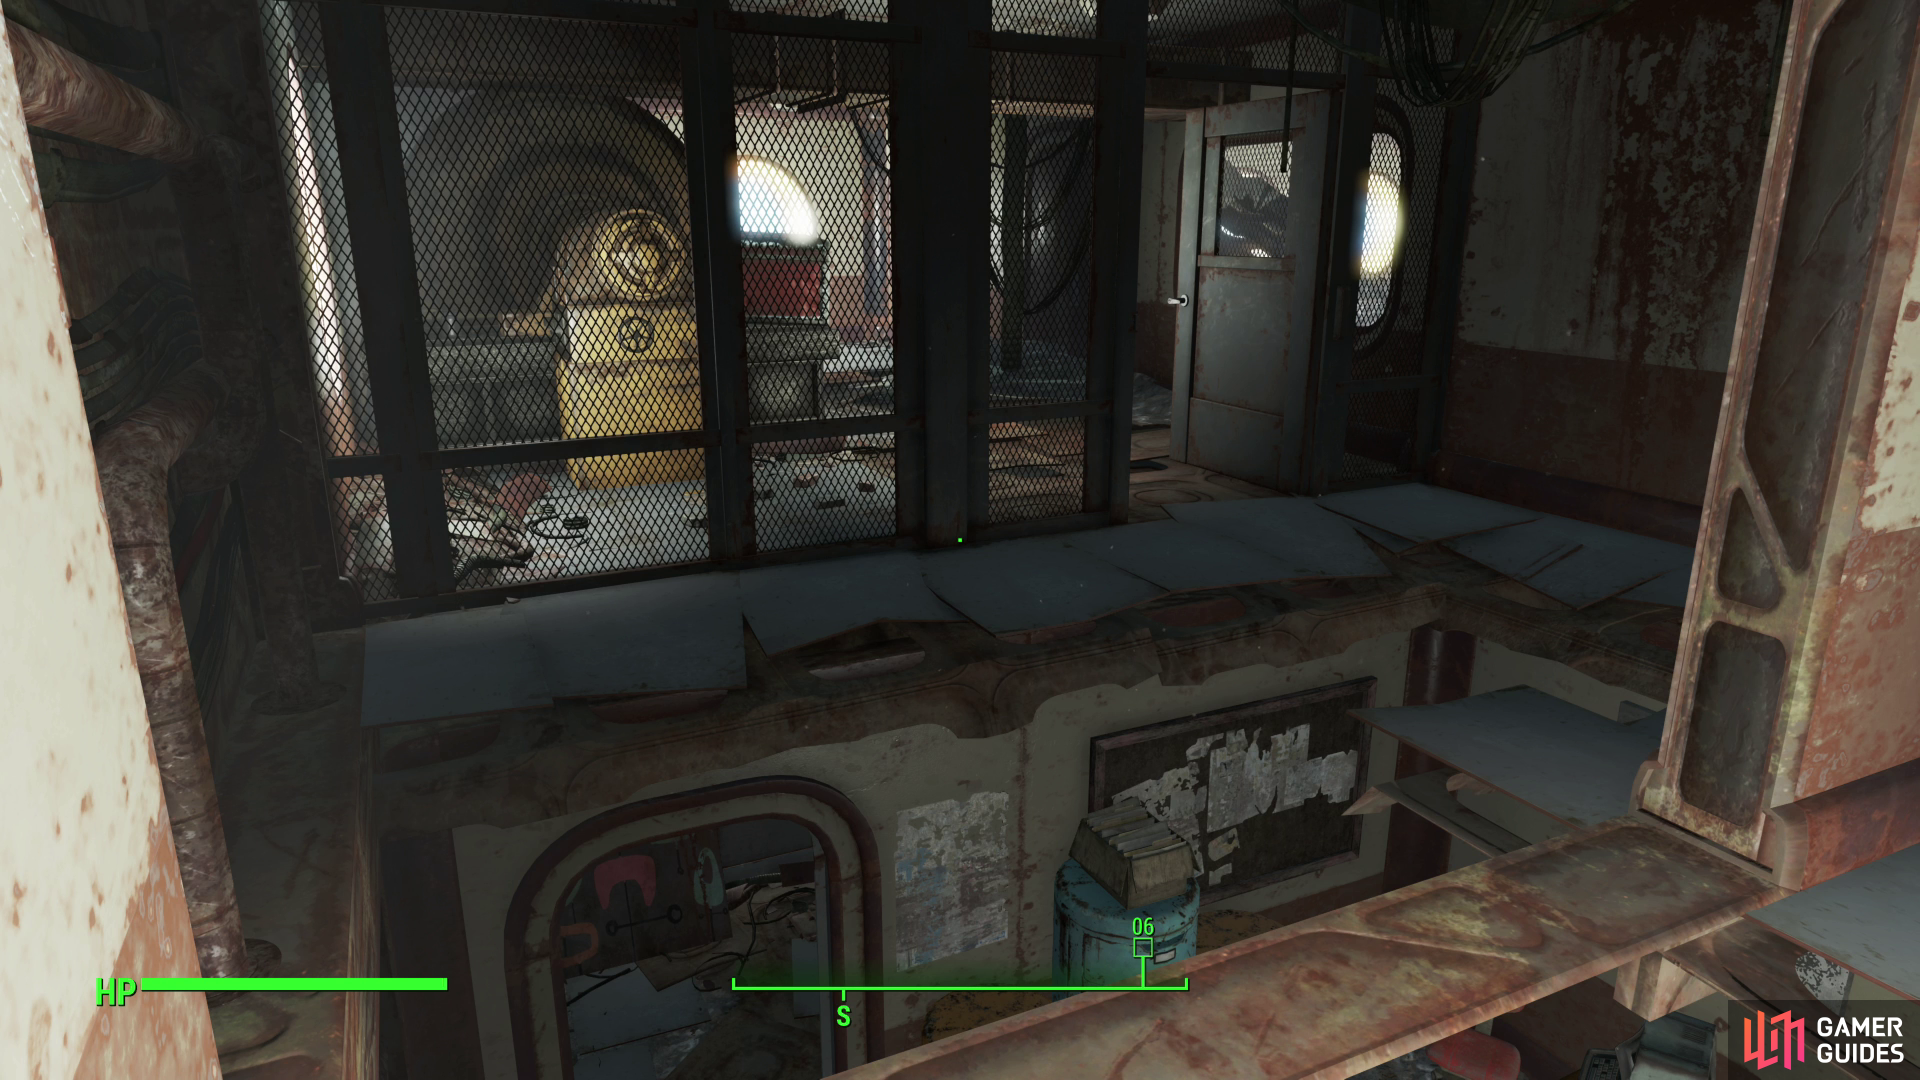
There’s plenty of scrap, food and chems floating about, not to mention beds and crafting stations for you to use as you see fit, but for quality loot head upstairs and search a room in the northwestern corner of the floor to find an issue of Guns and Bullets. Across the hall, in a room with an owned Terminal [Expert] (contains High Rise’s correspondence and business musings, for what that’s worth), you’ll find a Stealth Boy on a shelf over a bed.
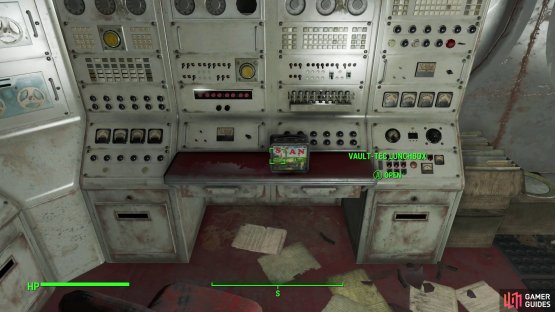

(1 of 2) In a room with a dormant Protectron you’ll find a Vault-Tec Lunchbox,
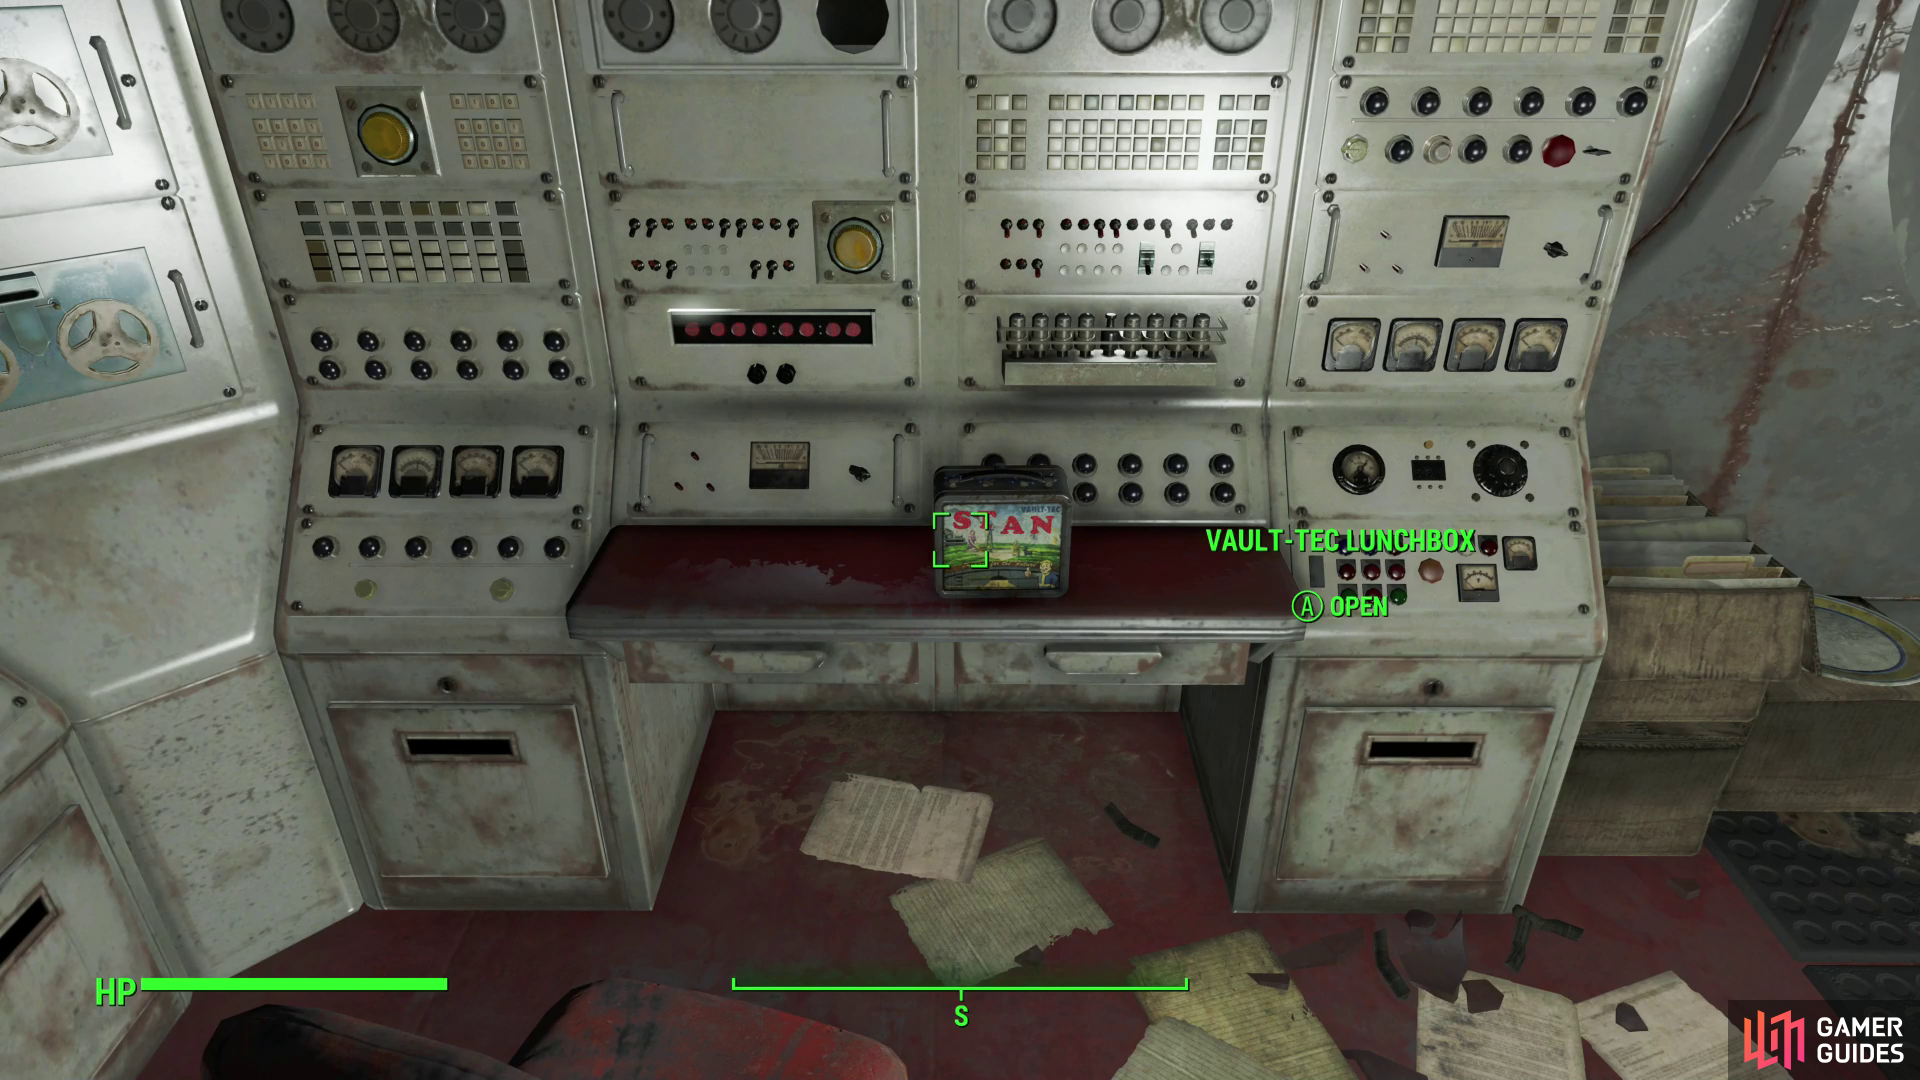
In a room with a dormant Protectron you’ll find a Vault-Tec Lunchbox, (left), while under the nearby stairs are some Nuka-Cola Quantums. (right)
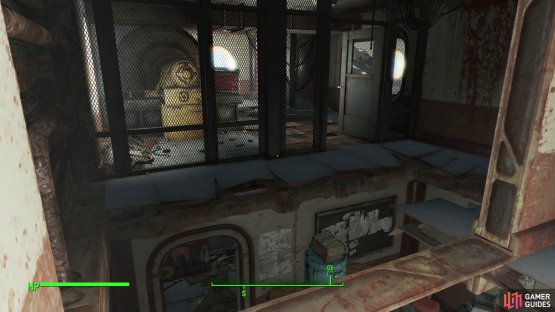
If you go down a ramp on the elevator floor you’ll be in the less structurally sound, uninhabited lower regions of Ticonderoga, which extend down quite a distance. Descend a second ramp and you’ll find two doors to the south, one leading to a storage closet, and another to a room with a Protectron you can activate, as well as a Vault-Tec Lunchbox.
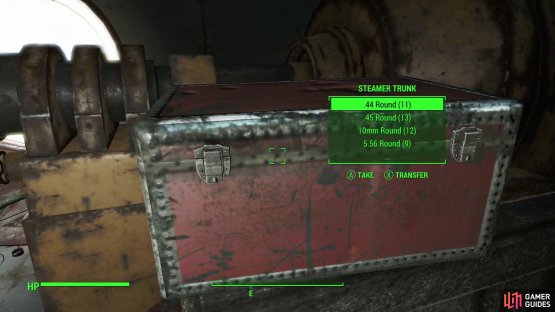
(1 of 2) Jump a gap on the lower floors,

Jump a gap on the lower floors, (left), and you’ll be able to plunder a Steamer Trunk. (right)
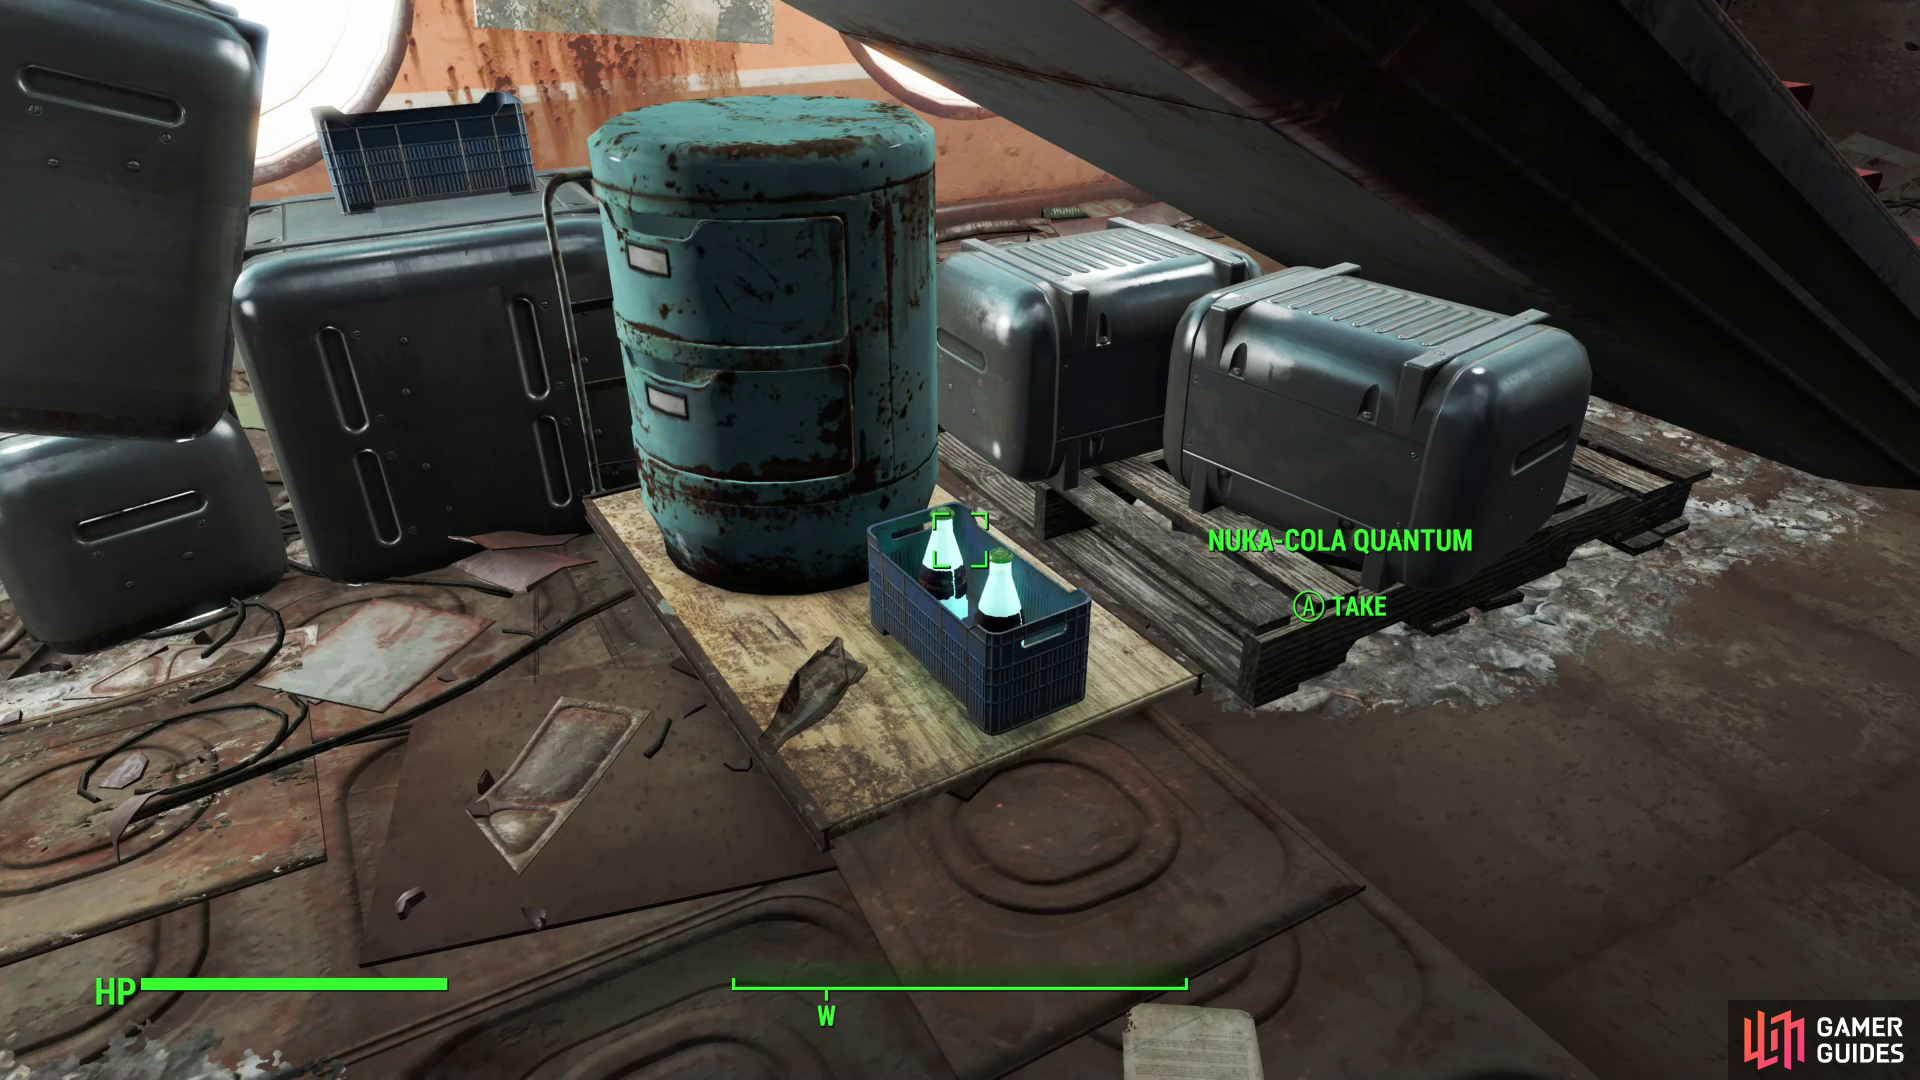
Descend some stairs and search below them to find two Nuka-Cola Quantums, then go down another ramp to reach a lower floor and look east through a window to spot a red Steamer Trunk. To get it, you’ll need to work your way around the level (west, then north, then east) to find a hole in the floor and a ramp leading down. Carefully walk around the edge of the hole in the floor, turn south, then jump a gap to reach the room with the Steamer Trunk inside. Once done, go down the ramp or drop through one of the holes in the floor to reach the next - and lowest - interior level of Ticonderoga.
Grab whatever scrap interests you as you work your way south, west, then north, whereupon you’ll find a Terminal, which you can use to unlock the door to the lobby of Ticonderoga. In a room to the west you can find a Safe [Expert] along with a terminal [Expert] which unlocks said Safe. Pick your poison and enjoy the loot.
No Comments