
Walkthrough for the Monsignor Plaza area in Fallout 4.
Monsignor Plaza can be found along the southeastern edge of the Cambridge, east of [Cambridge Crater] and southwest from the Super Mutant Skyscraper area. It would normally be somewhat easy to spot from the Raiders prowling around the exterior, but the whole region is foul with these malcontents.
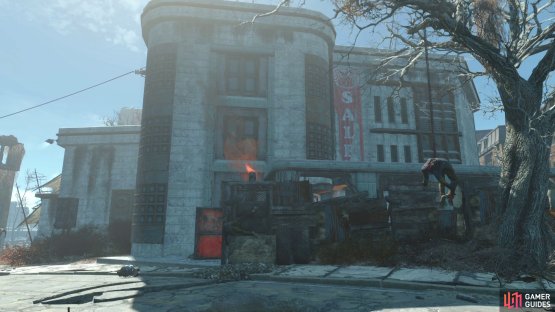
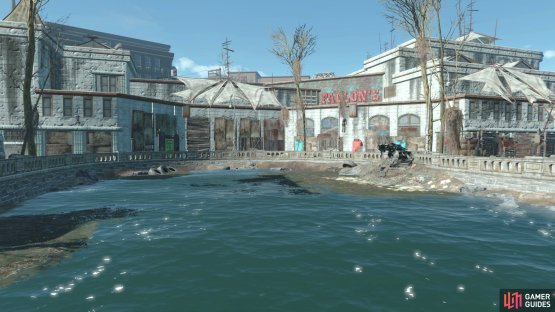
(1 of 2) Monsignor Plaza seen from the north.


Monsignor Plaza seen from the north. (left), Monsignor Plaza seen from the south. (right)
There are three entrances: if you follow the road along the river east, then northeast from [Greenetech Genetics] (passing through the [Cambridge Apartments Raider Stronghold] area as you go) you’ll find a short bridge spanning an inlet. A green side door into Monsignor Plaza can be found northwest of this bridge, just follow the railing enclosing the inlet and be mindful of the odd Raider and several Frag Mines as you explore.
A second entrance can be found near the previous one. From the green door between the inlet and the southern end of Monsignor Plaza, make your way southeast, then turn right (southwest) to find a locked [Expert] blue door. Obviously without some points invested into Locksmith, you won’t be using this door.
Another entrance can be found along the northern end of the building, you just need to be wary of a handful of Raiders and a Machinegun Turret that guard the shelter that contains the white door leading to Monsignor Plaza.
Which entrance you choose doesn’t really matter for the sake of clearing the location, so we’ll assume the northern (white door) entrance is taken.
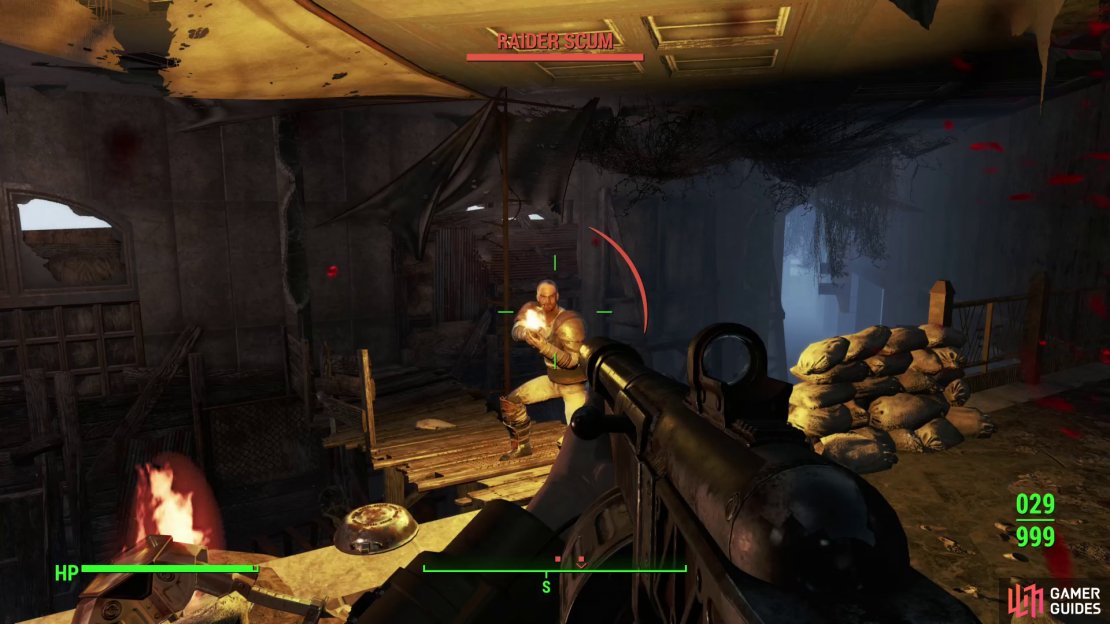
(1 of 3) Clear the lower levels, which are infested with Raiders,
Exploring Monsignor Plaza
Immediately inside you’ll be in a lobby with a fountain. There are at least half a dozen Raiders ahead, several of which can likely be dispatched at this point. Further south you’ll find more Raiders, assisted by the odd Machinegun Turret. Most of the Raiders here will be modestly leveled (expect plenty of Scum and Psychos), and thus shouldn’t present too much trouble.
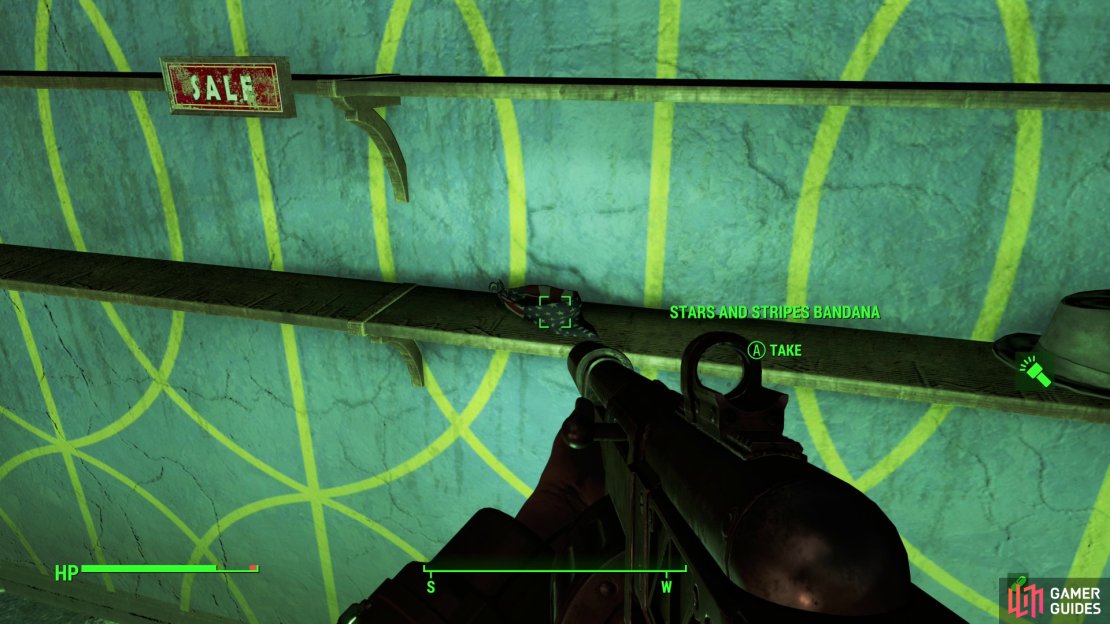
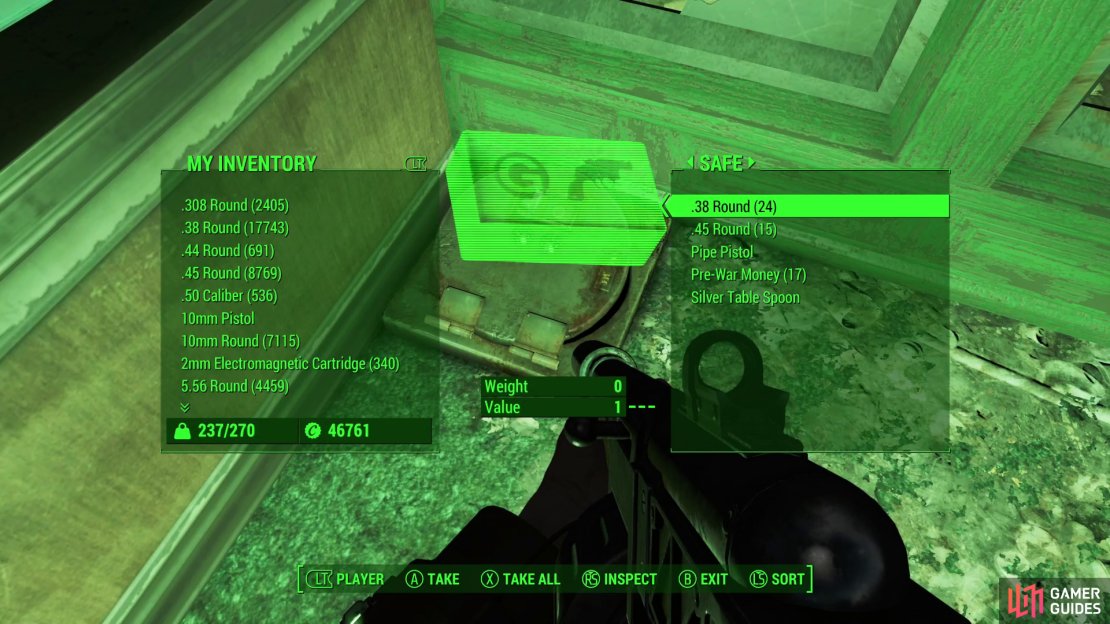
If you descend to the lower floor (to the east and south are ledges you can drop down, while to the west there’s a ruined shop with a collapsed floor-ramp you can use) you’ll find several stores. From north to south there’s a clothing store (grab the Stars and Stripes Bandanna from a shelf behind the counter if you want some faux-patriotic swag), a book store, and an appliance store. The last one features a bobby-trapped refrigerator and a floor Safe [Novice] behind the counter. At the end of this lower level you can also find a Terminal [Novice] you can use to activate a Protectron. The green door on the southern end of the building will zone you in opposite the appliance store, for what that’s worth.
On the northern end of the lower and middle floor you can find some elevators which can take you to one of the area’s four floors. The northernmost elector seems to travel between floors two (where you entered via the white door) and four, while the southernmost one stops at floors one and three. Floor three is little more than a balcony that leads to the fourth floor, and the fourth floor itself contains a robotics shop with little of interest, although you can find a door leading to the roof.
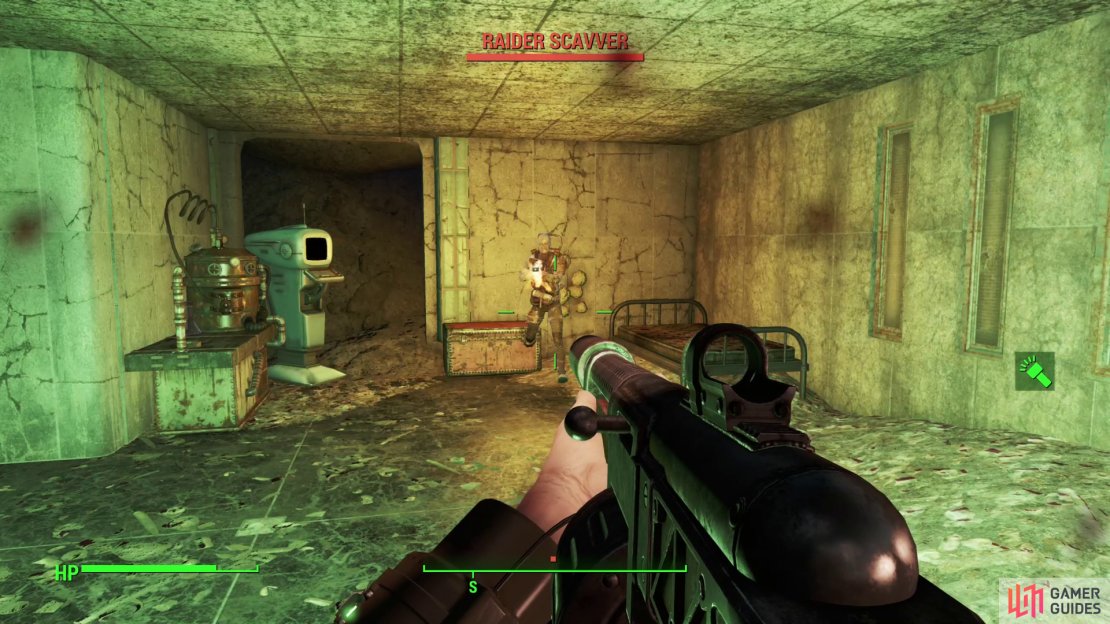
(1 of 3) On the upper floor you’ll find a ghoulified Raider - likely the highest level specimen in this zone,
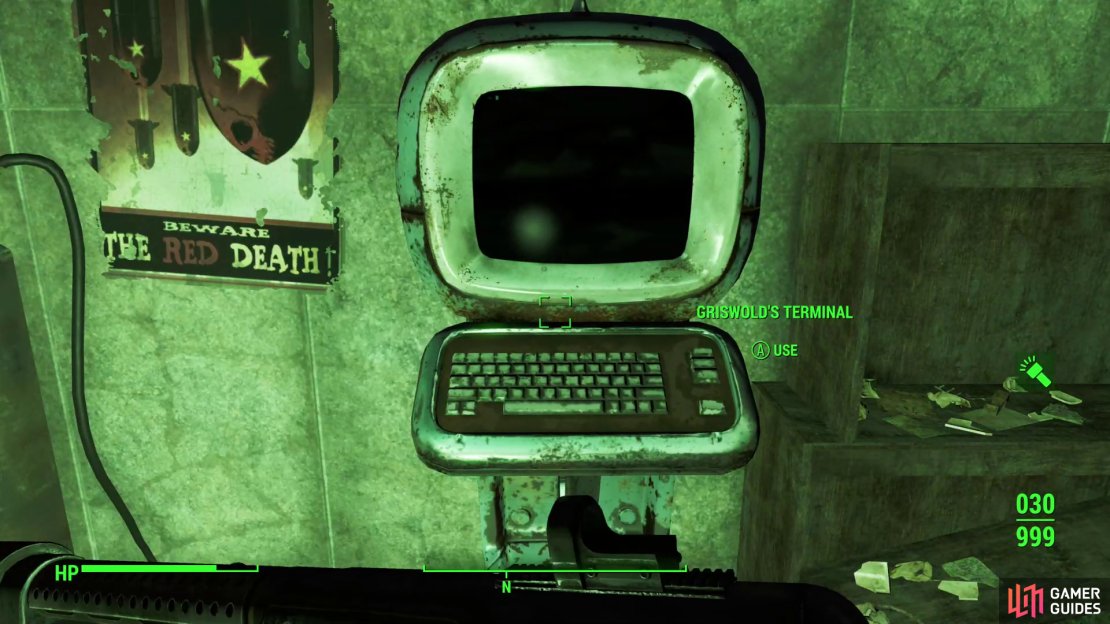
Return to the second floor and continue south past the elevators, following the walkway as it turns southwest until it leads to some stairs. Head upstairs and be wary of a ghoulified Raider down a hallway to the south, who is probably more leveled than the other Raiders in this area. Once he’s dealt with, explore a gun shop to your right (west), which is almost completely plundered save for a few scraps of ammo. You can, however, find Griswold Terminal inside, which contains the holotape Griswold’s Poetry Collection.
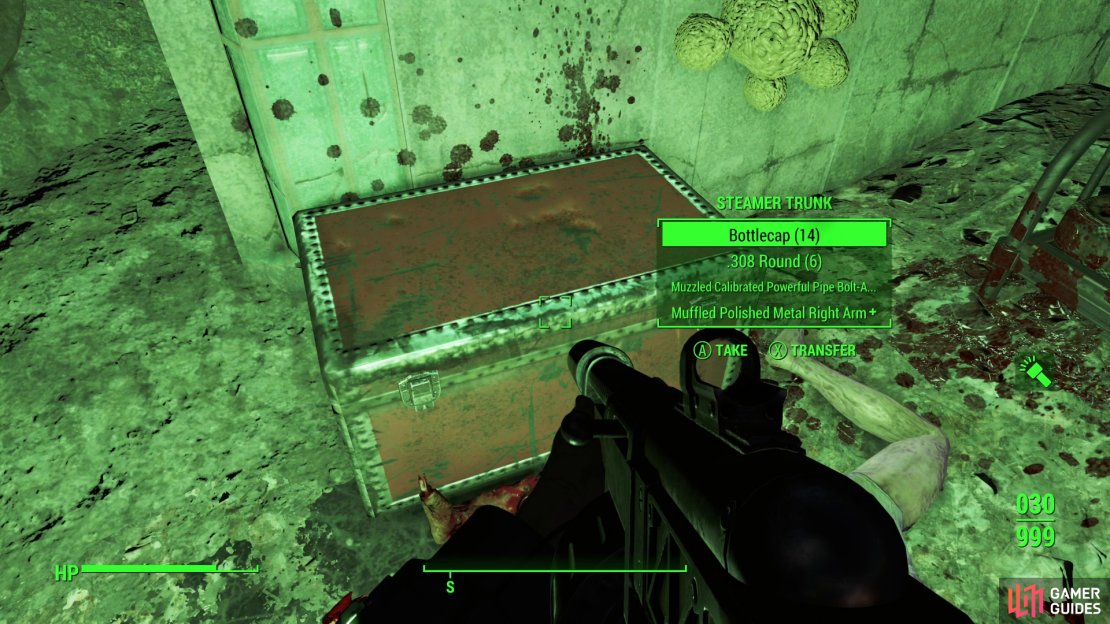
Continue south to where the ghoulified Raider dwelt and you’ll find yourself in a ruined cafe. Search the counter for the Monsignor Plaza Key, then plunder a Steamer Trunk along the southern wall. You can also read Sue’s Terminal, which serves as a terse counterpoint to Griswold’s poetry.
In the southeastern corner of the cafe you can find a door which leads to a stairwell, which in turn leads to a door on the ground floor [Expert] (opened by the Monsignor Plaza Key). This door will take you outside to the side entrance, via the blue door, just be wary as you’ll catch a spike of Rads as you descend the stairs due to some toxic barrels under the stairs. If you keep moving quickly your exposure will be limited… or you can just ignore this exit entirely.
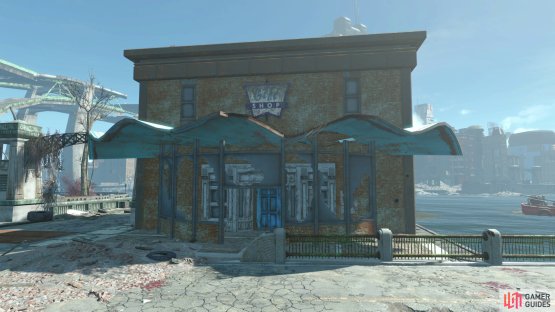
(1 of 2) You can find the Science Center Gift Shop southeast of Monsignor Plaza.


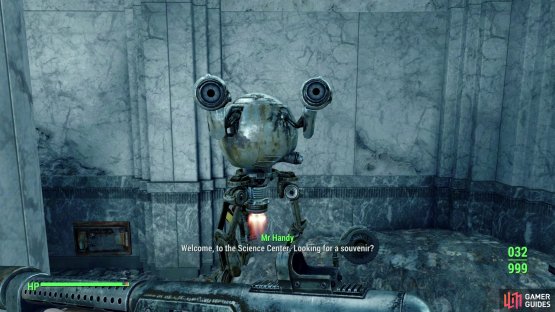
You can find the Science Center Gift Shop southeast of Monsignor Plaza. (left), Inside you’ll find a Mister Handy who isn’t letting a little apocalypse get in the way of his duties as a shopkeeper. (right)
Science Center Gift Shop
Southeast of Monsignor Plaza you’ll find a bridge spanning the river, and while its merits as a bridge are debatable, the real point of interest here is a building southwest of the bridge, the Science Center Gift Shop. While its function is clearly obsolete now, the Mr. Handy running the shop clearly doesn’t know that, and will still offer to sell you souvenirs. In this case, this mostly means junk and shipments of various resources.
Most of the items in the area are owned and will be considered stealing, but you can loot a wall Safe [Novice] behind the counter.
No Comments