If you’re in the mood for some new Fallout 4 content - especially something with a festive vibe - then All Hallows’ Eve might be the quest for you. Originally Creation Club content, this mod was formally added to Fallout 4 via its next-gen update in 2024. Featuring a prewar mystery for you to solve, this quest will reward you with several types of new headware, among other, more mundane loot. This page will provide a walkthrough for the quest “All Hallows’ Eve” in Fallout 4, including tips for solving the password puzzle.
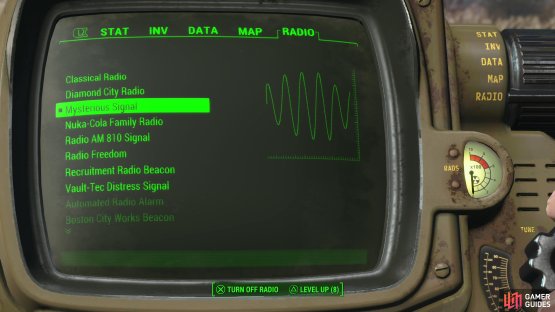
(1 of 2) Listen to the Mysterious Signal to set the Harbormaster Hotel as your target,
Listen to the Mysterious Signal to set the Harbormaster Hotel as your target, (left), but don’t expect an easy journey, as Raiders have set up a camp outside of the hotel. (right)
Listen to the Mysterious Signal
This quest should pop up after you escape Vault 111, along with many, many others. To start it, bring up your Pip-Boy and scroll over to the “Radio” tab, where you’ll need to listen to the “Mysterious Signal”. While mostly gibberish, it’ll update the quest and mark the Harbormaster Hotel as your destination, along the eastern end of Boston. It’s a short distance southeast of Goodneighbor, but there are a lot of enemies in the ruins of downtown Boston - you’ll certainly run afoul of Raiders and possibly Super Mutants on your way there.
Reach the Harbormaster Hotel
Make your way to the Harbormaster Hotel and dispatch any Raiders outside - there’s a Raider camp just outside of the hotel so your odds of getting in without a fight are slim to none - then head inside. Once you’re in, go through some double doors to the west to enter the “New England Technocrat Society”, which is where this quest takes place. Once inside, read the “Lobby Terminal” to hear about the long-suffering JPratt and his impending obsolescence. Note a locked door to the north, and when you’re ready, go through some double doors to the east.
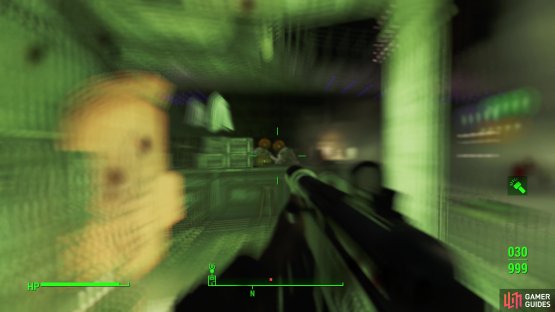
(1 of 2) When you enter the party room you’ll come under the effects of hallucinogenic gas.
When you enter the party room you’ll come under the effects of hallucinogenic gas. (left), The gas can make fighting the named Ghouls tricky, but none of them are all that strong. (right)
Survive the Feral Ghoul Attack
When you arrive you’ll start suffering from blurry/distorted vision effects, letting you know that something is awry in this place. In the gas that appears after a moment, you’ll see named Ghouls moving about - Petrovic, Bloomstein, Kawaguchi, Anderson, Mr. Wendt and Ms. Pennyworth. These will appear in phases and the gas in the room can obfuscate their approach, making this encounter seem appropriately “spooky”. Despite the appearance of some of the ghouls, none of them should be particularly dangerous. You can loot Ms. Pennyworth for a Felt Hat, unique headwear that can be enhanced with Ballistic Weave.
(1 of 6) Read a note on the ground near a skeleton to learn about the password puzzle.
Find the Password and Disable the AI
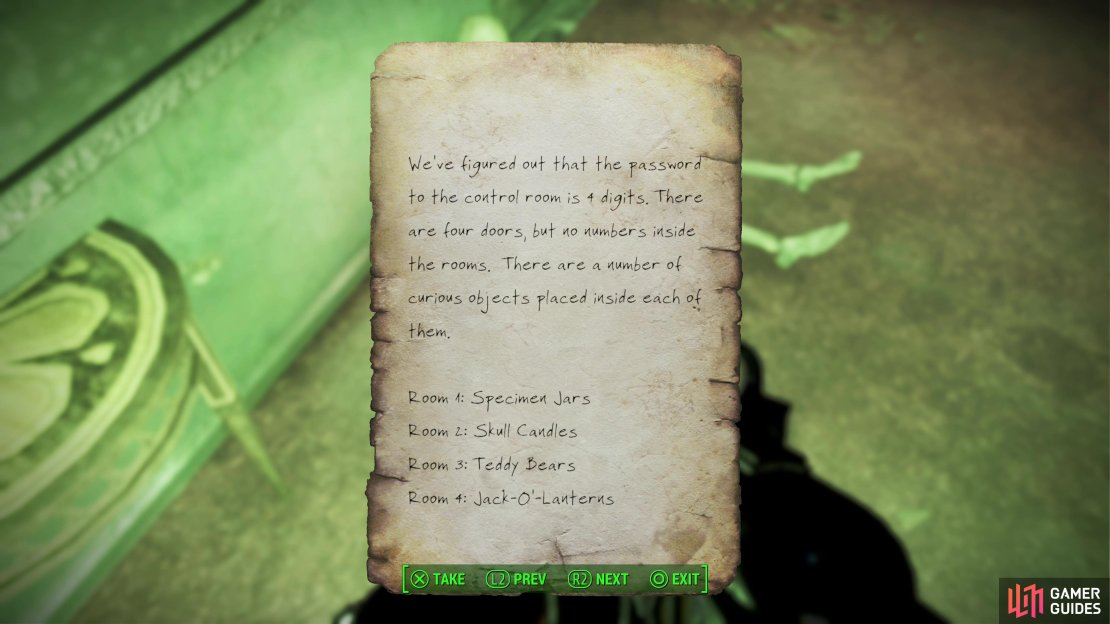
After the Ghouls are defeated you’ll need to turn off the gas by deactivating the apparently rogue AI that was put in control of the place. Search the Ghouls, then go through some doors to the south to reach a hallway. Shortly beyond the doors you’ll find a skeleton, lying on the floor, and next to it is Lana’s Notes. Read it and flip to the second page to find out that you’ll need to figure out a password to get into the control room at the end of the hallway, and because nothing can be simple, you’ll have to piece together this password via some provided clues. Essentially each of the numbered rooms in the hallway have some Halloween-themed objects inside, and the number of each of these objects corresponds to a digit in the password you need:
- Room 1: Specimen Jars
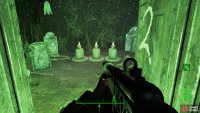
- Room 2: Skull Candles
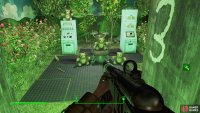
- Room 3: Teddy Bears
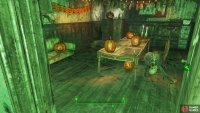
- Room 4: Jack-O’-Lanterns
Fortunately the numbered doors correspond to the order in which the code is entered - the first room has the first number, and the fourth room has the fourth number, and so on. Open each door and a quick glance should be enough to determine what the number is, as none of the objects are hidden. In fact, you shouldn’t have to even enter any of the rooms to count them all, which is good, because each of the rooms are trapped - a tesla coil in room 2, a Laser Turret in room 3, a rigged gun in room 4, etc. The Laser Turret should be the only real threat you face, but if you can’t be bothered to even open the door and count, there are four Specimen Jars, three Skull Candles, four Teddy Bears and six Jack-O’Lanterns.
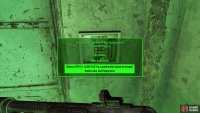
(1 of 4) Power down the AI,
Make your way to the end of the hallway and interact with the Keypad on the wall by the door, where you’ll get two options (three if you count not doing anything). First you can input the password: 4346 to open the door. You don’t even need to have bothered counting yourself, and the code is the same every time. If you can’t be bothered to enter the code, you can pick the option [Guess (PER 5+, LUCK 5)] Try a combination based on keypad button wear and fingerprints*, and if you have the required stats the door will open.
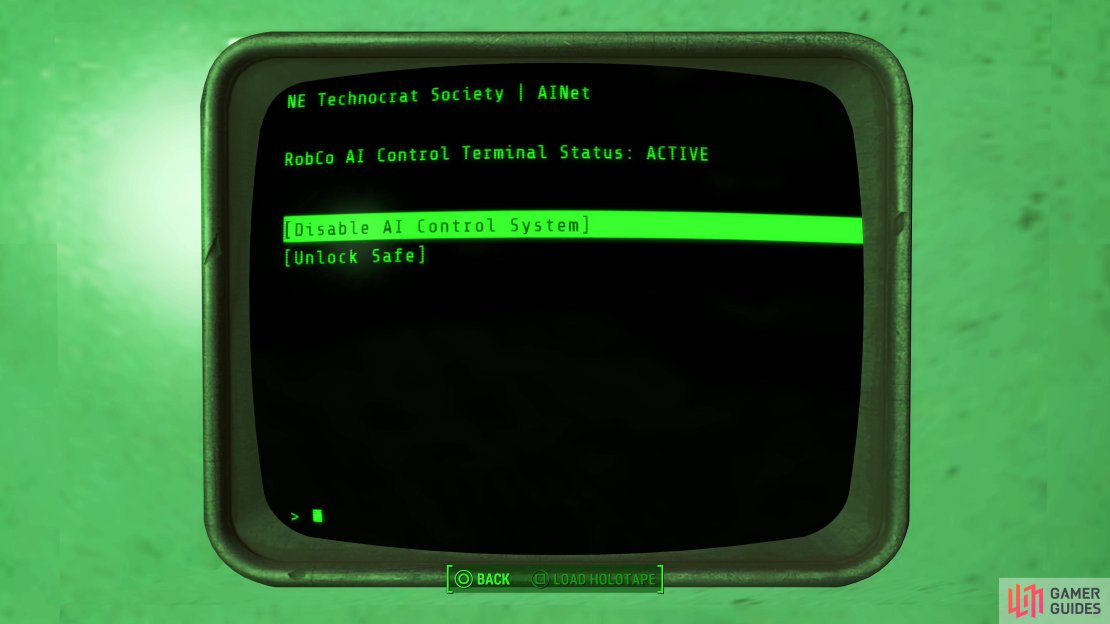
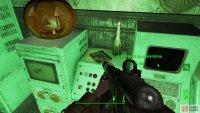
Enter the code (or guess successfully!) and the door will open. Interact with the “AI Control Terminal” and pick the option “System Controls” and then “[Disable AI Control System]” to complete the quest. Also be sure to pick “[Unlock Safe]” to get some goodies later. Read the entries if you wish to learn that you probably just saved a lot of lives, then loot the room. There’s a Picket Fences Halloween Special near the terminal you just used which will allow you to “build Halloween settlement decorations”, as well as some headwear on a dresser to the north, including some De-Capitalist Helmets and Jack O’Lantern Masks. While the safe mostly contains assorted ammo, meds and consumables, as a consolation prize there’s a Power Armor Frame standing in the corner of the room you can enter if you’ve got a Fusion Core handy. No sense in leaving it here, eh?
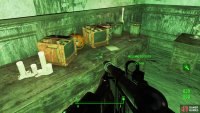
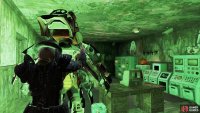
As you leave, you’ll get one more surprise, as disabling the AI apparently unleashed the Protectron mentioned in some terminal entries. Dispatch it and enter the entry room, then go through a doorway to the north to reach the maintenance room where the Protectron was stored. You’ll find some junk on the shelves if your appetite for plunder isn’t quite sated.







No Comments