
| Important Items in This Area |
|---|
| Fencebuster |
| Letter to Ezra |
| Vault 118 Overseer’s Key |
| The Dapper Gent |
Cliffs Edge Hotel
No sense putting it off any longer, let’s head over to the Cliff’s Edge Hotel and help out that poor robot, Pearl. To reach the Cliff’s Edge Hotel, just follow the road out of Far Harbor leading west (the same road you traveled along with Longfellow to reach Acadia). Keep on the road as it turns north-west, past the fork south that leads to Acadia. Shortly after an overturned truck obstructs the road you’ll spot a restaurant to the right of the road with a bright white door. The road leading uphill to the hotel is across the street, to the south.
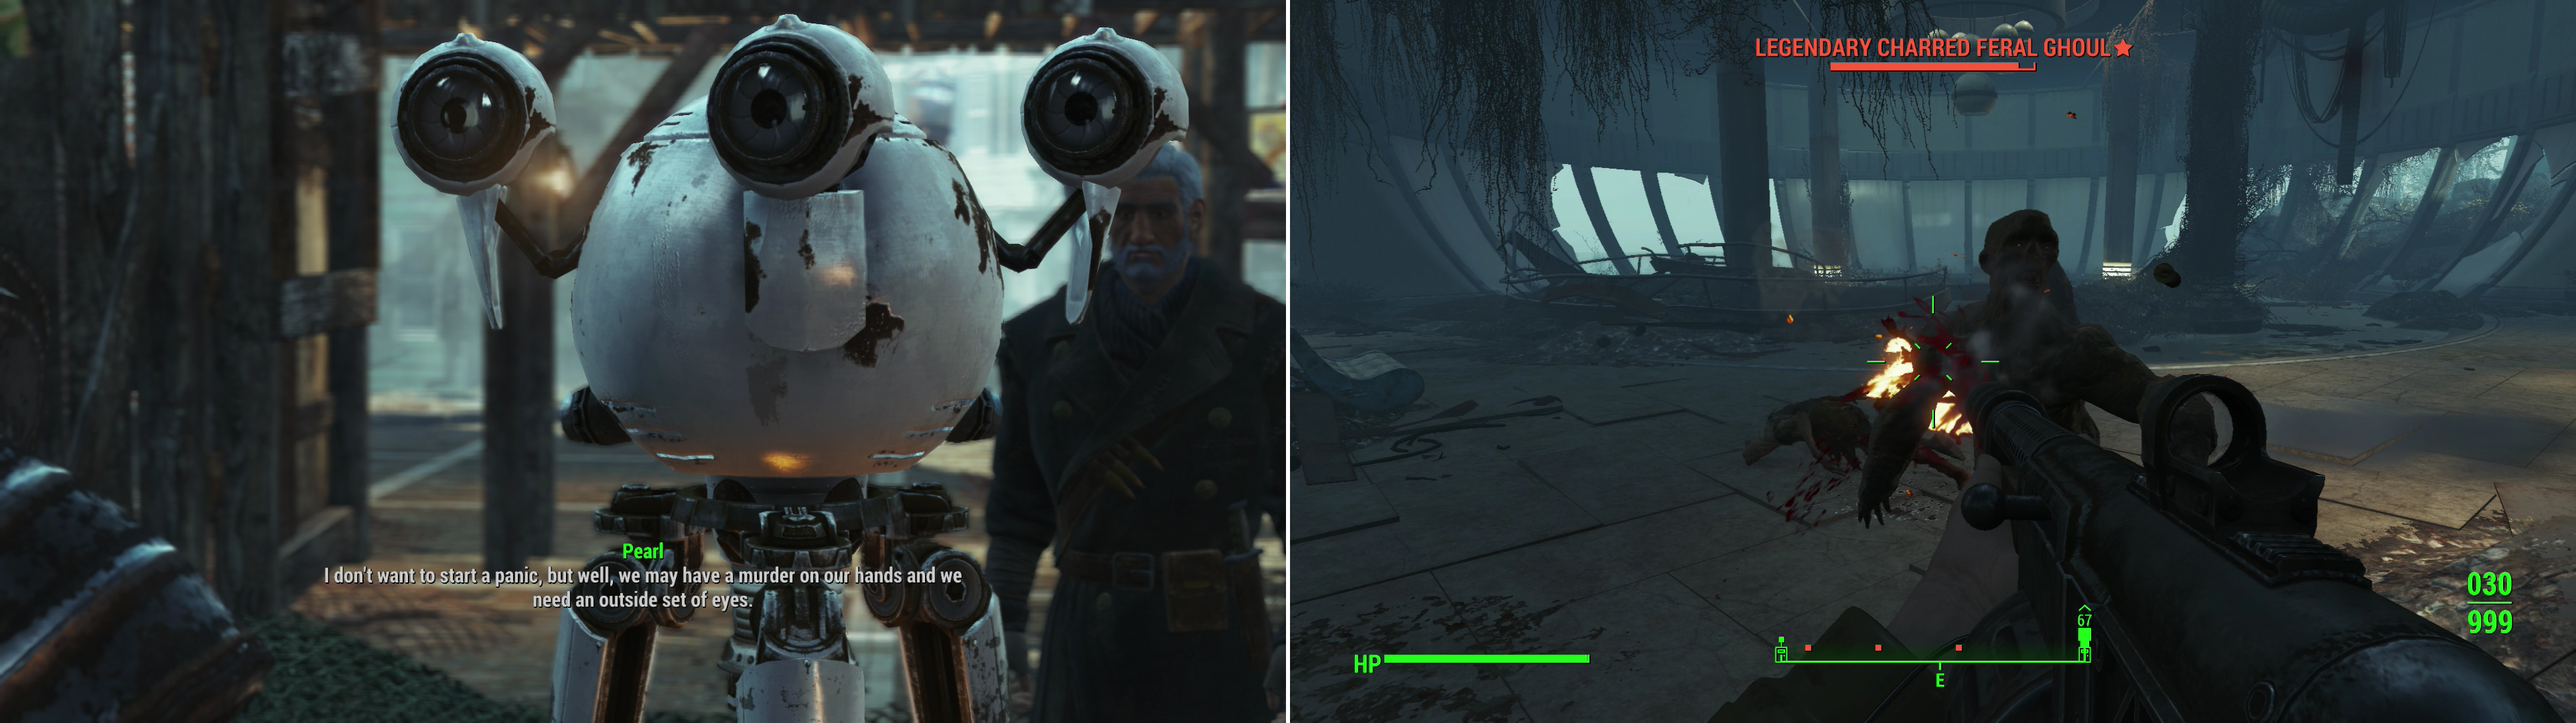
When you return to Far Harbor you may encounter the robot, Pearl, who is in need of a detective something fierce (left). The “rowdy” guests she was talking about just happen to be Feral Ghouls (right).
When you reach the hotel you’ll find Pearl waiting for your outside, who warns you of some “rowdy” hotel guests that got “handsy”. Tell her you want to look around or that you’re ready to follow her, then head into the hotel lobby to find out that Pearl’s “rowdy” guests are nothing less than Feral Ghouls. Either way, once you start fighting the Ghouls she’ll join in, and head off to the south. You, on the other hand, should turn south-east to find a counter, and beyond it a door leading into an office. Check out the “Hotel Terminal” on the pillar near the check-in counter to learn that there’s apparently a Vault on the premises… interesting. You can also pick the “[Local Attractions]” option to learn about several areas, getting the map markers for the National Park HQ, Acadia, the Aldersea Day Spa, and the Vim! Pop Factory.
Go into the office behind the counter, kill whatever Ghouls are lurking therein, then pick a locked door [Advanced] to reach a small storage room with two Metal Boxes, a Duffle Bag, a Toolbox and a Vault-Tec Lunchbox to loot. Once done, return to the counter and head south-west, then turn south-east through a doorway to reach a stairwell. Ignore the stairwell momentarily to reach a door [Novice], beyond which you can find some junk.
Moment over, time to stop ignoring the stairwell and head up to the next level, killing any Ghouls that dare harass you along the way. There’s only one way to go from here; north-west through a doorway to reach a once-lovely room, now exposed to the elements. Before rushing through the hole in the wall, however, turn north-east to find a door [Novice], beyond which waits another Ghoul. Not really worth the time, but… oh well, XP is XP!
Head out through the hole in the wall to reach a balcony, then continue north to find another, more elevated balcony which is partially collapsed, forming a ramp to the next level. The first thing you should note is another hole in the wall, which leads to an unexplored section of the hotel… which you can bypass if you continue to the end of the balcony to find another broken section of the floor above, which you can leap onto to reach the roof. But let’s ignore that and go through the hotel the way the gaming genies intended, which obviously is through the hole in the wall.
Continue east and be wary of some Feral Ghouls and some… are those caltrops on the ground? Odd. Anyways, make your way through a short hallway to reach a large room crawling with Ghouls, the remains of a cocktail lounge. Make the Ghouls dead, then head up some spiral stairs to the south, south-west to reach the upper level of the lounge, which, in typically hole-in-wall fashion leads to the roof.
Blast some more Ghouls and keep going north-west through a doorway, then go north-east down some stairs to reach another interior section of the hotel, once again crawling with Ghouls, including a leveled Glowing One. Punish them for presuming to gobble on you, then continue north-west a bit, stopping only to loot a room [Advanced] to the left if you have a care to accumulate some junk.
Follow Pearl down another flight of winding stairs, stopping to loot a First Aid Box on a landing, then down another flight of stairs. Continue south-east past a functional elevator (which will take you back up to the first floor shortly) to find Pearl waiting for you. She’ll tell you about another elevator leading down to where the good people live, which you should take down. Once in the basement, enter a laundry room to the left to score some junk, then continue through some doors to the north-west to find some Vault Door Controls. Use your magical Pip-Boy to interface with the door, whereupon a suspiciously robotic voice will inquire into your vocation. Say you’re the detective Pearl was looking for and the door to Vault 118 will open before you.
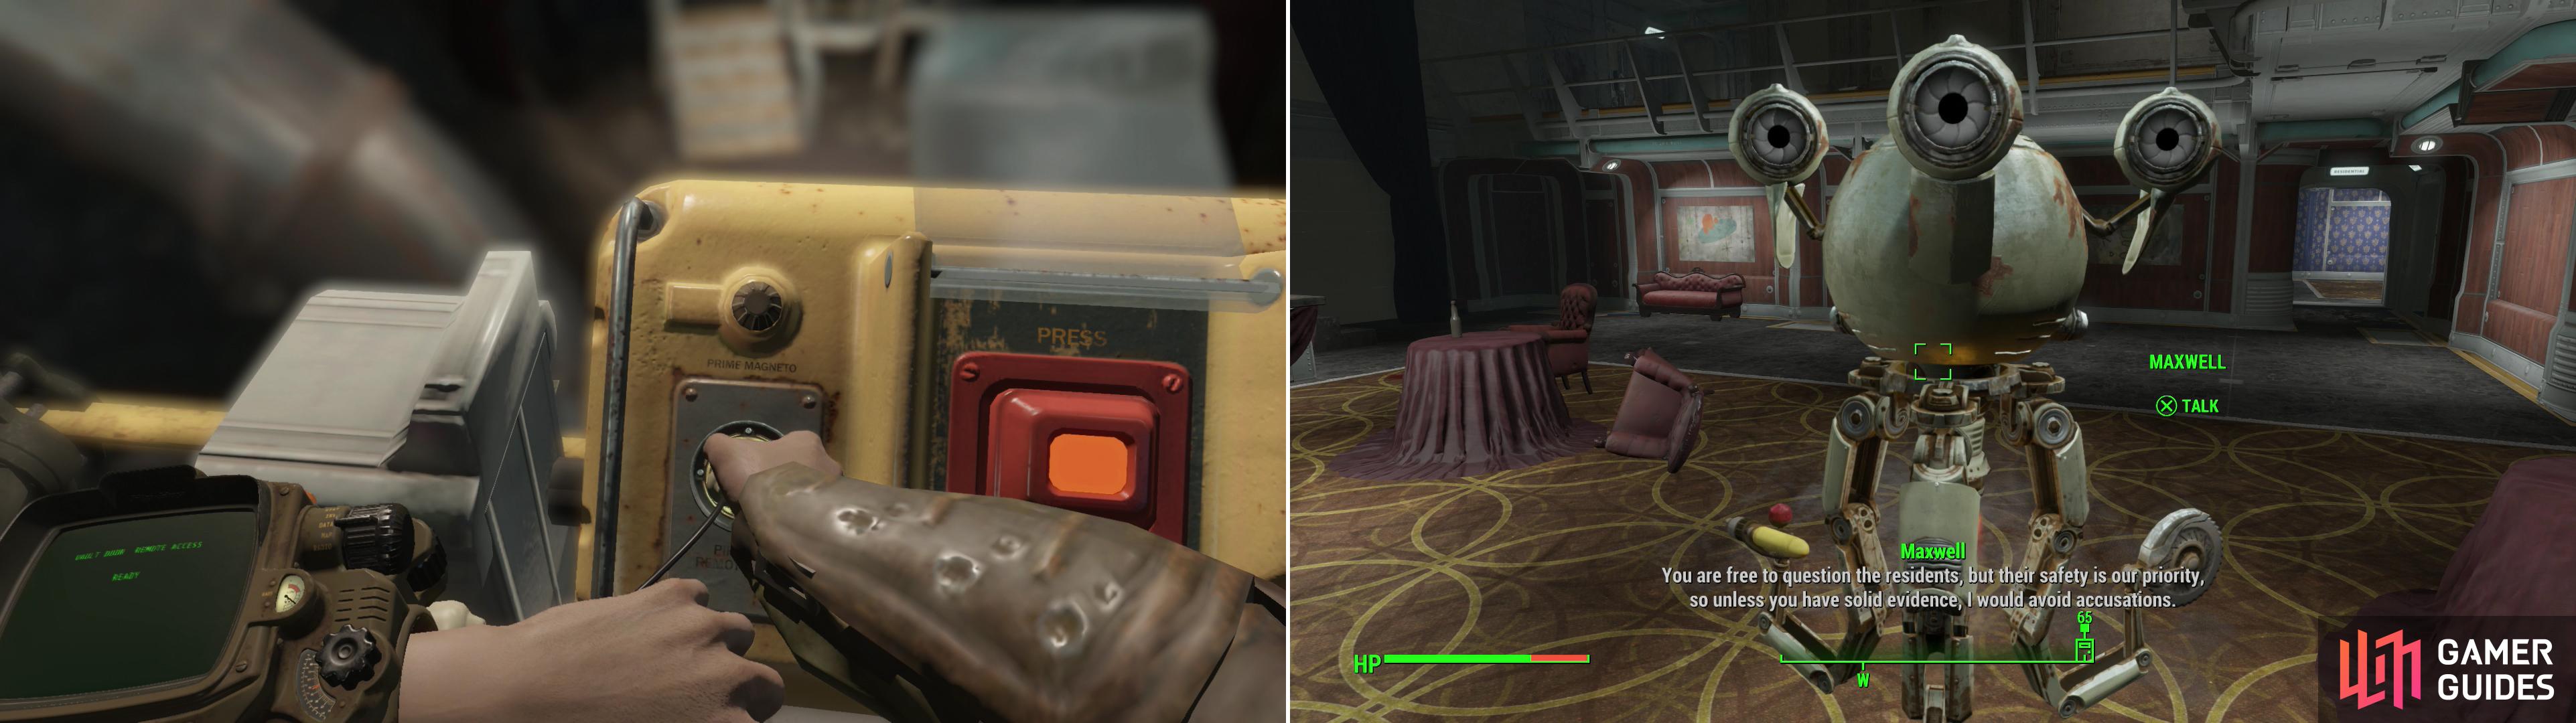
Make your way through the hotel and interface with the Vault 118 door controls (left) then talk to Maxwell to learn some specifics about the murder (right)… and some rules for handling the vault dwellers.
Brain Dead
As you approach Maxwell he’ll babble about the importance of the guests. When you finally get a chance to respond, ask for some monetary incentive and he’ll give you twenty Pre-War Money. Guess it’s a start… the quest “Brain Dead” will officially begin. Follow Maxwell to a dining room to discover the scene of the crime… a robot murder mystery scene. Two robots named Santiago and Keith will babble before Maxwell shuts them up and sends them to their rooms. Talk to Maxwell and he’ll explain the nature of the crime, and cautions you about making accusations without hard evidence.
Anywho, let the investigation begin! Investigate the blood near the “dead” Robobrain, then investigate the “Brain Containment” part of the fallen bot. From the deceased droid, follow a blood trail west to find a legendary Baseball Bat, “Fencebuster” lying on the ground. South, near a curtain you can also find a Paint Can, which clues you into the fact that the “blood” near the Robobrain isn’t really blood at all. Return to the “blood” to confirm this, then talk to Maxwell and ask him about the residents, dramatically announce the discovery of the “murder weapon”, then point out the blood isn’t really… well… blood. Finally, ask about the victim. Looks like you have two leads; Santiago Avida and Keith McKinney.
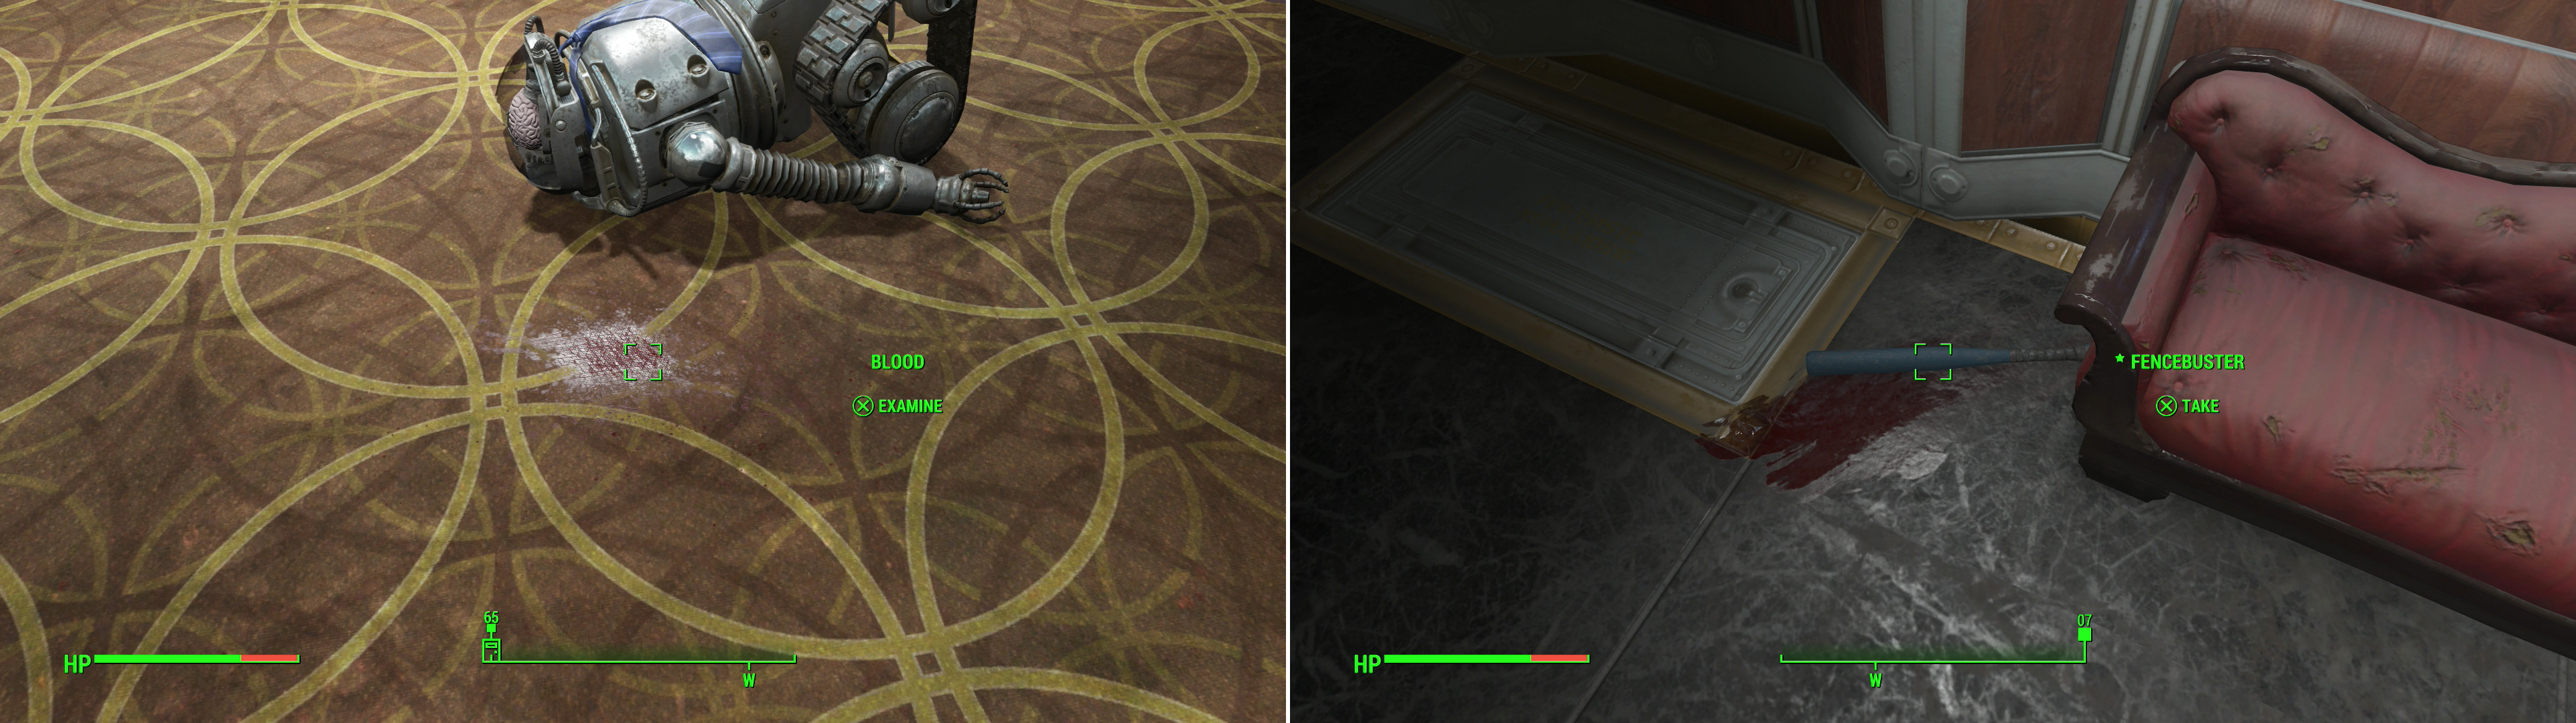
Investigate the “blood” (left) then find a plausible murder weapon not well-hidden nearby (right). The “blood” and the murder weapon point you towards your first two suspects.
Make your way to the north-west to find Keith and Gilda engaged in a rather inappropriate performance, considering the recent murder. After Keith botches his line, Gilda will head off, leaving you alone to question Keith. Tell him about the baseball bat, then ask about Gilda before ending the conversation. Search the Console along the south-eastern end of the room to find a “Letter to Ezra” , which you should read. Return to Keith and pass a moderate speech check to find out that Keith wasn’t the gay—er, the guy!—who killed robo-Ezra. You can also do this by pestering Keith by ask him about himself twice, then passing a moderate speech check to force him to give you an alibi.
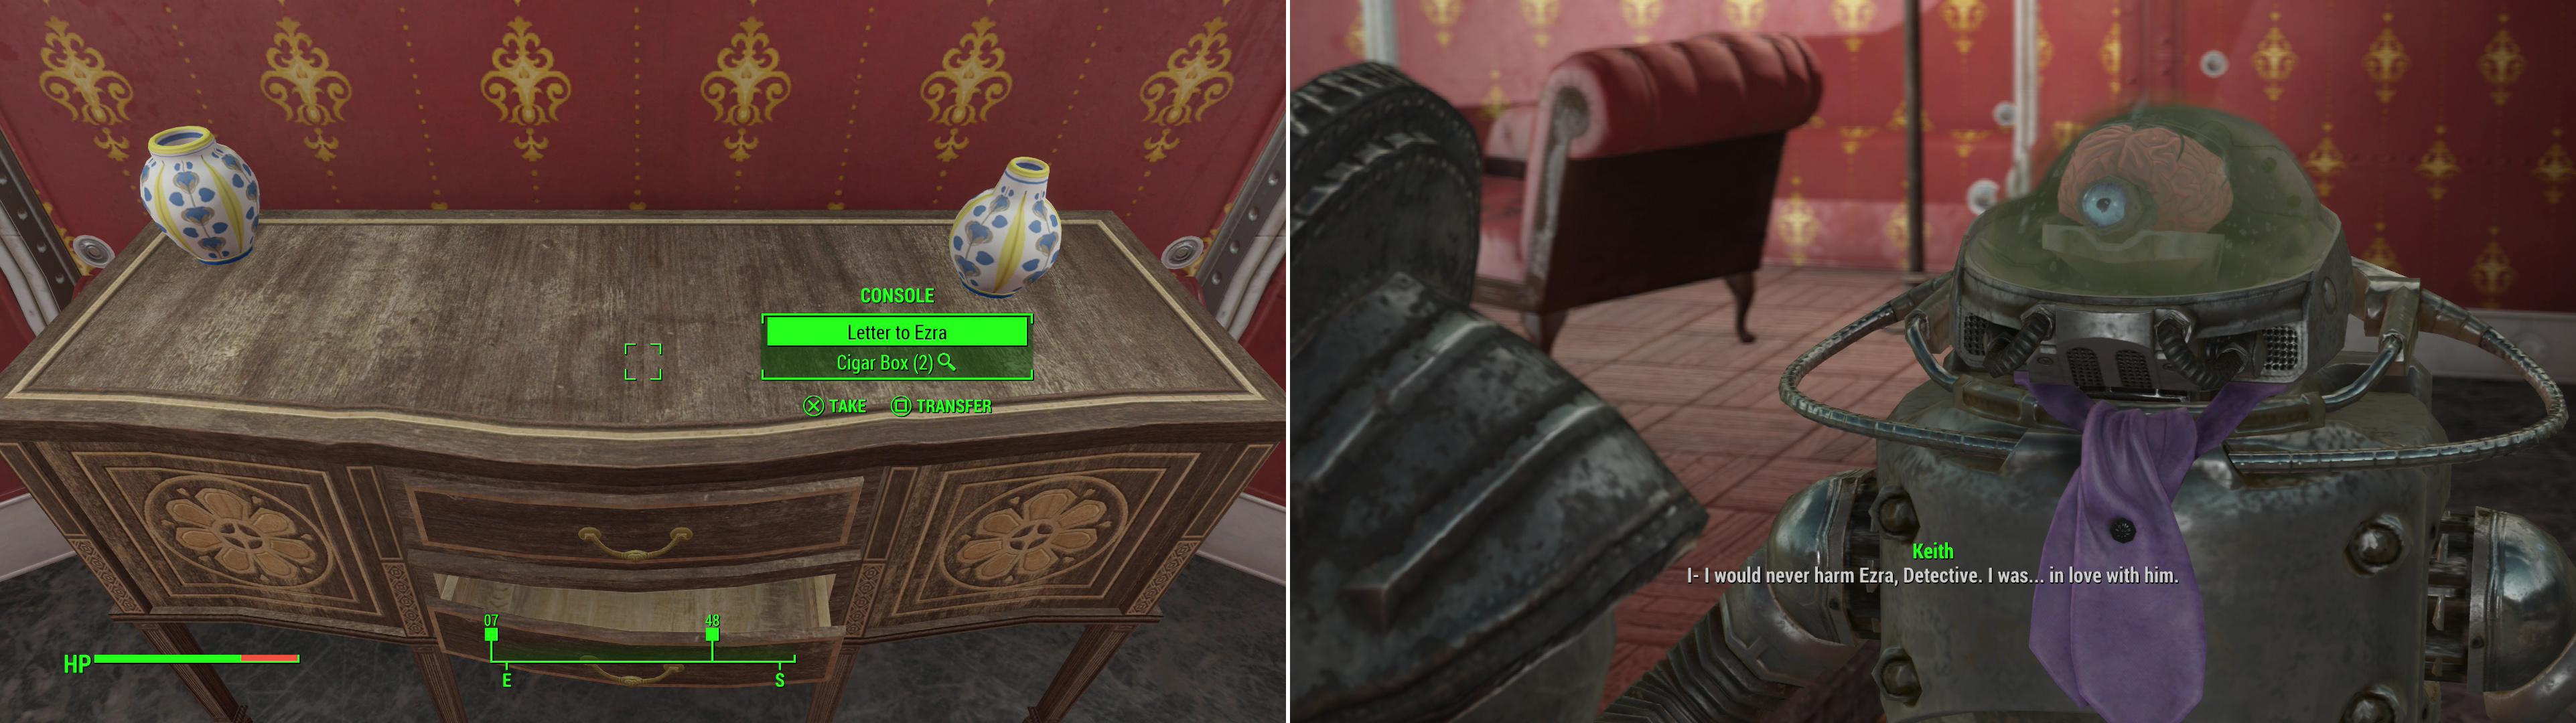
Find Keith’s “Letter to Ezra” (left) then question him about it to learn that he’s likely not the murderer (right).
Now that Keith has been exonerated, head to the other end of the Vault to find Santiago in his studio. The silly robot refuses to answer any questions, however, and wants to drag you on a tour of its “art”. No way around this, you might as well pass some speech checks along the way. First pass a moderate speech check, and pass or fail it’ll move on to its first piece, where you’ll get a choice between two easy speech checks. The second painting presents a choice between two moderate speech checks, while the third, adorable painting gives you a choice between two hard and one moderate speech check. Respond as you will, then he’ll head back downstairs and you can FINALLY question him on the murder. Ask him about red paint, then about returning to the crime scene, and finally about his paintings of Gilda. This will allow you to make an easy speech check accusing him of loving Gilda… which obviously isn’t something Keith would care about, right? Next ask him about the case and he’ll point you towards some “banshee” named Julianna Riggs, marking her as your next suspect.
Head across the hallway to find Bert and Julianna Riggs arguing about Julianna’s hypochondria. A deranged robot AND a cat lady? Oh boy… Talking to Julianna will get you nowhere, but exhaust her dialogue options anyways, then talk to Bert, who will head towards his lab. Ask him about his research until you run out of options, then ask about Julianna’s fight with Ezra to get pointed towards the Overseer’s office. Ask about the Voice Modulator issues, then pass a moderate speech check to learn about Julianna’s behavior, then follow up by pass a hard speech check to get Bert’s brutally honest opinions on “Julianna’s” recent behavior.
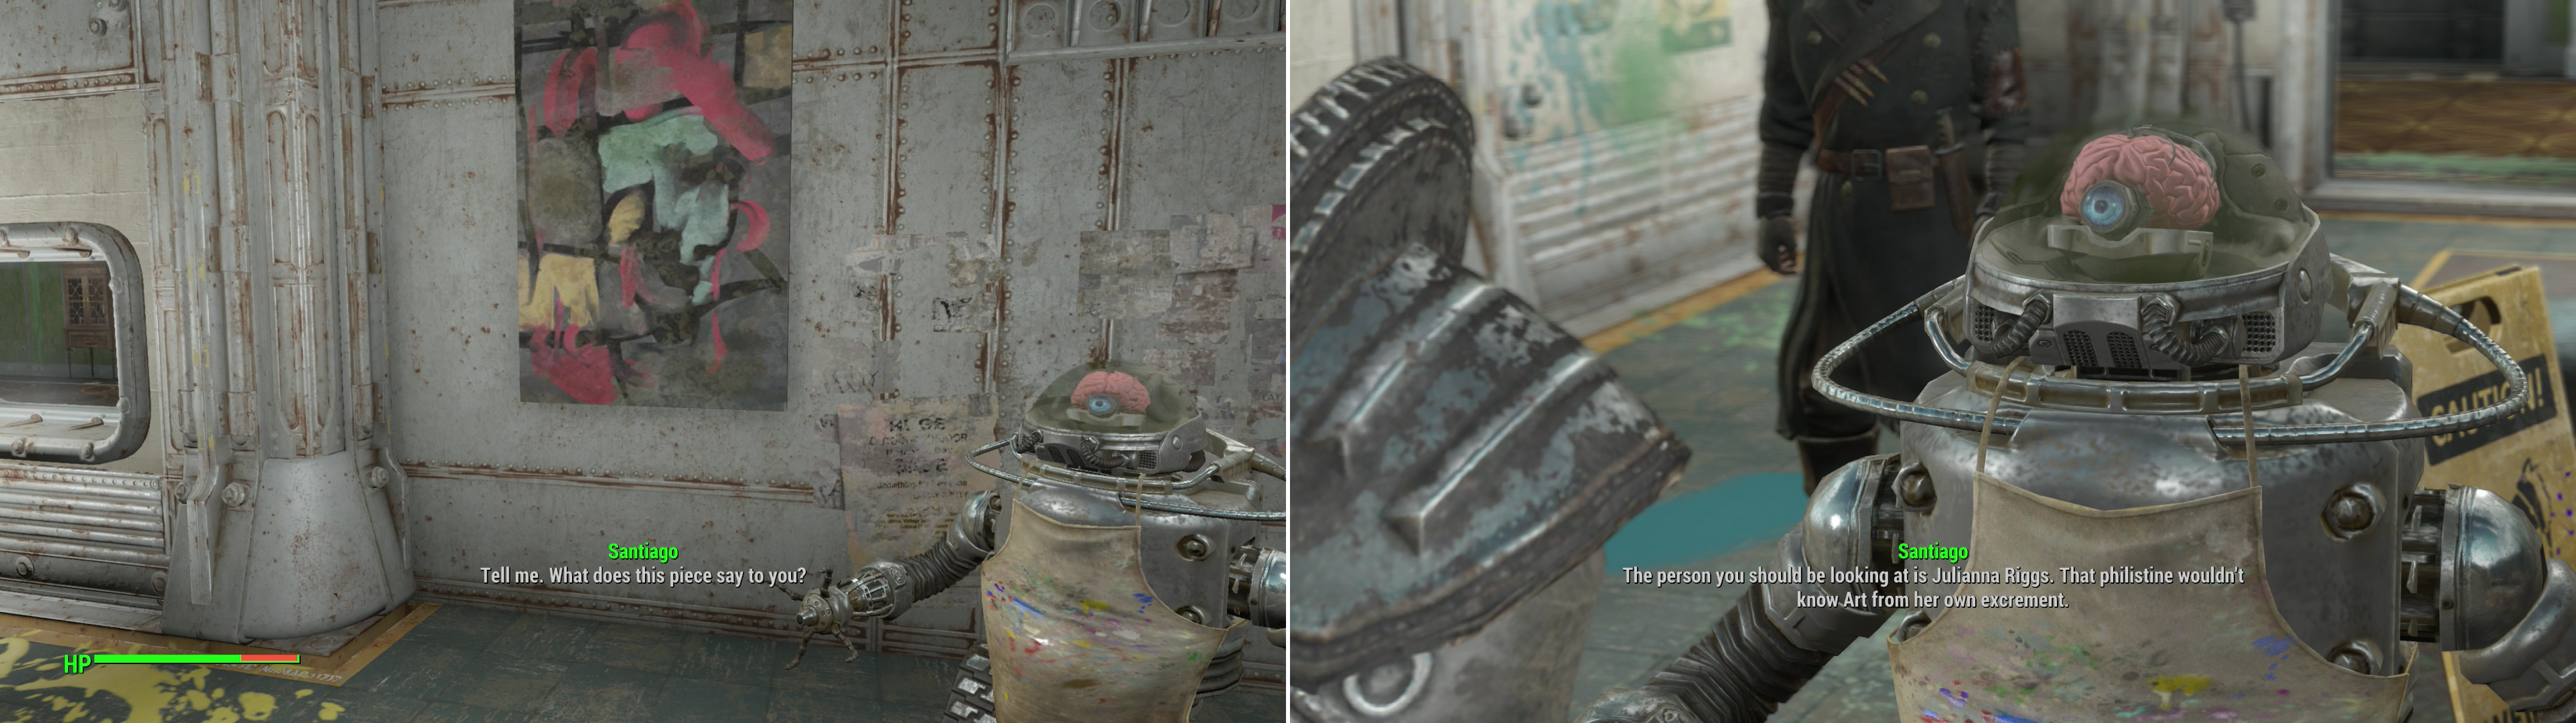
Endure Santiago’s crappy “art” and impress him with your interpretations (left) and he’ll point you in the direction of another potential murder-bot (right).
Before confronting Julianna, you should search the Overseer’s Office, the stairs to which you can find to the south-east… but the doors are locked [Master]. If that’s too hard for you, there’s another way to proceed. From Bert’s lab (in the south-western corner of the Vault) head down the hallway to the north-east, past Keith’s room and into a show room to the left guarded by two stone lions. Rwar. Inside you’ll find a variety of Display Cases, one [Expert] guarding some swords, another adjacent one [Advanced] protecting some apparel. Along the south-western end of the hall you can score a Pirate Hat (snazzy!) while on the north-western wall you can find trinkets and plaques memorializing Ezra’s exploits. More importantly head into a adjoining room to the north-east to find the “Vault 118 Overseer’s Key” on a desk. Score.
Exit Ezra’s rooms and head upstairs to the Overseer’s office, which now shouldn’t be any trouble to get into. In the Overseer’s Office you can find the “Overseer’s Terminal”, which of course reveals the true motivation behind this Vault. For better or worse, their testing never began. Most importantly, be sure to eject and listen to the “Vault 118 Overseer’s Log” to find out that Mrs. Riggs and Ezra have history, and Ezra hasn’t always been the victim.
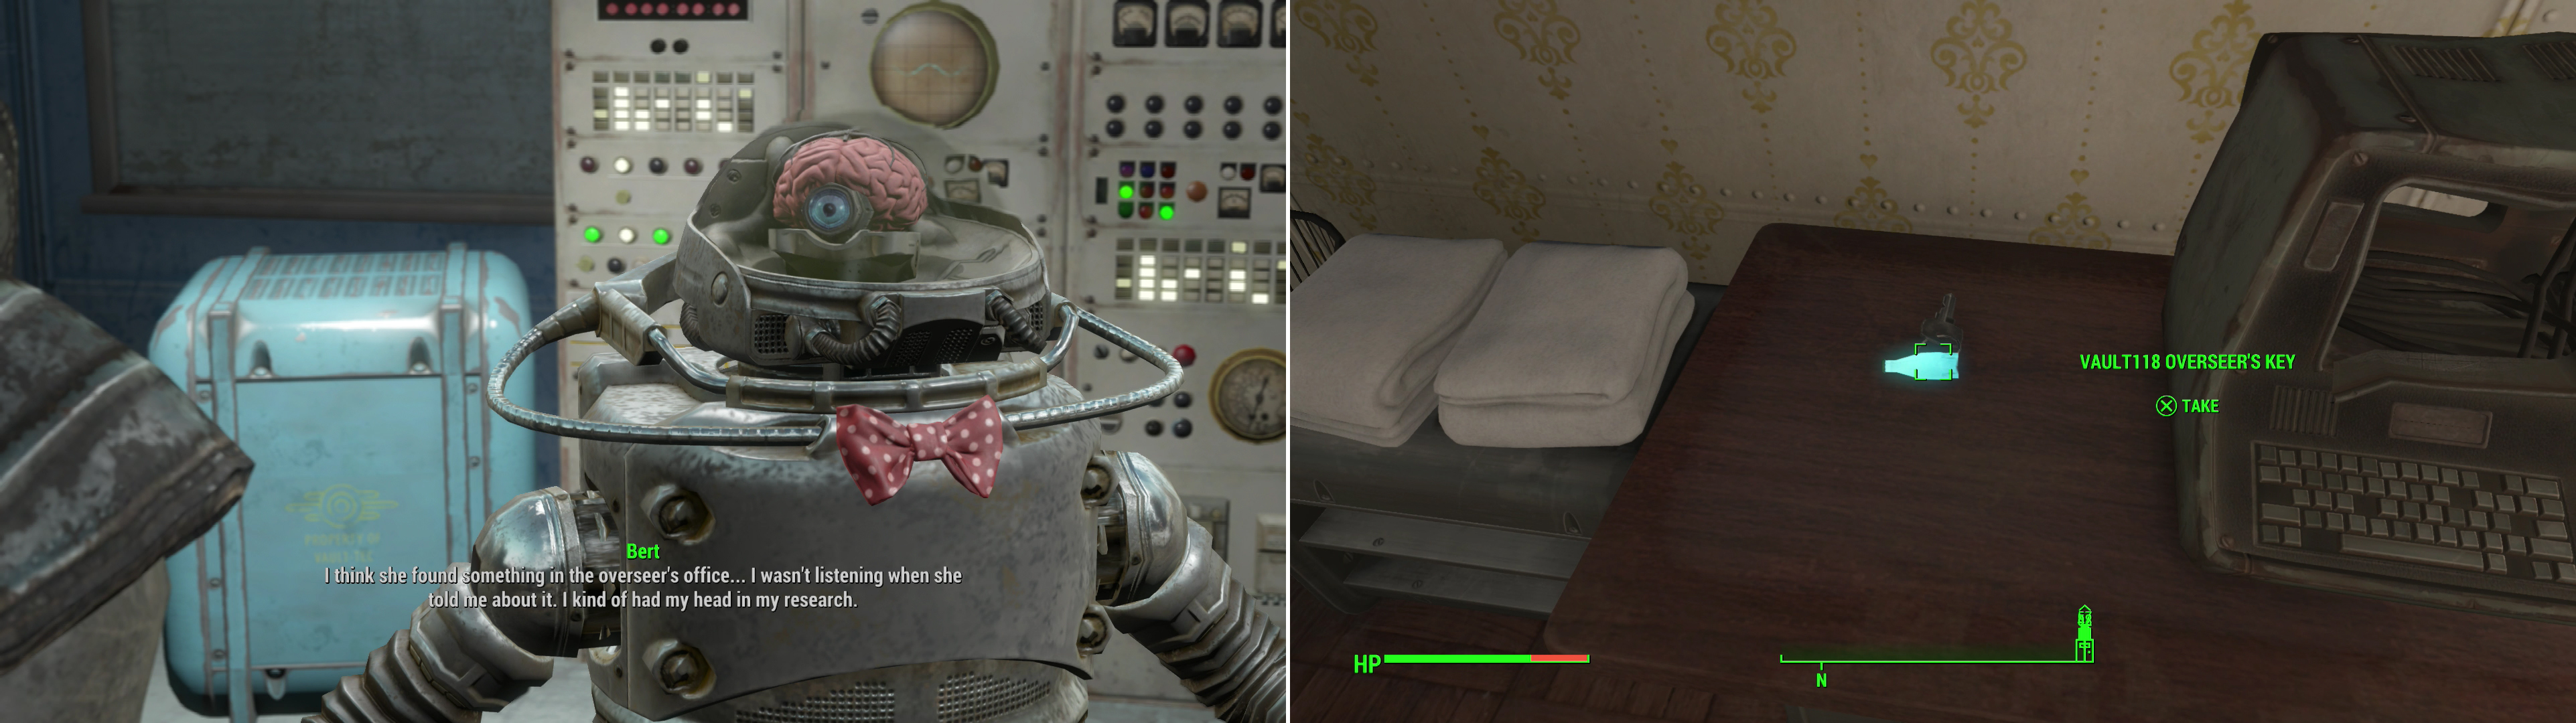
Chat with Bert to learn more about the peculiarities of Robobrains and to dig up another lead (left). Search Ezra’s room to find the Vault 118 Overseer’s Key (right).
Return to Julianna and accuse her to expose the real murderer, after which not-Julianna will make you an offer; lie and cover for the murderer, or risk more bloodshed. You can also try to pass a moderate speech check to get more money (200 Pre-War Money) out of the murderer before letting him go. Longfellow will dislike this, and dislike it even more when you cover for the murderer by reporting to Maxwell. And it seems like a shame to go through all this work just to let the murderer escape…
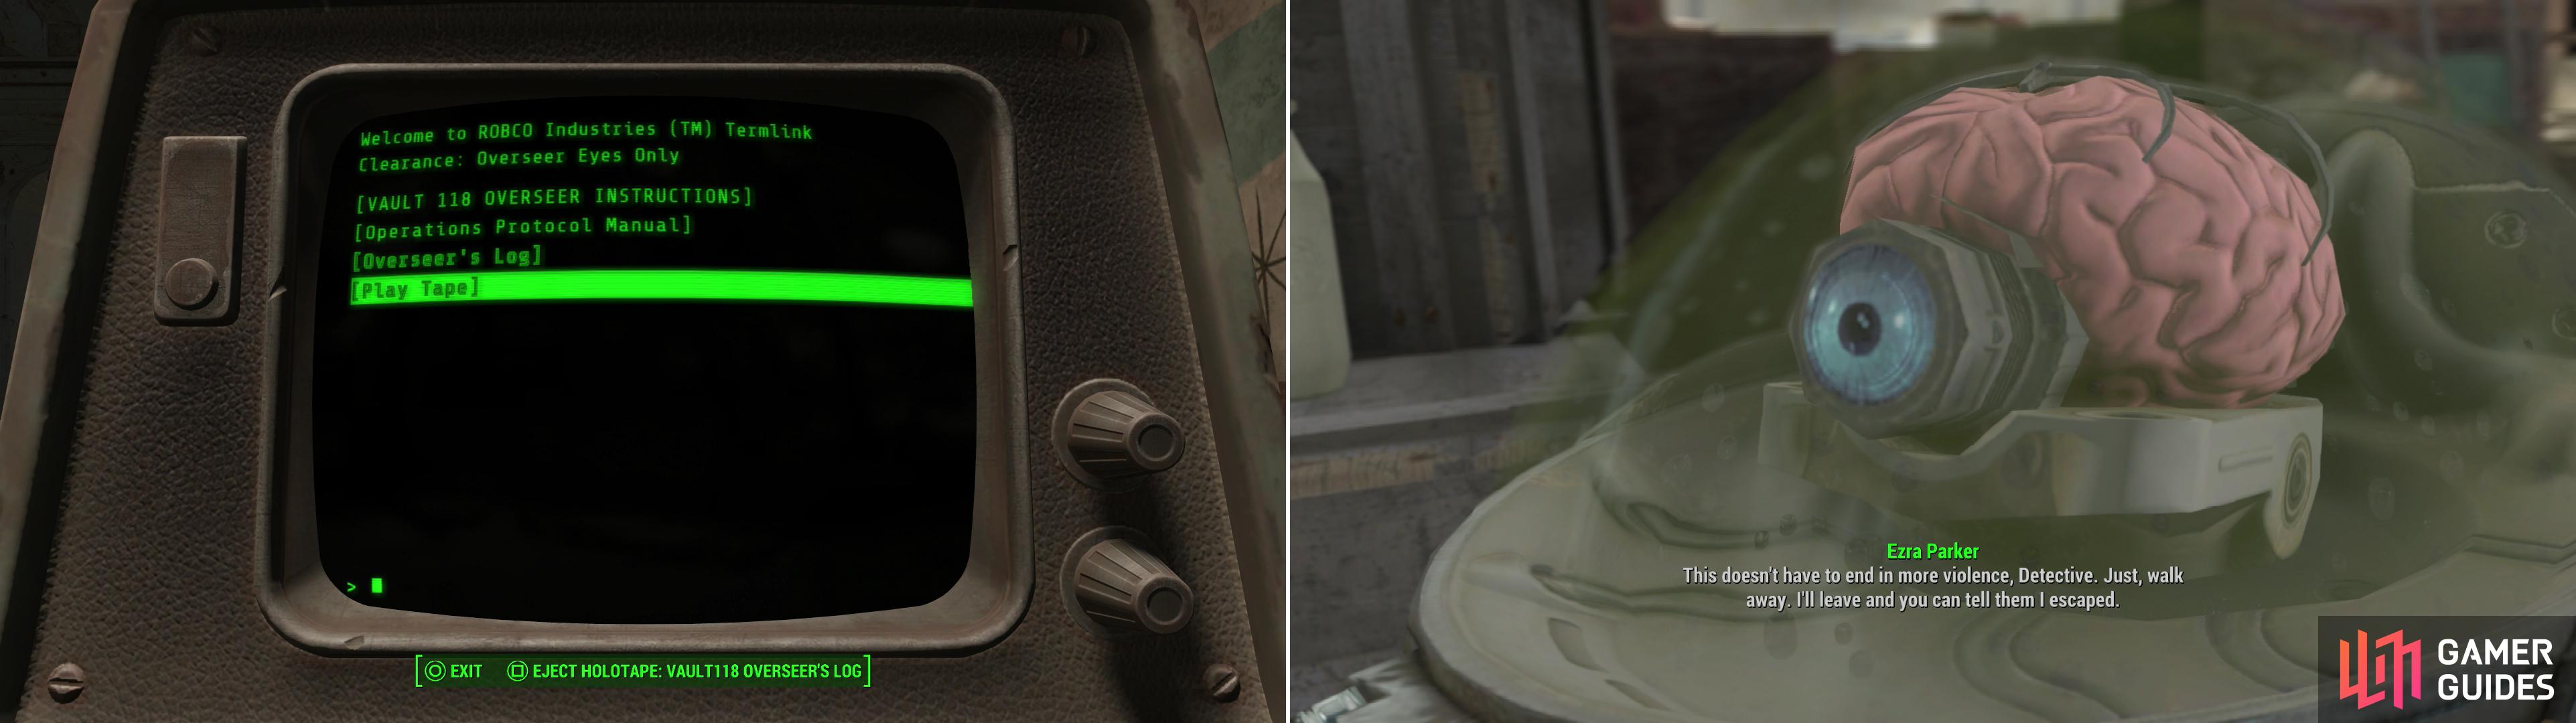
Search the Overseer’s Office for the evidence you need to confront the murderer (left), then confront “Julianna”, who will try to strike a deal with you (right).
On that note, if you want to get more justice (and reward) out of this fiasco, try to scam the murderer out of 200 Pre-War Money then refuse to be his patsy and kill him. Loot him for 500 more Pre-War Money, then report back to Maxwell. The reward from Maxwell is the same either way, and note that you get a double XP reward for completing “Brain Dead” and “Brain Dead, Part 2” , but the 500 extra Pre-War Money you get from killing the murderer makes for a nice bonus.
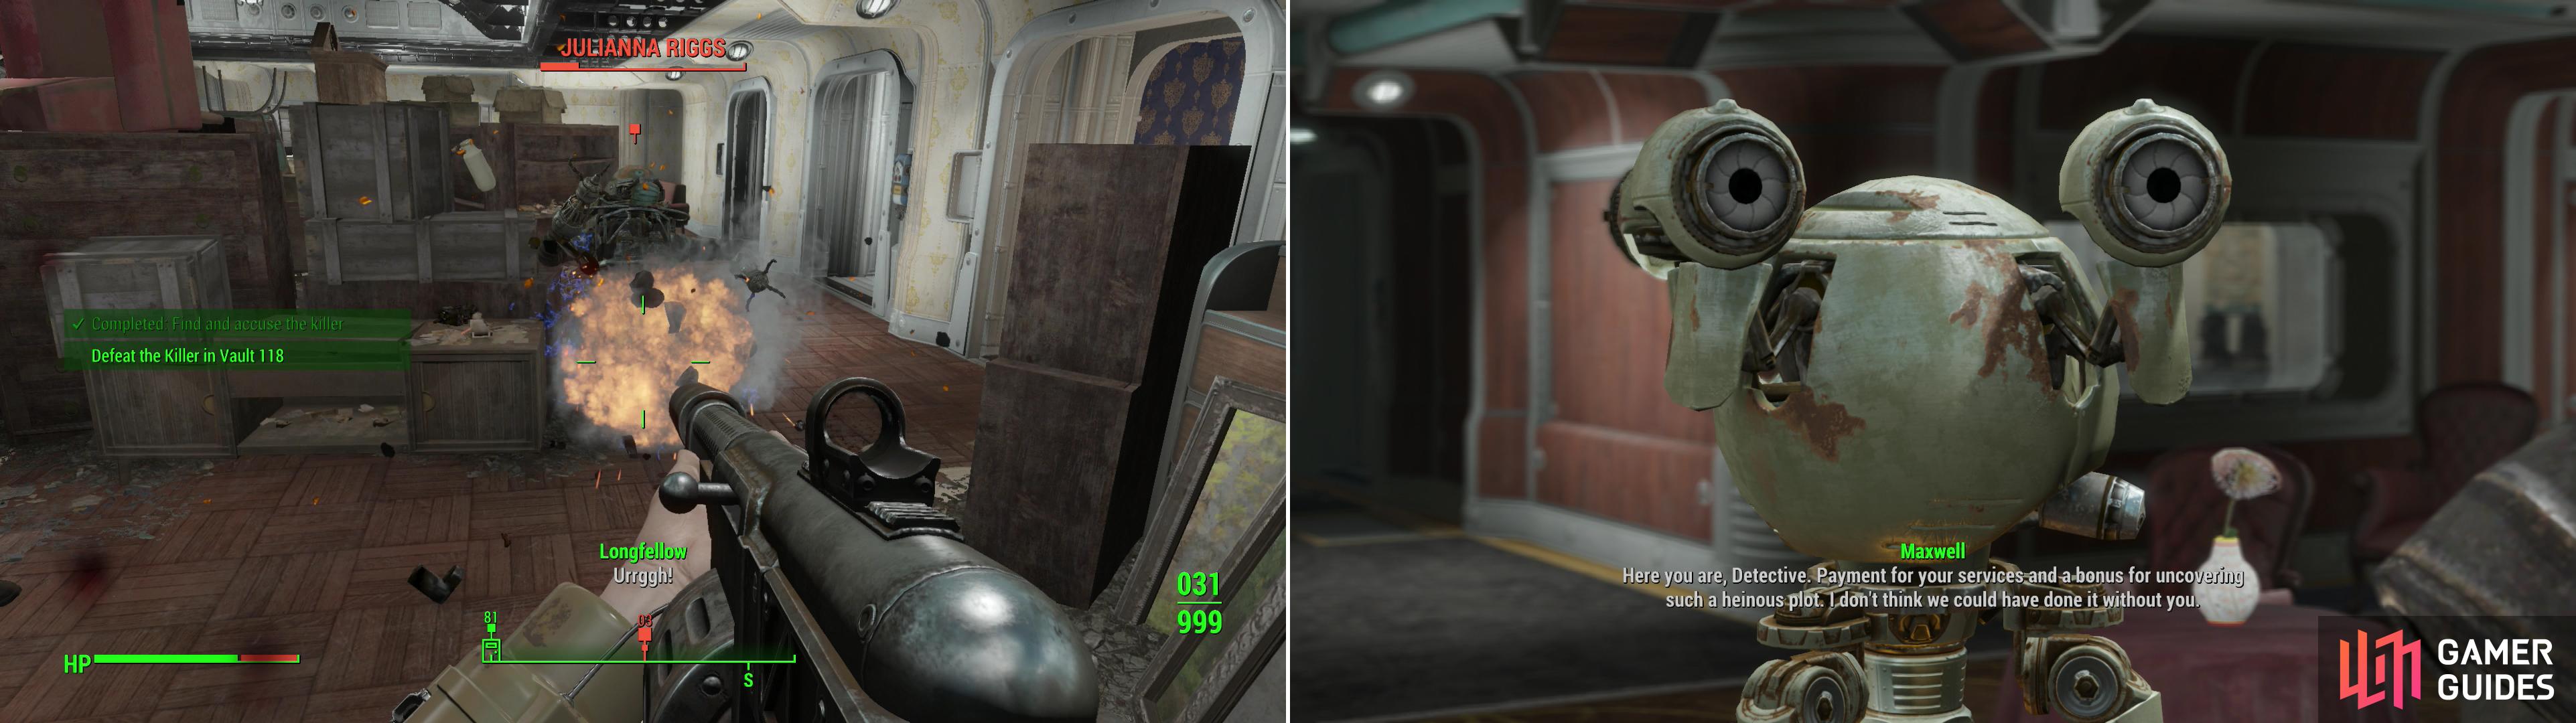
If you turn down the murderer’s offer you’ll have no choice but to put them down (left). Report to Maxwell after concluding your investigation for a reward (right).
| Objective | Reward |
|---|---|
| For solving the murder mystery | 520 XP, 390 XP, Pre-War Money x500 |
Before you leave, note that you can now find Pearl at her shop, where she’ll sell you plenty of ammo, junk, and the unique hate “The Dapper Gent” , which “reduces damage from robots by 15%”. At over 5,000 Caps, it’s pricey, but head-wear with prefixes is quite rare.
You can also return to the entrance and head through the previously locked door to the south-east to find the incomplete “peasant” section of the Vault, which can be looted for some junk. Anyways, that’s all for this place, time to get back to the surface - plenty more of the island to explore.
No Comments