Walkthrough for the Malden Drainage area in Fallout 4.
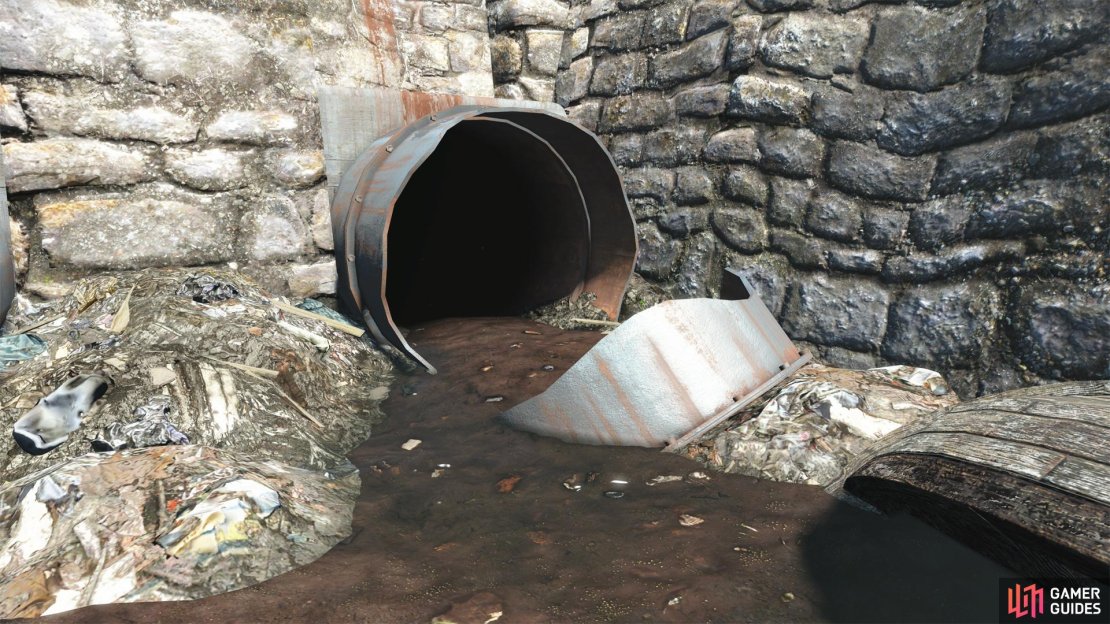
At the end of a canal north of Taffington Boathouse you’ll find a sewage pipe leading to Malden Drainage.
Malden Drainage is an unmarked area in a drainage canal north of Taffington Boathouse, the interior and exterior of which is crawling with Bloodbugs. If you search the upper floor of the house at Taffington Boathouse you’ll find the corpse of Mary Sutton, on which you’ll find Margaret’s Note, which suggests the Bloodbugs infesting the area were stirred up when a man named Russell went searching for a hidden chem stash.
Maybe you can succeed where they failed?
(1 of 3) Dispatch a swarm of Bloodbugs in the canal to reach Malden Drainage,
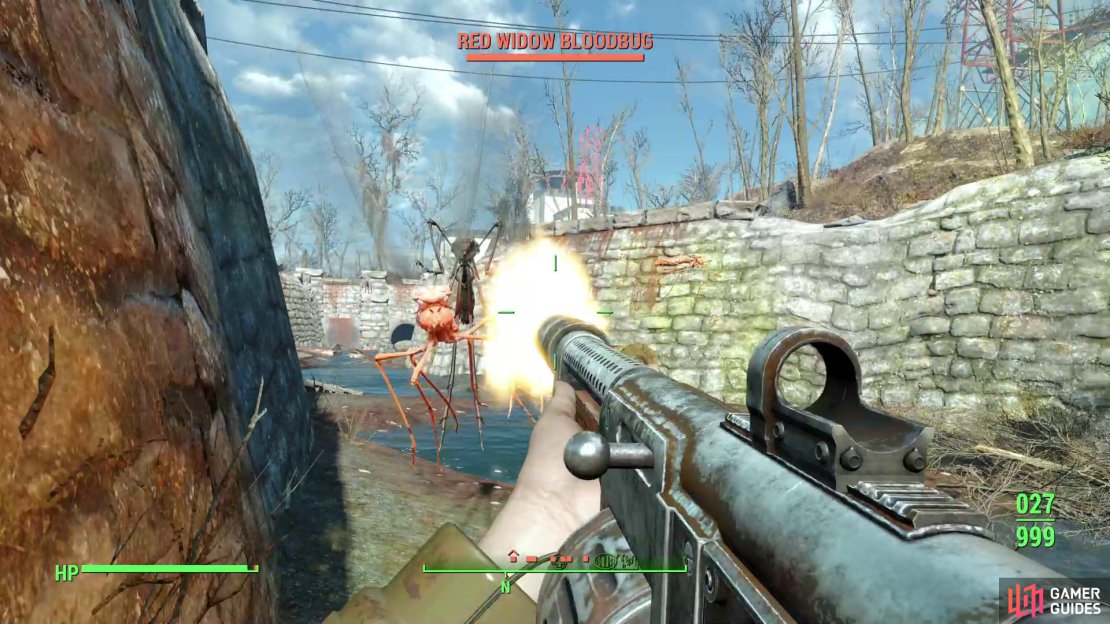
Reaching the Malden Drainage pipe is an ordeal in its own right, as the canal it’s located at the end of - north of Taffington Boathouse - is swarming with Bloodbugs. Like the insects at Taffington Boathouse itself, these can be fairly leveled, and you should expect to encounter Bloodbug Hatchlings, Bloodbugs and Red Widow Bloodbugs. Fortunately they have less room to maneuver in the confines of the canal, so they should be easier to keep track of, and explosives are quite good at thinning their numbers.
Pulverize the bugs, then head to the end of the canal to find a broken pipe leading to the interior of the Malden Drainage area. You’ll find yourself in a square, watery room, with slopes leading up to the west. Be wary of several more Bloodbugs lurking around - they’ll probably remain dormant on the walls until they sense an opportunity to ambush you, or until you strike first. You also need to keep an eye out for mines, which you can find up some stairs to the left (west).
After the bugs are dead and the mines disarmed, there are two points of interest for you to pursue. Along the western end of the chamber you’ll find a caged off area, with a sealed door to the south. On a wall near the door is a terminal [Advanced], which will open said door. If you can get inside you’ll be rewarded with a Steamer Trunk to plunder.
(1 of 3) Cross some pipes to reach an otherwise inaccessible ledge,
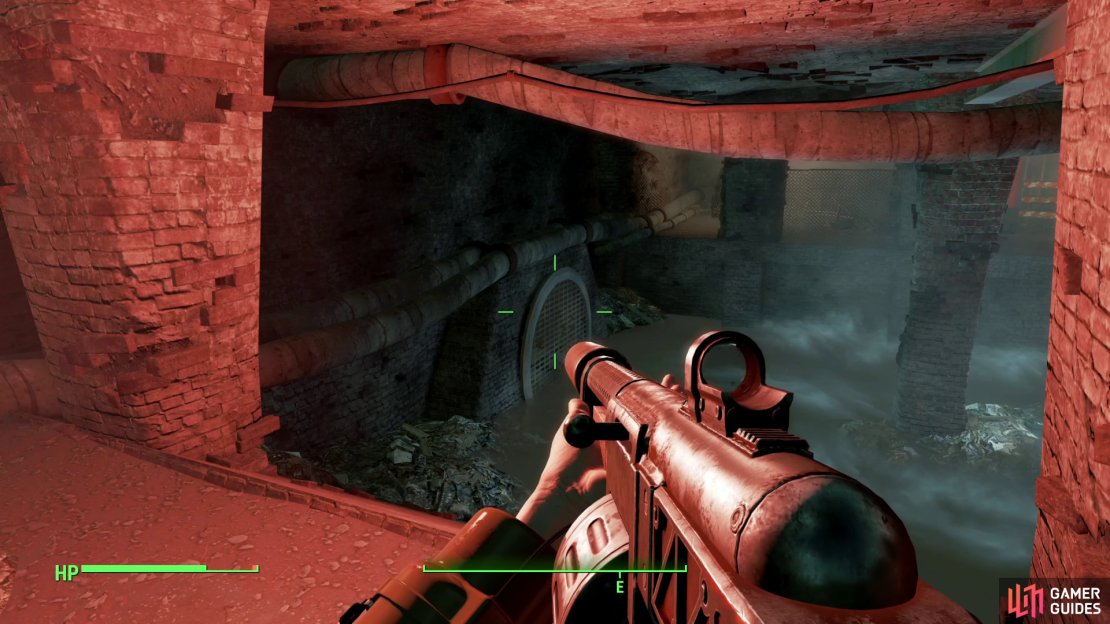
Make your way to the northern end of the chamber, head up the slope to the west, then note there are some pipes you can use to cross to the east. You’ll catch a trivial amount of Rads as you cross, but you’ll reach an elevated ledge. Turn right (south) and seek out any mines that may be lying about, and once they’re disarmed you can loot another Steamer Trunk, a shelf full of chems, and you can grab a Fusion Core out of a fusion reactor. You’ll also find the body of Russell Sutton here, on which is the Pledge Initiation Instruction holotape, the fateful holotape that led him to his demise.
With that, you’re done with the Malden Drainage area, although you should be wary about the Bloodbugs in the canal. They’ll respawn like most overworld enemies, and can prove to be a constant nuisance to the settlement at Taffington Boathouse. Make sure to set up a battery of turrets facing the canal - the top of the boathouse itself makes a good platform - to deal with overly curious bugs.





No Comments