Walkthrough for the ![]() Super Duper Mart area in Fallout 4.
Super Duper Mart area in Fallout 4.
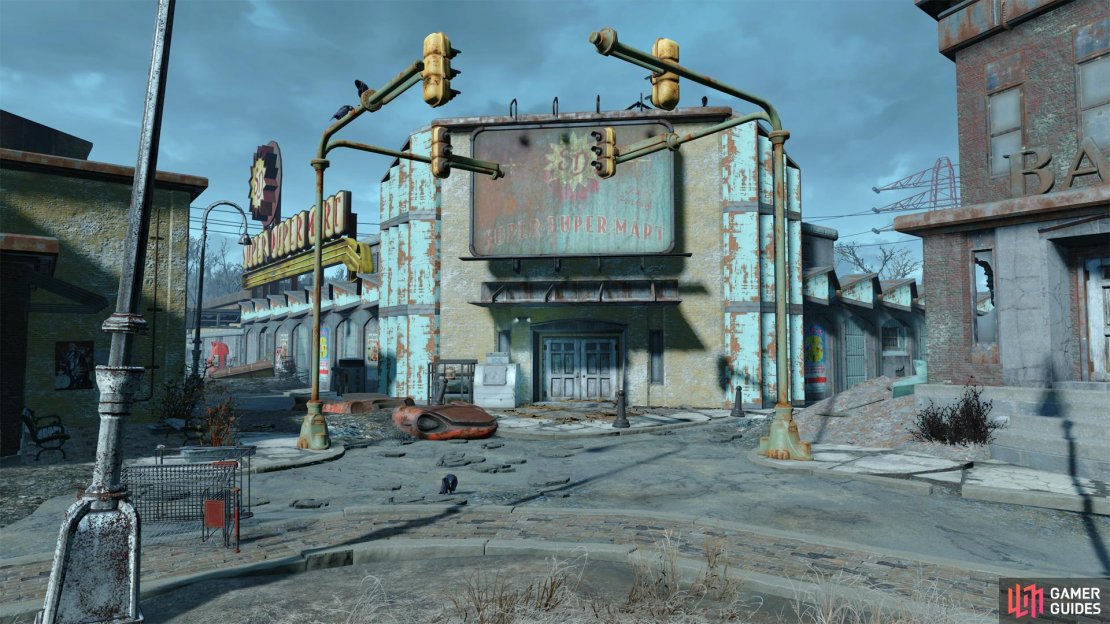
The southern entrance to Super Duper Mart.
| Important Items in This Area |
|---|
| Tales of a Junktown Jerky Vendor |
Super Duper Mart dominates the northwestern edge of ![]() Lexington, a massive concrete building with teal accents, it should be unmistakable. It has two entrances, the white double doors facing south towards a clearing in the center of Lexington and some garages in the back that can only be opened if you hack a Terminal [Advanced].
Lexington, a massive concrete building with teal accents, it should be unmistakable. It has two entrances, the white double doors facing south towards a clearing in the center of Lexington and some garages in the back that can only be opened if you hack a Terminal [Advanced].
At lower levels, you have little reason to fear the front entrance, although some Feral Ghouls lurk in the ruins of Lexington, they’re roused by proximity and violence, neither of which you really need to engage in. Ghouls are one thing, but a Raider on an elevated bridge to the southeast is a greater threat, as he’s fond of launching ![]() Mini Nukes at any hostile activity he perceives. At higher levels, a Behemoth occupies the clearing south of the front entrance to Super Duper Mart, and while this is a dangerous foe on its own, the fact that it’ll undoubtedly provoke the Ghouls, and their infighting will prove a tempting target for the
Mini Nukes at any hostile activity he perceives. At higher levels, a Behemoth occupies the clearing south of the front entrance to Super Duper Mart, and while this is a dangerous foe on its own, the fact that it’ll undoubtedly provoke the Ghouls, and their infighting will prove a tempting target for the ![]() Fat Man wielding Raider. It’s easy to get caught up in this mess, so if there’s a scrum near Super Duper Mart, you may be better off keeping your distance and waiting for the locals to resolve the dispute among themselves.
Fat Man wielding Raider. It’s easy to get caught up in this mess, so if there’s a scrum near Super Duper Mart, you may be better off keeping your distance and waiting for the locals to resolve the dispute among themselves.
For the sake of simplicity, we’ll assume everybody enters via the front doors.
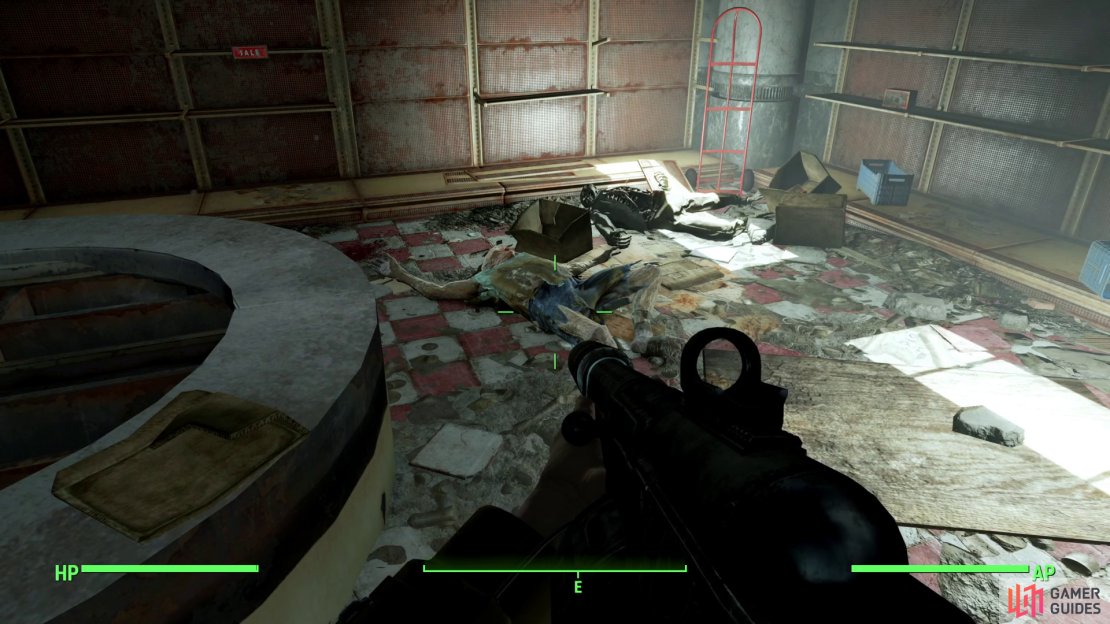
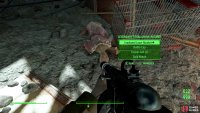
(1 of 4) Many of the Ghouls infesting Super Duper Mart can be found playing possum, hoping to lure victims into a trap.
Exploring Super Duper Mart
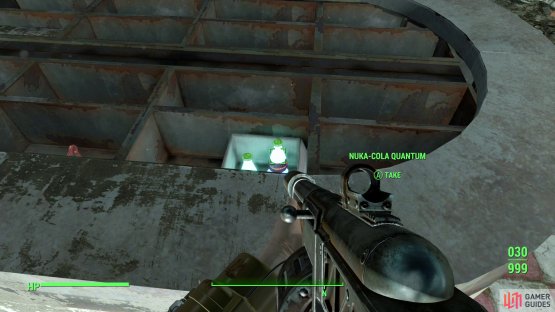
If there’s three things you can find in Super-Duper Mart, it’s Ghouls, Ghouls and more Ghouls. Seriously, there are lots of Ghouls in here. They even employ new tricks, like coming from the ceiling and slinking through windows! Crafty… From the front entrance head through a doorway to the northeast and search a food corral to find numerous Nuka Colas, a Nuka Cola Cherry and two Nuka Cola Quantums. Neat.
Return to the entrance and go through a doorway to the northwest, turning southwest when you can to enter a small office, inside of which is a Terminal [Novice] which can be used to open a Safe [Advanced] and activate a Protectron.
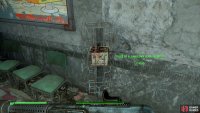
Make your way over to a diner to the northwest and kill the Feral Ghouls playing possum inside, then loot a First Aid Box [Novice]. From the diner head north-east until you find a door to the north-west [Novice] which leads to the pharmacy. Before you head inside the pharmacy, however, check out the waiting area between the diner and the pharmacy and search a magazine rack along the northwestern wall to find an issue of Tales of a Junktown Jerky Vendor . Nice. Head into the pharmacy where you can find a pair of Feral Ghouls and a dead Minuteman on a counter, near which is a ![]() Laser Musket, some
Laser Musket, some ![]() Rad-X and some ammo. In a bathroom you can also find some ammo on the floor near an Ammo Box and a First Aid Box on the wall.
Rad-X and some ammo. In a bathroom you can also find some ammo on the floor near an Ammo Box and a First Aid Box on the wall.
(1 of 2) You can find some Nuka-Cola Quantums near the front of the store,
You can find some Nuka-Cola Quantums near the front of the store, (left), while an issue of Tales of a Junktown Jerky Vendor can be spotted in a magazine rack. (right)
Leave the pharmacy and make your way southeast until you find a doorway to the north-east. Beyond this doorway is the employee-only part of the store, where most of the Feral Ghouls lurk. Head through the doorway and kill whatever Feral Ghouls show themselves, then turn down a hallway to the north-west - not the short, dead-end hallway, the longer one further to the northeast. As you go down this hallway loot a Wooden Crate [Novice] on a shelf, then continue northwest into a small room, where the dead body of a man named Josh lies in front of a Steamer Trunk. Loot Josh and the trunk nearby, then grab some ![]() Fusion Cells off the nearby desk before back-tracking to the south-east.
Fusion Cells off the nearby desk before back-tracking to the south-east.
When you make it back to the first room you entered in the employee-only area, turn north-east and go through a doorway, which leads to a hallway running south-east. Follow it and, when it forks you can pick the locked door to the southwest. It merely leads back to the main shopping floor of Super-Duper Mart, but it’s still worth some XP. Continue south-east and when the hallway ends, go through a doorway to the south-west, wherein you can find a Terminal containing silly office banter, a wrongly-imprisoned Teddy Bear that cannot be freed, and a wall Safe [Expert].
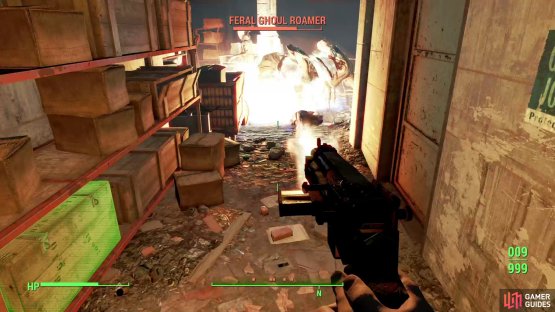
(1 of 2) In the back of the store, oil slicks can be used to cremate hostile Ghouls.
In the back of the store, oil slicks can be used to cremate hostile Ghouls. (left), Pry a Fusion Core from the store’s still functioning reactor. (right)
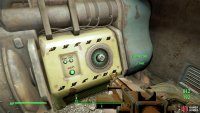
Leave the office room and go through the doorway to the northeast, where you’ll face even more Feral Ghouls. Make your way north-west through a hole in the wall and search a wooden crate on a Cabinet to find a Nuka Cherry. Turn around (face east) to find some machinery, from which you can liberate another ![]() Fusion Core. If you head down some stairs to the northwest you’ll reach the back door to the Super-Duper Mart. Hooray! Time to leave this place behind. Just kill two more Feral Ghouls and use a Terminal to open some garage doors and you’ll be back out in Lexington.
Fusion Core. If you head down some stairs to the northwest you’ll reach the back door to the Super-Duper Mart. Hooray! Time to leave this place behind. Just kill two more Feral Ghouls and use a Terminal to open some garage doors and you’ll be back out in Lexington.





No Comments