Walkthrough for the ![]() Museum of Freedom area in Fallout 4.
Museum of Freedom area in Fallout 4.
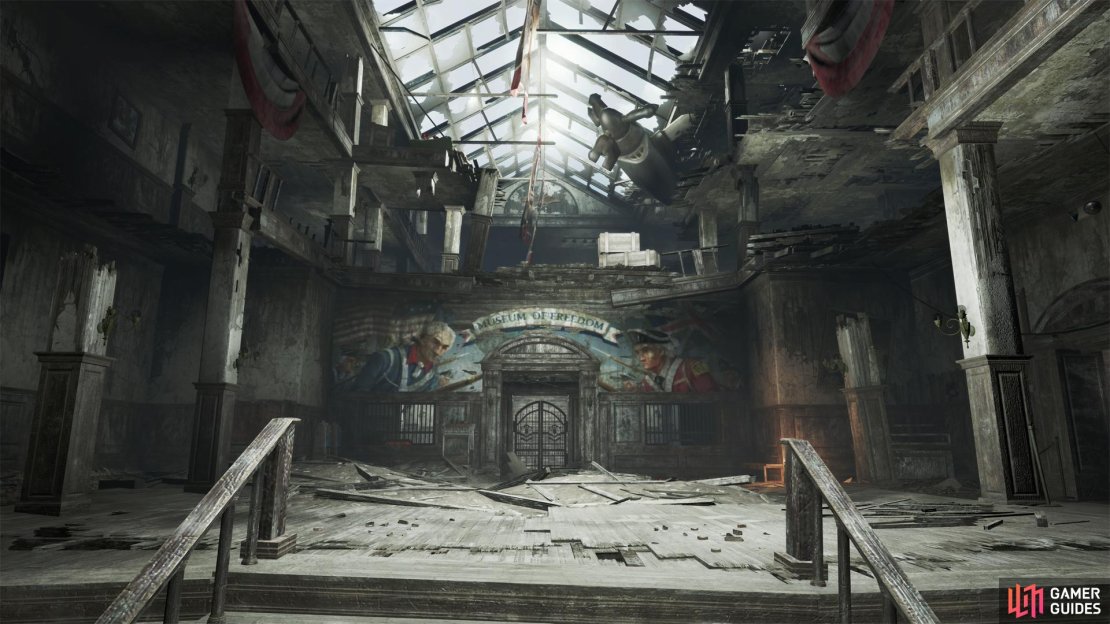
At the end of the first main quest in the game, Out of Time you’ll eventually find yourself before the Museum of Freedom along the southeastern edge of the ruins of Concord. Entering the area will start the quest When Freedom Calls.
The Museum of Freedom.
| Important Items in This Area |
|---|
| RobCo Fun |
The first time you enter this area, you’ll be tasked with saving some settlers led by ![]() Preston Garvey, who are being attacked by a group of Raiders. Two Raiders can be found on an upper floor as soon as you enter - pick them off, then note a gate [Advanced] to the southeast. This will provide a shortcut deeper into the building, but if you can’t pick the lock, just go through a doorway to the right (southwest) and move through some side rooms to get around the obstacle.
Preston Garvey, who are being attacked by a group of Raiders. Two Raiders can be found on an upper floor as soon as you enter - pick them off, then note a gate [Advanced] to the southeast. This will provide a shortcut deeper into the building, but if you can’t pick the lock, just go through a doorway to the right (southwest) and move through some side rooms to get around the obstacle.
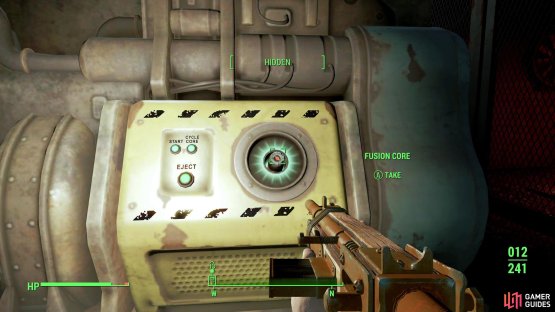
From here the floor drops down to the basement. Descend the collapsed floor to see a locked security door [Novice] and a computer terminal [Novice]. Both of these unlock the door, so pass one of them (or, for more XP, do the computer and then exit out of it and do the door separately). You’ll need the item that is behind here: a Fusion Core , to complete the mission, so be sure to grab it now.
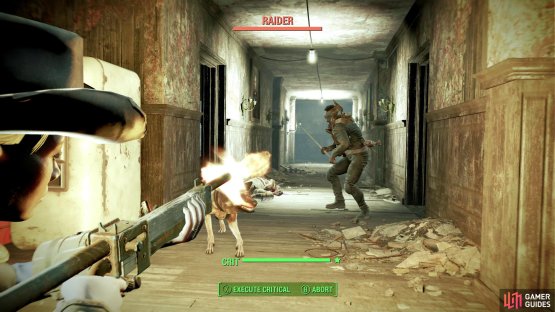
(1 of 2) There are numerous Raiders in the Museum of Freedom, but fortunately you’ll rarely fight more than two at a time.
There are numerous Raiders in the Museum of Freedom, but fortunately you’ll rarely fight more than two at a time. (left), Break into a cage-off area in the basement to find a Fusion Core. (right)
Head up the stairs now and hang a left. Skip the door here for right now and head to the bridge where you killed the Raider (you can loot them now). There is also a Cap Stash in the far corner, where the red light is. Grab it and head back to the door you skipped. This door leads to a room with a hallway on the left. In the far room though are two Raiders who are debating leaving, so try to get in a sneak attack if you can and take them down. Head past the hole in the wall past them and go up the stairs (the door in the hallway leads to the entrance). Up on this third level you will hear some Raiders trying to reach the settlers. They’ll give up in a bit and start to patrol the place. If you prefer, you can hide by the vending machines and wait for them to patrol for a sneak attack opportunity or just take them out (they aren’t too tough). Once you take all the Raiders out, the settlers will open up the door for you.
Enter the room to meet the “Last Minuteman”, Preston Garvey. Preston and his Mechanic, Sturges, will tell you how his group has done since coming to ![]() Concord (hint: not well) and tells you of his current plan: get a Fusion Core and use the Power Armor on the roof to drive away the rest of the hostile forces. With that you will be tasked to retrieve the Fusion Core, which you will already have if you are following this guide (excellent!). The rest of this quest will take you outside of the Museum of Freedom, and hence is beyond the concern for the rest of this area page.
Concord (hint: not well) and tells you of his current plan: get a Fusion Core and use the Power Armor on the roof to drive away the rest of the hostile forces. With that you will be tasked to retrieve the Fusion Core, which you will already have if you are following this guide (excellent!). The rest of this quest will take you outside of the Museum of Freedom, and hence is beyond the concern for the rest of this area page.
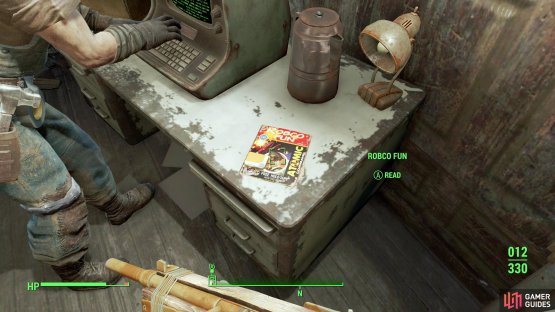
(1 of 2) On the upper floor you’ll find the RobCo Fun magazine,
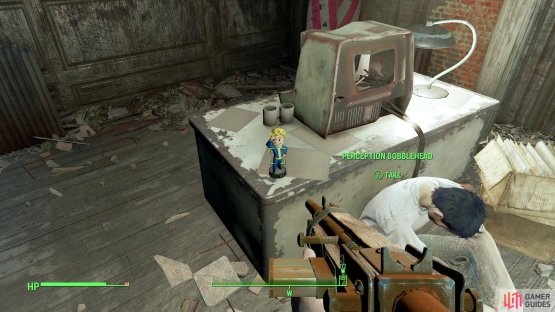
On the upper floor you’ll find the RobCo Fun magazine, (left), and the Perception Bobblehead. (right)
Before you leave, however, you might as well plunder this room - most of the unique loot in this area can be found here.. First and foremost, to the left on a desk is the all-important ![]() Perception Bobblehead . Nabbing this thing will increase your Perception skill by +1 permanently. Very nice. You can also find a Robco Fun magazine near Sturges which comes with the “
Perception Bobblehead . Nabbing this thing will increase your Perception skill by +1 permanently. Very nice. You can also find a Robco Fun magazine near Sturges which comes with the “ ![]() Atomic Command
Atomic Command ![]() Holotape “, which is similar to the old Atari game “
Holotape “, which is similar to the old Atari game “![]() Missile Command”. Try it out when you wish. Also note that you can kick Sturges off the terminal here and hack it yourself, as it is a [Novice] Terminal. Nothing of any real note however, aside from some museum memos.
Missile Command”. Try it out when you wish. Also note that you can kick Sturges off the terminal here and hack it yourself, as it is a [Novice] Terminal. Nothing of any real note however, aside from some museum memos.
Go ahead and save now and then get ready for a Speech Check. Sitting on the couch is Mama Murphy, who has a speech check if you ask her about her “Sight”, which, if you can pass, gives you a good chunk of XP and warns you of an upcoming danger more clearly. If you happen to have low ![]() Charisma, you can equip any Charisma-boosting items you may have found and drink some booze to help improve your charm.
Charisma, you can equip any Charisma-boosting items you may have found and drink some booze to help improve your charm.


No Comments