| Important Items in This Area |
|---|
| Tumblers Today |
| Unstoppables |
Story of the Century
The first stop in this questing run through ![]() Diamond City is Publick Occurences, which is just north of the stairs that lead to the gate, on the left (west). In here you’ll find Piper and possibly her sister, Nat, although the latter is outside the shop during the day, peddling Piper’s paper packed with paranoia. Enter and talk to Piper and she will ask you for an interview. Go ahead and answer and - if you tell her the truth of what happened to you - she will be quite shocked, calling you the “Man out of time”. The final thoughts on the kidnapping cases hit home. Once you are done with the interview, this (very short) side quest will be over and you’ll get a good chunk of XP. Piper will also now travel with you, if you’re so inclined.
Diamond City is Publick Occurences, which is just north of the stairs that lead to the gate, on the left (west). In here you’ll find Piper and possibly her sister, Nat, although the latter is outside the shop during the day, peddling Piper’s paper packed with paranoia. Enter and talk to Piper and she will ask you for an interview. Go ahead and answer and - if you tell her the truth of what happened to you - she will be quite shocked, calling you the “Man out of time”. The final thoughts on the kidnapping cases hit home. Once you are done with the interview, this (very short) side quest will be over and you’ll get a good chunk of XP. Piper will also now travel with you, if you’re so inclined.
| Objective | Reward |
|---|---|
| For granting Piper an exclusive interview | 190 XP |
It should also be noted that upstairs in Piper’s house are a bunch of goodies you can grab, including two ![]() Stimpaks and an Ammo Box, which you can loot freely after the interview (beforehand they’d be stealing). You still can’t sleep in her bed, though, but hey… a lady’s gotta have some limits, right? While you’re up here, take a look at Piper’s Terminal to see the stories she has written, which include some commentary and even an “Ask Abby” type of column. Good stuff!
Stimpaks and an Ammo Box, which you can loot freely after the interview (beforehand they’d be stealing). You still can’t sleep in her bed, though, but hey… a lady’s gotta have some limits, right? While you’re up here, take a look at Piper’s Terminal to see the stories she has written, which include some commentary and even an “Ask Abby” type of column. Good stuff!
Painting the Town
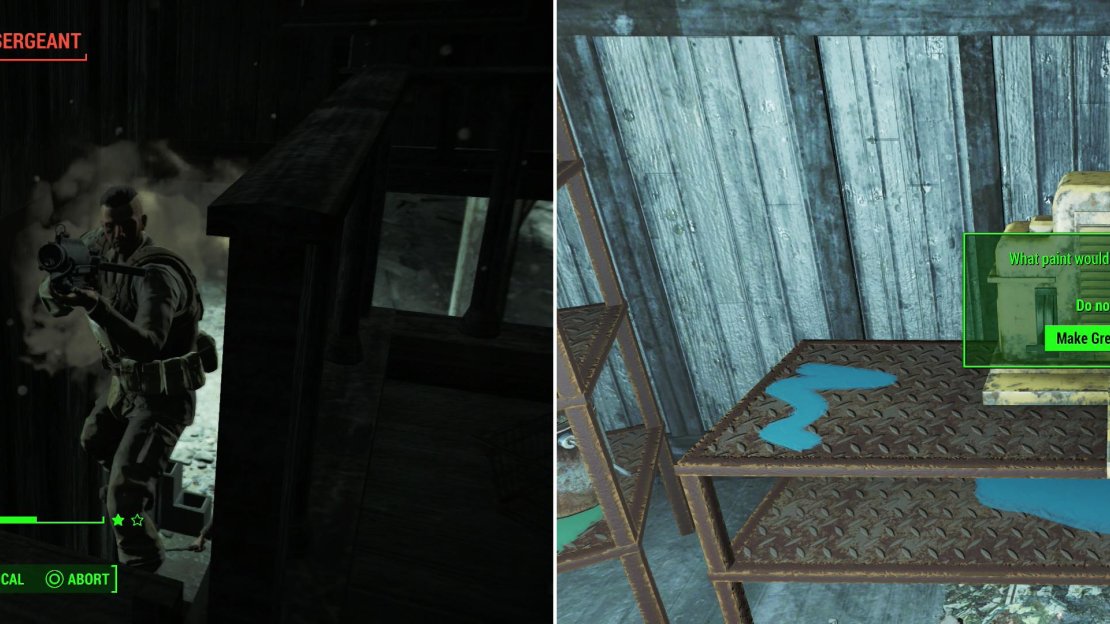
To complete this quest you’ll need to return to ![]() Hardware Town (yes, even if you just cleared it out earlier). The place is now occupied by Gunners, which present a stiffer challenger than the Raiders who originally occupied the place did. All the loot is the same, however (save the Picket Fences magazine - no double-dipping on skill books!), so it doesn’t bear discussing again. Kill the half-dozen or so Gunners squatting here and make your way to the south-western corner of the warehouse part of the store to find the paint Abbot wants; plenty of Blue Paint and Yellow Paint. Of course, he wants to maintain the “Green Monster”, and to do this you’ll have to pick up a can of both Yellow Paint and Blue Paint, then use the nearby Paint Mixer to get Green Paint. It’s more profitable in the long run to make the Green Paint, but if you want to see the “Green Monster” become somewhat less green… well, take the Blue Paint and/or Yellow Paint, as well.
Hardware Town (yes, even if you just cleared it out earlier). The place is now occupied by Gunners, which present a stiffer challenger than the Raiders who originally occupied the place did. All the loot is the same, however (save the Picket Fences magazine - no double-dipping on skill books!), so it doesn’t bear discussing again. Kill the half-dozen or so Gunners squatting here and make your way to the south-western corner of the warehouse part of the store to find the paint Abbot wants; plenty of Blue Paint and Yellow Paint. Of course, he wants to maintain the “Green Monster”, and to do this you’ll have to pick up a can of both Yellow Paint and Blue Paint, then use the nearby Paint Mixer to get Green Paint. It’s more profitable in the long run to make the Green Paint, but if you want to see the “Green Monster” become somewhat less green… well, take the Blue Paint and/or Yellow Paint, as well.
Return to Hardware Town to find the Raiders replaced with Gunner (left). Once they’re dead, take some yellow and blue paint and mix up another coat of paint for the green monster (right).
With the paint in hand, return to Abbot and tell him you have the paint. He will ask you to make the first stroke on the wall with it, which is where you can either use the green, blue or yellow paint. Green is the color you want if you want to get paid extra, but it is up to you. If you bartered earlier and use Green, you will get a bonus for a total of 300 Caps. If you didn’t barter at all, you will get a bonus as well (if you use the Green Paint) for a total of 200 Caps. Blue and Yellow will get you the original payments promised (between 100 and 200 Caps, depending on your speech successes), but just no bonus whatsoever.
| Objective | Reward |
|---|---|
| For getting Abbot some paint | 181 XP 100 - 300 Caps |
Out in Left Field
Time to turn your attention to the quest “![]() Out in Left Field” , where you’re tasked with recovering three pieces of baseball memorabilia from the
Out in Left Field” , where you’re tasked with recovering three pieces of baseball memorabilia from the ![]() Westing Estate south-west of Diamond City. There’s not a lot of new ground to cover along the way, so if you can, it is best to fast-travel to
Westing Estate south-west of Diamond City. There’s not a lot of new ground to cover along the way, so if you can, it is best to fast-travel to ![]() Mass Pike Tunnel West and continue your journey south-west.
Mass Pike Tunnel West and continue your journey south-west.
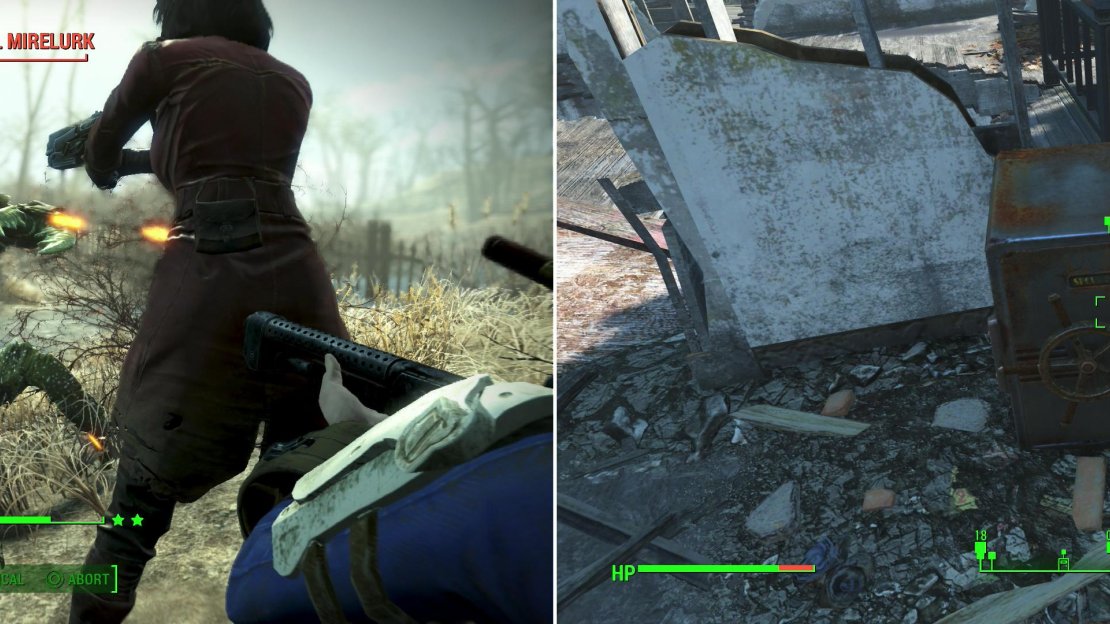
Once you do get to Westing Estate you will see that the flooded buildings here have long since broken down. There are three obvious objective markers, but before looting them go around and try to target the ![]() Mirelurks in the area. If you are a ranged character, get their attention from a distance and try to sneak attack them, but targeting them can be hard as they are laying down in the water. You can expect to face two full-grown Mirelurks as well as some
Mirelurks in the area. If you are a ranged character, get their attention from a distance and try to sneak attack them, but targeting them can be hard as they are laying down in the water. You can expect to face two full-grown Mirelurks as well as some ![]() Mirelurk Hatchlings. Wipe them out, then grab their
Mirelurk Hatchlings. Wipe them out, then grab their ![]() Mirelurk Eggs near the garage area.
Mirelurk Eggs near the garage area.
Water usually means Mirelurks, and so it proves true again at submerged Westing Estate (left). Once the Mirelurks have been disposed of, loot the site for whatever baseball memorabilia you can find (right).
With them dead you just need to search around for the items you came here to recover. This includes the Toolbox in the garage in which you’ll find the “Signed Catcher’s Mitt”. In a Safe [Novice] on the second floor of the broken down house along the eastern side of the estate you’ll find the “Signed Baseball”. Finally, the the last item - the “Signed Baseball Card” - can be found across the planks west of the Safe, in a Chem Cooler. Also be sure to grab the issue of Unstoppables on the ground near the mattress while you’re over here. When you have all three of them, return to Diamond City. Go talk to Moe to turn in your items and get the money you both agreed upon. Once you turn int he items, this quest will be complete.
| Objective | Reward |
|---|---|
| For recovering the baseball memorabilia for Moe Cronin | 181 XP 100 - 300 Caps (per item) |
Doctor Duffs Bloatfly Gland
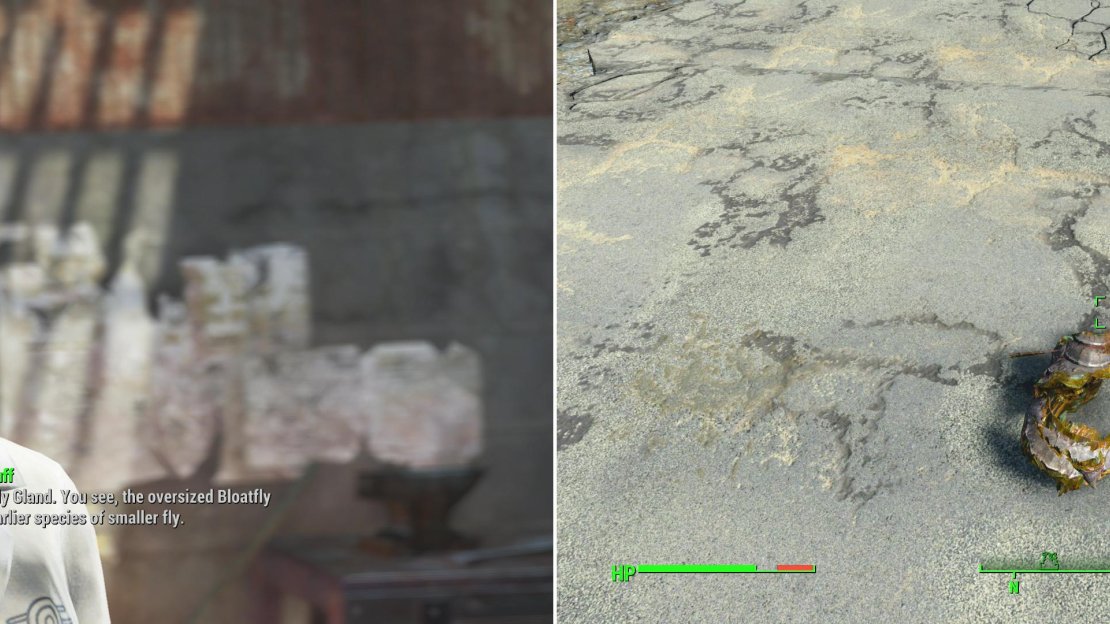
Now let’s go find the Bloatfly Gland Doctor Duff wants, which is actually a bit involved, since just any old Bloatfly won’t drop a gland. Oh no, to find one of these you’ll need to trek to the Poseiden (their typo, not mine) Energy Turbine #18-F, which is south-east of ![]() Mystic Pines. Fast-travel to Mystic Pines and head east to reach the river, which you should then follow south-east until you find a humble dike you can cross. Once you cross the river, continue following the eastern bank to the south-east, then east until you find another structure crossing the river to the south… this one properly deserving the title of “bridge”. Cross
Mystic Pines. Fast-travel to Mystic Pines and head east to reach the river, which you should then follow south-east until you find a humble dike you can cross. Once you cross the river, continue following the eastern bank to the south-east, then east until you find another structure crossing the river to the south… this one properly deserving the title of “bridge”. Cross ![]() Tucker Memorial Bridge to the south, being wary of Frag Mines, oil slicks and other explosives as you go. One stray bullet could cause things to go badly on this bridge. Once on the far (southern) side of the bridge, continue south along the river to the east until you shortly find another bridge to the north-east, which leads to your objective; Poseiden Energy Turbine #18-F. Make your way to the north-eastern end of the building to find your unique Bloatfly… unique only in that it carries the Bloatfly Gland you need. What, you thought you’d need to go through the place to fight some super mega Bloatfly Queen at the end? Nope. Nosiree. But… since you’re here… well… why not explore the place?
Tucker Memorial Bridge to the south, being wary of Frag Mines, oil slicks and other explosives as you go. One stray bullet could cause things to go badly on this bridge. Once on the far (southern) side of the bridge, continue south along the river to the east until you shortly find another bridge to the north-east, which leads to your objective; Poseiden Energy Turbine #18-F. Make your way to the north-eastern end of the building to find your unique Bloatfly… unique only in that it carries the Bloatfly Gland you need. What, you thought you’d need to go through the place to fight some super mega Bloatfly Queen at the end? Nope. Nosiree. But… since you’re here… well… why not explore the place?
Doctor Duff in Diamond City will delegate the duty of delivering a Bloatfly Gland to her (left). You can find a Bloatfly which is guaranteed to drop such a gland outside of the Poseiden Energy Turbine #18-F area (right).
Poseiden Energy Turbine #18-F
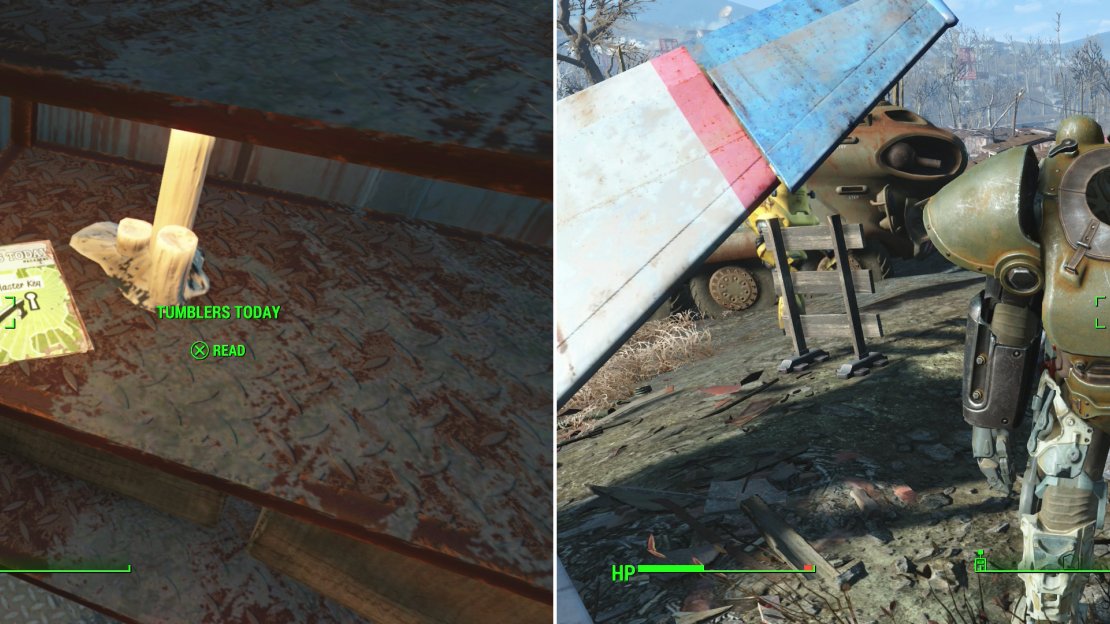
From the north-eastern side of the building turn south-west to spot some stairs leading into a metal structure. Inside, expect to face Radroaches and Bloatflies, but on the plus side you can loot a Nuka Cola Vending Machine to find two bottles of Nuka Cherry. Continue south-west and make your way down into some radioactive water, then swim north-west onto another walkway. Make your way into a small chamber where you’ll need to dispatch two Glowing Radroaches, after which a Steamer Trunk will be yours for the taking, as well as a copy of Tumblers Today on the metal shelf nearby.
Inside the ruins of the Poseiden Energy Turbine #18-F building you can find a copy of Tumblers Today (left). Nearby, on a hill, you’ll find an abandoned suit of Power Armor. Score! (right).
Leave the building and, once outside, make one more stop before returning to Doctor Duff. Make your way uphill to the north-east to find two APCs, one of which is open, and can be looted for a First Aid Box. To the south-east you’ll find a crashed plane being patrolled by a Utility Protectron. More interestingly you’ll find a Power Armor Frame nearby with an incomplete suit of T-51 Power Armor on it (T-51b Torso, T-51 Left Arm and T-51 Right Arm). Half a suit of Power Armor is better than nothing, and you can’t beat these prices! Take the armor and place it at a free Power Armor Station in one of your settlements, then return to Doctor Duff in Diamond City to claim your reward.
| Objective | Reward |
|---|---|
| For bringing Doctor Duff a Bloatfly Gland | 91 XP 100 - 200 Caps |


No Comments