One of many Enclave-related bits of Creation Club DLC officially added to Fallout 4 with the next-gen update, ![]() Pyromaniac is a short quest that tasks you with hunting down a Forged raider named Pyro and recovering a suit of Hellfire Power Armor. This page will provide a walkthrough for the quest Pyromaniac in Fallout 4, including the location of Pyro’s camp
Pyromaniac is a short quest that tasks you with hunting down a Forged raider named Pyro and recovering a suit of Hellfire Power Armor. This page will provide a walkthrough for the quest Pyromaniac in Fallout 4, including the location of Pyro’s camp
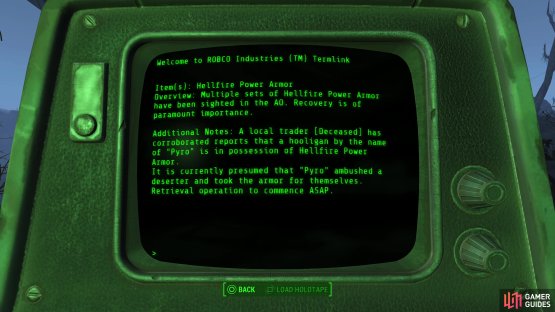
(1 of 2) While you can find out about the “Pyromaniac” quest by perusing an Enclave terminal during “Echoes of the Past”,
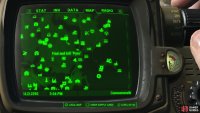
While you can find out about the “Pyromaniac” quest by perusing an Enclave terminal during “Echoes of the Past”, (left), you really only need to locate Pyro’s camp - west of Saugus Ironworks. (right)
Find Pyro’s Camp
The Enclave’s primary purpose in the Commonwealth seems to be rather similar to the Brotherhood of Steel’s primary directive - to plunder advanced tech. Their motivations for doing so are different, but in the case of the Brotherhood of Steel they’re disingenuous anyways, and this concentration of tech in one place always seems to result in military domination. Fortunately for everybody in the Commonwealth, the Enclave seems more adept at losing their tech than actually getting their hands on anything new, and if you follow the main Enclave quest Echoes of the Past, you’ll be a primary cause of these losses.
In the case of the quest Pyromaniac, an opportunistic group of pyromaniacal raiders happened to get their grubby paws on some of the Enclave’s advanced Power Armor, specifically a suit of Hellfire Power Armor, and this quest allows you to target this Forged raider - aptly named Pyro - to get your hands on some swanky new Power Armor without having to tangle with the more formidable Enclave. This quest should start automatically if you’re playing the next gen update or an up-to-date version of Fallout 4 on PlayStation 4, Xbox One or PC, provided you’ve played far enough to escape Vault 111.
While part of the Enclave family of Creation Club content, Pyromaniac is a stand-alone quest that doesn’t actually require you to engage in any other Enclave content. You can, however, learn a bit about this quest during ![]() Echoes of the Past; track down the missing caravan and when you reach the Enclave camp, clear it out, investigate an Enclave Field Operations Terminal, pick the “Retrieval Logs” then “Hellfire Power Armor” to learn that the Enclave is aware that a raider named Pyro has managed to get his hands on a suit of their Hellfire Power Armor.
Echoes of the Past; track down the missing caravan and when you reach the Enclave camp, clear it out, investigate an Enclave Field Operations Terminal, pick the “Retrieval Logs” then “Hellfire Power Armor” to learn that the Enclave is aware that a raider named Pyro has managed to get his hands on a suit of their Hellfire Power Armor.
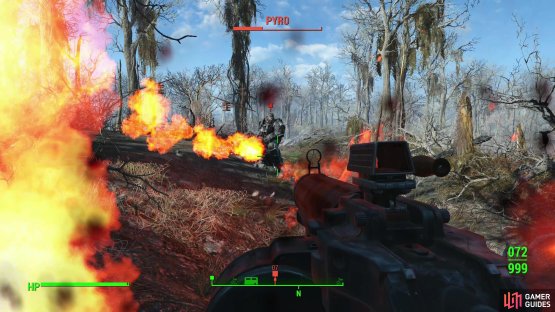
(1 of 2) Defeat Pyro, who, as his name implies, is fond of fiery weaponry,
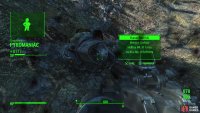
Defeat Pyro, who, as his name implies, is fond of fiery weaponry, (left), and claim his stolen Hellfire Power Armor, now twice stolen. (right)
Defeat Pyro
Good news for you and bad news for this Pyro fellow, he’s not all that far from the Enclave camp you’ll explore during Echoes of the Past. The Forged are based around the Saugus Ironworks, and Pyro hasn’t ventured far from home - you’ll find his humble “camp” just west of ![]() Saugus Ironworks, southeast of Listening Post Bravo. There’s a surprisingly humble bonfire marking the location, but otherwise Pyro himself is the most noteworthy feature of this unmarked camp.
Saugus Ironworks, southeast of Listening Post Bravo. There’s a surprisingly humble bonfire marking the location, but otherwise Pyro himself is the most noteworthy feature of this unmarked camp.
As is the norm for Forged raiders, Pyro prefers fiery weapons and comes armed with a ![]() Flamer (presumably he wasn’t lucky enough to nab a
Flamer (presumably he wasn’t lucky enough to nab a ![]() Heavy Incinerator from the Enclave). He’s also got goons, although these are less well armed. Pyro is the main threat due to his better armament and, most of all, his Power Armor, which bestows impressive damage reduction. Still, he’s no Enclave Soldier, as much as he dresses like one, and enough firepower should be sufficient to bring him down. Since he’s using a relatively short-ranged weapon, if you have a longer-ranged weapon and a critical hit banked you can make this encounter quite easy, if you’re willing to snipe.
Heavy Incinerator from the Enclave). He’s also got goons, although these are less well armed. Pyro is the main threat due to his better armament and, most of all, his Power Armor, which bestows impressive damage reduction. Still, he’s no Enclave Soldier, as much as he dresses like one, and enough firepower should be sufficient to bring him down. Since he’s using a relatively short-ranged weapon, if you have a longer-ranged weapon and a critical hit banked you can make this encounter quite easy, if you’re willing to snipe.
Once Pyro is defeated the quest will end and you’ll gain some XP. Be sure to loot Pyro for his pilfered Power Armor before leaving - that’s rather the point of this entire quest. If you want more stolen Enclave gear, the Forged holed up in Saugus Ironworks should have a Heavy Incinerator you can grab. This is object of the quest [![]() Crucible], which is significantly more involved.
Crucible], which is significantly more involved.


No Comments