Walkthrough for the quest Tradecraft in Fallout 4.
| Important Items in This Area |
|---|
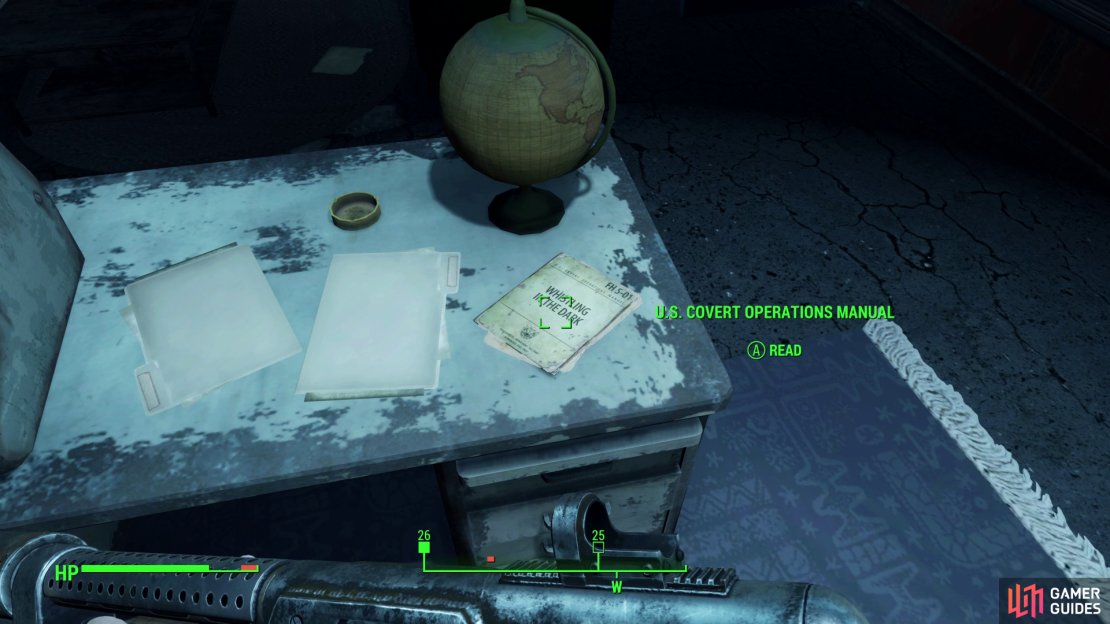
| U.S. Covert Operations Manual |
After meeting the Railroad, talk to Deacon to start the quest “Tradecraft”.
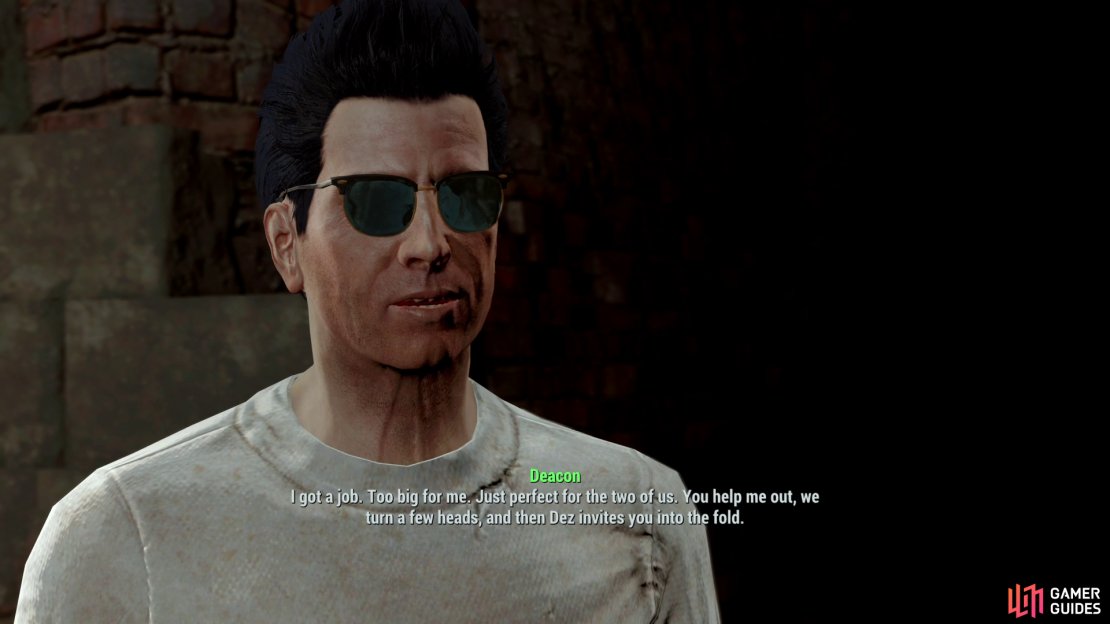
While you may have found the Railroad, you haven’t joined them yet. Desdemona claims the Railroad doesn’t have the resources to train another field agent, while Deacon seems oddly obsessed with getting you onboard. Both of their responses can be explained by completing the next Railroad quest, Tradecraft. To start this quest, you’ll need to talk to Deacon. During your conversation you can attempt to pass some dialog checks, which will get him to reveal he’s been scouting you out. Pass the checks, ask about his job, then agree to help him without much information and he’ll tell you to meet him under the Lexington Highway - the highway that runs east/west through Lexington. He, however, will want you to meet up closer to Walden Pond, between [Rocky Narrows Park] and Drumlin Diner.
To get there efficiently, fast travel to Walden Pond, which is south of Concord in the north-western corner of the map. Deacon will be just to the east, but beware of Gunners who may attack from the freeway, who certainly respawned by now. Once you meet up with Deacon you’ll… well… notice that he’s fond of his disguises. Well then, ask him what we are doing and he’ll inform you that you are heading to their old HQ to retrieve an item… after talking to a “Tourist” to get some intel. Go ahead and follow Deacon now and he’ll explain the Railroad’s codes to you, showing them to you as you go.
Rendezvous with Deacon and follow him, dispatching whatever Ghouls arise to challenge you.
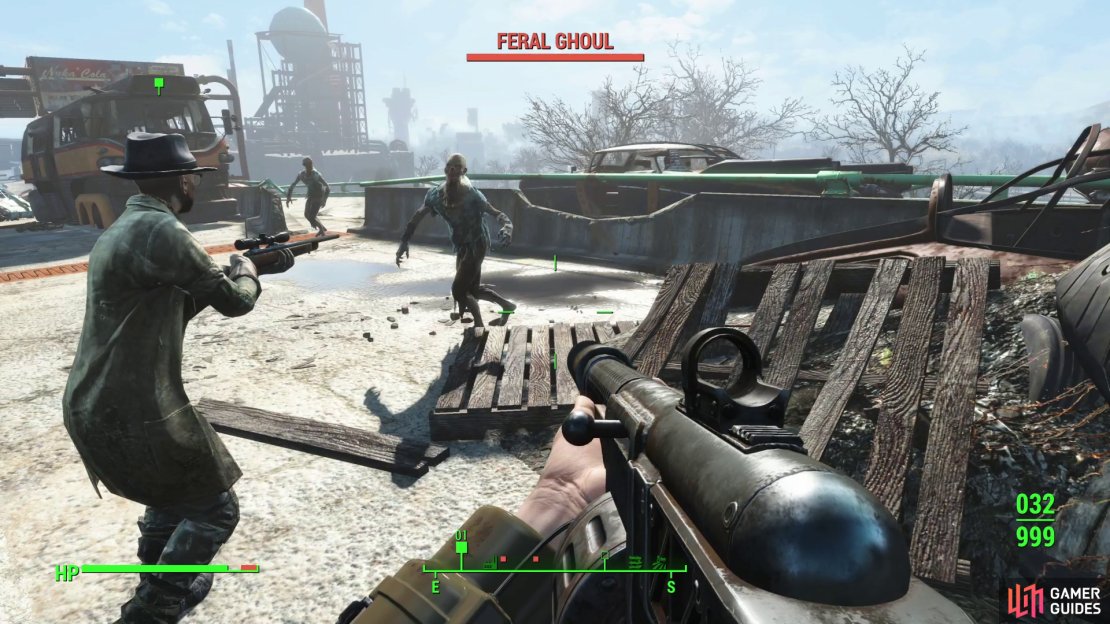
Continue to follow Deacon on the highway and you’ll be ambushed by some Ghouls. Help him take them out and continue. The bus up ahead has two more Ghouls in it, so enter it and take them out (one to the left, one to the right), then grab the Nuka Cola Quantum by the driver’s seat. You’ll find a camp further along the road, so raid it for supplies and head onward. Deacon will mention that no matter what the Tourist says, to reply with “Mine is in the Shop”. Head onward to meet the “Tourist”. Here you can use the “Railroad Password” or just… say whatever you want to have Deacon cover for us. Heh. Ricky will then give you some intel, mentioning that the front entrance is a minefield and heavily guarded, and tells you if you want any further help to ask.
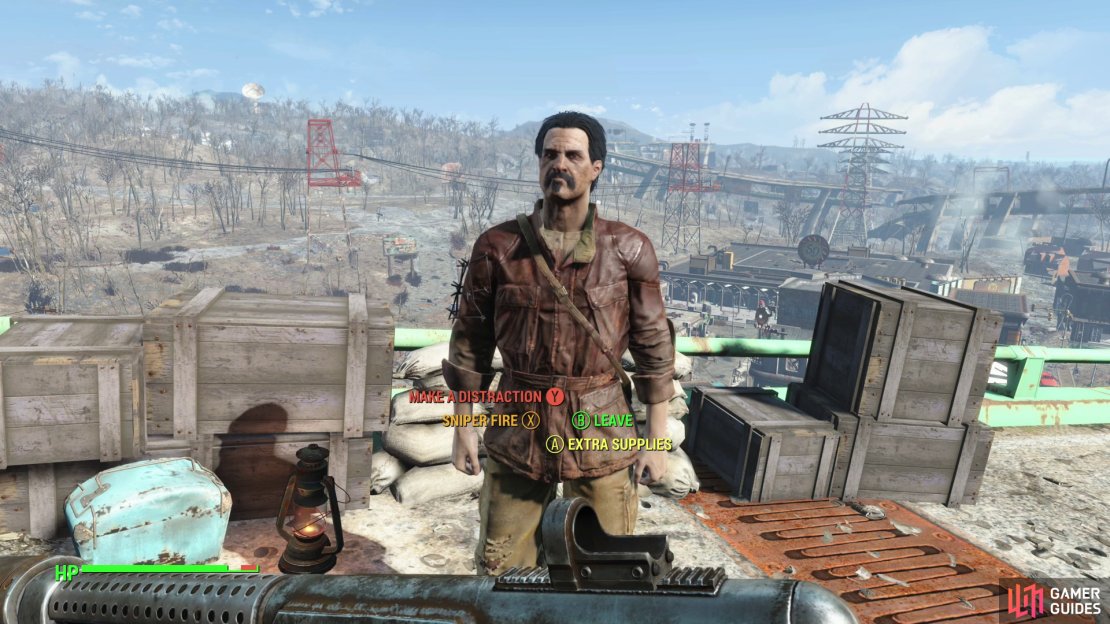
At this point you can choose to ask Ricky for a few things, all of which require speech checks, so use that Charisma gear if you have it. If you can get a moderate speech check you can have Ricky either give you some extra supplies or provide sniper fire. If you can pass a hard speech check, you can have him make a distraction. Honestly the way you are going you may as well just ask Ricky for supplies, and even then just to get the speech check XP.
Head back the way you came and Deacon will soon stop us and ask you to decide whether or not to attempt a frontal assault or to go through the escape tunnel. Honestly, this is not very much of a decision. For what it is worth, you are going to explore both eventually, but for a tactical advantage you want to take the escape tunnel, so choose that option and keep following the guide (and yes, this means Ricky isn’t lying: the front is well guarded).
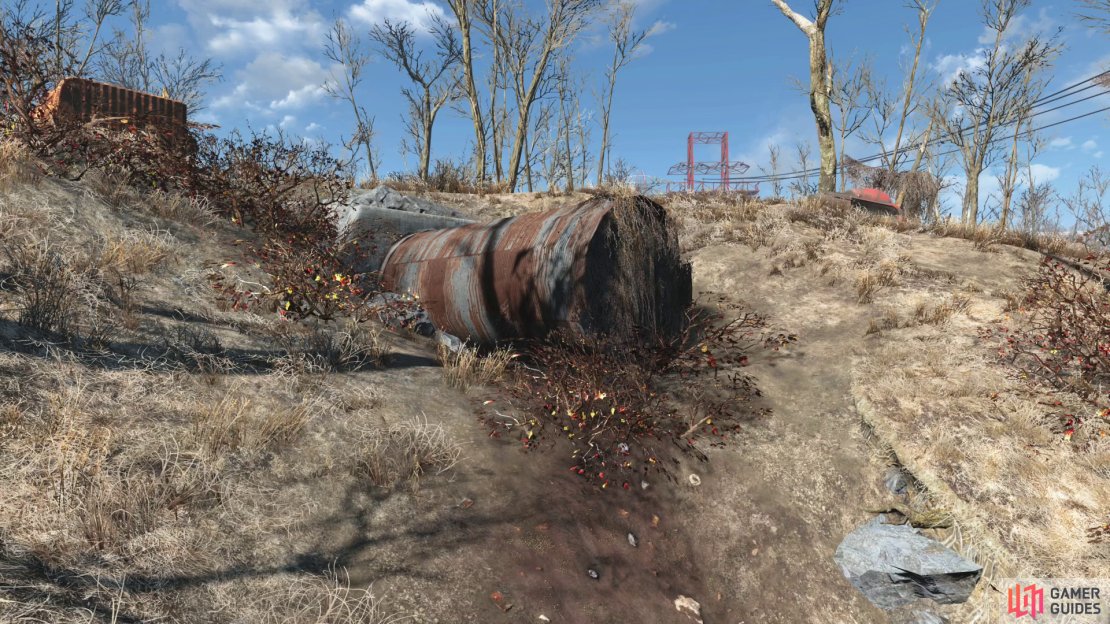
Decide to take the tunnel and you will have to head back off the freeway - if you convinced Ricky to snipe for you, he will follow as well. Once you’re back on the ground, head northeast along some railroad tracks (one of the cars on track has a cage suit of Power Armor inside, if you haven’t obtained it already), carrying on until the objective marker leads you to a drainage pipe. Enter the pipe (which cleverly has heavy foliage to disguise it) and use the door to zone into The Switchboard.
Instead of making a dangerous frontal assault on Slocum Joe’s, seek out a sewer entrance to the Switchboard.
The Switchboard
Deacon will chat with you for a bit and tell you your purpose for being here, after which, continue forward to find a locked door which can only be opened by hacking a Terminal [Master], a feat Deacon will manage for you if you wait too long. Head forward to a locked door. Once it’s open, head through the door to find more Railroad markings and the body of Roger, one of many, many named bodies you’ll find along the way. They weren’t exaggerating the extent of the catastrophe that befell the Railroad here.
(1 of 2) Deacon will get you into the Switchboard,
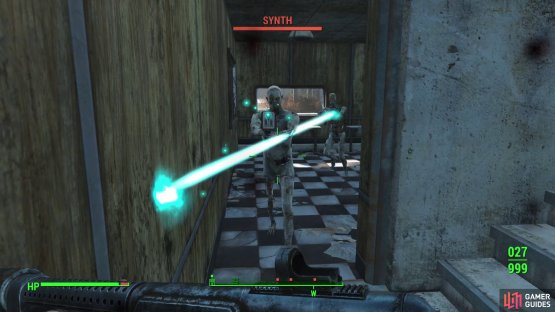
Deacon will get you into the Switchboard, (left), while the task of fighting through roving squads of Synths will be largely left to you. (right)
Continue down some stairs where you’ll find several more Synths to destroy, after which you’ll find the body of Sly Nicholas and some Turrets to loot. Continue on past the body of Francis O’Dell and Deacon will point out another terminal, which you can use to turn on the turret up ahead to give the enemy a surprise, but it will get shot up in seconds. Still, it is a good diversion. Do it and join the attack to kill the Synths you find, then enter a pipe and travel inside of it until you reach another small chamber with a locked door. This one is opened by a Terminal [Novice] so go ahead and hack it and open up the way forward. This next room has multiple Synths in it, all of which can easily - and stealthily - be taken out.
(1 of 3) You can find a US Covert Ops Manual in a control room.
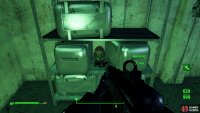
Once the gunfire stops, go through some blue double doors to the south-east to find a small room with a Fusion Core and a bed in it, should you need a nappy-nap. The terminal in the lower, larger room also has some interesting notes about the war, but head up to the center room and check the middle desk up here for a U.S. Covert Operations Manual , which when picked up will give you a welcome boost to your sneakiness. The two computers up here are both [Expert] terminals, and the “Central Terminal” just has some flavor text while the one by the door can turn off the Laser Tripwires in the hallway beyond. Turn them off if you want, but if you leave them on you can get XP for disarming them, as well as components.
Do what you will with the tripwires, open the doors, and proceed south-west down the hallway to find two doors, one to the south-east and one to the north-west. In the former path you’ll find two Synths who should be promptly taken out. After they’re gone you can safely explore the north-western path, down when you’ll find two bathrooms (one with a Synth inside) and a door [Advanced], beyond which you can loot a Duffle Bag and a Toolbox. Not very interesting.
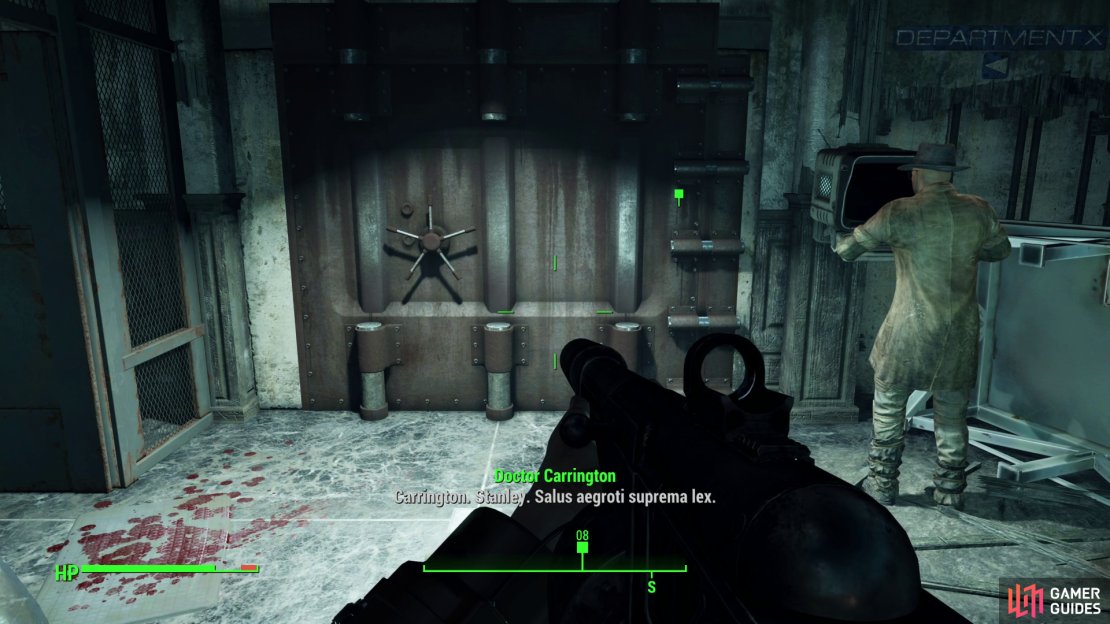
(1 of 4) Reach a sealed vault and once again, Deacon will be your key.
Take the south-eastern path, then, until you reach a hallway with a Synth. Take him out and go down a hallway to the north-east to reach a room with three Synths in it, one of which is a Leader. Take them all out and loot a Steamer Trunk, then head into a caged-off area to the north-east to find a table upon which rests a Bottlecap Mine and two Hazmat Suits. While you’re busy looting, Deacon will use a terminal nearby and opens up a security door, beyond which you’ll find another dead Railroad member, but this one has a treat for you (thanks to Deacon anyways): the “Deliverer”, a suppressed pistol that “Improved VATS hit chance, 25% less Action Point cost”. Not too bad but by now, you’ve probably seen better. Loot the room now for a Mini Nuke, two Stealth Boys and what you came here for; “Carrington’s Prototype”.
Head back to the hallway and note (using VATS) the mines in the central path. Three Cryo Mines. Disarm them all, then head into a room to the south-west to find a “Research Terminal” on a desk which is worth a read. Afterward, hack a Terminal [Novice] on the wall to the south-west and use the terminal to open the door to the north-west, beyond which you’ll find a Bobby Pin Box and some chems.
(1 of 2) Escape the Switchboard and fight your way through Slocum Joe’s - an easier feat from the interior,
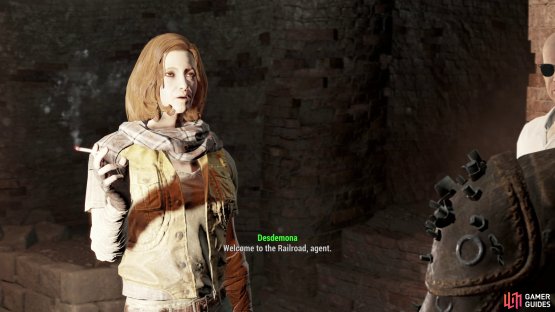
Escape the Switchboard and fight your way through Slocum Joe’s - an easier feat from the interior, (left), then return to Desdemona, who invites you to join the Railroad. (right)
Return north-east to the hallway and head up some stairs past where the Cyro Mines were to reach the entrance room, where two more Synths lurk. Take them out and pick the locked door [Advanced] near the stairs to find a Fusion Core and a Toolbox. Once looted, head up and interact with another Terminal to power up the elevator, then ride it on up. Move the bookcase you find yourself behind and head up the stairs to surface in an abandoned shop south-west of Super Duper Mart.
Out here you should save your game then head up the stairs. There is an “employee only” area nearby (with junk) and more stairs heading up that you should leave alone for now. Out in the main dining area are three Synths and two turrets. Once you clear the front out, go up the stairs and take out the turret up there as well. Loot afterwards. And, just like Rusty said, there are mines all over in front of the store, so feel free to disarm and collect them.
After the fighting is over Deacon will tell you that he is heading back on his own, so once you are done with this area go ahead and fast travel back to the Old North Church. Head down to the Railroad HQ and you will hear Deacon telling Dez all about your exploits (and lying quite generously on your behalf, at that). If you wish, put on your Charisma gear and save, then talk to Dez. You can attempt to pass a moderate speech check with her to agree with Deacon, but no matter what you do she will be quite impressed and will offer you a place in the Railroad. Ah shucks… go ahead and accept to finish this quest. Dez will also have you pick out a codename, so pick whichever one you wish, but choose carefully! An agent is only as good as their codename!
| Objective | Reward |
|---|---|
| For joining the Railroad | XP |
Railroad HQ
Once you’ve joined the Railroad, follow Dez into the Railroad HQ (check out the linked page for details about this area). The next quest in the Railroad questline, [Boston After Dark], will start, which you can peruse at your leisure after you’ve been introduced to the rest of the Railroad members.






No Comments