
Walkthrough for the Concord area in Fallout 4, including the Concord Civic Access subarea.
If you follow the road from Sanctuary past the Red Rocket Truck Stop you should eventually find yourself in Concord, just keep going south at the fork past the aforementioned gas station. This is where the first quest in the game Out of Time will eventually take you, and the gains make it, and its followup quest When Freedom Calls, well worth completing. These quests will see you travel through Concord and its Museum of Freedom, but you’ve little incentive to explore Concord as a whole until after you’re done with Sanctuary… the third quest you’ll likely complete in the game, not to be confused with the area of the same name (where this quest does, in fact, occur).
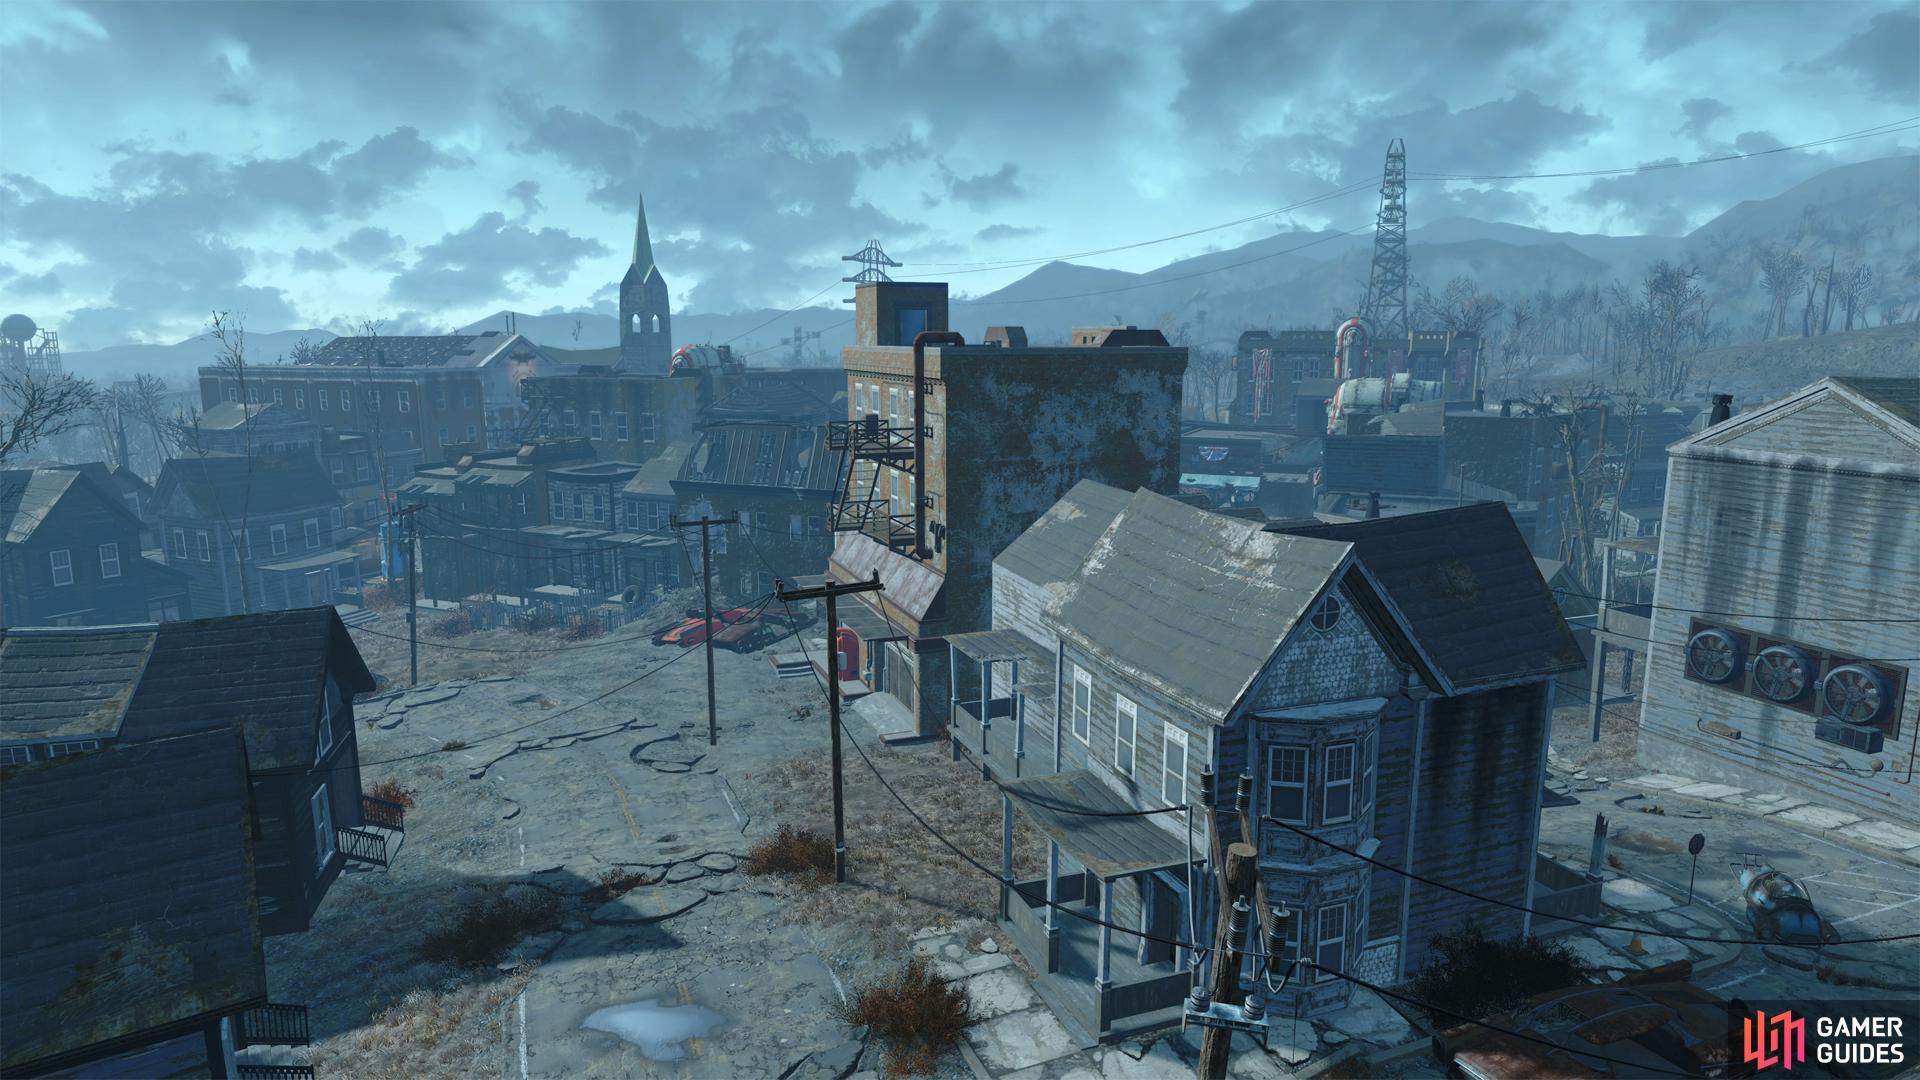
The ruins of Concord.
Exploring Concord
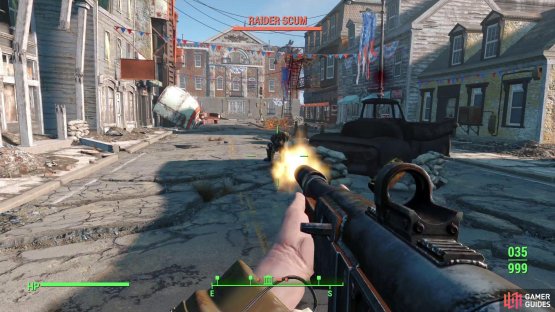
During your first trip to Concord you’ll find the Museum of Freedom beset by some Raiders, although you’ll have Preston aiding you from a balcony. Some of these Raiders will respawn over time, oddly enough, and while you won’t have support on subsequent visits, these Raiders aren’t leveled and shouldn’t pose much of a threat for long. Other than a handful of Raiders near the Museum of Freedom, there’s not much in the way of opposition in Concord.
One possible exception to this rule is a parking lot along the road east of town, where a random encounter can spawn. This can be anything from a benign encounter pointing you in the direction of some quest or area or another, or it could spawn some nasty beastie you’re not equipped to deal with. Tread carefully.

(1 of 2) You can find a Nuka-Cola Quantum in a fridge in a house along the outskirts of Concord.
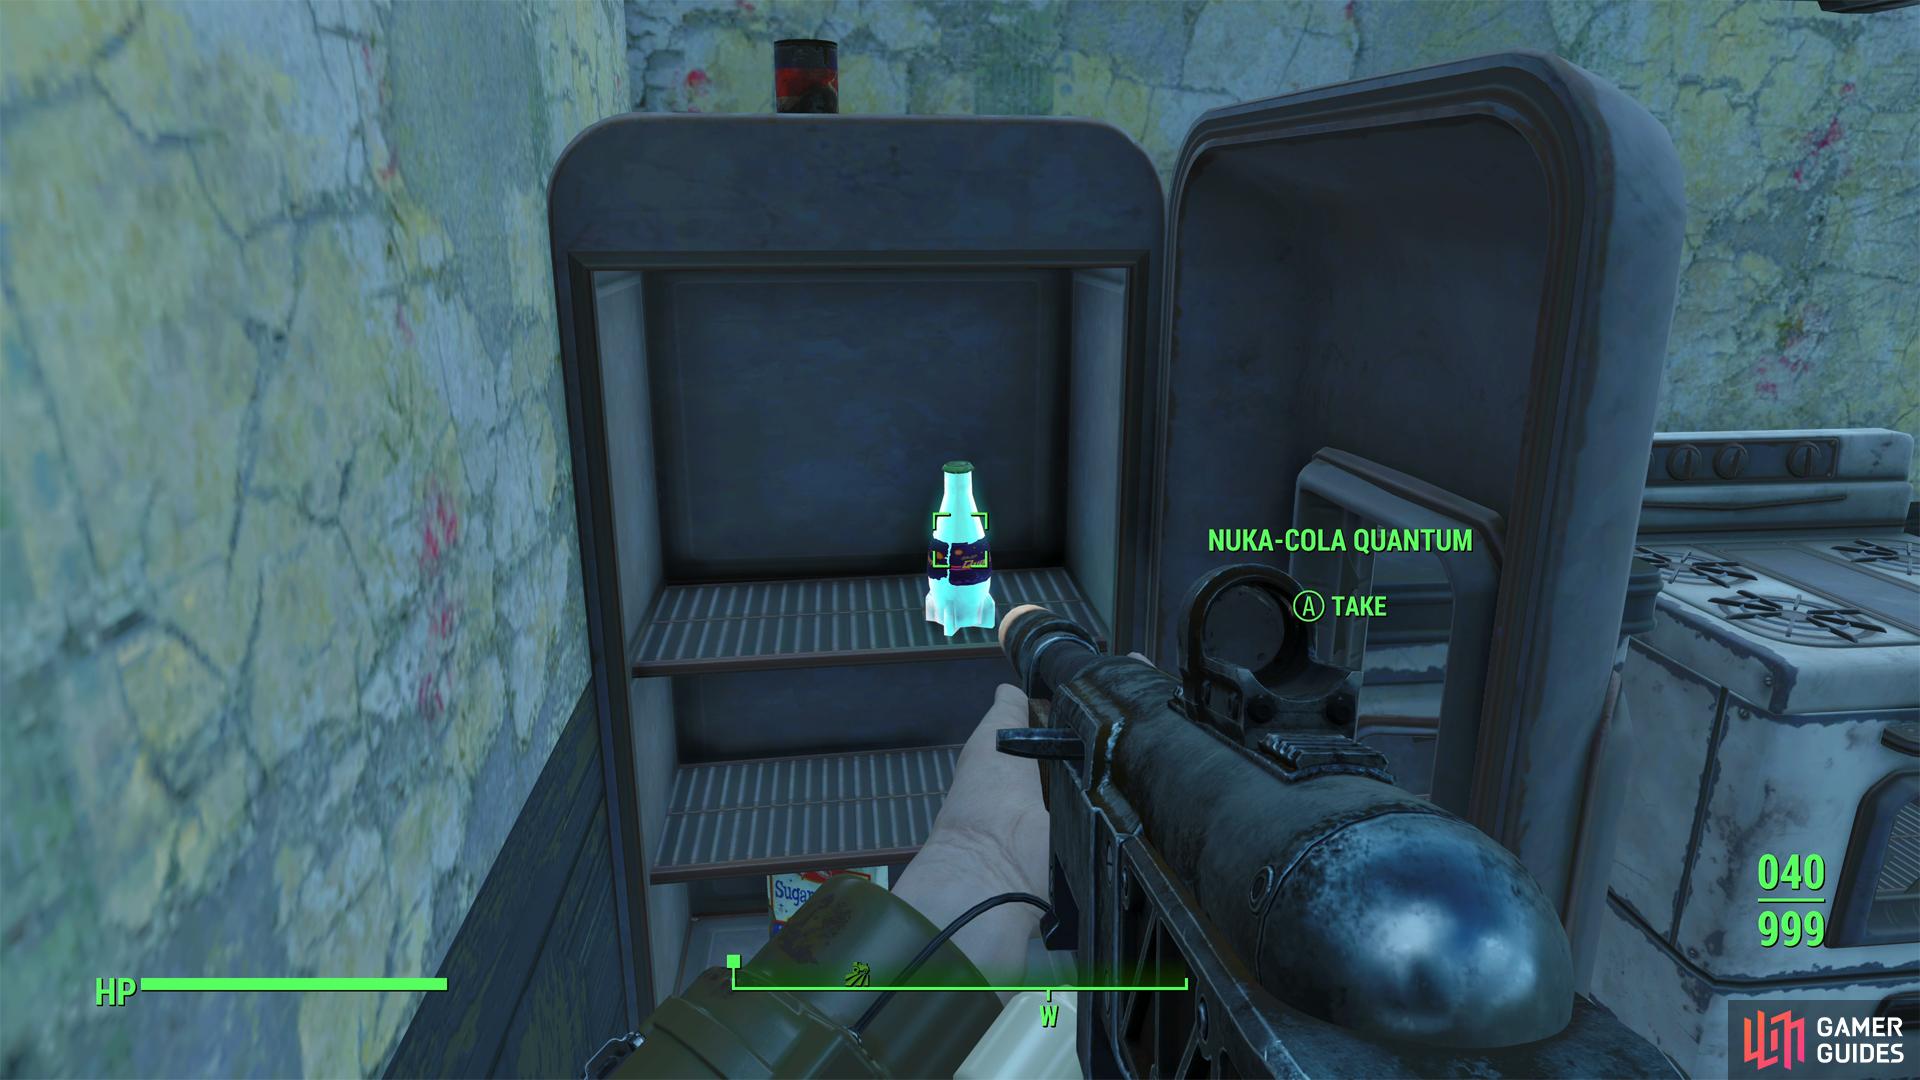
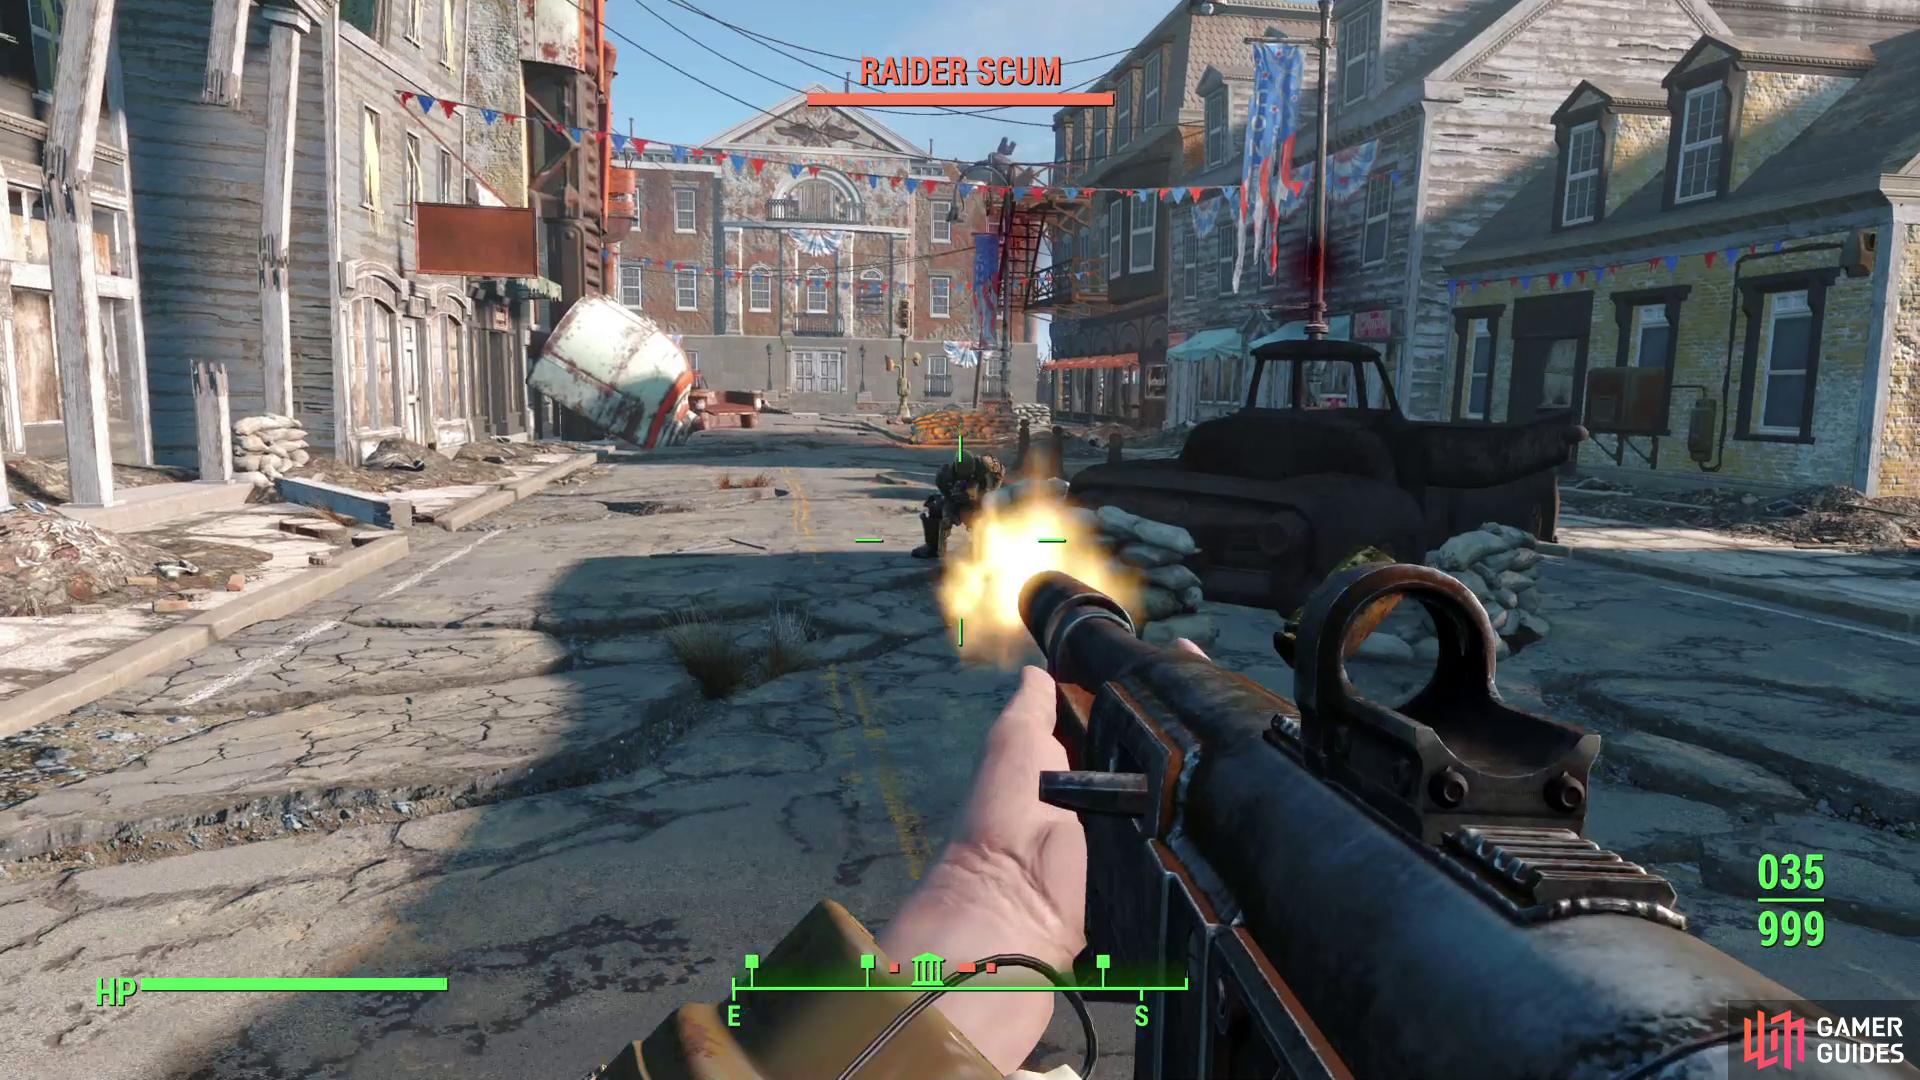
You can find a Nuka-Cola Quantum in a fridge in a house along the outskirts of Concord. (left), In the ruins of Concord you’ll find Raiders near the Museum of Freedom. (right)
As for loot, the ruins of Concord has a lot to pilfer, but little noteworthy - most of the good loot is either in the Museum of Freedom or in the Concord Civic Access subarea. Some points of interest include:
-
Following the road from the Red Rocket Truck Stop you should pass by a house on the right side of the road (west), just before the “Entering Concord” sign. In this house you can find a Nuka-Cola Quantum in the fridge, while upstairs you’ll find a Mattress you can sleep on, a Chem Box to loot and a Wall Safe [Advanced]. There’s also some Gourds out back if you want to pick up some starter crops.
-
If at the fork along the road southeast of the Red Rocket Truck Stop you turn east, you’ll pass by a single-story white house to the right. Inside you can find a First Aid box and a Safe [Novice] under a ruined bed frame.
-
At the far end of the street opposite the Museum of Freedom, just south of the steaming hole leading to the Concord Civic Access subarea, you can find a ruined brick building at the corner. Inside you can find a Fire Aid box behind the counter, and upstairs you’ll find an Ammo Box, a Tool Case and a Wall Safe [Expert].
-
On the same street, head up (southeast) towards the Museum of Freedom and go down the first alley you find to the right (near a ruined truck and some sandbag barricades). In this alley you can find a trap door leading to the Concord Civic Access subarea - an alternate route from the hole the Deathclaw emerged from earlier.
-
Continue down the street towards the Museum of Freedom a short distance, but keep an eye out for a white door to the left (northeast), which leads to the Concord Speakeasy subarea. It’ll be covered under its own header, below.
-
Continue down the street to reach the Museum of Freedom. In the church next to (southwest of) the Museum of Freedom you can find a locked Safe [Expert].
-
Return to the Museum of Freedom and head down the road to the northeast. Enter the last house on the right and loot a Chem Box on a counter, then head upstairs to find a Sleeping Bag you can use to recover lost health, and wall Safe [Novice] near a dresser. Note that this house is just east of the parking lot with the random encounter, so tread carefully.
Concord Speakeasy
You’ll find the Concord Speakeasy just northwest from the Museum of Freedom, on the right (northeastern) side of the road. Inside you can find (along with various junk) a Safe [Advanced] under the bar counter.
There is also a door locked upstairs [Advanced] that you can lock-pick. Inside is a room with several trunks and suitcases you can loot for random items. There is a 10mm Pistol in here as well, but the real goodies will be in the trunks. Finally, go through an adjacent door (unlocked) and search near a bed to find a Vault-Tec Lunchbox.
Workhouse
The Workhouse is a subarea in Concord - the least interesting of the three by far. From the Museum of Freedom, follow the road northwest until you reach a fork, at which turn right (northeast) until you find yourself at a second fork. The white door to the Workhouse should be right in front of you - just continue northeast. A lantern in front of this white door makes it stand out, especially at night.
Go up eight flights of stairs to reach the fourth floor, then go through a doorway to find a small office, where two skeletons are locked in a fight over a Safe [Advanced]. Work your way around the ruined floor to the north, jumping a gap before turning east and using a pipe to reach another slap of intact floor on the far side of the building. Once done, turn north and drop through a hole to find a Duffle Bag and a Cooler.
Concord Civic Access
| Important Items in This Area |
|---|
| Taboo Tattoos #10 |
From the Museum of Freedom head down the street to the northwest to find a hole in the street from which the Deathclaw emerged at the end of the quest When Freedom Calls. Drop into the pit and you’ll find a door leading to Concord Civic Access, one of three that leads to this area from Concord. This entrance will suffice.
Once inside, head south into a room where you’ll find a hole in the wall to the southwest and a chained door to the south. Go through the hole in the wall to the southwest and loot a Duffle Bag, then note you can drop off a ledge to the west. Abstain and return into the previous room, then go through the chained door and into the hallway beyond. When you reach a fork, turn left (south) into a room where you’ll find a Toolbox [Novice] while through a doorway to the south you can plunder a Vault-Tec Lunchbox and a First Aid box.
Return to the previous hallway and head down the stairs to the west, then turn north and head upr a short flight of stairs to reach a sewer tunnel. Make your way north, then turn left (west), killing a handful of Mole Rats as you go. Continue west until you find some stairs to the right (north). If you go up these stairs you can continue up a second flight to the north to eventually reach an exit back to Concord, or you can go west up a metal ramp which will lead you to a bridge over the sewer passage and to the southern edge of the area. Ignore both paths for now - you’ll get back to them shortly.

(1 of 3) You’ll encounter a Mirelurk in the sewers under Concord - their tough shells make them dangerous foes.
Continue west down the sewer passage, where you’ll find a Softshell Mirelurk. This beast, like everything in this area, shouldn’t scale with you, but even a low-level Mirelurk can be dangerous, as their hard shells make them very difficult to damage. If you’re here armed with a Pipe Pistol, you’re in for a rough fight, even if you can hit the relatively soft front of the crustacean. Using a high-damage weapon like a Hunting Rifle or Double-Barrel Shotgun is recommended, if you have one.
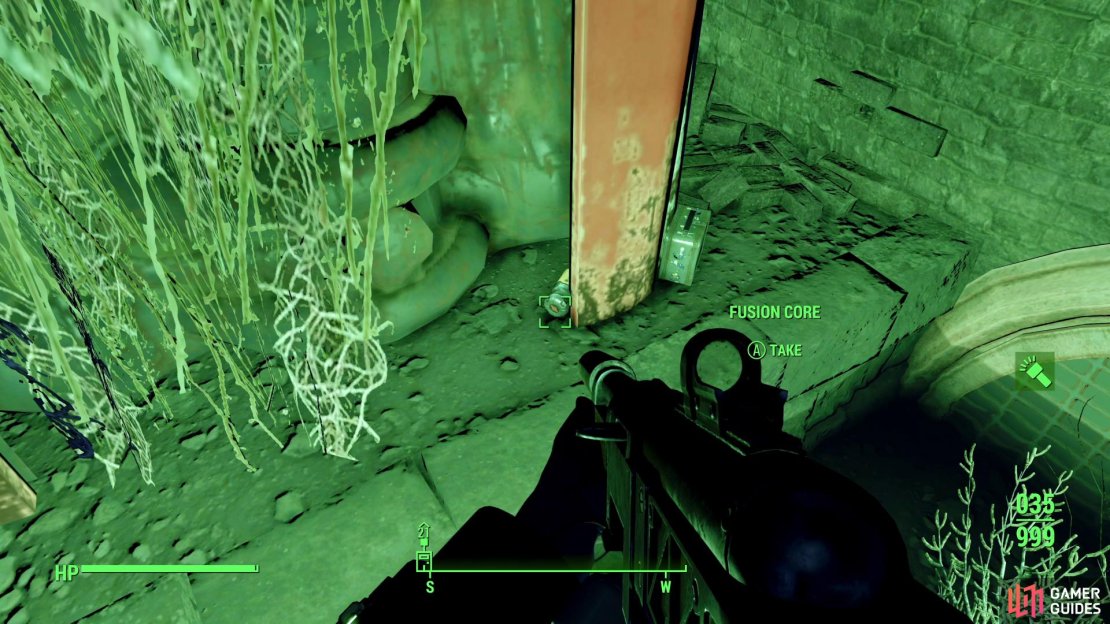
Prevail over the prawn, then loot a Raider behind it. You can use some cinder blocks to reach a ledge, upon which you’ll find a Chem Box and some drugs strewn about. Continue to the end of the sewer tunnel (west) and turn left (south) to find a Fusion Core and a Vault-Tec Lunchbox on the ground.
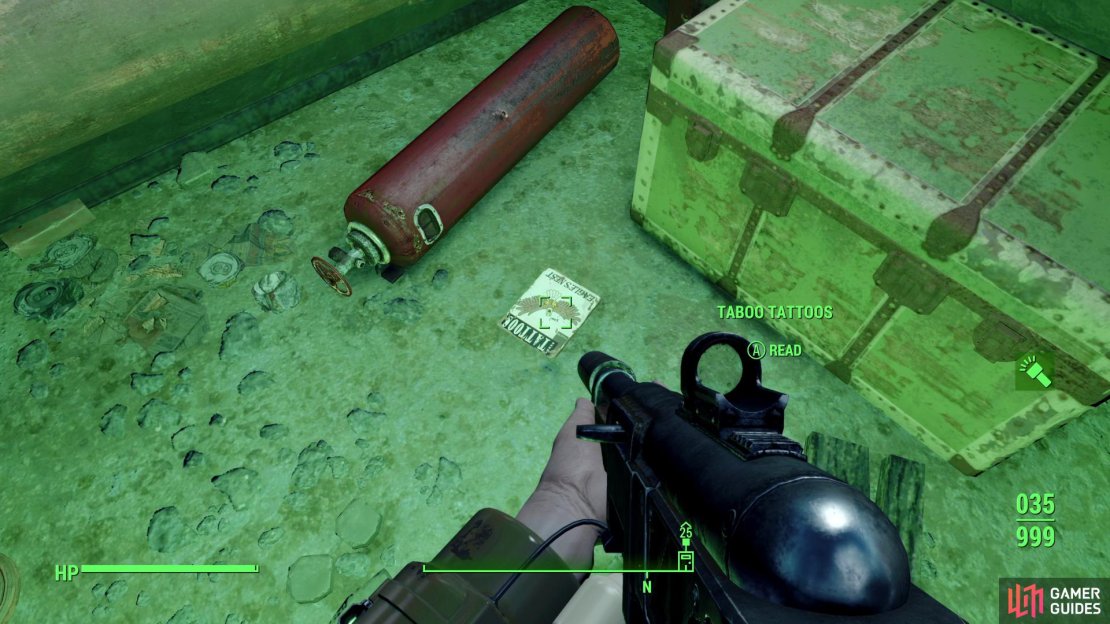
Backtrack east down the sewer tunnel and turn right (south) to find some stairs leading to a doorway and a second flight of stairs running to the east. Go south through the doorway to find a small room with a Mattress you can use to sleep off injuries, a variety of containers full of loot (including a Steamer Trunk) and the Taboo Tattoos #10 magazine, which will allow you to adorn your character with some gaudy art, should you feel so inclined.
Leave the room and go up the stairs to the east to find yourself on the far side of the bridge that spans the sewer tunnel. Go up some stairs to the south and you’ll reach another fork, with more stairs running both south and east. Going east will lead to two side chambers with some nondescript loot, while going upstairs to the south will take you past some Radroaches and ultimately to an exit that’ll take you back to the surface.
No Comments