| Important Items in This Area |
|---|
| Live & Love |
| Live & Love |
| Overdue Book |
Trouble Brewin
Once you’re back in ![]() The Shamrock Taphouse, head to the basement, activate Drinking Buddy and send him to the
The Shamrock Taphouse, head to the basement, activate Drinking Buddy and send him to the ![]() Hotel Rexford. As mentioned earlier, you can send him to one of your settlements and keep the robot, but this won’t complete the quest “
Hotel Rexford. As mentioned earlier, you can send him to one of your settlements and keep the robot, but this won’t complete the quest “![]() Trouble Brewin’” , and you can make use of his services at the Hotel Rexford. Plus, it’ll take you right to
Trouble Brewin’” , and you can make use of his services at the Hotel Rexford. Plus, it’ll take you right to ![]() Goodneighbor, so you might as well just send him there and get this over with.
Goodneighbor, so you might as well just send him there and get this over with.
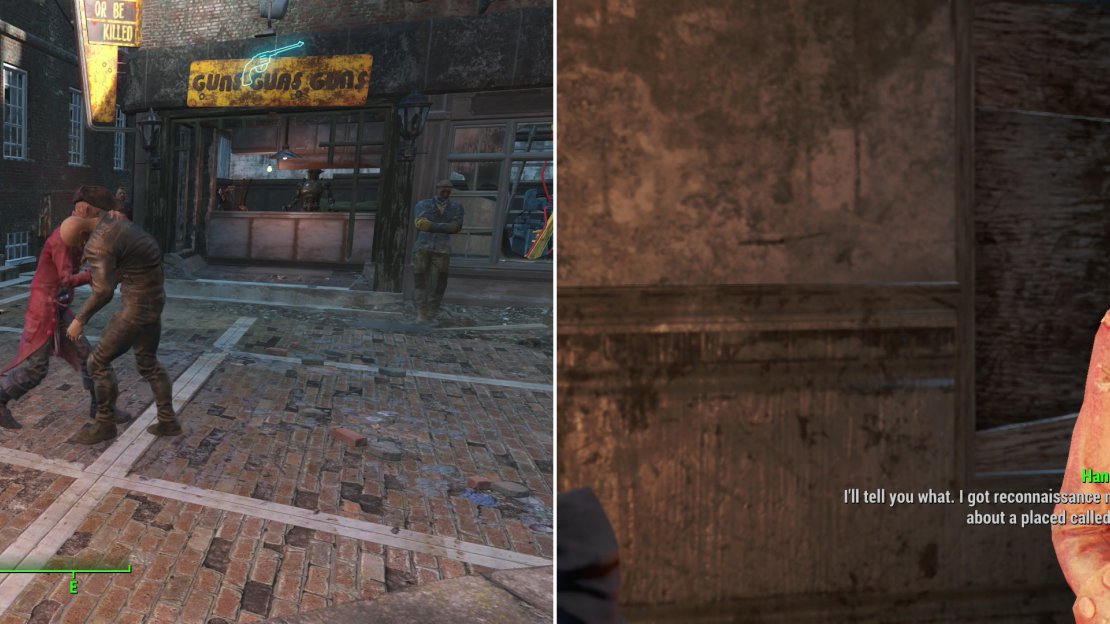
Follow Drinking Buddy to Goodneighbor and head inside, where you’ll encounter Finn, who insinuates that you need some “insurance”. Succeed at a speech check or not, and the mayor of the city, Hancock, will show up and restore order. After his display, he’ll welcome you to the city. Friendly place.
Hancock takes a “hands-on” approach to governing (left). Talk to him later in his office to get some work (right).
Kill or Be Killed
You know the drill, just like with ![]() Diamond City, this place is going to be explored thoroughly… meet new people, pick up new quests, shop, all that fun stuff. First stop, head east to find KL-E-0, who runs a weapon shop. You can succeed at an easy speech check with her and peruse her fine selection of weaponry, but more importantly, if you’re sneaky you can steal her
Diamond City, this place is going to be explored thoroughly… meet new people, pick up new quests, shop, all that fun stuff. First stop, head east to find KL-E-0, who runs a weapon shop. You can succeed at an easy speech check with her and peruse her fine selection of weaponry, but more importantly, if you’re sneaky you can steal her ![]() Fat Man,
Fat Man, ![]() Mini Nuke and other assorted goodies. You can also head upstairs and hack “KLEO’s Terminal” [Novice], which details her plans for wiping out potential threats. There’s also a “
Mini Nuke and other assorted goodies. You can also head upstairs and hack “KLEO’s Terminal” [Novice], which details her plans for wiping out potential threats. There’s also a “![]() Join the Railroad”
Join the Railroad” ![]() Holotape on the bookshelf nearby.
Holotape on the bookshelf nearby.
Daisys Discounts
Next door you’ll find Daisy, a pre-war Ghoul who you can chat with about being a dinosaur. She’ll even mention that there’s another pre-war Ghoul hanging out at the Rexford. You can also buy a random assortment of general goods from here… pretty much a little bit of everything. Ask her if she has any work for you and she’ll tell you go clear out the Super Mutants in the ![]() Boston Public Library, which you should already have done. Don’t let that stop you from haggling her up from 200 Caps (to a maximum of 400 Caps). Agree on a price, then cash in. Easy money.
Boston Public Library, which you should already have done. Don’t let that stop you from haggling her up from 200 Caps (to a maximum of 400 Caps). Agree on a price, then cash in. Easy money.
| Objective | Reward |
|---|---|
| For clearing the Super Mutants out of |
472 XP 200 - 400 Caps Overdue Book |
Old State House
Next make your way north to the Old State House. There are plenty of chems to steal around here, as well as some loose junk. Head up the spiral staircase to find Hancock and his bodyguard Fahrenheit and talk to the former. He’ll talk about himself, Goodneighbor and ![]() The Institute. Be sure to ask for work and he’ll send you to investigate
The Institute. Be sure to ask for work and he’ll send you to investigate ![]() Pickman Gallery, Raider territory which recently went quiet. Haggle his price up from 200 Caps to 400 Caps, then head up another, less swirly flight of stairs to reach the attic, where you can steal loot from a Steamer Trunk if you wish.
Pickman Gallery, Raider territory which recently went quiet. Haggle his price up from 200 Caps to 400 Caps, then head up another, less swirly flight of stairs to reach the attic, where you can steal loot from a Steamer Trunk if you wish.
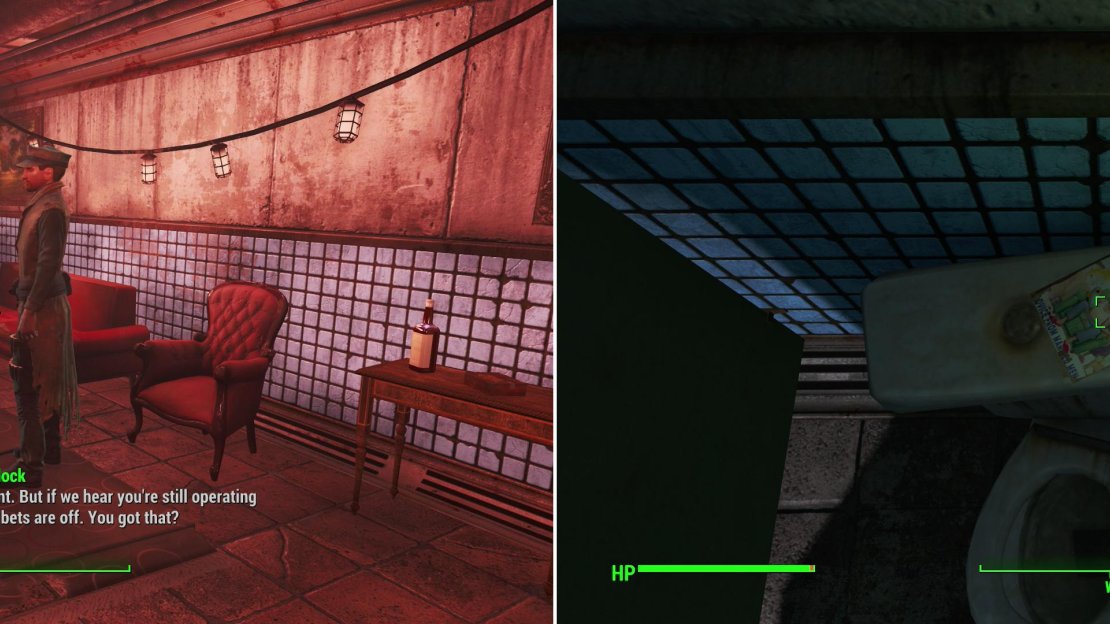
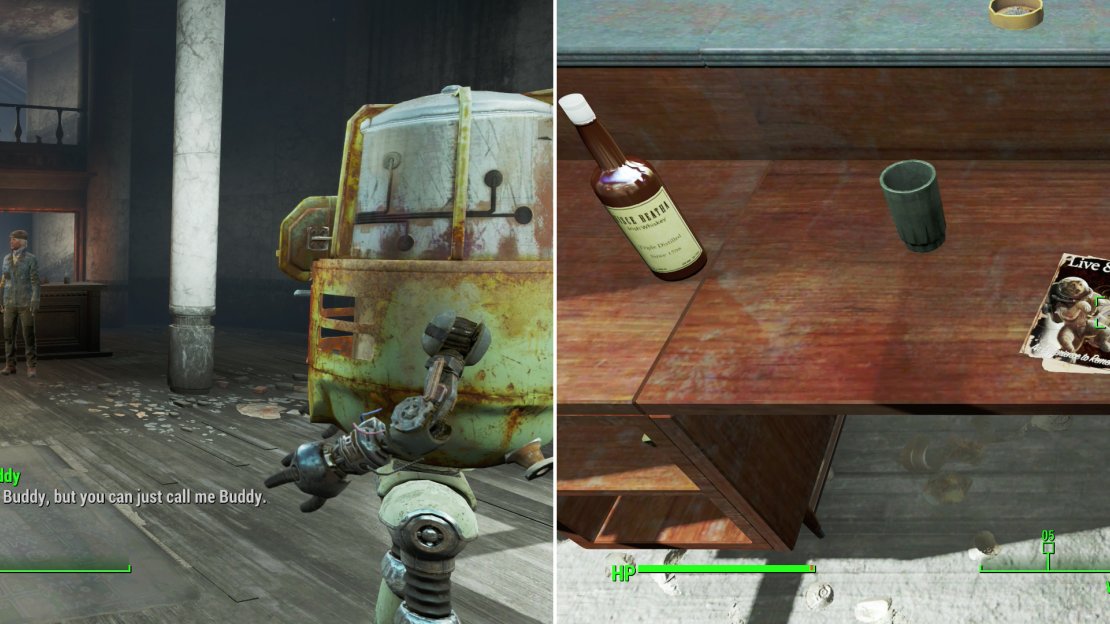
MacCready’s past with the Gunners catches up to him (left). Grab a copy of Live & Love off a toilet in The Third Rail (right).
The Third Rail
Return out the way you came in and ignore two Warehouses [Novice] and the alley between them for now and instead head around a corner and find a metal door leading to ![]() The Third Rail. Make your way north into a bathroom and search the northern-most stall to find an issue of Live & Love on the top of a toilet. Nice. Once that’s yours, head back to the entrance and continue west past a sharply-dressed Ghoul named Ham, and down some steps to reach a proper bar, for a change, enlivened by the musical stylings of Magnolia. Head through a door to the north to find a man named MacCready suffering threats from two Gunners named Winlock and Barnes. After they’re gone, talk to MacCready and he’ll reveal that he was a former Gunner, and is still a gun for hire. It can be yours for 250 Caps (200 Caps if you talk him down). Not too steep of a price for a new companion.
The Third Rail. Make your way north into a bathroom and search the northern-most stall to find an issue of Live & Love on the top of a toilet. Nice. Once that’s yours, head back to the entrance and continue west past a sharply-dressed Ghoul named Ham, and down some steps to reach a proper bar, for a change, enlivened by the musical stylings of Magnolia. Head through a door to the north to find a man named MacCready suffering threats from two Gunners named Winlock and Barnes. After they’re gone, talk to MacCready and he’ll reveal that he was a former Gunner, and is still a gun for hire. It can be yours for 250 Caps (200 Caps if you talk him down). Not too steep of a price for a new companion.
You should seriously consider taking MacCready along with you, in order to start earning his trust and get his companion quest “Long Road Ahead” . Earning his trust is easy enough: he likes it when you steal things, haggle for better prices and pick locks. The purpose of this exercise - whether you like MacCready or not - is to gain the benefits of his awesome companion perk Killshot, which will be yours when you’ve earned his loyalty. There are plenty of chances to haggle and steal coming up in Goodneighbor, too, and with a little bit of work, you can end up starting his quest “Long Road Ahead” fairly quickly. The subject of this quest is simple: return to the ![]() Mass Pike Interchange (the Gunner-occupied elevated highway west of Diamond City) and kill Winlock and Barnes. Since this area has already been cleared, it shouldn’t be too much trouble, although the Gunners, their turrets and their Assaultron will likely have respawned. If you could do it once before many levels ago, you can do it again easily. If the quest pops up, do it on your own time, progressing with MacCready’s quest will come in handy shortly.
Mass Pike Interchange (the Gunner-occupied elevated highway west of Diamond City) and kill Winlock and Barnes. Since this area has already been cleared, it shouldn’t be too much trouble, although the Gunners, their turrets and their Assaultron will likely have respawned. If you could do it once before many levels ago, you can do it again easily. If the quest pops up, do it on your own time, progressing with MacCready’s quest will come in handy shortly.
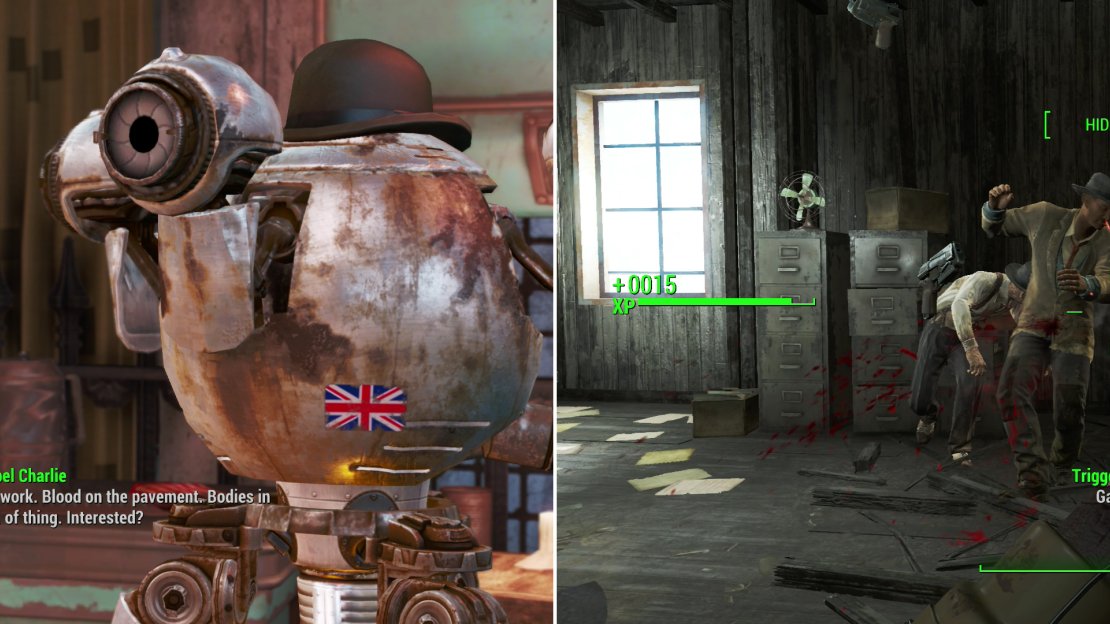
Return to the bar proper and talk to Whitechapel Charlie, a Mr. Handy with an endearingly rough accent. He’ll tell you a bit about Magnolia and Hancock, the bar’s owner, and Fahrenheit, Hancock’s bodyguard. The bot will sell you beer, and be sure to give it a look, as afterwards he’ll offer you a job. A dirty job. Ask for details and he’ll elaborate: clear three locations in Goodneighbor, quiet and messy-like, and you’ll be rewarded with 200 Caps (or up to 400 Caps, if you talk him up).
Finally, talk to Magnolia when she’s not singing. She will vaguely tell you about her past and give you a matter-of-fact reason why she’s working in Goodneighbor. Other than that, you can flirt with her. Pass three speech checks of increasing difficulty and you can take her out on a date. Black screen, temporary Lover’s Embrace perk, and you wake up in the Rexford Hotel. Other than a fun night out, though, there’s no additional incentive to bother.
Whitechapel Charlie runs Hancock’s business for him (left) and will task you with clearing out some “rats” from local warehouses (right).
Rat Extermination
Leave the bar and head into the Warehouses south of the Old State House. Time to go do that job for Charlie. Inside the western most warehouse (green door) kill around nine Triggermen, loot some Ammo Boxes, and make your way upstairs to find a Steamer Trunk. In the eastern warehouse (white door) you’ll have to ascend more stories and fight fewer Triggermen, but you’ll still be rewarded with a Steamer Trunk when you’re done. The third warehouse [Novice] is north-east of the entrance to The Third Rail, and there are Triggermen near the door who will likely notice you when you enter. Once all three are cleared, return to Charlie for your reward.
| Objective | Reward |
|---|---|
| For clearing the rats out of the warehouses | 186 XP 50 - 200 Caps |
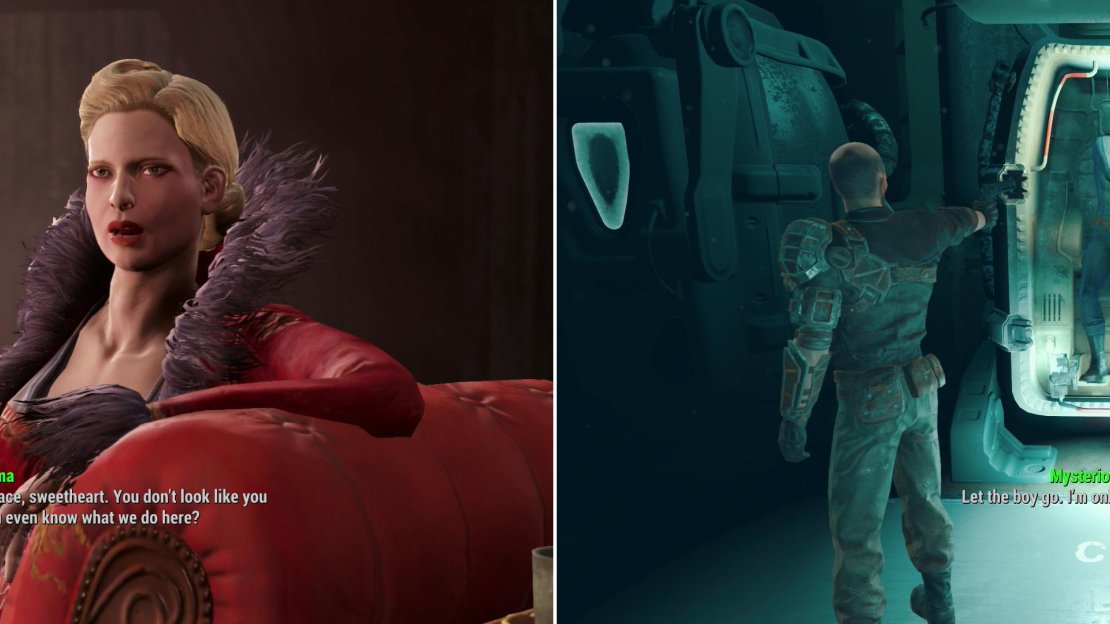
Irma handles the business end of the Memory Den (left). If you haven’t rescued Nick Valentine yet, you can use one of the memory loungers to relive you painful past (right).
Memory Den
Head north from the Old State House to find two locations of interest: the Memory Den and Hotel Rexford. Enter the building and look around to find Irma, who would have given you the quest “![]() The Memory Den” if you hadn’t completed “
The Memory Den” if you hadn’t completed “![]() Unlikely Valentine” , but this quest just points you to Diamond City, which you’ve already explored. If for some reason you haven’t finished “Unlikely Valentine” , you’ll get the option to either bribe her (100 Caps) or pass a speech check, after which she’ll let you use a memory lounger to relive the past. In this case, the memory you’ll get is that of your spouse being shot and Shaun’s subsequent abduction. While it’s neat to see this from a different perspective, as said earlier, this just points you to
Unlikely Valentine” , but this quest just points you to Diamond City, which you’ve already explored. If for some reason you haven’t finished “Unlikely Valentine” , you’ll get the option to either bribe her (100 Caps) or pass a speech check, after which she’ll let you use a memory lounger to relive the past. In this case, the memory you’ll get is that of your spouse being shot and Shaun’s subsequent abduction. While it’s neat to see this from a different perspective, as said earlier, this just points you to ![]() Nick Valentine in Diamond City.
Nick Valentine in Diamond City.
| Objective | Reward |
|---|---|
| For reliving a painful memory | 173 XP |
You can also find Doctor Amari in here as well, but she currently has nothing for you right now. Instead, head west through a doorway on the southern end of the building and go up some stairs to find Irma’s room, where you’ll find a bit of loot and Irma’s Terminal [Novice], which talks about some of her clients. All of this might be interesting, but the real reason you’re here is to talk to Kent Connolly, who, as Irma’s Terminal revealed, is a massive Silver Shroud buff. Find him in his room to the west of the memory lounge room and talk to him reminisce of times gone past. Times involving the Silver Shroud, as the case may be. Eventually he’ll let his fanboyism get the best of him, and he’ll ask you to recover the Silver Shroud attire from the local ![]() Hubris Comics store… which you should already have. Haggle for some Caps up front, then tell him you already have it (or check out the text under the Hubris Comics header in the “From Hubris Comics to
Hubris Comics store… which you should already have. Haggle for some Caps up front, then tell him you already have it (or check out the text under the Hubris Comics header in the “From Hubris Comics to ![]() Boston Common” section of the guide). Once you have it, hand it over and he’ll reward you (he’ll pay you extra for other memorabilia you bring back, like the prop gun and the script), then nominate you as the new Silver Shroud.
Boston Common” section of the guide). Once you have it, hand it over and he’ll reward you (he’ll pay you extra for other memorabilia you bring back, like the prop gun and the script), then nominate you as the new Silver Shroud.
| Objective | Reward |
|---|---|
| For recovering the Silver Shroud attire | 125 - 200 Caps |
Pass a moderate speech check and he’ll hand over two ![]() Stimpaks, then agree to become the Silver Shroud. He’ll give you back an improved set of
Stimpaks, then agree to become the Silver Shroud. He’ll give you back an improved set of ![]() Silver Shroud Armor (now sporting 42 physical resistance and energy resistance, giving a 15% damage reduction from humans, as well as a point of
Silver Shroud Armor (now sporting 42 physical resistance and energy resistance, giving a 15% damage reduction from humans, as well as a point of ![]() Agility and
Agility and ![]() Perception). This will start the quest “
Perception). This will start the quest “![]() The Silver Shroud” , which can wait until later.
The Silver Shroud” , which can wait until later.
Hotel Rexford
Leave the Memory Den and head next door to the Hotel Rexford, where you’ll find Buddy patiently waiting for you. Talk to Buddy outside of the Hotel Rexford, then head inside the hotel. Inside Clair and Fred will be arguing. When they’re done, talk to Fred and he’ll direct you to Rufus for your robot delivery. Fair enough. Talk to Rufus and he’ll be only too eager to take it off your hands for 100 Caps, plus free beer provided by the bot. Talk the price up (he goes up to 400 Caps) then talk to Buddy and send him inside, where he’s met with a tepid reception. Oh well, at least you’ll get paid.
| Objective | Reward |
|---|---|
| For delivering Drinking Buddy to |
248 XP 100 - 400 Caps |
Next talk to Fred Allen, the local drug-cooker and quality control expert, who will happily sell you chems. Ask him for work and he’ll ask you to go scavenge around the HalluciGen Building, which is occupied by Gunners. Or it was occupied by Gunners, until you cleared it out, but what Fred doesn’t know might help fill your pockets. Haggle him up from 200 Caps to 400 Caps, then go recover one of the canisters he wants, which, if you followed this guide and cleared it earlier, you should have obtained and saved for just this purpose. After that, your business with Fred should be over for now, but you can always head downstairs and loot his lab for surprisingly few chems, some junk, an Ammo Box, and spy on “Fred Allen’s Terminal” [Novice].
| Objective | Reward |
|---|---|
| For bringing Fred a HalluciGen Gas Canister | 496 XP 200 - 400 Caps |
Bring Drinking Buddy to the Hotel Rexford to complete a long over-due delivery (left). Be sure to grab the issue of the Live & Love inside the hotel while you’re there (right).
After you’re done with Fred, you can talk to Clair, who will complain about the owner of this establishment; Mister Marowski. Grab the issue of Live & Love off the counter in the south-eastern corner of the lobby, then head through some doors to the north. You can find Marowski sitting around (remember, you robbed his drug lab earlier?) but he has nothing of interest to say at the moment. Head up some stairs to the west and pick a locked door [Expert] to find a Steamer Trunk and some Ammo Boxes beyond then continue up two more flights of stairs to encounter a ghoulified Vault-Tec Rep. Yes. That Vault-Tec Rep, who sold you your spot in ![]() Vault 111 just before the bombs fell. You’ve both had a rough 200 years, so reminisce with him and be nice, after which you’ll be able to convince him to go back to
Vault 111 just before the bombs fell. You’ve both had a rough 200 years, so reminisce with him and be nice, after which you’ll be able to convince him to go back to ![]() Sanctuary Hills. If you visit him again there you can put him to work at one of your settlements. He’s just happy to have company, though.
Sanctuary Hills. If you visit him again there you can put him to work at one of your settlements. He’s just happy to have company, though.
| Objective | Reward |
|---|---|
| For killing Marowski for Latimer | 177 XP 400 - 600 Caps |
You’re almost done in Goodneighbor (although you’ll be busy with business started in Goodneighbor for a bit yet), but fist, check out an alley that’s been neglected thus far. Head into the alley between the two warehouses south of the Old State House and you’ll reach a sealed door. From behind this door a Ghoul named Bobbi will speak to you and offer you work. Despite the “don’t ask too many questions” part, feel free to ask for more information and/or more money. Her starting offer of 50 caps is laughable, but schmoozing it up to 200 Caps and you’re talking some decent cash. After you’re done haggling she’ll open the door and the quest “![]() The Big Dig” will start. So… two quests are on your hands; “The Big Dig” and “The Silver Shroud” . You also have to clear out Pickman Gallery for Hancock, but that’ll be lumped in with another Railroad quest, immediately following these two Goodneighbor quests.
The Big Dig” will start. So… two quests are on your hands; “The Big Dig” and “The Silver Shroud” . You also have to clear out Pickman Gallery for Hancock, but that’ll be lumped in with another Railroad quest, immediately following these two Goodneighbor quests.
No Comments