
The Corvega Assembly Plant can be found on a hill south of Lexington, just beyond an elevated highway. The sheer size of the factory should make it impossible to miss. The Corvega Assembly Plant is absolutely crawling with Raiders, both out front, in the cargo bay to the side, and in the superstructure atop the factory. Due to the high number of Raiders, this location is a popular destination for various random quests, including The First Step and [Last Voyage of the U.S.S. Constitution], among many, many other busy work tasks. Given the random nature of these quests, you could end up with no incentive to explore this area, or you could be forced to return here repeatedly, although there’s a high probability you’ll be tasked to explore this area during The First Step, especially if you don’t go out of your way to clear it before finishing When Freedom Calls.
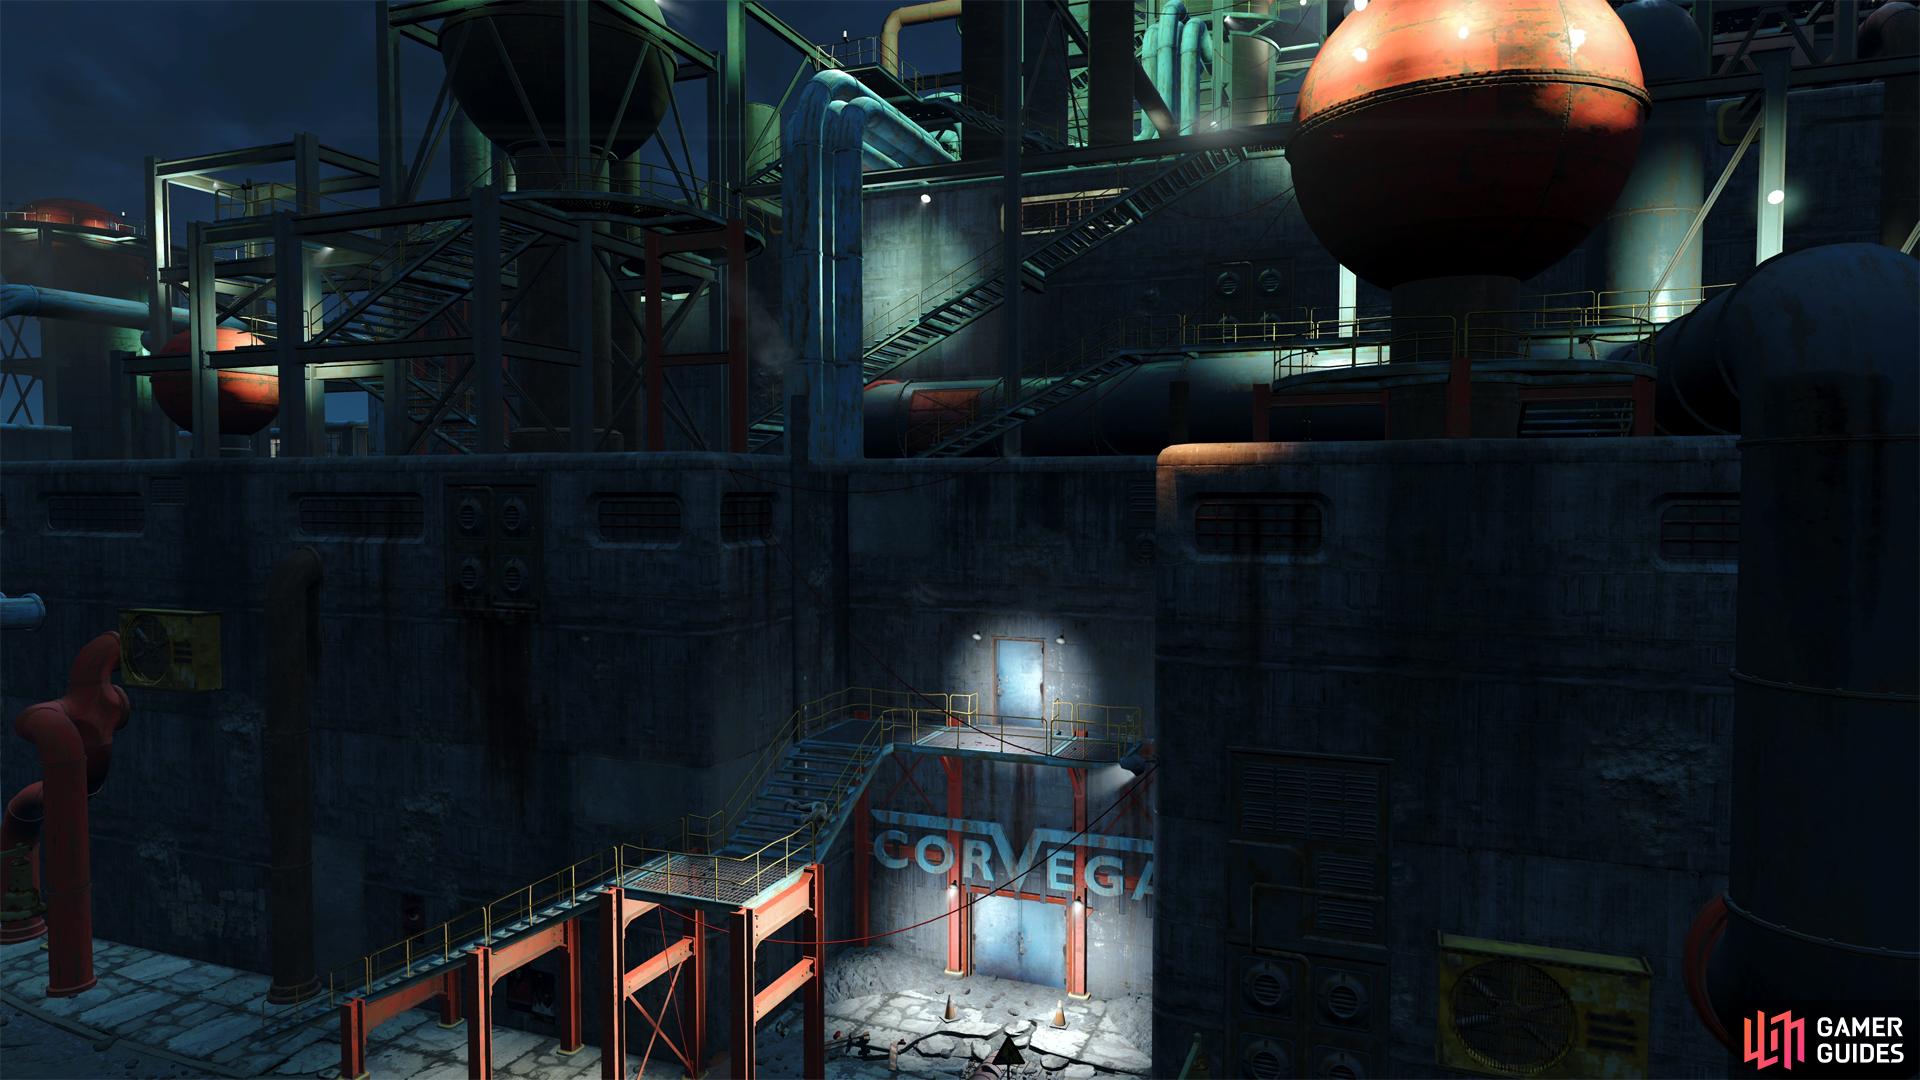
The Corvega Assembly Plant, viewed from the north.
| Important Items in This Area |
|---|
| Grognak the Barbarian |
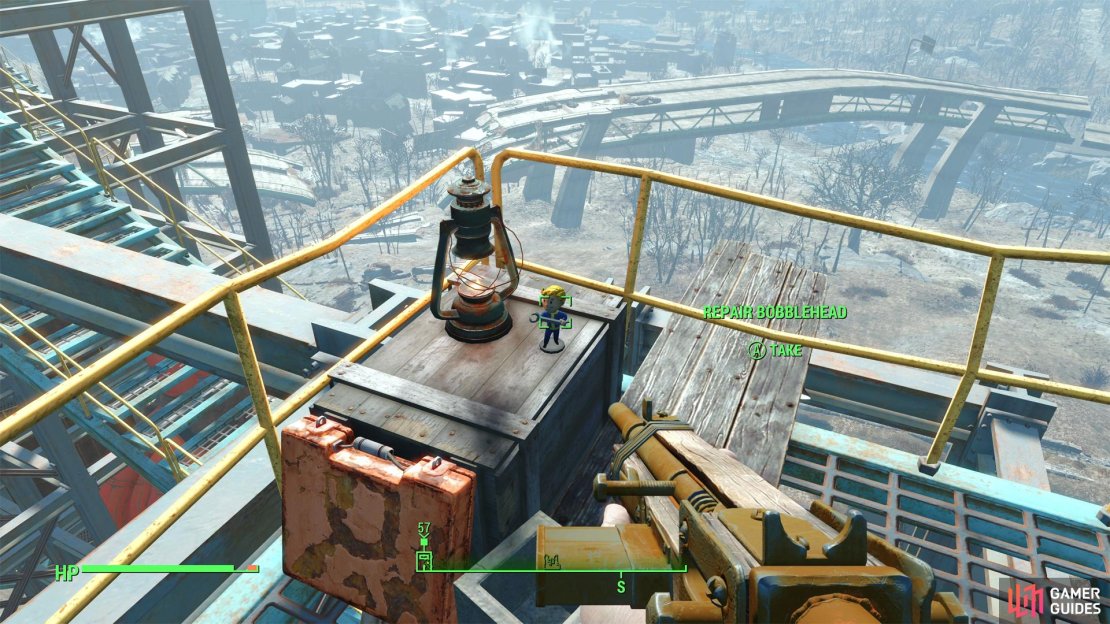
| Repair Bobblehead |
Along the northern end of the building you’ll find its front entrance - double doors under a Corvega sign, as well as another door up some stairs. There are likely several Raiders out front, along with a Machinegun Turret. Most of the Raiders in this area don’t scale with the player’s level, so you shouldn’t expect to see much worse than Raider Scum. This doesn’t mean these enemies are pushovers, as they can be awfully fond of pelting you with Molotov Cocktails - especially the half-dozen or so Raiders occupying the roof and superstructure above the factory. If you prefer a sneakier, long-range approach, you can mount the highway running across the front of the factory and snipe enemies from there, just follow the road west until you find a ramp formed by its state of collapse. There’s even a bed up here, should you need to recover your health.
Along the eastern side of the factory you’ll find a ramp where more Raiders dwell, both on the road and on the catwalks and structures to the east and west. There are even a pair of Raiders in the back of a truck, although whether they’re smart enough to open the door and join the fray varies from run to run. Suffice to say, there’s a lot of verticality here, and it can be hard to pick your targets out among the distance and clutter, although VATS can help you locate them, if nothing else. Your enemies, however, are under no such handicap - they’ve got infinite ammo and they’re not afraid to take potshots at you regardless of the distance of obstacles.
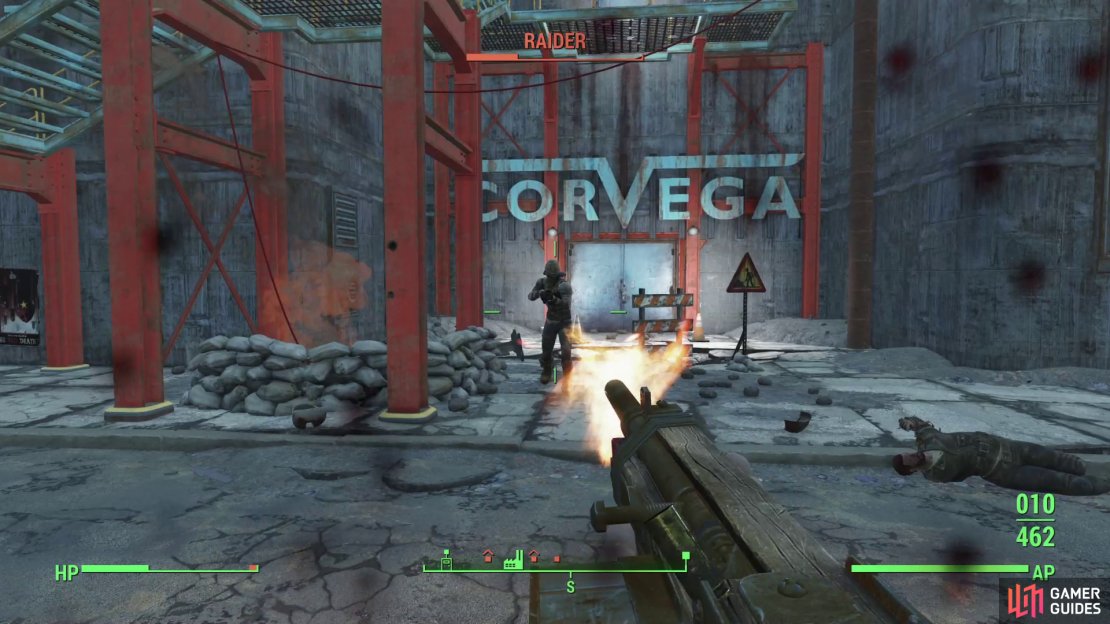

(1 of 3) The exterior of the factory is crawling with Raiders.
A third door can be found at the back (northern side) of the factory, but this one is chained and intended to be used as a source of egress from the factory, not ingress. If you go up some stairs along the eastern edge of the building you’ll eventually come to another door which will take you into the factory. Keep going upstairs until you reach the roof, then work your way west, working your way around pipes and past the first two flights of stairs you see, both of which will take you to a higher section of roof. Past these stairs you’ll find another flight of stairs that leads you via a walkway over a pipe, ultimately depositing you along the northwestern edge of the roof, where you’ll find a hatch leading down into the factory.
All in all, that’s five entrances to the building and well over a dozen Raiders infesting the exterior. There’s a sixth entrance that bypasses all this external hostility, however: the previously mentioned pipe in Lexington. From the Pharmacy along the southeastern edge of Lexington, follow the road west and keep your eyes to the left, as you should spot a gate in that direction. When you do, go through it, turn right, head upstairs and continue forward to find a broken pipe large enough for you to walk through it. Follow it north and you’ll zone into the bowels of the Corvega Assembly Plant.
Aside from bypassing the Raiders on the exterior of the factory via the pipe, there’s not much reason to favor one entrance over the other, so for the sake of the area walkthrough, we’ll just stroll in through the front doors. Before you go, however, there is one bit of noteworthy loot on the superstructure atop the factory. Use the stairs, ramps and catwalks to reach the highest part of the roof, then ascend to a walkway running around the large blue water tower. At the end of this walkway you should find the Repair Bobblehead lying on a wooden crate.
Exploring the Corvega Assembly Plant
Return to the front (southern end) of the plant and enter via the double doors past the stairs and Machinegun Turret. In the lobby, be wary of a Raider in the bathroom to the right, while to the left of the desk you’ll find a tripwire rigged to a Makeshift Bomb. Deal with these threats, the continue south into a hallway.
Head into an office to the right (west), killing Raiders as you go, then make your way through a hole in the wall to the south. The path ahead is linear, just pass through another room, head down a hallway and go through more double doors and down some stairs until you reach a fork, killing every Raider who opposes you along the way.

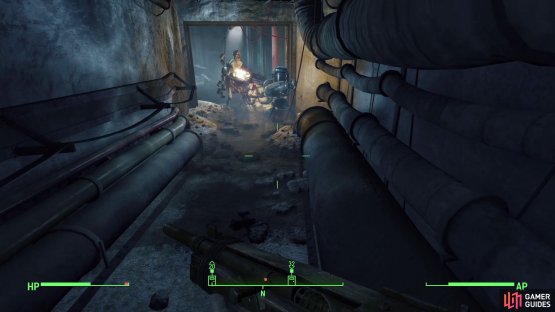
(1 of 2) While Raiders are the most common threat inside the Corvega Plant, you do need to be wary of Ghouls crawling out of the darkness.
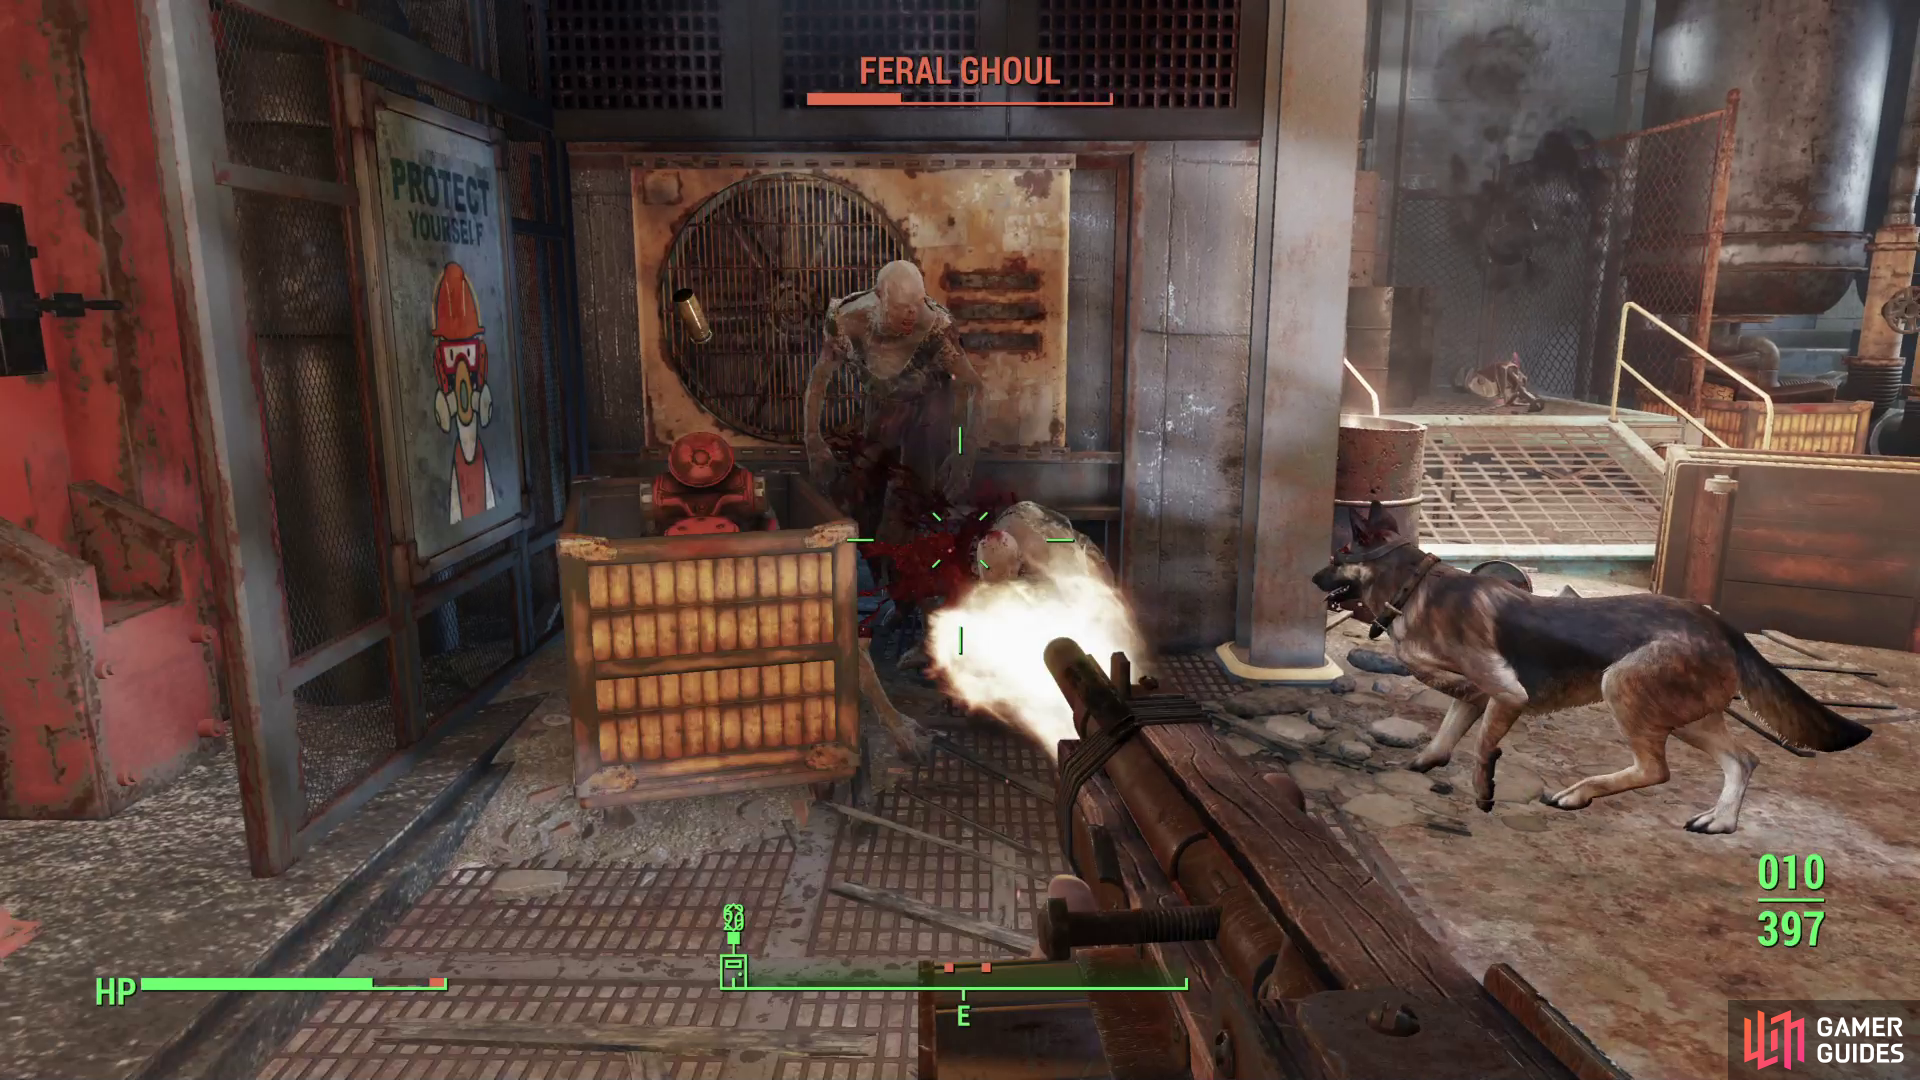
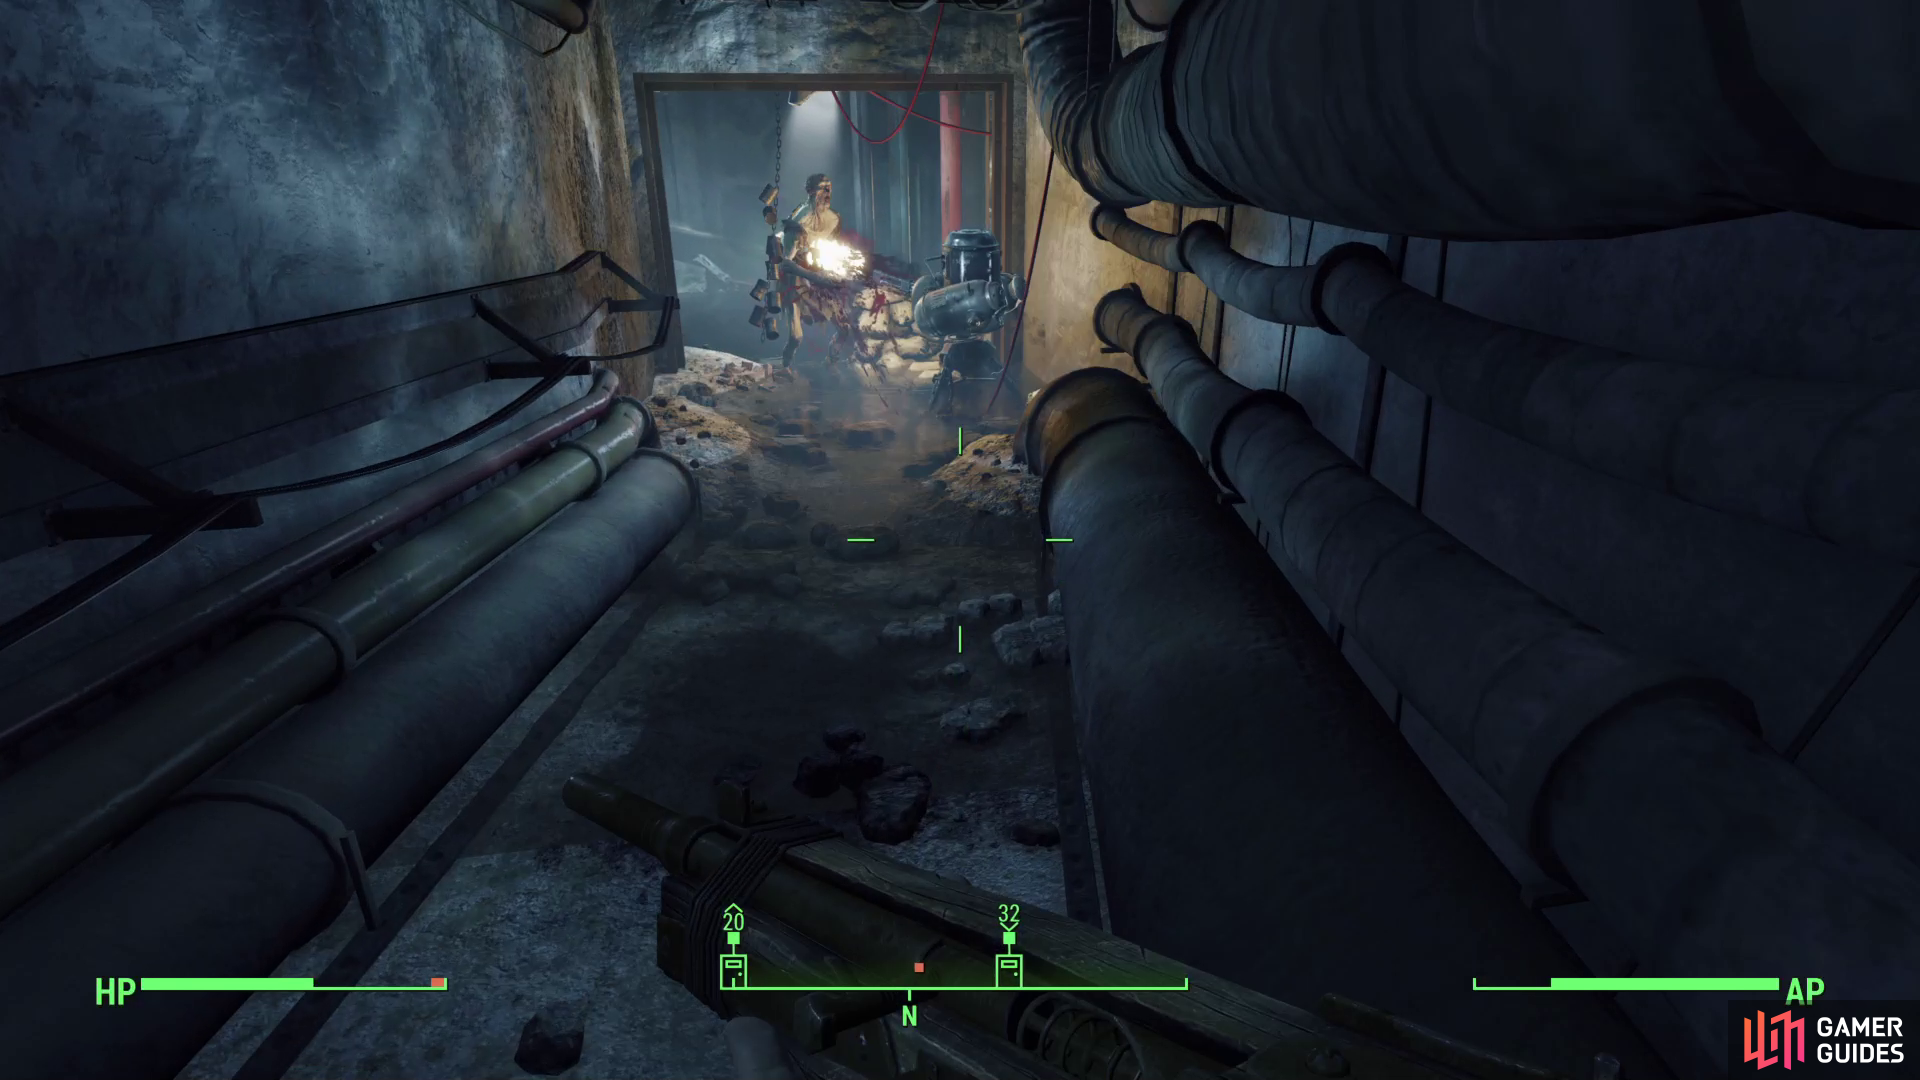
While Raiders are the most common threat inside the Corvega Plant, you do need to be wary of Ghouls crawling out of the darkness. (left), In the bowels of the factory, Raiders have made preparations to repulse Ghoul invasions. (right)
At the fork you can turn either left (north) or right (south). In the former case you’ll likely find another pair of Raiders, an elevator, some stairs up to the right (east) and some doors (north) leading deeper into the factory. Ignore all this for now and go down the hallway to the right (south), heading down several flights of stairs to reach a room where several Raiders and a Machinegun Turret can be found. Kill them and be wary of some machinery to the northeast, as some Feral Ghouls will crawl from a hole in the floor and attack. Seems the Corvega Assembly Plant isn’t exempt from the power struggles between Raiders and Ghouls that characterizes the rest of Lexington.
Search the northern side of the room to find a door you can use to reach a hallway which quickly leads to a fork, with two hallways running to the north. The eastern of these hallways leads down some stairs, while the western hallway stays on the same level. If you go downstairs you’ll find some Can Chimes that serve to alert enemies - disarm them for some XP and press on to find a watery room guarded by a Raider and a Machinegun Turret. They’re not here for you, but rather for Ghouls that emerge from the pipe to the north. This is the pipe that exits near the Pharmacy in Lexington.
If you continue down the western hallway you’ll need to take a left (west) through a doorway, where you’ll reach a small room occupied by some stairs, an engine (this can explode, so watch your fire), an oil slick, some radioactive barrels, and a Raider or two. This narrow room is full of hazards, and honestly you’re better off intentionally detonating the engine just so you don’t have to worry about it anymore. Fortunately the radioactive barrels aren’t all that dangerous - you’ll catch 1-3 Rads if you give them a hug. If you go upstairs you’ll find a door which leads to a larger factory chamber - this is the room that’s beyond (north of) the doors near the elevator you ignored earlier.


(1 of 2) You can open a locked door with the key you looted from Gristle earlier,
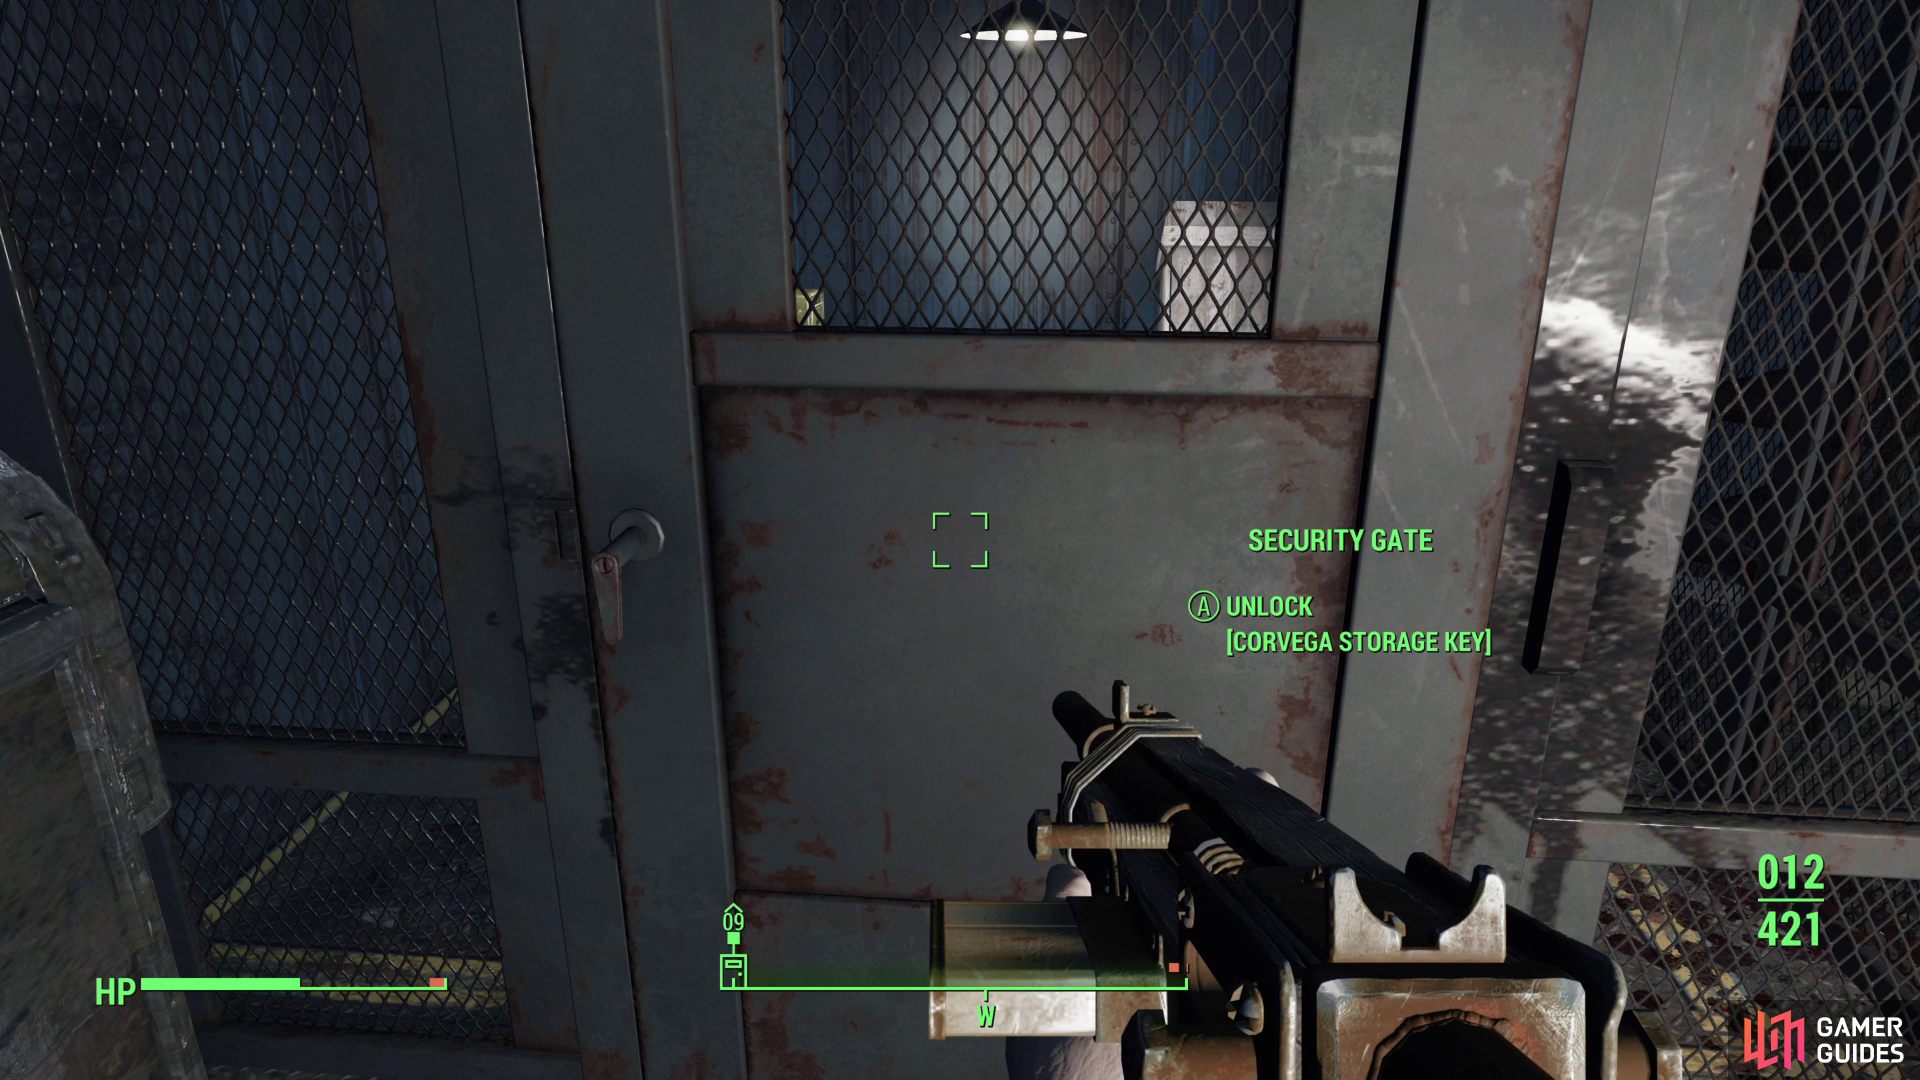
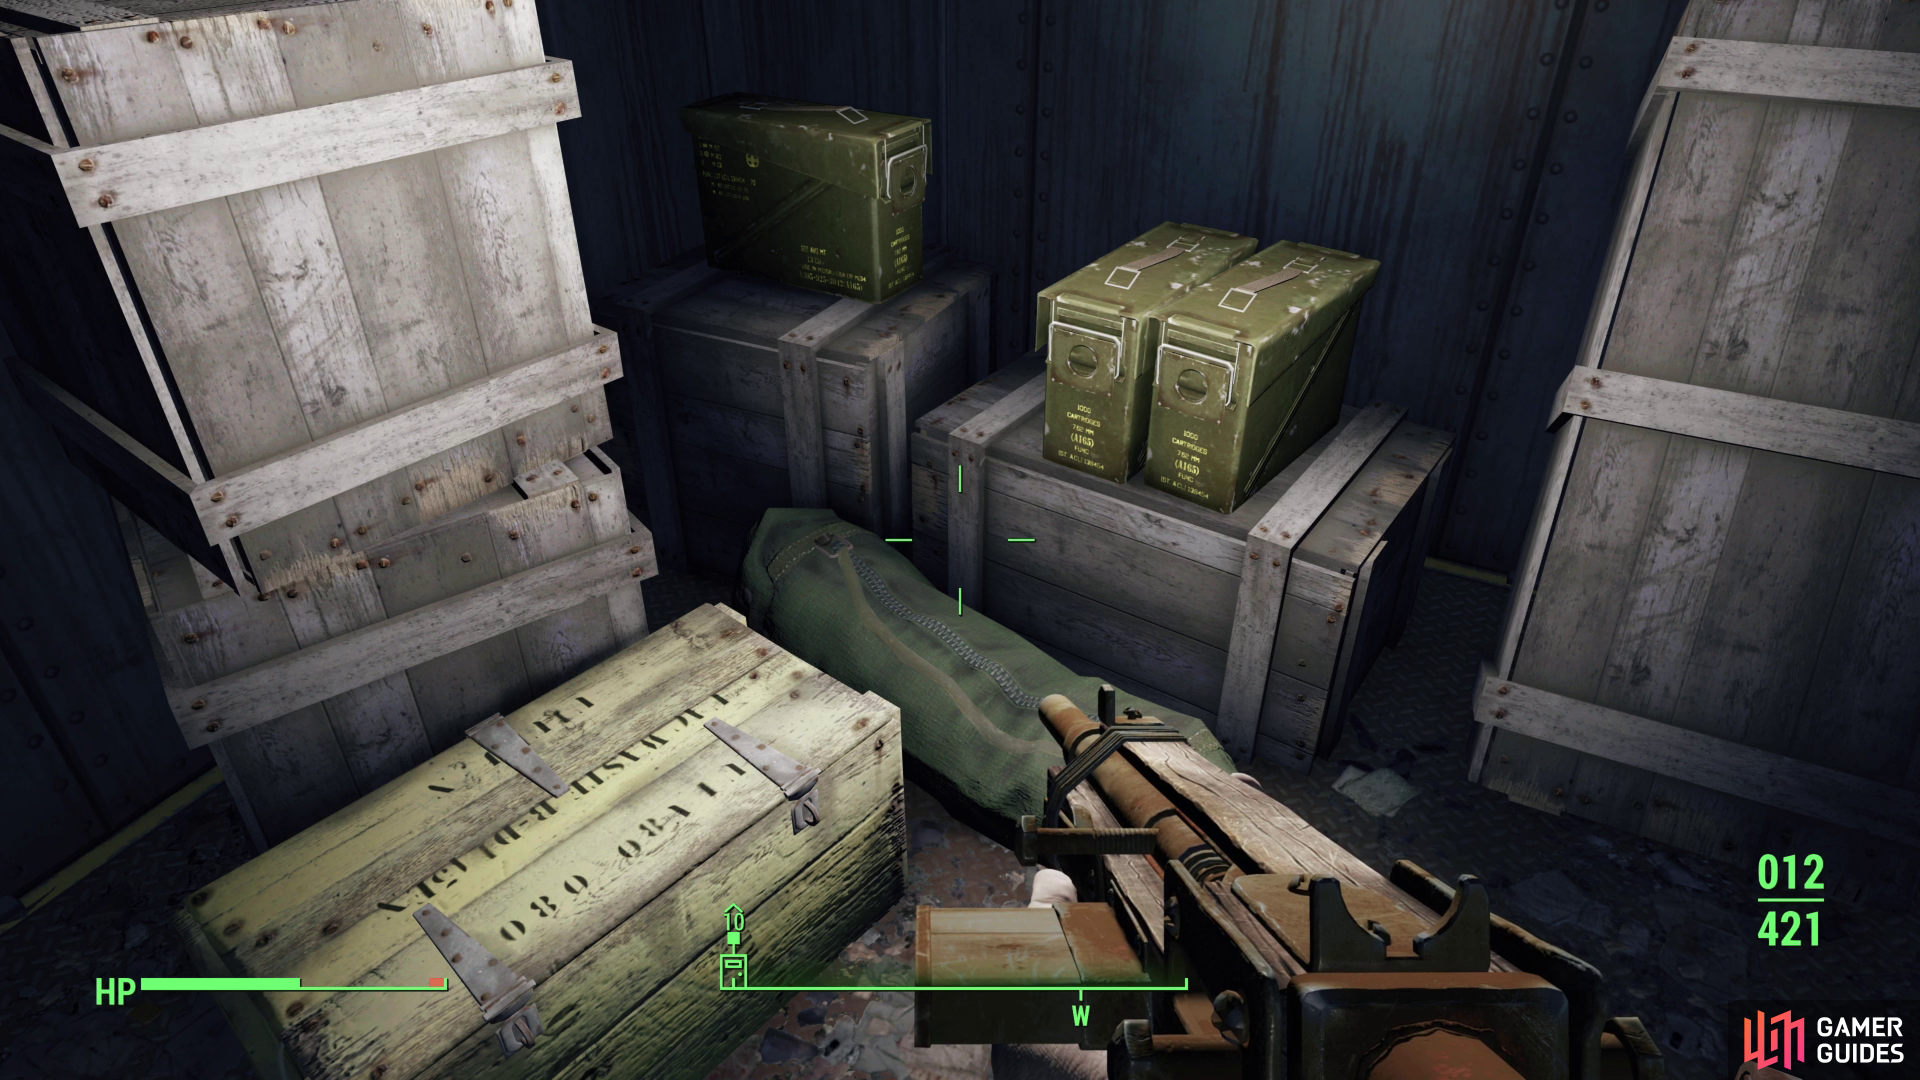
You can open a locked door with the key you looted from Gristle earlier, (left), gaining access to Gristle stash in the process. (right)
Go up the stairs and head left (west) through a doorway to reach the aforementioned larger factory chamber. Inside you’ll be opposed by several Raiders, who are fairly spread out, as well as a Machinegun Turret which can be found in a shelter in the southwestern corner of the room.
Where to find the Corvega Storage Key in Fallout 4
You’ll likely need to storm this shelter to clear it of hostiles, but you’ll also be rewarded for doing so, as you can find a caged-off area you can open with the Corvega Storage Key you looted from Gristle back during When Freedom Calls. This will get you access to an Explosive Box, a Duffle Bag and three Ammo Boxes. You can also check out Gristle’s Terminal for intel on the raid on Concord.
You can go through some doors to the south to return to the area near the elevator, which you previously ignored. Might as well keep ignoring it and finish off the rest of the factory before you ascend to the upper reaches of the plant and confront the leader of these Raiders. Head up some stairs opposite the shelter which housed Gristle’s stash and when you reach the top, turn right (west) and note a door to the right (north) which leads outside. This will lead you to the front of the factory, to the single door above the main entrance on the ground floor.
Continue going west to find more walkways, at which point the path forks. If you turn north you’ll find some stairs down while if you keep going west you’ll be able to follow the walkways to the western edge of the room. Along the northwestern end of the room you can find a ladder leading outside, leading you to the hatch on the roof, while if you descend the stairs to the north you’ll reach the ground floor where three Raiders lurk in some shacks. Kill them, and rest up on the beds in the shack if you feel the need.
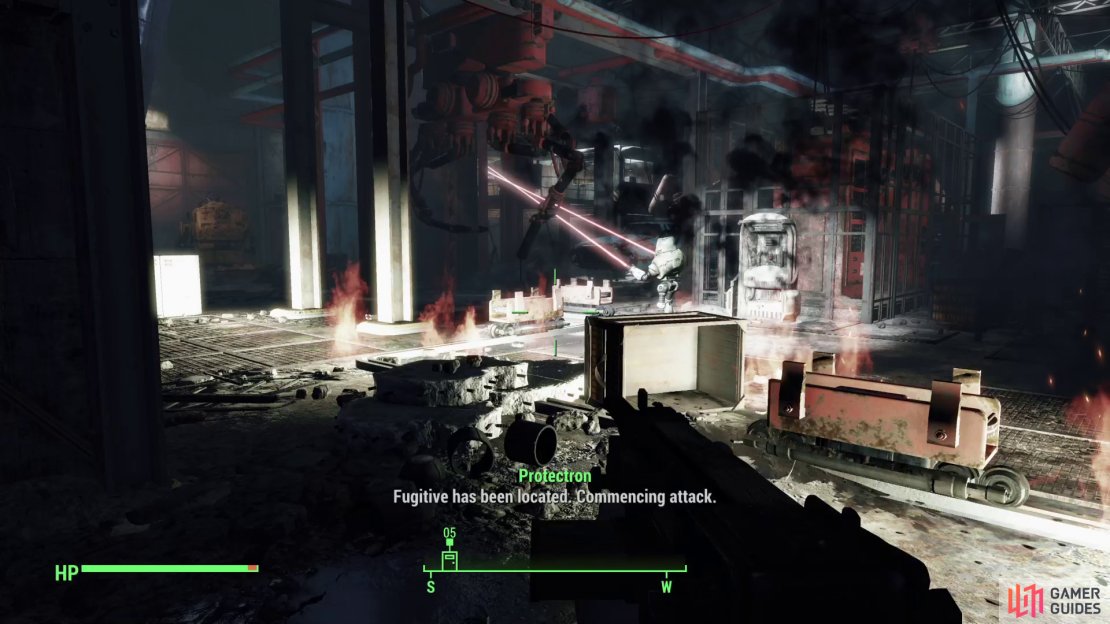
(1 of 3) You can activate a Protectron to draw fire.
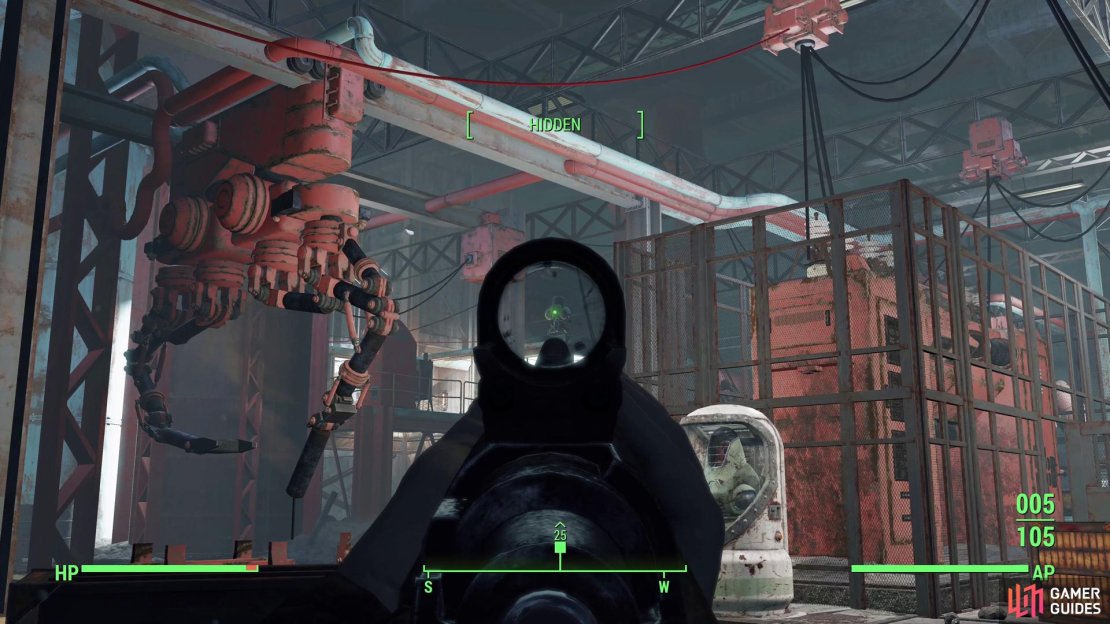
No sense putting it off anymore, time to hunt down the leader of these Raiders; Jared. Backtrack to the elevator and either climb some stairs or go up said elevator to reach the large chamber Jared occupies. Jared can be found in an elevated office along the southern end of the room, and he’s got subordinate Raiders on the ground floor, Machinegun Turrets on the roof of Jared’s shelter, and searchlights sweeping for signs of intrusion. On top of this, there’s an oil slick running along the eastern end of the room (near where the stairs and elevator will take you), explosive cars on the assembly line, and some explosive tanks on the walkway leading to Jared’s shelter.
If you ascend the stairs, you’ll find yourself just opposite a Terminal [Novice] you can hack to activate a Protectron. This well-meaning robot will likely end up in conflict with the Raiders, but with the numerous hazards lying around, not to mention the concentrated fire from several foes, you shouldn’t expect it to last long. Still, it can possibly take out an enemy or two and trigger some of the hazards, making your job significantly easier.
Despite the numerous enemies and hazards, the room’s size is some of a liability for them. If you’ve got a decent rifle, you should be able to pick off foes from afar, retreating when things get too hot. If enemies don’t follow you when you fall back, great, you can go rest in one of the beds in the factory to recover your health and/or wait for your foes to lose track of you. If they do follow you, great, they’ll almost certainly do so in smaller numbers and in piecemeal fashion, making them relatively easy to pick off. Repeat until you’ve thinned the herd sufficiently.
After whittling your foes down, or in lieu of such hit-and-run tactics, sneak south up the eastern edge of the map to find a ramp leading to a retractable bridge… ostensibly to allow for heavy traffic through the nearby garage door, but having a way to keep yourself out of reach of the plebs probably was appreciated by prewar management. Anywho, press a button and be wary of coming under fire here, as several explosive tanks wait to ruin your day if they take too many hits. When the bridge is extended, keep going west to reach Jared’s command post.
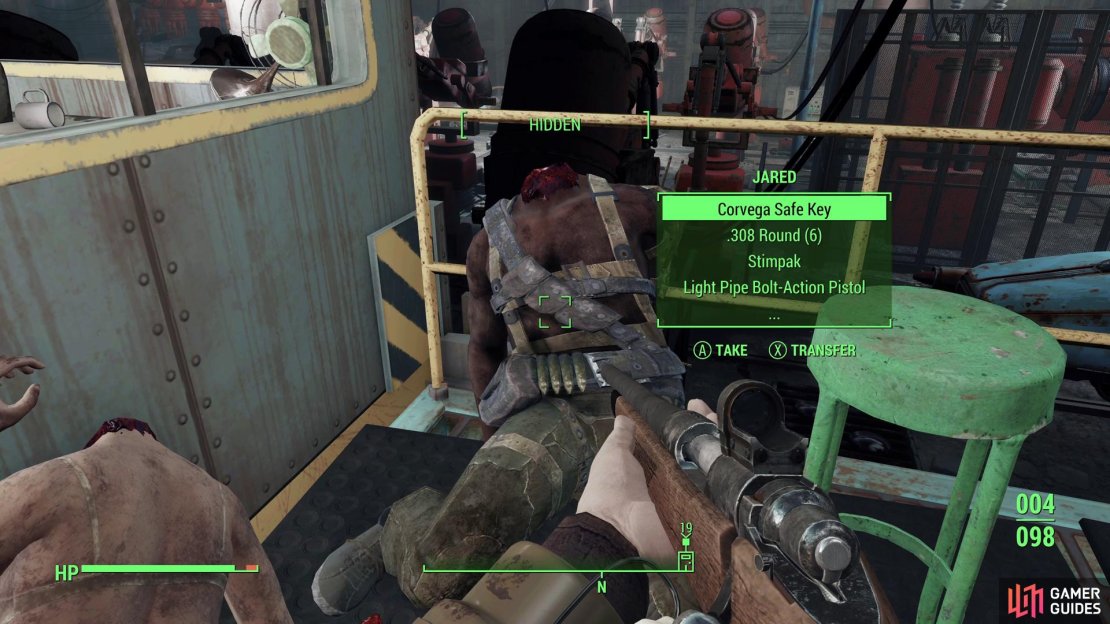

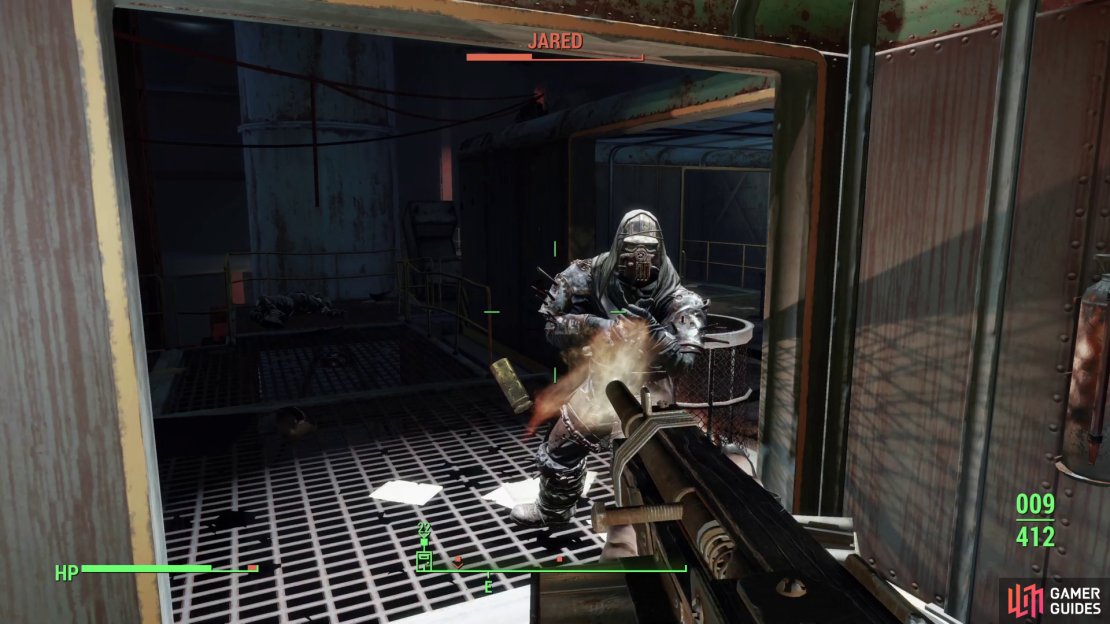
(1 of 3) After defeating the Raiders, loot Jared for a Safe Key,
Here you’ll find Jared and the two turrets atop the structure, assuming you didn’t snipe them. Jared is nothing special, as far as combat goes, but the two turrets can be a nuisance. Take them down, then loot Jared for a Corvega Safe Key, which you’ll use in a bit. In the meantime, loot a Steamer Trunk in the room to the west and grab a copy of Grognak the Barbarian on a table. Score. You can also mess around with Jared’s Terminal, if you care to read his journal entries, turn off the searchlights, or disable the turrets.
Corvega Assembly Plant Safe Location
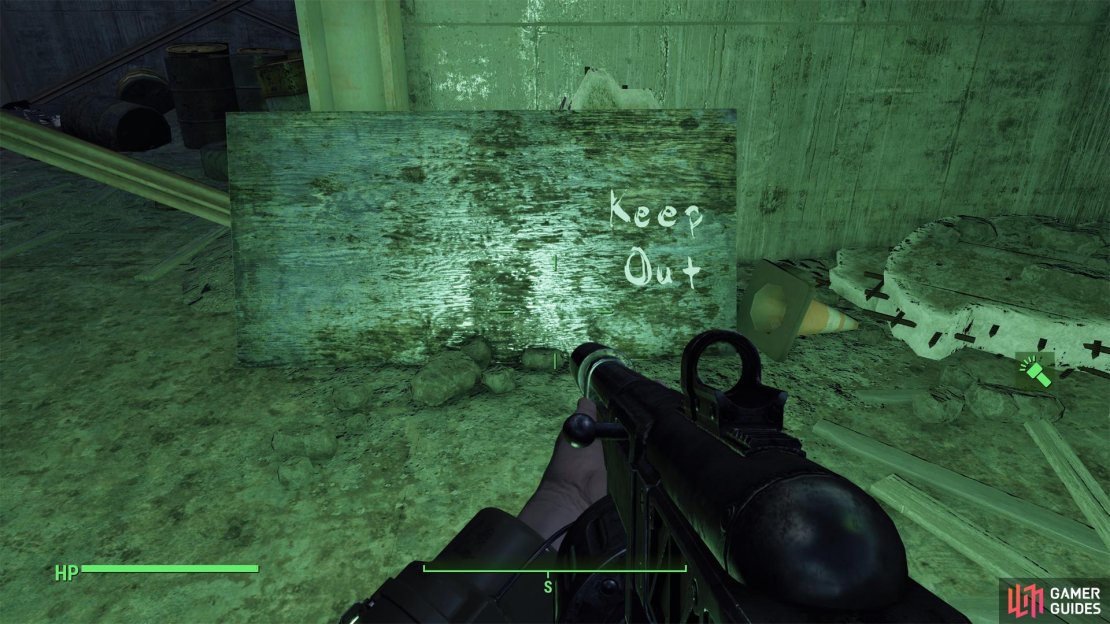
Don’t get too comfortable, however, as a few more Raiders will show up to investigate once you start snooping around in this room, appearing along the eastern end of the room. Kill them, then jump down from Jared’s office and search beneath it to find a piece of wood with the words “Keep Out” painted on it. Behind those boards is a Safe [Advanced], which can be opened with Jared’s Corvega Safe Key. You can now exit via a door to the east, which will take you to a small room on the exterior of the factory. Just open a chained door and you’ll be back outside.
Corvega Assembly Plant - Aftermath
If you’re clearing the Corvega Assembly Plant as part of the quest The First Step, make sure you track the quest via the Data menu in your Pip-Boy. It’ll highlight the Raiders you need to kill, and assuming you didn’t miss any, it should be ready to turn in after clearing the factory. If so, return to the settlement which tasked you with this quest and talk to the relevant NPC to finish it up. The settlement should ally with you (allowing you to develop said settlement) and when you talk to Preston Garvey again he should propose the next Minuteman quest, [Taking Independence], or failing that, another generic settlement-based radiant quest.
Should you have been following the walkthrough chronologically, clearing the Corvega Assembly Plant will finish up your exploration of Lexington proper. Further southeast you’ll find [Cambridge], which will be the next region explored during the walkthrough… after a short diversion. Just opposite the river from Mystic Pines you’ll find two potential settlements within close proximity, Covenant and [Taffington Boathouse], both of which are worth securing. To the south of these two areas you’ll find the [Tucker Memorial Bridge], which connects the peninsula these two settlements are located on to both Lexington and [Cambridge], tying things up quite nicely. Check out the linked pages for more details.
Regardless of your current or future goals, the Corvega Assembly Plant will remain a point of interest going forward. Like most areas, it can respawn given enough time, and since it’s packed with Raiders, you may end up tasked with clearing it again for some random quest or another. The Raiders in and around the factory will respawn much faster than the items, although oddly enough the Raiders inside and outside seem to respawn at the same time (as well as the loot outside - but not inside). The Corvega Assembly Plant will remain a good spot to hunt low level Raiders throughout the game, in case you need low-tier weapons (likely for scrap), .38 Ammo, Shotgun Shells, and chems.
No Comments