
Walkthrough for the ![]() Drumlin Diner area in Fallout 4, including the quest
Drumlin Diner area in Fallout 4, including the quest ![]() Order Up.
Order Up.
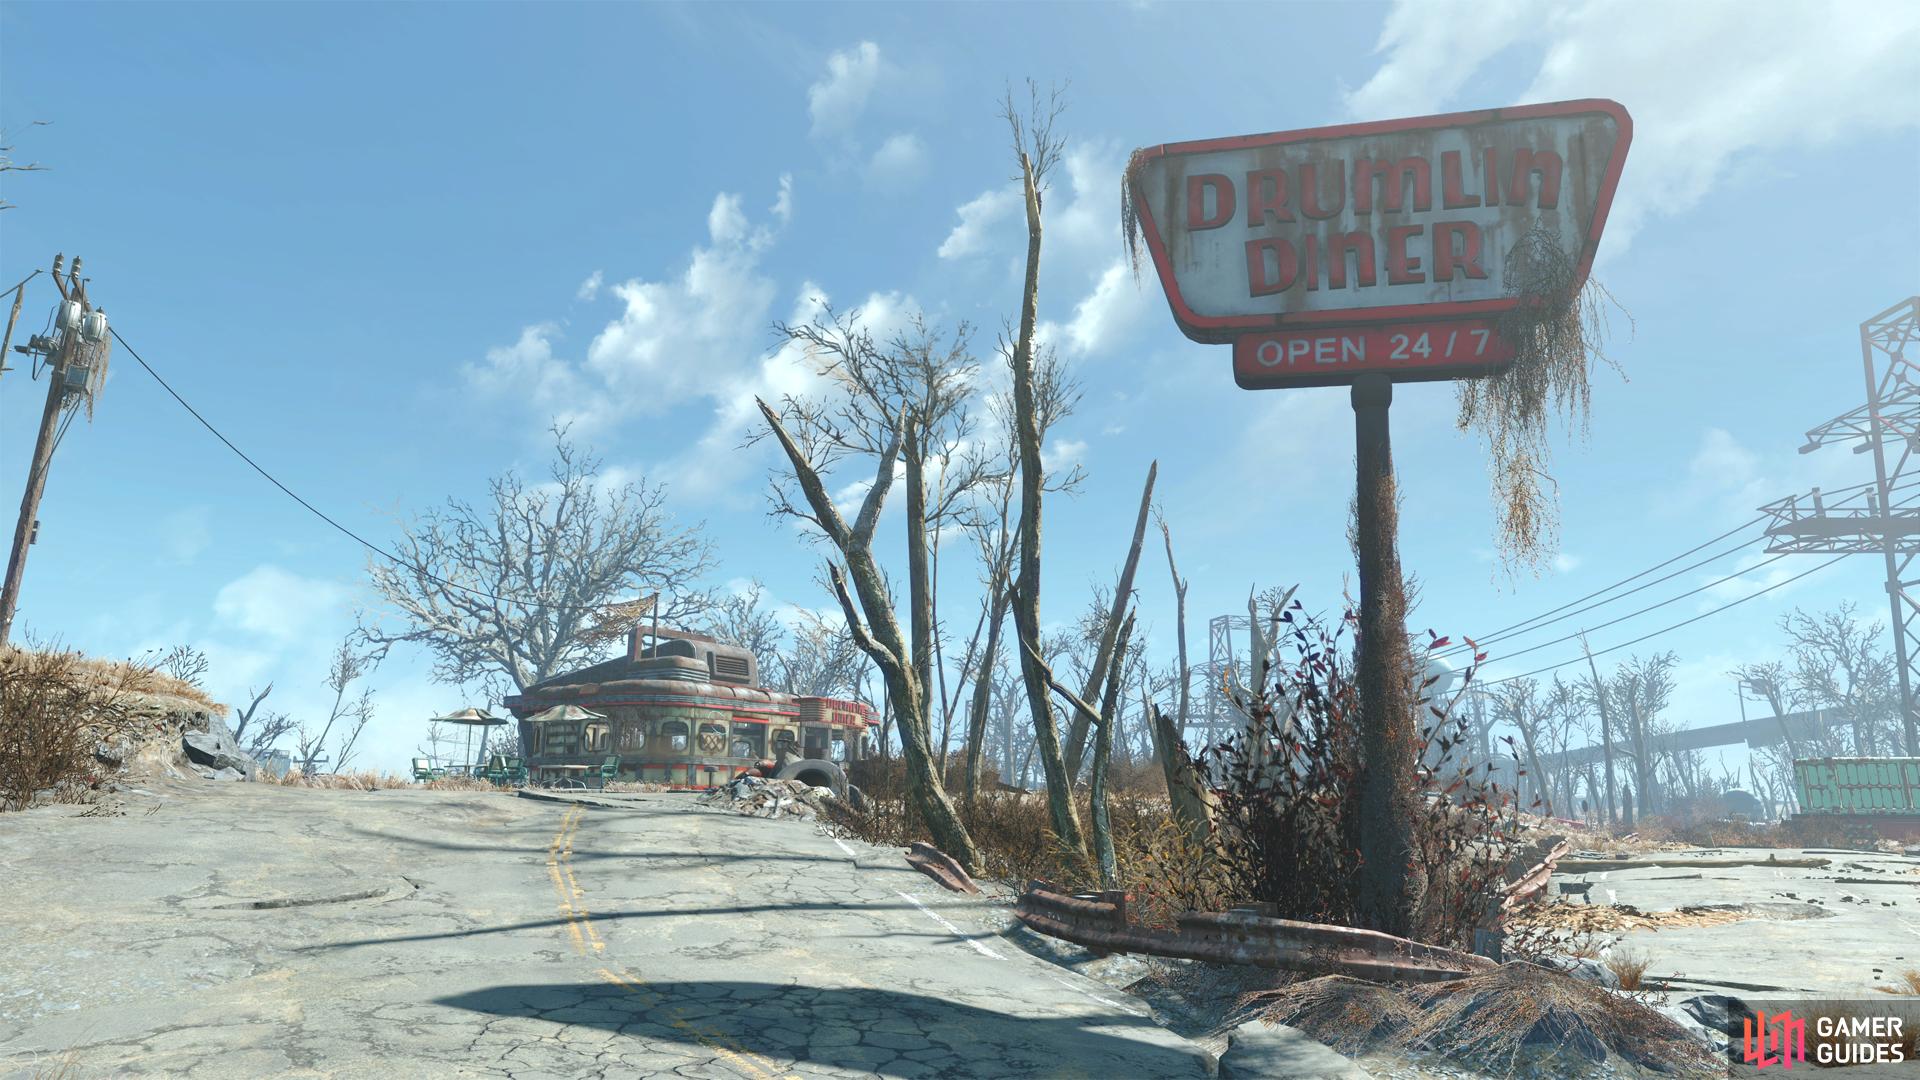
Drumlin Diner.
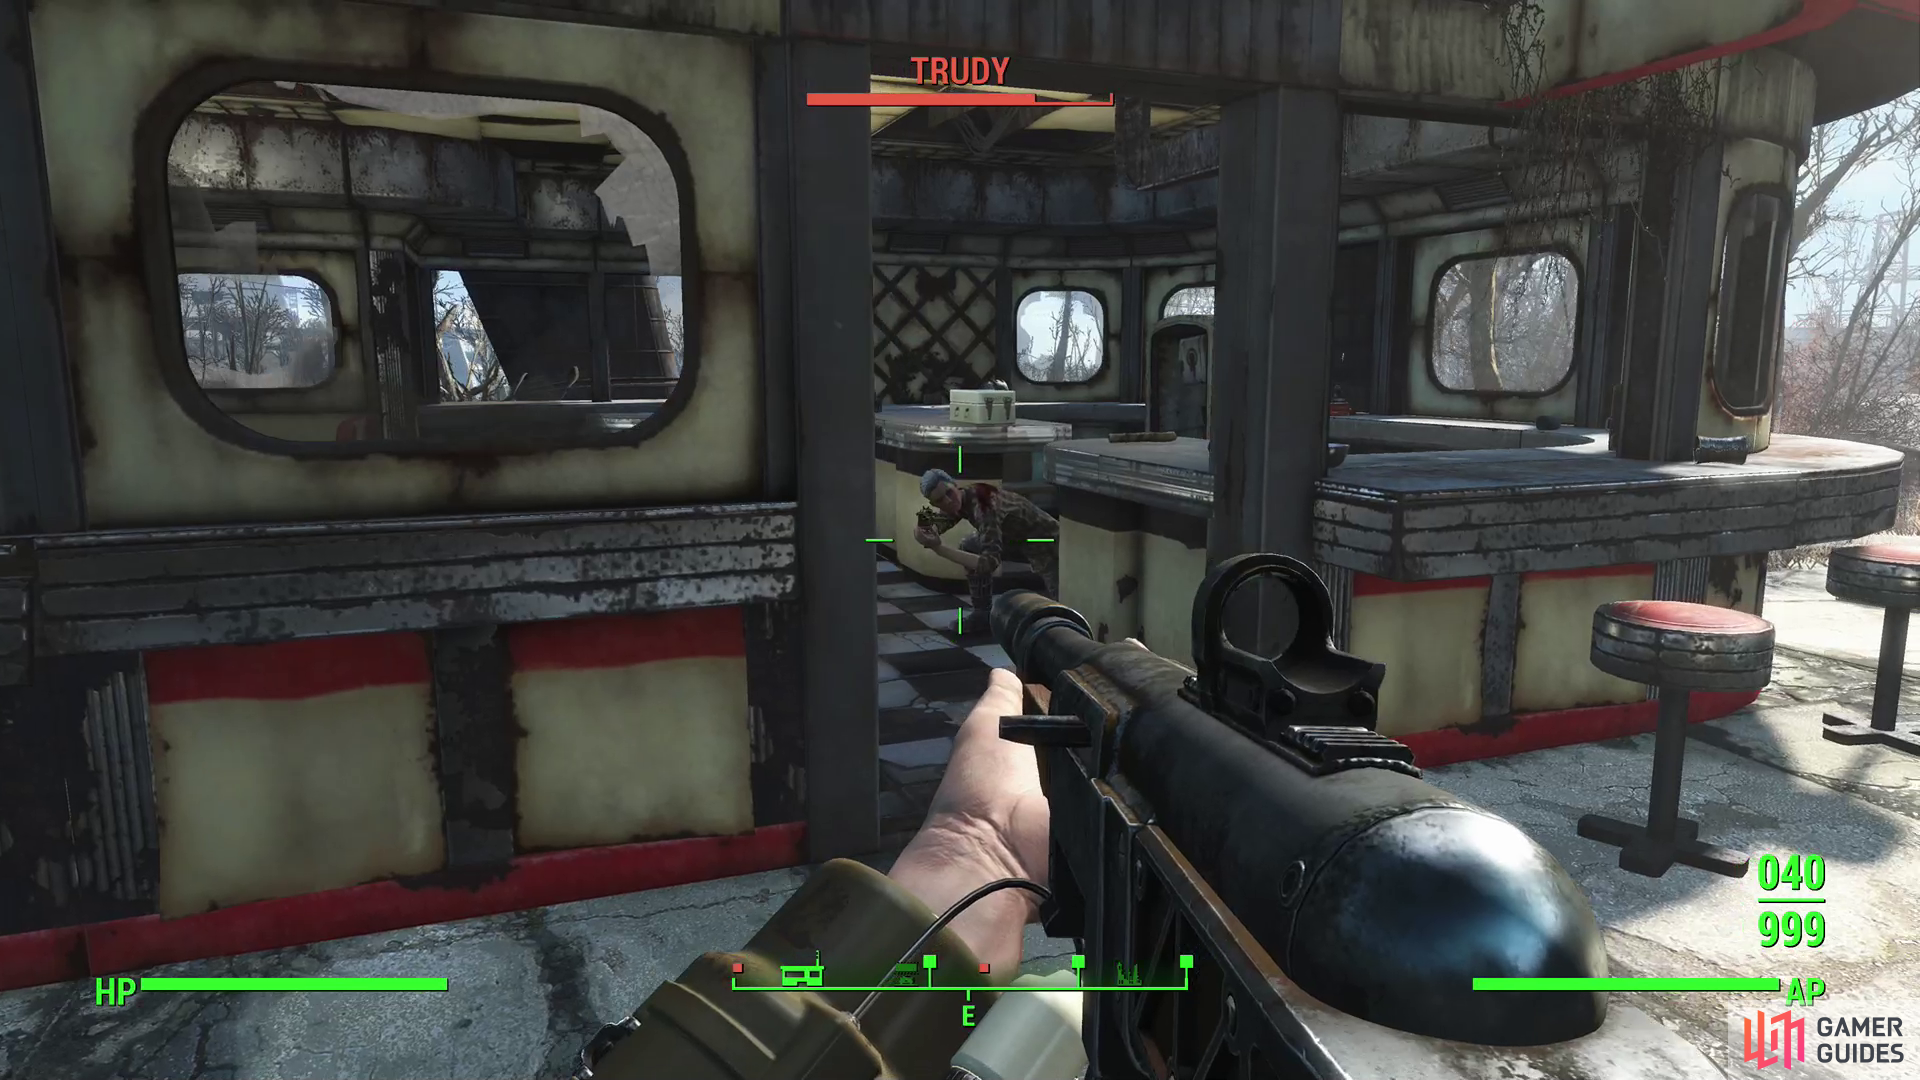
You’ll find this area east, southeast of the Gorski Cabin, south, southeast of the Museum of Freedom. You should be able to see the area marker from either location. When you approach you’ll find a man named Wolfgang arguing with the proprietress of Drumlin Diner - Trudy. This interaction, which sparks the quest Order Up, accounts for the majority of the content at the Drumlin Diner.
Order Up
Approach Wolfgang and he’ll give you the ol’ wasteland greeting. Seems the two sides are arguing about money, and you came along at just the right moment to arbitrate between the two (talking to either of them starts the quest Order Up ). You can resolve this quest in several ways:
Succeed at a series of persuasion checks to chase off Wolfgang.
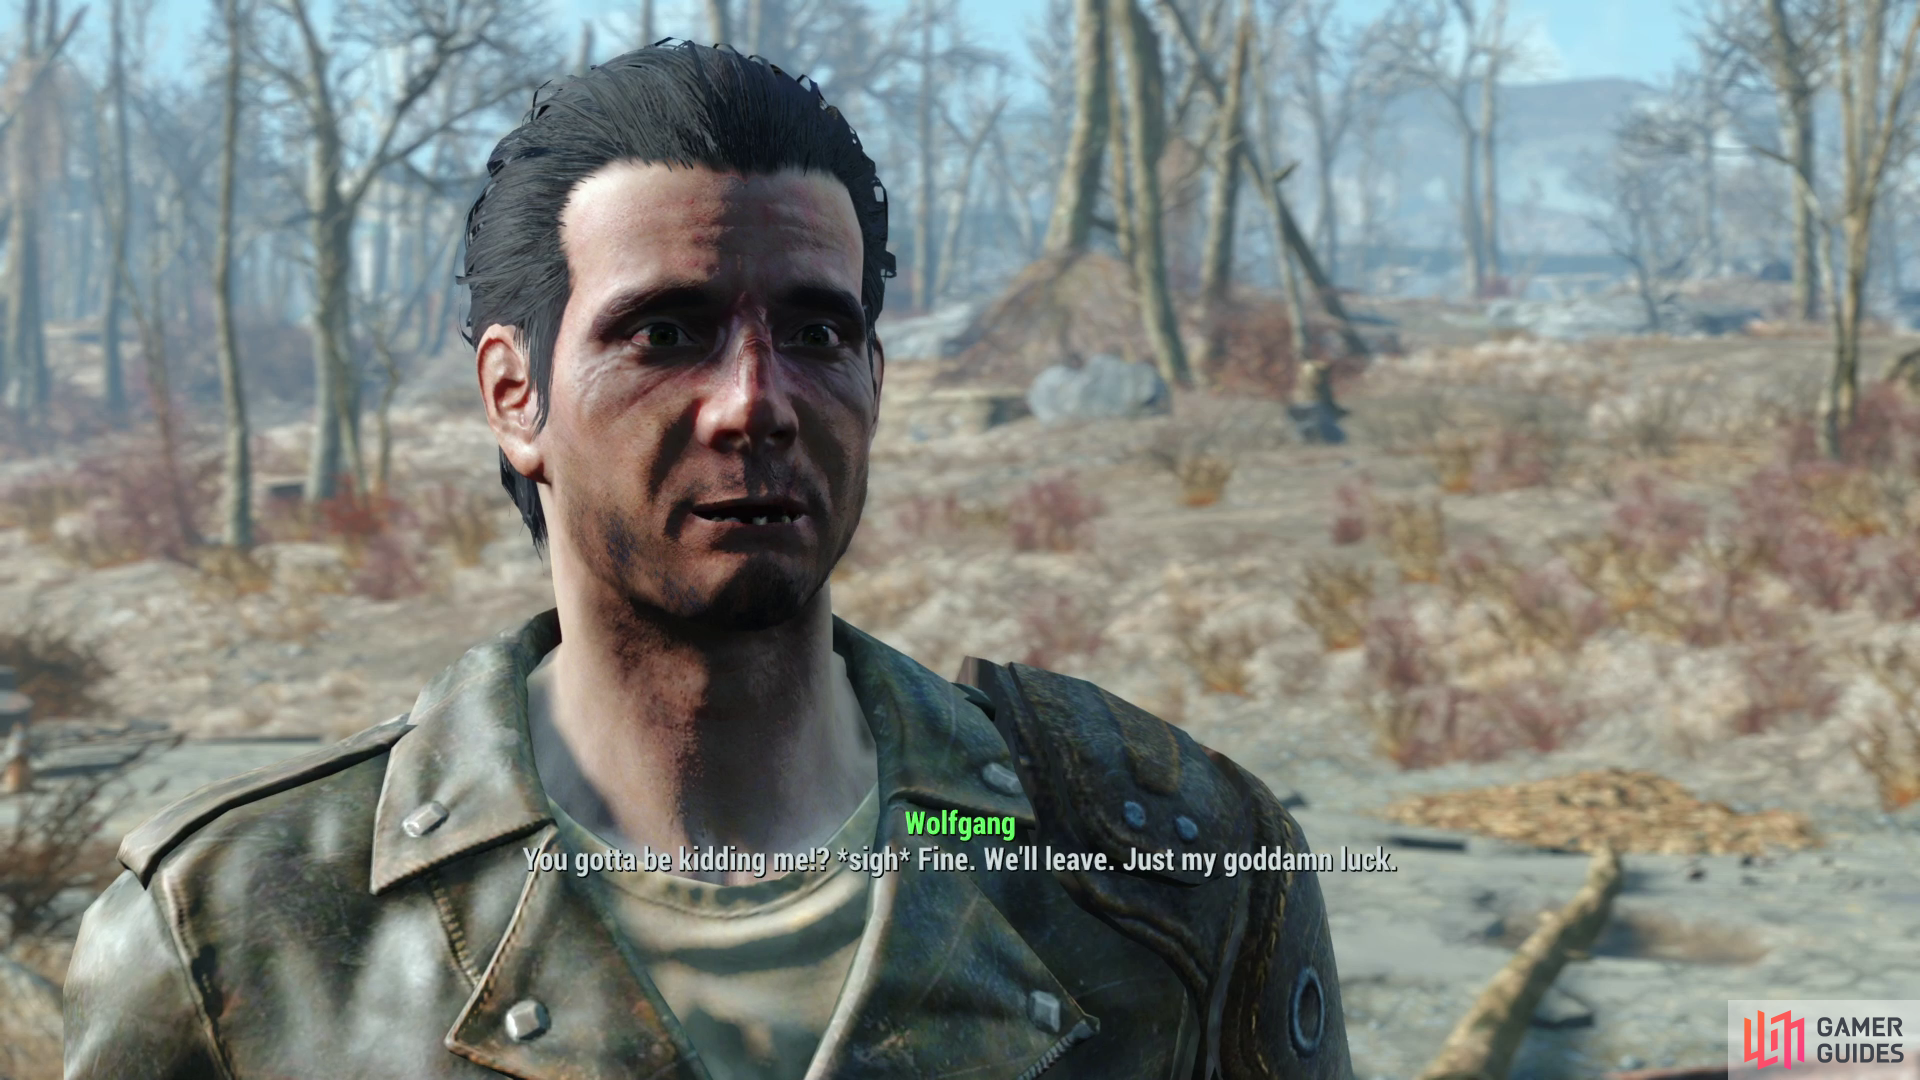
Chase Wolfgang Away
During your confrontation with Wolfgang you can intimidate him into standing down by picking ”Lower your gun” after which you can follow up with ”Demand money” to shake him down to the tune of 52 Caps. Finally you can finish up with ”Now get lost” and he’ll slink away with his tail between his legs, causing you to complete the quest by defacto siding with Trudy. If you fail any of these persuasion check, Wolfgang will attack and you’ll be forced to put him down… which also defacto counts as siding with Trudy.
You can stop after the first two persuasion checks if you wish to milk Wolfgang for XP and ultimately pursue a different outcome.
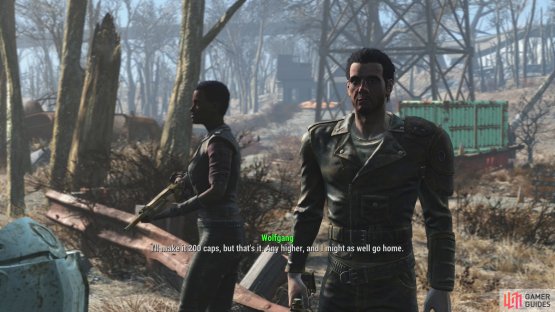
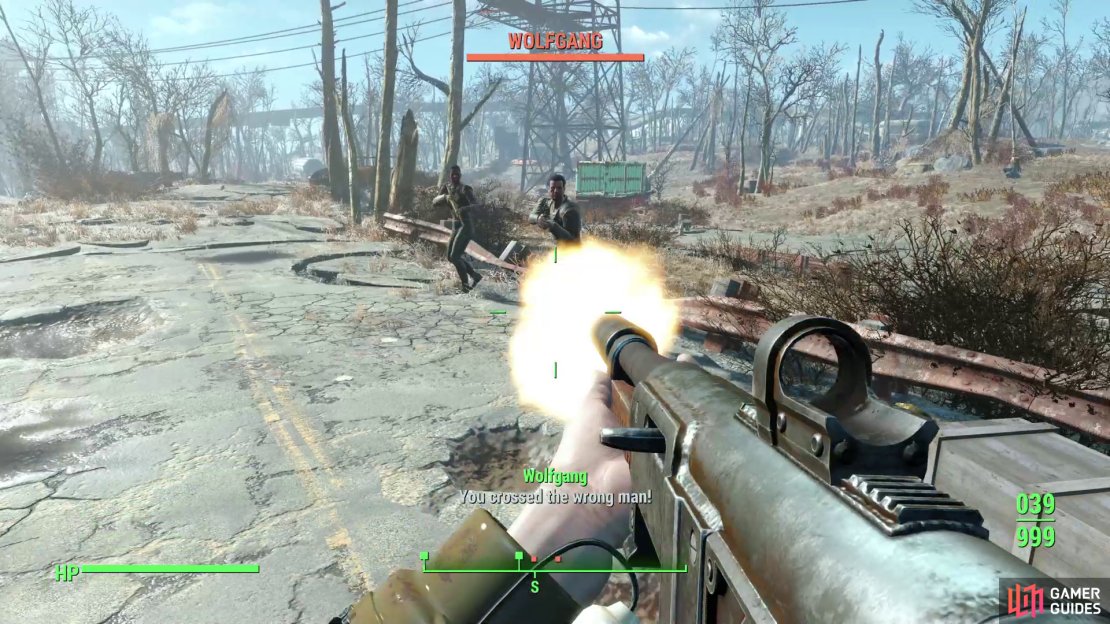
(1 of 2) You can haggle Wolfgang up to 200 Caps,

You can haggle Wolfgang up to 200 Caps, (left), which you can earn by killing Trudy and her son. (right)
Side with Wolfgang
Alternatively (or after one or two persuasion checks) you can pick any other option and Wolfgang will appeal to you for aid… which is a bit silly after extorting him. At this point you can make three successive persuasion checks to ”Ask for money”, which will net you a greater monetary reward for your future participation in this questline, provided you resolve things in a manner satisfactory to Wolfgang. His base rate is 100 Caps and you can bump him up to 200 Caps. If you fail at any phase he’ll drop you back down to 100 Caps.
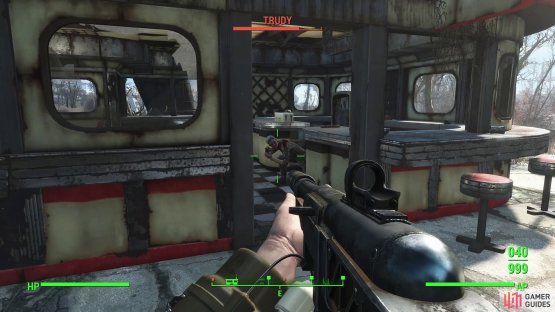
Haggle as much as you want and you’ll be able to pick ”Join the attack” to besiege Trudy and her son in Drumlin Diner. With numerical superiority, you should have little trouble putting them down. After they’ve been slain, talk to Wolfgang to get your reward, which will include XP and between 100 and 200 Caps. Wolfgang will also sell you his wares, which, as you might expect, includes a fair number of chems.
If brute force isn’t the outcome you desire you can pick the option ”Talk to Trudy”, which will free you up to get her side of the story. You can do this after extorting money out of Wolfgang and bumping his monetary offer up to 200 Caps, if you wish.
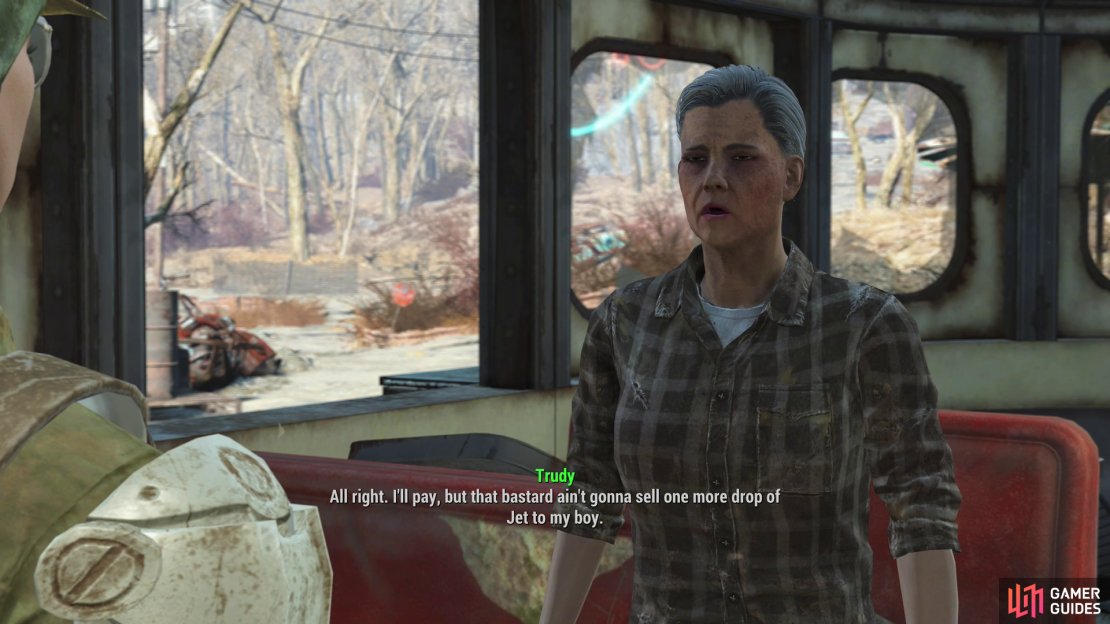

(1 of 3) After talking to Wolfgang, you can convince Trudy to pay up,
Side with Trudy
Deal with Wolfgang however you wish and, assuming you didn’t agree to help him gun down Trudy and her son, you’ll be able to enter the Drumlin Diner and talk to Trudy. If you chased Wolfgang off or killed him, you’ll receive a warm reception from Trudy and will complete the quest, earning XP, 100 Caps and access to Trudy’s wares, which are more diverse than Wolfgang’s.
On the other hand, if you didn’t already resolve matters you’ll get several options when you talk to Trudy. First, you can resolve matters peacefully by succeeding at an easy persuasion check, either ”Threaten her” or ”End peacefully”. This will resolve matters in favor of Wolfgang, getting Trudy to pay up - either through persuasion or intimidation. Just talk to Wolfgang to get whatever reward you negotiated (XP and between 100 - 200 Caps) and you’ll be able to do business with both Wolfgang (who hangs out outside the diner) and Trudy. Not a bad outcome if you want to keep your options open.
You can also haggle with Trudy by promising your support via the ”Offer help” option. This will play out similarly to negotiating with Wolfgang - Trudy’s base rate is 100 Caps and you can bump her up to 200 Caps over three persuasion attempts. If you fail at any phase she’ll drop you back down to 100 Caps. You can squeeze XP out of her by succeeding at these checks, then turn around and resolve matters peacefully, if you wish. You can also offer your support and go out and gun down Wolfgang and his guard, should you prefer that outcome.
Exploring Drumlin Diner
Resolve matters however you wish, after which you can loot around the diner. Everything inside (and a few odd cans outside) are considered stealing, which may be odd depending on how you completed the quest earlier. The only loot worth your attention is a floor safe [Advanced] behind the counter, so it’s no big loss if you don’t want to bother with stealing.
Drumlin Diner may be a one-quest location with little of interest as far as loot goes, but the wilderness around is is fairly interesting in its own right, so we’ll use Drumlin Diner as a staging point from which we’ll explore areas nearby.
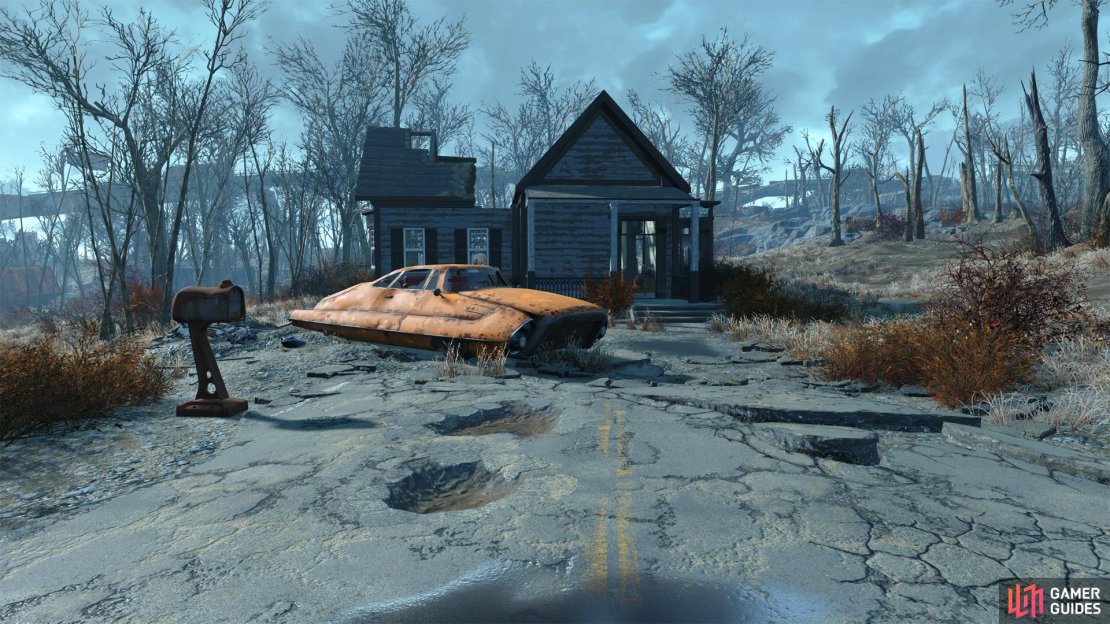
(1 of 3) Follow the road from the Drumlin Diner to find an abandoned house.
Drumlin Diner - Gunner Bridge
From Drumlin Diner, head west to find a road, then follow the road in a southeasterly direction until it forks. If you go uphill to the southwest you’ll reach a dilapidated house wherein you’ll find two random corpses (Raiders, Scavengers, etc) and whatever critters preyed on them (we’ve seen Wild Mongrels, Radscorpions and Feral Ghouls). Aside from the random loot these corpses and critters possess, you’ll find some meager loot strewn about and some Mattresses you can sleep on.
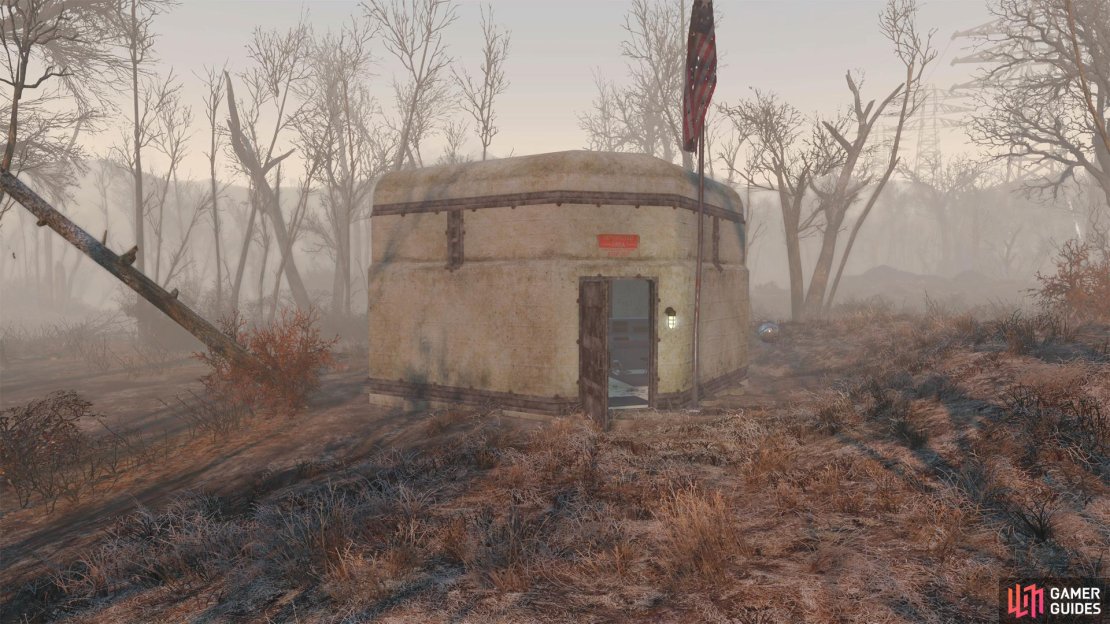
Exit the house and head northwest to find a concrete military structure. Head inside and hack a terminal [Novice] to open a sealed door to gain access to a bed and some loot.
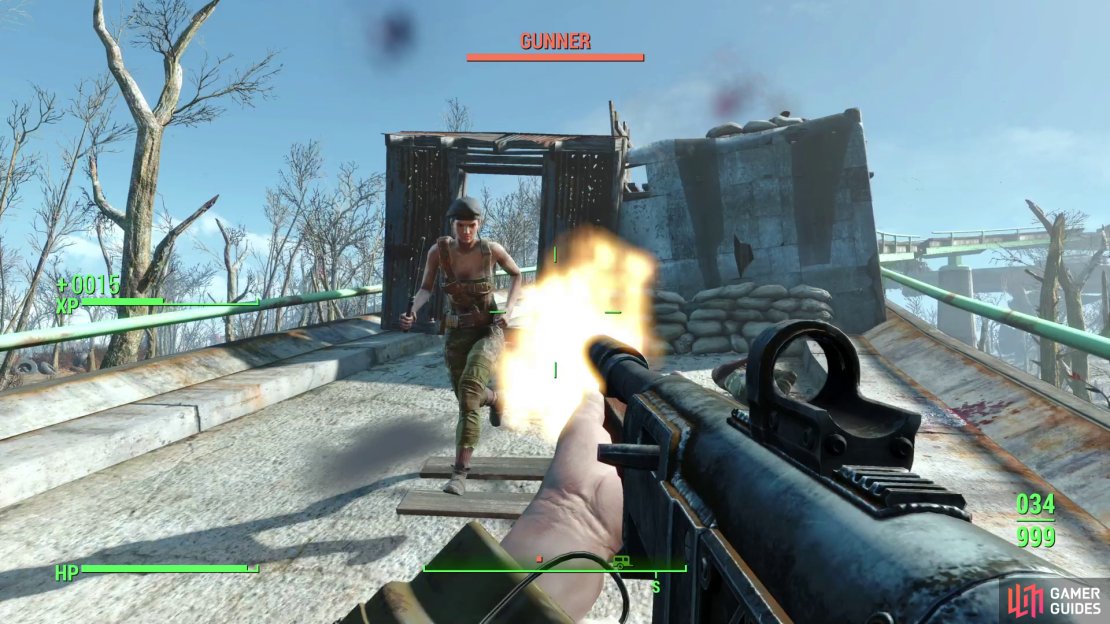
If you head southwest from this structure you’ll find an elevated highway, which now serves as a Gunner base. Gunners are heavily armed mercenaries who typically wear salvaged military equipment - usually various forms of Leather and Combat Armor (becoming more common and numerous the higher the Gunner’s level) and functional, non-makeshift arms. At the very least they’re a good source of non-pipe weaponry, including energy weapons.
Should you have the gumption, clear out the Gunner camp on the highway, and you should descend near the [![]() Rocky Narrows Park] area… which you should avoid for now.
Rocky Narrows Park] area… which you should avoid for now.
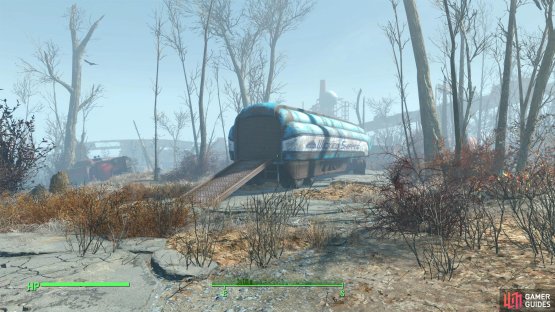

(1 of 2) Follow another road to find a Wicked Shipping trailer, inside of which is a Steamer Trunk you can loot.

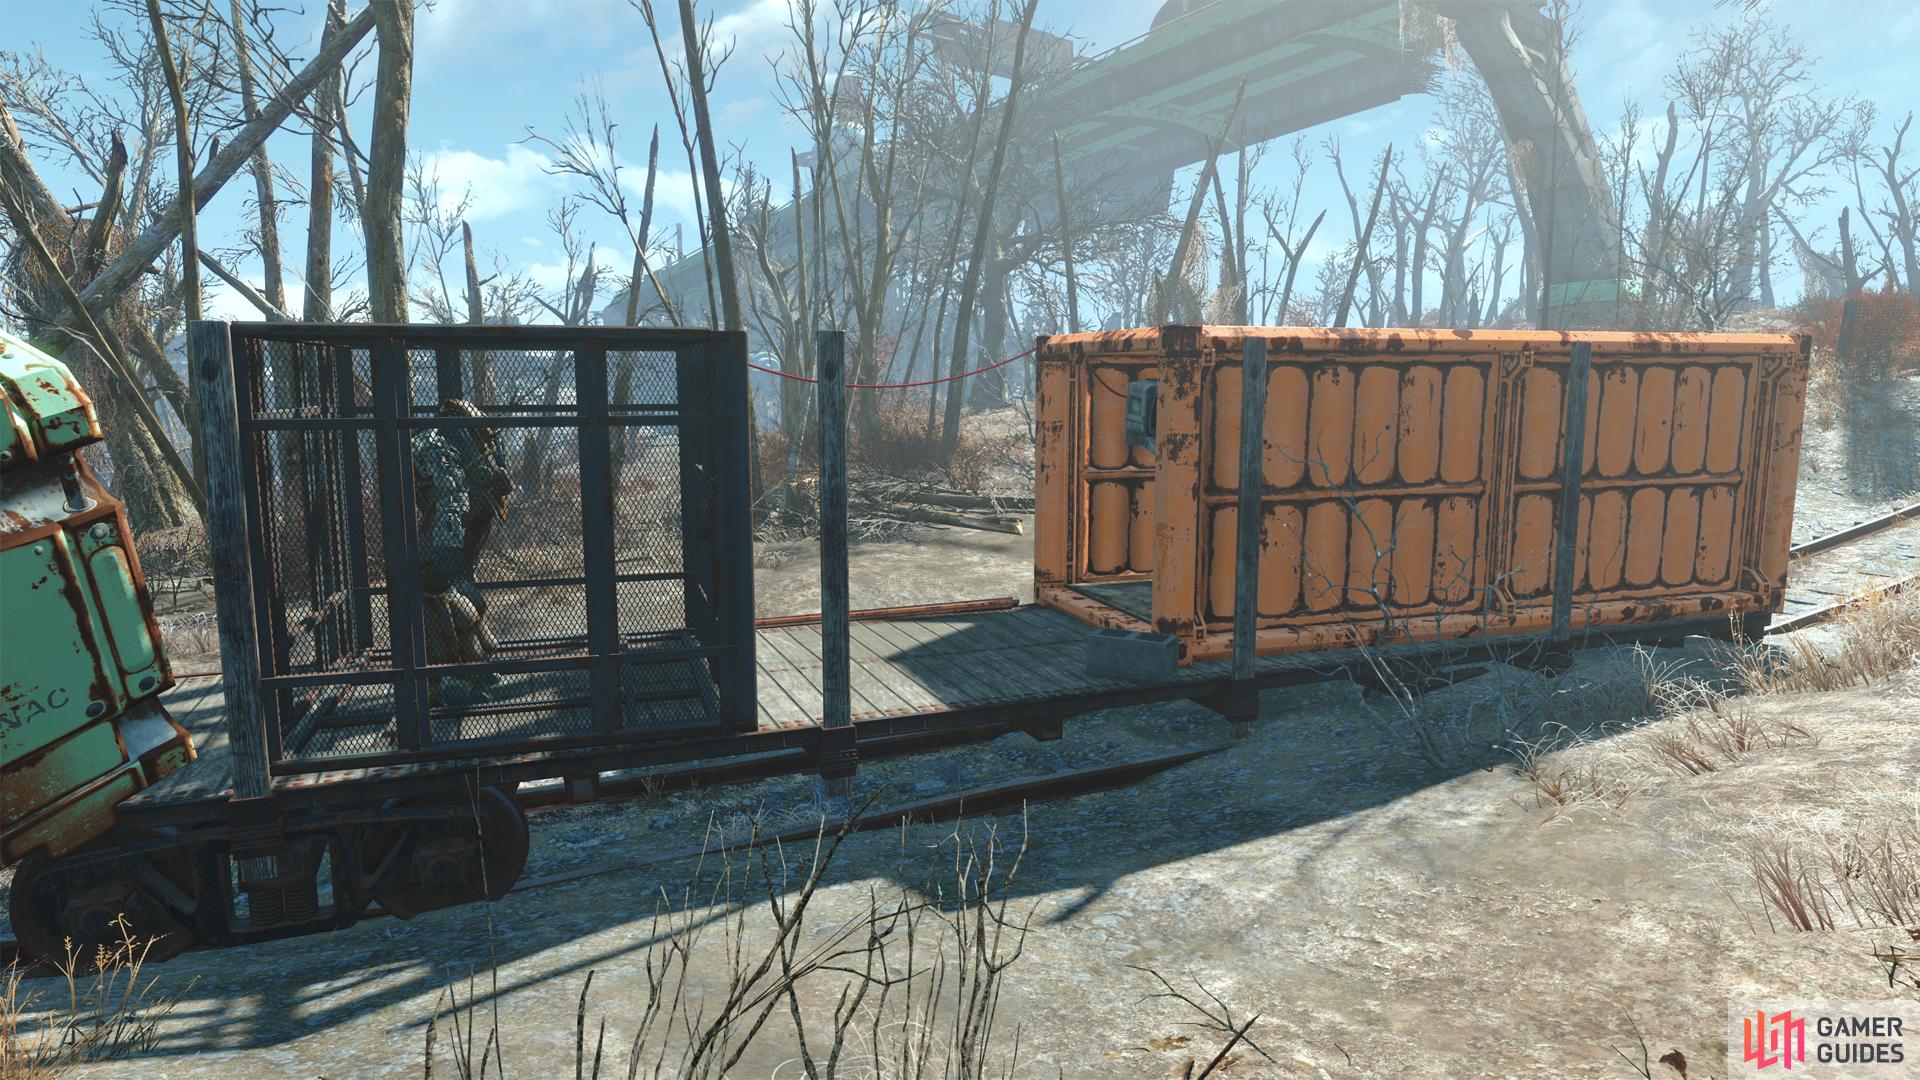
Follow another road to find a Wicked Shipping trailer, inside of which is a Steamer Trunk you can loot. (left), Follow some railroad tracks to find a caged suit of Power Armor. (right)
Drumlin Diner - Power Armor
Backtrack to the corpse-and-critter filled out and from there return to the fork and continue down the southeastern fork until you find a locked trailer truck. A blue, Wicked Shipping trailer truck. If you already visited the Wicked Shipping Fleet Lockup and acquire the key you’ll be able to unlock the door to the trailer without issue, beyond which you’ll find a Steamer Trunk.
While a nice little loot-diversion, this isn’t what you’re here for. Continue down the road to the southeast until you find some train tracks. Stand on them and look east to find a ditch, where you can find a sewer pipe leading to [![]() The Switchboard], which is part of the quest Tradecraft. Alas, you can’t do much with this exit right now, especially if you can’t hack [Master] difficulty terminals.
The Switchboard], which is part of the quest Tradecraft. Alas, you can’t do much with this exit right now, especially if you can’t hack [Master] difficulty terminals.
Note the location of the sewer exit for future reference, if you wish, but the treasure you can make use of now can be found by following the tracks to the southwest. Continue past a blue train car until you find an orange shipping container where you’ll find a terminal [Advanced] which you can use to unlock a nearby cage housing a suit of Power Armor. The pieces of armor may vary depending on your level, but either way you’ll claim a new, functional Power Armor Frame.
No Comments