| Important Items in This Area |
|---|
| Automatron Holotape |
| Jezebel Head |
| Tesla Rifle |
Fort Hagen Satellite Array
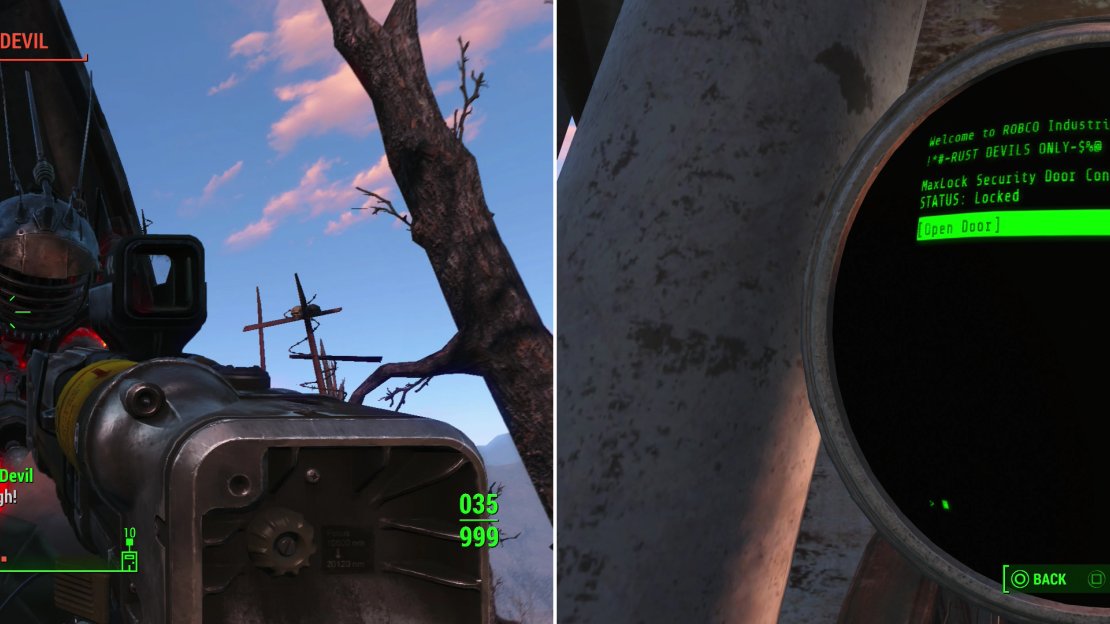
You may have already explored this area (this is DLC after all), but be aware that this place has changed significantly for Automatron. For starters, this Rust Devils raider group now occupies the array, and has some defenses built. Approach this location from the north-west to take them by surprise (if you are coming in from the relay tower). The outside has a few Rust Devil enemies along with their robots; take them out,while being wary of the Machine Gun Turret on the north and the “main entrance”, which has two flame-thrower traps (you can disable them at your leisure after the area has been cleared).
Kill the Rust Devils and their pet robots outside of the Fort Hagen Satellite Array (left) then hack their terminal to gain access to their base (right).
Once the area has been cleared and looted, we need to get inside the Fort Hagen Satellite Array. To do so, follow the stairs up to the Rust Devil fort and around the outside of it, heading up across the bridge to find the “Rust Devil Entry Terminal”. You can use this to open up the security door just below you and enter the hangar itself.
First, take out the laser trap to the right. Note the door to the left as well as it is what you’ll use to get back out once you are done. Continue to the right and down the ramp you’ll see two robots and a Rust Devil above them. Target the highest-level enemy here and sneak attack them, then wipe out the rest of the enemy.
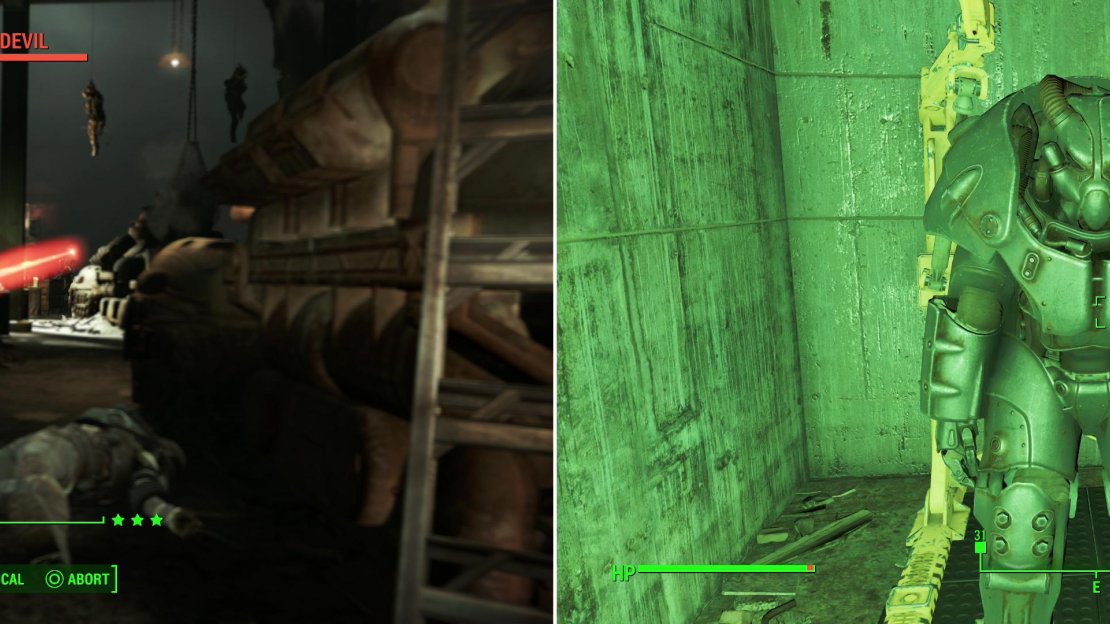
Once they are dead (and/or dismantled) head down there and enter the door on the right. This large area is a warehouse full of enemies: Rust Devils and robots. Enter and take out who you can stealthily, but that won’t likely last very long. Still, there are plenty of (non-working) tanks here to hide behind so pop out and take your enemies down one at a time. Once they are dead you can explore.
From the entrance of the room, you can find a med bay on the right (with a First Aid Box). You can also follow this right wall to a staircase that leads up above where you came in to find a “Fort Hagen Hangar Lockdown Terminal” with an [Advanced] lock. This opens up the door nearby that leads to an Explosives Box. Not a big haul, really.
More Rust Devils await you in the depths of their base (left). After fighting amidst ruined tanks, claim a suit of leveled Power Armor from the defeated Rust Devils (right).
To the left side of the room is the big haul. The first door is an [Expert] locked door that leads to, gasp, a set of X-01 Power Armor ! This is a nice surprise for sure. Note that there is another [Expert] lock beyond this small room, leading to the next area. If you keep following the left wall though, there is another [Novice] locked security gate you can pick for some random goodies. There are also stairs here that lead up to a control room where you can find more random junk. This also leads to the next area, giving you a means of continuing if you can’t pick [Expert] locks.
This next area has some friendly robots! Or at the very least, robots that appear friendly (don’t be fooled!). Head down and take the staircase to the left first (the one heading south) and then take a right to find a button to extend the bridge. On the north side of this room you find a missile launcher and three missiles. A sign? Very much so!
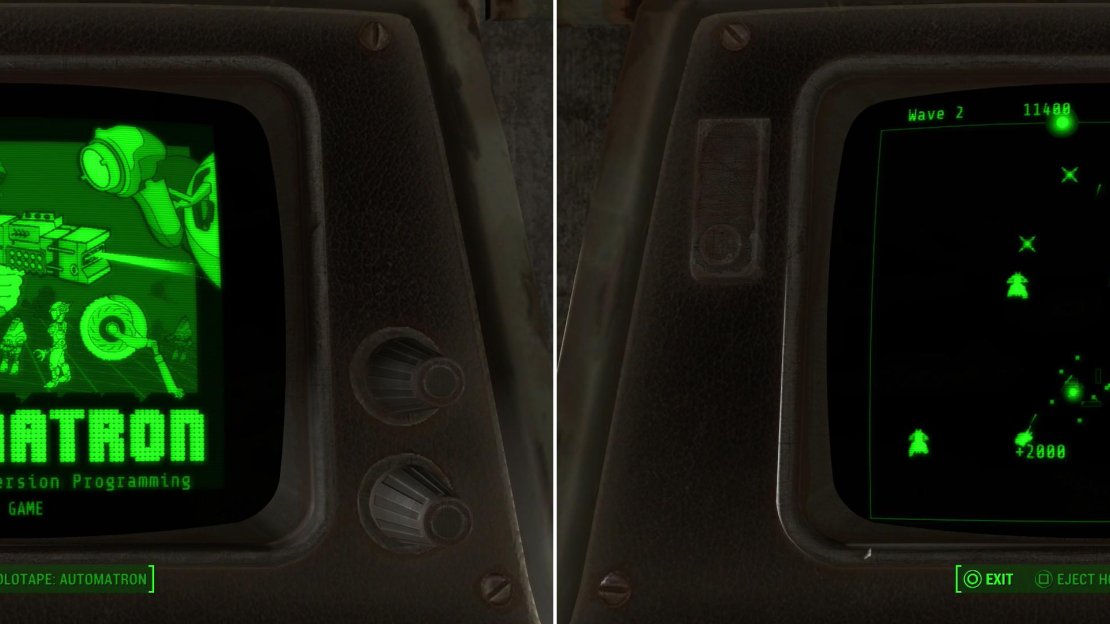
In the Rust Devil Gaming Terminal you’ll find a copy of Automatron! (left) This two-stick shooter is, in many ways, similar to the arcade classic Asteroids (right).
Head up the north staircase now (after heading back down of course) and hang a left. On the room on the right there are three laser tripwires set up. Someone really doesn’t want you here. Disarm them all and check out the room beyond. This is a sleeping area of sorts. In here, find the “Rust Devil Gaming Terminal”, where you can eject the Automatron Holotape .. This is a new mini-game you can play and function like a twin-stick shooter. Quite fun, really. Just note that you can’t kill the “people” in the game, so shoot away and try to pick them all up! Just to the left of the terminal is an [Advanced] safe you can pick. Do so and then head back to the main room with the friendly robots.
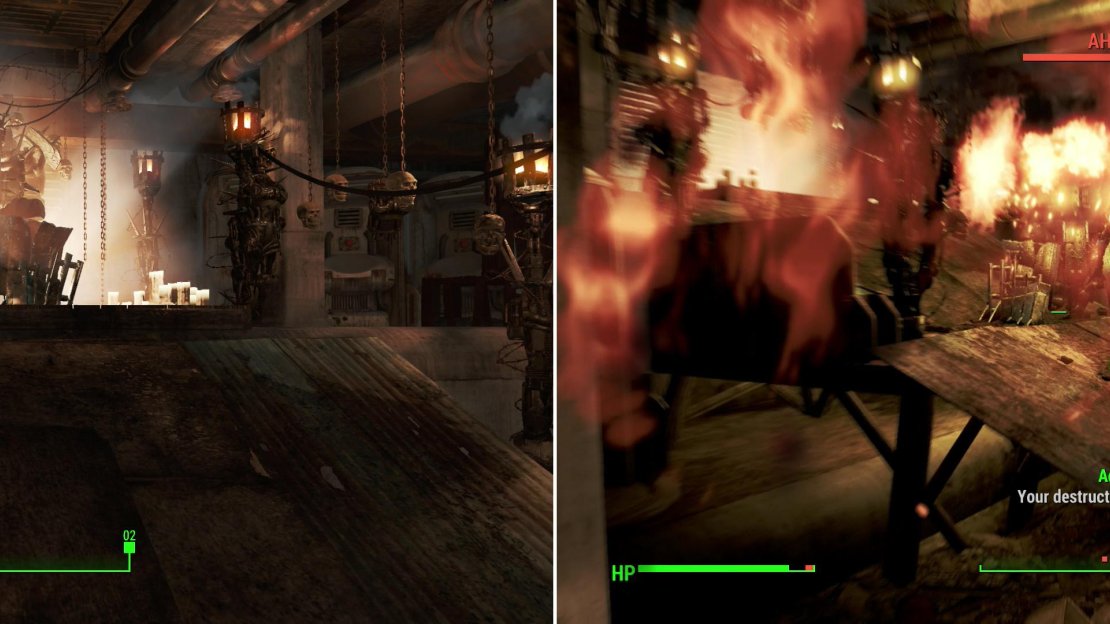
Our Robobrain is set up inside a machine here, with a large robot up the ramp called “Ahab” and an eyebot inside a cage playing a message on loop. Very, very annoying really. First pick up the Jezebel Interview by the eyebot and then check out the workshop terminal if you wish. The cage to the eyebot is also an [Advanced] lock that you can pick.
Ahab looks pretty terrifying, but it’ll remain docile until you get too close or tamper with the Robobrain you’re after (left) at which point it’ll unleash fiery devastation upon everything nearby! (right)
Next, it is time to kill Ahab. This thing is not friendly. In fact, you can go up and talk to it if you want and it will attack, so you may as well attack first. You can use the missiles if you want, although energy weapons work nicely as well. No need to worry about “Jezebel” (the Robobrain) being hurt here. Take the thing out, targetting his arms first and using a sneak attack if you can. This thing can take several shots to drop, but it will fall soon. During the fight, beware of robots coming in from the tripwire room . Take them all out and be sure to loot him for some robot parts.
Afterwards, go ahead and loot everything and put on your Charisma gear before talking to Jezebel as there is a moderate speech check in it. Talk to Jezebel and make a deal with it, eventually gaining the Jezebel Head. Well… now you have a Robobrain brain… Commenting on your actions. This should be great, right? Jezebel’s a bit of a harsh critic, though.
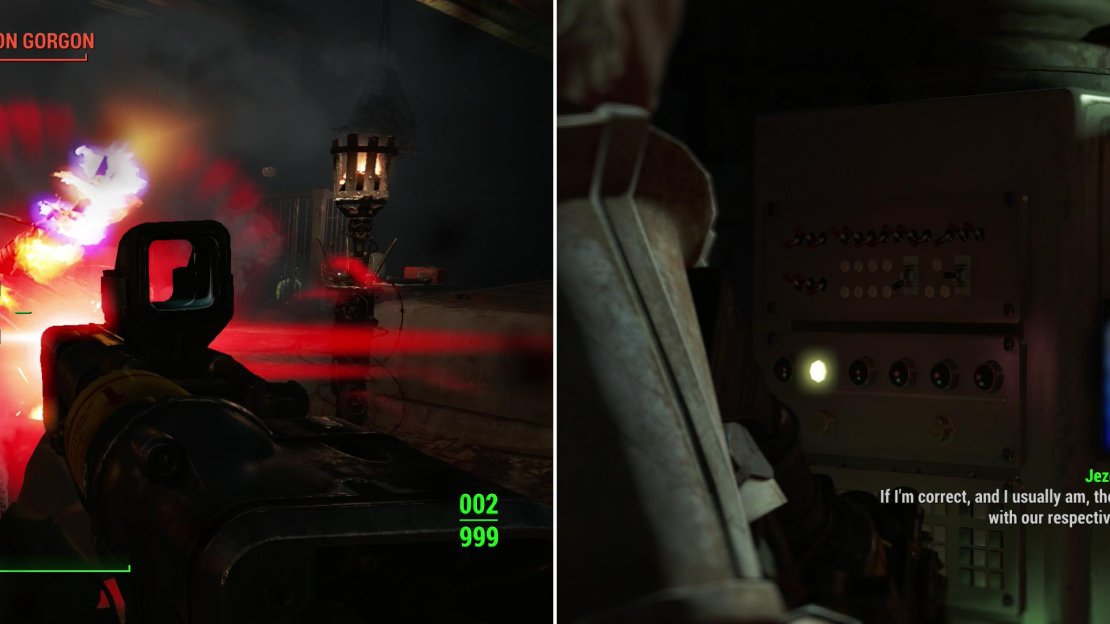
Assaultron Gorgons are some of the most dangerous robots in the Commonwealth (left) and may join Ahab’s attack. After all the robots have been dismantled, strike a deal with Jezebel (right).
Head through the tripwire room now to continue to another large room. There will be more robots in here as well as a few Rust Devils. The building to the west has a sleeping area (you may find some Rust Devils asleep here), but the true threat is up on the walkways above. Kill off the two machine gun turrets here and the Rust Devils firing down on you.
In the west building, you can find “Ivey’s Terminal” which gives a bit of story. You can also unlock a maglock door here to get to some Toolboxes. Head to the north-west corner to get up to the second level. In a room up here you can find the “Fort Hagen Hangar Control Terminal” which has an [Advanced] lock you can hack. It controls the turrets you previously destroyed, so it is worthless. Keep following the path, up the stairs to a security door and down to a warehouse.
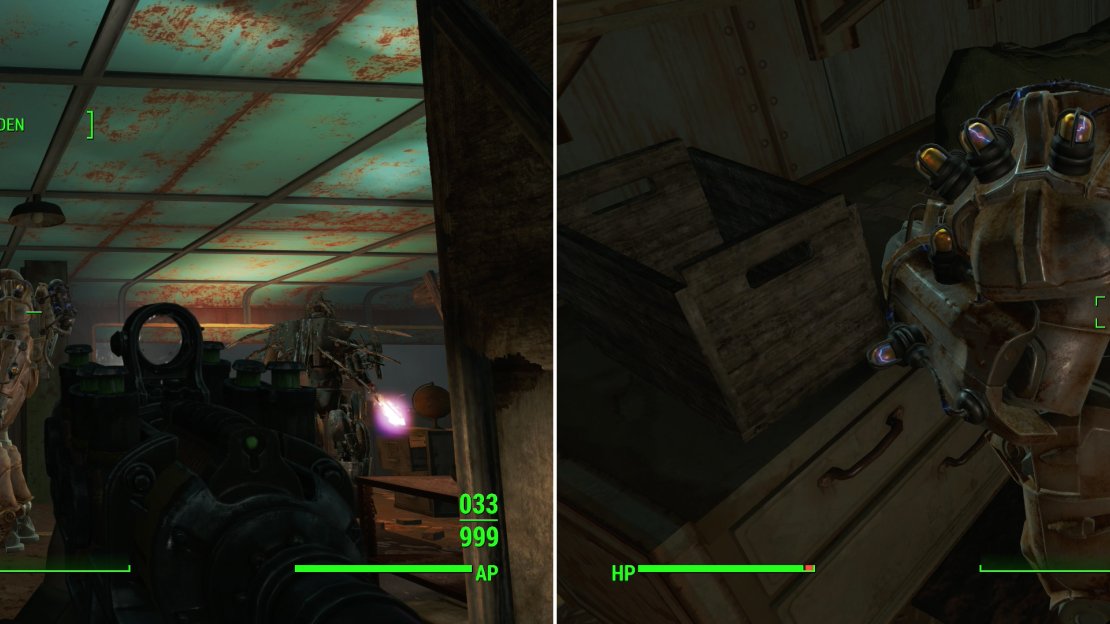
The Power Armor-clad Ivey is the leader of these Rust Devil (left). Defeat her and you can claim her Tesla Rifle and Tesla Armor pieces (right).
Just past this warehouse room is a bridge with laser tripwires on it. Disarm them and sneak forward. Around this housing area is the big bad boss of these Rust Devils, “Ivey”, who is in some power armor. With a sneak attack and a Gauss Rifle you can take her out fairly easily. You can alternately set up your own traps in the room and lure her to you for some explosive help. Chuck in a few grenades and she’ll fall quickly. Do note that she has a robot helper with her, possibly and Assaultron Gorgon, which can be far more dangerous than Ivey, herself. Be sure to check her afterwards for the unique weapon, the Tesla Rifle . Her power armor will also have a mix of unique armor pieces (Tesla pieces) and normal armor pieces. The robot likely has some good stuff for you as well.
Head past Ivey’s room to find an [Expert] locked security gate. This gate has a Fat Man in it if you want it, along with two Mini Nukes. The other door has a Steamer Trunk with various robot parts and other goodies. You are at the end now, so use the “Fort Hagen Hangar Lockdown Terminal” and open up the door to head back to the exit.
After making your way outside, you will be told to make Jezebel a new robot body. Because of course you have to. Heh. Put on your Charisma gear at this point and talk to Ada, who will tell you that she has started to decrypt where the Mechanist is. She has two moderate speech checks as well you can pass for some XP. For now, head back to the settlement where your Robot Workshop is.
Here you’ll need to make a body for Jezebel. Just use the basic Protectron or Robobrain parts. Nothing special;: she isn’t worth it. After you are done, talk to it to learn of what it thinks about “helping” humans and to learn more about the Mechanist. You’ll learn the Mechanist location and the fact that you need an “M-SAT augmentation” to get inside. Fun. This ends this part of the mission chain and starts the next mission, “Restoring Order” .
| Objective | Reward |
|---|---|
| For learning how to reach the Mechanist | 520 XP |

No Comments