
| Important Items in This Area |
|---|
| Overdue Book |
| Tumblers Today |
Barfight with Bull
Time for a quest that’s a little more involved. By now you should have set up “![]() Confidence Man” , which can be started by entering the Dugout Inn for the second time to overhear Vadim and Yefim complaining about the radio. Agree it sucks, then follow Vadim into a back room to discuss the matter. After he gives his plan, haggle on price, after which you’ll need to return after 6:00 P.M.
Confidence Man” , which can be started by entering the Dugout Inn for the second time to overhear Vadim and Yefim complaining about the radio. Agree it sucks, then follow Vadim into a back room to discuss the matter. After he gives his plan, haggle on price, after which you’ll need to return after 6:00 P.M.
Of course, if you’ve been following this guide, you should already have done all this, so just wait around until after 6:00 P.M. and sure enough, Travis will show up being bothered by two goons: Bull and Gouger. You should un-equip your weapon at this time and just go with bare-handed here. Now, talk to Travis and encourage him to stand up for himself. This will take some encouraging as you can imagine, but when you get the chance tell him you are on his side (“Got your back”) and he’ll actually start a fight with the bullies. Help Travis out and punch down both of these fools. Once they are beaten, they will cry foul and promise to return. Talk to Travis again and encourage him and he’ll leave as well to “think things over”.
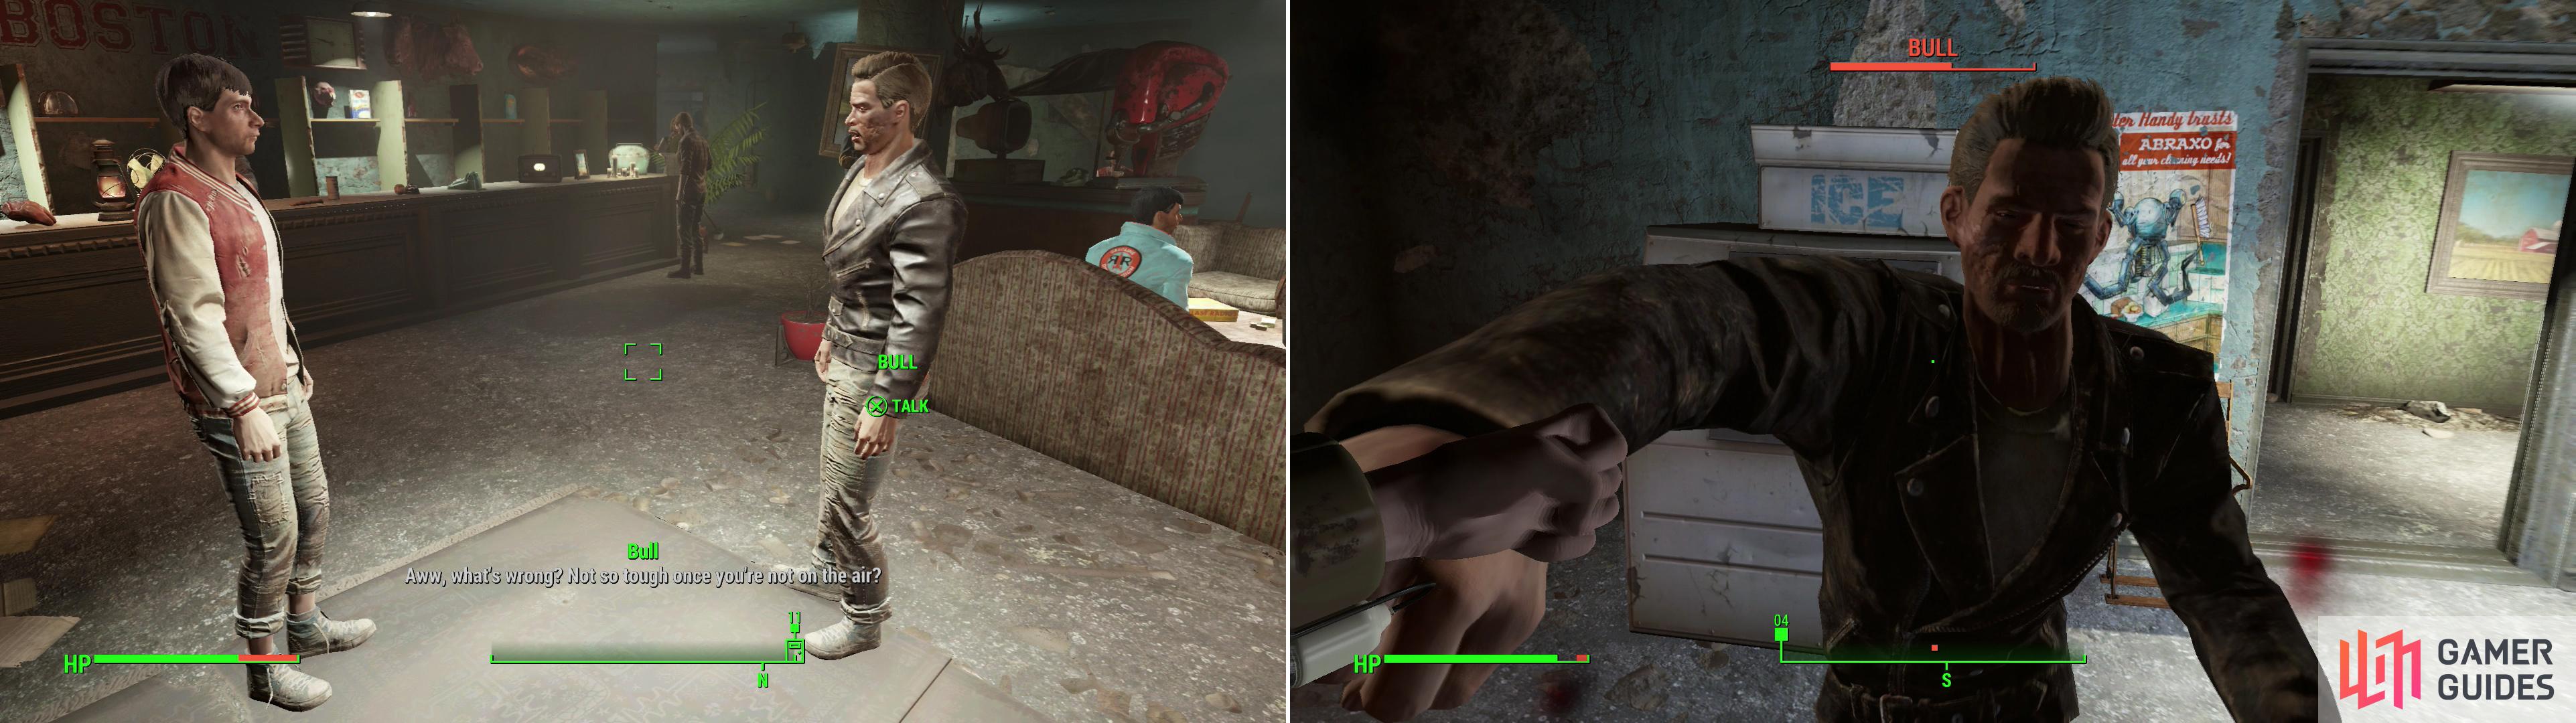
Vadim’s “friend” Bull will pick a fight with Travis (left). Help Travis fight off Bull and his buddy (right).
A Date with Scarlet
Once Travis is gone, talk to Vadim who has one more step of the plan: he knows Travis has a crush on Scarlett (the waitress of Dugout Inn) and wants you to convince her to go see him. Bah… go ahead and agree to this and then find Scarlett wherever she might be. Again, save before you talk to her as you have another speech check, but once you do find her (she’ll probably be outside, near the “green monster”), talk to her and try to persuade, bribe or threaten her to go see Travis. These are mostly easy speech checks, so it shouldn’t be too hard to do.
The Kidnapping
After you have sent the love bird on her way, head back to the Inn and enter. Yefim will greet you here, claiming that the thugs from earlier kidnapped Vadim and took him away. What!? How does that happen! So much for him knowing some guys! What is worse is that Yefim has no idea where they are. Maybe Travis knows more?
Head to Travis’s radio station and talk to him (and no, Scarlett and Travis aren’t up to anything… although it seems like a missed opportunity for a funny scene in here!). Ask Travis if he knows where Bull went and, if you wish to keep the ruse up as to why, ask him if it really matters. Travis will agree the important thing right now is getting Vadim back and asks to come with us to the “![]() Beantown Brewery”, north-west of
Beantown Brewery”, north-west of ![]() Diamond City. Well then… look who is growing a backbone. Travis is off to find a gun and advised that he will meet you there.
Diamond City. Well then… look who is growing a backbone. Travis is off to find a gun and advised that he will meet you there.
So… it’s time to head off to “Beantown Brewery”, which was already explored. It does, however, give you an excuse to head towards the brewery from a different angle and explore whatever locations you find along the way.
Fens Street Sewers
The first stop along the way is the “![]() Fens Street Sewers” location, which is a manhole in the center of a street intersection. To find it, head west from the entrance to Diamond City to reach a street, then turn north and head through a barricade. Ignore the first street to the west, but head down the second past a guard post, continuing on until you find a skeleton near a manhole. That’s the destination, but first, continue north-west to find a Super Mutant camp near a diner. There’s not much loot to be had here, but… well, who can stand to let a Super Mutant live?
Fens Street Sewers” location, which is a manhole in the center of a street intersection. To find it, head west from the entrance to Diamond City to reach a street, then turn north and head through a barricade. Ignore the first street to the west, but head down the second past a guard post, continuing on until you find a skeleton near a manhole. That’s the destination, but first, continue north-west to find a Super Mutant camp near a diner. There’s not much loot to be had here, but… well, who can stand to let a Super Mutant live?
Once you’re done with the Super Mutants, descend into the sewers and head down the narrow corridor to the first cabinet you see (with the skeleton) and check it fir the “Dear Detective 1” tape. Go ahead and play it to discover the “Fens Phantom” and hear he is excited to show off his handy work. This… isn’t going to be good is it?
Head down a tunnel to the north and you’ll be in the sewer proper. Turn north-west to check out the fishing skeleton here… the Phantom’s handiwork, no doubt? Continue down the watery sewer to the east, where you’ll find two Ghouls lurking. When you run out of east, continue up a ramp to the south then head down another tunnel then past some pipes to reach a BBQ with a Ghoul walking around nearby. Kill it off and check the BBQ for the “Dear Detective 2” tape. Well then…
Continue east to reach an area full of water. It may be wise to pot some ![]() Rad-X and then try to shoot down the three Bloatflies in the area. There is some heavy radiation going on down here, so just make your way out of the first by heading a hole in the wall to the north. Keep heading north and you’ll come to a path split soon. To the west is a dead-end, so keep north to reach another water area, but this one with a bridge past it. There are more Ghouls here so be ready to take them on.
Rad-X and then try to shoot down the three Bloatflies in the area. There is some heavy radiation going on down here, so just make your way out of the first by heading a hole in the wall to the north. Keep heading north and you’ll come to a path split soon. To the west is a dead-end, so keep north to reach another water area, but this one with a bridge past it. There are more Ghouls here so be ready to take them on.
Make your way north across a metal bridge, then scale a slope and head into a tunnel to reach a room with some mannequins and the “Dear Detective 3” tape. This guy is just something else. Kill the Ghoul in the area and continue west down another tunnel to reach a room with some ramps leading up to some stairs, which you should follow, then head west past some machinery to reach a doorway, stopping only to loot a Toolbox [Novice] near some of the yellow machinery.
Head west into a larger room that has a ton of mannequins (which seems to be a theme… that and skeletons). There are two Ghouls roaming around in the middle, but take note of the north-east corner area as there is a Glowing One nearby. This is the toughest enemy in this dungeon, so be careful with him and try to get in a sneak attack if you can (which likely means sneak attacking the Ghouls in the middle area as well). Still, do what you must to take him out and you’ll be OK. Once the Ghouls are dead head through the cage to the north (where the Glowing One was) and go around a corner and through a hole in the wall to the north-east to find a small room with a medical bed in it. On a table you’ll find a ![]() Flamer, for you pyromaniacs out there, as well as a Radaway on top of a radiation can, which is… just evil. In the main room you can find a Steamer Trunk full of goodies to loot near some yellow machinery, then head south-west past some stairs into another caged-off area, where you can find the “Dear Detective 4” note, the last holotape of the series. Spooky, right? Yes, well… you’ll see. There’s also a copy of Tumblers Today nearby, along with a
Flamer, for you pyromaniacs out there, as well as a Radaway on top of a radiation can, which is… just evil. In the main room you can find a Steamer Trunk full of goodies to loot near some yellow machinery, then head south-west past some stairs into another caged-off area, where you can find the “Dear Detective 4” note, the last holotape of the series. Spooky, right? Yes, well… you’ll see. There’s also a copy of Tumblers Today nearby, along with a ![]() Stealth Boy and a dose of
Stealth Boy and a dose of ![]() RadAway. Once that’s yours, turn south-west to find a Safe [Expert] which… if you can get inside it, you might as well.
RadAway. Once that’s yours, turn south-west to find a Safe [Expert] which… if you can get inside it, you might as well.
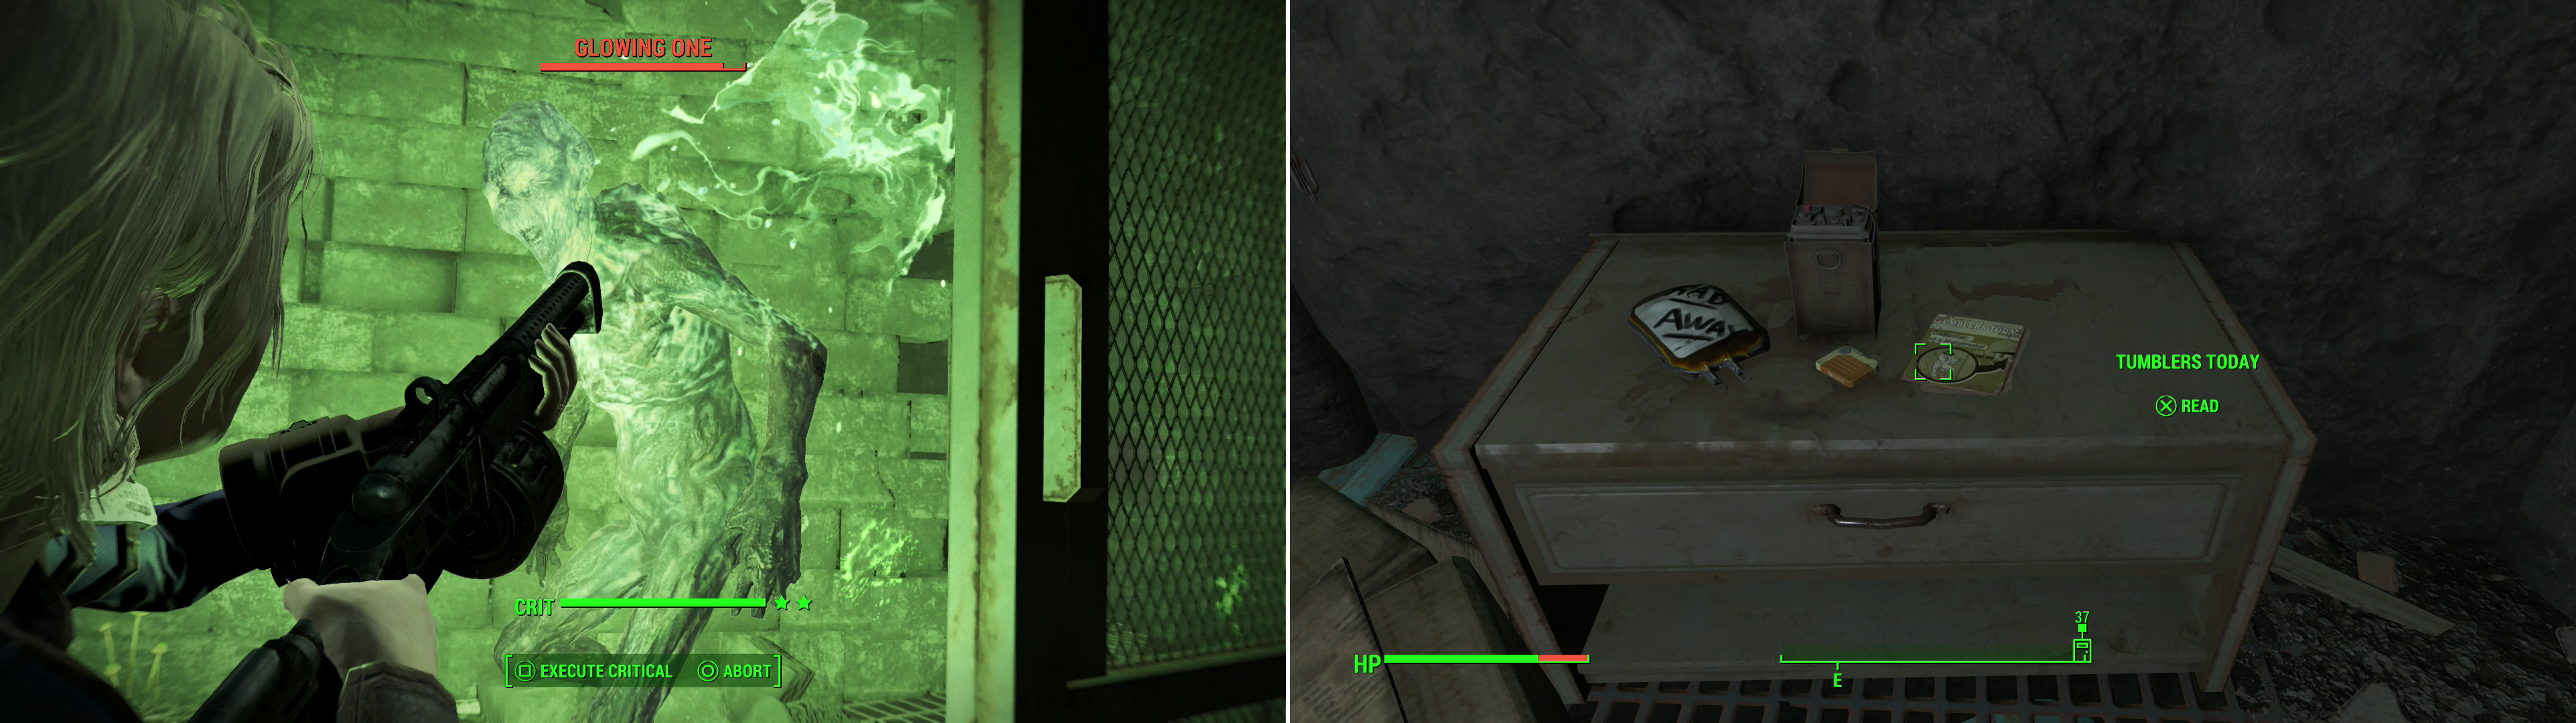
While the serial killer who once taunted the detective may be long gone, his playground is now ruled by a Glowing One (left). An issue of Tumblers Today is your prize for exploring these sewers (right).
All that is left for you now is to follow the stairs upwards and follow the path that they lay out for us. This is a linear path, so just follow it and note that there is a Radroach along the way. You will eventually get dropped off right at the start of the dungeon. Yes, you get no fight with the “Fens Phantom” and there is no follow up on what happened to the detective if anything. Hmmm… it seems like a lost opportunity for the story to be honest. But you are done here, so let’s exit now.
Parkview Apartments
Continuing on your journey by heading south-west and you’ll come across the “![]() Parkview Apartments” location. To be quite honest, this location has very little of interest inside. There is a lot of junk to get and Super Mutants and Raiders to kill if you want to run through it, so let’s get to it…
Parkview Apartments” location. To be quite honest, this location has very little of interest inside. There is a lot of junk to get and Super Mutants and Raiders to kill if you want to run through it, so let’s get to it…
The way to really approach the Parkview Apartments is from the west, where you’ll find Super Mutants entrenched. Outside of the entrance be ready for a Super Mutant with a turret nearby. Take them out and note there is an open door nearby (to the east) that has another turret inside. Once you destroy it you’ll be ready to explore properly. Head into a covered area (under the “Apartments” sign) on the ground floor, which has been barricaded by the Super Mutants and enter the building via a blue door.
Loot what little there is to be found in the lobby then head east then south to find a elevator, which you can take up to the higher levels.
Loot what you can in the bar and in the nearby bathrooms (lots of dead Raiders to scavenge!) then head north to find some stairs. Upstairs you’ll find an Explosives Box, but it is trapped, so be sure to disarm it first. In the small room to the south-west you’ll find a Wall Safe [Expert], which is worth looting if you can. Continue down a hallway to the west and dispose of any Super Mutants and their turrets you may find along the way before looting an Explosives Crate [Novice] at the end of the hallway.
Once you’re done looting this area head back east and exit out through a door to “The Fens” which leads you to the roof access. Up here there are more Super Mutants with a turret, so be ready for them and try to get in a ranged sneak attack if you can. They’re entrenched pretty well, and the ground you have to fight from isn’t favorable… a few Critical Hits will really take the pressure off, however. Once they’re dead check an elevated office to the west (where one of tougher Super Mutants undoubtedly lurked) Steam Trunk and a Bobby Pin Box under the table. There is also an Wall Safe [Expert] on the western wall here as well (seeing a lot of those, it seems…).
From this roof you can head south across a ramp to reach the roof of another building, this one occupied by Raiders. Head east, then south, then south again down some stairs to reach a lower section of roof, which contains a door leading into the building interior. First, however, head east then north to find some Raiders hanging out. Kill them, then return to the door leading to the interior of the building. Three guesses what you’ll find inside…
From the entrance head north down a tunnel, then turn west to find a Nuka Cola Vending Machine, which contains a Nuka Cherry. Next go through a doorway to the north and waste whatever Raiders you find inside. Once you’re the only one standing (and perhaps your companion) loot a wall Safe [Expert] on the northern wall (another one!). Leave the room and continue down a hallway to the east, then turn north and descend some stairs. On the first landing you can explore down a hallway to the west and kill a Machinegun Turret MK I. Continue down another flight of stairs and disarm some Can Chimes at the base, then go through a doorway to the south and kill one more Raider. Next check out a bathroom to the east, where you’ll find an Overdue Book in the bathtub, under a skeleton. Return to the stairs and head east to reach the entrance to the building. Just be wary of a Tripwire triggering a weapon at the top of the small flight of stairs leading to the door.
Hangmans Alley
Once you do get back on the street it’s time to continue your journey… but it’s worth pointing out another Raider Joint that you will want to know about on the way. To the north of the Parkview Apartments is a place called “![]() Hangman’s Alley”. Just follow the street north from the Raider building you just cleared, past the Fens Street Sewers and through a gate north of the manhole. Continue past a blue shipping crate (inside of which is a
Hangman’s Alley”. Just follow the street north from the Raider building you just cleared, past the Fens Street Sewers and through a gate north of the manhole. Continue past a blue shipping crate (inside of which is a ![]() Bottlecap Mine and a mattress), then go west through a wooden barricade. Continue north past the diner that was occupied by Super Mutant and, when you hit a wall, turn east up some stairs then head north past a white car.
Bottlecap Mine and a mattress), then go west through a wooden barricade. Continue north past the diner that was occupied by Super Mutant and, when you hit a wall, turn east up some stairs then head north past a white car.
When the road forks again, turn north-west, then west following the road until it bisects another road. At this point turn north again (a bright red car is a good landmark) and pass by a ruined building, then a street to the east which leads to a watery traffic tunnel in which a Trader dwells before finally going down a road to the north-east. After a short distance, turn east to find a door [Novice] leading to Hangman’s Alley. Along this last bit of road (between the red car and your destination) be wary of Super Mutants and Raiders who may be lurking about.
Once in Hangman’s Alley you’ll see typical Raider shacks, occupied by about half a dozen Raiders… a paltry fight by now. Clear them out and loot a Steamer Chest in an elevated shack to the south-east, then activate a Workshop to the south to gain control of the location. You know the drill; build shelter, provide food, water, defense and beds, then build a Recruitment Radio Beacon to start up a new settlement. This is one of the more cramped settlements you’ve come across… you’ll need to manage your space very well to get any population of note to thrive here. Just keep in mind that when groundspace is limited, you can always build up.
| Objective | Reward |
|---|---|
| For returning to Preston after clearing |
118 XP |
Chestnut Hillock Reservoir
The next stop is to the south-west where you’ll find the ![]() Chestnut Hillock Reservoir. The reservoir is interesting due to the fact that there is actually treasure to be found inside the lake itself. However… It might not be enough of an excuse to justify needing spending perk picks on the Aquaboy/Aquagirl perk, nor are the RADS severe enough to warrant a
Chestnut Hillock Reservoir. The reservoir is interesting due to the fact that there is actually treasure to be found inside the lake itself. However… It might not be enough of an excuse to justify needing spending perk picks on the Aquaboy/Aquagirl perk, nor are the RADS severe enough to warrant a ![]() Hazmat Suit… but if you really wanted to, you could pop some Rad-X and try your hand at diving for treasure. Before you take a dip, however, it is a good idea to visit the interesting house nearby first.
Hazmat Suit… but if you really wanted to, you could pop some Rad-X and try your hand at diving for treasure. Before you take a dip, however, it is a good idea to visit the interesting house nearby first.
With that in mind, head to the south-west corner of the reservoir where you’ll see a house with a wall partially blown out. Along the way you will likely need to kill a few pesky Bloodflies… They may be weak but are super annoying. Ugh. Anyways, inside this house you’ll find “Edwin’s Terminal” (along with a few Radroaches), so go ahead and check out his entries if you wish and eject the “Edwin’s Journal ![]() Holotape”. Note that the Circuit Breaker on the wall turns on the bug-zapper Edwin wrote about (you can try it out if you wish, but it is dangerous so don’t leave it on). Also inside the house is a Safe [Master], which unless you have really been focusing on lockpicking you can’t open. Never fear though, a solution exists!
Holotape”. Note that the Circuit Breaker on the wall turns on the bug-zapper Edwin wrote about (you can try it out if you wish, but it is dangerous so don’t leave it on). Also inside the house is a Safe [Master], which unless you have really been focusing on lockpicking you can’t open. Never fear though, a solution exists!
Time for that water exploration. It isn’t the easiest thing to do but if you save your game before-hand… well, trial and error, what do you really have to lose? Outside the house entrance is a dock (and an area to the right with an Ammo Box) that you can see a capsized boat from. Jump in the water and swim to directly underneath that boat, where you’ll find a First Aid Box and a Chem Cooler that has “Edwin’s Key”, which opens the Safe in the house.
Now, as far as other things down here… there are various Toolboxes that aren’t worth really searching for, but be sure to head to the eastern portion to find another dock. Just west off this dock you can dive to find a submerged trailer, inside of which is a Steamer Trunk full of random goodies. After getting that, head back to Edwin’s house. You can now use his key to open that safe, giving you even more loot.
Beantown Brewery
There’s only one more place to discover over here… note “discover” not “explore”. To the west of Chestnut Hillock Reservoir you’ll find ![]() Vault 81, which… is a rather busy place, worth coming back to later, but too involved to bother with right now. Discover the map marker then fast-travel to Beantown Brewery, which you should have discovered - and explored - earlier.
Vault 81, which… is a rather busy place, worth coming back to later, but too involved to bother with right now. Discover the map marker then fast-travel to Beantown Brewery, which you should have discovered - and explored - earlier.
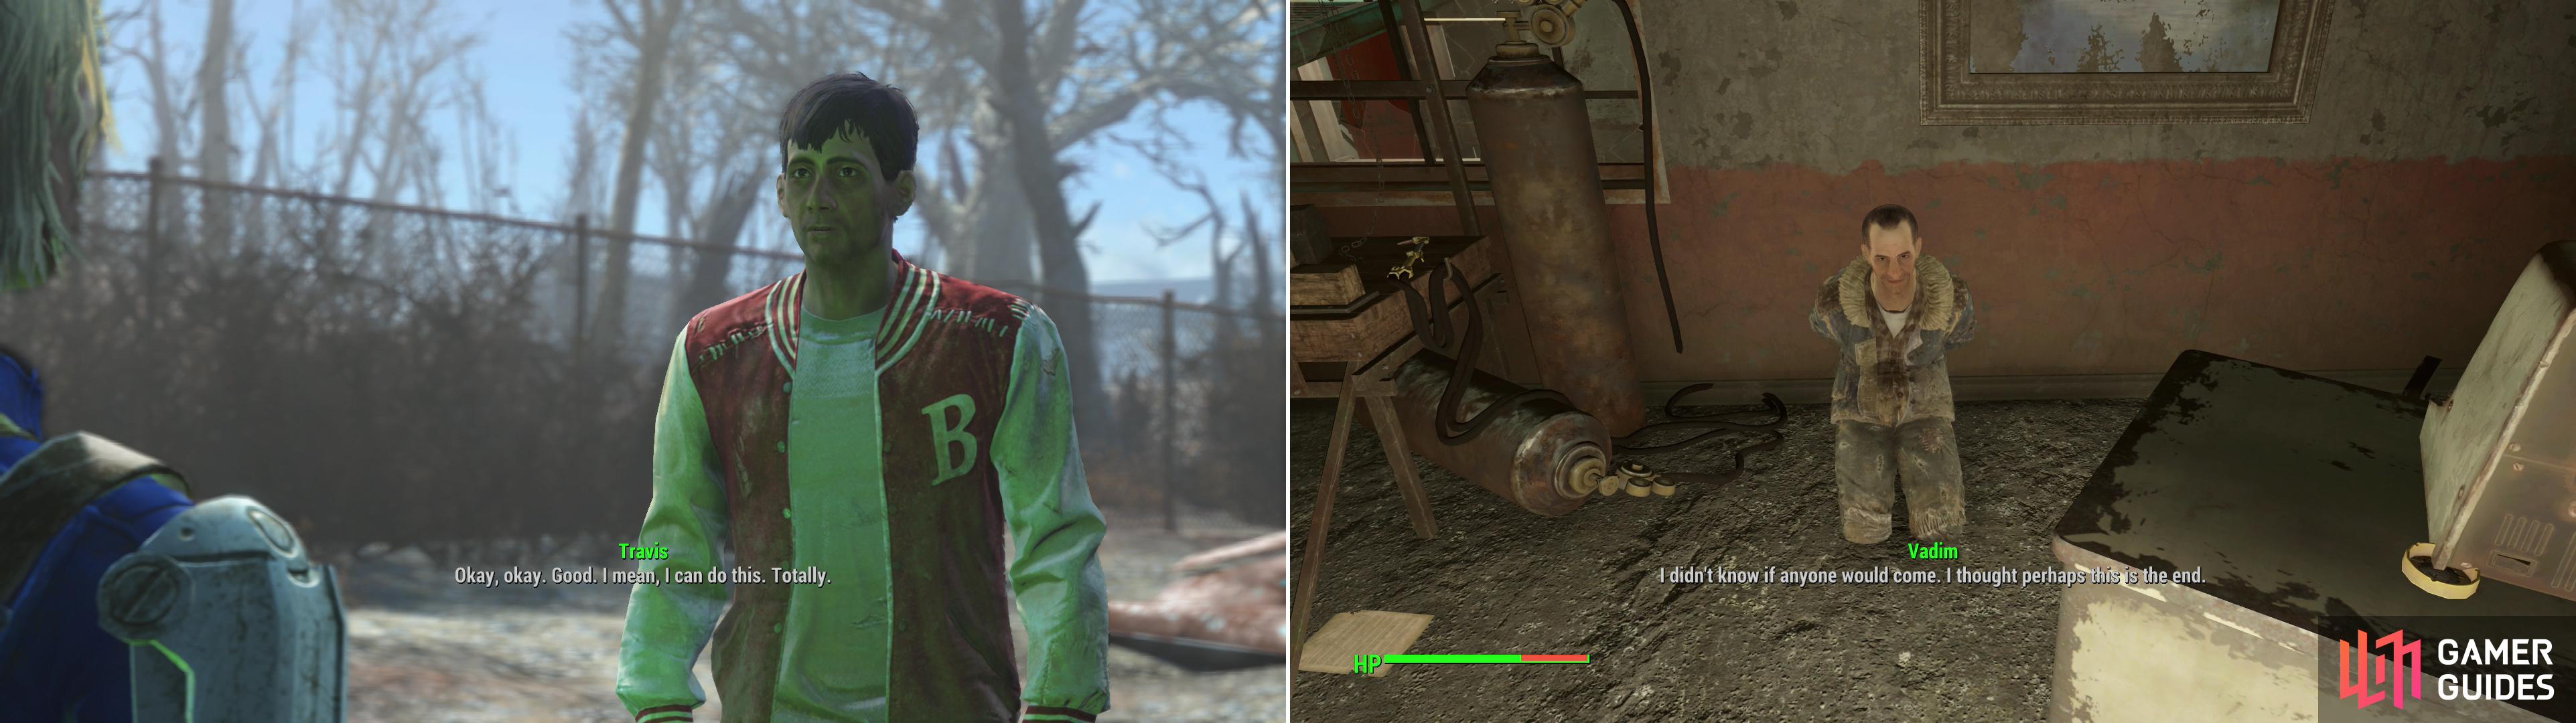
Give Travis a pep-talk outside of Bean Town Brewery (left) then head inside and kill the Raiders inside to free Vadim (right).
Now, however, you’ll find Travis outside the front door. Be sure to stay supportive and confident and it may just rub off on him. Enter the building, head up the stairs and turn north to reach the warehouse, then head into the room where Tower Tom once ruled from on high. Most of the Raiders should still be dead, leaving you only to deal with Bull and Gouger, the goons Vadim errantly hired. Kill them, then talk to Vadim, who will reward you with chems and Caps the Raiders left lying around. Talk to Travis after Vadim leaves and you’ll notice a… marked change in Travis’s demeanor.
No Comments