
Walkthrough for the Super Mutant Skyscraper area in Fallout 4.
The Super Mutant Skyscraper is an unmarked area in Fallout 4, located along the eastern end of Cambridge, it’s startlingly close to Bunker Hill, which is to the east. It’s just a short distance south of the BADTFL Regional Office.
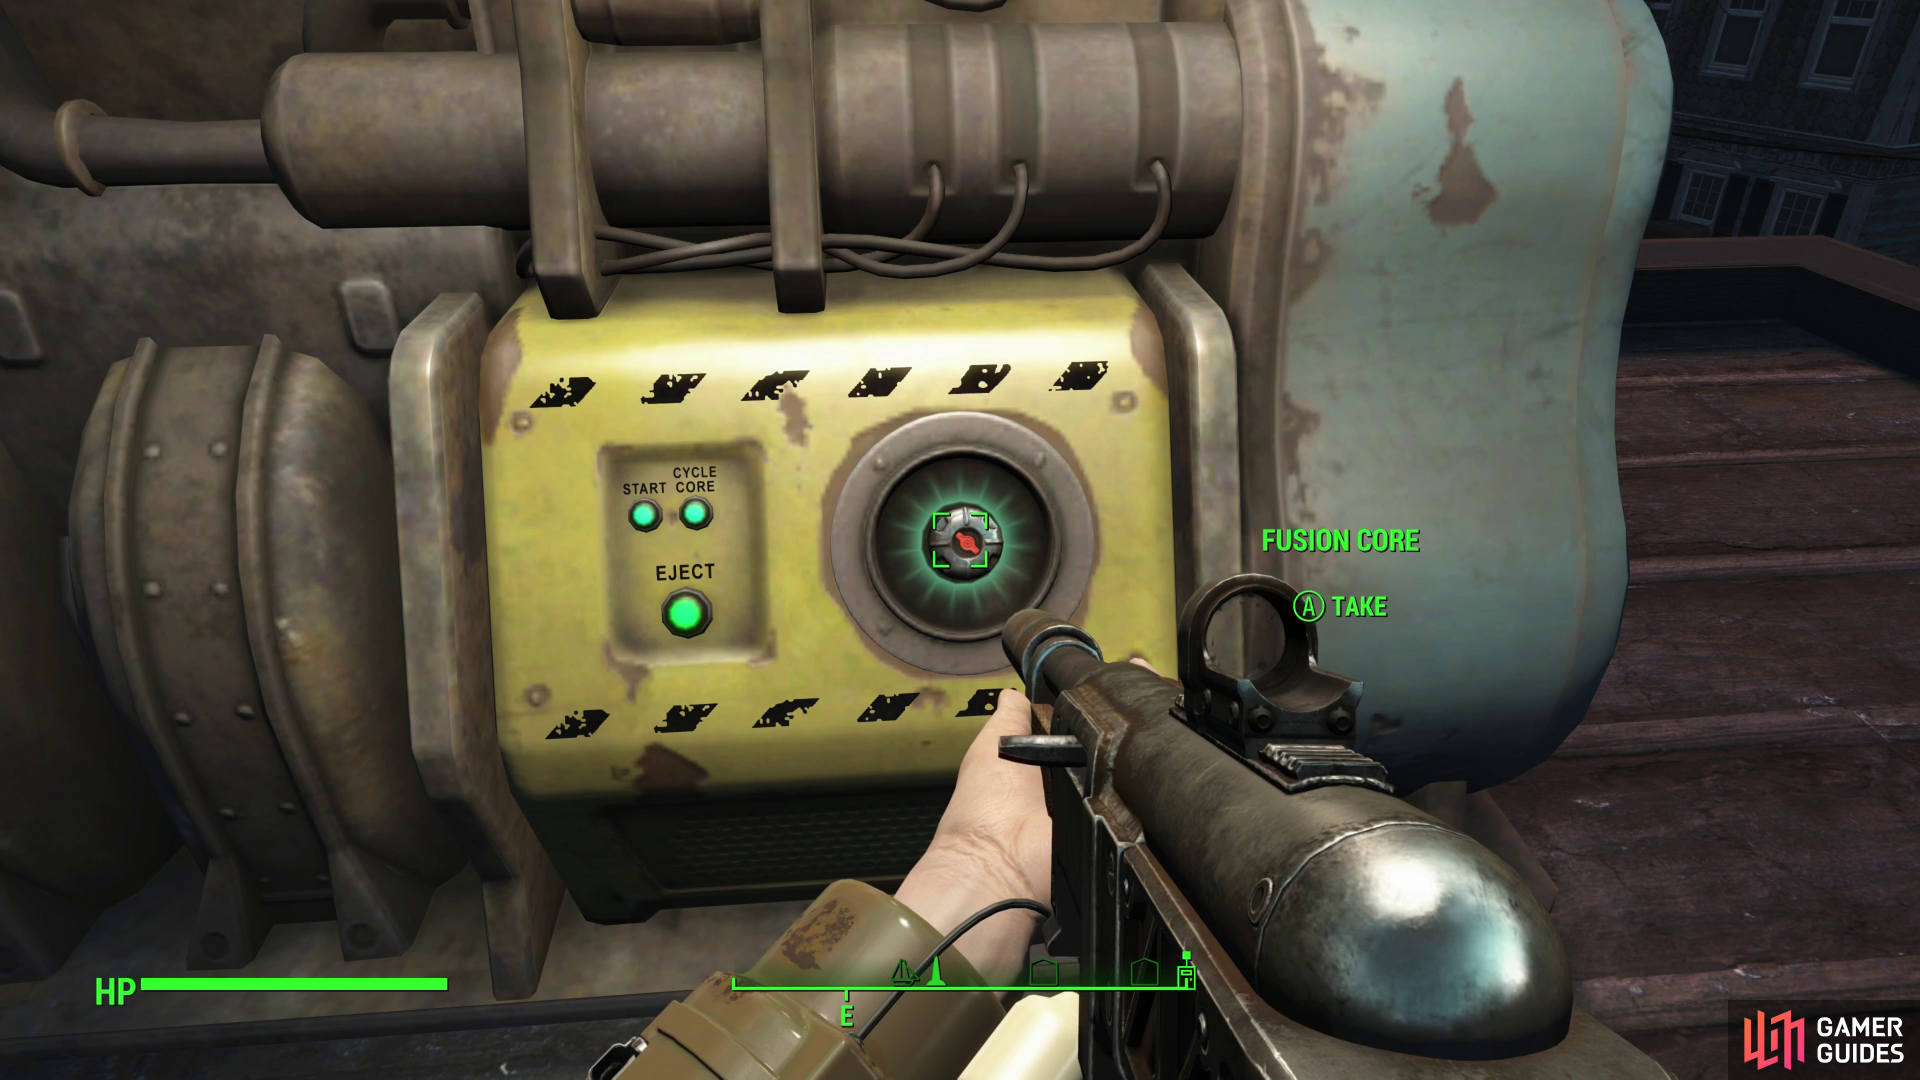
Outside the BADTFL Regional Office you can find a reactor on a roof.
Across the street from the BADTFL Regional Office building you’ll find a red building. Pass through it, then turn left (east) to find some metal stairs leading to the roof - ascend them and you’ll find a fusion reactor from which you can pluck a Fusion Core. If you turn south, southwest from this roof you’ll spot a ruined skyscraper in the distance, obscured by a crumbling elevated highway. That’s your destination, and if you have a keen eye you may even spot a Super Mutant wandering around the upper floors. To the east you’ll spot the obelisk marking Bunker Hill, should you want a scenic glimpse of the surrounding area.
There are multiple ways you can approach this ruined skyscraper. From BADTFL Regional Office alone there are several routes you can take, but we suggest heading up a road to the southwest until you find your way blocked by a blue trailer truck. Turn left and you’ll find a door leading to the Mass Chemical building, which we can pass through to reach the skyscraper.
Mass Chemical
A fairly uninteresting building, inside you’ll find some nondescript lootables, including numerous Meat Bags indicating that this area is part of Super Mutant territory. You can hack a Terminal [Novice] near the door to unleash a Protectron, which might buy you a few seconds if you draw too much Super Mutant attention and retreat back into this building.
There are two exits, one along the southeastern wall and one up some walkways. If you take the upper exit you’ll reach the roof, where you’ll likely find a Super Mutant roaming about. Killing him from this vantage may prove easier than dealing with him from low ground, and once he’s defeated you can attempt to pick off Super Mutants wandering around the construction site, below. If things get too hot, you can always drop off the roof to the northwest.
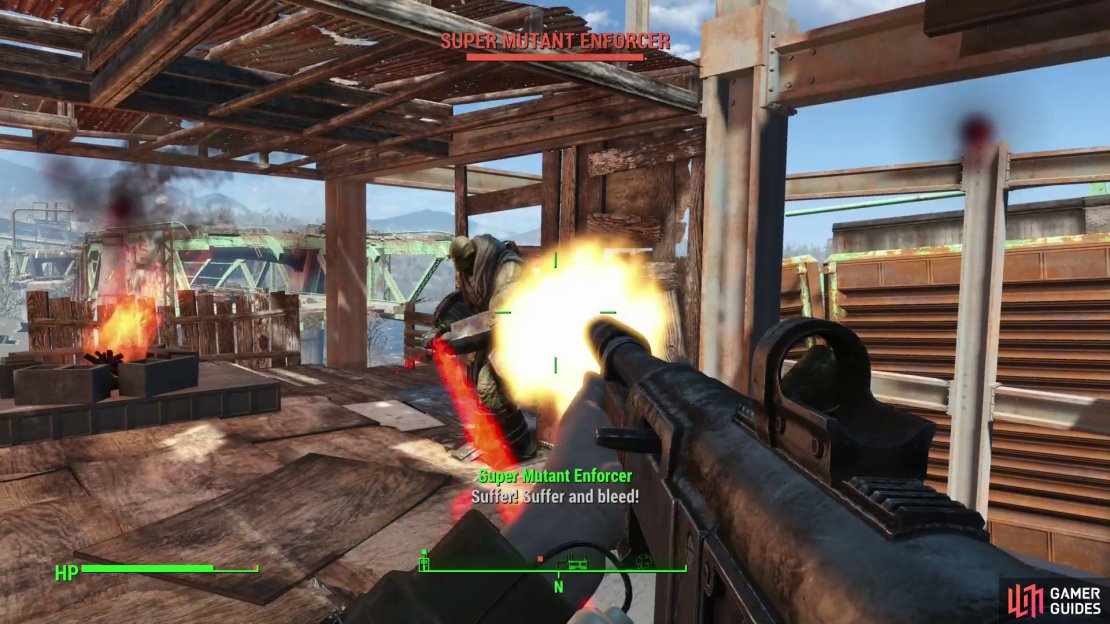
If you exit via the southeastern door on the ground floor, be prepared for a fight, as Super Mutants patrol all around the ruined skyscraper. Not including the Super Mutants in the aborted building you can expect to find around half a dozen of the brutes stomping about, joined by several Mutant Hounds. Clearing the construction site grounds before attempting to make your way to the skyscraper is a good idea, and to that end, if you head east from the Mass Chemical building you can find another building to explore - the Construction Site Warehouse.
Construction Site Warehouse
Another fairly uninteresting zone-in location near the Super Mutant Skyscraper, this building, like the Mass Chemical building, is full of signs of Super Mutant infestation. Unlike Mass Chemical, however, this building actually houses said Super Mutant, who will probably be lurking upstairs. Aside from that, there’s little of particular note inside.
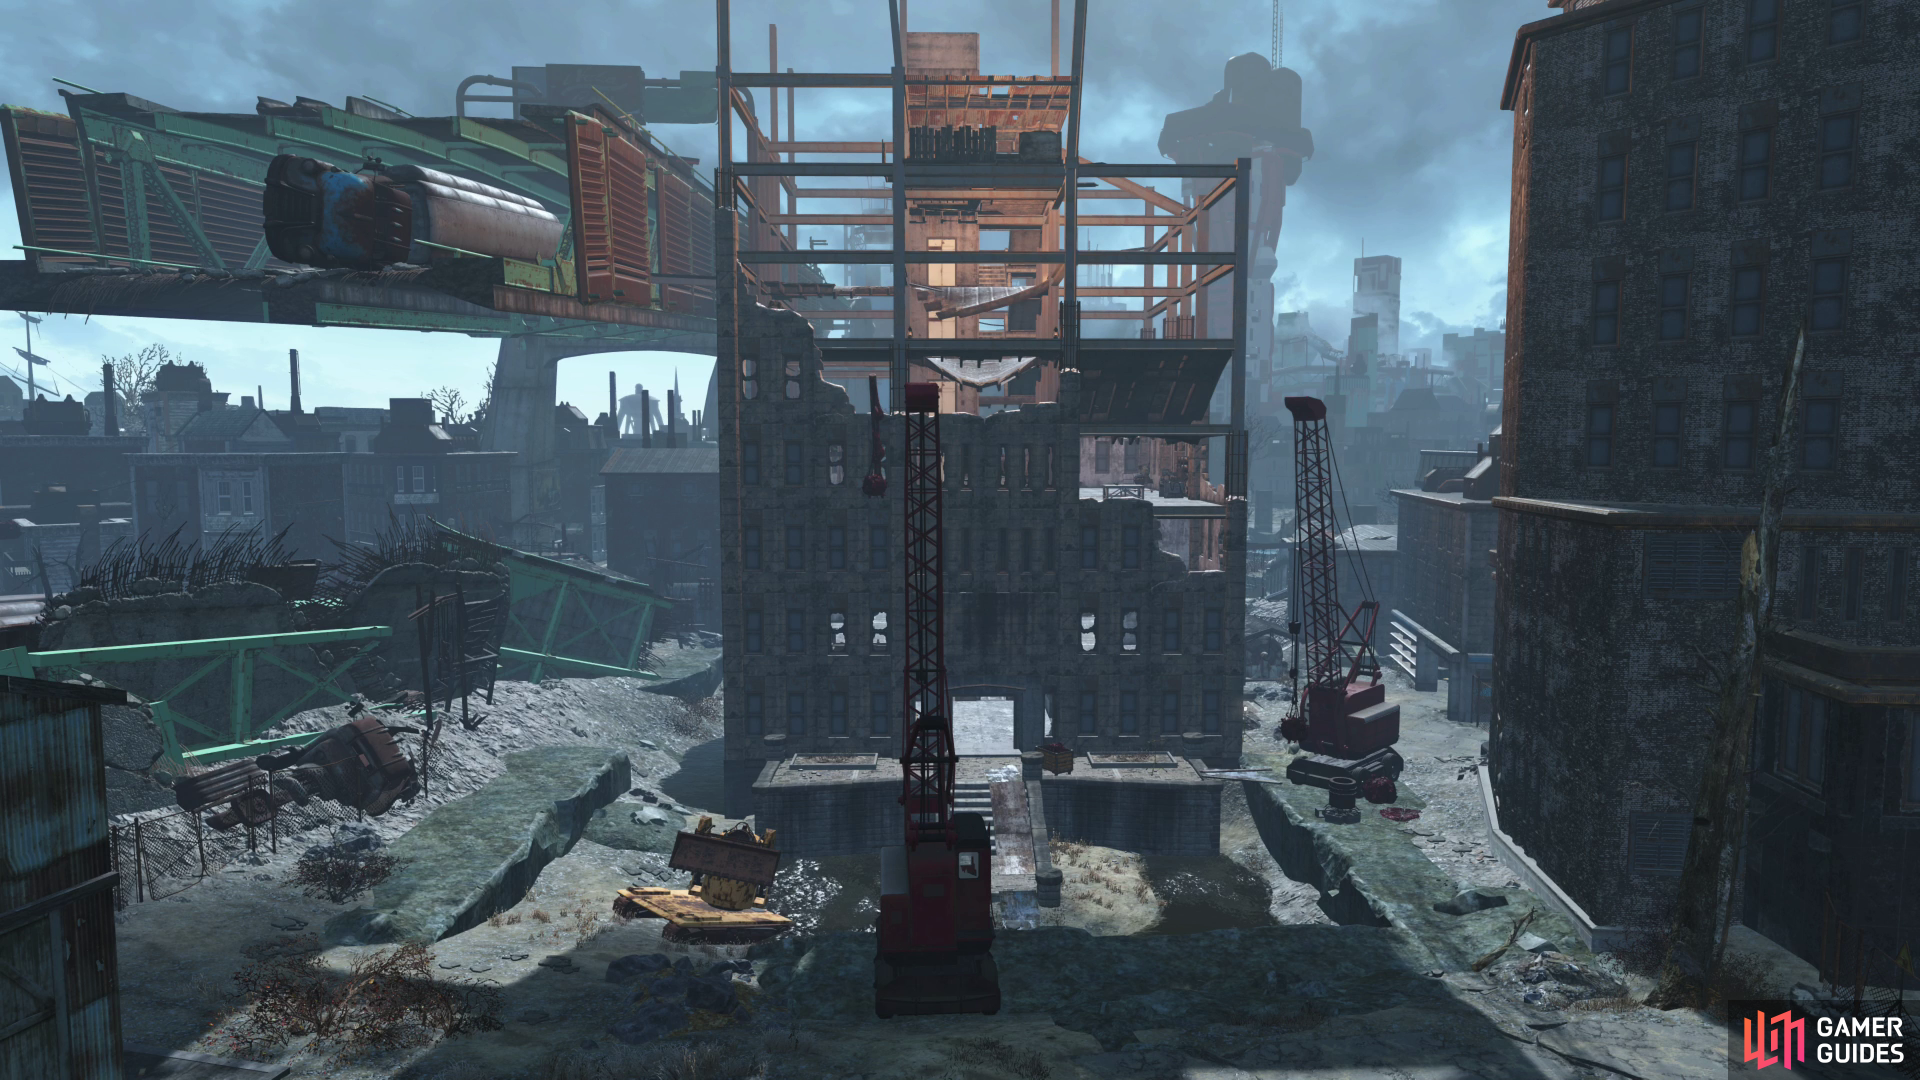
The Super Mutant Skyscraper.
Exploring the Super Mutant Skyscraper
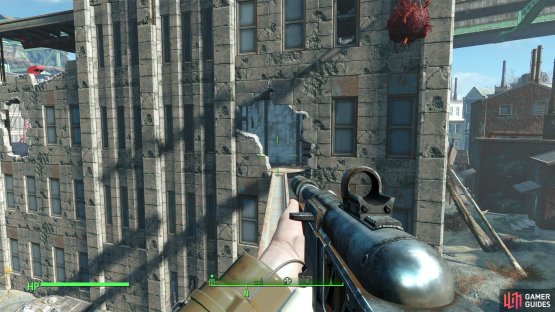
There are two ways you can enter the Super Mutant Skyscraper, the most obvious being the stairs along the building’s northwestern side. You can also find some stairs leading to a chained door along the southwestern side of the building, but this door is an egress, not an ingress. Aside from that there’s some rubble south of the skyscraper you can ascend to reach the roof of a nearby building, where you’ll find a beam leading to the skyscraper.
There’s no need to be fancy here, the front entrance will do just fine, and by taking the stairs you won’t need to balance or worry about enemies both above and below you. In the lobby of the aborted skyscraper you’ll be set upon by a Machinegun Turret and a Super Mutant. There are a number of the green brutes in these ruins, but you’ll rarely encounter more than one at a time. Ascend the stairs and kill any muties you encounter, and when the stairs are blocked by rubble, make your way to the eastern corner of the building to find a rubble ramp.
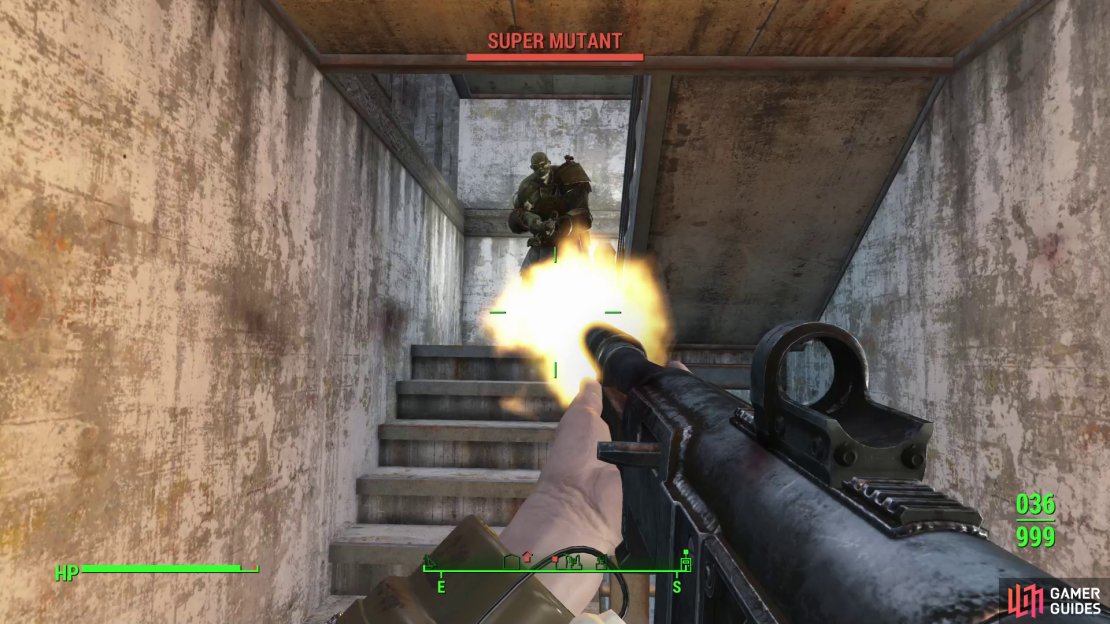
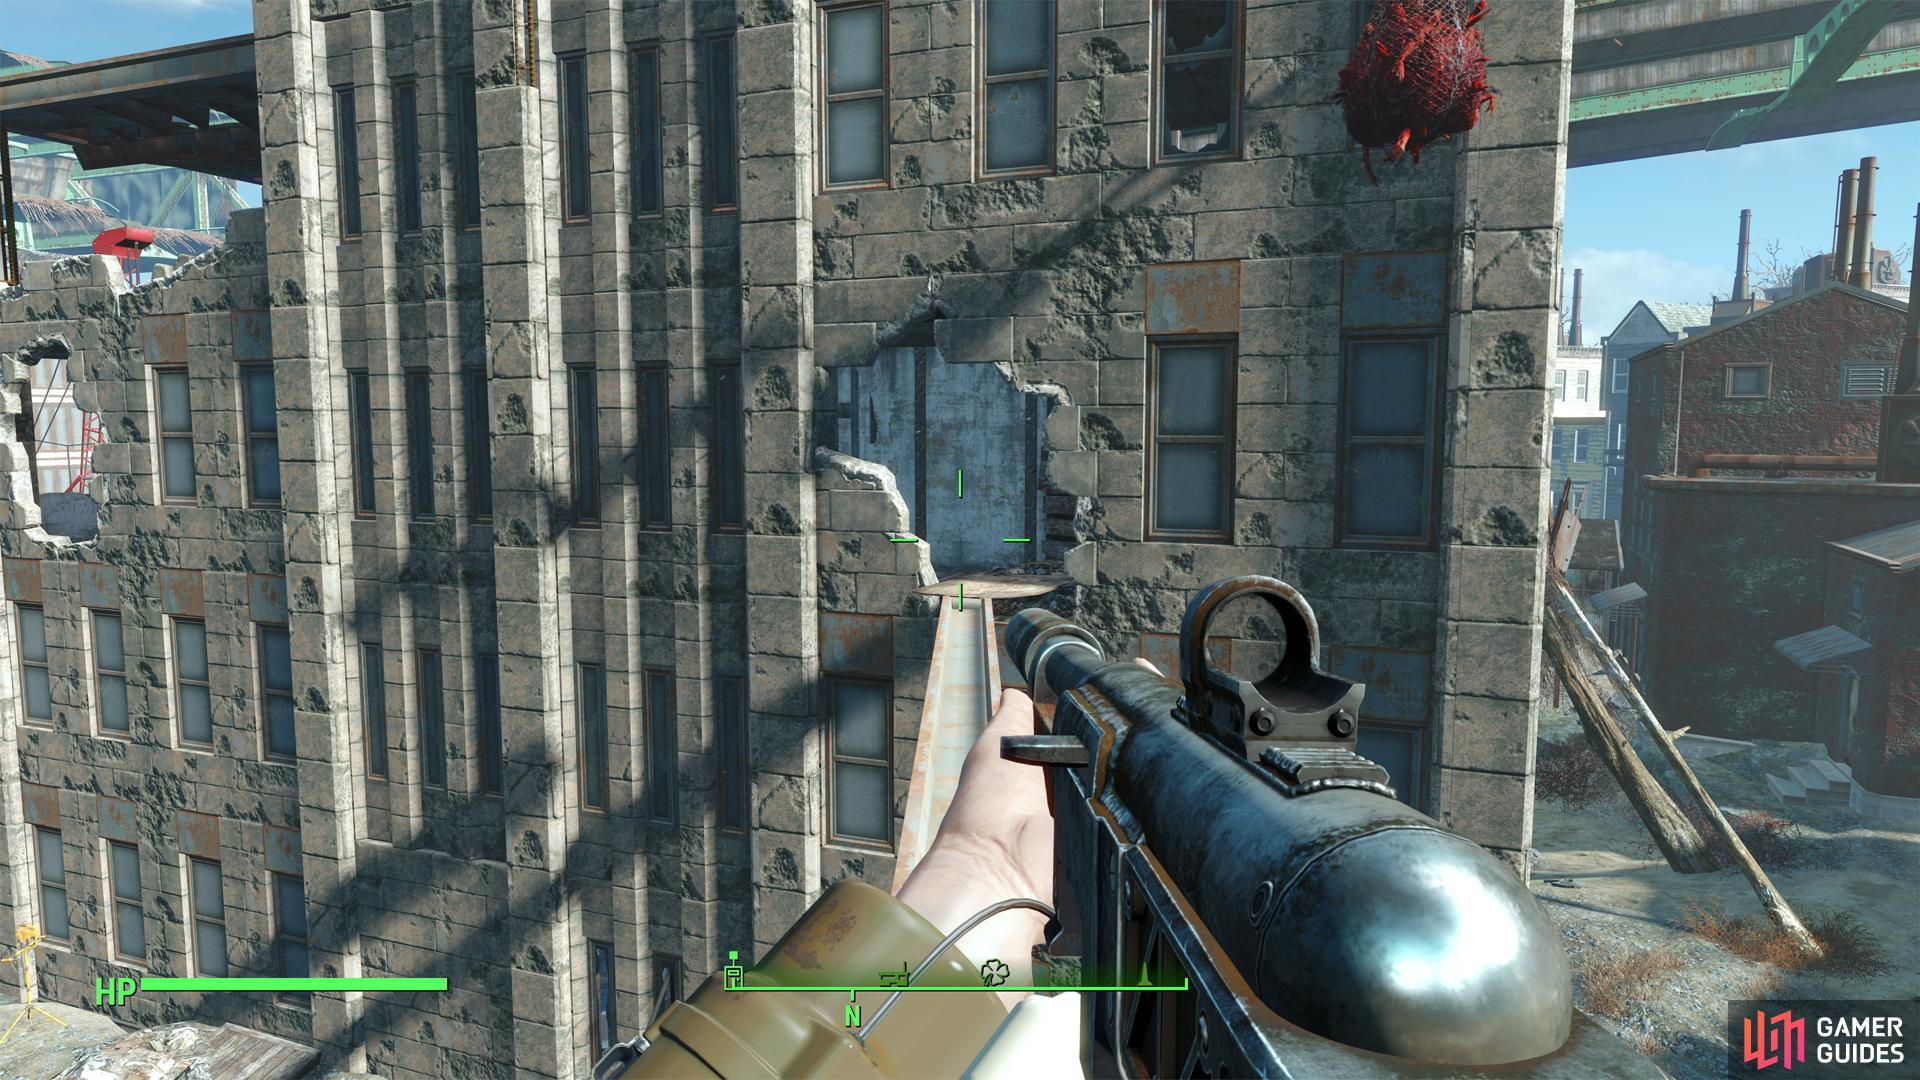
(1 of 3) Fight your way up the tower, killing mostly unleveled Super Mutants as you ascend.
Ascend to the next floor via the ramp and be wary of Super Mutants above you - it’s at this point they’ll likely have a vantage from which to take potshots at you from the upper floors, depending on your position. Seek out another rubble ramp along the northwestern end of the floor, then follow some makeshift walkways around the building to find two more rubble ramps, with one in the western corner of the building offering surer footing.
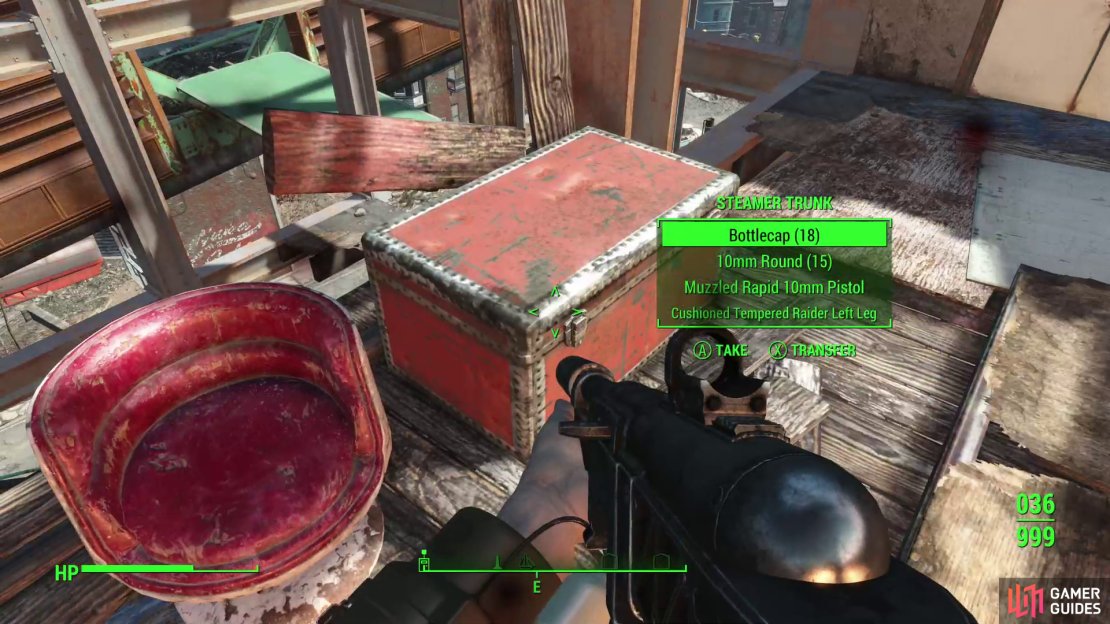
Climb two more flights of stairs and you’ll finally reach the top surviving floor of this building, where a leveled Super Mutant awaits. Kill it and you can claim a Steamer Trunk as your prize.

(1 of 2) You can infiltrate the Super Mutant Skyscraper from a nearby roof, if you wish.
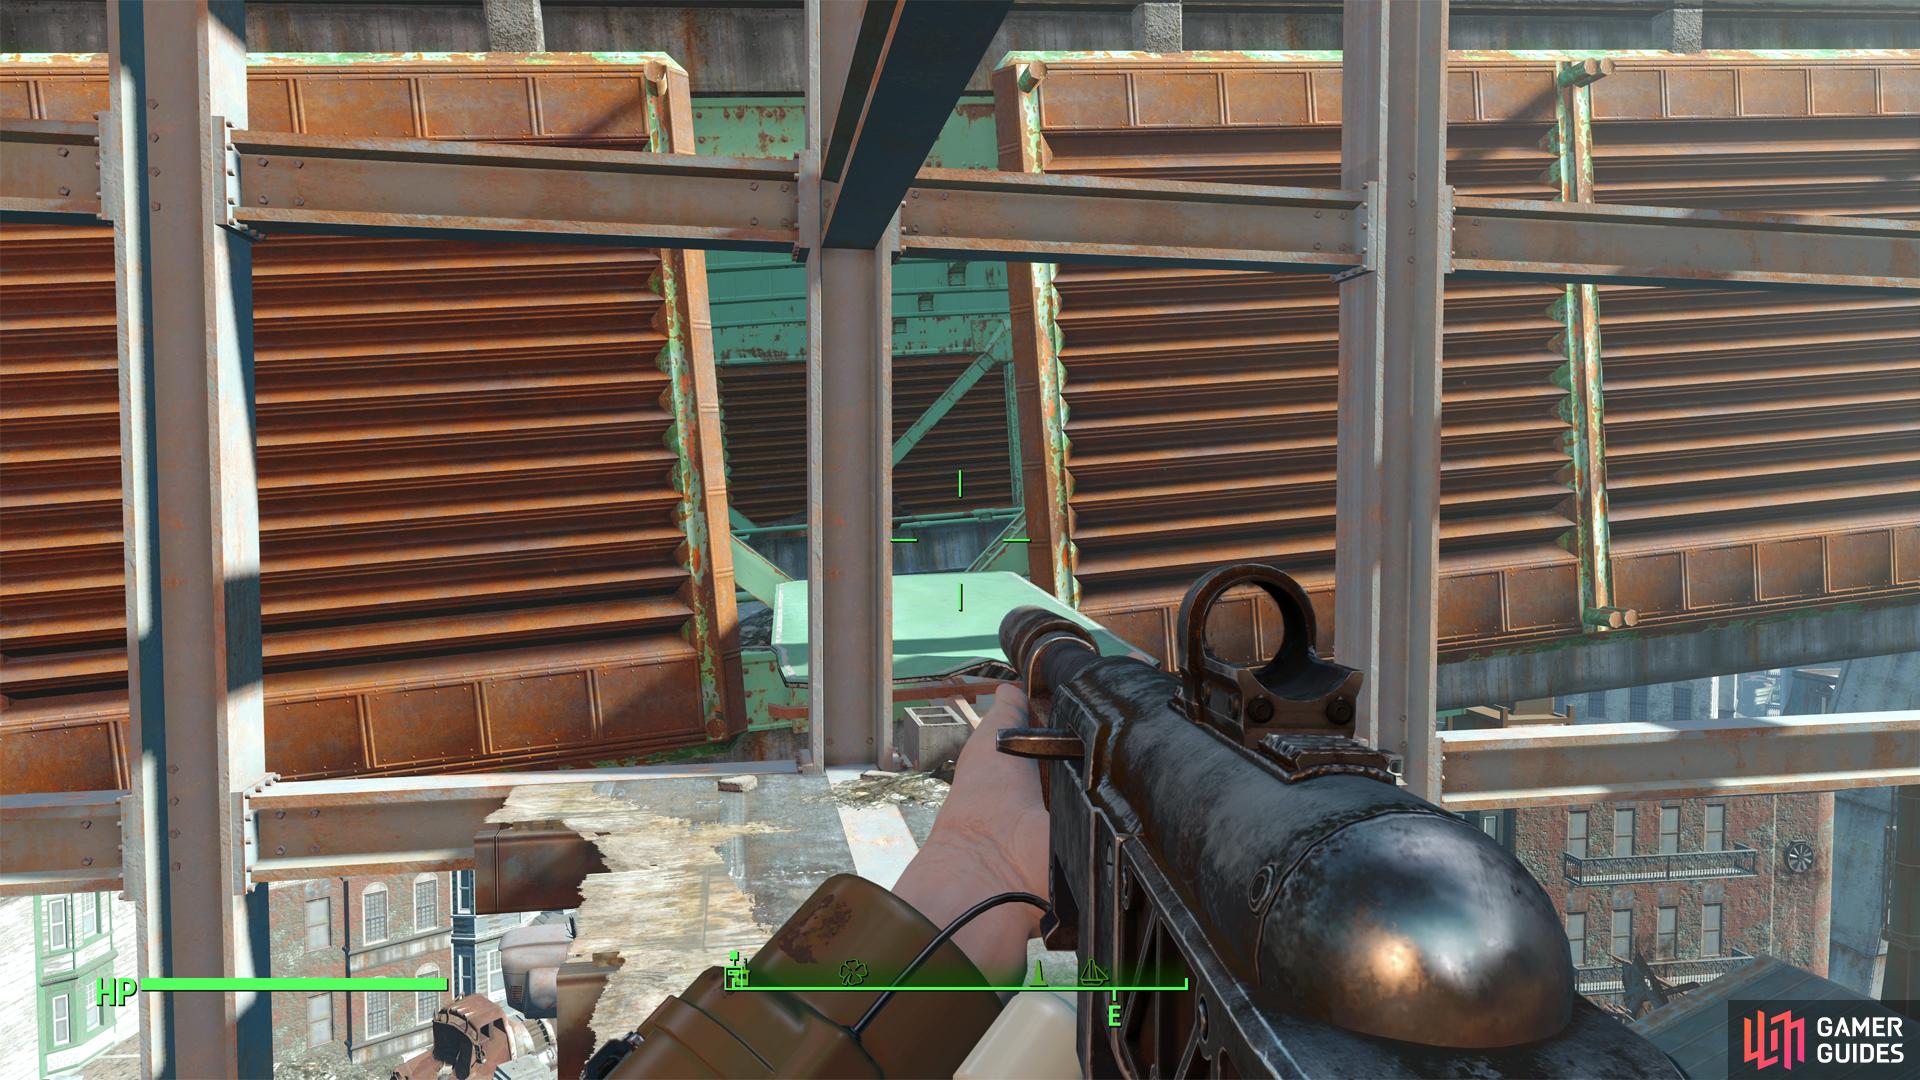
You can infiltrate the Super Mutant Skyscraper from a nearby roof, if you wish. (left), You can reach an elevated highway via the Super Mutant Skyscraper, if you wish to travel southeast while avoiding the dangers of ground travel. (right)
Return back down to the previous floor and make your way across some narrow planks in front of the elevator in the center of the building to find an improvised bridge leading to the highway. Once on the highway you can turn left (northwest) to find a trailer truck [Master] that’s really not worth the price of admission. If you can pick this look, you’ll find a Steamer Trunk inside. If you follow the highway southeast it’ll go on for quite a distance, crossing the river before terminating near the [Garden Terrace] area. Worth noting, for sure, but we don’t recommend taking this detour, as the enemies there can be quite difficult.


(1 of 2) Drop down an elevator shaft,
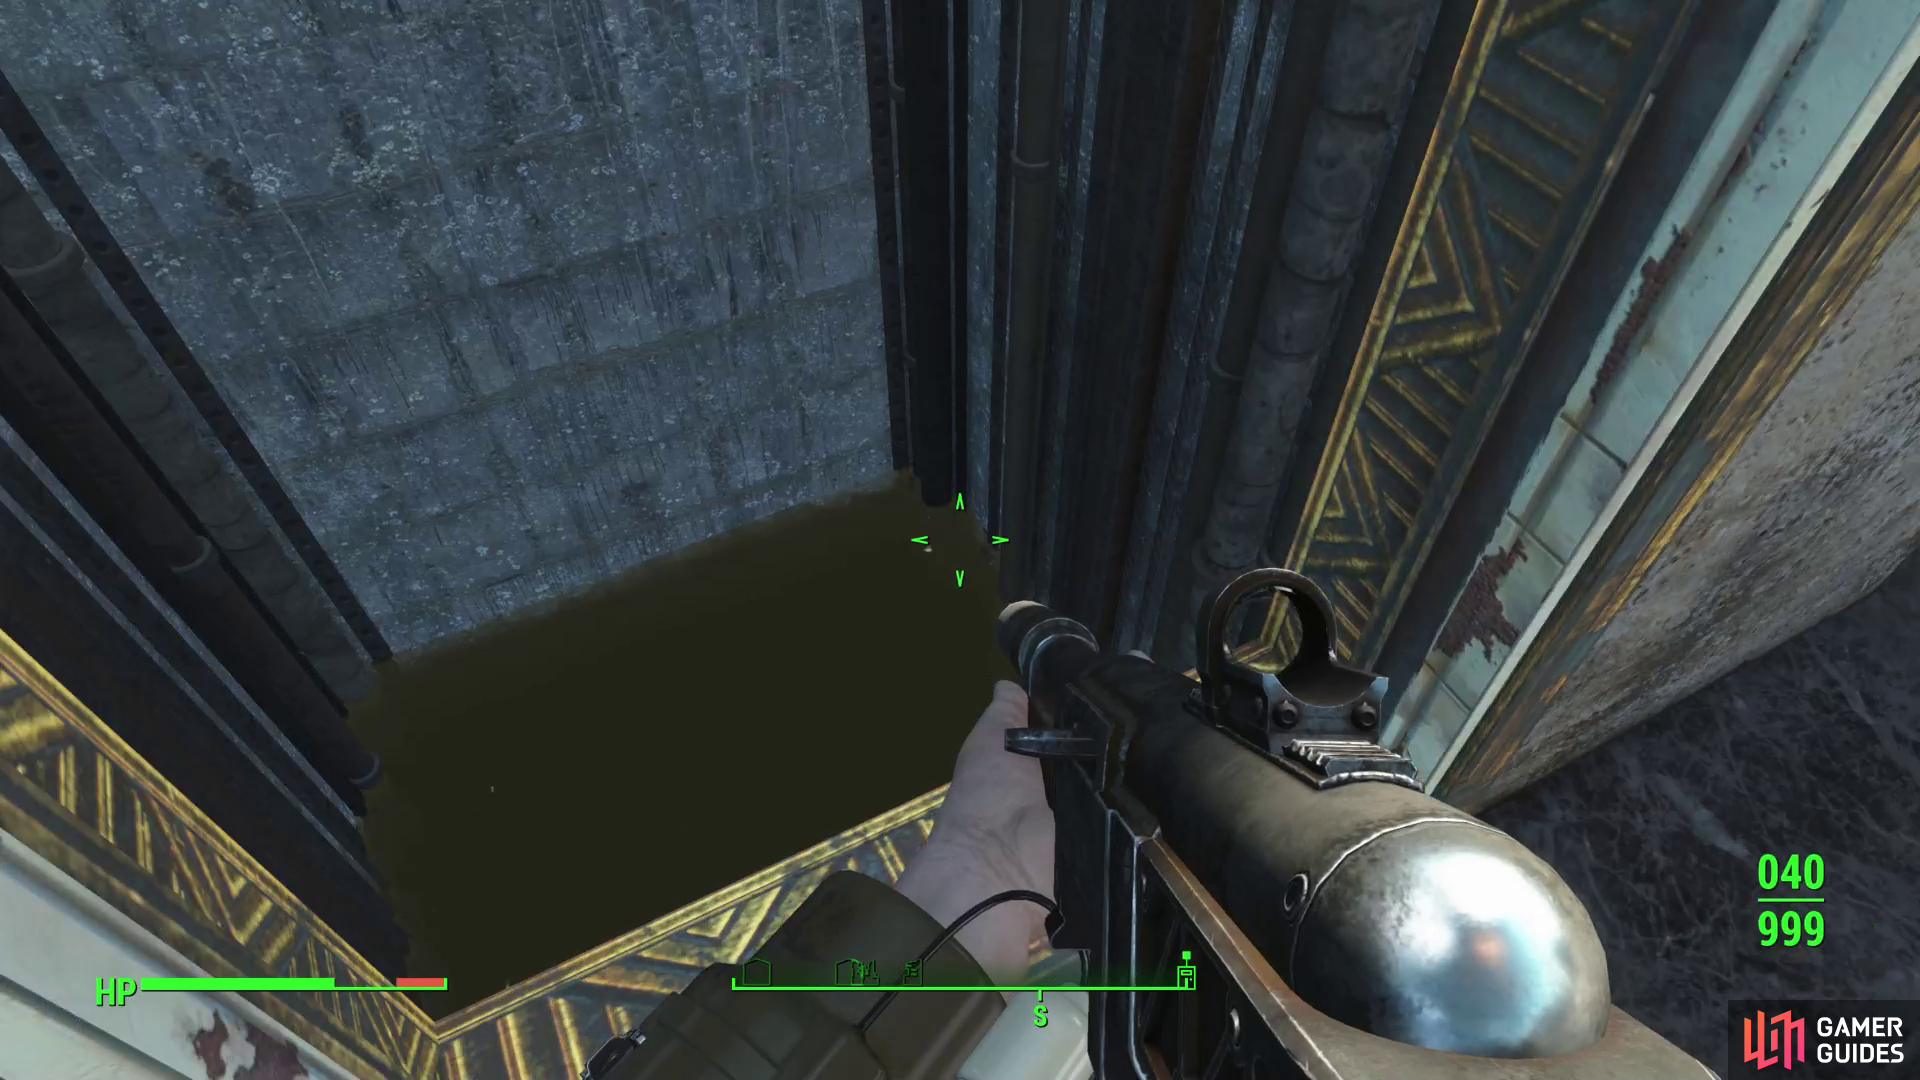
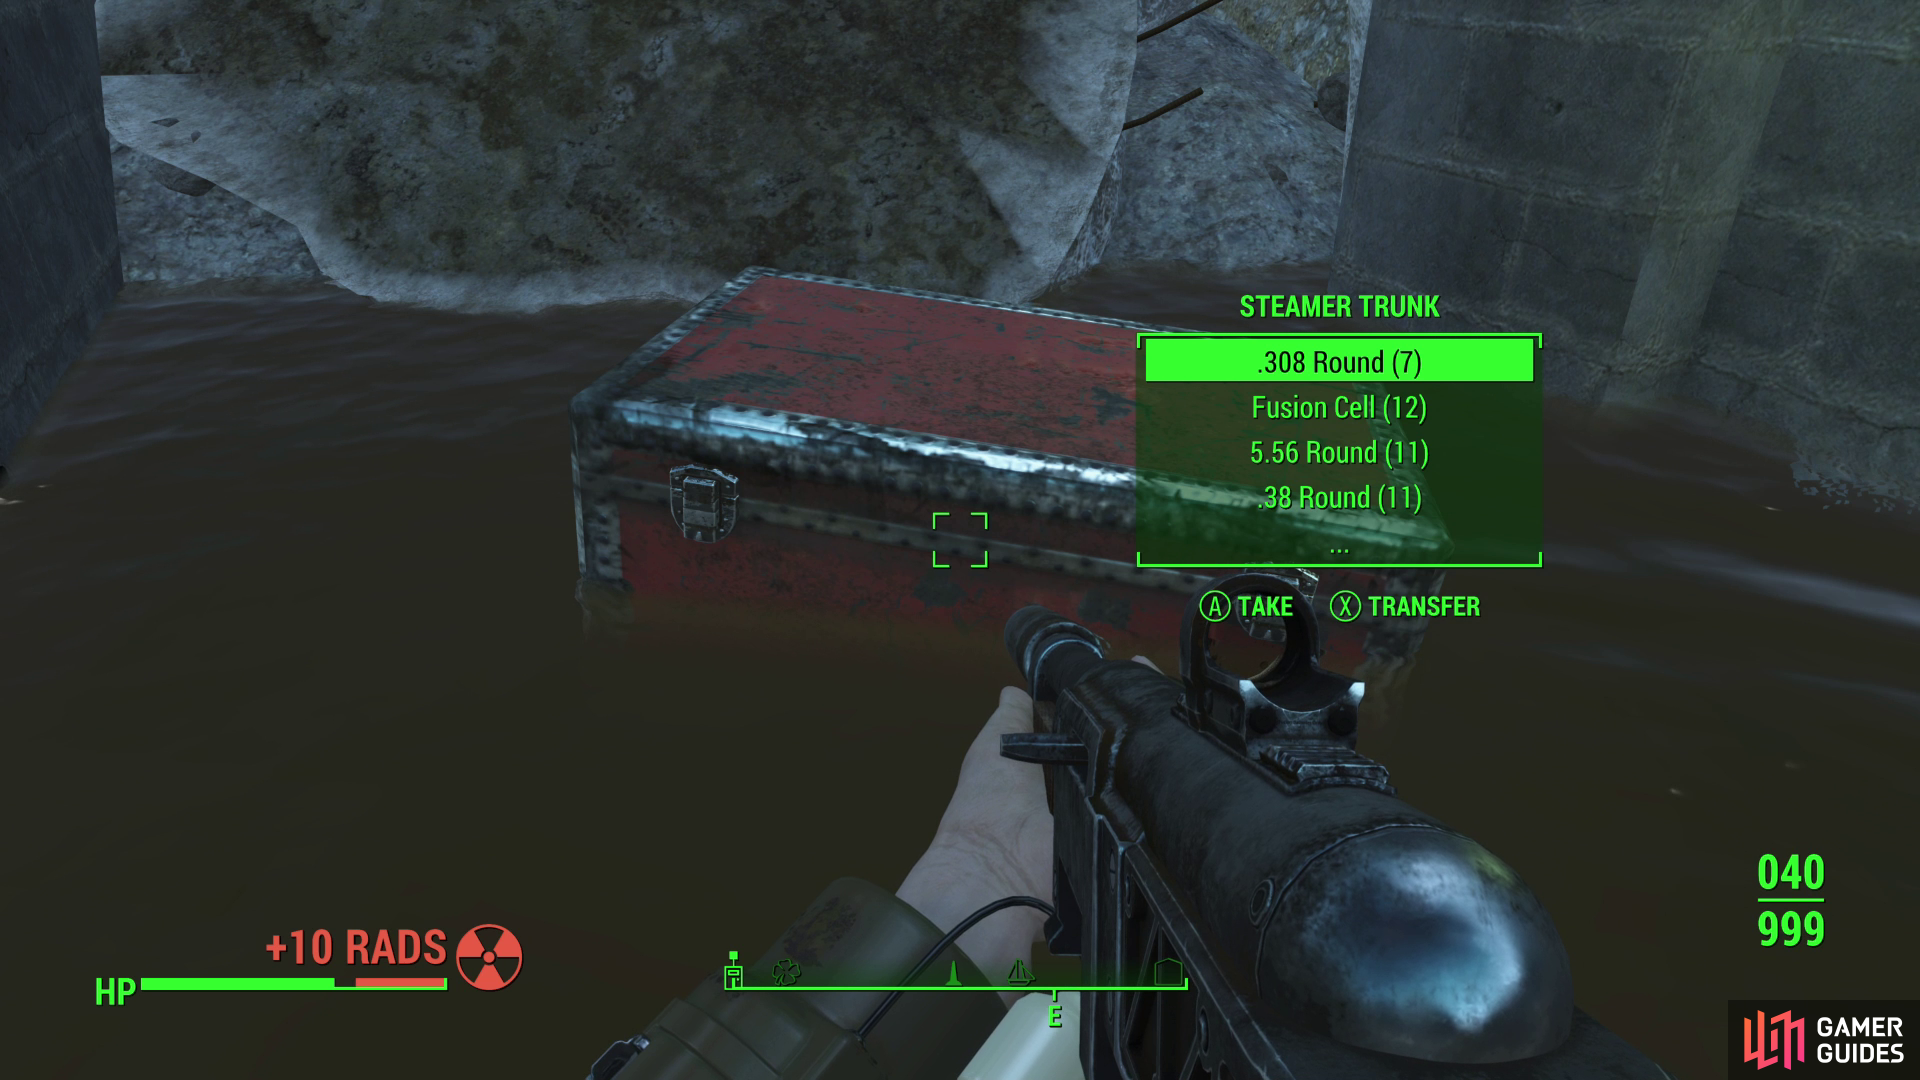
Drop down an elevator shaft, (left), and brave irradiated water to find another Steamer Trunk. (right)
Make your way back down to the lobby of the Super Mutant Skyscraper and open the door to the elevator, only to find that, of course, the elevator was never installed. You probably need a roof before you can start that bit of business. Or at least the upper floors need to be completed. In any event, this shaft won’t get you up, but you can drop down it to access the flooded basement. Make sure you’re on the bottom floor, then drop down and search the barren basement to find a Steamer Trunk, then exit via the chained door.
No Comments