
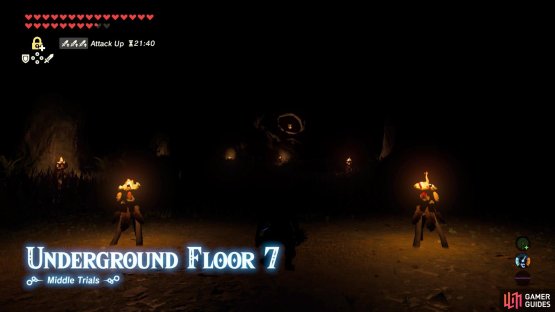
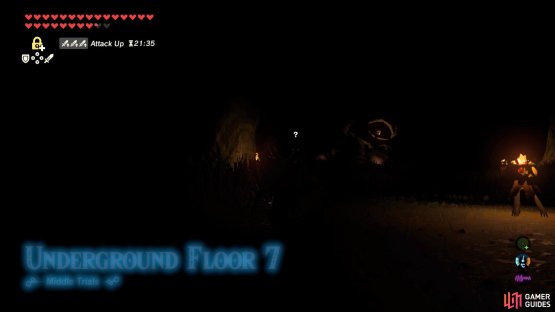
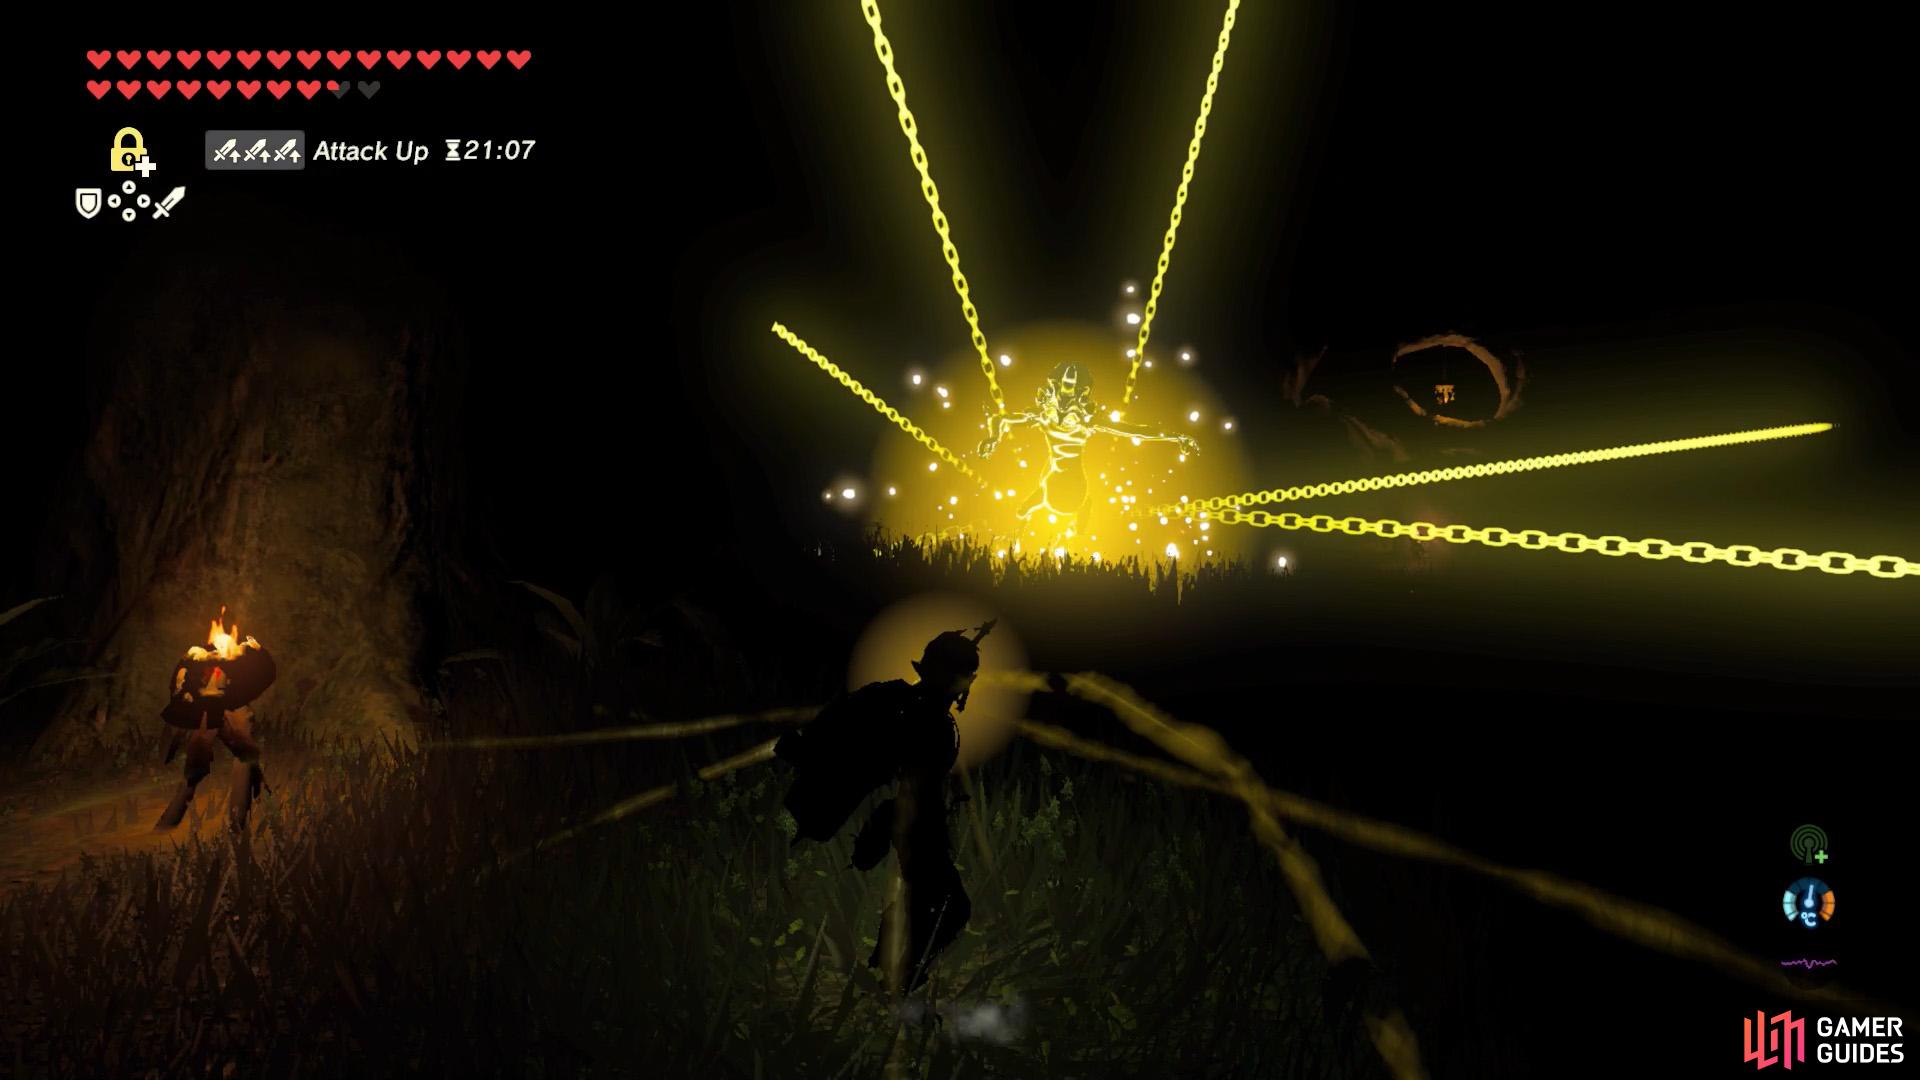
(1 of 2) This floor requires you to fight four pesky Lizalfos in the dark.
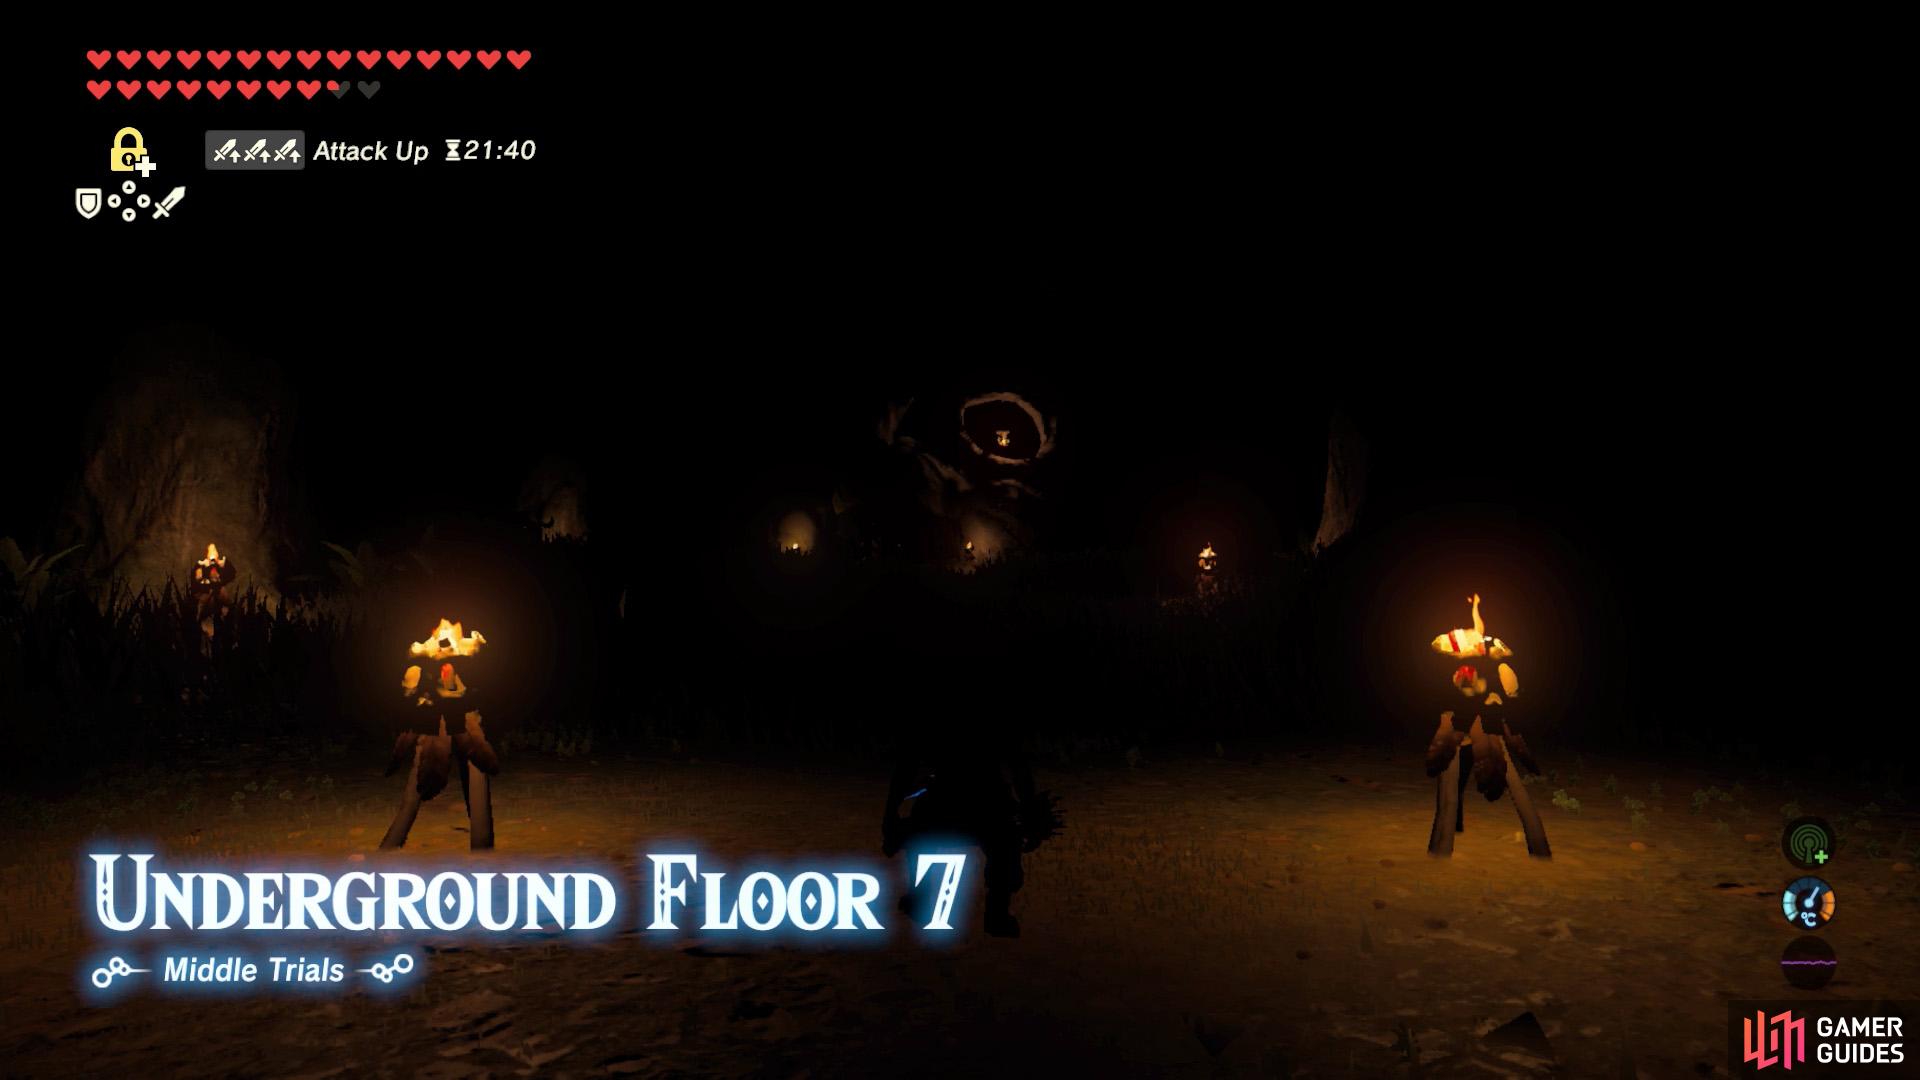

This floor requires you to fight four pesky Lizalfos in the dark. (left), Move left to identify the first Lizalfos. (right)
| Difficulty | Monsters |
|---|---|
| ★★★★★★☆☆☆☆ | Fire-Breath Lizalfos x2, Blue Lizalfos x2 |
Another floor shrouded in darkness. Similar to the previous floor, there are a few trees scattered around, to trip you up. Near the back, there’s a skull camp.
Strategy
The previous floor may have been easy, but this one can be tricky if you’re not careful. Ahead and towards the left, there’s a Fire-Breath Lizalfos lurking in the darkness. If you step forward, it’ll likely notice you; move left to avoid its gaze. Under normal conditions, Lizalfos can be tough to fight due to their agileness, so good luck fighting in the dark…

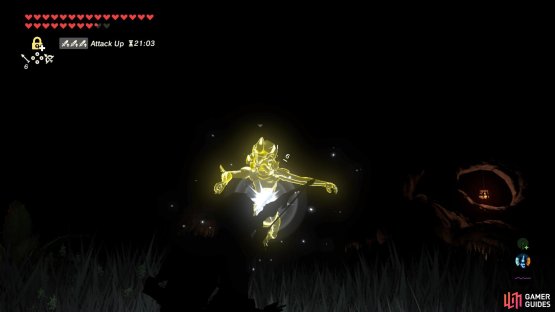
(1 of 2) Try to Stasis the Lizalfos before it attacks you.
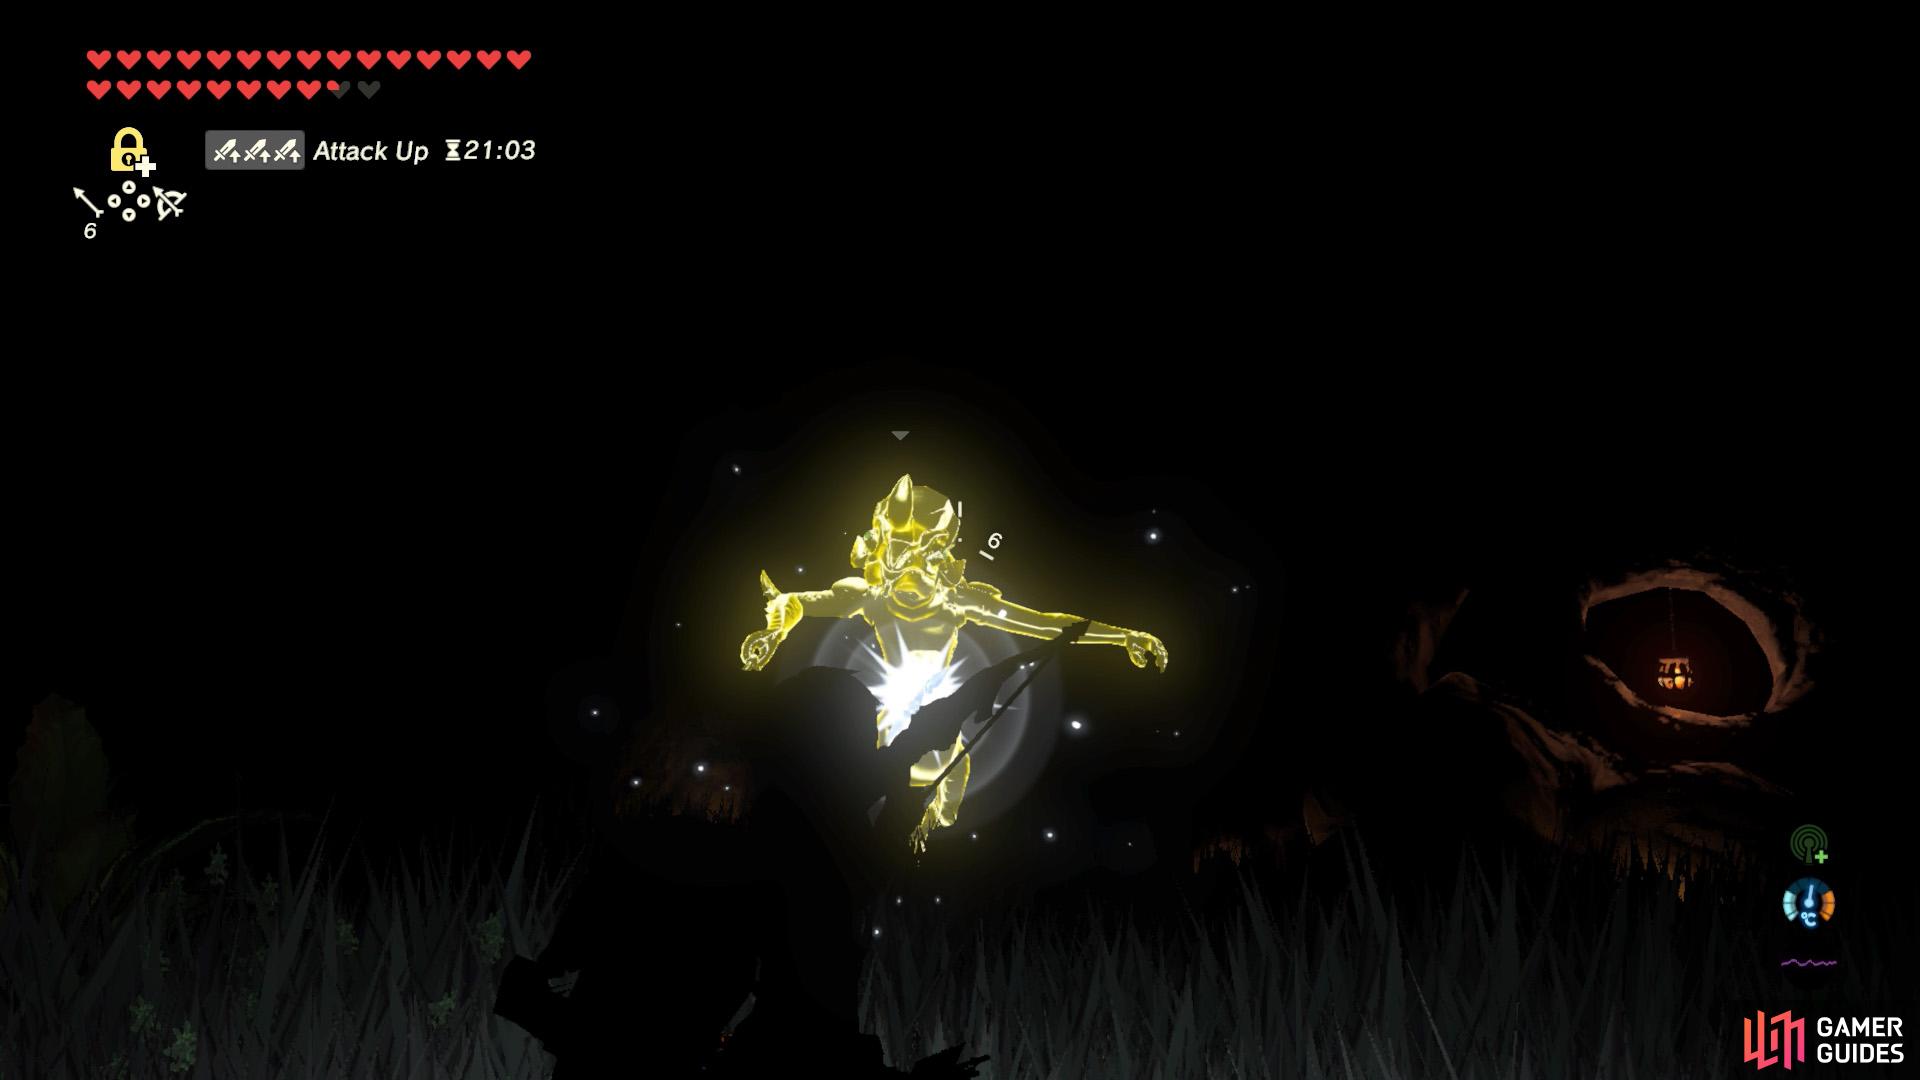
Try to Stasis the Lizalfos before it attacks you. (left), Aim an Ice Arrow, then release it when Stasis ends. (right)
To deal with it, we suggest spamming the Stasis button until you freeze the Lizalfos. If you have Ice Arrows from Floor 3, begin aiming at the Lizalfos, then release the arrow just when Stasis ends. If the Lizalfos is struck in real time (not Stasis time), it’ll die in one-hit. Alternatively, pummel it with melee weapons when Stasis is in effect.
Slowly approach the skull camp. Before the entrance, towards the right, there’s another Fire-Breath Lizalfos. Again, carefully proceed forward, while spamming Stasis and hopefully you’ll freeze it in place. Then use the same trick as before, letting loose an Ice Arrow as Stasis ends but before the Lizalfos moves.
(By the way, if you miss with the Ice Arrows, don’t use them all up! Save at least one for the next floor, or more if you’re not confident with aiming.)


(1 of 2) Aim for the Flameblade Lizalfos slightly to the right.
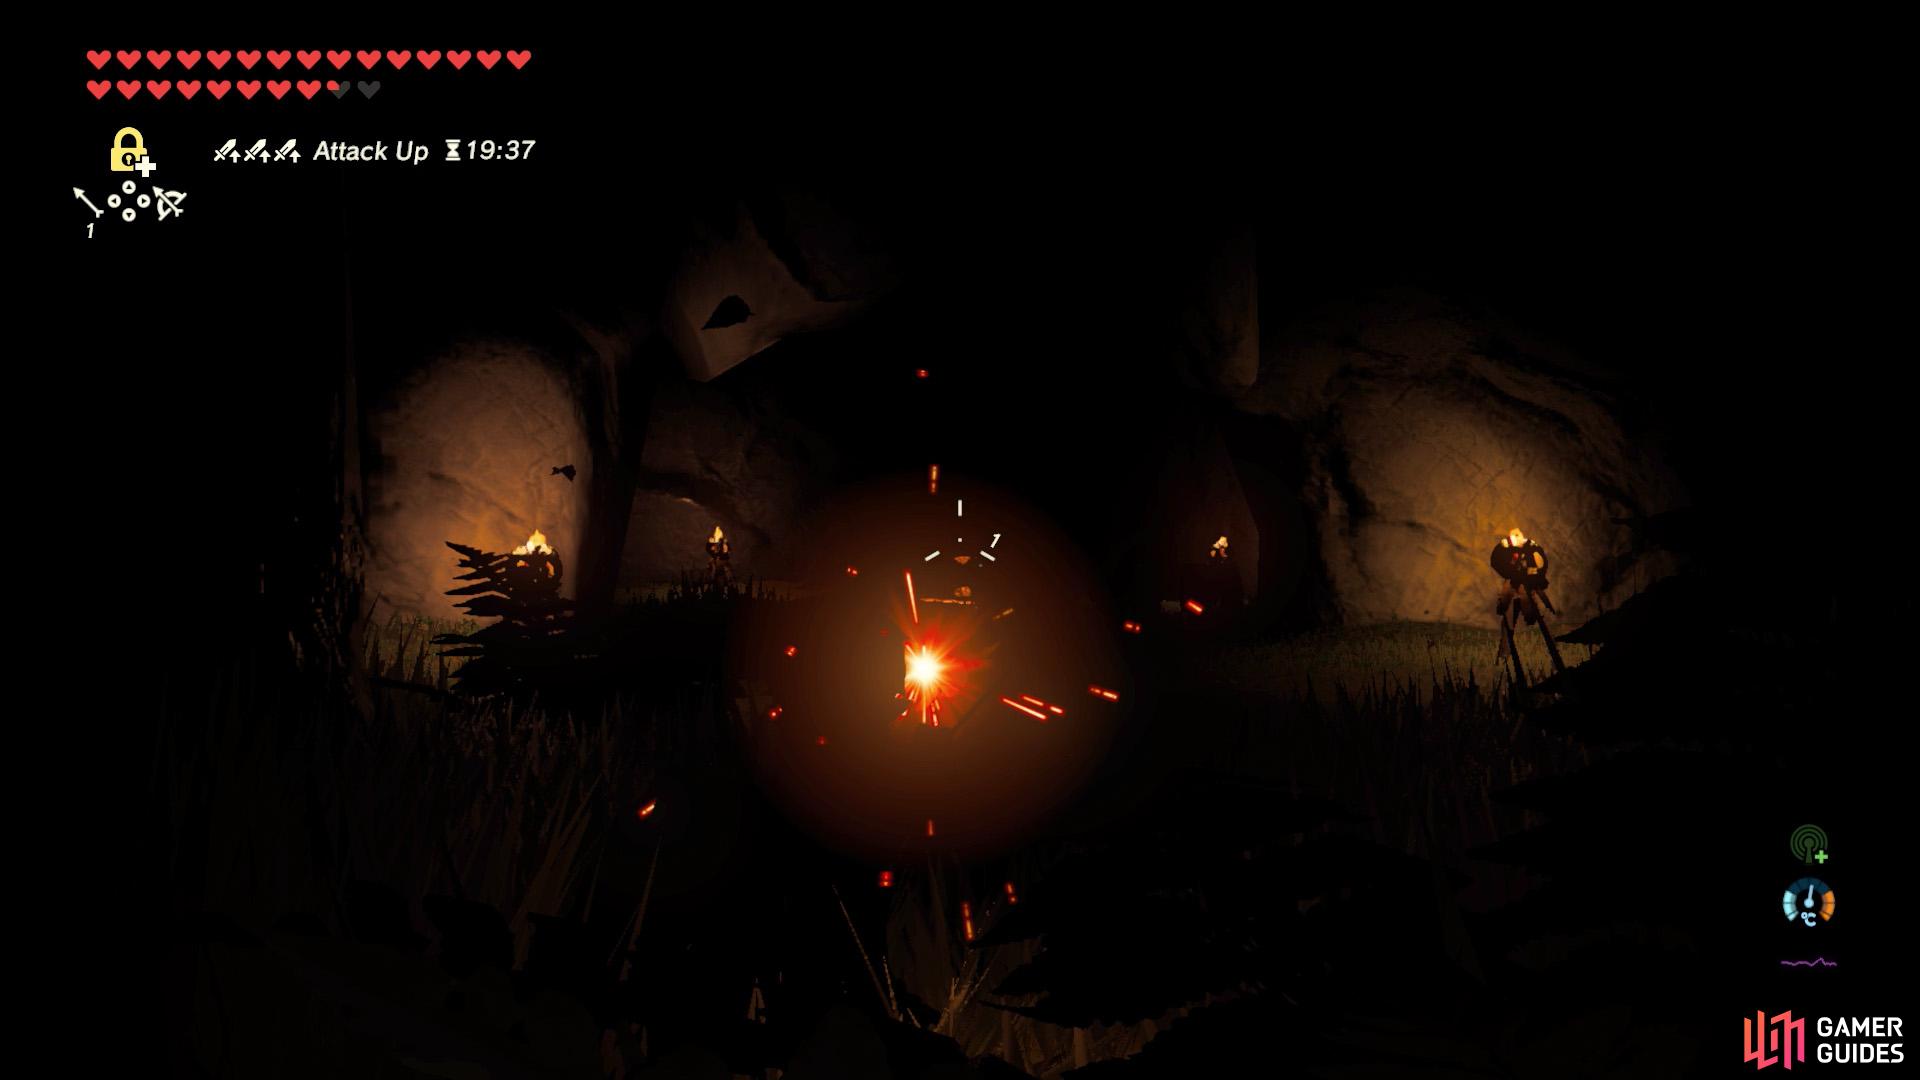
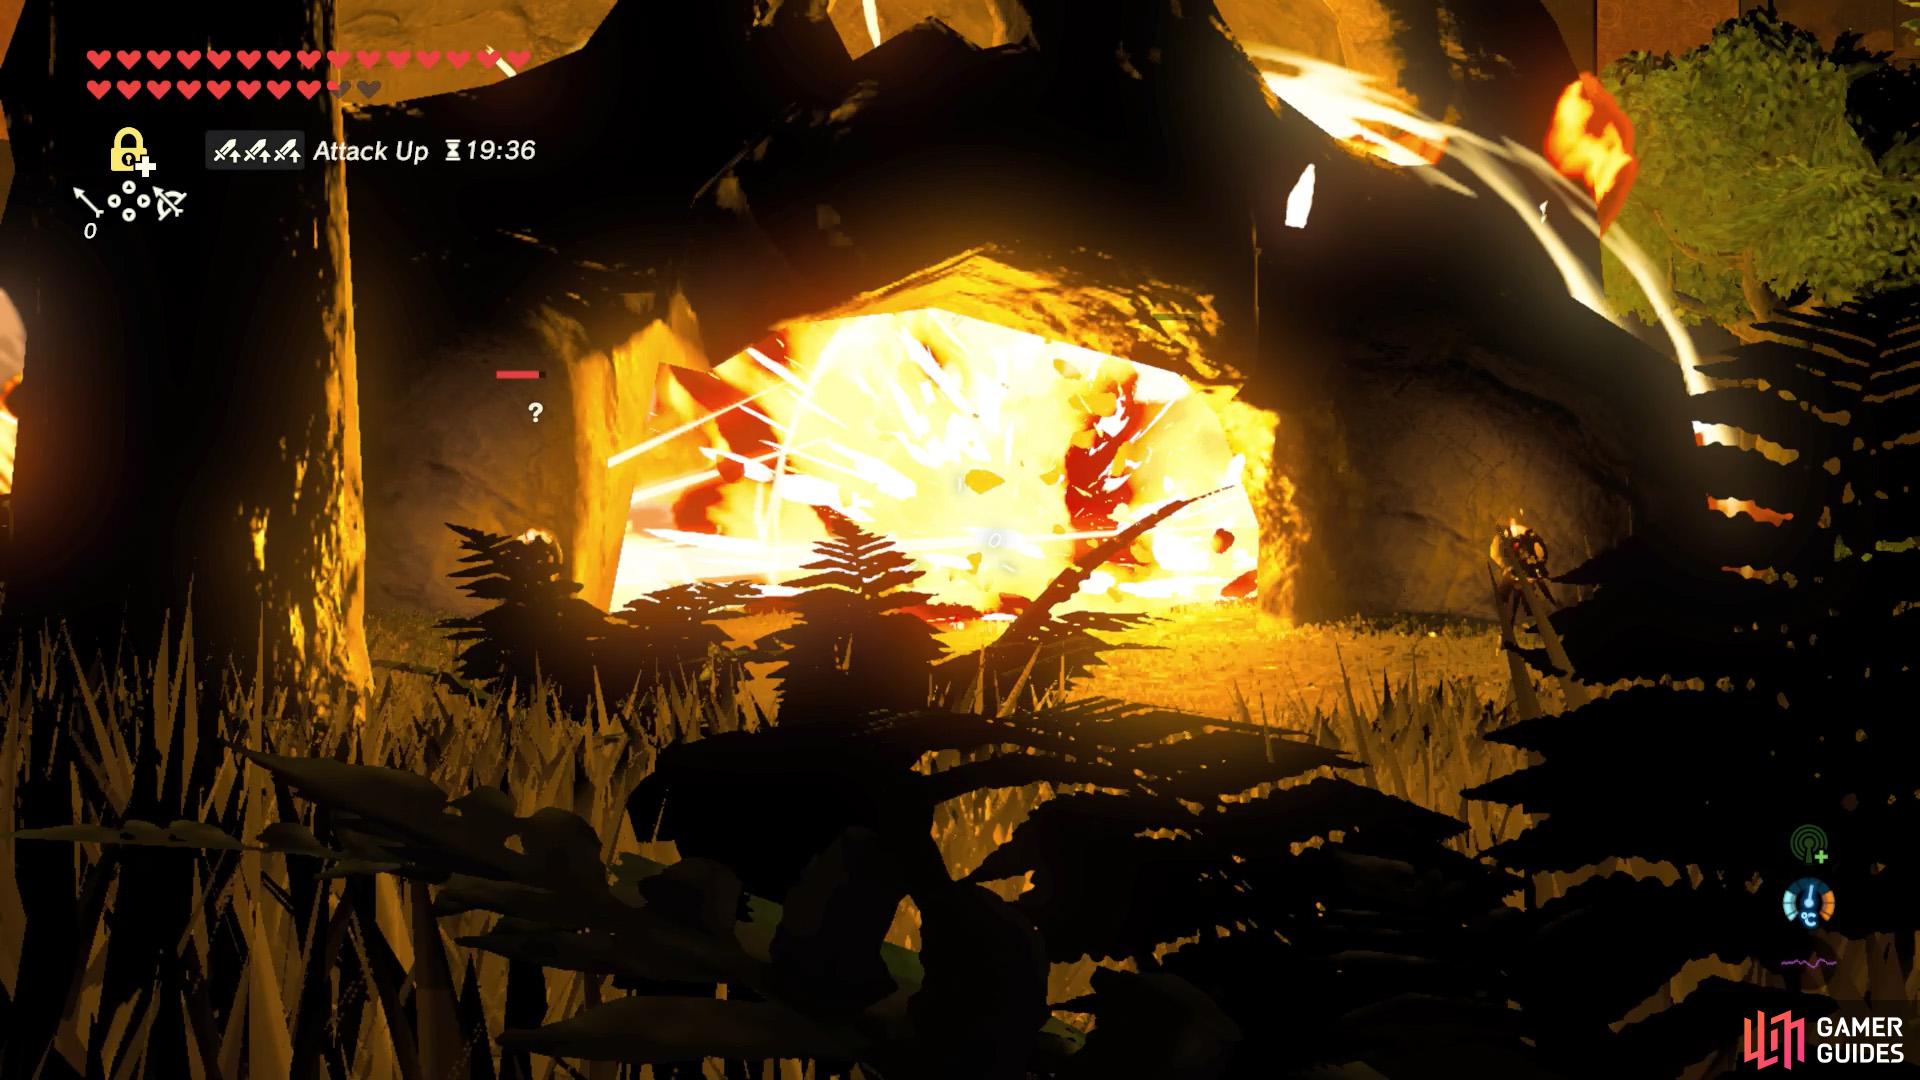
Aim for the Flameblade Lizalfos slightly to the right. (left), The subsequent explosions will take off a big chunk off their HP. (right)
Finally, you’ve got to deal with two Blue Lizalfos camping inside the skull structure (one with a Flameblade, the other with Fire Arrows). Ordinarily, it would be very easy to deal with so few enemies confined in an enclosed space, but when your visibility is so poor, that’s another matter.
If you have any Bomb Arrows from Floor 3, you can try shooting them into the mouth (main entrance) of the camp. Similarly, you can roll bombs into the camp. With luck, the explosion should set off the bomb barrels, causing massive damage to the Lizalfos. Then run into the blazing camp and poke the Lizalfos with a spear or your favorite weapon.
No Comments