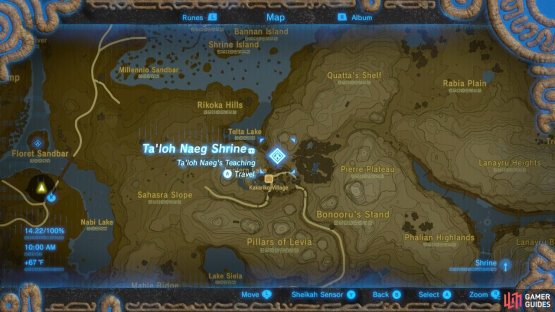
(1 of 2) This Shrine serves as a fast travel point for Kakariko Village.

This Shrine serves as a fast travel point for Kakariko Village. (left), This is the location of the Ta’loh Naeg Shrine. (right)
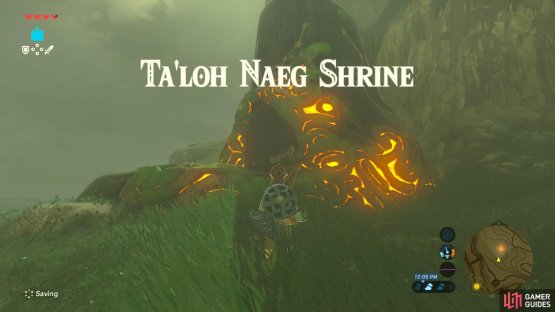
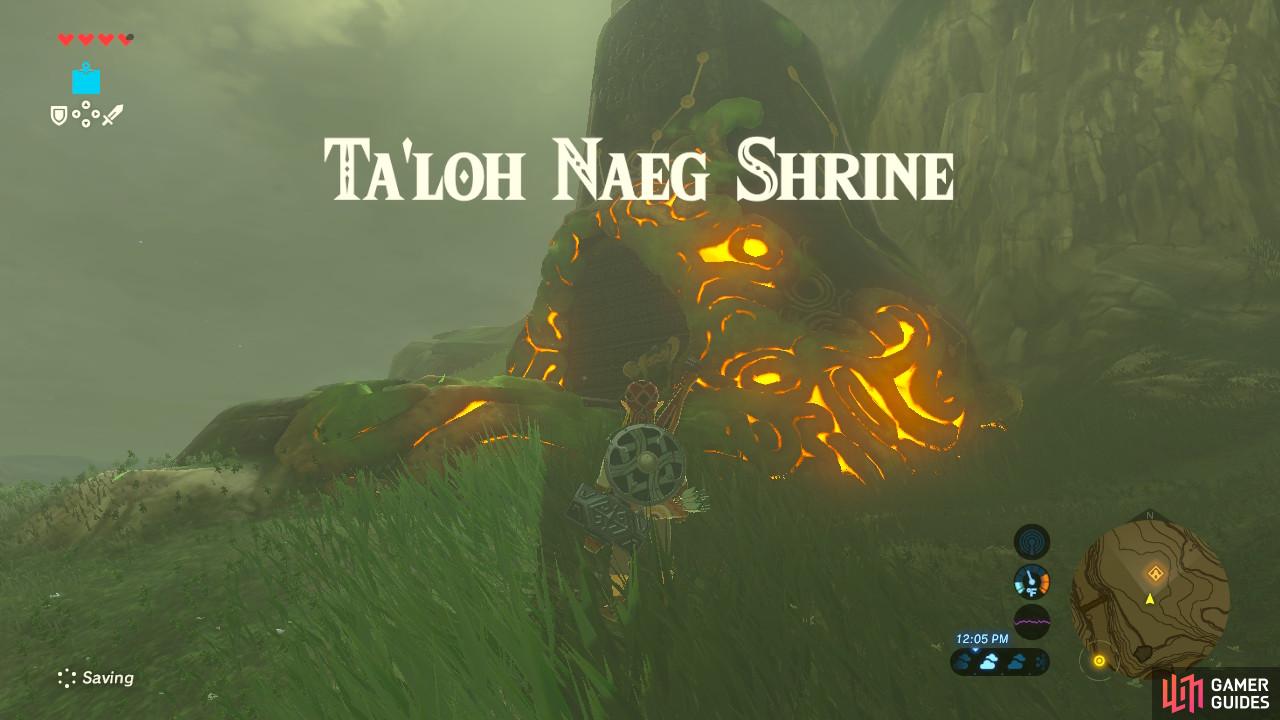
Ta’loh Naeg Shrine
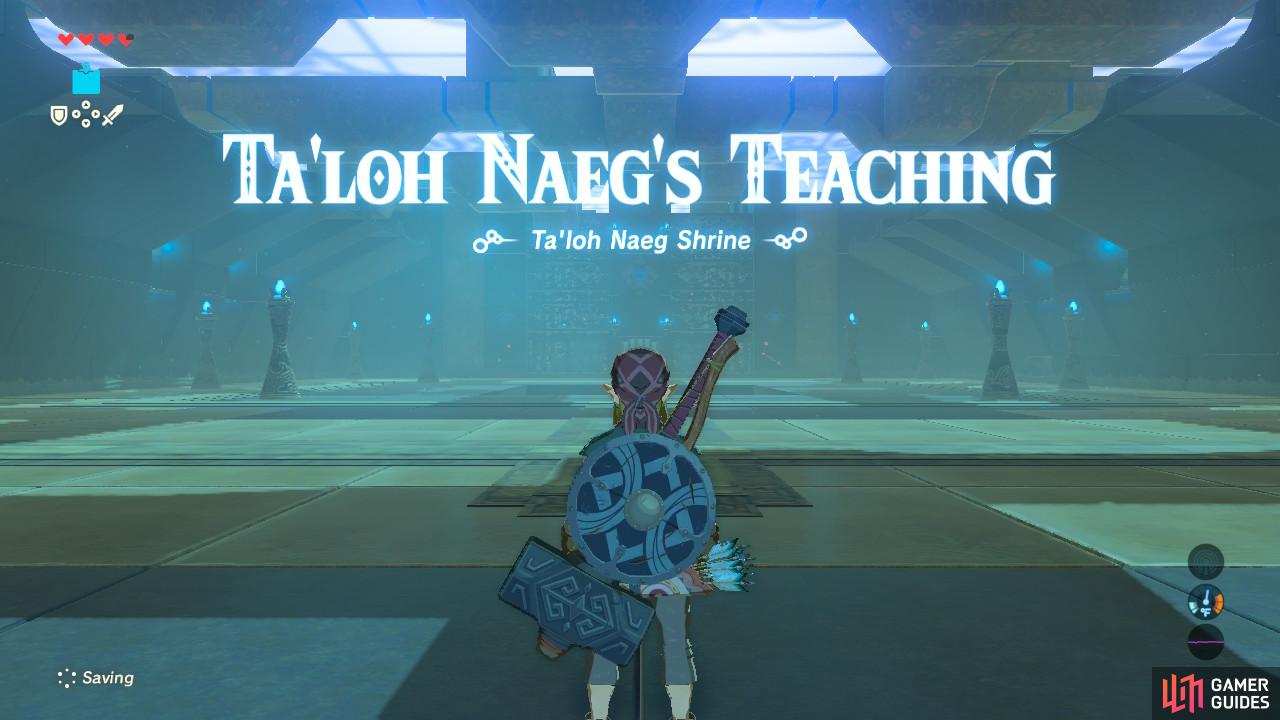
This shrine is less of a trial and more of a battle tutorial disguised as a shrine. It is incredibly useful and if you still need pointers, you can always come back and repeat this trial again.

(1 of 2) These chests are meant to give you some gear in case you don’t have any
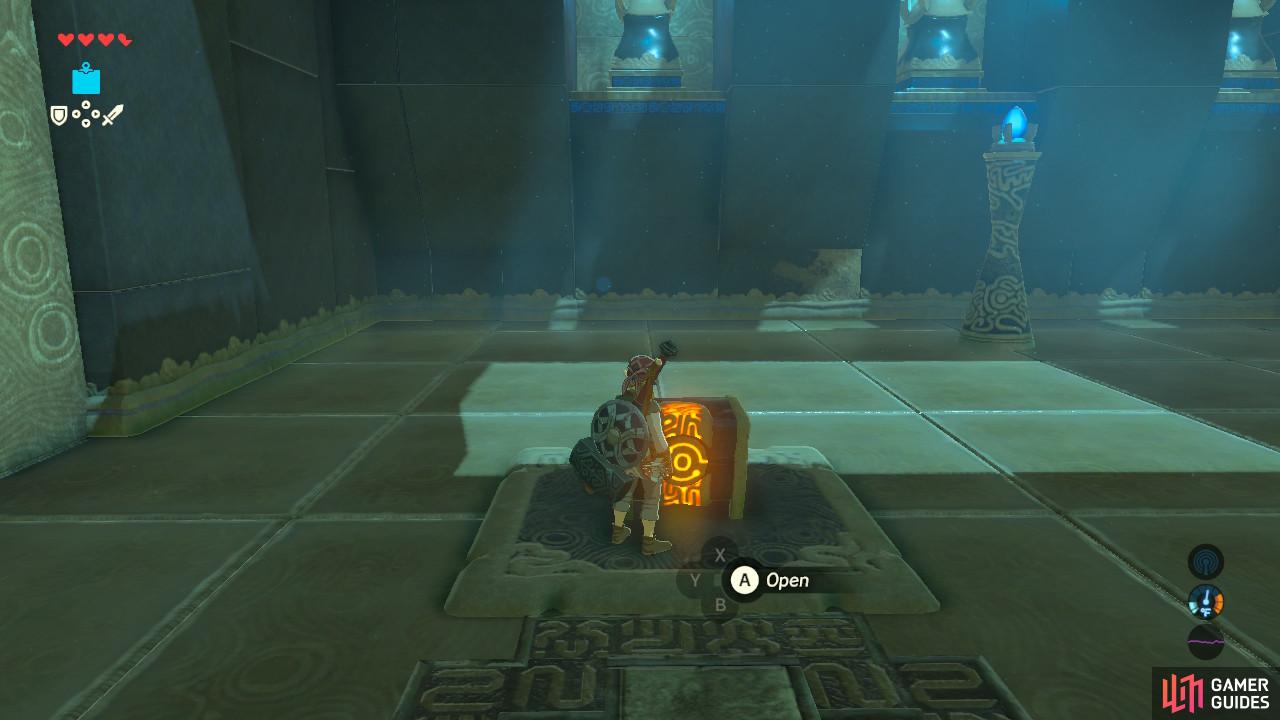

These chests are meant to give you some gear in case you don’t have any (left), This is just a little Guardian Scout, don’t worry. (right)
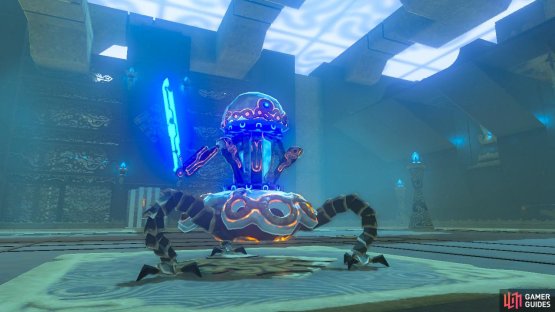
When you first drop in, you will see two treasure chests in front of you. Open them both for an Eightfold Blade and a Shield of the Mind’s Eye. Then go forward and you will see a Guardian Scout drop into the room.
The monk will speak to you and tell you what to do. Unless you perform his exact instructions you cannot proceed forward. You will not be able to inflict any actual damage on the Guardian Scout, but your weapons can still break, so follow his orders.
![Make sure you hold [ZL] to stay locked on](/assets/guides/144/The_Legend_of_Zelda_Breath_of_the_Wild_Side_Hop.jpg)

(1 of 2) Make sure you hold [ZL] to stay locked on
Make sure you hold [ZL] to stay locked on (left), You will see a visible slowdown plus this prompt. (right)
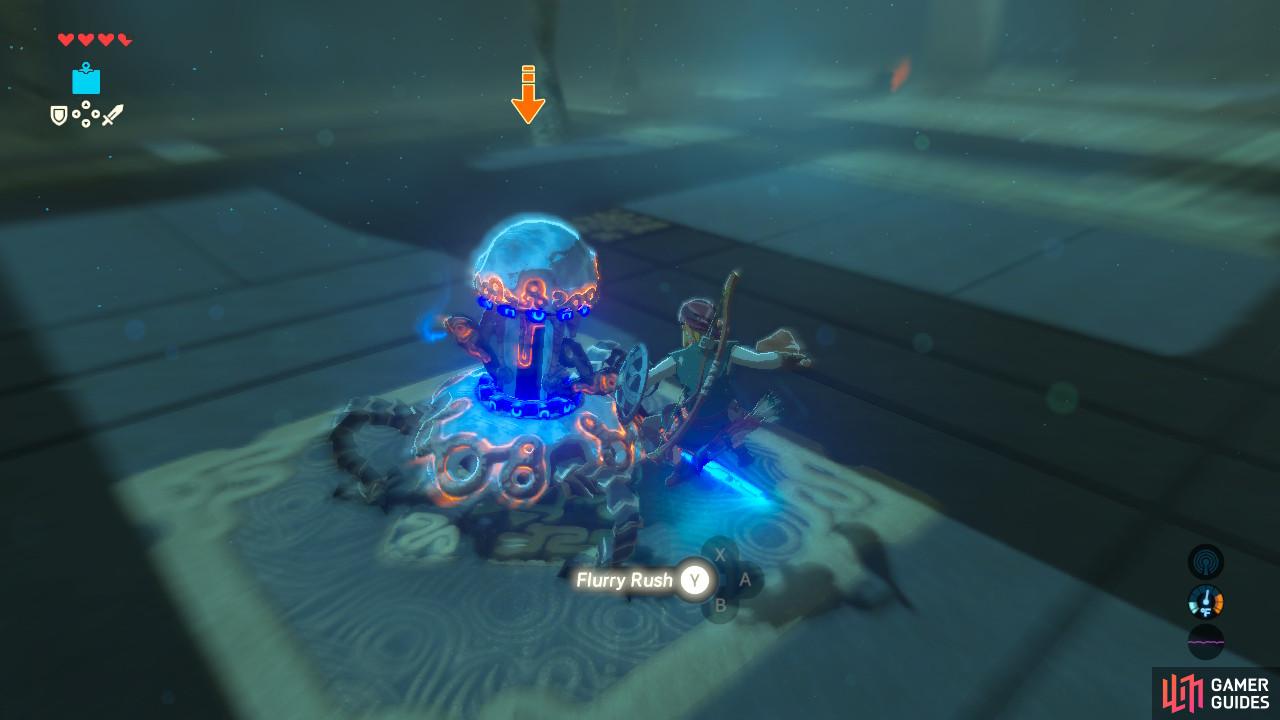
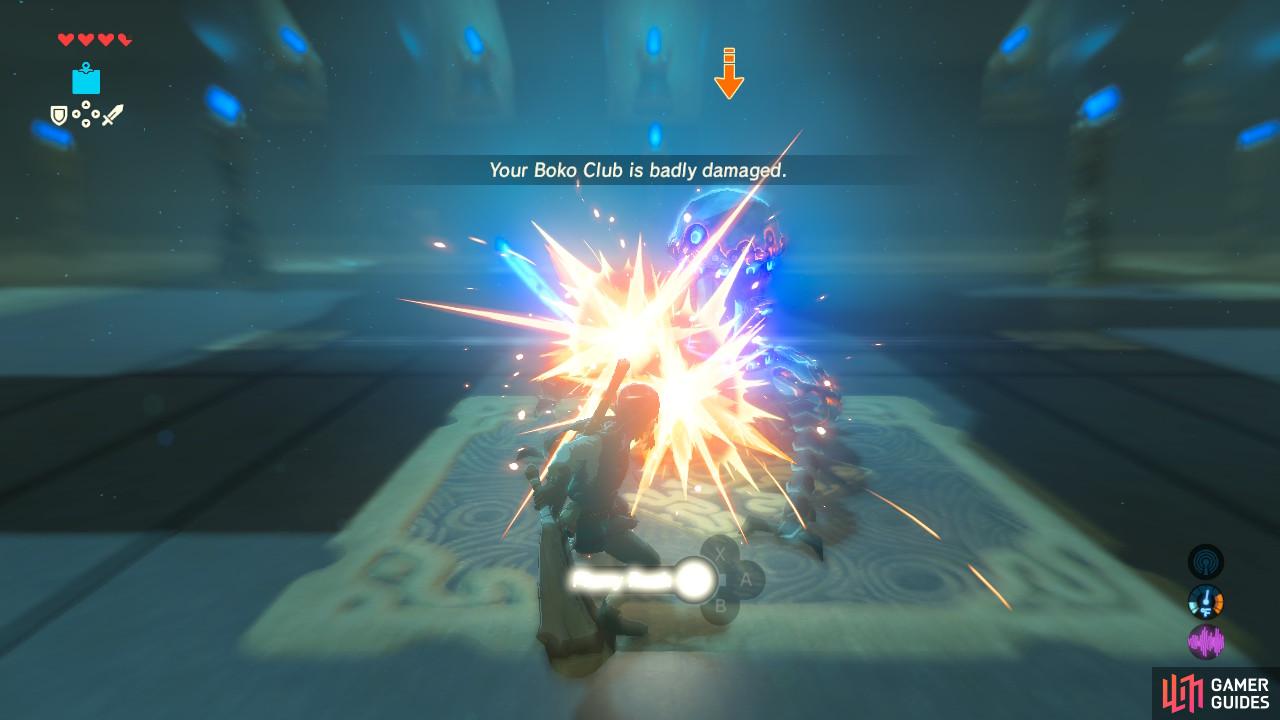
Your first instruction will be to perform a side hop at the right timing to activate Flurry Rush, a slowdown of time that lets you do a powerful attack string while the enemy is caught off guard. Feel free to perform Flurry Rush using [Y], or you can simply choose not to for weapon conservation.

(1 of 2) No jumping this time, just move the stick down
No jumping this time, just move the stick down (left), Again, you don’t have to follow through with attacking if you want to conserve durability. (right)
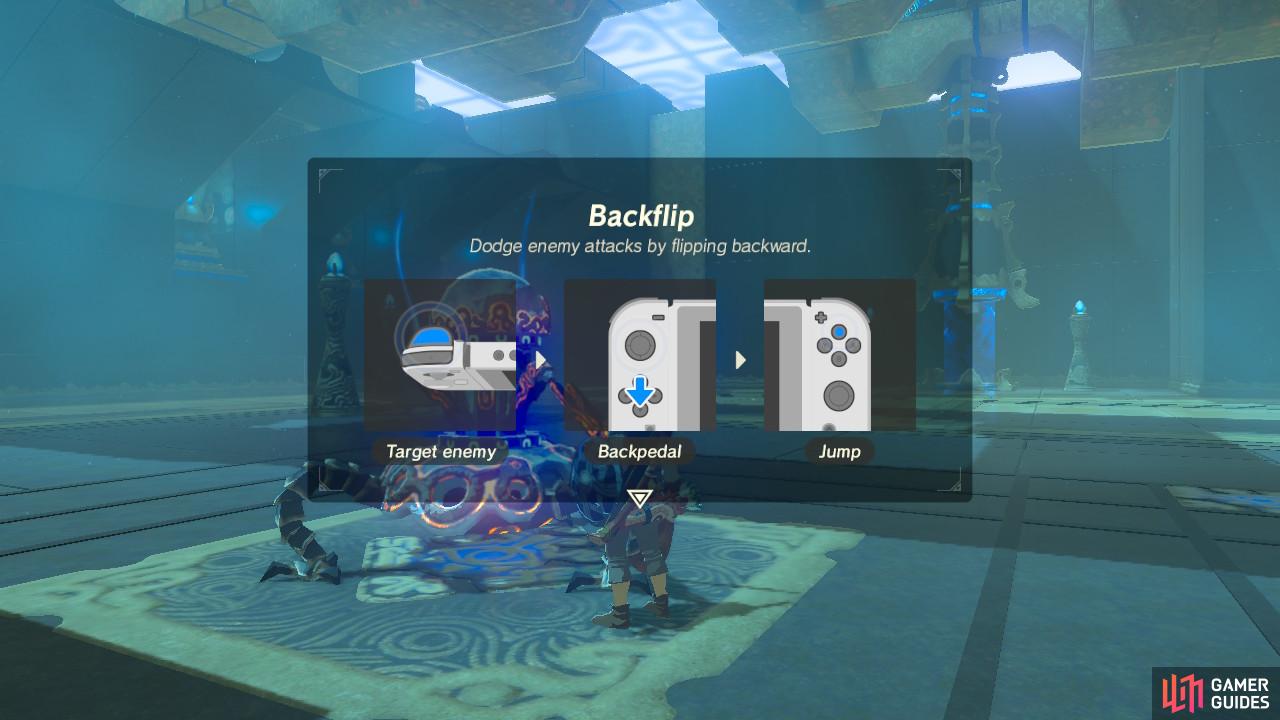
Next, the monk will instruct you to perform the backflip hop. These two dodges are critical to master, as they not only let you take no damage but they open up windows for attack.

(1 of 2) As usual make sure you stay locked on or else Link won’t hold up his shield
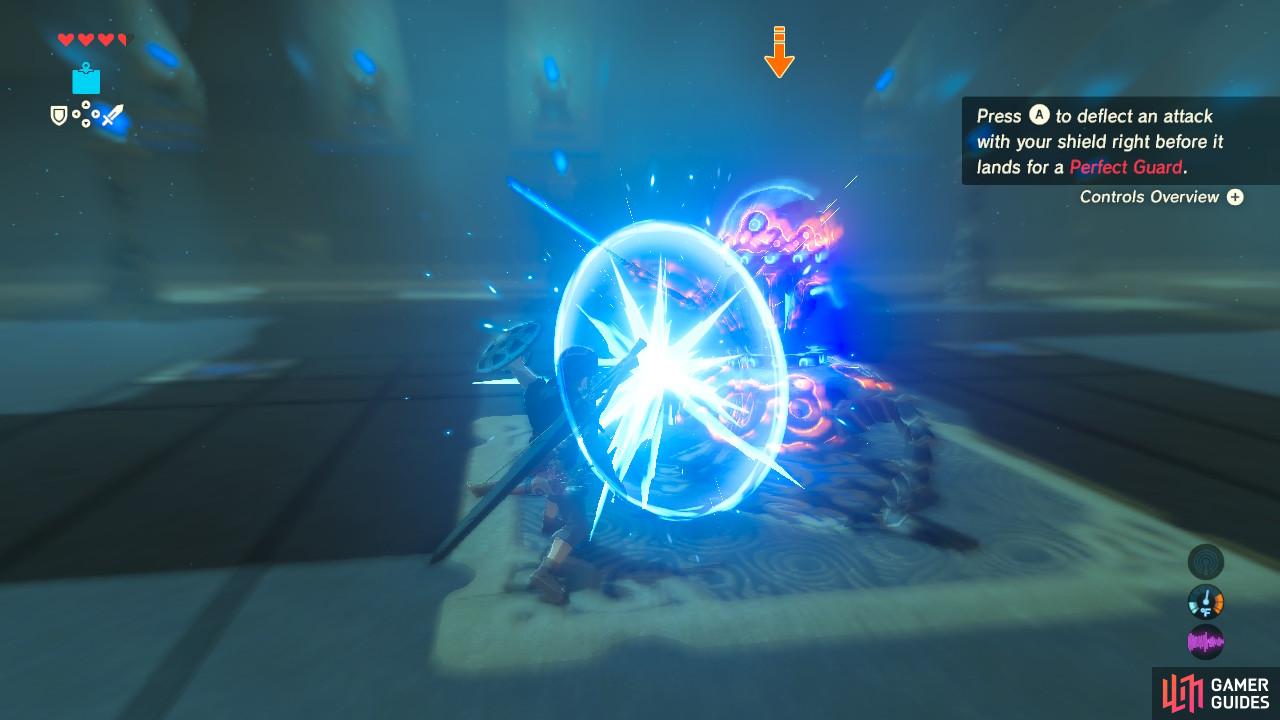
As usual make sure you stay locked on or else Link won’t hold up his shield (left), You will hear a distinct noise and see these distinct effects pop up if you succeed. (right)
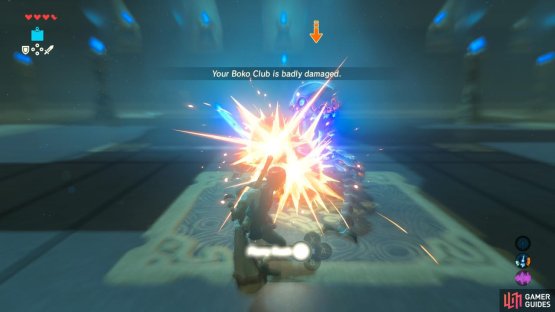
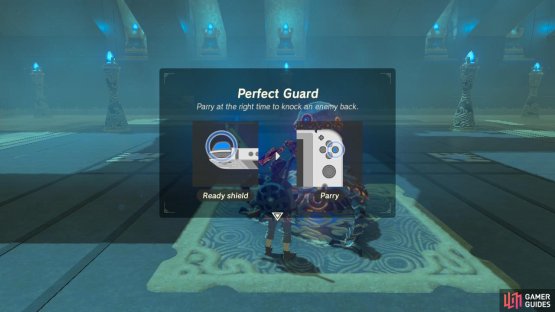
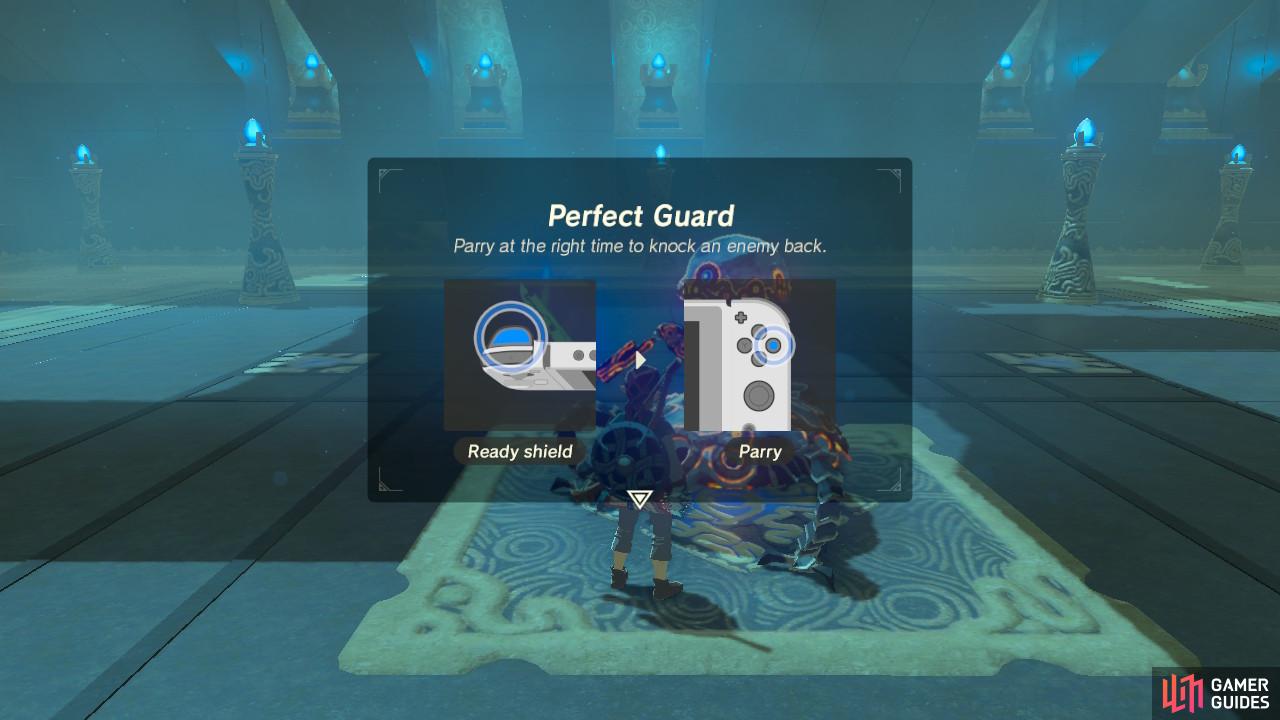
After mastering these two dodges, your next task is to perform a shield bash, or a perfect guard. By holding up a shield (make sure you have one actually equipped) and pressing [A] with good timing, you can expose the enemy to attack. Shield bashes can also be used to reflect some projectiles, like Guardian laser beams. And by the way, if a Guardian has to eat its own beam it takes massive damage. So this is a very valuable technique to master.
Finally, you will be given a tutorial on how to perform a charge attack. Hold down [Y] and then release after you have charged up. This attack will instantly kill the Guardian Scout and finish the trial. Bear in mind that charge attacks use up stamina. Before you charge forward for the monk, open up a treasure chest right beyond the gate for an Opal. Then, go and claim your Spirit Orb.
No Comments