
This page details all the floating platforms found in the Central Hyrule region when playing Master Mode.
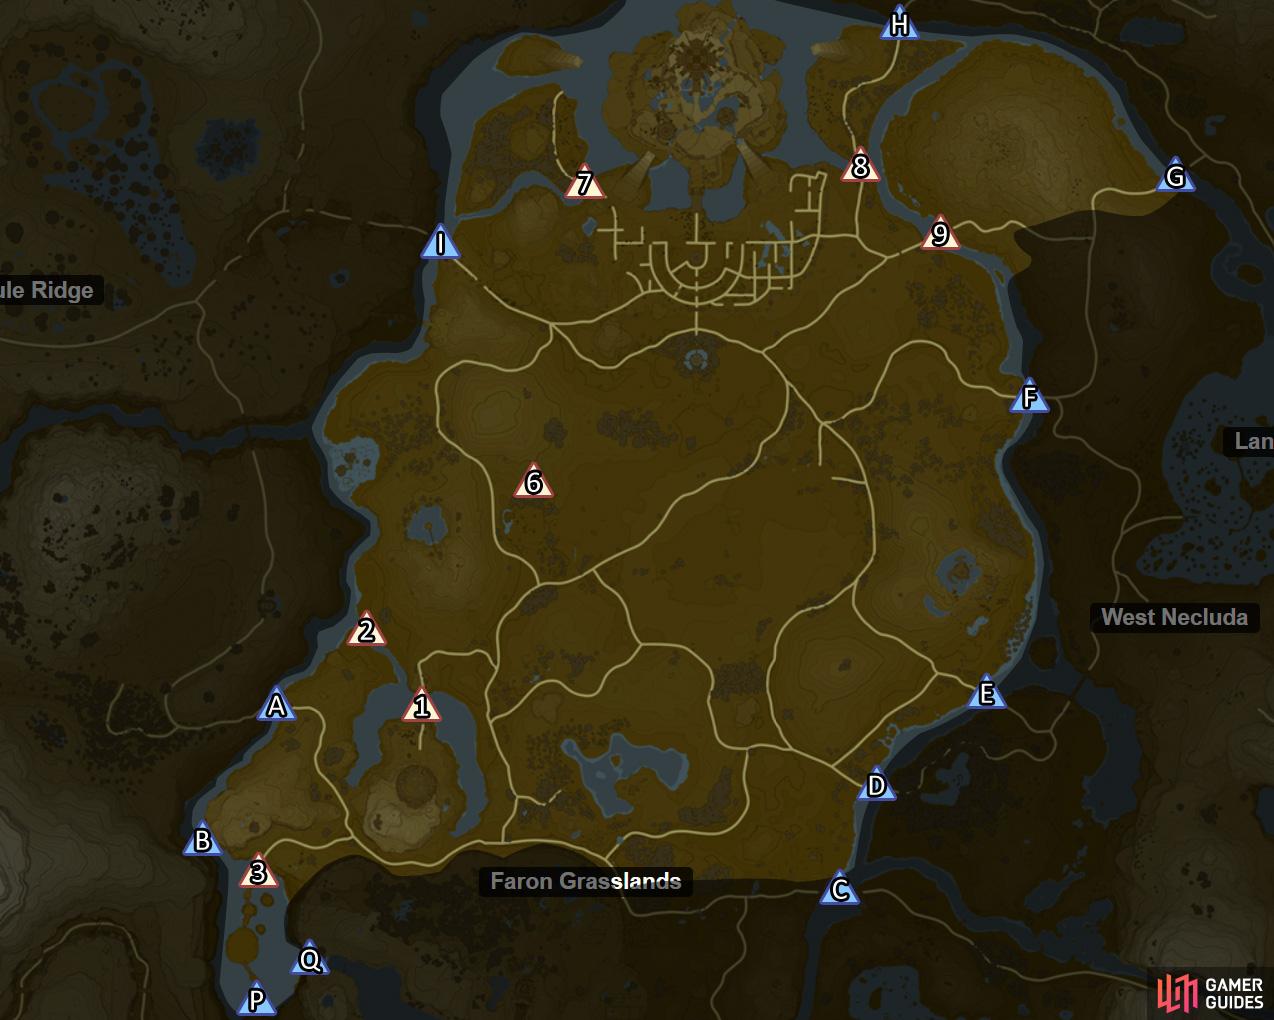
Locations of the floating platforms in the Central Hyrule region.
To simplify things, we’ve split the platforms into two categories. The first are those that are well within the boundaries of Central Hyrule. Meanwhile the second are those that border Central Hyrule and another region. Platforms in the second category will also be listed in the other region’s section.
Within Central Hyrule
Group 1
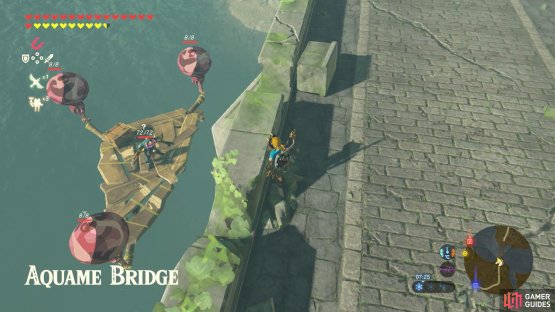
(1 of 2) At Aquame Bridge, there are two platforms that are somewhat concealed to begin with.


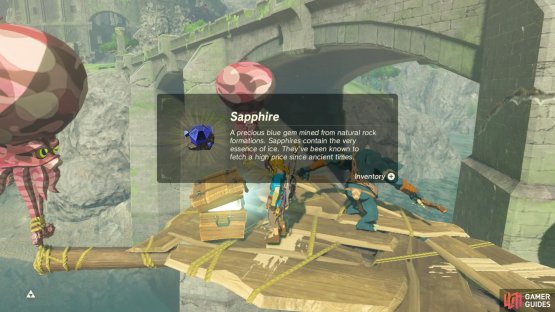
At Aquame Bridge, there are two platforms that are somewhat concealed to begin with. (left), The nearest chest contains a Sapphire. (right)
Along the way to the Coliseum Ruins, there’s a set of two floating platforms, each located on the opposite ends of Aquame Bridge. The northern platform has a chest with a Sapphire. Whereas the southern platform has a chest with a Knight’s Shield.
Both platforms are guarded by Bokoblins with Ice Arrows. There are also two Bokoblins on the bridge itself. These platforms begin in a lowered position, so you can simply jump down to them from the bridge if the Bokoblins haven’t been alerted (eg. by wearing Majora’s Mask).
Group 2
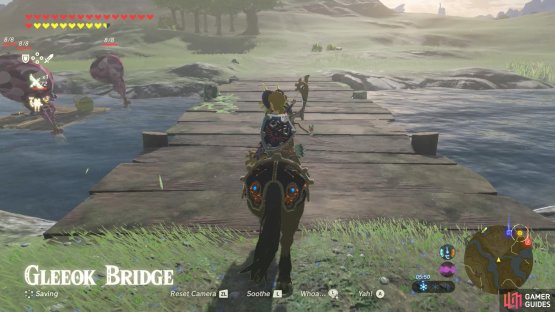
(1 of 2) There’s a single platform at Gleeok Bridge.


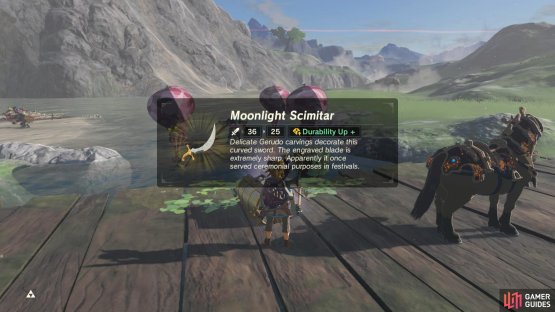
There’s a single platform at Gleeok Bridge. (left), The chest here contains a scimitar. (right)
North-west of the previous group, there’s a singular floating platform adjacent to the smaller Gleeok Bridge. It’s guarded by a Bokoblin with a Lynel Bow. The chest on the platform houses a Gerudo Scimitar.
You can use Magnesis to pull the chest towards you. It might be worth stealing the Lynel Bow from the Bokoblin as well, by killing it or striking it with electricity. If the bow falls into the water, you can retrieve it with Magnesis.
Group 3
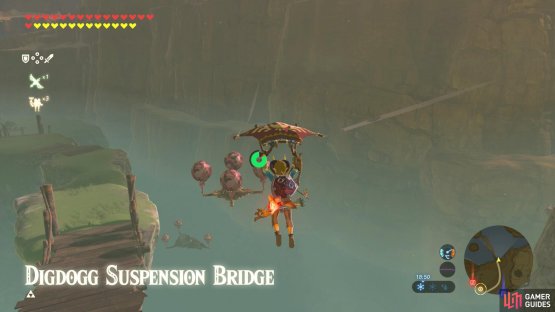
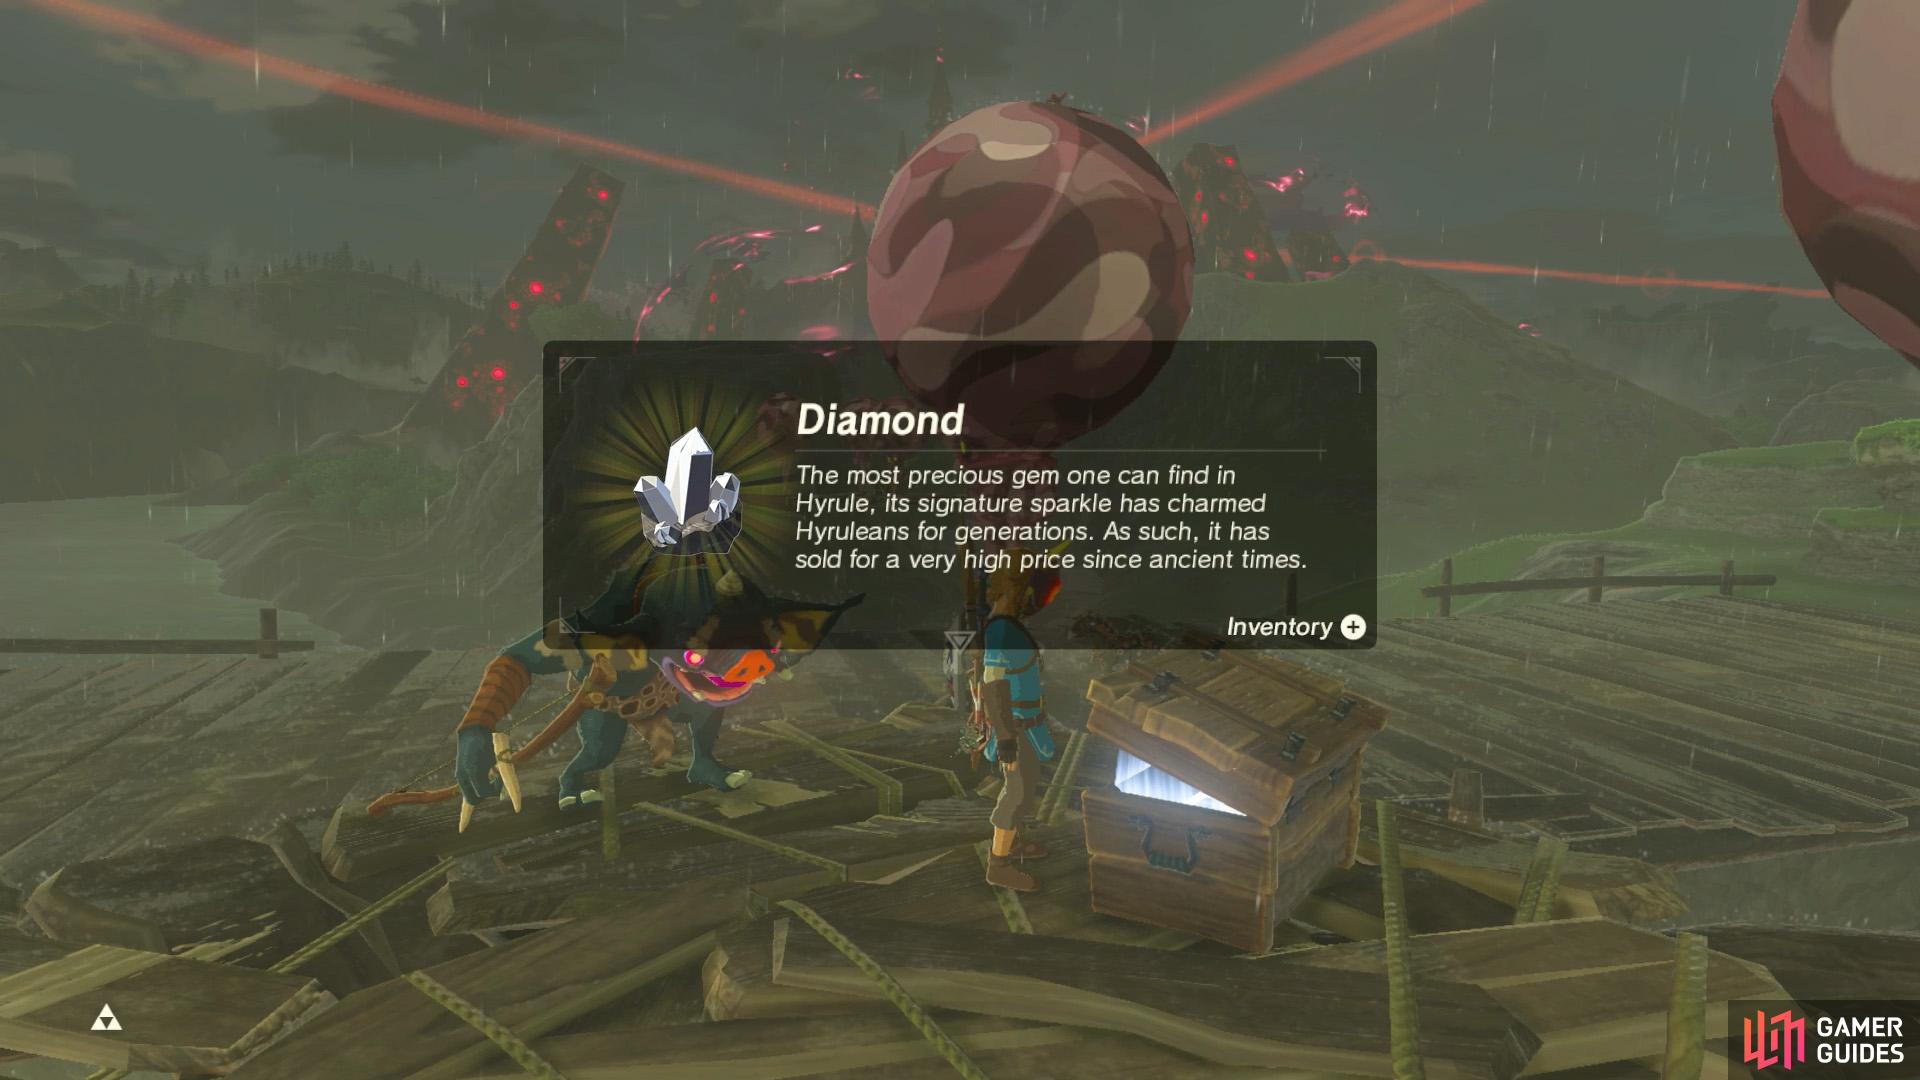
(1 of 2) Three floating platforms await at the north end of Digdogg Suspension Bridge.


Three floating platforms await at the north end of Digdogg Suspension Bridge. (left), The wooden chest contains a Gerudo-style shield. (right)
Towards the west side of the Great Plateau, where the River of the Dead flows into, there are three platforms near the north end of Digdogg Suspension Bridge. All three are occupied by Bokoblins with Bomb Arrows.
The north-west platform, which is floating high up, has a wooden chest with a Gerudo Shield. You’ll probably want to glide to it from higher ground. Meanwhile, the other two platforms are positioned lower down; each has a metal chest with a Diamond. These ones you can jump down to from the bridge.
Group 6
(1 of 2) Yes, the Decayed Guardians below will try and shoot you.


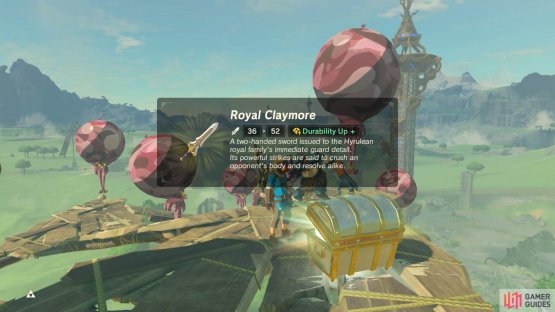
Yes, the Decayed Guardians below will try and shoot you. (left), At the end is a chest with a claymore. (right)
A short distance north of Central Tower, there are three floating platforms high up in the sky, connected by wooden bridges. You can reach them by gliding from the top of the tower. The furthest platform has a standard Bokoblin archer and a chest with a Knight’s Claymore.
Group 7
(1 of 2) Glide down from the rampart to reach this platform.


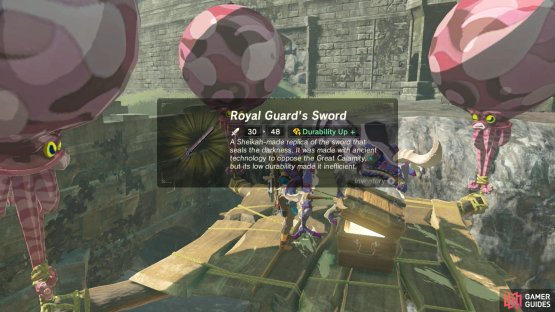
Glide down from the rampart to reach this platform. (left), A Royal Guard’s Sword awaits inside the chest. (right)
North-west of Hyrule Castle Town, there’s a lone floating platform next to Moat Bridge. It’s guarded by a Lizalfos armed with Bomb Arrows. The wooden chest next to it contains a Royal Guard’s Sword. You could glide to the platform from the nearby rampart.
Group 8
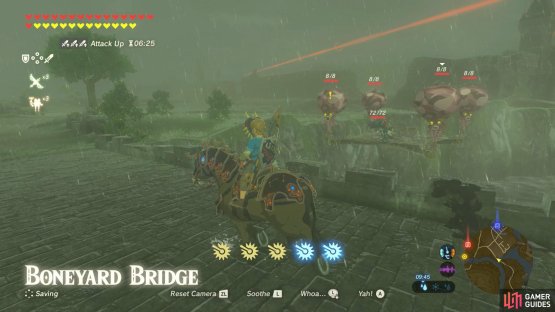
(1 of 2) A floating platform by the side of Boneyard Bridge.


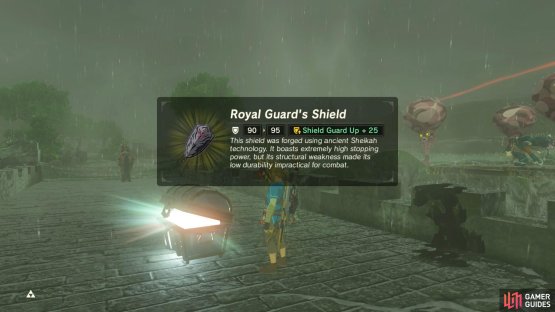
A floating platform by the side of Boneyard Bridge. (left), Inside the chest is a Royal Guard’s Shield. (right)
North-east of Hyrule Castle Town, there’s a similar platform next to Boneyard Bridge en route to Hyrule Forest Park. The Bokoblin here has got his grubby mitts on a Mighty Lynel Bow and Shock Arrows. As for the chest, there’s a Royal Guard’s Shield inside.
Group 9
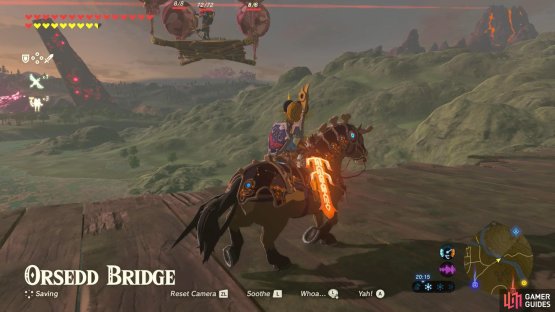
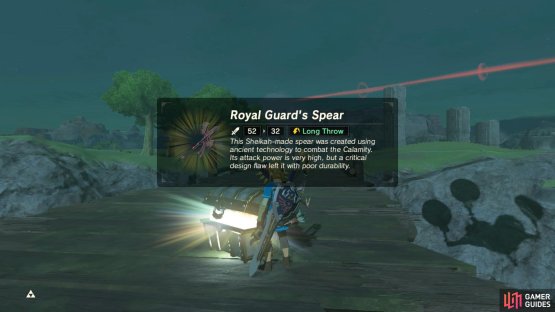
(1 of 2) A floating platform near Orsedd Bridge.


A floating platform near Orsedd Bridge. (left), Yes, it took us until nightfall to retrieve this chest… (right)
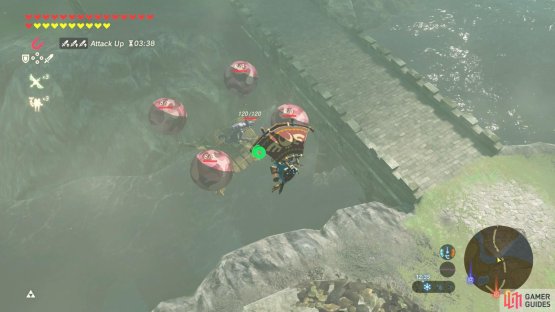
East of Hyrule Castle Town, there’s another lone platform next to Orsedd Bridge, near Crenel Hills. A Bokoblin with Bomb Arrows is the guardkeeper here, protecting a chest with a Royal Guard’s Spear.
The most efficient way to deal with this platform is probably to shoot it down. Then grab the chest from the river with Magnesis. You could also create your own updraft (eg. with Revali’s Gale) to glide up. Alternatively, you can just about reach the chest with Magnesis, but it’s very tricky to aim.
Bordering Central Hyrule
Group A
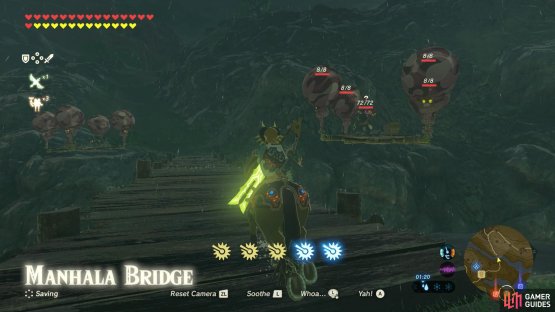

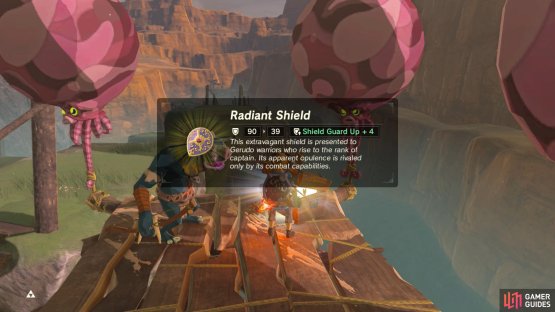
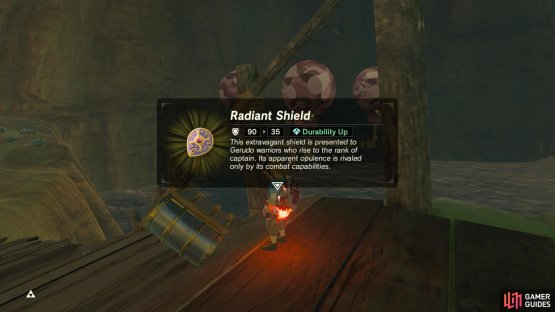
(1 of 2) Manhala Bridge, between Central Hyrule and Hyrule Ridge has 4 platforms.
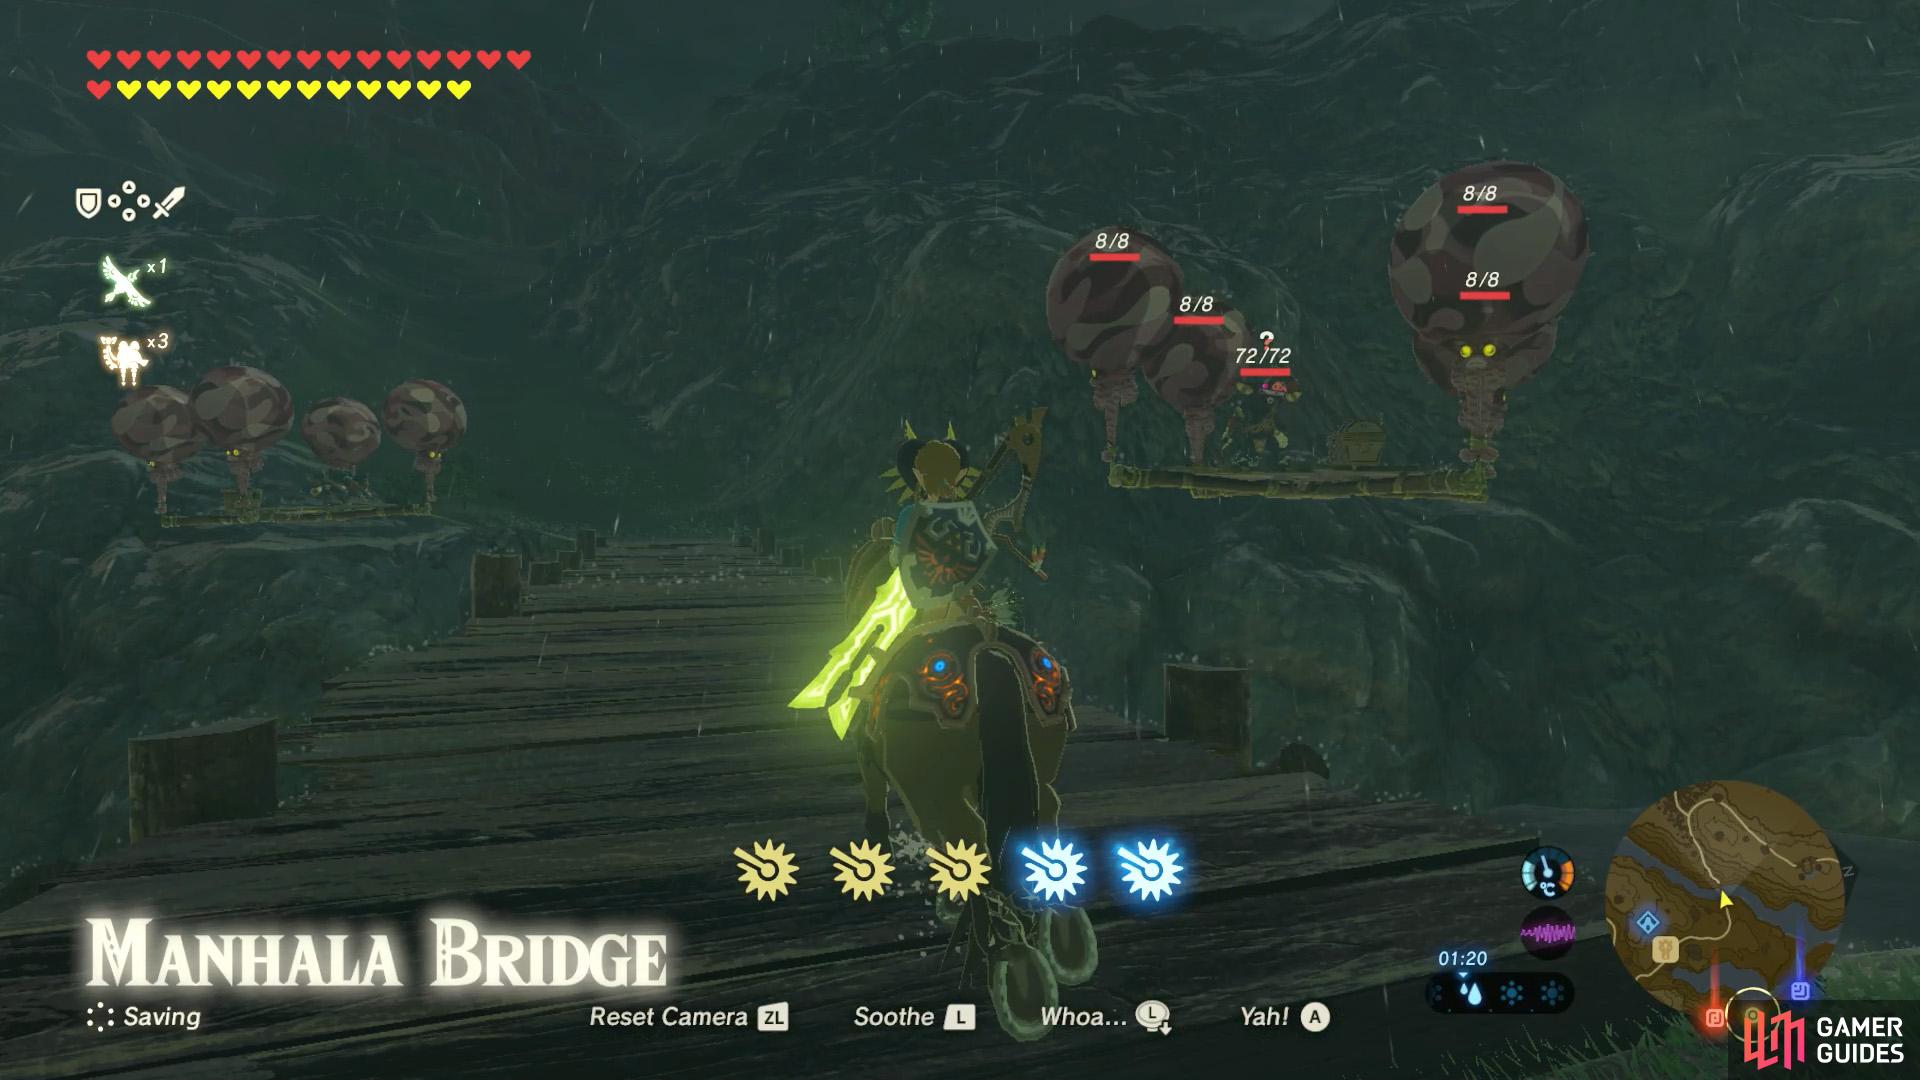
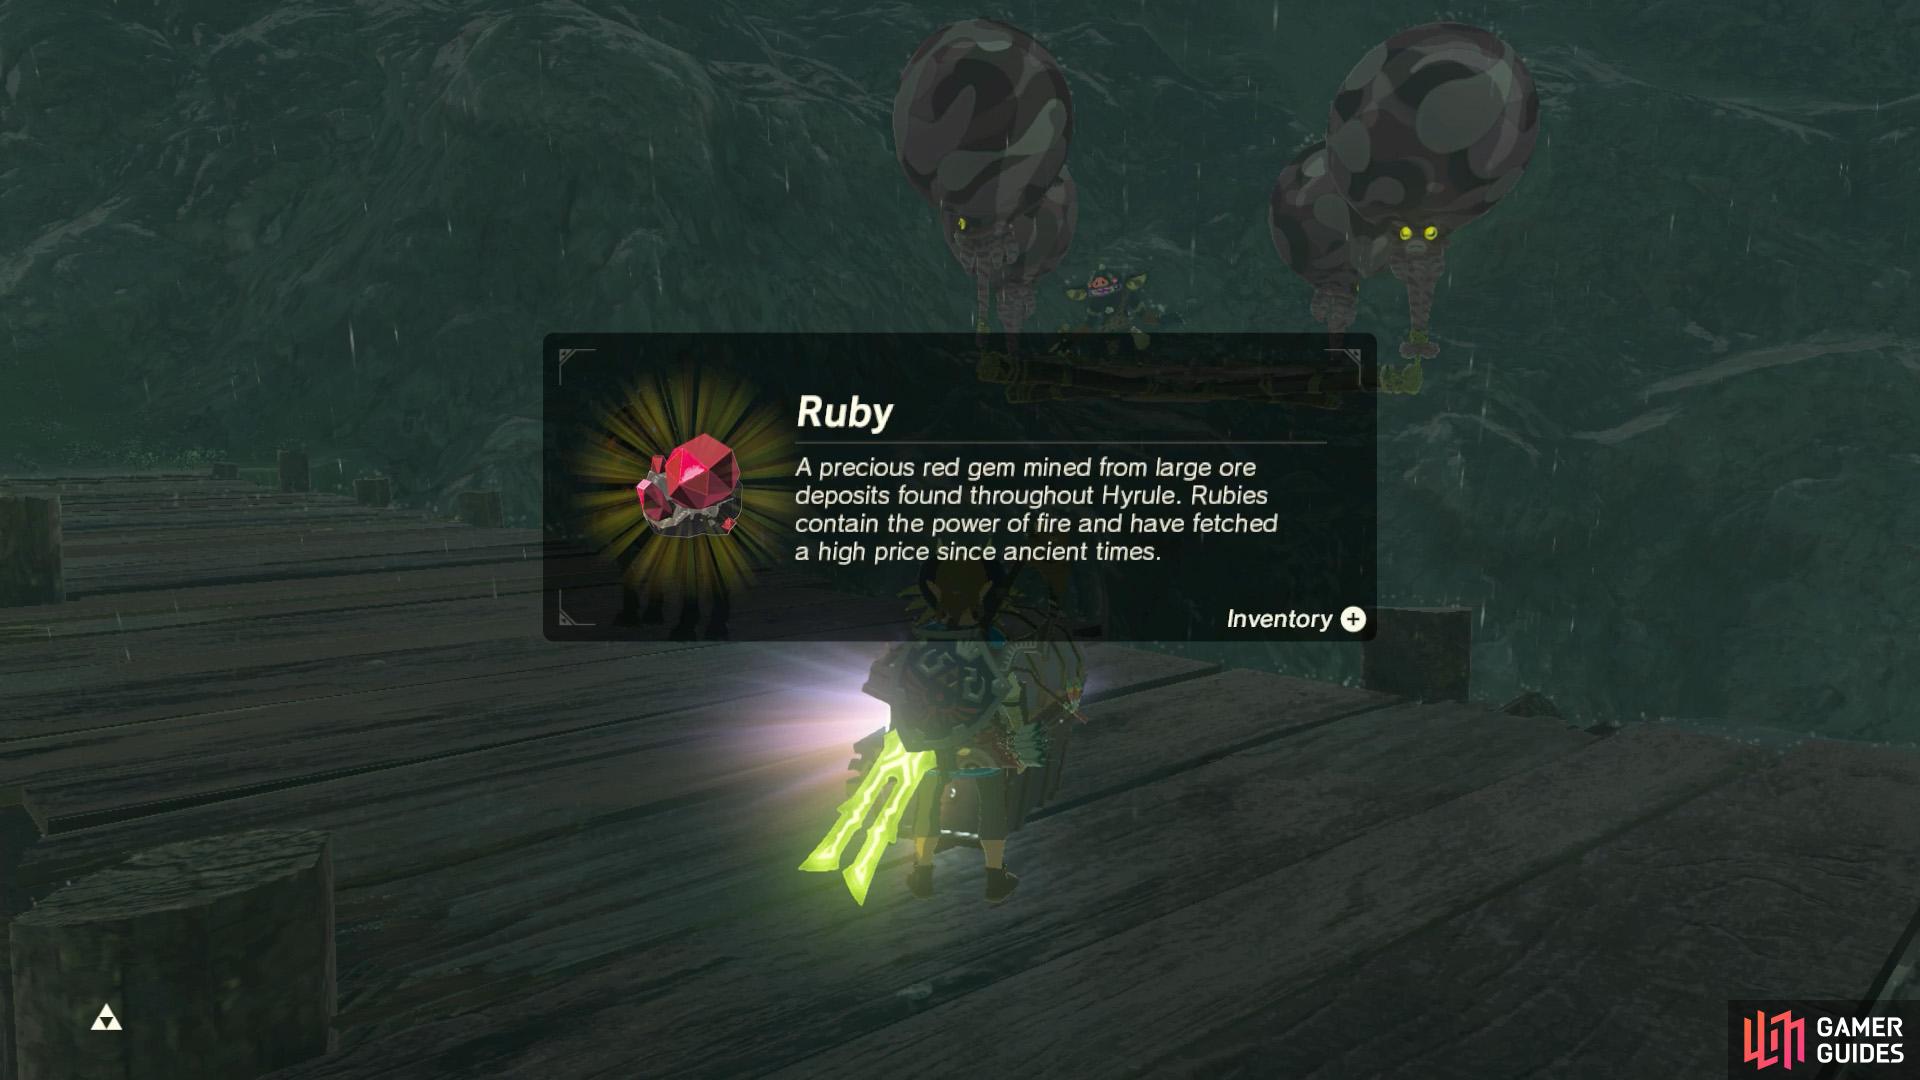
Manhala Bridge, between Central Hyrule and Hyrule Ridge has 4 platforms. (left), The chest on the Central Hyrule side contains a Ruby. (right)
North-west of Outskirt Stable, there are four platforms alongside Manhala Bridge, leading to Hyrule Ridge. Two of the platforms are level with the bridge, while the other two are positioned lower to begin with. All four are occupied by Bokoblins with Fire or Bomb Arrows
The eastern chest holds a Ruby, while the western chest has a Radiant Shield. You can use Magnesis to grab the Ruby chest. However, the shield chest is made of wood, so you’ll need to shoot down the platform or glide to it from higher ground.
Group B
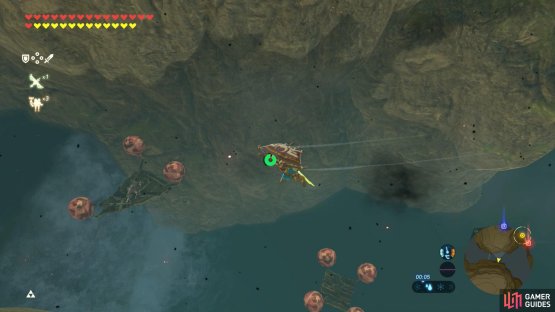
(1 of 2) You can glide down to these platforms from above.


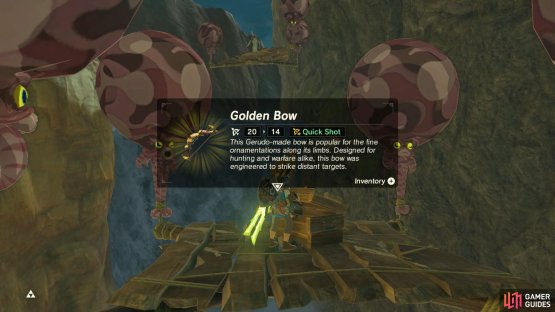
You can glide down to these platforms from above. (left), The wooden chest has a Golden Bow. (right)
West from the north end of Digdogg Suspension Bridge, there are two floating platforms near a small waterfall at Regencia River. One of these is home to a Lizalfos wielding Shock Arrows; the other has a chest with a Golden Bow.
To reach these platforms, you can simply glide down from the top of the valley.
Group C
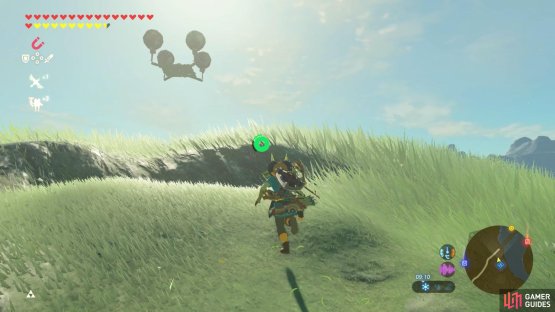
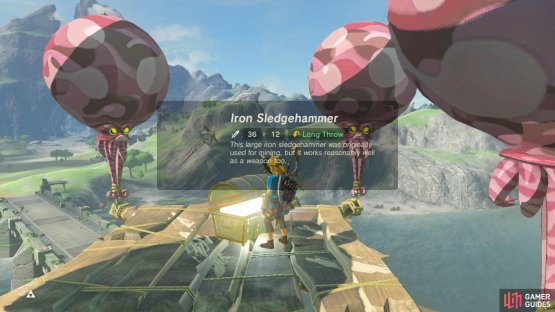
(1 of 2) Upon first glance, this platform seems to be in the middle of nowhere.


Upon first glance, this platform seems to be in the middle of nowhere. (left), However, you can glide down from the nearby flagpole, stamina permitting. (right)
A fair distance east from the Great Plateau Tower, there’s a single floating platform just before Proxim Bridge (near the East Post Ruins). The chest here contains an Iron Sledgehammer.
Due to the height, the easiest way to reach the chest is to shoot the Octoroks to bring down the platform. If you have lots of stamina, you can also climb up the nearby flagpole and glide from there. The top of the flagpole has a hidden Korok too.
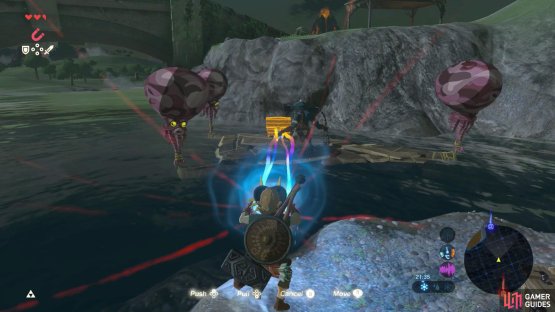
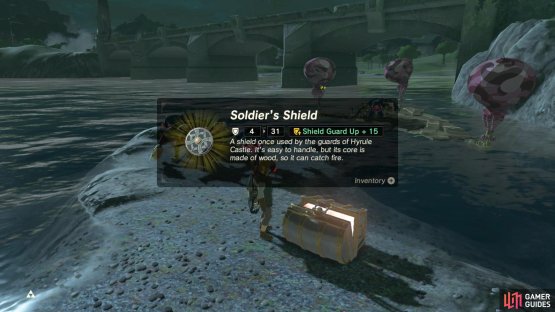
(1 of 2) A second platform is located near the east end of Proxim Bridge.


A second platform is located near the east end of Proxim Bridge. (left), The chest contains a Soldier’s Shield. (right)
There’s also another platform towards the opposite end of the bridge (near the Hills of Baumer), where a Duplex Bow-wielding Bokoblin lurks. The chest here has a Soldier’s Shield. This one is much easier to reach, since it’s level with the bridge.
Group D
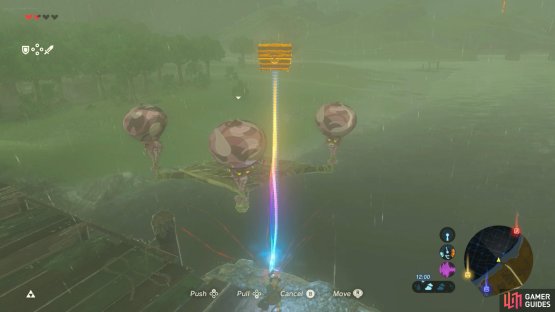
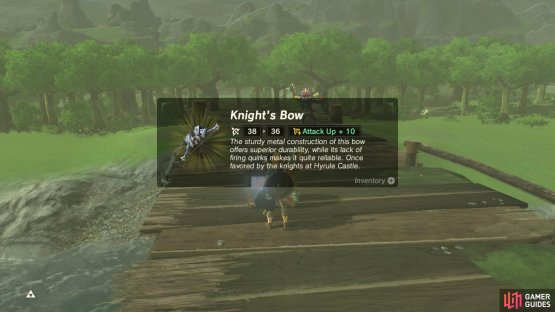
(1 of 2) Here’s another chest you can reel in with Magnesis.


Here’s another chest you can reel in with Magnesis. (left), Inside, there’s a Knight’s Bow. (right)
South of Riverside Stable, there’s a lone platform halfway along Owlan Bridge. Be wary of a Bokoblin with Shock Arrows. The chest behind has a Knight’s Bow.
Group E
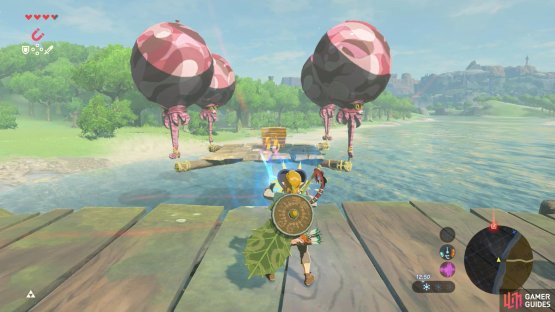
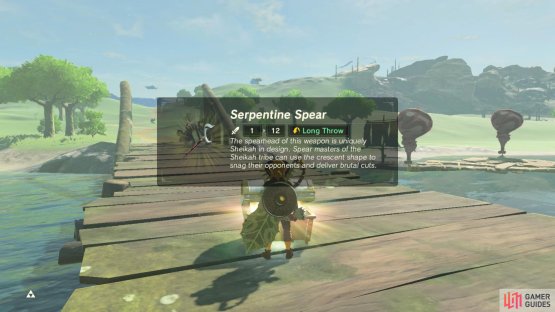
(1 of 2) Another chest for the taking? Don’t mind if we do!


Another chest for the taking? Don’t mind if we do! (left), Your reward is a Serpentine Spear. (right)
The bridge further up Hylia River, Horwell Bridge, has two floating platforms. Both platforms have Lizalfos armed with bows. The southern platform has a chest with a Serpentine Spear.
Group F


(1 of 2) Some platforms are just easier to shoot down.
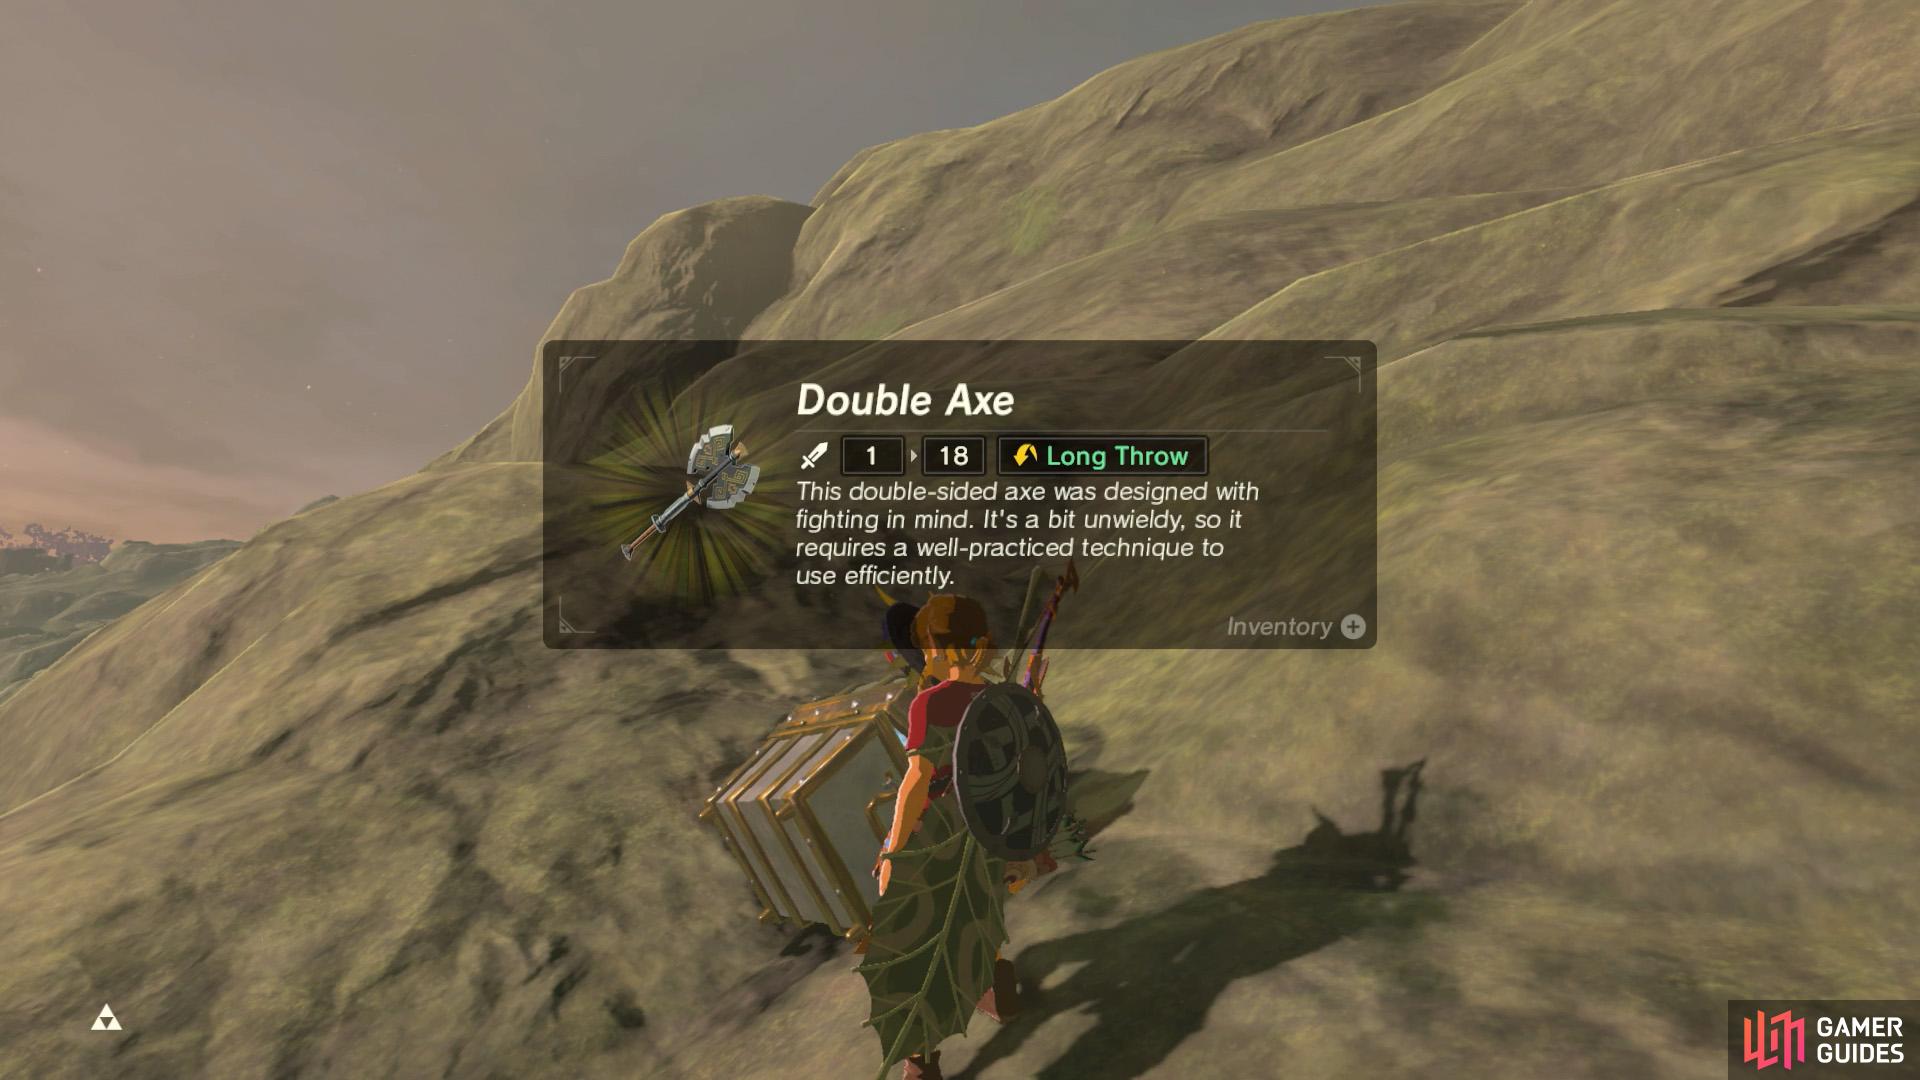
Some platforms are just easier to shoot down. (left), If this chest falls into the water, you can recover it with Magnesis. (right)
Further north, not far from Wetland Stable, there’s a lone platform near Rebonae Bridge. A Bokoblin with Fire Arrows lies in wait. Behind the foul beast is a chest with a Double Axe tucked inside.
The platform is quite high up, so you may want to shoot it down. If you have lots of stamina, you could climb up the narrow tower on the stable side and glide from there. Or you could drop some Spicy Peppers, ignite them with fire and then glide up using the upgraft.
Group G
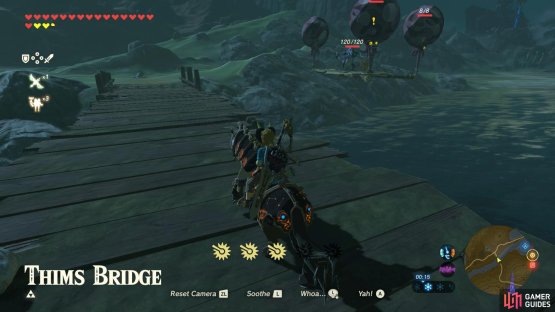

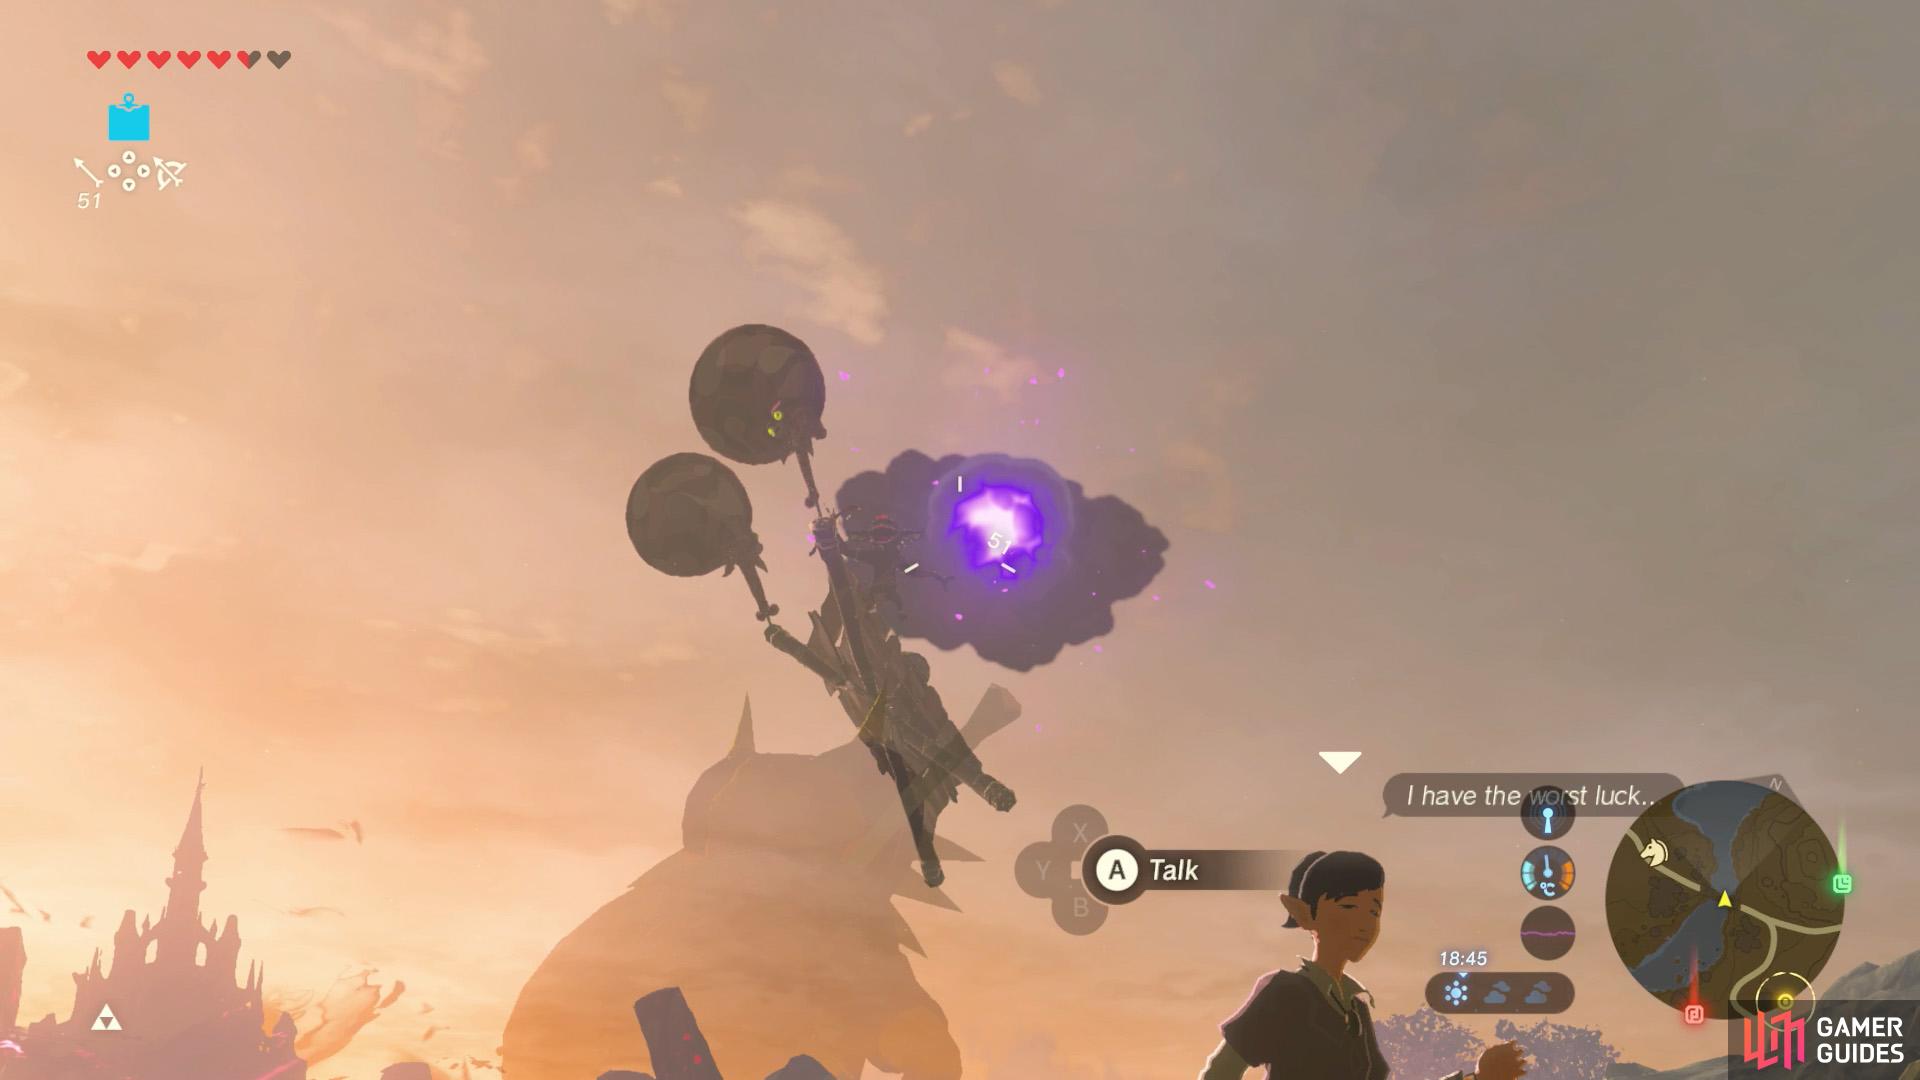
(1 of 2) A well equipped Lizalfos is guarding Thims Bridge.
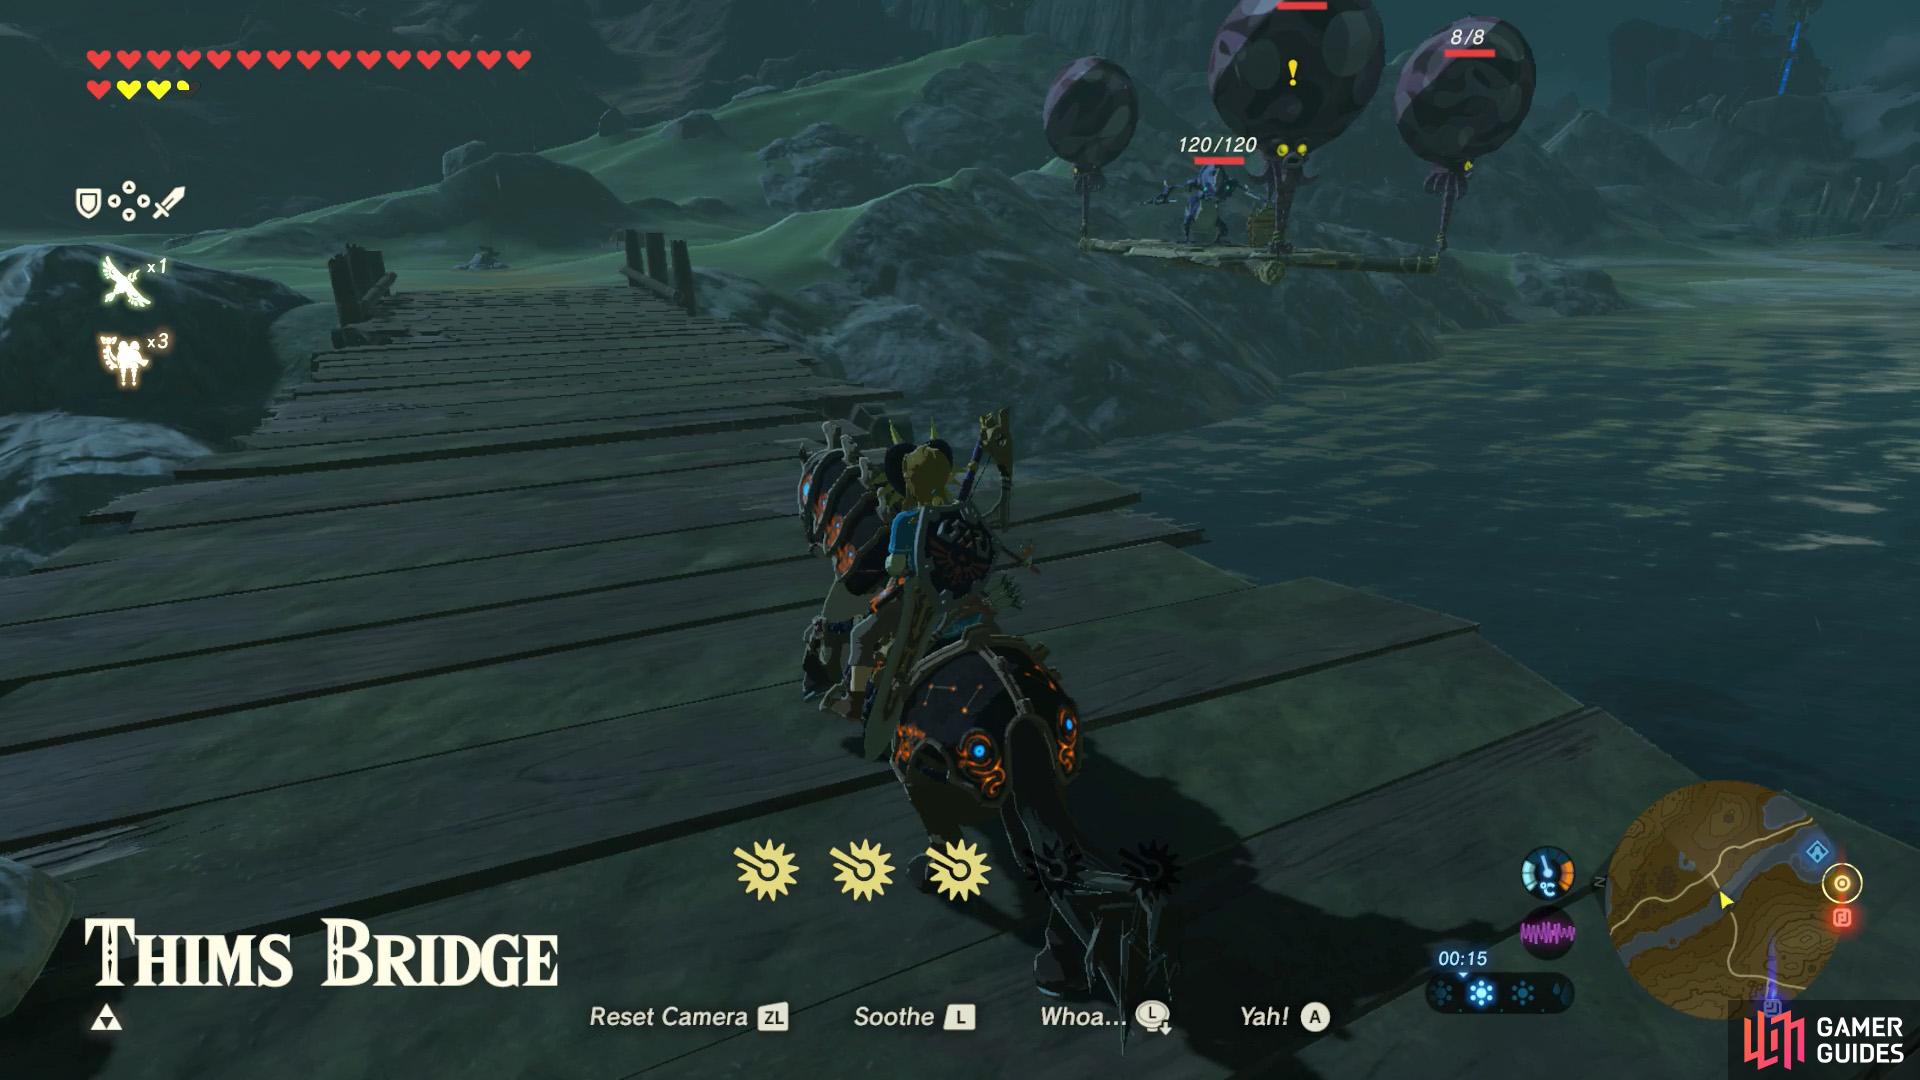
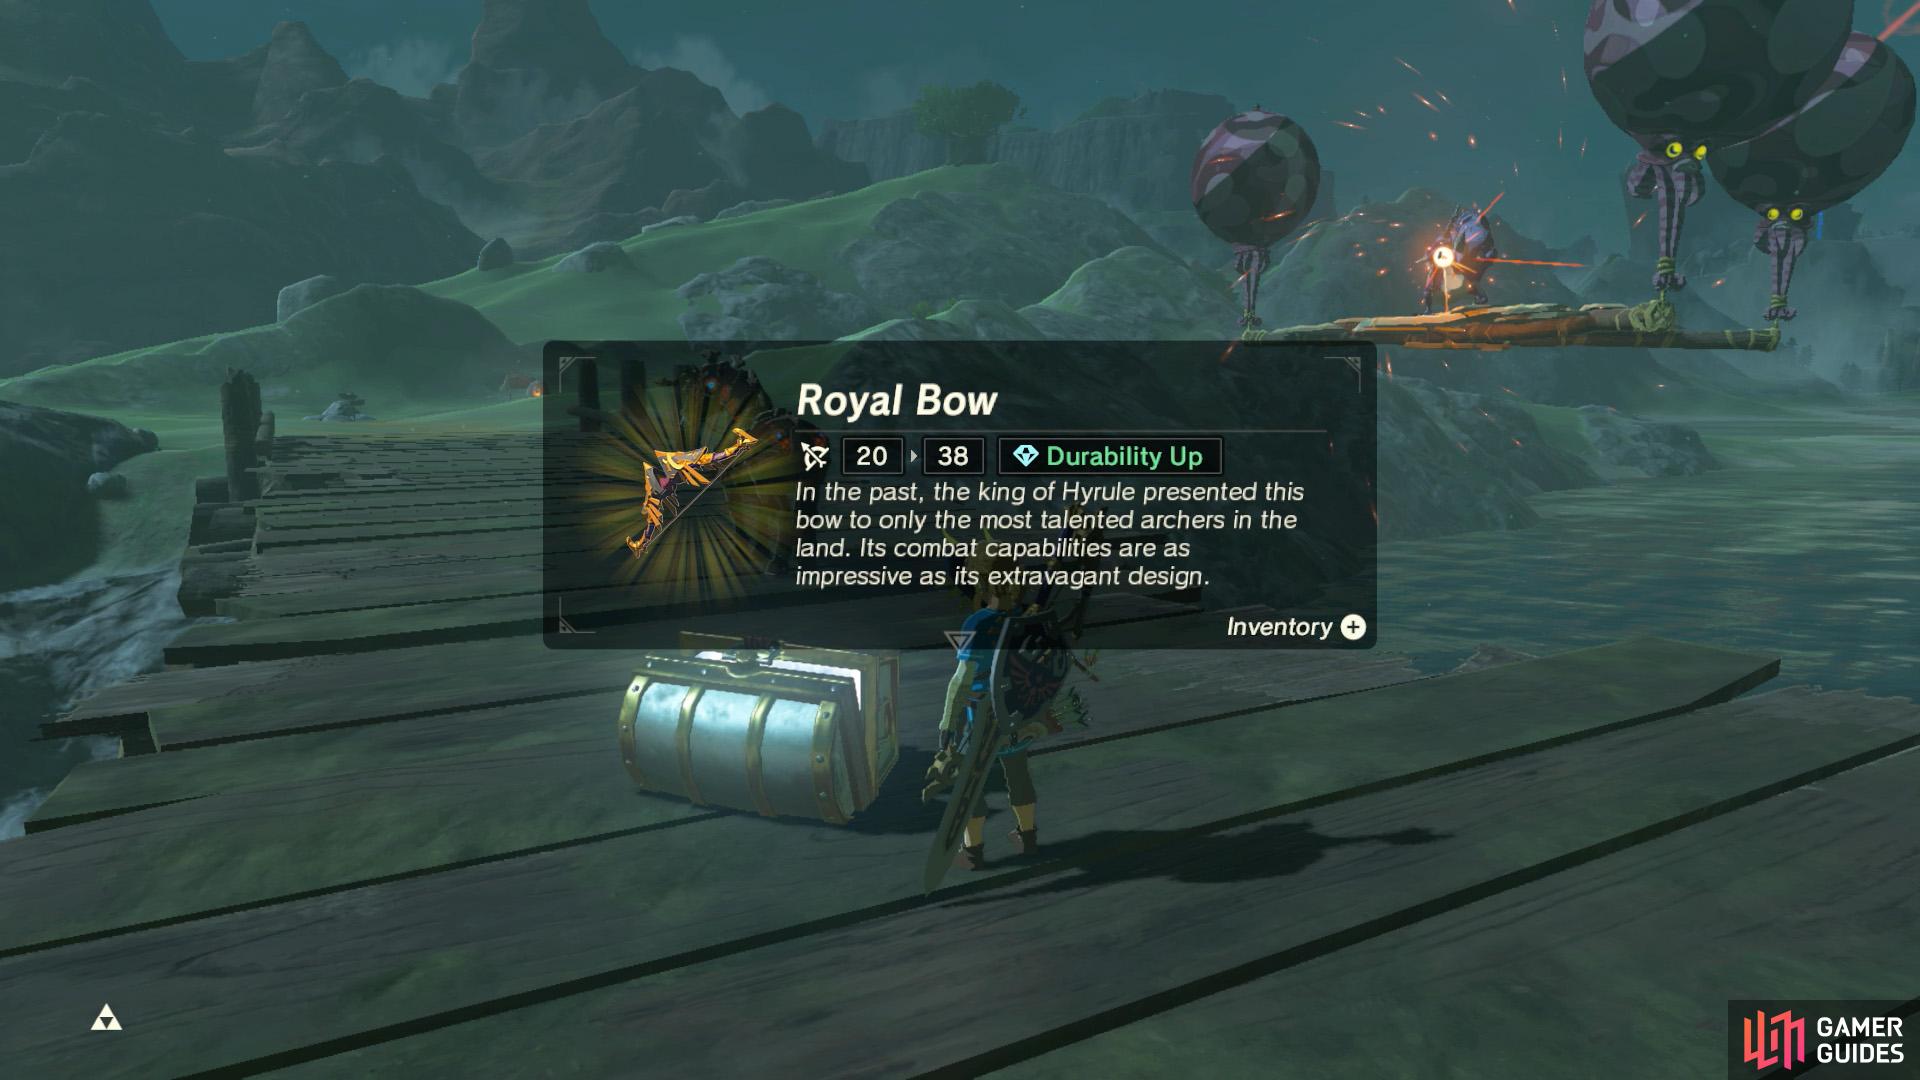
A well equipped Lizalfos is guarding Thims Bridge. (left), The chest contains a Royal Bow. (right)
Towards the far north-east of Central Hyrule, there’s another platform near Thims Bridge, past Crenel Hills. The Lizalfos here is carrying a Mighty Lynel Bow and Fire Arrows. Next to it is a chest with a Knight’s Bow.
You can easily snatch the chest using Magnesis.
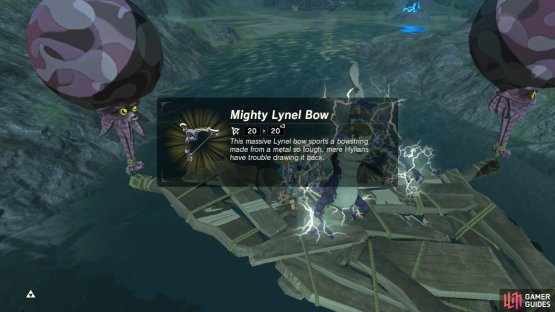
(1 of 2) If you’re lucky/quick, you can grab the bow before it falls.

If you’re lucky/quick, you can grab the bow before it falls. (left), Otherwise, enjoy fishing for it from the riverbed… sjshhd (right)
Group H

(1 of 2) You can use Magnesis from the riverbank.

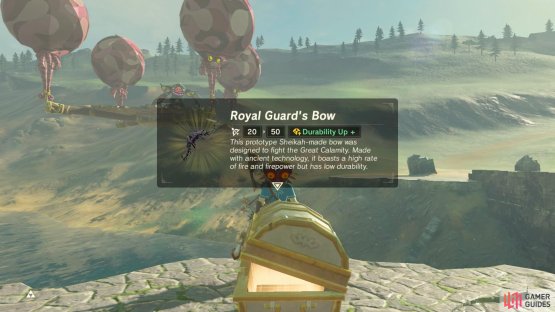
You can use Magnesis from the riverbank. (left), The chest contains a Royal Guard’s Bow. (right)
East from Hyrule Castle, there’s yet another lonely platform near Helmhead Bridge, at the north end of Hyrule Forest Park. The foe that awaits is a Bokoblin armed with Ice Arrows. The chest here contains a Royal Guard’s Bow.
If you stand on the riverbank on the Hyrule Forest Park side, you can just about reach the chest with Magnesis. Be wary of a Guardian Stalker near the park.
Group I
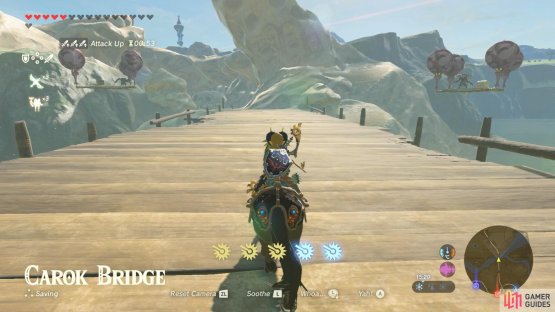

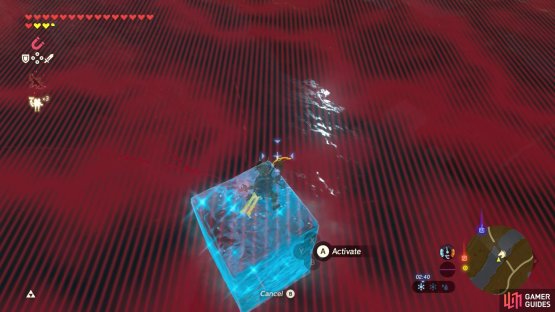
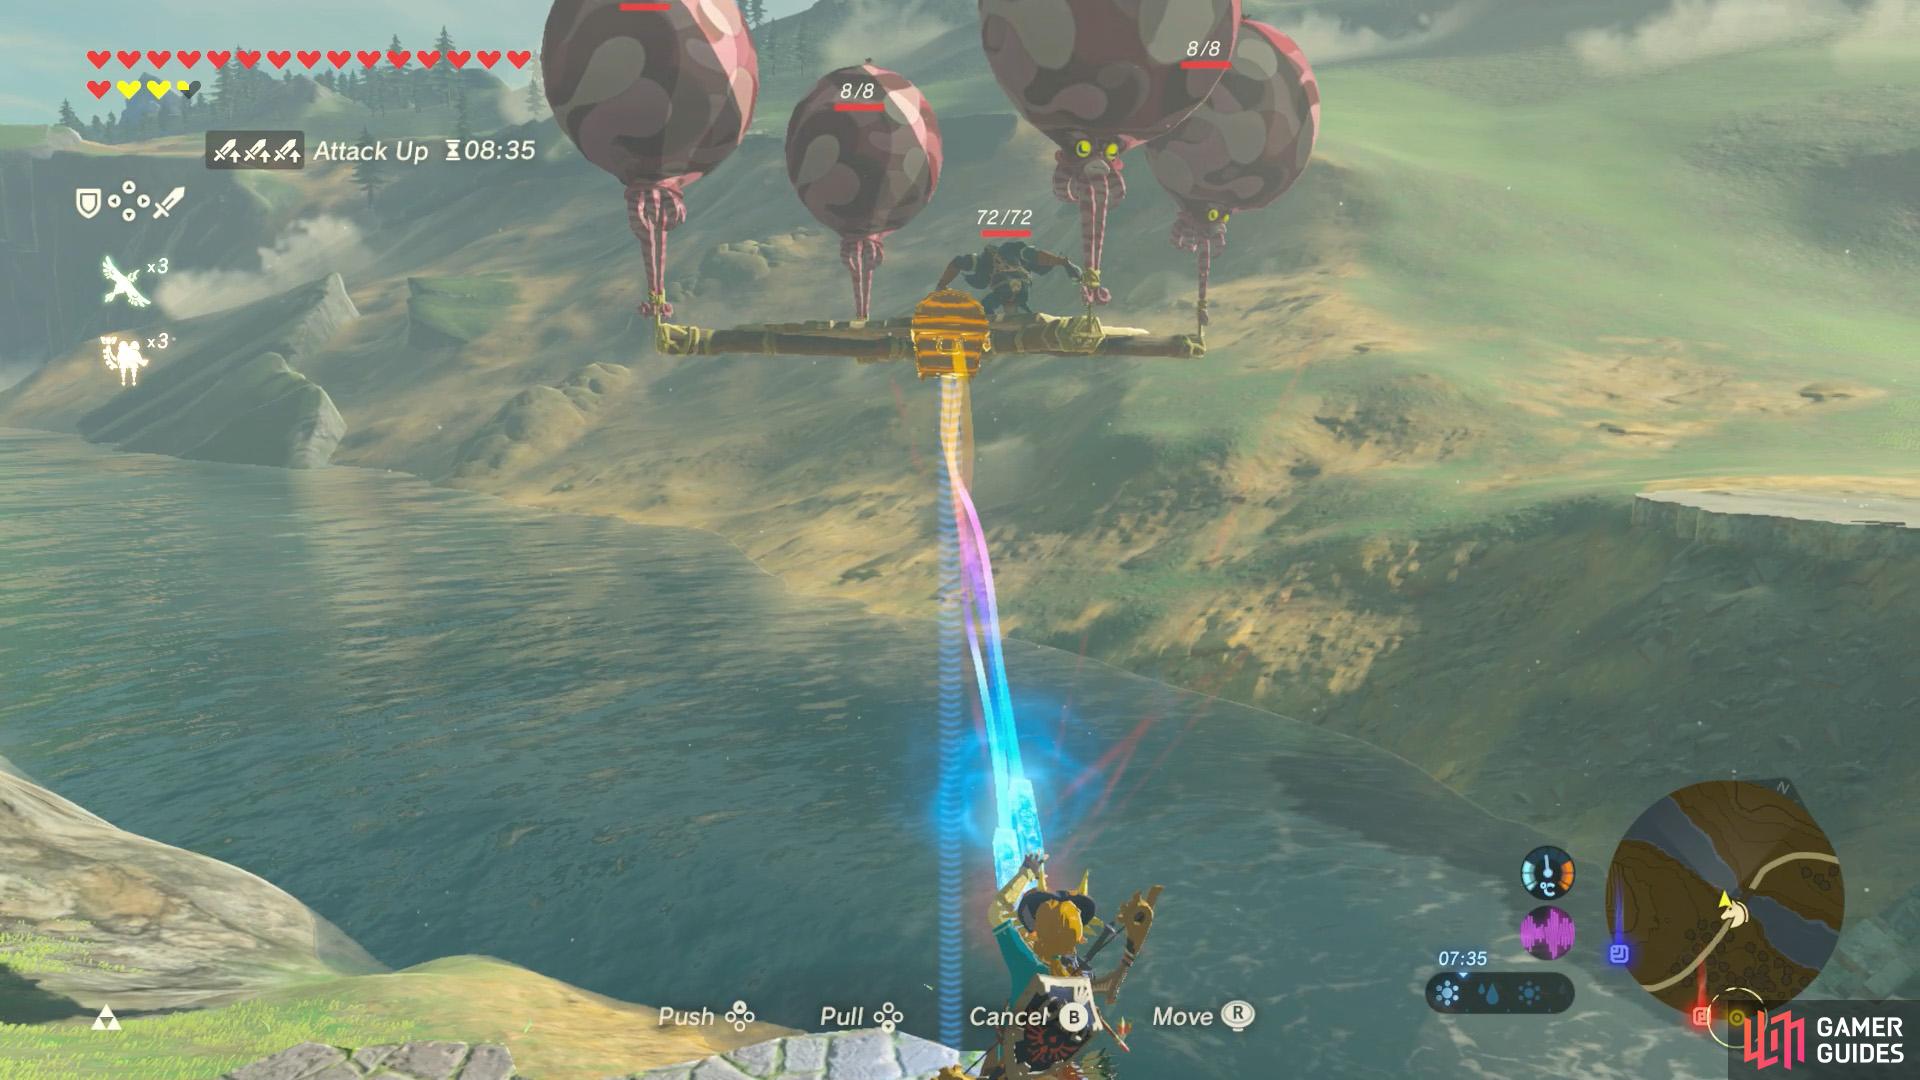
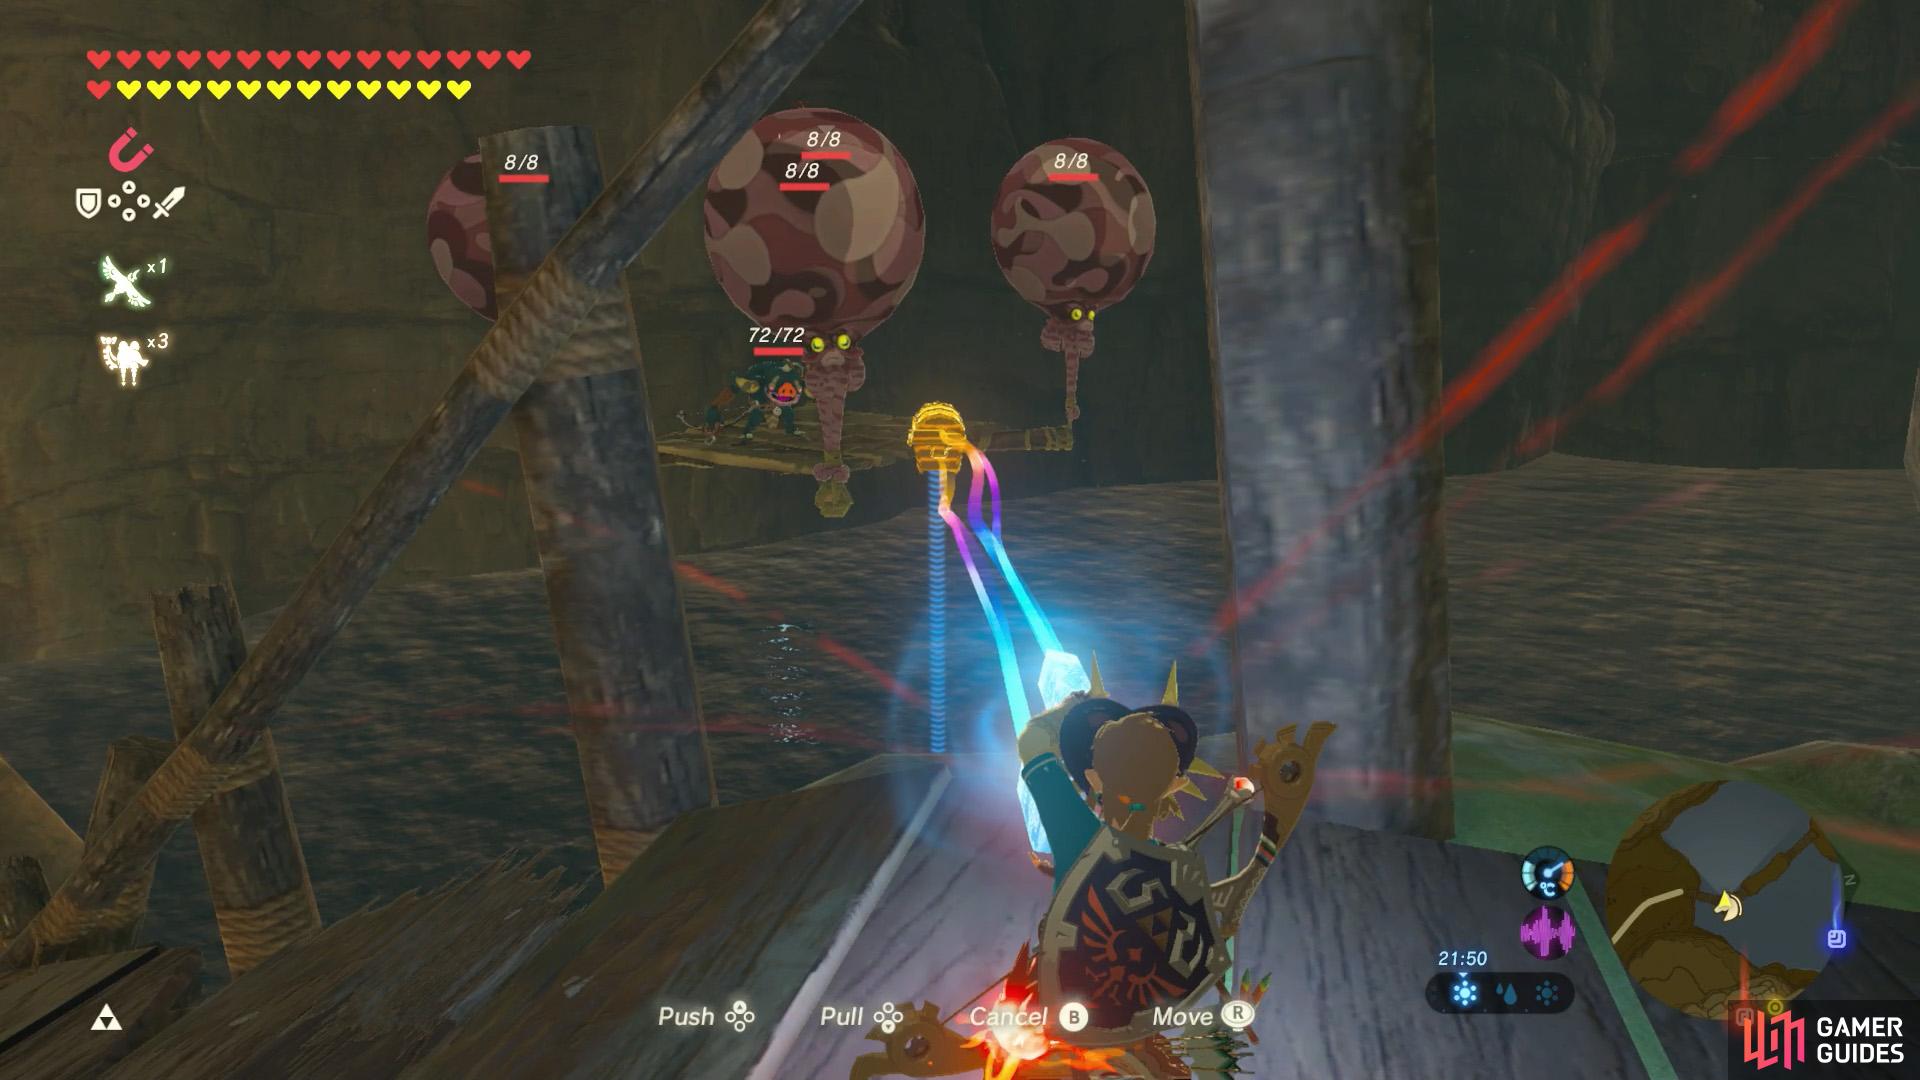
(1 of 2) Carok Bridge has two platforms annoyingly out of reach.
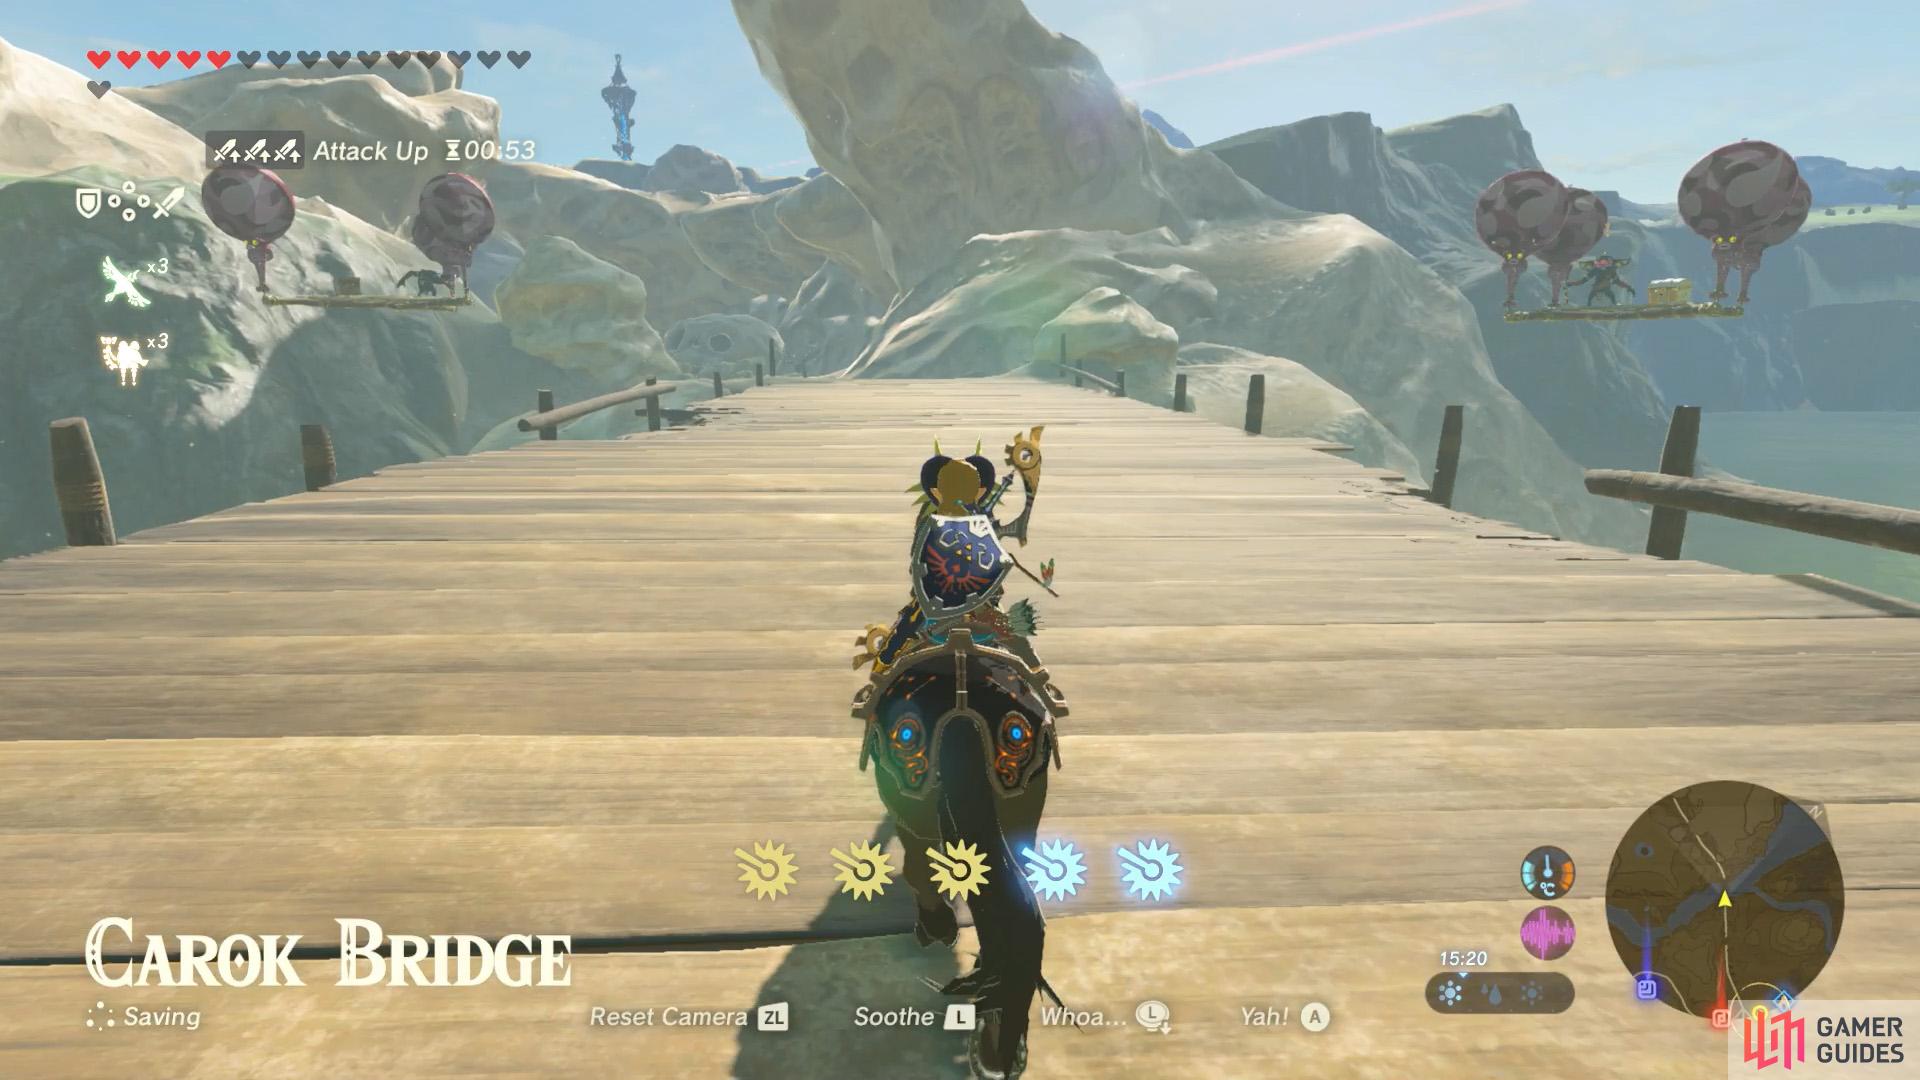
Carok Bridge has two platforms annoyingly out of reach. (left), The wooden chest contains a shiny Diamond. (right)
West from Hyrule Castle Town, there are two floating platforms next to Carok Bridge, leading to Ridgeland Tower. Both platforms have Bokoblins with Bomb Arrows. The south-west platform has a wooden Diamond chest, while the north-east platform has a metal chest with a Royal Guard’s Claymore.
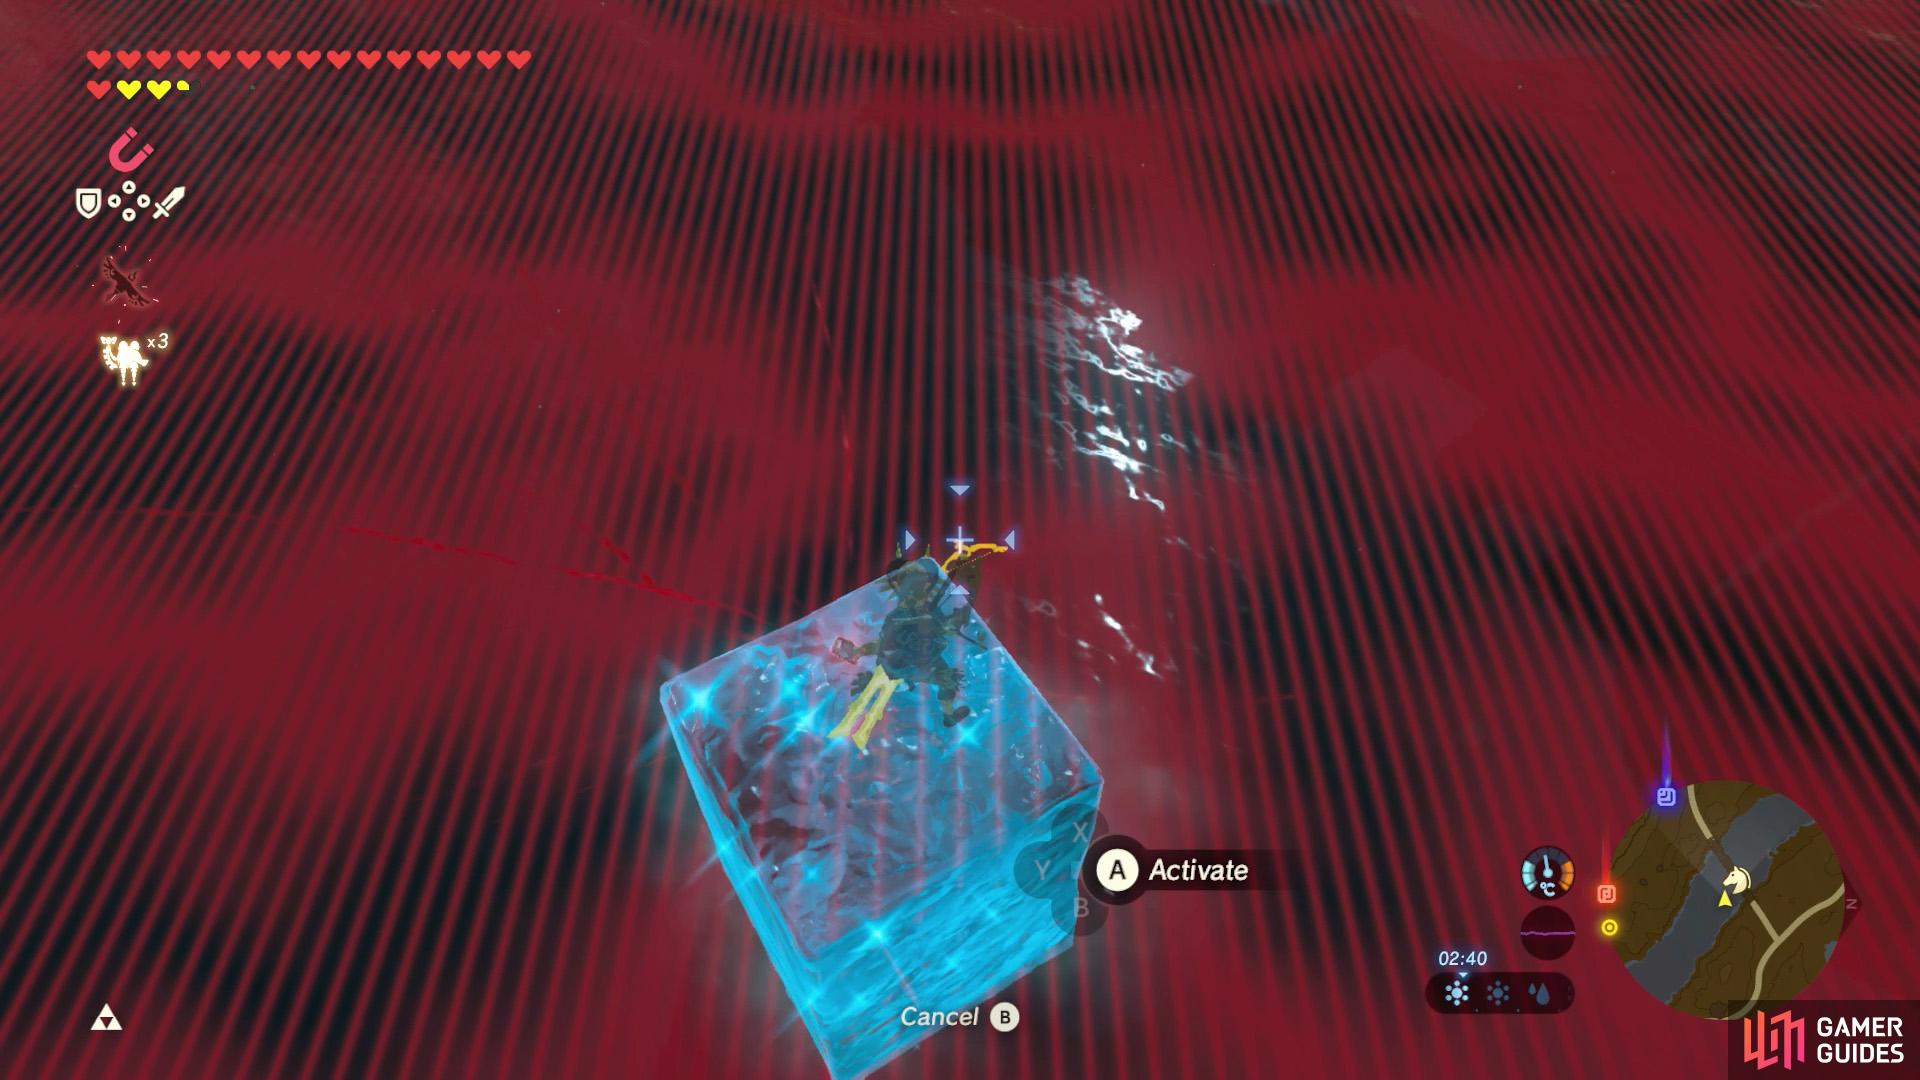
Sadly, the metal chest is just out of Magnesis range. Instead, you can reach the platforms by gliding from higher ground–particularly near the Hyrule Ridge side. Alternatively, you can shoot down the platforms, but use Cryonis to prepare ice pillars in advance, because the river below is fast-flowing.
Group P

(1 of 2) A fourth platform is located at the south end of the same bridge.

A fourth platform is located at the south end of the same bridge. (left), The metal chest contains another Gerudo-based shield. (right)
Near the southernmost end of Digdogg Suspension Bridge, there’s a single floating platform. Guarding this platform with its life is one Bokoblin, but it can shoot three Bomb Arrows at once with its Lynel Bow.
The chest on the platform contains a Gerudo Shield. If you stand perpendicular to the platform, you can reach the chest with Magnesis. By the way, the Lynel Bow is a relatively rare find, although it’s quite tricky to retrieve since it’ll probably fall into the water below.
Group Q
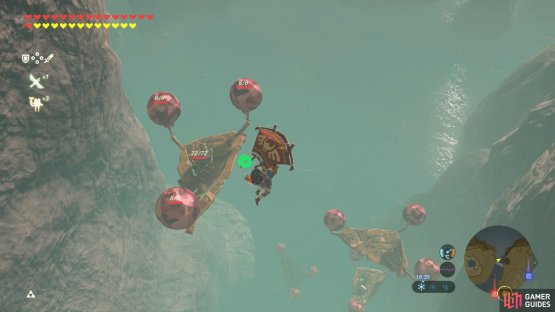
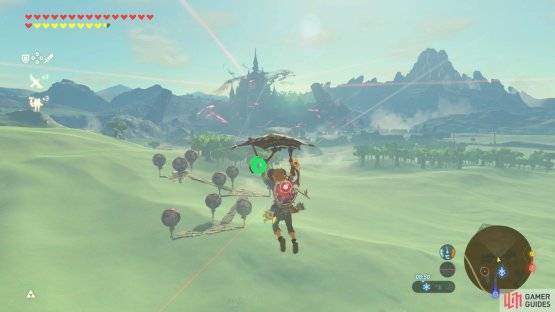
(1 of 2) These platforms are located near the west side of the Great Plateau.
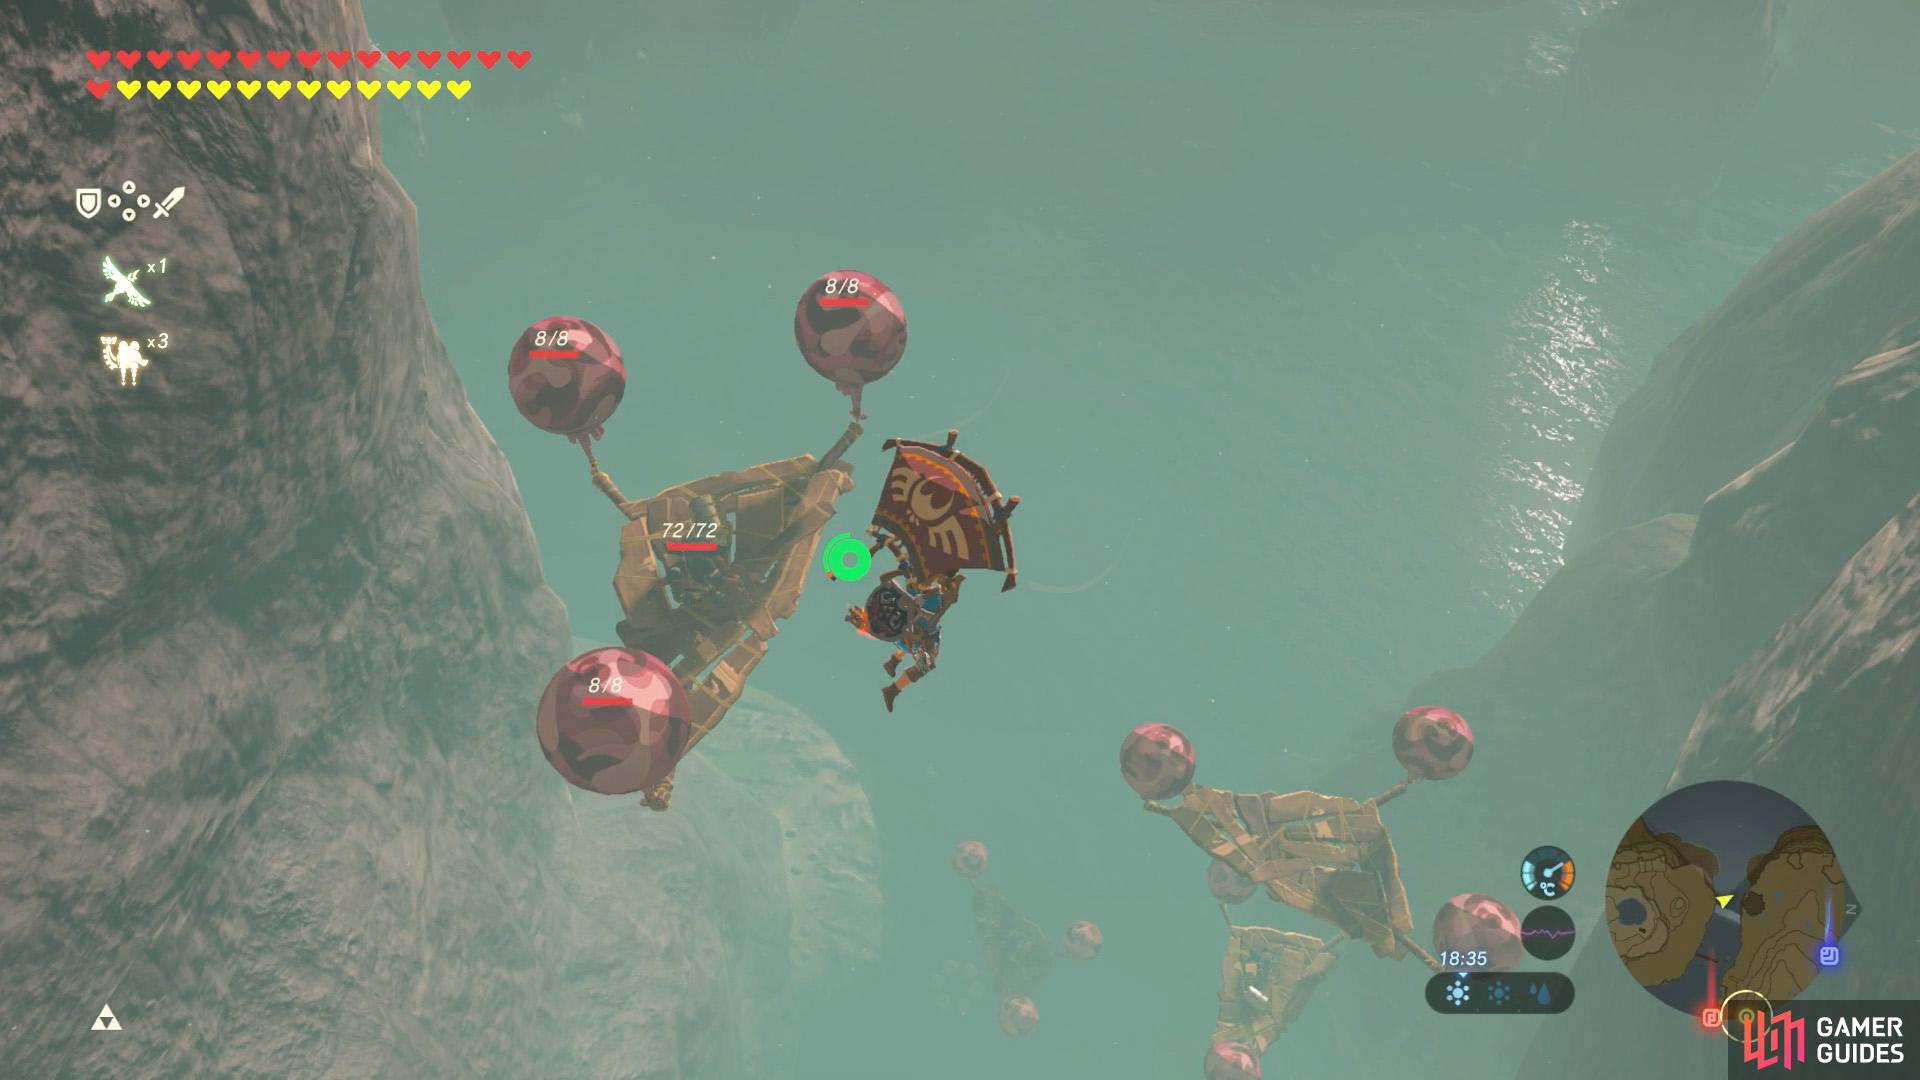
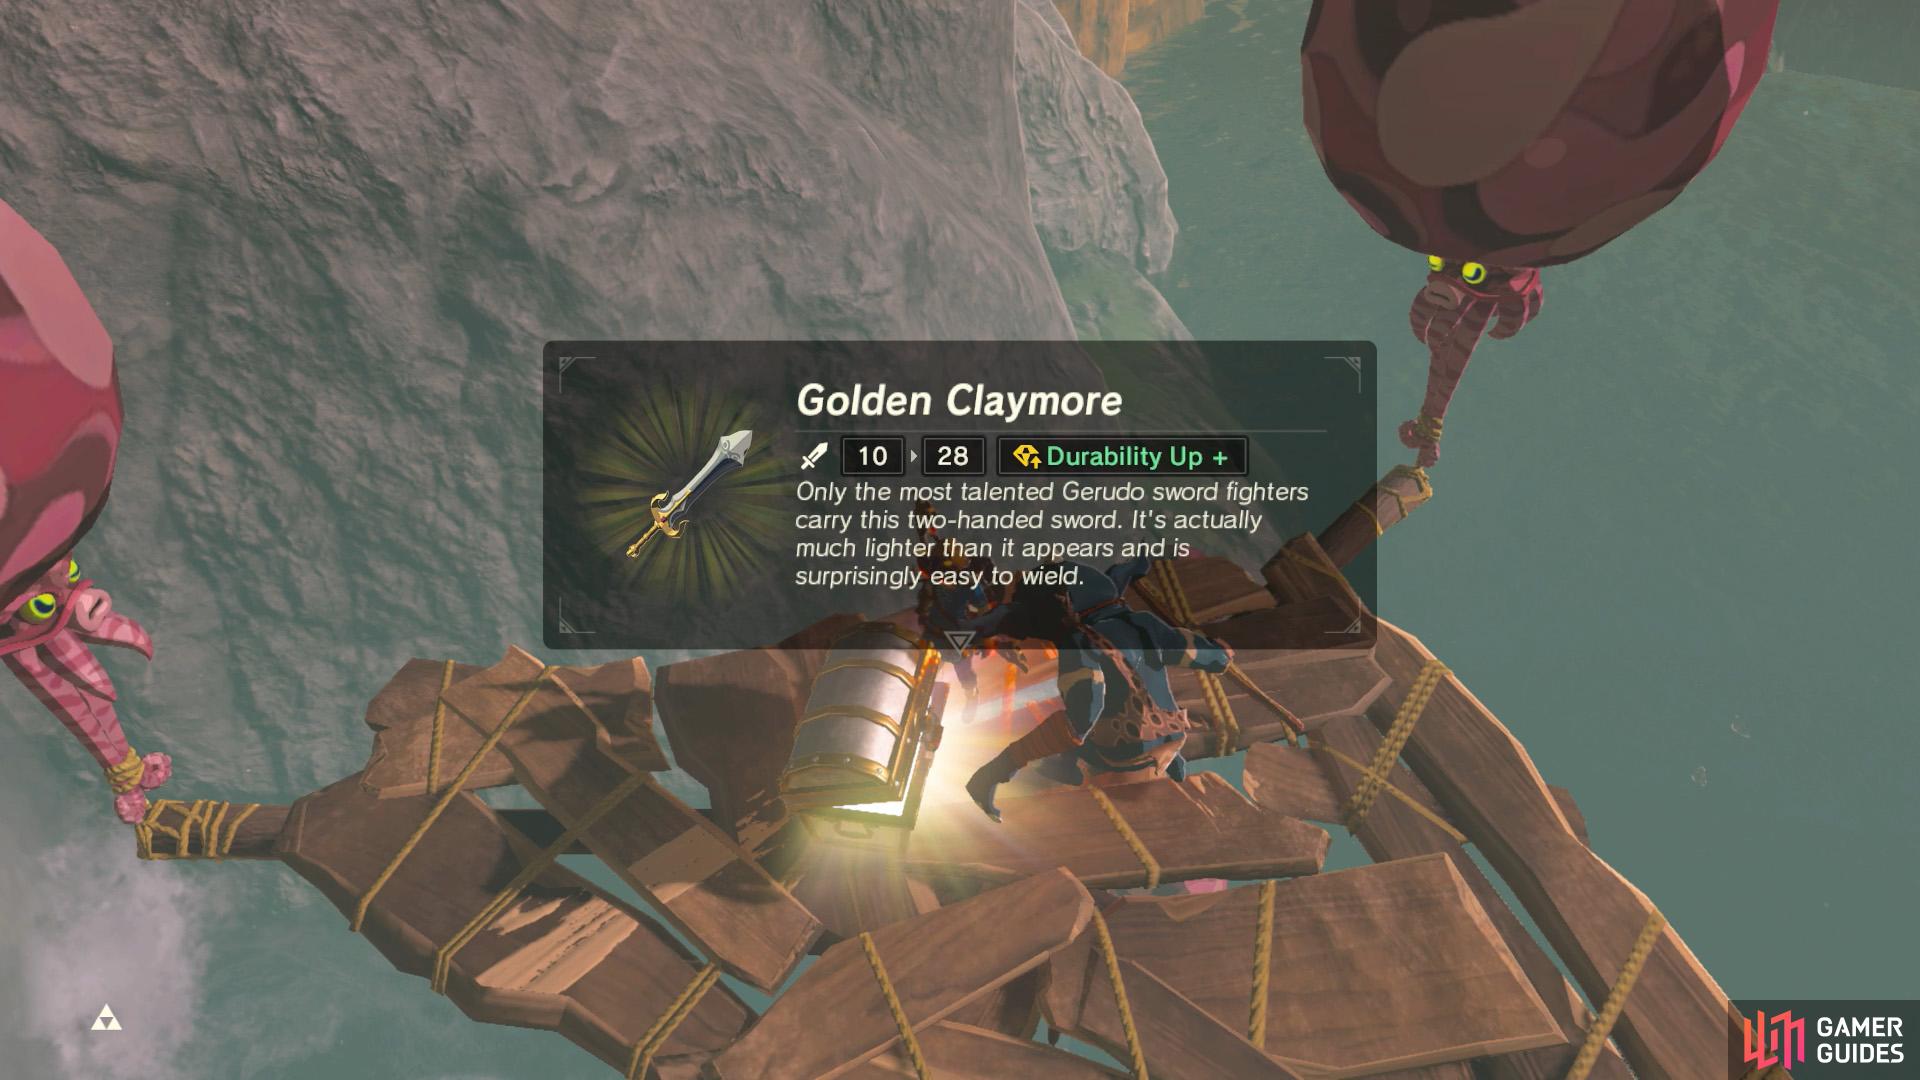
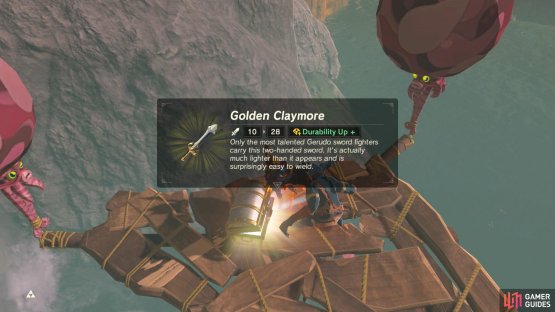
These platforms are located near the west side of the Great Plateau. (left), The third platform down has a Golden Claymore. (right)
Next to the waterfall coming from the River of the Dead, there are four floating platforms. You can glide down from the Great Plateau. Three of the platforms have Bokoblins with Ice Arrows. The highest platform has a Ruby, while the third platform has a Golden Claymore.
No Comments