This page details all the floating platforms found in the Dueling Peaks region when playing Master Mode.
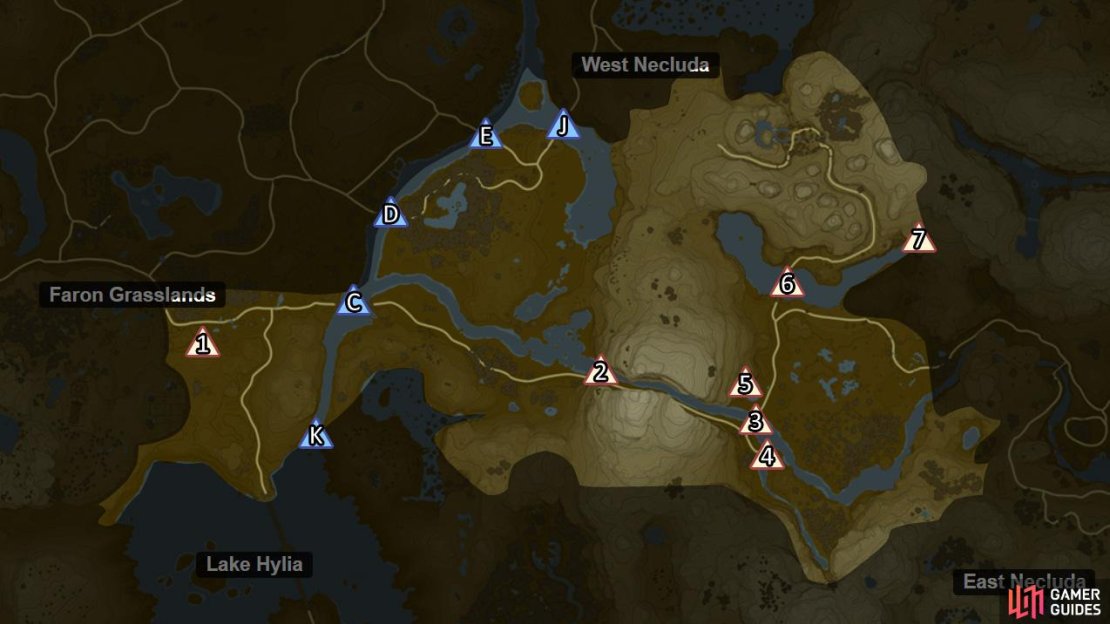
Locations of the floating platforms in the Dueling Peaks region.
To simplify things, we’ve split the platforms into two categories. The first are those that are well within the boundaries of the Dueling Peaks region. Meanwhile the second are those that border another region. Platforms in the second category will also be listed in the other region’s section.
Within Dueling Peaks
Group 1
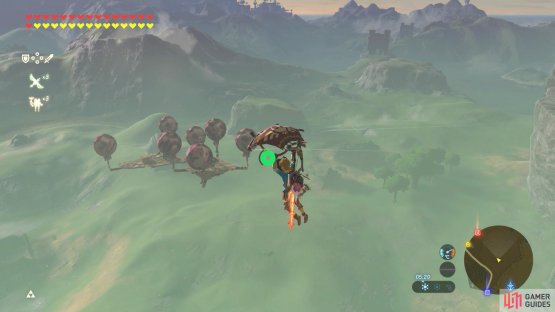
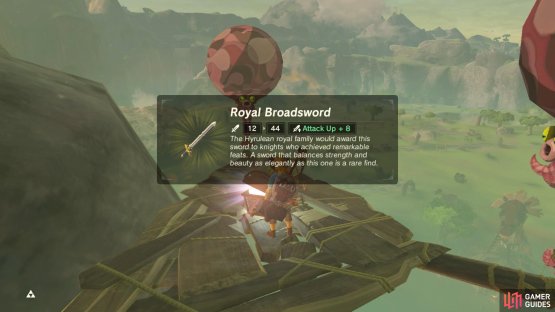
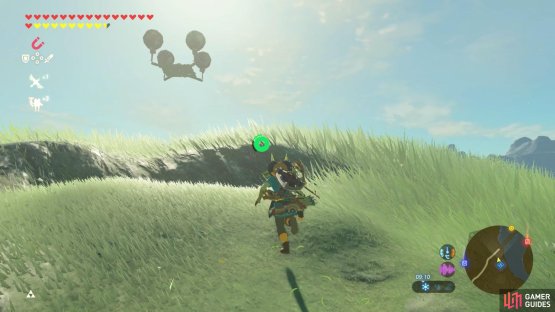
(1 of 2) Glide to these platforms from the top of the Great Plateau Tower.
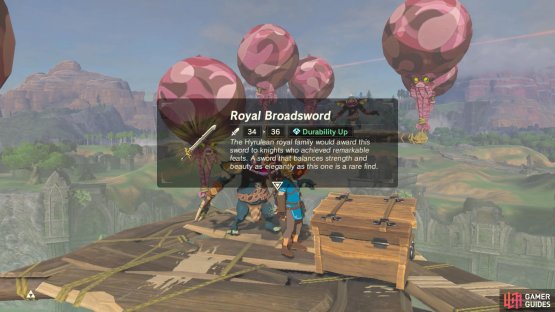
Glide to these platforms from the top of the Great Plateau Tower. (left), The wooden chest contains a broadsword weapon. (right)
East of the Great Plateau Tower, there are two floating platforms near the boundary of Central Hyrule. Both platforms are occupied by Bokoblin archers. The furthest platform has a chest with a Knight’s Broadsword. We suggest gliding from atop the Great Plateau Tower.
Group 2
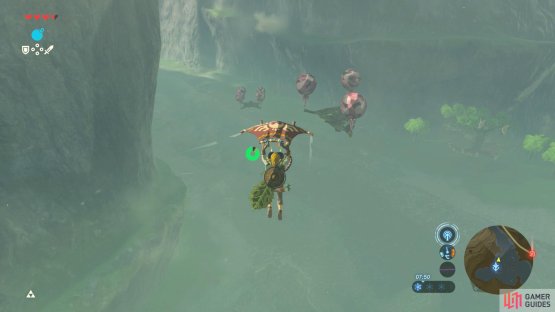
(1 of 2) You can reach these platforms by gliding from Dueling Peaks Tower.
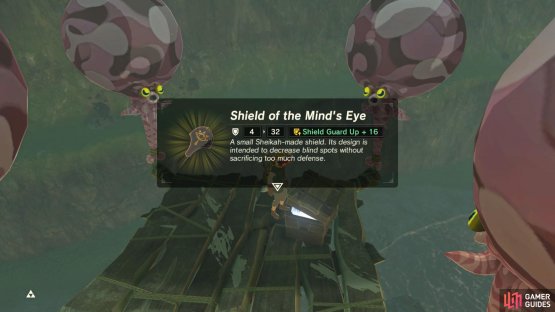
You can reach these platforms by gliding from Dueling Peaks Tower. (left), However, you’ll need to be crafty to reach the second platform with this chest. (right)
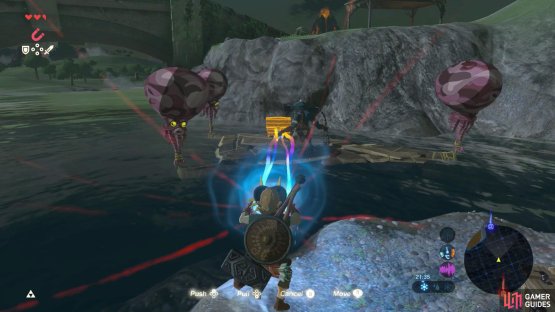
South-east of Dueling Peaks Tower, near the west entrance of the road going through the Dueling Peaks, there are two platforms. The nearer platform has a Bokoblin archer, while the further platform has a chest with a Shield of the Mind’s Eye.
If you glide from the tower, you can reach the Bokoblin platform, but not the chest platform. However, if you have a Korok Leaf, you can push the first platform nearer to the second, then glide to it. Otherwise, just glide from higher up the Dueling Peaks.
Group 3
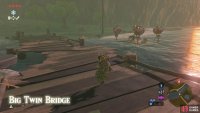
(1 of 2) A floating platform next to Big Twin Bridge.
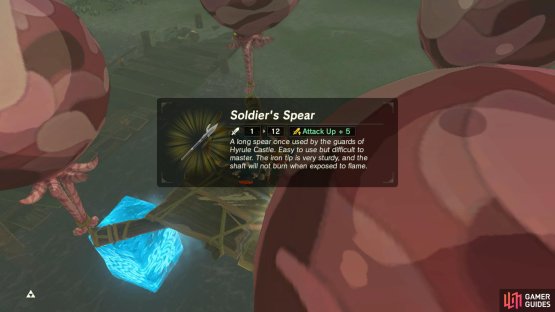
A floating platform next to Big Twin Bridge. (left), The chest contains a spear weapon. (right)
After exiting the Dueling Peaks road via the east, there’s a platform alongside Big Twin Bridge, en route to Dueling Peaks Stable. The platform’s guarded by a Bokoblin with Shock Arrows and there’s another Bokoblin scouting from the ground. The chest here contains a Soldier’s Spear.
If the platform hasn’t been raised, you can swim over to the platform or jump across using Cryonis ice pillars. When the platform’s raised, you can climb up the tall watchpost that’s nearby and then glide down.
Group 4
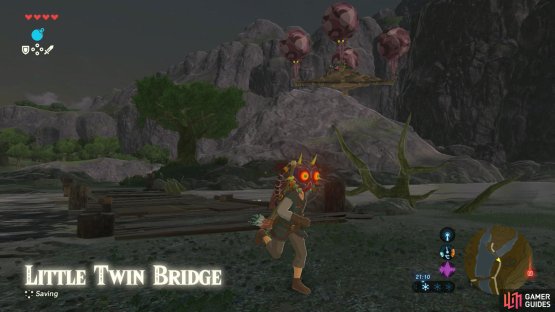
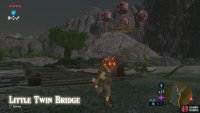
(1 of 2) A floating platform next to Little Twin Bridge.
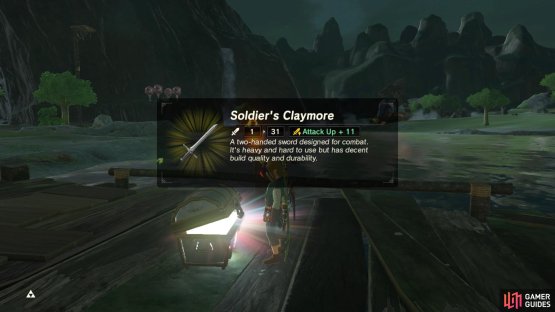
A floating platform next to Little Twin Bridge. (left), The chest contains a claymore weapon. (right)
South from the previous platform, there’s another lone platform alongside Small Twin Bridge, leading towards Hickaly Woods. Like above, there’s a Bokoblin with Shock Arrows on the platform itself and a second Bokoblin on the ground. The chest here contains a Soldier’s Claymore.
When the platform isn’t raised, you can grab the chest using Magnesis. Otherwise, you’ll probably have to shoot it down and then fish out the chest with Magnesis.
Group 5
(1 of 2) This platform is located atop a waterfall near Dueling Peaks Stable.
This platform is located atop a waterfall near Dueling Peaks Stable. (left), If you can reach the top of the waterfall, you can glide down to the chest. (right)
A short distance north from Big and Small Twin Bridge, there’s a platform near the top of the waterfall west from Dueling Peaks Stable. It’s the one right behind the Ha Dahamar Shrine. For once, there’s no enemy present–just a chest with a Soldier’s Broadsword.
The platform is very high up, so it’ll normally take a while to reach. If you have the Zora armor, you can quickly swim up the waterfall. Otherwise, you can try shooting down the platform, then use Magnesis to retrieve the chest from the waterfall basin.
Group 6
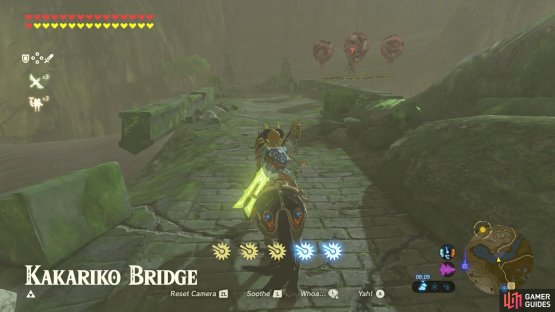
(1 of 2) A floating platform next to Kakariko Bridge.
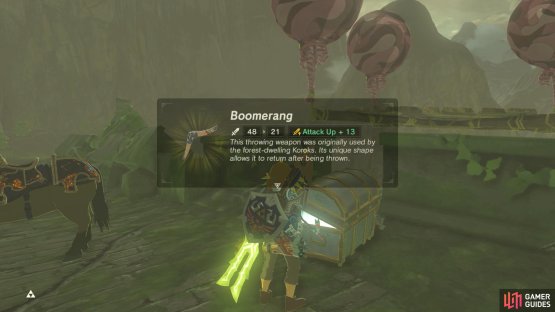
A floating platform next to Kakariko Bridge. (left), The chest here contains a Boomerang. (right)
Further north, there’s a platform next to Kakariko Bridge, en route to Kakariko Village. It’s manned by a Bokoblin wielding Bomb Arrows. Meanwhile, the chest behind houses a Boomerang. The platform is almost level with the bridge, so you can simply yank the chest with Magnesis.
Group 7
(1 of 2) Two floating platforms above the waterfall leading to Lake Siela.
Two floating platforms above the waterfall leading to Lake Siela. (left), You can glide to this chest or grab it with Magnesis. (right)
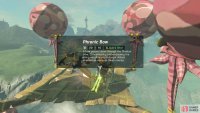
Towards the easternmost part of Lake Siela, which Kakariko Bridge crosses over, there are two platforms floating near the top of the waterfall. If you went to reclaim Hestu’s Maracas, you may have spotted the platforms. Both platforms have a Bokoblin archer; the higher platform has a metal chest with a Phrenic Bow.
To reach the top of the waterfall, you can follow the road from Kakariko Village, then climb towards the east when the road bends north towards the village. Once there, you can grab the chest with Magnesis or glide down from higher ground.
Bordering Dueling Peaks
Group C
(1 of 2) Upon first glance, this platform seems to be in the middle of nowhere.
Upon first glance, this platform seems to be in the middle of nowhere. (left), However, you can glide down from the nearby flagpole, stamina permitting. (right)
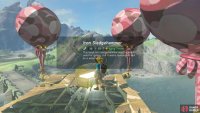
A fair distance east from the Great Plateau Tower, there’s a single floating platform just before Proxim Bridge (near the East Post Ruins). The chest here contains an Iron Sledgehammer.
Due to the height, the easiest way to reach the chest is to shoot the Octoroks to bring down the platform. If you have lots of stamina, you can also climb up the nearby flagpole and glide from there. The top of the flagpole has a hidden Korok too.
(1 of 2) A second platform is located near the east end of Proxim Bridge.
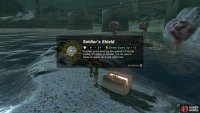
A second platform is located near the east end of Proxim Bridge. (left), The chest contains a Soldier’s Shield. (right)
There’s also another platform towards the opposite end of the bridge (near the Hills of Baumer), where a Duplex Bow-wielding Bokoblin lurks. The chest here has a Soldier’s Shield. This one is much easier to reach, since it’s level with the bridge.
Group D
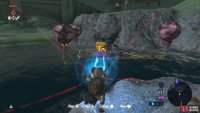
(1 of 2) Here’s another chest you can reel in with Magnesis.
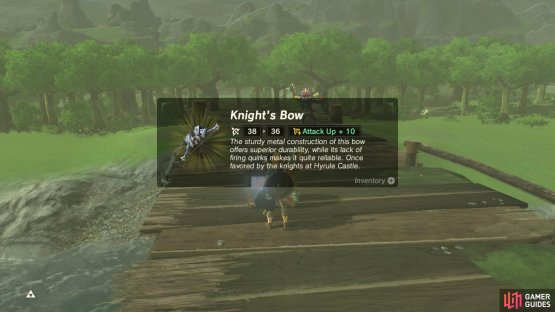
Here’s another chest you can reel in with Magnesis. (left), Inside, there’s a Knight’s Bow. (right)
South of Riverside Stable, there’s a lone platform halfway along Owlan Bridge. Be wary of a Bokoblin with Shock Arrows. The chest behind has a Knight’s Bow.
Group E
(1 of 2) Another chest for the taking? Don’t mind if we do!
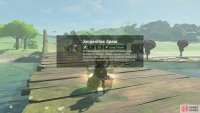
Another chest for the taking? Don’t mind if we do! (left), Your reward is a Serpentine Spear. (right)
The bridge further up Hylia River, Horwell Bridge, has two floating platforms. Both platforms have Lizalfos armed with bows. The southern platform has a chest with a Serpentine Spear.
Group J
(1 of 2) A floating platform near Eagus Bridge.
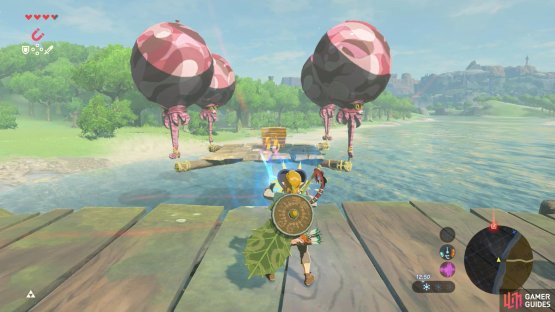
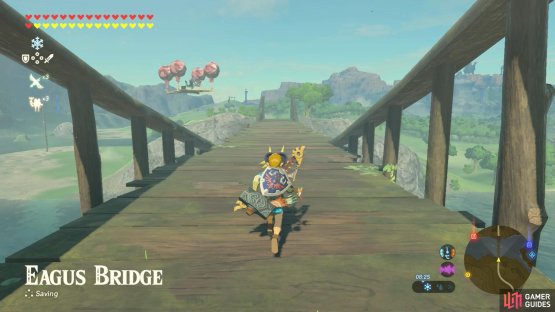
A floating platform near Eagus Bridge. (left), Try dropping some Spicy Peppers and burning them to create an updraft. (right)
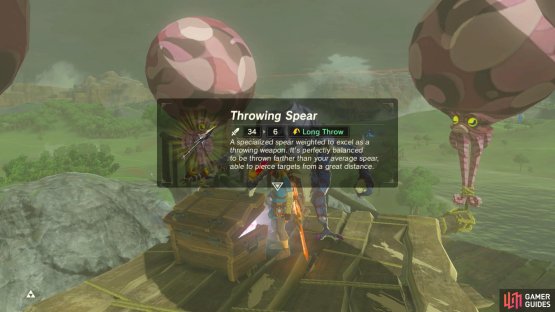
East from Riverside Stable, there’s a lone platform next to Eagus Bridge, en route to the Lanayru region. The foe here is a Lizalfos who can shoot two Bomb Arrows at once. The chest behind it has a Throwing Spear.
This platform is positioned relatively high and the chest is wooden anyway, so you can’t use Magnesis. The quickest way is probably to shoot the platform down, although don’t forget that Lizalfos can swim, unlike Bokoblins. You could also create a nearby updraft using ignited Spicy Peppers.
Group K
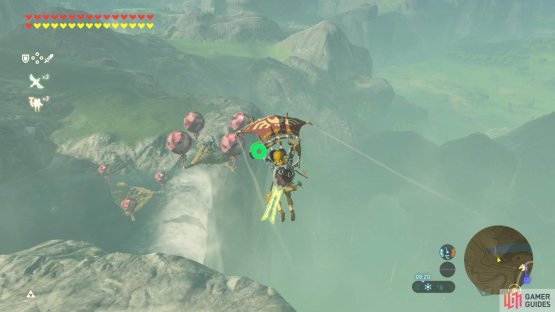
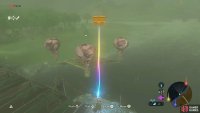
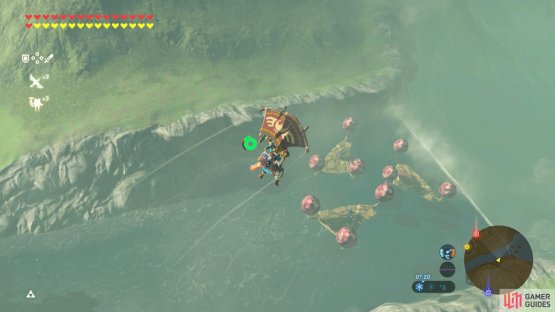
(1 of 2) Glide towards the waterfall that leads to Lake Hylia.
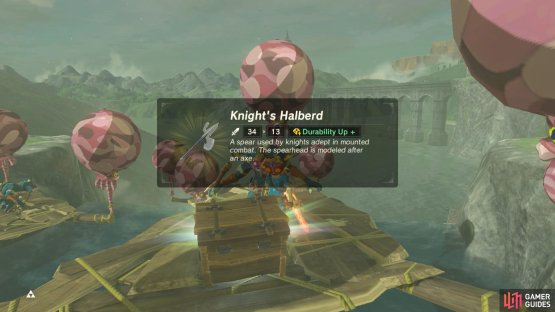
Glide towards the waterfall that leads to Lake Hylia. (left), The northernmost platform has a wooden chest with a halberd. (right)
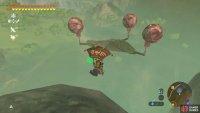
South from Proxim Bridge, there’s a small waterfall that leads into Lake Hylia. Just before the waterfall, there are three platforms. Two of them are patrolled by Bokoblins with Shock Arrows. The northernmost platform has a chest with a Knight’s Halberd. Meanwhile, the southernmost platform has two wooden crates.
The area nearby has plenty of higher ground that you can glide down from.
















No Comments