A guide on how to complete the Stranded on Eventide shrine quest, found on Eventide Island in the Faron Region. This shrine quest is required for unlocking and accessing the Korgu Chideh Shrine.
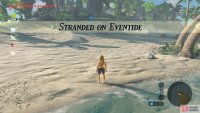
(1 of 2) Once this Shrine Quest is activated, you will lose all of your items except your key items and your Sheikah Slate
Once this Shrine Quest is activated, you will lose all of your items except your key items and your Sheikah Slate (left), You will then have to complete this Shrine Quest with basically nothing (right)
How to Complete Stranded on Eventide Shrine
This Shrine Quest is the classic “start from nothing” challenge, so if you are late in the game and have beefed yourself up with a lot of great weapons and gear, good luck to you! The more hearts and stamina you have, the better. Additionally, an upgraded Sheikah Slate can work wonders so that you can abuse the Bomb runes better. You can upgrade your Sheikah Slate by completing the Slated for Upgrades side quest.
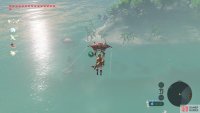
(1 of 2) We chose to Paraglide from the cliffside
We chose to Paraglide from the cliffside (left), Bear in mind it takes a lot of stamina (right)
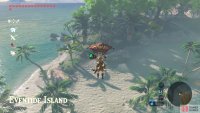
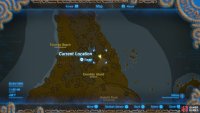
Eventide Island is the large, triangular island all the way out in the southeast of Hyrule’s oceans. You can get there from Lurelin Village by using the raft and a Korok Leaf, or you can Paraglide from the Muwo Jeem Shrine (will consume approximately two wheels of Stamina). If you take a raft and have some weapons and items you don’t mind losing, you can drop them on the raft so you can pick them up for a head start.
The moment you arrive at Eventide Island’s shores, a voice will speak with you and then you will find that your inventory is gone. Your gear, food, items, weapons…all of it is gone. You do keep your Sheikah Slate and Key Items, however, so if you have things like Daruk’s Protection, you can still use them.
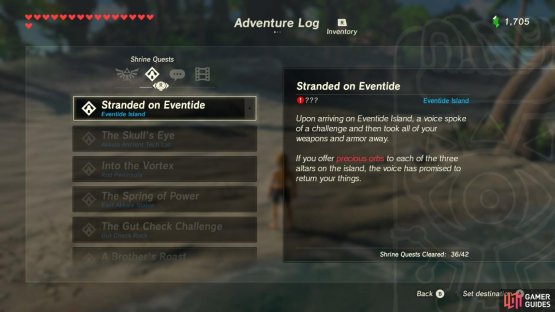
The objective here is to find three orbs and place them in three pedestals scattered around the island. You cannot save so if you die, you are reset to wherever you last were on mainland and will have to make the long journey to Eventide Island again.
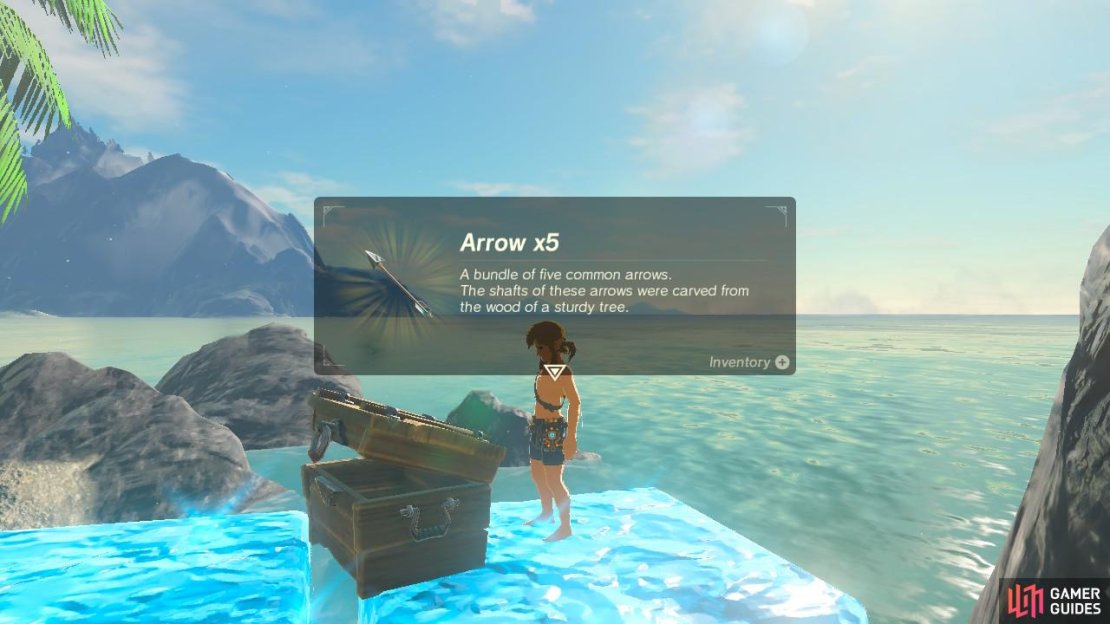
A chest in the water near the shore has 5 Arrows. Make sure you grab it so that you can shoot from afar once you find a Bow.
To get a good starter kit going, head to Toronbo Beach and you will see a camp of a few Bokoblins. A well-aimed Remote Bomb will blow up the explosive barrels around them, wiping out the entire camp. Loot the camp for useful items like Roasted Bass for health, a ton of Bokoblin Spears, and open the chest nearby for a Traveler’s Sword.
(1 of 2) Head to this location to grab your first orb
Head to this location to grab your first orb (left), Once you have cleaned out the Bokoblin camp, open the chest for a bow (right)
With some basic gear on you, let’s go find the first orb. The first orb is currently under custody of a Bokoblin camp build up and around a tree west of Toronbo Beach. It’s best to be as conservative possible and use Remote Bombs to take out the Bokoblins at the watchposts. If you have restored Divine Beast Vah Naboris, you can also sneak underneath the camp and use Urbosa’s Fury to wreck the place.
(1 of 2) The orb floats, so you can throw it into the water
The orb floats, so you can throw it into the water (left), Getting the ball to stay still and not roll off will take you a few tries, but it is possible! (right)
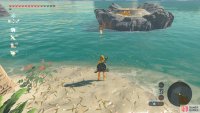
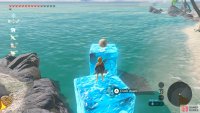
The orb’s pedestal is a bit of a distance away. It’s at the north end of the island a ways out in the water. Once you have carried the orb out to the shore, throw it in the water towards where the pedestal is. The orb floats, so you won’t lose it. Now, use Cryonis to push the orb up onto an ice block. Physics might work against you here, be patient and you will eventually get it right where the orb will not roll off.
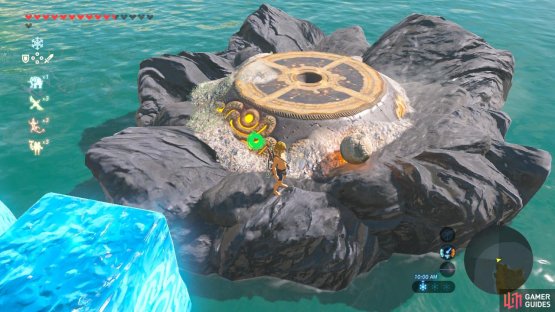
(1 of 2) Throw the orb into the rock holding the pedestal, and then jump off your ice block to follow
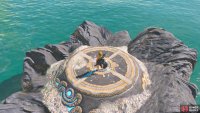
Throw the orb into the rock holding the pedestal, and then jump off your ice block to follow (left), Deposit the orb into the pedestal. It will turn blue, indicating that you are done with this task (right)
Pick up the orb once you have reached the ice block (whether by swimming or using Cryonis again), and throw it to where the pedestal is. Follow and place the orb in the pedestal. The pedestal will change from orange to blue, indicating that you have completed this first task.
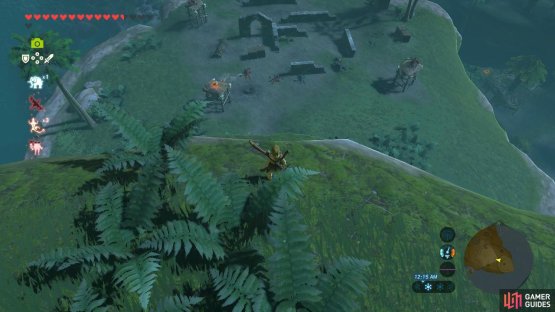
(1 of 2) Standing up here above this larger enemy encampment allows you to throw Remote Bombs from afar for a head start
Standing up here above this larger enemy encampment allows you to throw Remote Bombs from afar for a head start (left), There is a cooking pot as well as other weapons (right)
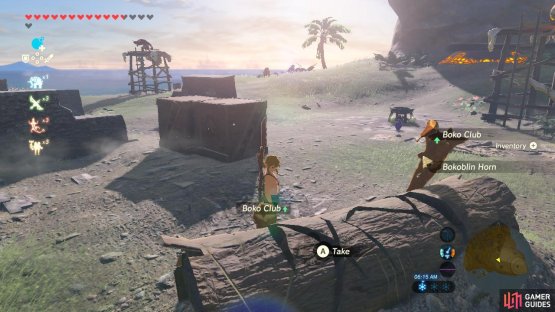
The last two orbs are on the southern side of the island and the pedestals are much less of an ordeal. One of the orbs is being held by a much larger camp of Bokoblins and Moblins. It’s recommended you climb up the cliffs south of the camp and throw Bombs from afar to take out as many of the monsters as you can before you are noticed. Then you can use your weapons to take out the rest. There are explosive barrels you can also blow up. Again, Urbosa’s Fury can make the whole task easy. There are also a lot of Boko Clubs laying around, plus a cooking pot you can definitely take advantage of to cook whatever you have gathered from the island.
(1 of 2) Take the orb from one of the watchposts
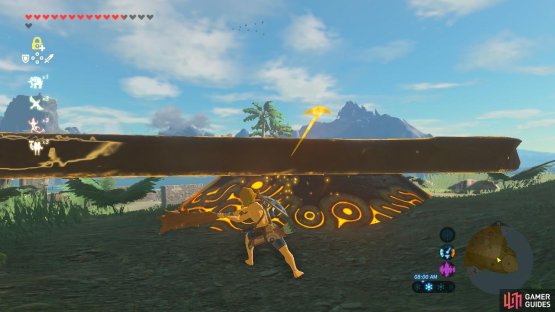
Take the orb from one of the watchposts (left), Use a weapon you’re willing to sacrifice and hit the slab with Stasis until the arrow turns red (right)
The pedestal is right next to the camp, but it is covered up by a rocky slab. Since you can’t use Magnesis, equip a weapon you don’t mind breaking and use Stasis. Hit the rocky slab until the arrow is red to send it flying. Now you can pick up the orb and place it in the pedestal. There is just one orb left to place.
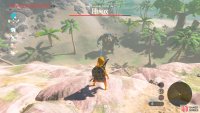
(1 of 3) If you stand up here, you can fling Remote Bombs safely without being attacked
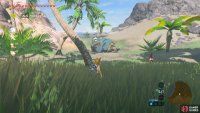
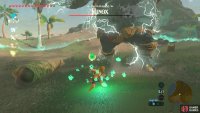
Unfortunately, it’s a tough one. The last orb is being held by a Hinox. If you unequip all your gear and stay as stealthy as possible, you can sneak up on the Hinox’s stomach and pluck the orb from its neck without much fuss. Or, by standing on the cliff above it, you can throw Remote Bombs to slowly kill it. Urbosa’s Fury can take out huge chunks of its health if you have that too, but since you have no armor you want to be careful about approaching it. Either way, your ultimate goal is the orb it wears on its necklace.
(1 of 2) You will want to use Magnesis to move the box out of the way
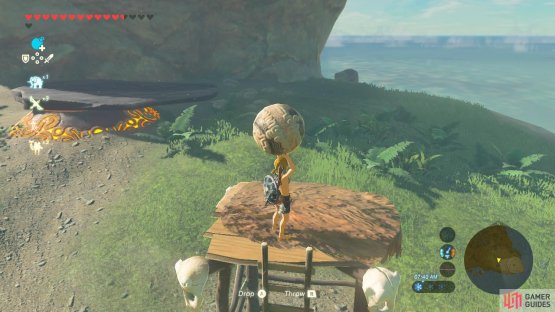
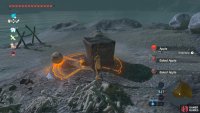
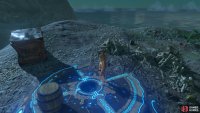
You will want to use Magnesis to move the box out of the way (left), Before you put the final orb into the pedestal, be sure to drop any items you’d like to keep (right)
The pedestal is up top of a rock. Find the path that spirals around it since you cannot climb. Around the pedestal is another small enemy camp. Clean out the place so that you can place the orb safely.
(1 of 2) The Shrine will rise from the ground
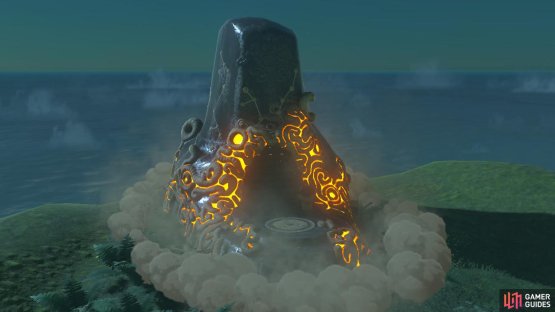
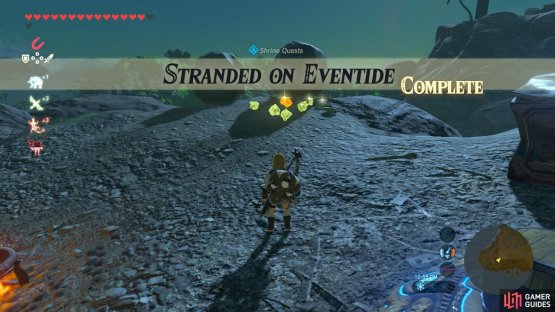
The Shrine will rise from the ground (left), At this point, the Shrine Quest is complete. You will get your items back and you can pick up all the stuff you dropped (right)
As soon as the orb has been placed, the Korgu Chideh Shrine will rise from the ground, ready for you to activate. You will also get your items back.


















No Comments