


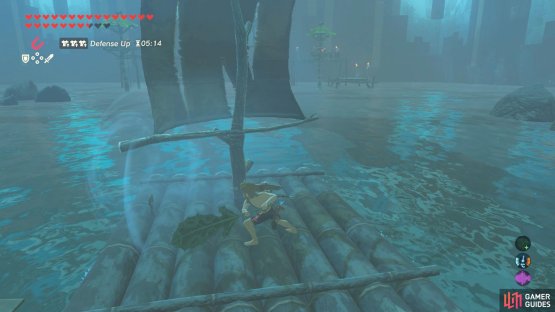
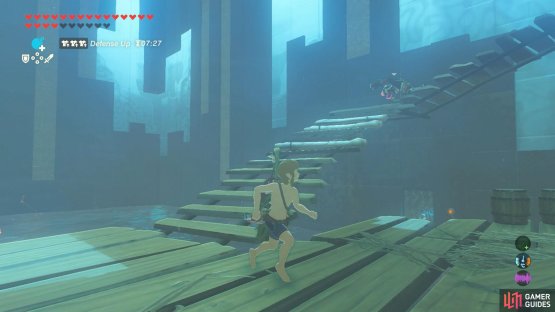
(1 of 2) This floor is more or less completely surrounded by water.
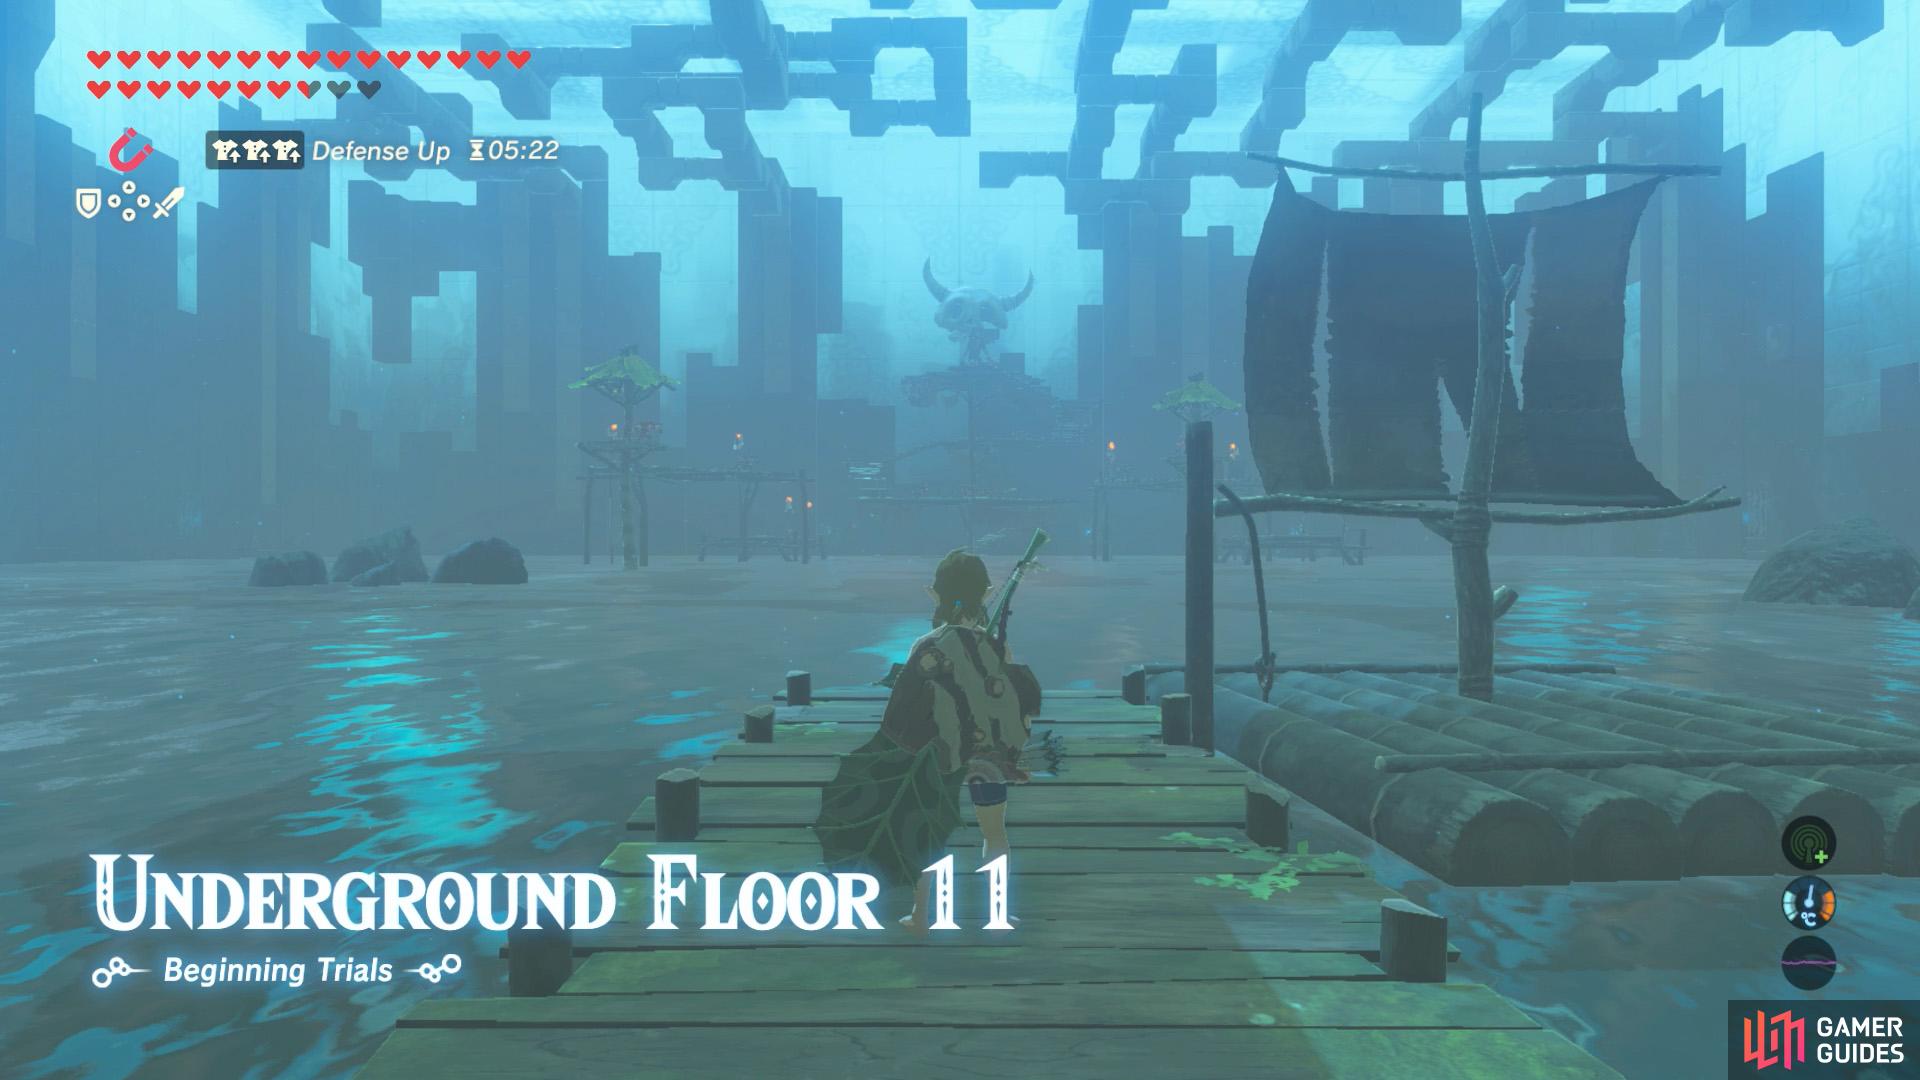
This floor is more or less completely surrounded by water. (left), First things first, hop on the raft and use it to travel across the water. (right)
| Difficulty | Monsters |
|---|---|
| ★★★★★☆☆☆☆☆ | Bokoblin x4, Blue Bokoblin x3, Black Bokoblin x1, Black Moblin x1 |
This is the second-to-last floor with enemies; the next floor is the boss floor. Most of this floor is water, with the exception of the small pier you begin on, a spiral encampment at the end and multiple towers/platforms leading there.
Strategy
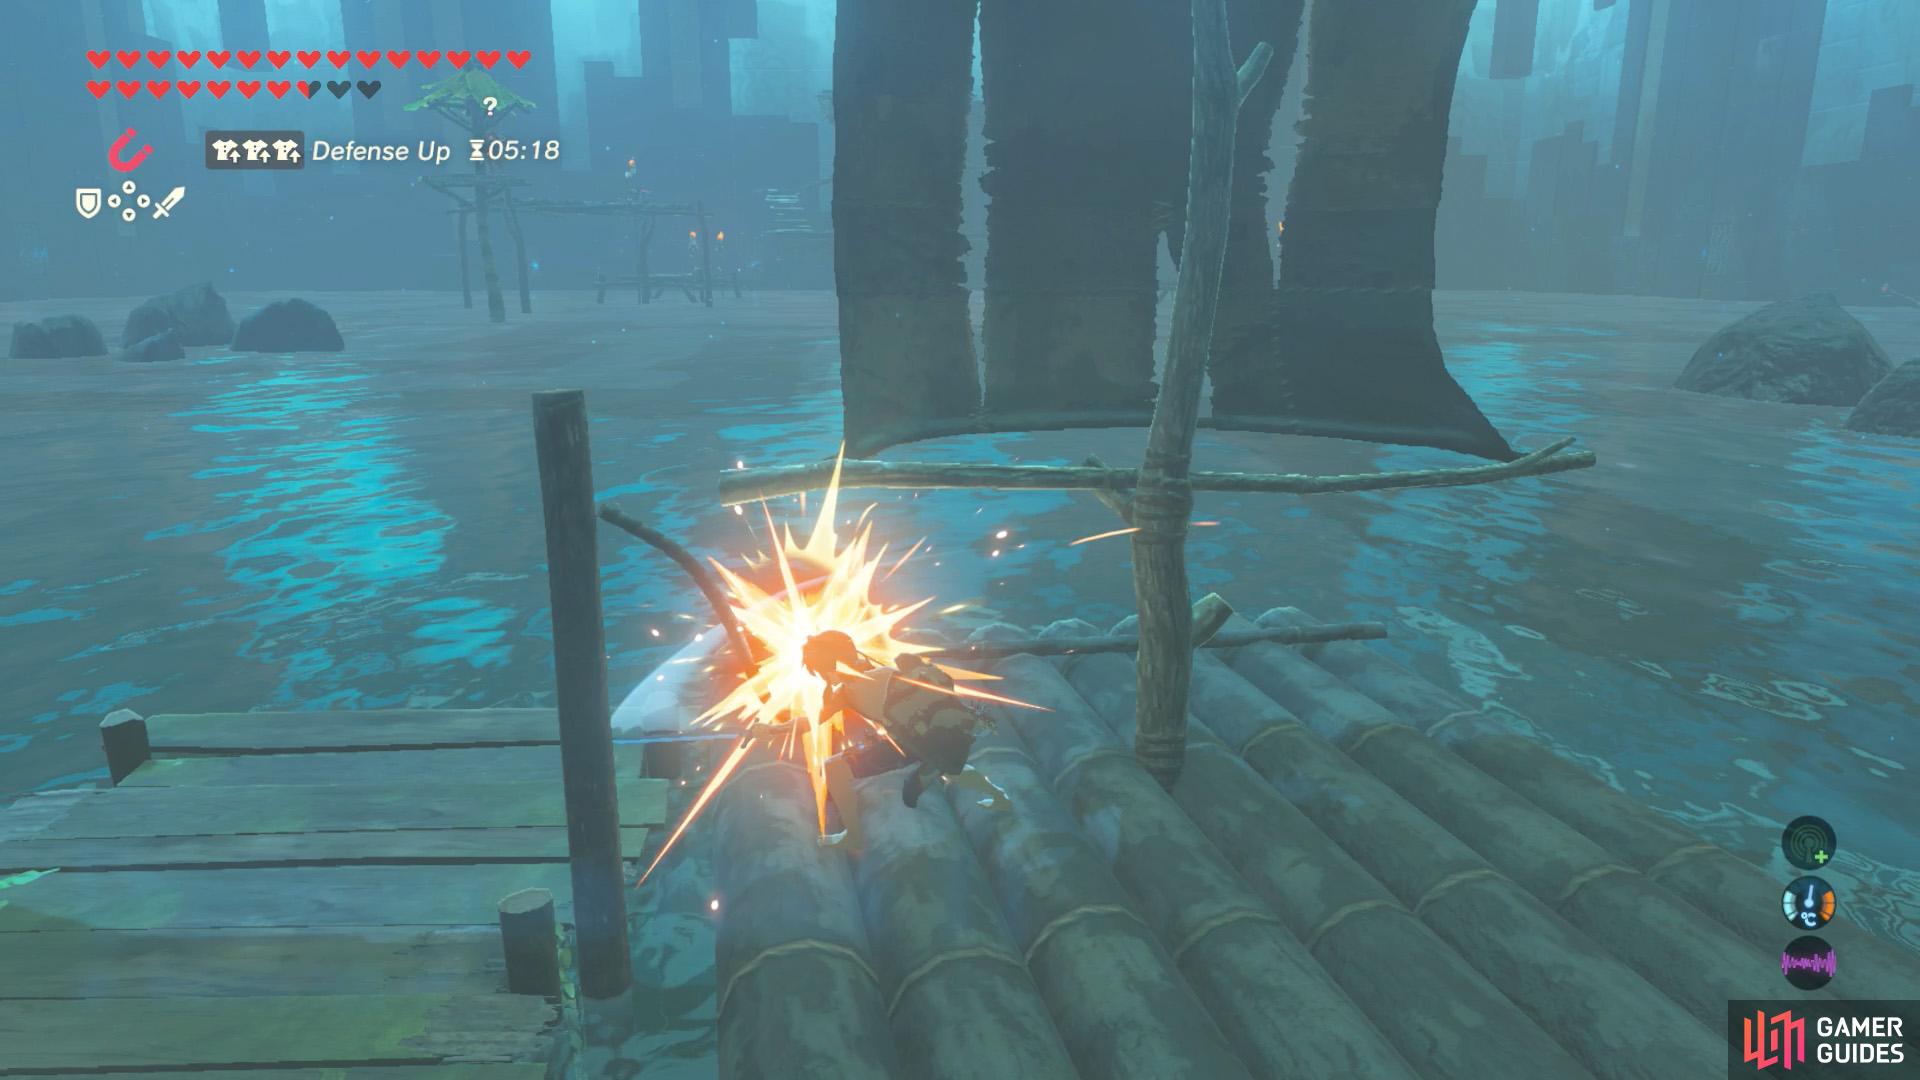
There are two main ways you can approach this floor–and both involve the raft that’s currently tied to a post. When you’re ready, hop on the raft and cut the rope. There’s a strong draught of wind blowing forward that’ll carry the raft straight towards the enemy encampment at the far end.

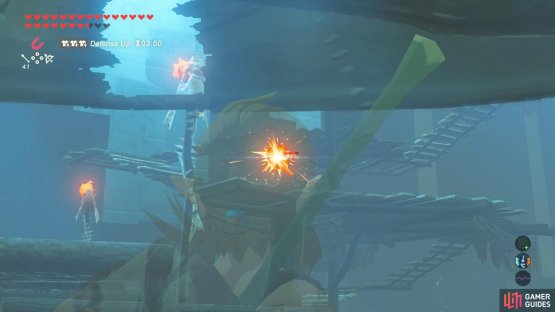
(1 of 2) The Bokoblins on the front towers will notice you very early on.
The Bokoblins on the front towers will notice you very early on. (left), If you’re traveling through the center, try to KO the front Bokoblins ASAP. (right)
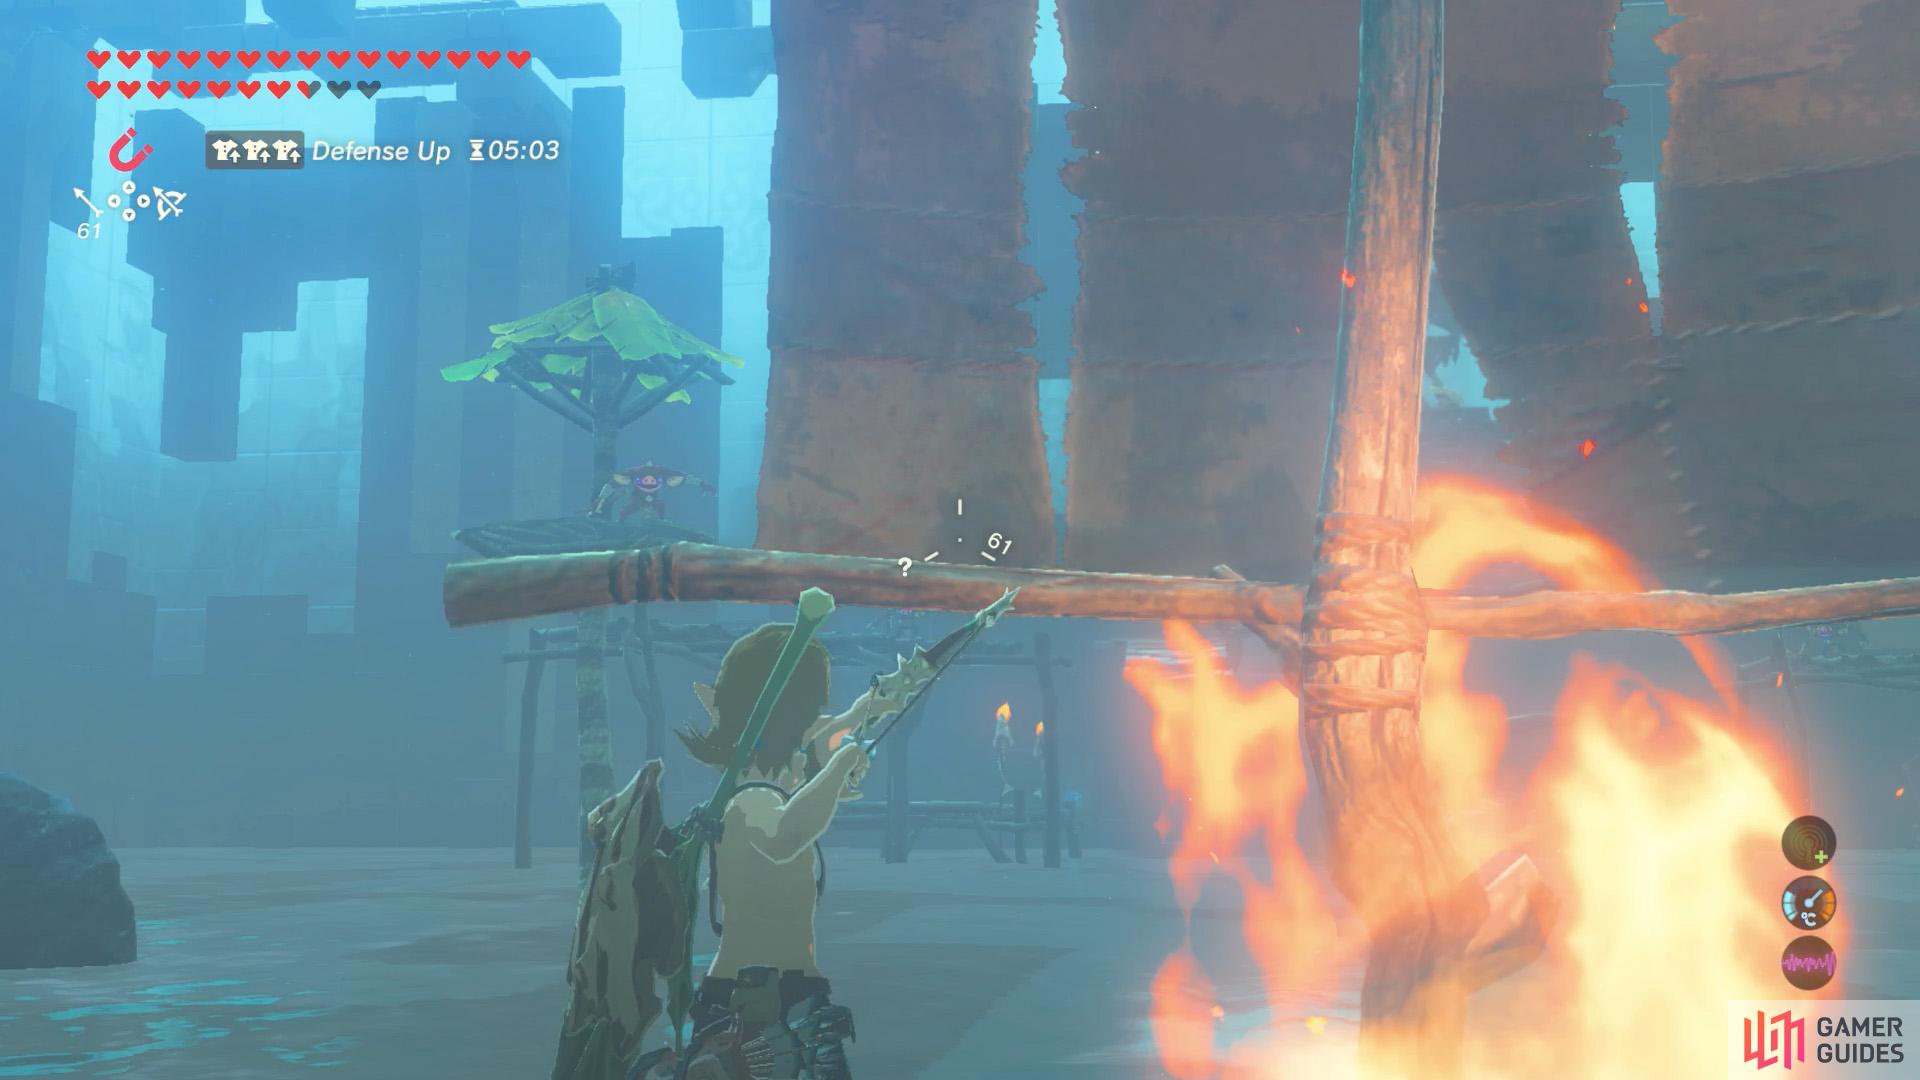
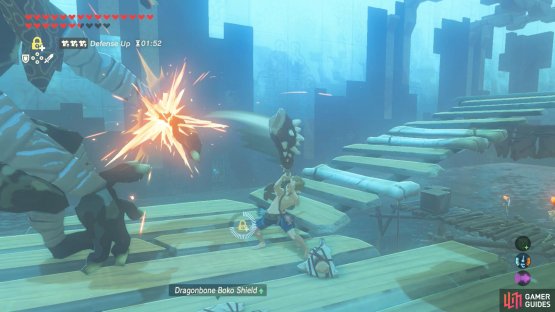
Trouble is, you’ll be attacked on both sides by four Bokoblin archers, carrying Fire Arrows. There are two Bokoblins on each side–first a regular one, followed by a stronger blue one.
If you’re adept with the bow, try to shoot the two regular Bokoblin at the front, then focus on the blue ones further back. You can use the center pole of the raft to protect yourself and the Bokoblins are lousy at aiming.
Alternatively, if you’re not confident at aiming, when the raft begins moving, use a Korok Leaf from a previous floor (randomly obtained by destroying trees) to push the raft towards the left or the right. Try to push the raft so it’ll eventually collide with one of the front towers.

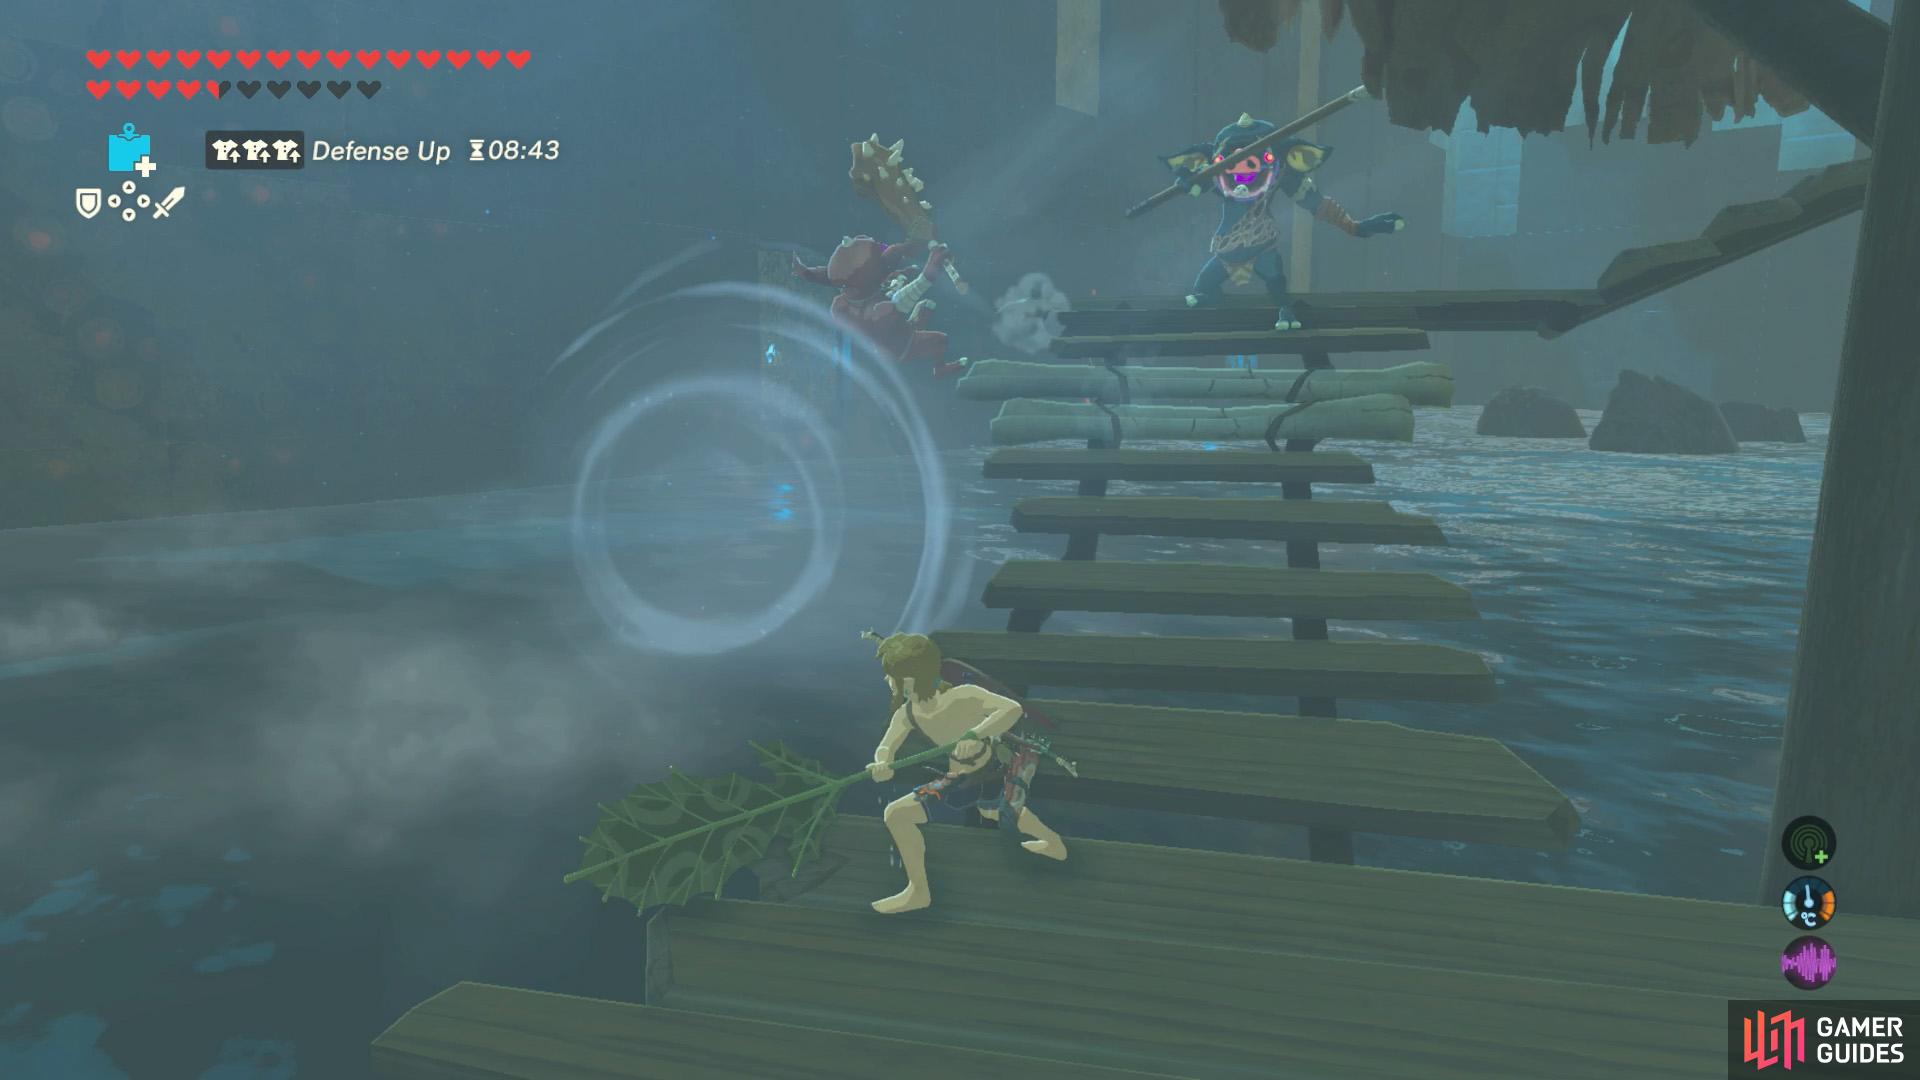
(1 of 2) You may find it easier using the Korok Leaf to blow the raft to the left or right side.

You may find it easier using the Korok Leaf to blow the raft to the left or right side. (left), That way, you can focus on the two Bokoblin on your side, while ignoring the other two. (right)
From here, try to shoot at the nearest Bokoblin along your side, then snipe the blue one further back. Then you can take your time and snipe the Bokoblins on the opposite side, who should be unable to reach you.
If you didn’t manage to kill the first Bokoblin, you should be directly underneath it and, thus, it won’t be able to hit you. Once it’s safe, you can use the Korok Leaf to push the raft so you can aim at that Bokoblin.
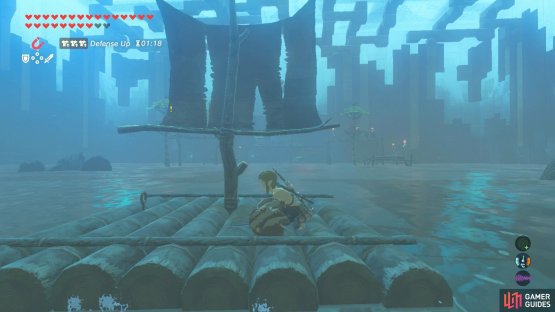
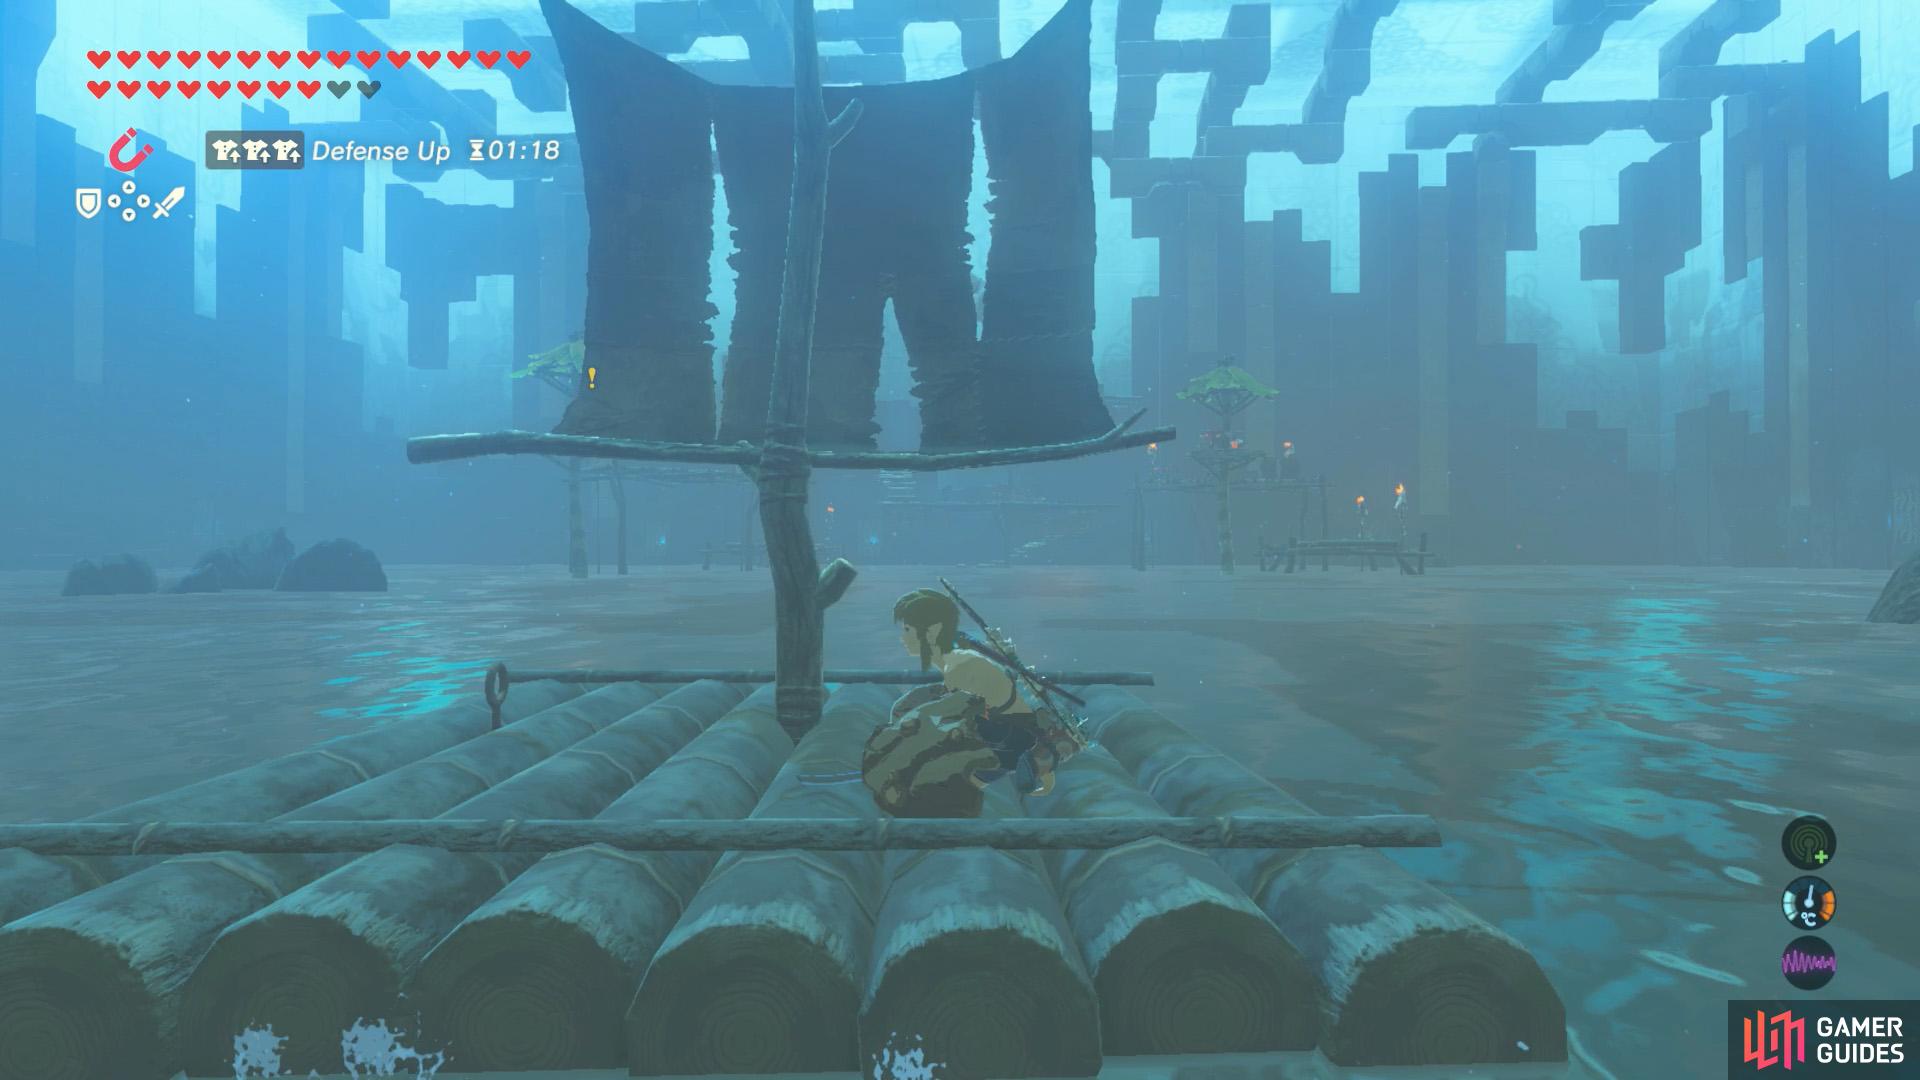
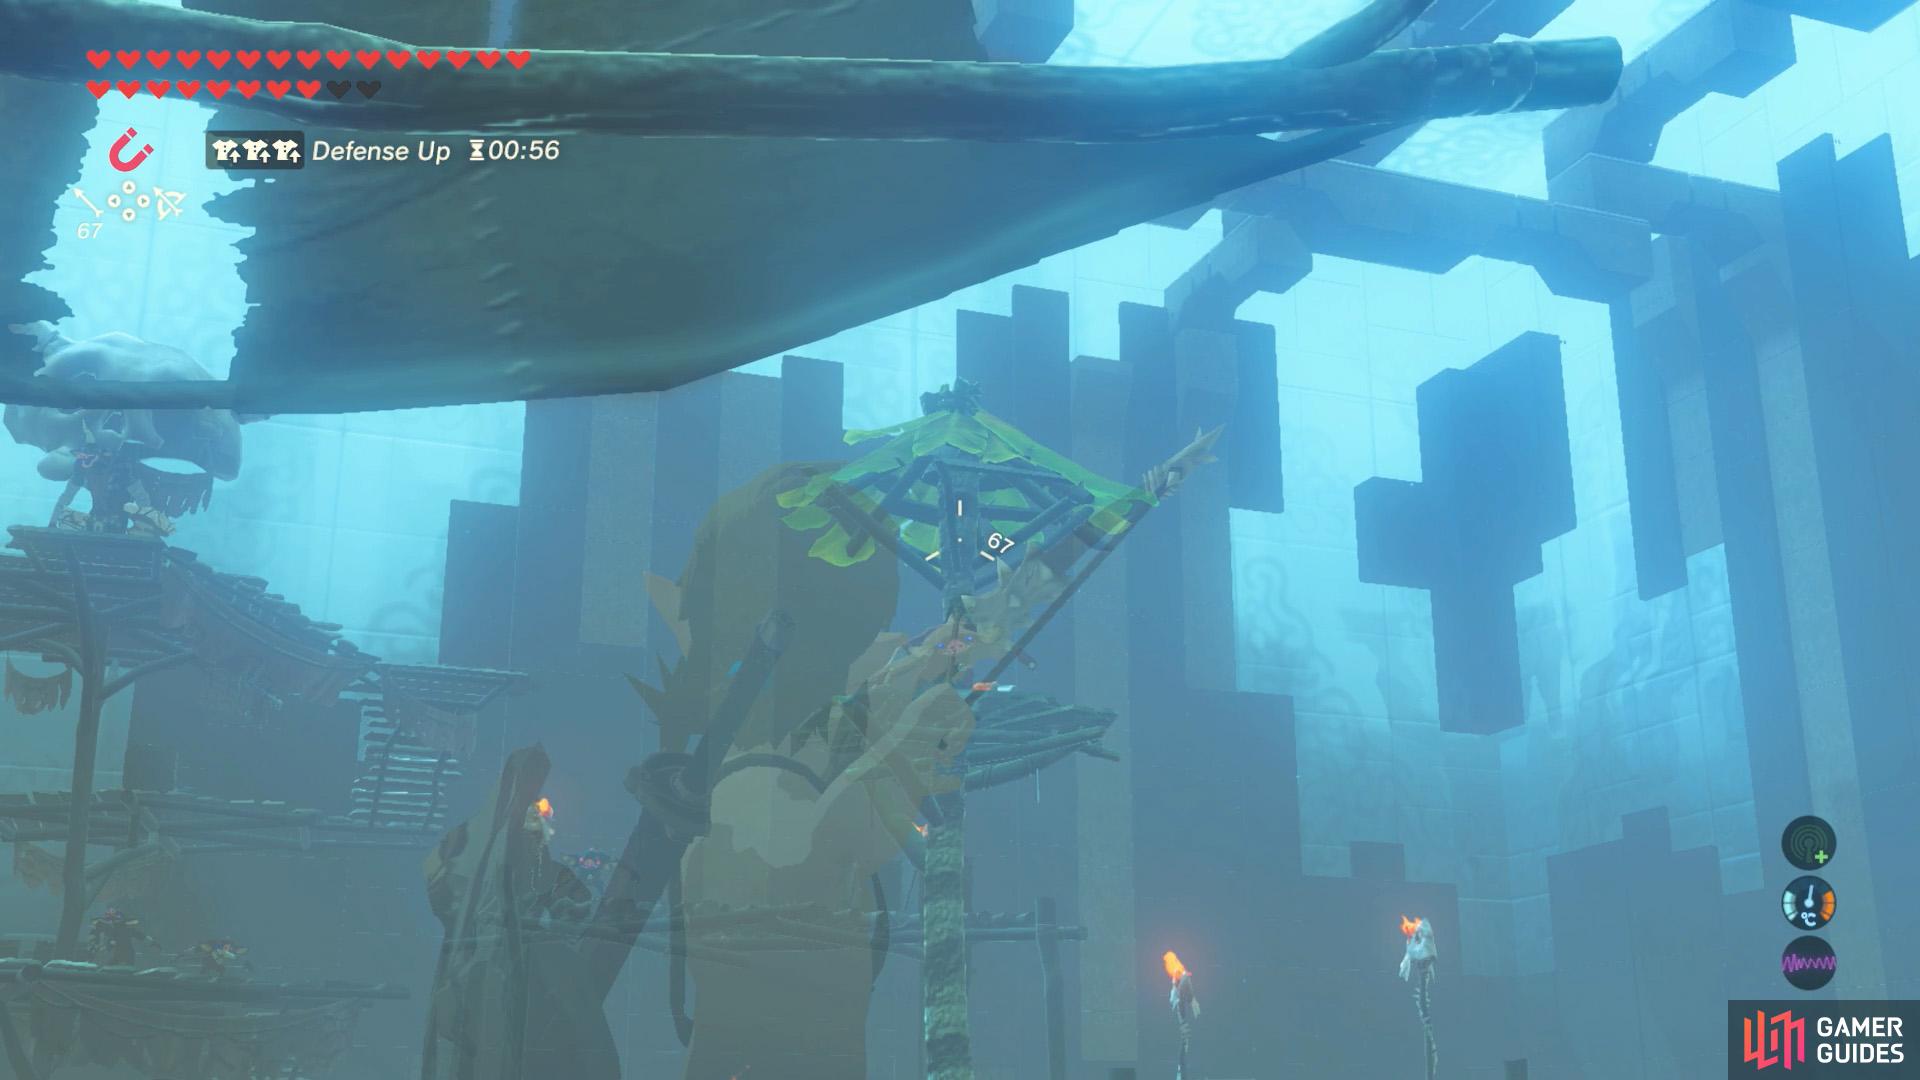
Next, you’ll want to deal with the three Bokoblin (two normal ones and one blue) standing on the middle platform of the spiral encampment. If you allowed yourself to be blown naturally by the wind, you’ll eventually arrive at the foot of the encampment. From here, you’ll need to carefully lure the Bokoblin as you go up.

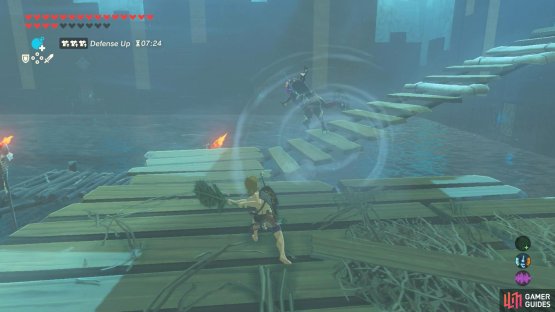
(1 of 2) If you’re by the sides, you can snipe the Bokoblin on the middle platform.

If you’re by the sides, you can snipe the Bokoblin on the middle platform. (left), Otherwise, carefully ascend the stairs and use a Korok Leaf or bombs to knock the Bokoblin into the water. (right)
Bombs are still highly effective, so long as you throw them carefully. The explosion can send the Bokoblin flying off the encampment–and they’ll instantly die when they touch the water. You could also use the Korok Leaf to blow them into the water. Or just whack them, if they’re plain old Bokoblins.
Meanwhile, if you drifted to the side, you may be able to snipe the three Bokoblin from your current position. Otherwise, use the Korok Leaf to push the raft nearer the center so it starts moving closer to the encampment. Then, when you think you’re close enough, make it drift towards one of the nearby platforms.
(By the way, if you’d prefer to take this floor slow, you could consider using Cryonis to cross the water instead of the raft. That way you have 100% control of where you’re going.)
(1 of 2) Try to lure the Black Bokoblin near the edge.


Try to lure the Black Bokoblin near the edge. (left), Then blow it into the water with a Korok Leaf. (right)
After the normal and blue Bokoblin are gone, you’ve got to deal with a strong Black Bokoblin further up the encampment, as well as a tough-as-nails Black Moblin. If possible, try to lure these last two monsters one at a time. Or things could get a little messy.
Despite its increased strength and vitality, the Black Bokoblin can be dispatched similarly to other Bokoblin–by knocking it into the water. The usual bombs, Korok Leaf or constant pummeling with your weapons should send it flying sooner or later. If in doubt, stun it with the Lightning Rod from the Wizzrobe.
Finally, the Black Moblin means business. Due to the cramped nature of the encampment, we don’t advise fighting it head on. Instead, if you still have it, stun the Moblin with the Lightning Rod to make it drop its equipment, then quickly grab them.
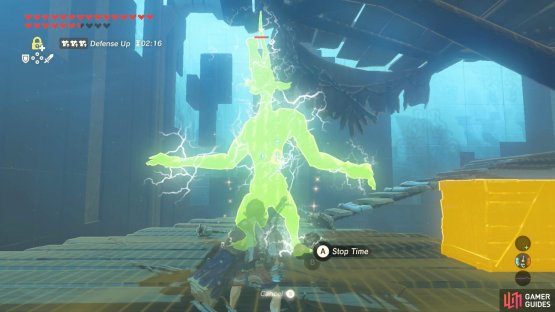
(1 of 2) Use the Lightning Rod to disarm/stun the Moblin.


Use the Lightning Rod to disarm/stun the Moblin. (left), Using Stasis if needed, whack the Moblin with a two-handed club to knock it into the water. (right)
Afterwards, apply Stasis to keep the Moblin still for a while. Then keep hitting the Moblin with a two-handed club or anything that packs a punch. Doing so should knock the Moblin down; like the Bokoblin, if the Moblin falls of the encampment, into the water, it’ll die straight away.
As mentioned, the next floor is the final boss floor, so don’t hesitate to raid the encampment and grab all the weapons dropped by the monsters you’ve slain. Definitely grab the Moblin’s weapon and maybe some bow/arrows if you need some.
Speaking of arrows, you can glide from the top of the encampment towards a tower near the front. The treasure chest here contains 10 Fire Arrows.
No Comments