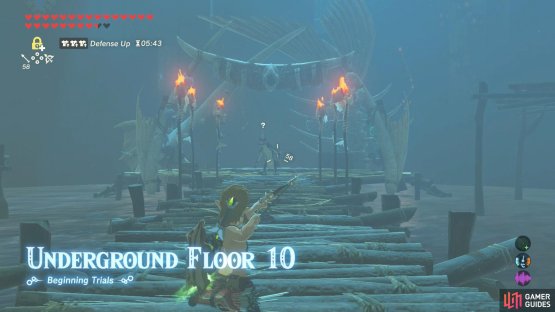
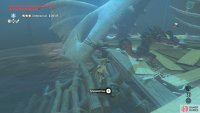
(1 of 2) As soon as you enter, ready your bow (or Stasis/Cryonis).
As soon as you enter, ready your bow (or Stasis/Cryonis). (left), Your aim is to eliminate the Blue Lizalfos in front, before it warns its allies. (right)
| Difficulty | Monsters |
|---|---|
| ★★★★★★☆☆☆☆ | Blue Lizalfos x1, Black Lizalfos x2 |
This is probably the hardest floor of the Beginning Trials. You’ll spawn at the end of a boardwalk on a Lizalfos camp that’s completely surrounded by water.
Strategy
Before entering this floor, equip your best bow and, for good measure, set either Cryonis or Stasis–whichever you’re most confident using.
When you teleport in, directly ahead, there’s a Blue Lizalfos archer who will notice you and, after a few seconds, blow a horn to signal the two Black Lizalfos behind it. There is practically nowhere to run or hide, so you could be in for a rough time.
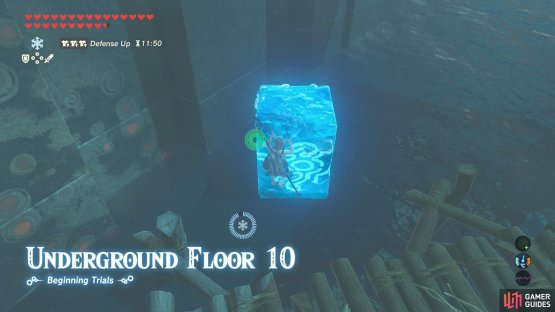
(1 of 2) If you’re not confident, use Cryonis to create an ice pillar nearby to hide behind.
If you’re not confident, use Cryonis to create an ice pillar nearby to hide behind. (left), When it’s safe, climb up and shoot arrow(s) at the Blue Lizalfos. (right)
That is, unless you can prevent the Blue Lizalfos from alerting the others. You can do this by immediately shooting arrows at it. Don’t worry if you don’t kill it straight away–keeping it distracted from using its horn is plenty enough.
If you’re not confident with your aiming, you can apply Stasis on the Lizalfos, then move closer to shoot arrows. Alternatively, you can quickly turn left/right and cast Cryonis to create an ice pillar in the water. Then jump into the water and hide behind the ice pillar. Afterwards, climb up and shoot arrows from there.
Should you manage to kill the Blue Lizalfos before it calls the others, you’ve basically won. Although you still need to be careful, since you’ll be dealing with two stronger Black Lizalfos next.
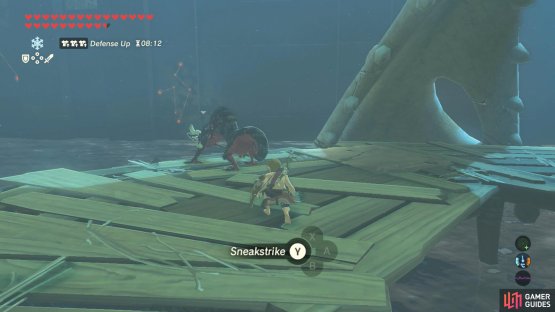
(1 of 2) Use a Sneakstrike on the Black Lizalfos from behind.
Use a Sneakstrike on the Black Lizalfos from behind. (left), Before the Lizalfos recovers, move to the other side and you can perform another Sneakstrike! (right)
There’s a fairly easy way to kill them though. The two Lizalfos are guarding the stairs leading up to the camp from the sides, leaving their backs exposed if you approach them from within the camp.
Slowly crouch up behind a Lizalfos, then perform a Sneakstrike with Y. This will deal heavy damage, but won’t kill it. Immediately crouch and move to the opposite side of the Lizalfos (where they were facing). When the Lizalfos recovers, it’ll face the direction of your previous attack, but it’ll have extreme tunnel vision and won’t know you’re behind. Silly thing….
Now perform another Sneakstrike and move to where you were originally hiding and keep cycling until the Lizalfos is dead. If you slip up, don’t worry. Also, sometimes, the Sneakstrike can knock the Lizalfos into the water, ending the chain.
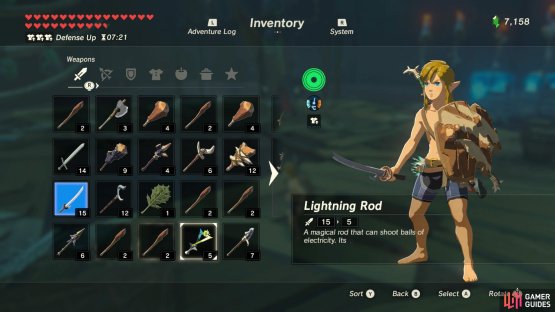
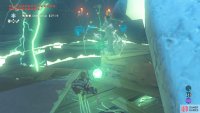
(1 of 2) If you’re spotted, equip the Lightning Rod from the previous floor.
If you’re spotted, equip the Lightning Rod from the previous floor. (left), Then use it to disarm the Lizalfos and stun-lock them. (right)
Once a Sneakstrike is no longer possible, try to lure the Lizalfos back to the camp if it’s in the water. When you’re both on equal footing, use the Lightning Rod from the previous floor to stun the Lizalfos and steal their equipment. Then bash them with your favorite weapon, while occasionally swapping to the Lightning Rod to stun-lock them.









No Comments