
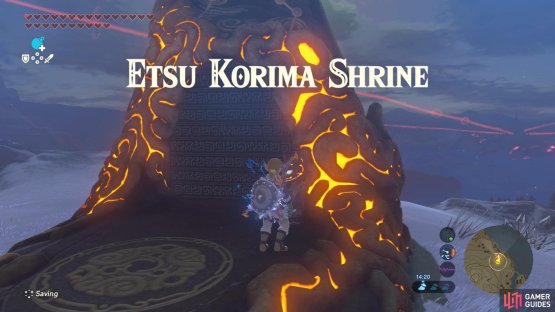
(1 of 2) To access this shrine, you must clear the enemy camp east of Mount Hylia.
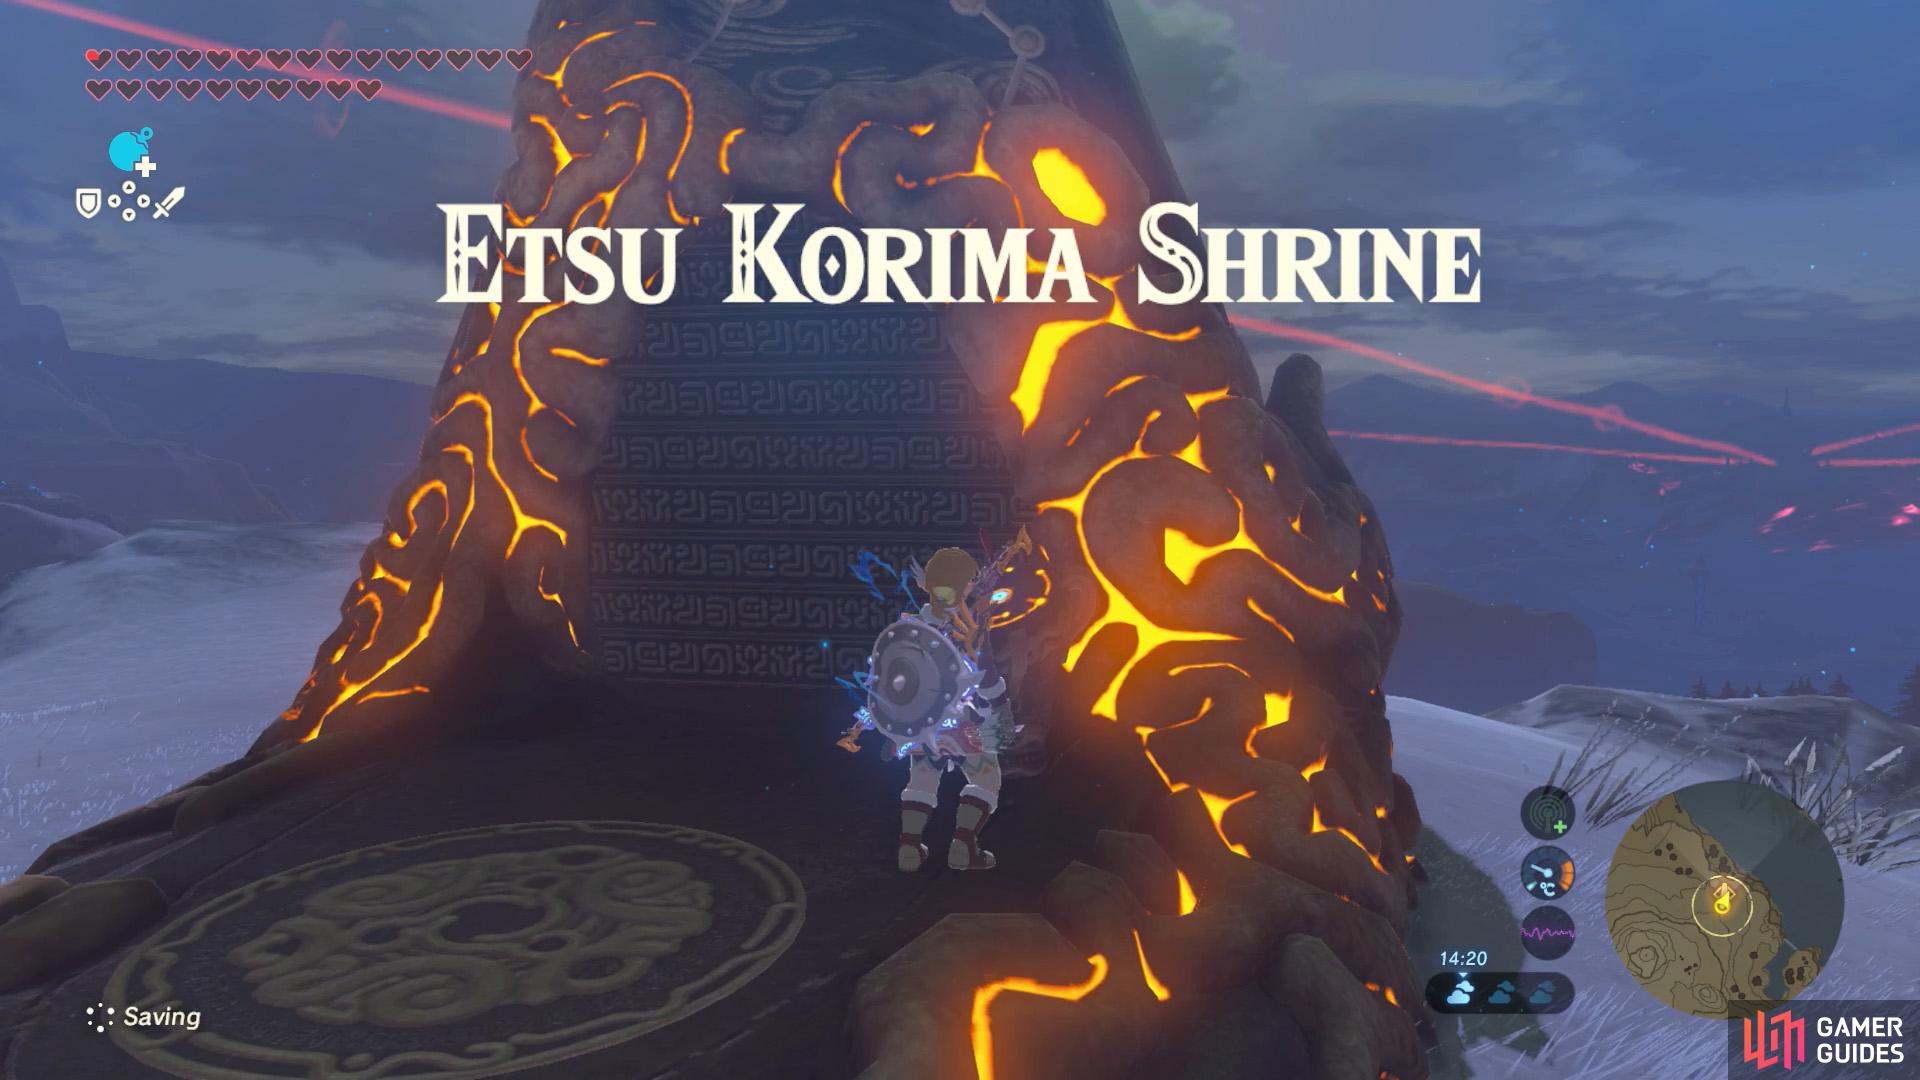
To access this shrine, you must clear the enemy camp east of Mount Hylia. (left), Uh… who turned out the lights? (right)
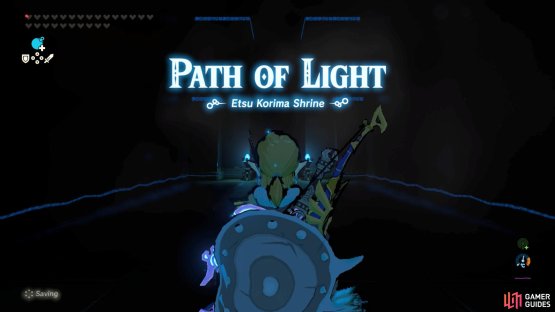
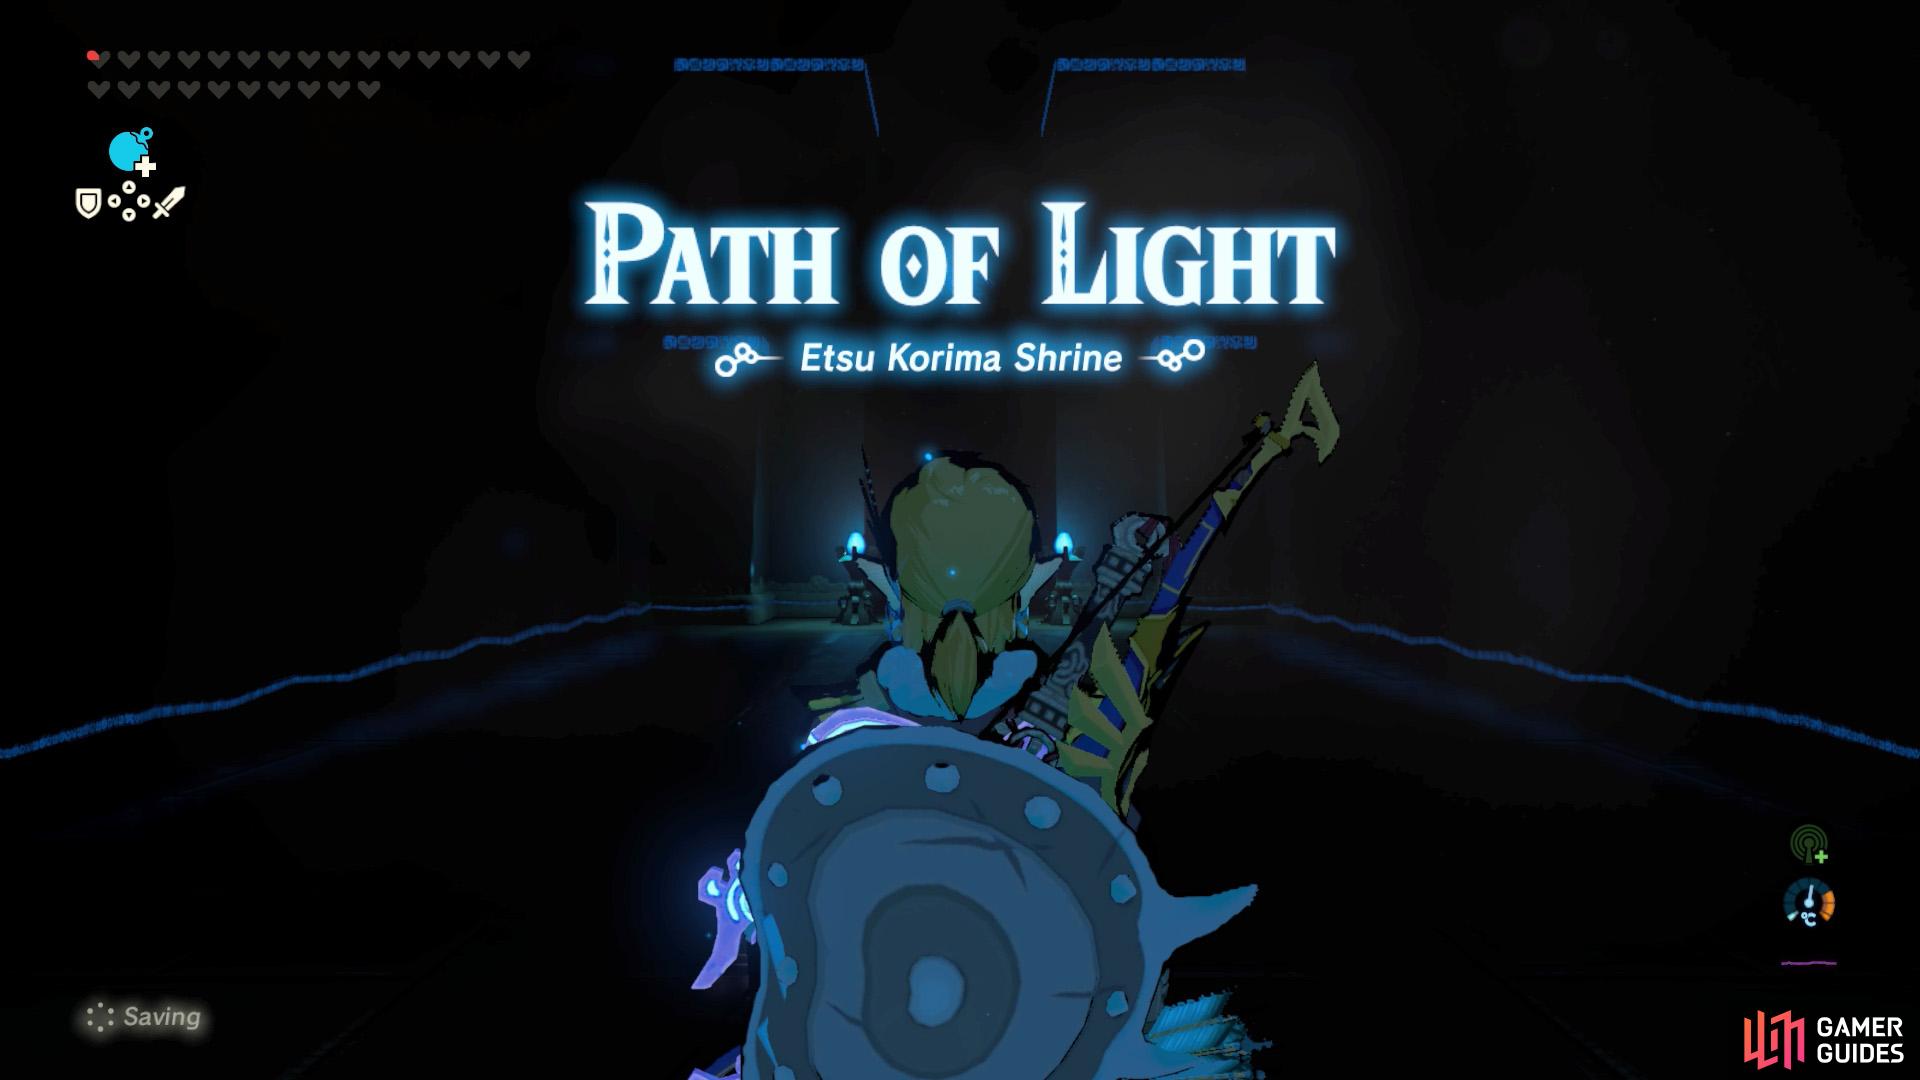
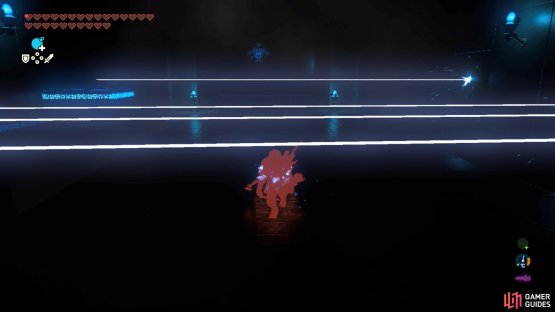
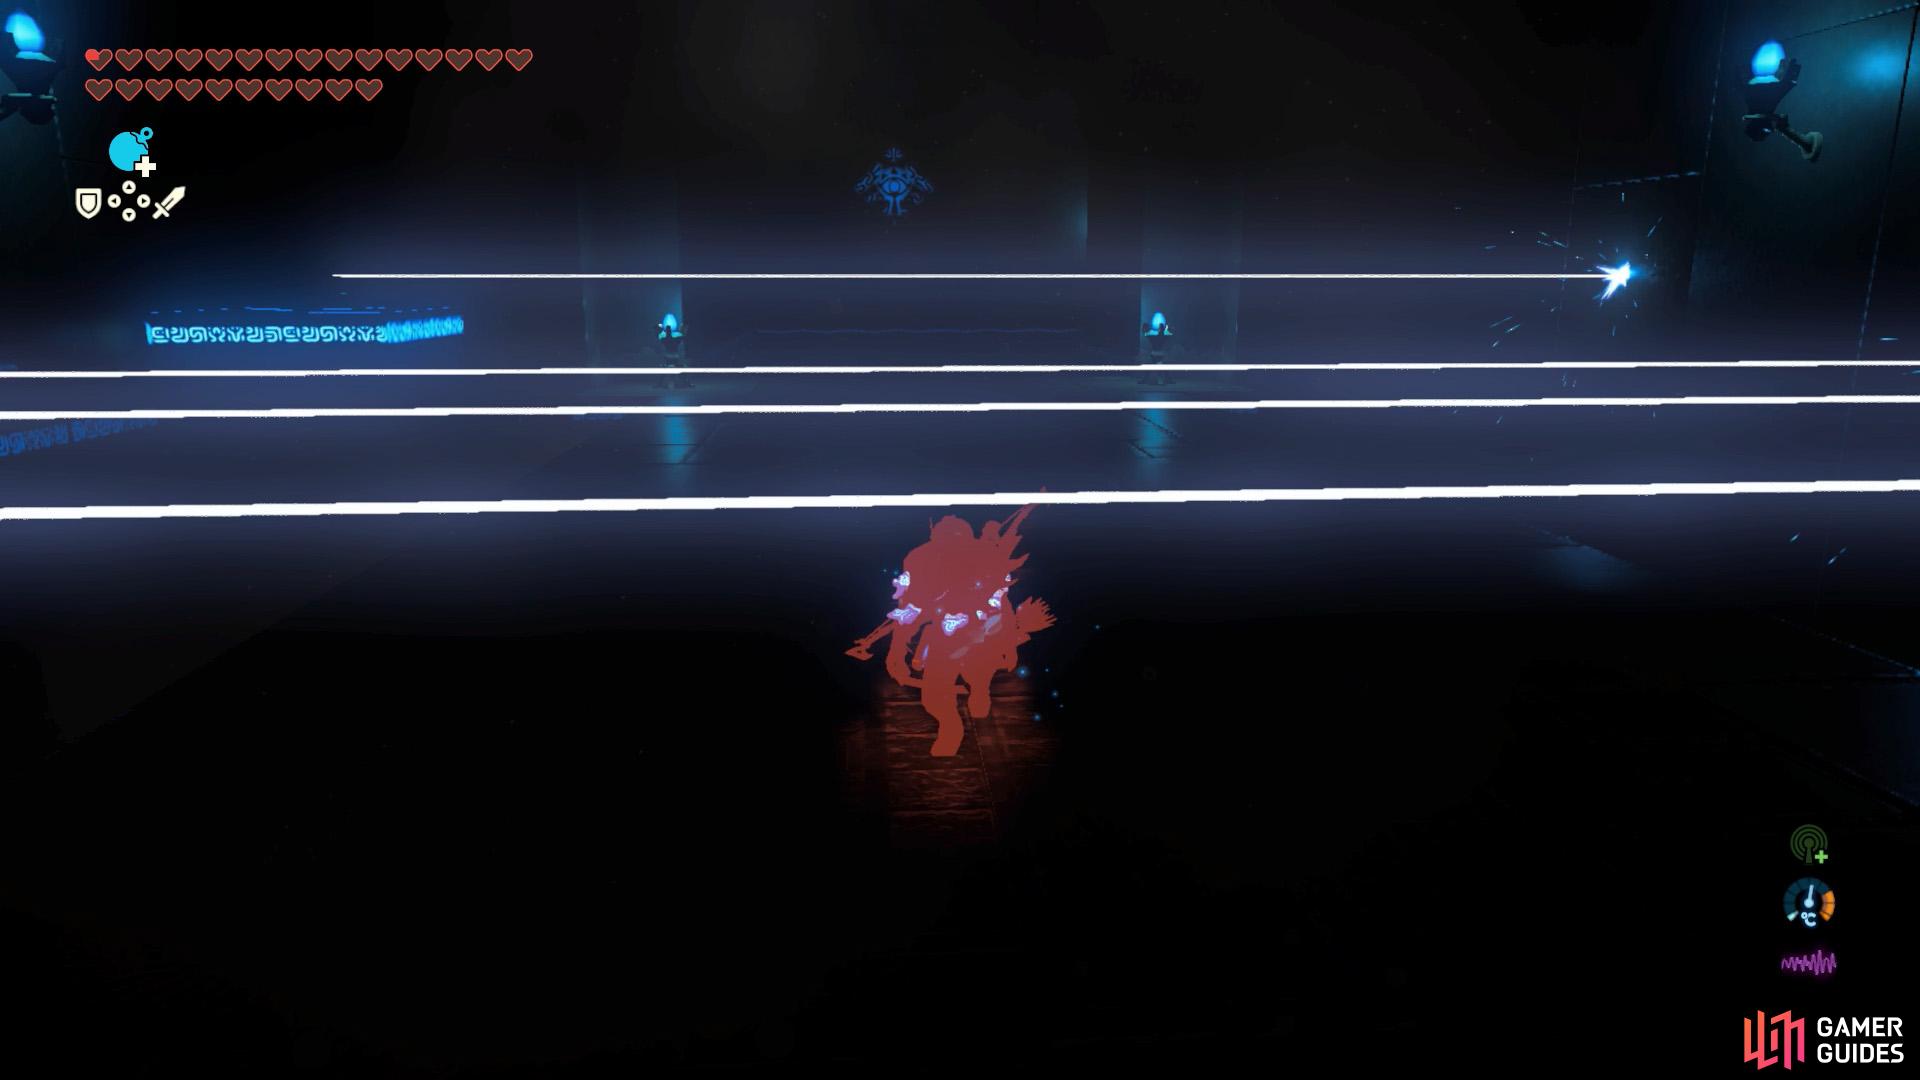
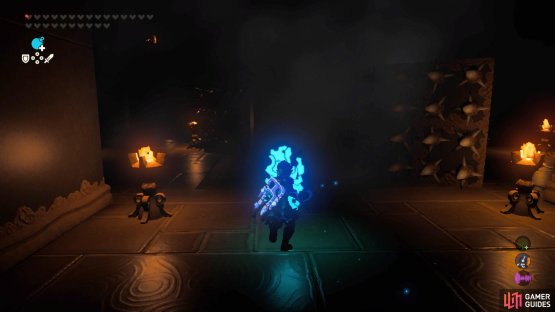
As you enter the shrine, the first thing you’ll likely notice is that it’s almost pitch-black. Normally, you might use a torch to illuminate the area, but with the One-Hit Obliterator glued to your hands, that’s not possible. Instead, you’ll have to rely on the environmental lighting to see ahead.
Start by heading forward, towards the three lasers coming from below. Obviously, you don’t want to touch them or you’ll die straightaway. Go past or around the lasers to a scene straight from a spy flick. There’s a row of three lasers that are stationary, followed by a laser moving up and down.
(1 of 2) Crawl under the row of lasers.
Crawl under the row of lasers. (left), Or you can block them with a shield. (right)
Crouch down and proceed forward, underneath the stationary lasers. For the laser that’s moving up and down, wait until the laser is at its highest or lowest point, then move across. Try to stick near the center of the path to avoid the abyss. Alternatively, you can walk forward while raising a shield to block all the lasers.
Once you’ve gone past the moving laser, head forward and then turn right. There are blue lanterns on the wall to guide you. Don’t worry about any hidden traps in the darkness; thankfully the game isn’t that evil.
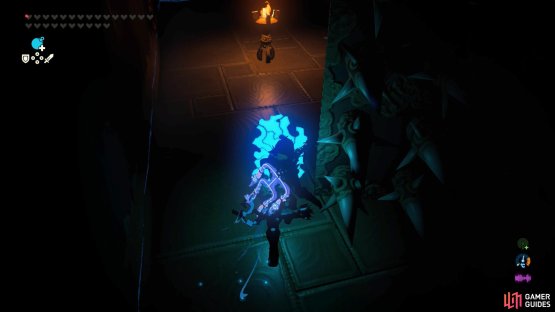
(1 of 2) Don’t rush, as there are many large, rotating spike pillars.

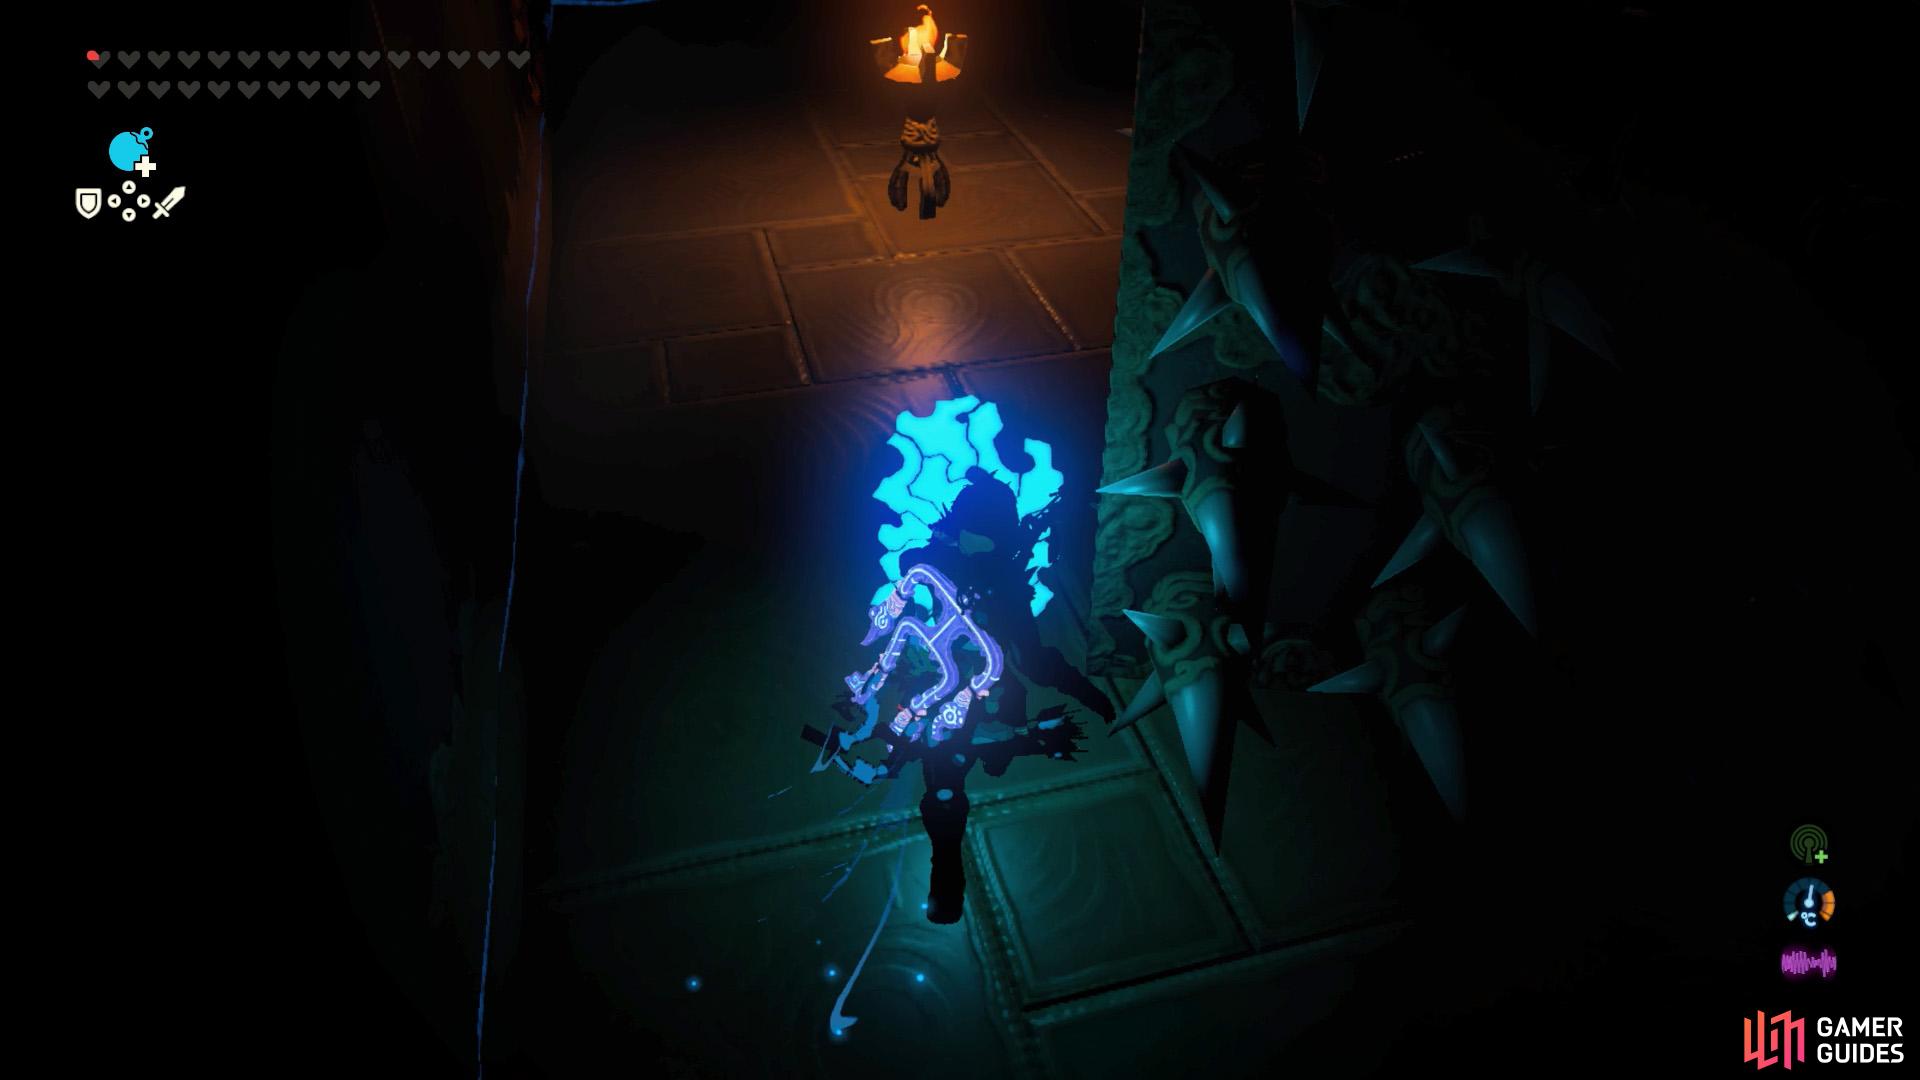
Don’t rush, as there are many large, rotating spike pillars. (left), If you hug the left-hand side wall, you’ll avoid all the spikes. (right)
When you reach the next room, be careful as there are many rotating spike pillars obstructing your path. If you take it slowly, the light from the flame torches will help you from running into the spikes. For an easy time, simply proceed while hugging the wall on the left-hand side.
As you reach the second corner, there are some vines on the wall leading up to a wooden platform holding a chest with a Gold Rupee. It’s extremely difficult to see the vines normally, but if you hold the Stasis rune, you should be able to see them via the subtle lighting, when standing near the wall.

(1 of 2) Just before the second corner, there are some vines on the wall that you can burn.


Just before the second corner, there are some vines on the wall that you can burn. (left), The burning vines will set a wooden platform on fire, dropping a Gold Rupee chest. (right)
The vines are too thin to climb, but you can burn them using a Fire Arrow or by shooting a regular arrow through the nearby flame torch. Once the vines catch on fire, they’ll also cause the wooden platform to burn, releasing the chest. Past the second corner is the exit of this room.
Go up the steps and then take a left turn. Like before, there are blue lanterns on the walls that provide subtle illumination. After going down a somewhat long corridor, you’ll reach the tricky third section, featuring a series of flame pillars blocking your path. These flame pillars will appear and disappear following a set rhythm.


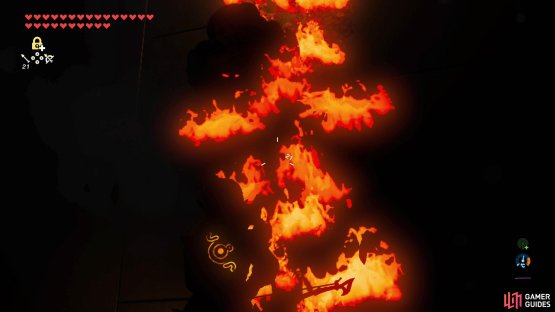
(1 of 2) Touching a flame pillar will result in instant death.
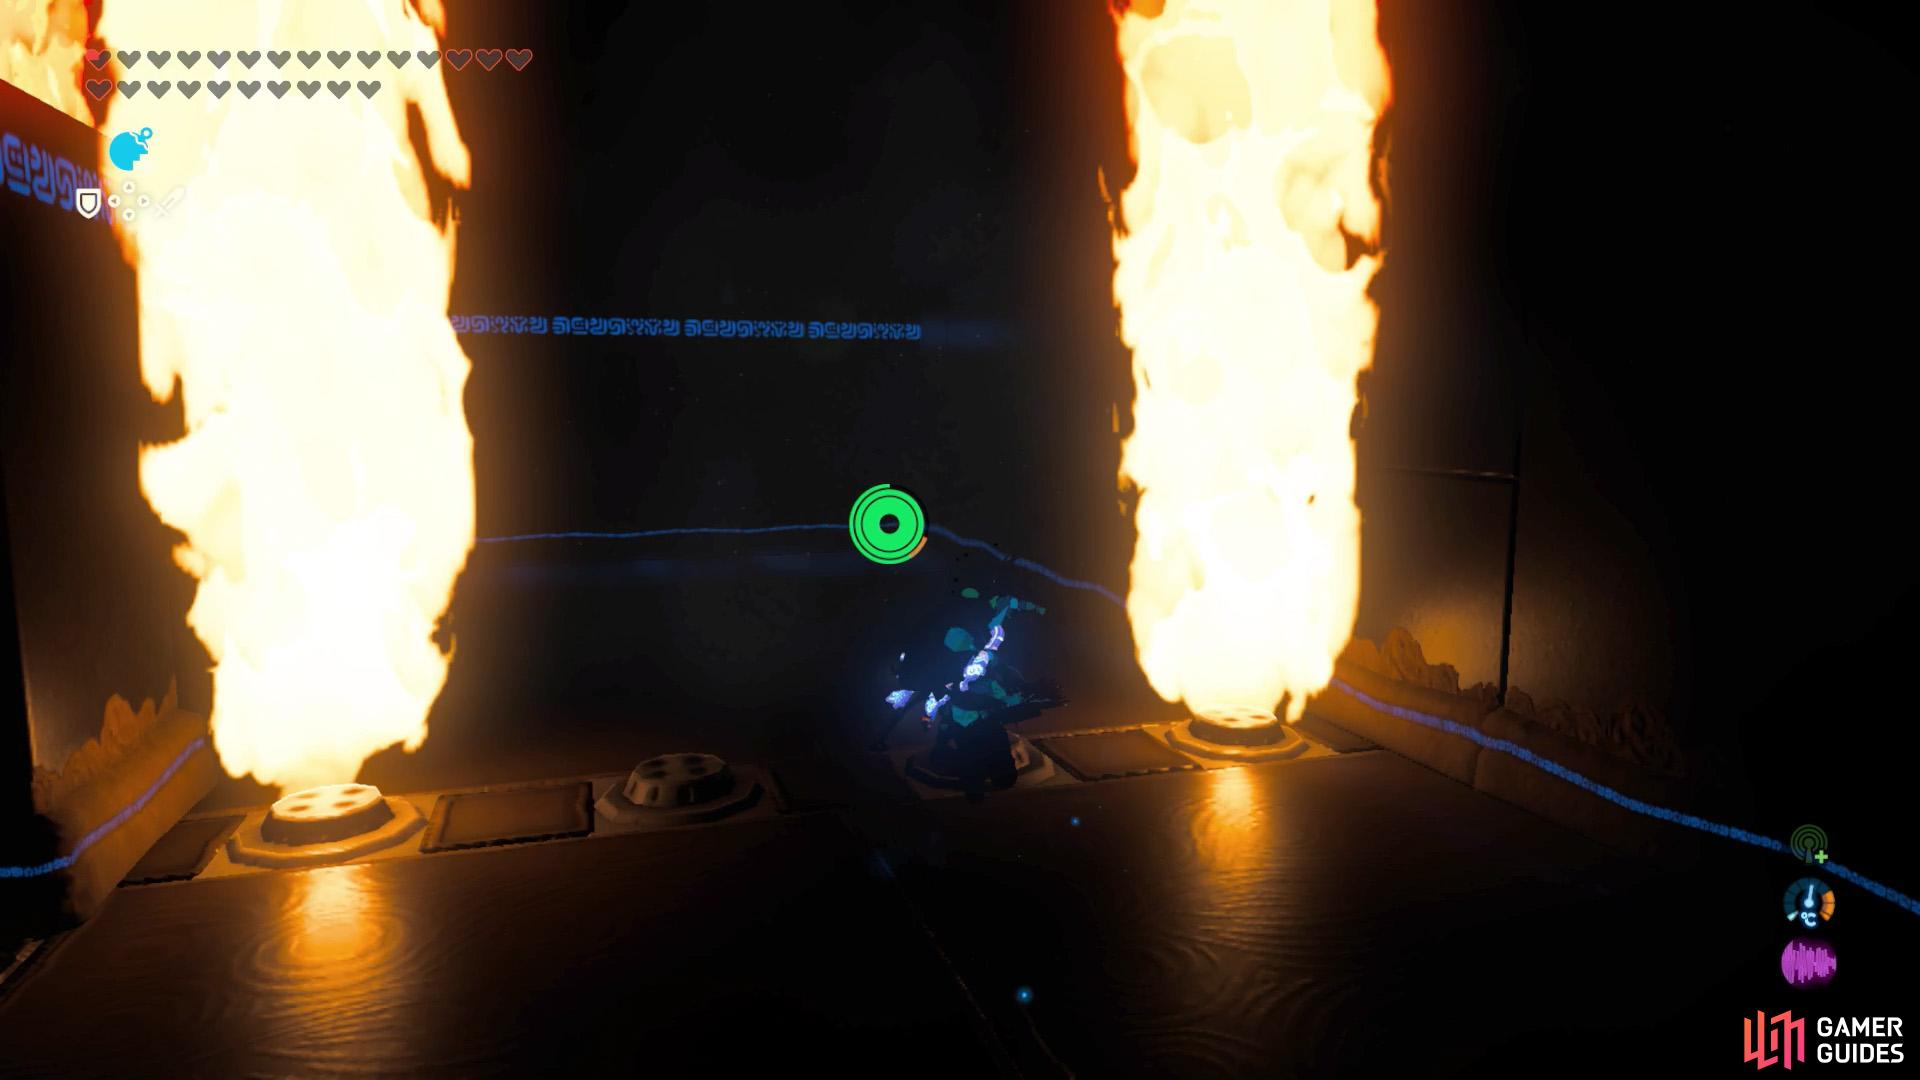
Touching a flame pillar will result in instant death. (left), Observe the flame pillars; wait for one to disappear, then run past. (right)
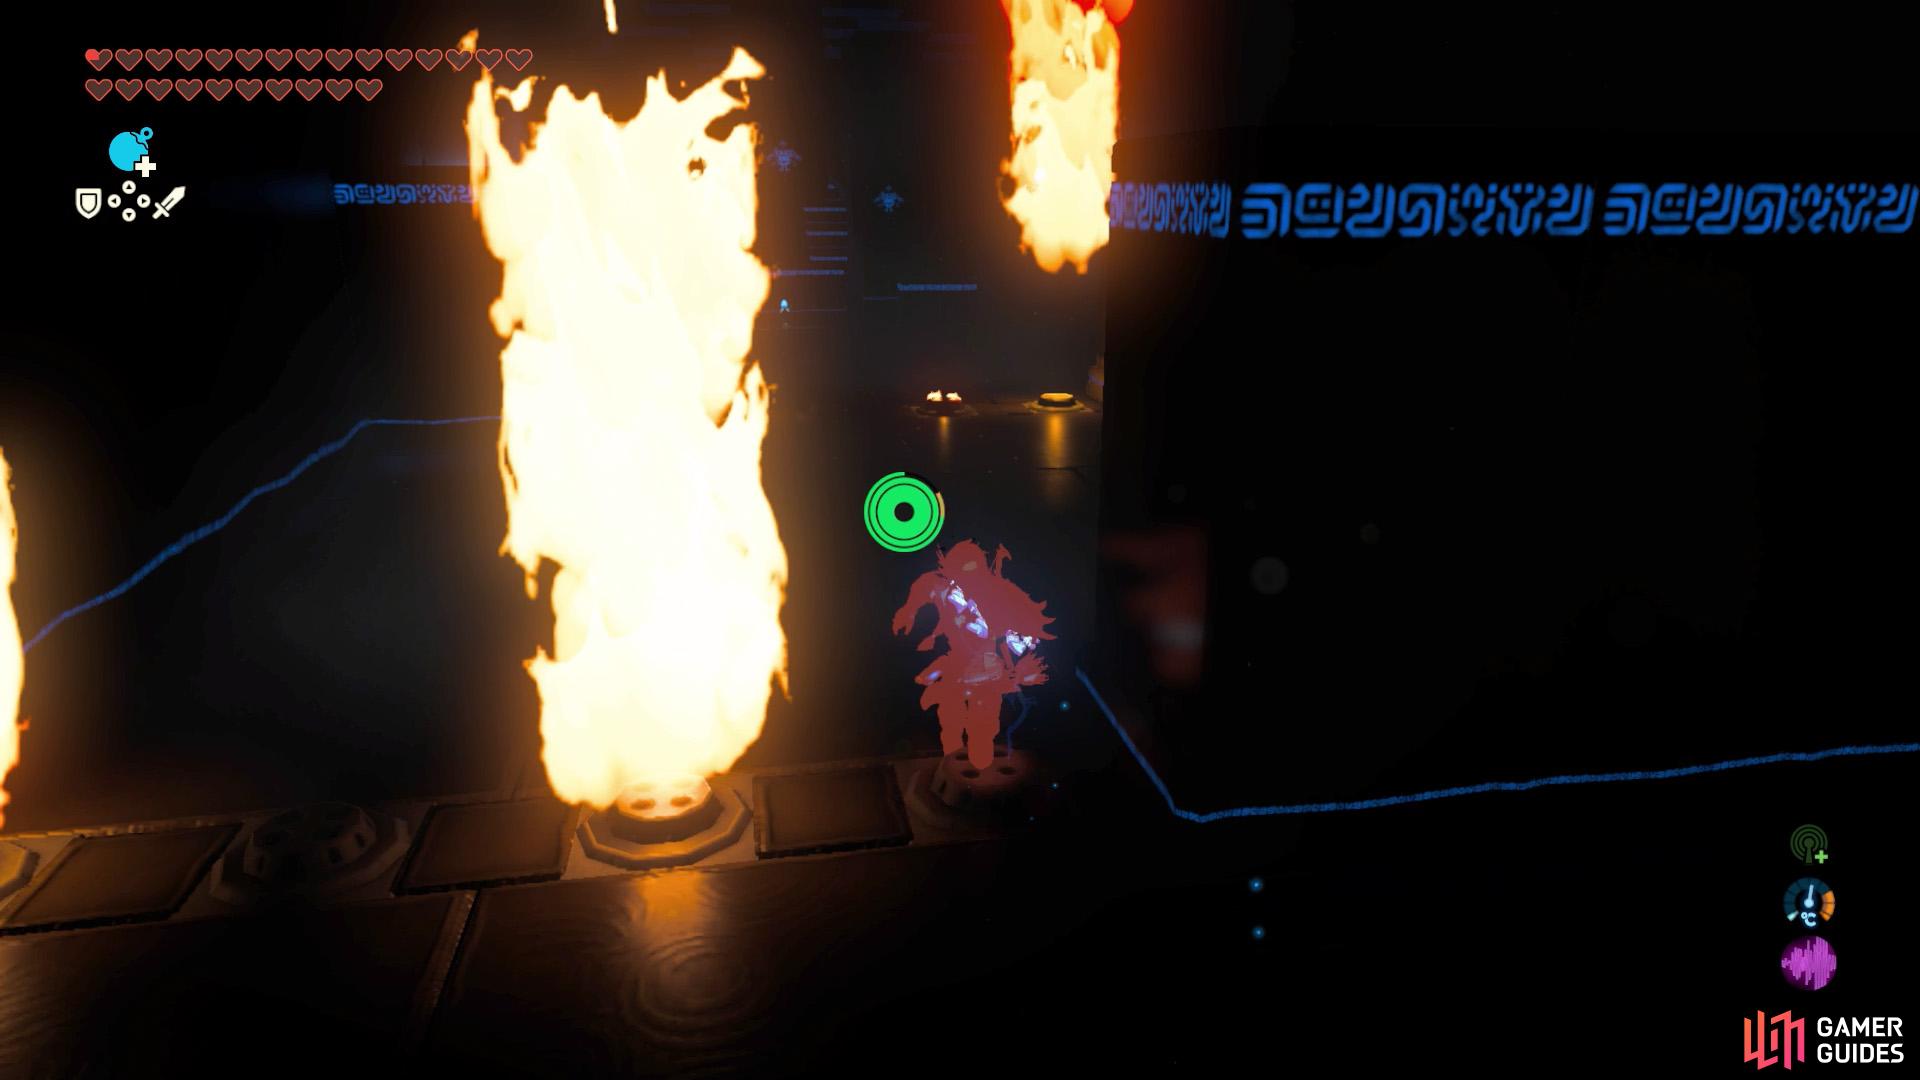
For the first set of flame pillars, the left-most and right-most pillars will always be active. So you must pass through the middle, when it’s clear. The second set of pillars alternates between the first/third pillars and the second/fourth pillars. Carefully pass along the edges when it’s safe.
The third and final set of flame pillars has a kind of complex pattern. Regardless of the pattern, the same principle applies. Stay near the left-most or right-most pillar, wait for the pillar to disappear, then quickly run past.
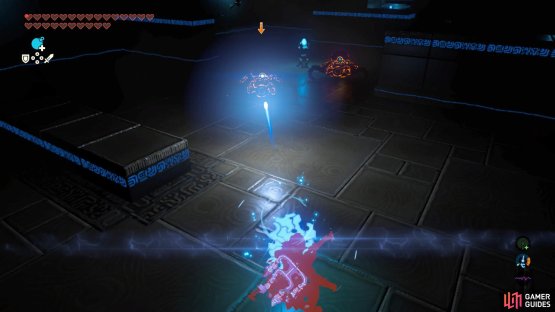

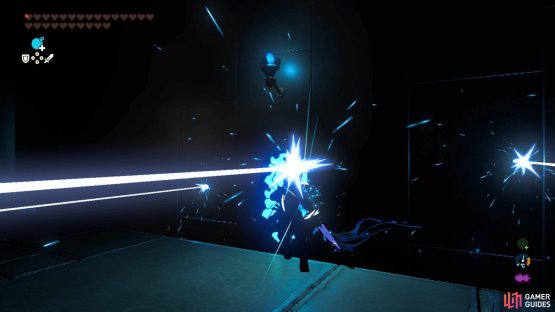
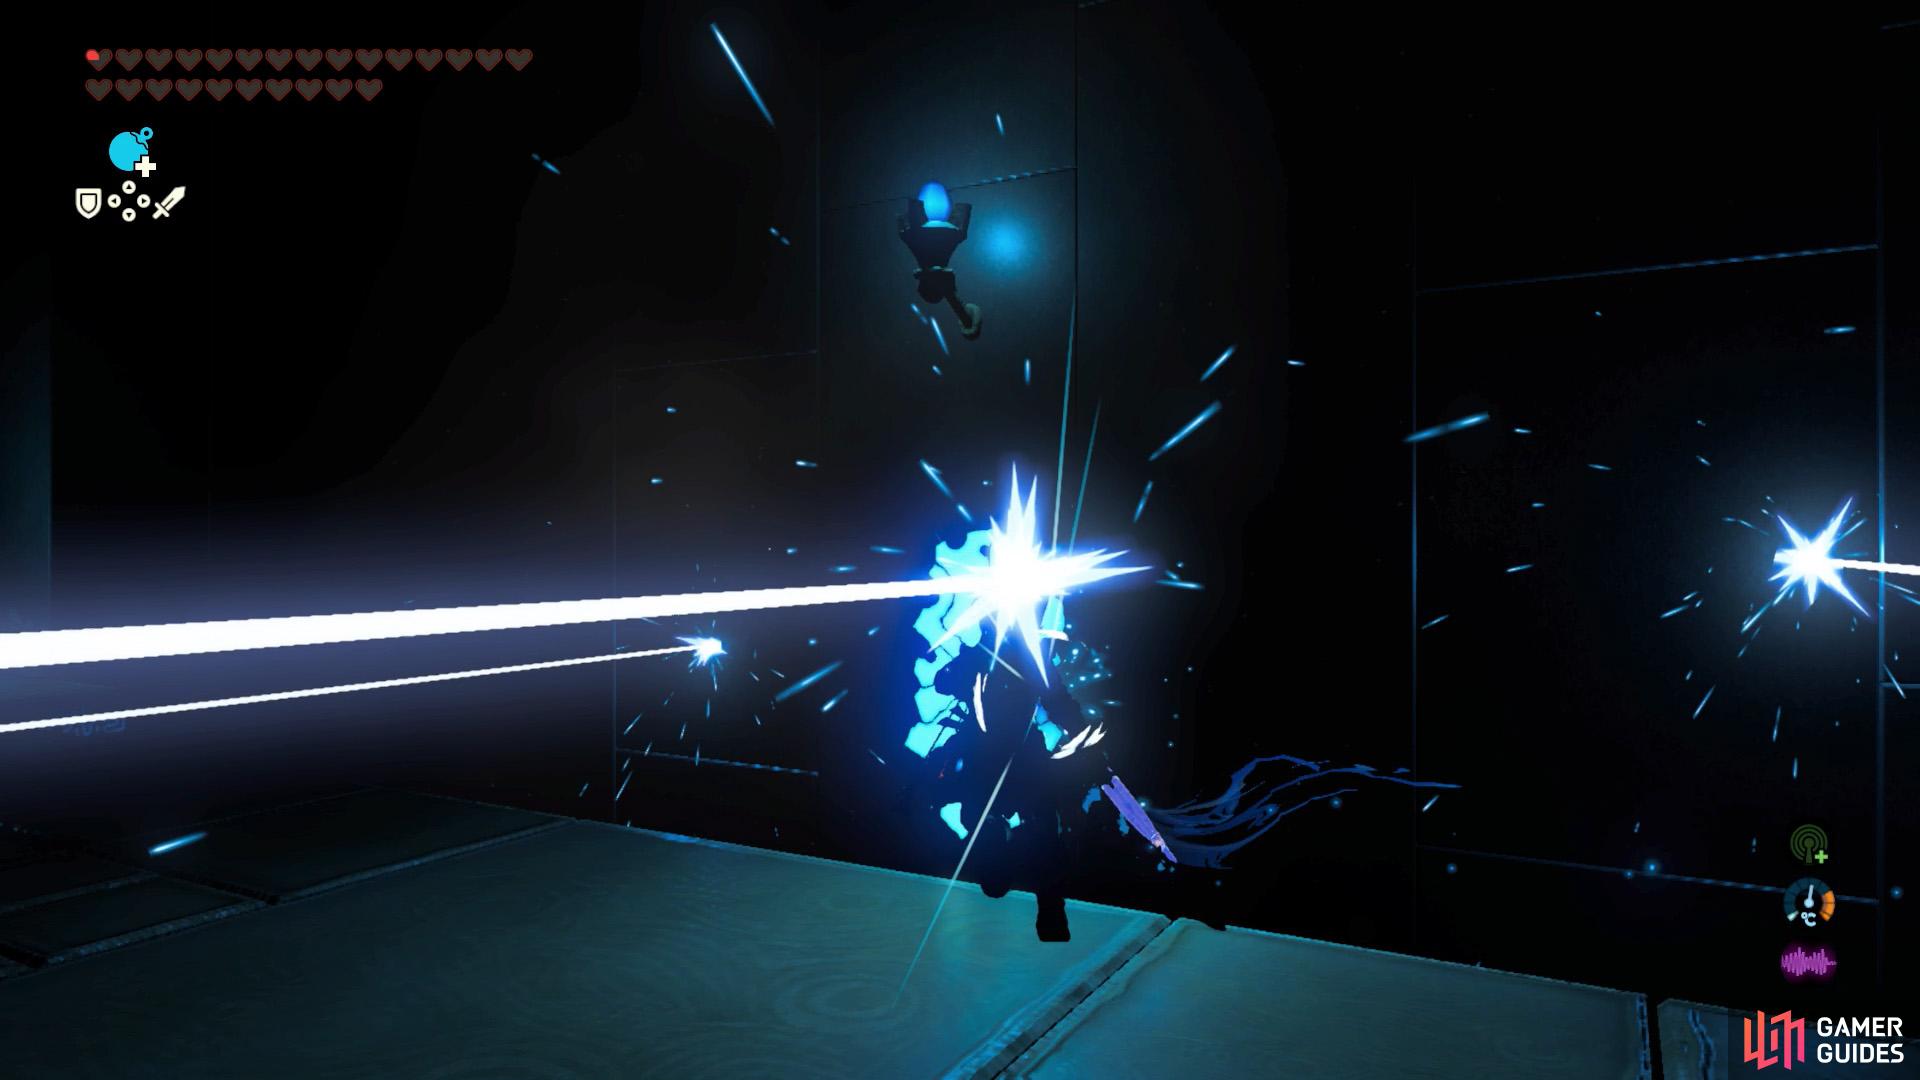
(1 of 2) The second and third scout may attack you at once.
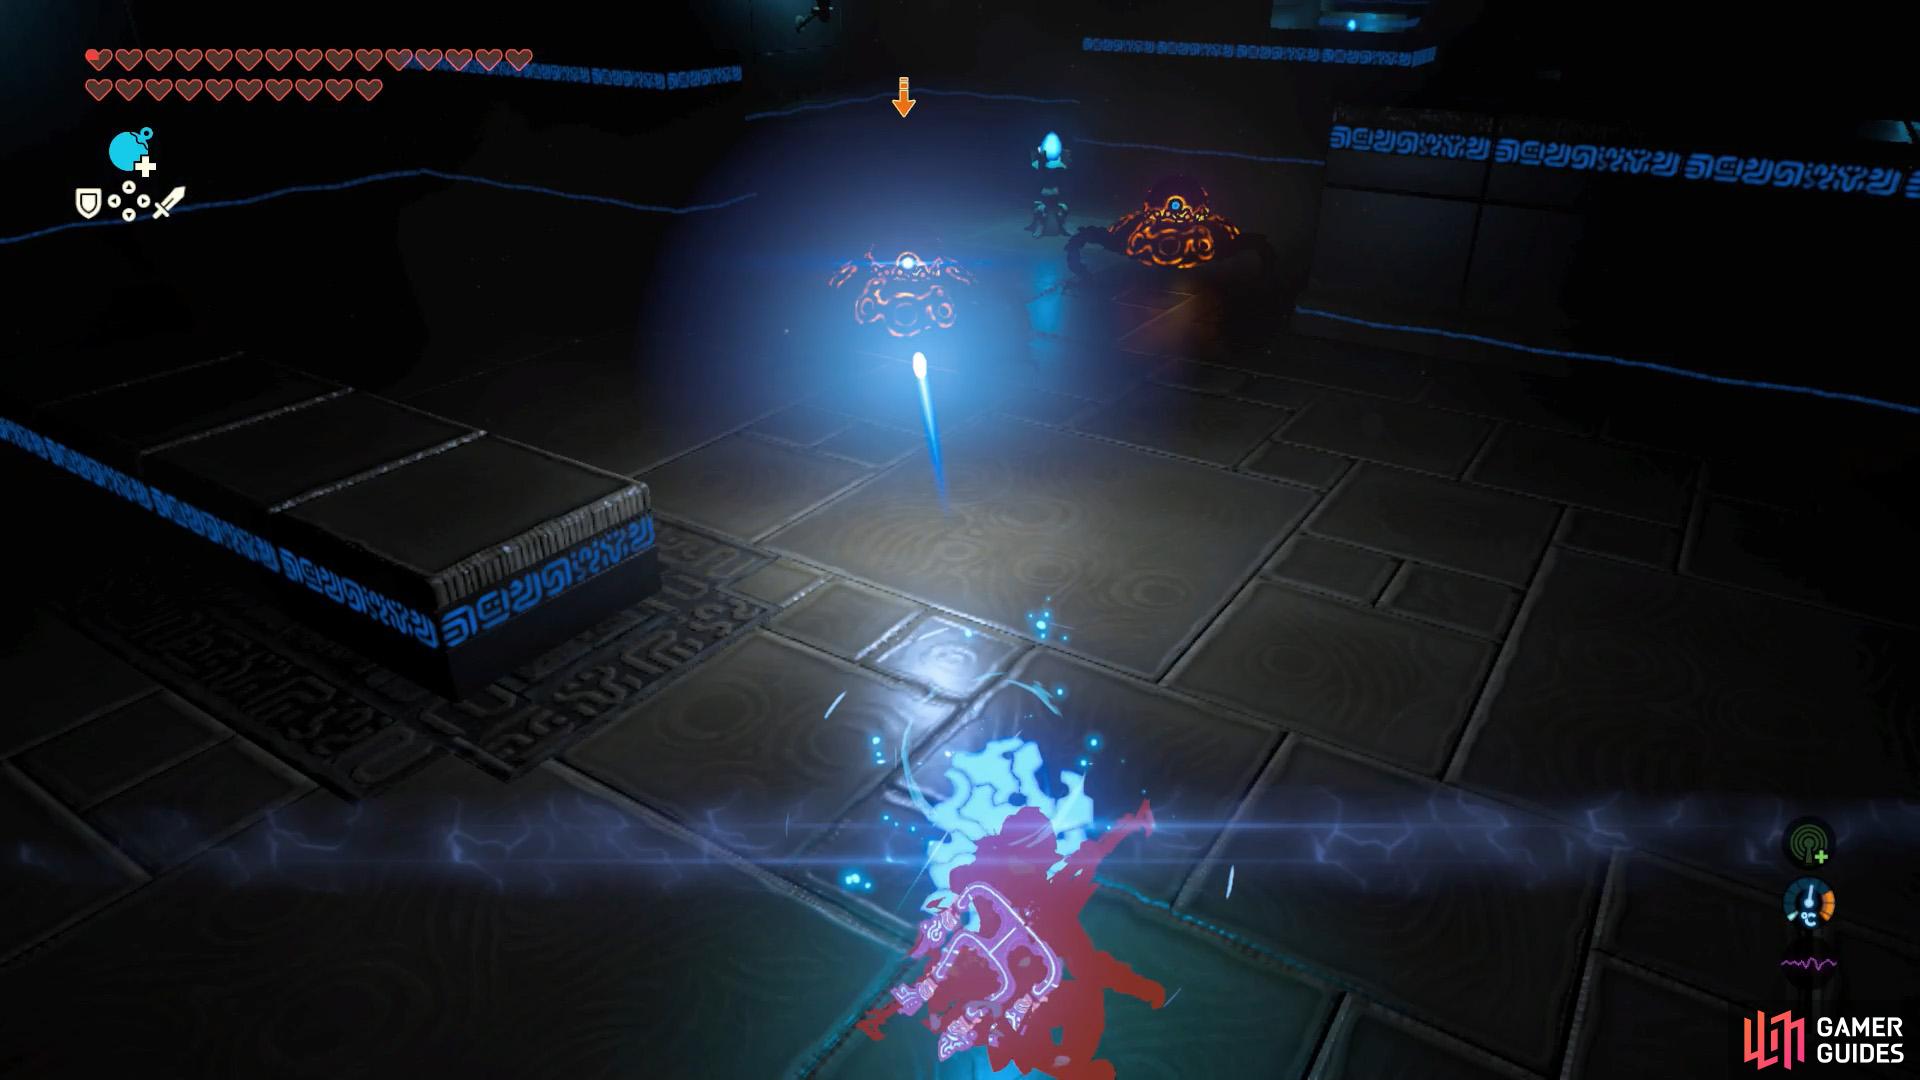
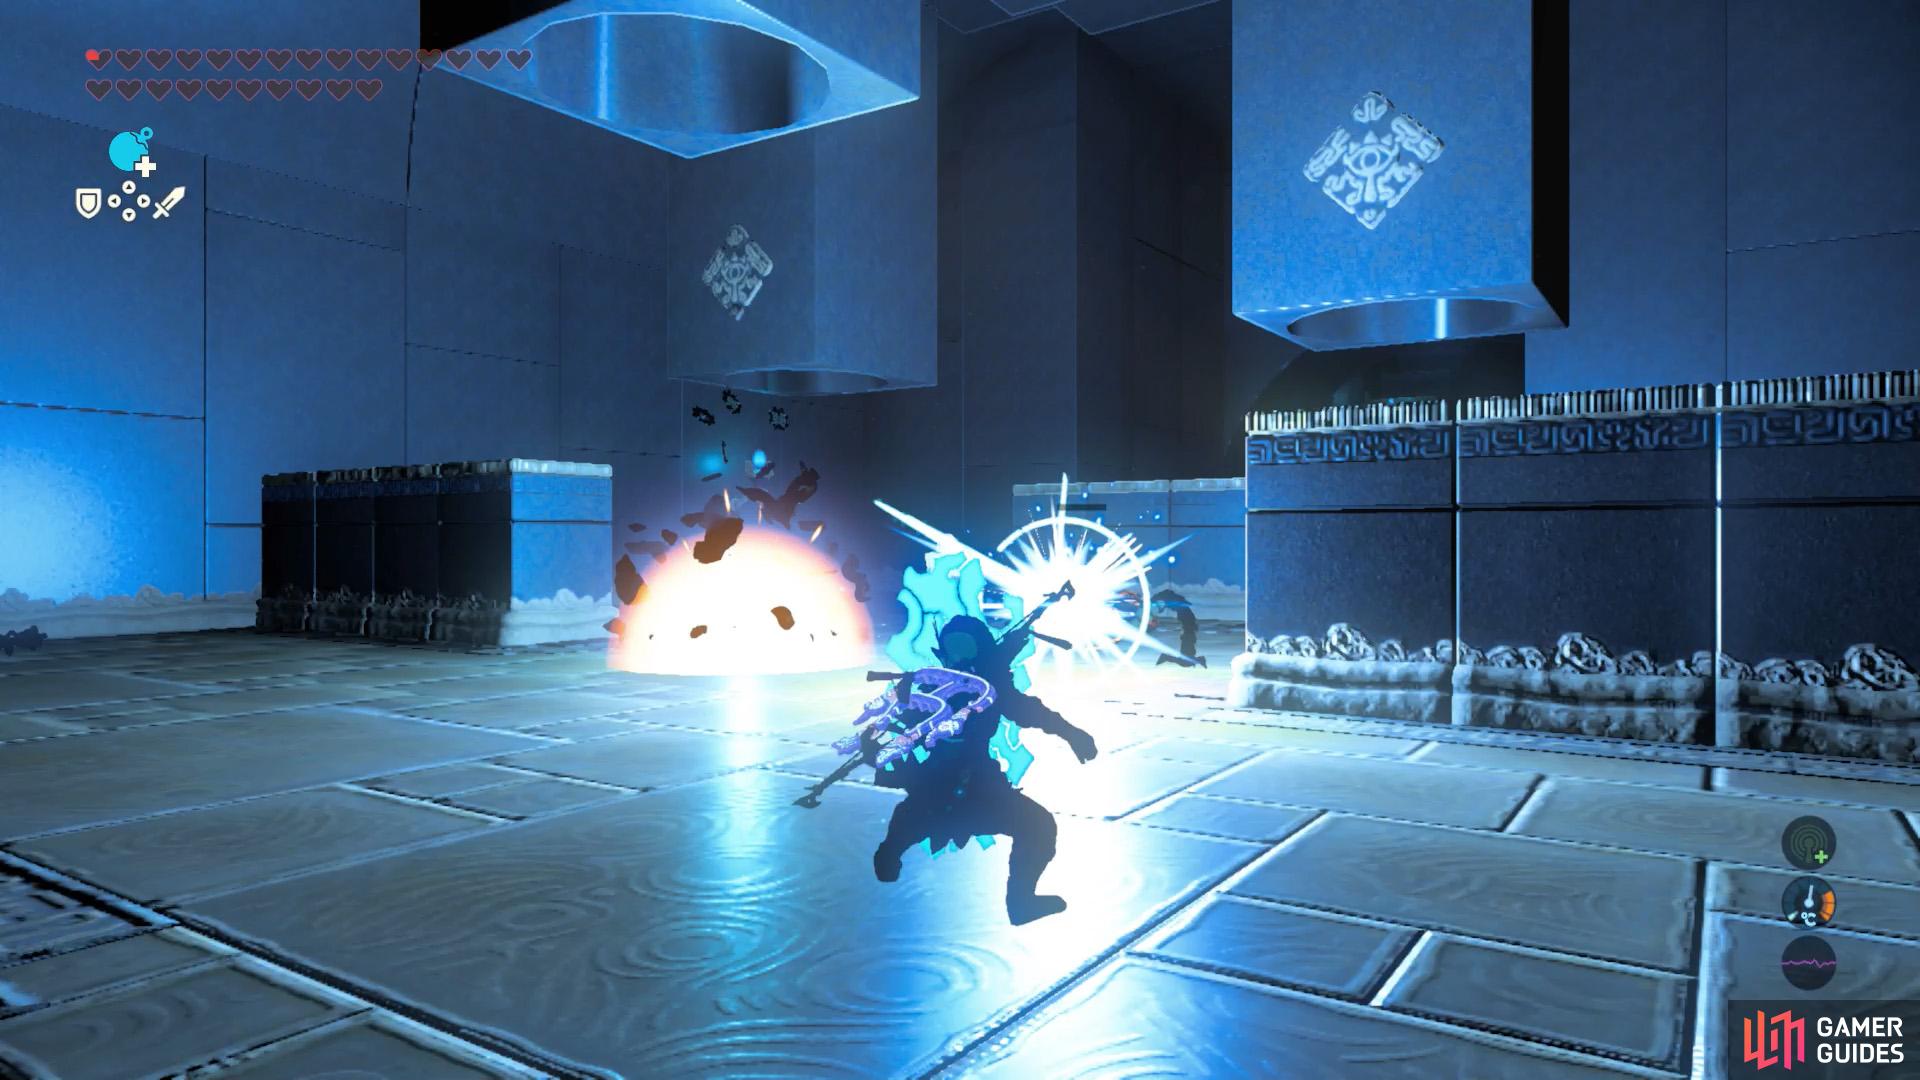
The second and third scout may attack you at once. (left), However, if you keep your distance and your shield up, it should be easy to bounce back their lasers. (right)
Now for the last part of this trial. Ahead, there are three Guardian Scouts ready to end your career. We highly recommend equipping the Guardian Shield (you can get some from the Ruvo Korbah Shrine). Approach the scouts one by one, where possible, and simply hold the shield to reflect their lasers, killing them on impact. Beyond is the monk and the exit.
Outside
If this is your final completed shrine, Maz Koshia will speak with Link telepathically. He congratulates Link, but mentions that Link’s trials have only just started. The One-Hit Obliterator will break apart and summon four monuments near the Divine Beasts. Naturally, your next task is to inspect these monuments.
No Comments