
This is the final boss fight in The Champions’ Ballad DLC quest. To access it, you’ll first need to complete the following:
- One-hit Obliterator Trials
- Ex Champion Mipha’s Song
- Ex Champion Daruk’s Song
- Ex Champion Revali’s Song
- Ex Champion Urbosa’s Song
- The Divine Trial
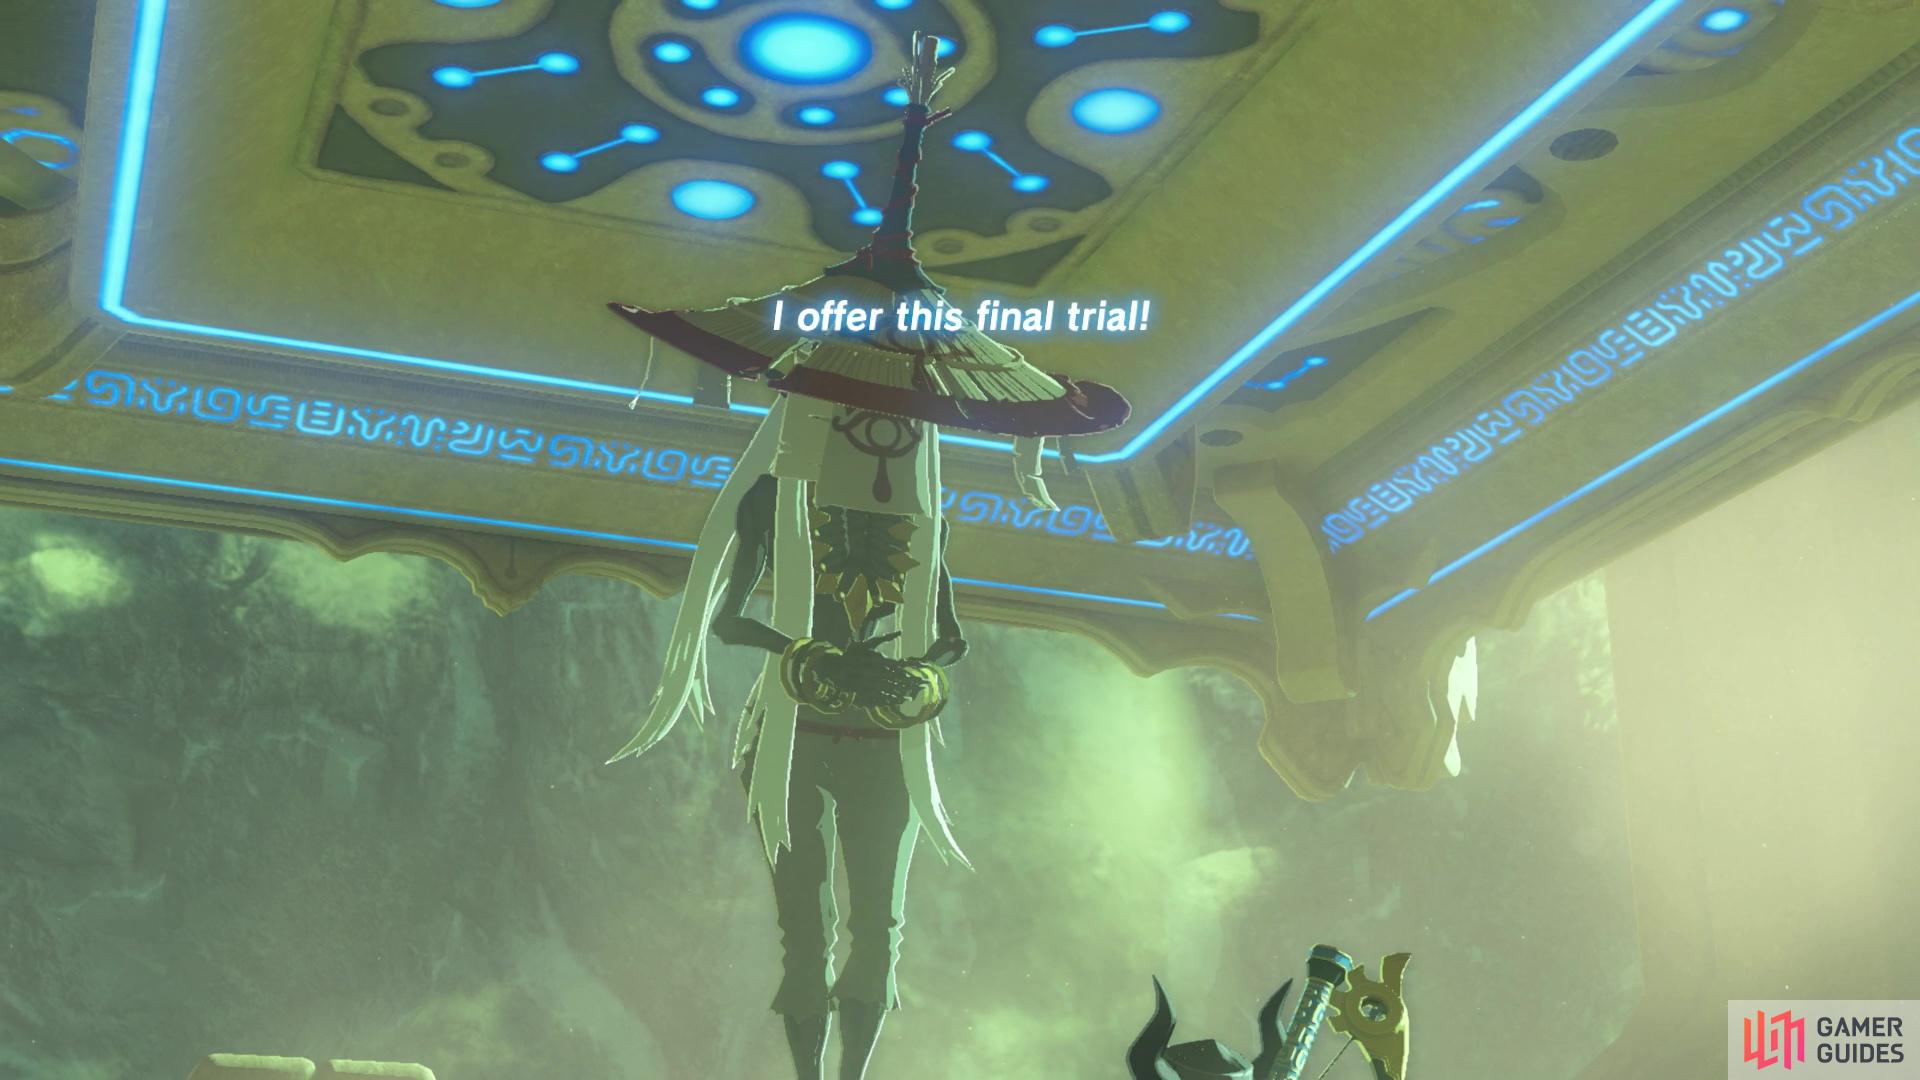
Monk Maz Koshia will offer up himself as the final trial!
How to Beat Monk Maz Koshia
After you’ve opened the door during The Divine Trial at the Shrine of Resurrection, you’ll need to speak to the Monk, who will then offer himself as the final trial.
I hope you’ve bought some food with you because this fight is tough! He has four main phases, with a few sub-phases in each main phase. Luckily, you do have your champion abilities, but just make sure they’re fully recharged, and that you also have food, arrows and good weapons. Any hard-hitting weapon is good, but you may want to prioritise having strong single-handed weapons or spears, so you can also attack quickly. The monk moves around super fast, making him harder to hit with slower weapons - maybe leave the Cobble Crusher or the Royal Claymore at home for this fight! Anything like the Master Sword, or any of the elemental swords or spears are useful for quick attacks!
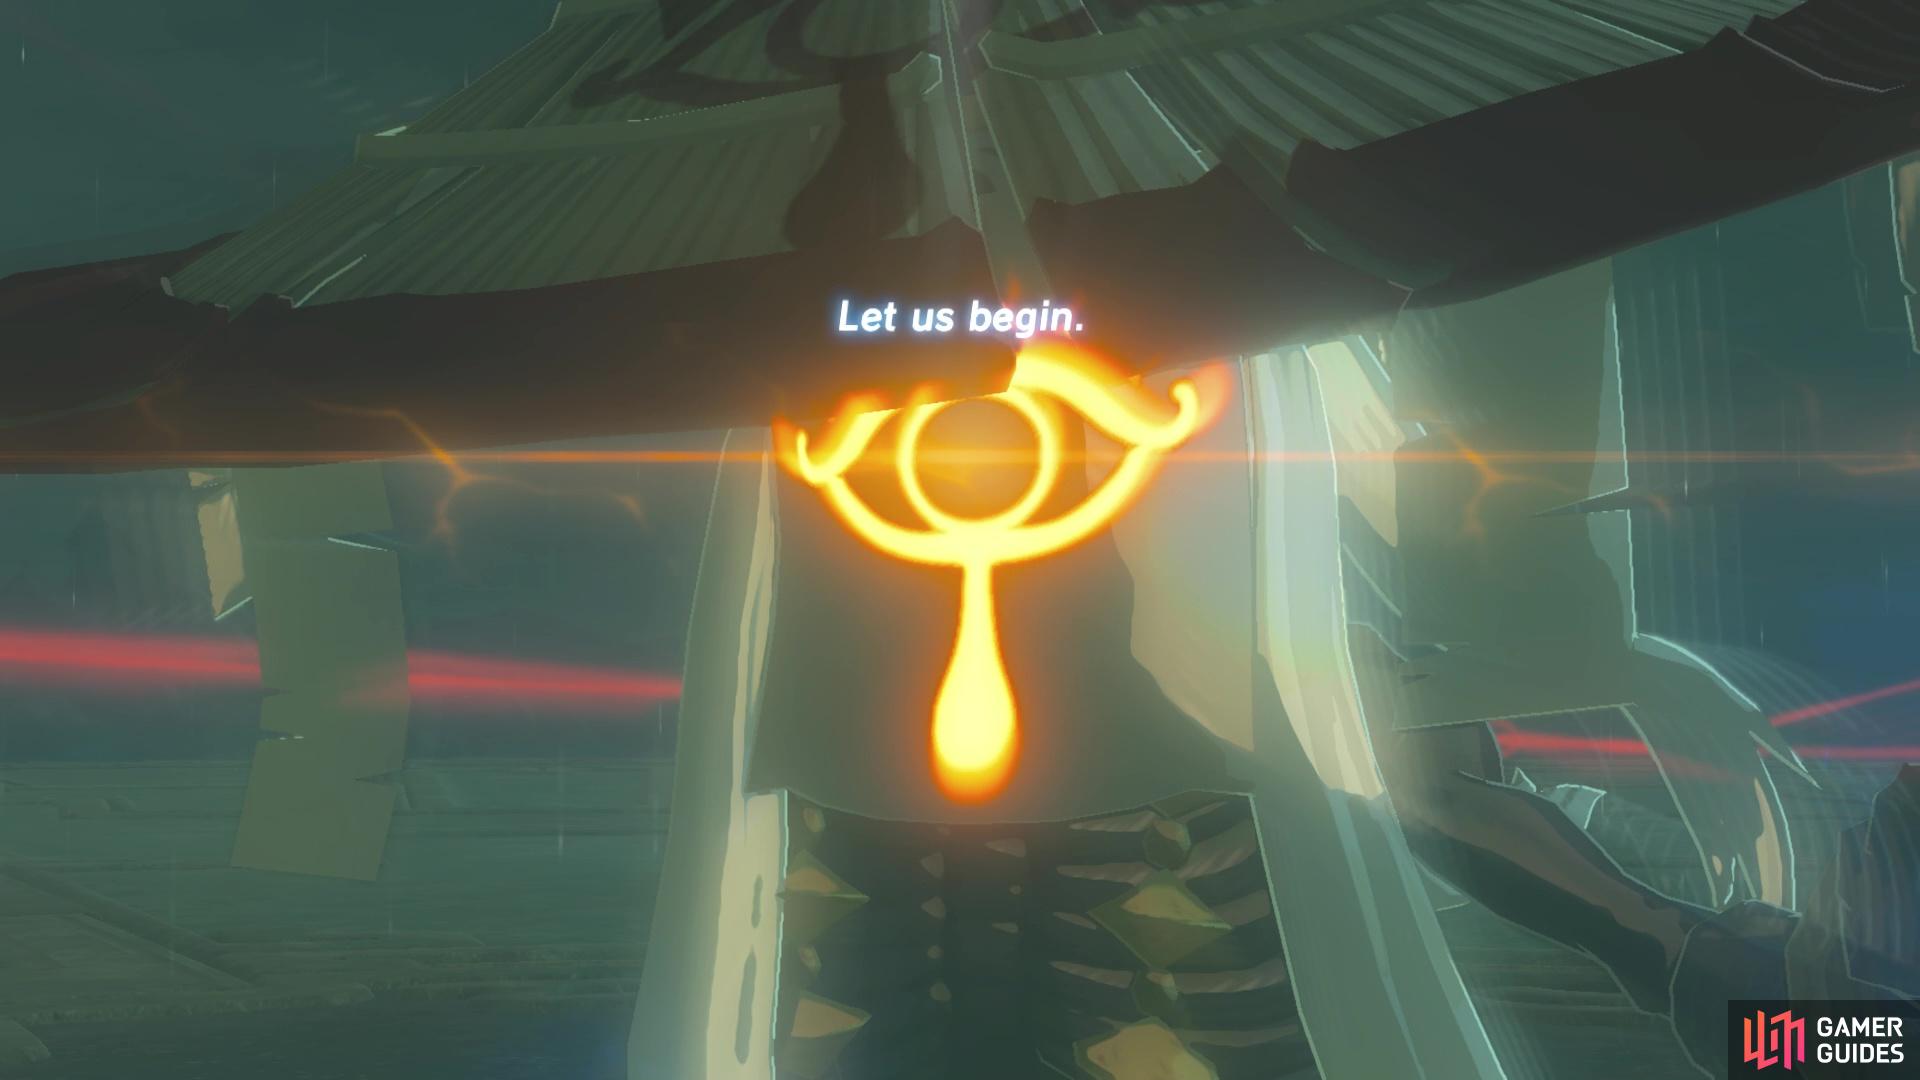
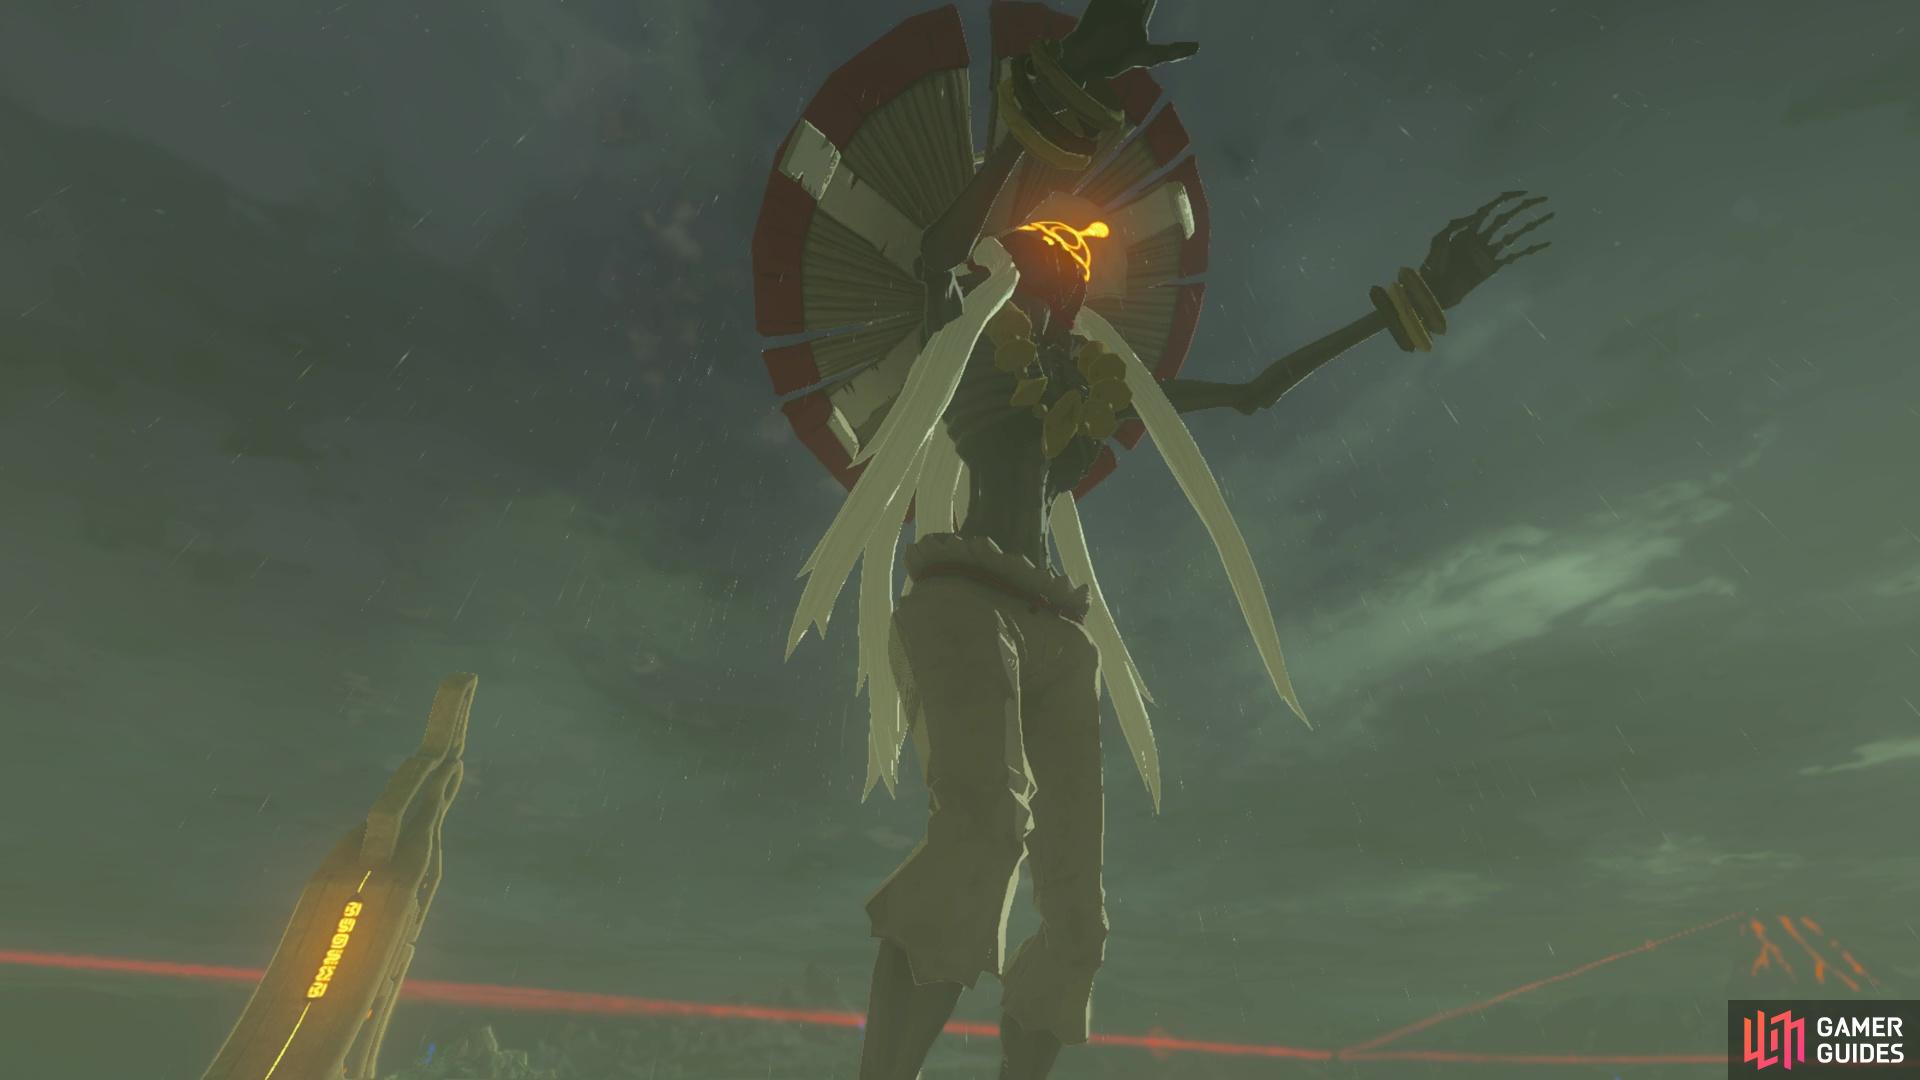
It’s time for one of the most brutal fights in the game!
Phase One
During the first part of phase one, he will rush around a bit like Thunderblight Ganon, flashing around and then hitting you. To counter this, you’ll want to parry or dodge, using the following controls.
| Ability | Controls combo |
|---|---|
| Perfect Guard |  Ready Shield > Ready Shield >  Parry Parry |
| Sidehop | Target enemy >  ⮜ or ⮞ Strafe > ⮜ or ⮞ Strafe >  Jump Jump |
| Backflip | Target enemy > ⮟ Backpedal > Jump |
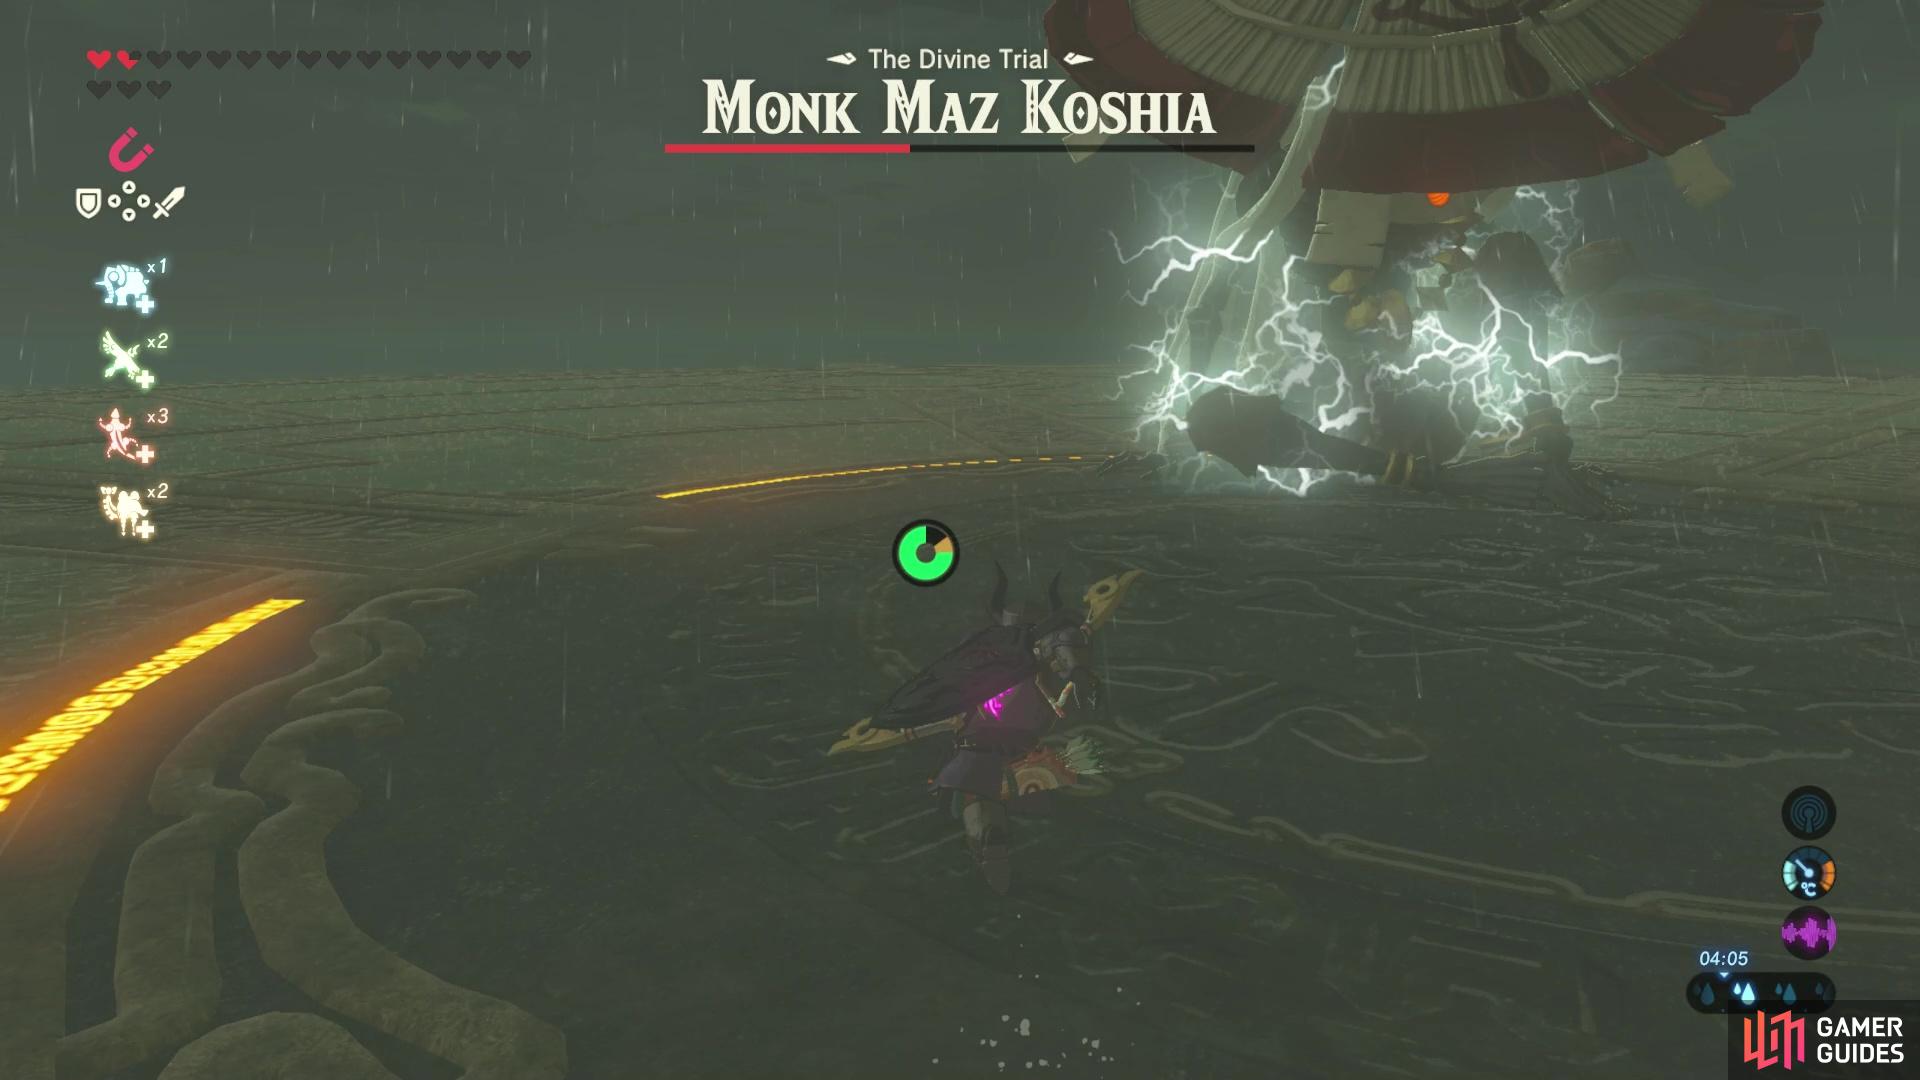
If you ready your shield or target the enemy with Daruk’s Protection up and then get hit, you’ll use up one charge of the ability. It is useful for stunning the Monk but you might want to save some charges of Daruk’s Protection for later phases, as it gets more intense later on! When he misses you with his dashing attacks, you’ll have a short window to hit him, and if you do use Daruk’s then you’ll get a bit longer too. Occasionally he’ll also perform yiga clan-like moves, disappearing then appearing in the sky to shoot you with an elemental arrow.
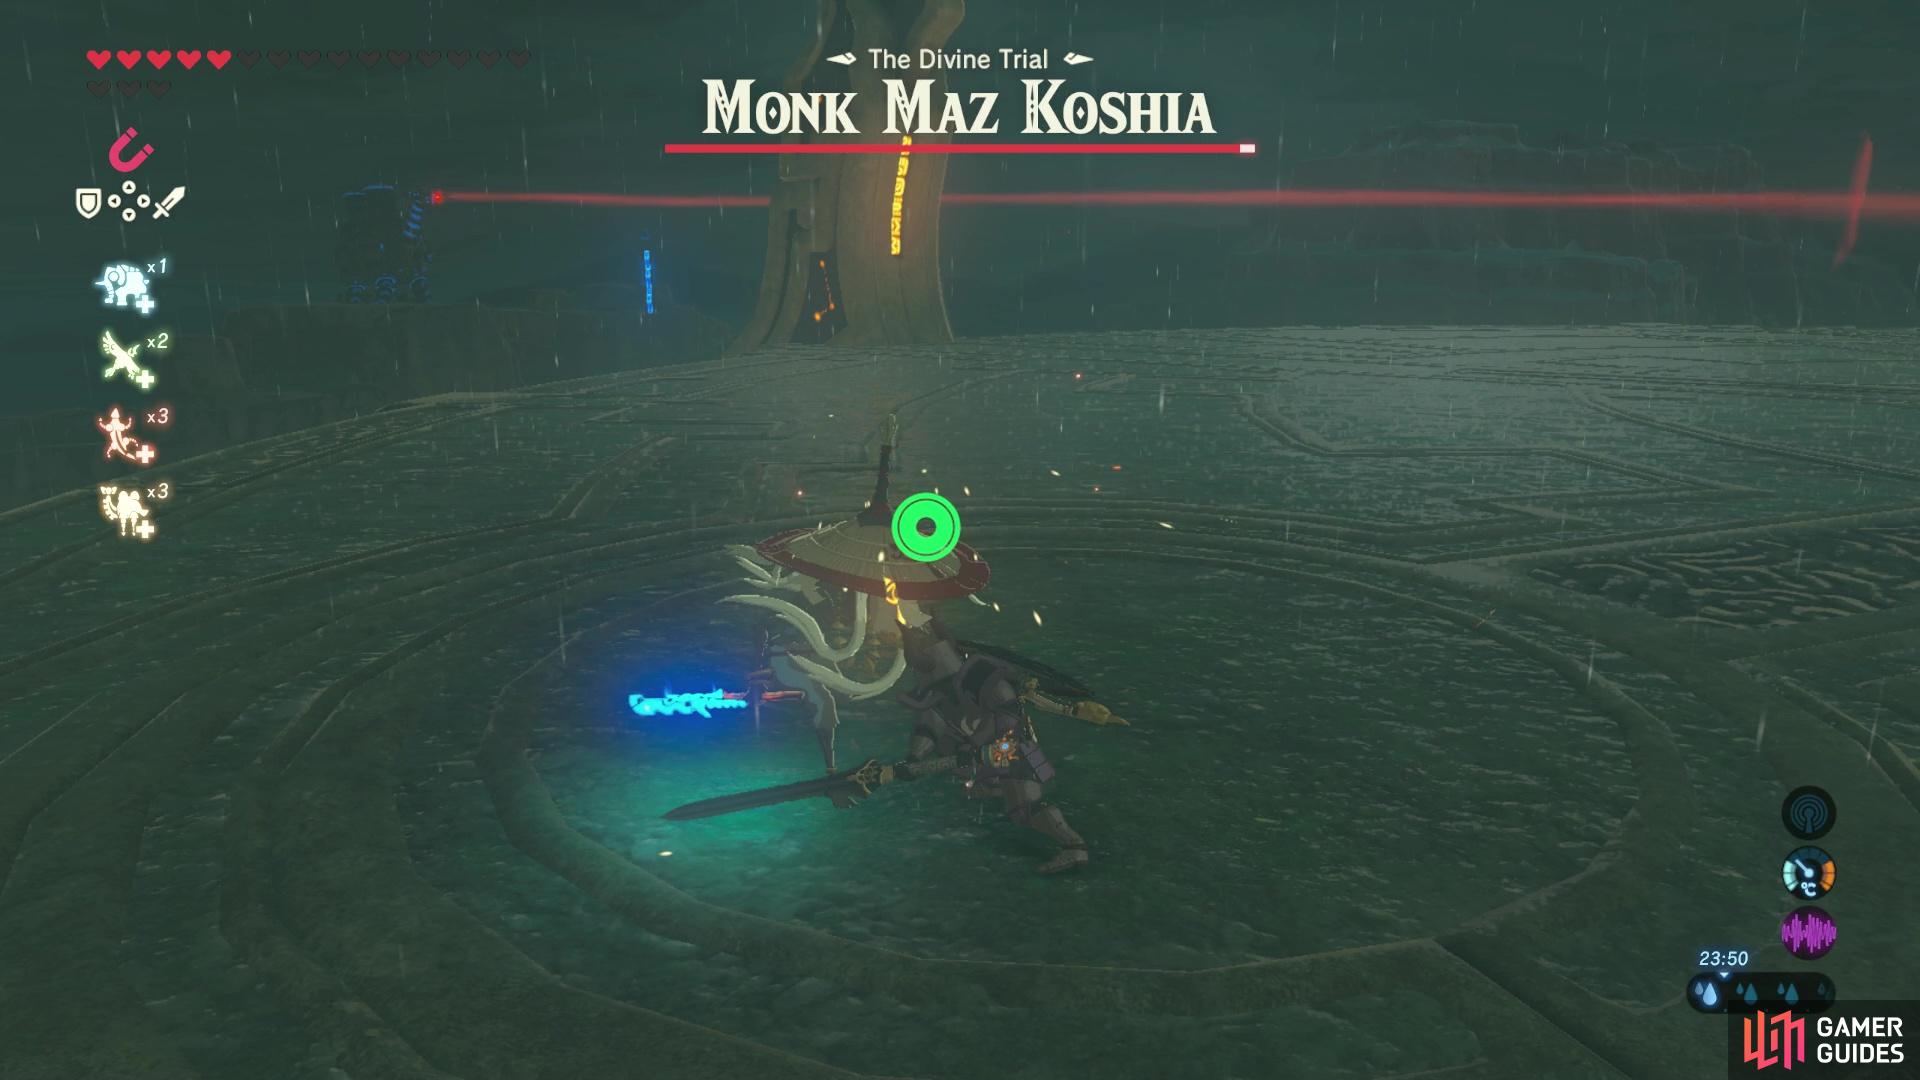
Dodge his attacks and then hit him before he disappears!
You’ll want to be quick with damaging the Monk in the first phase, because the second sub-phase of phase one is really, really annoying. The good thing is, it can be entirely avoided if you damage the Monk to 75% of his health in the first couple of minutes and honestly, you’ll probably be better off aiming to trigger second phase quickly to avoid this.
During the second sub-phase, he’ll do huge yiga clan-like two handed attacks that do massive amounts of damage and are hard to dodge. Then, in between these attacks, he’ll do a terrain attack, sending a homing missile-esque rocky path towards you that sends a massive spike up when it reaches you. To avoid it, you’ll need to jump and paraglide onto the wind it produces and fly from it. Once up in the air, you can try to do a landing attack on the Monk, but you should also be very wary that he can hit you in the air too - you’re not safe!
Watch out for this annoying rock attack.
Essentially, you just want to avoid the second sub-phase if you can, it’s not worth it and it’s entirely avoidable! But, once you’ve hit him for a quarter of his health, you’ll enter into second phase.
Phase Two
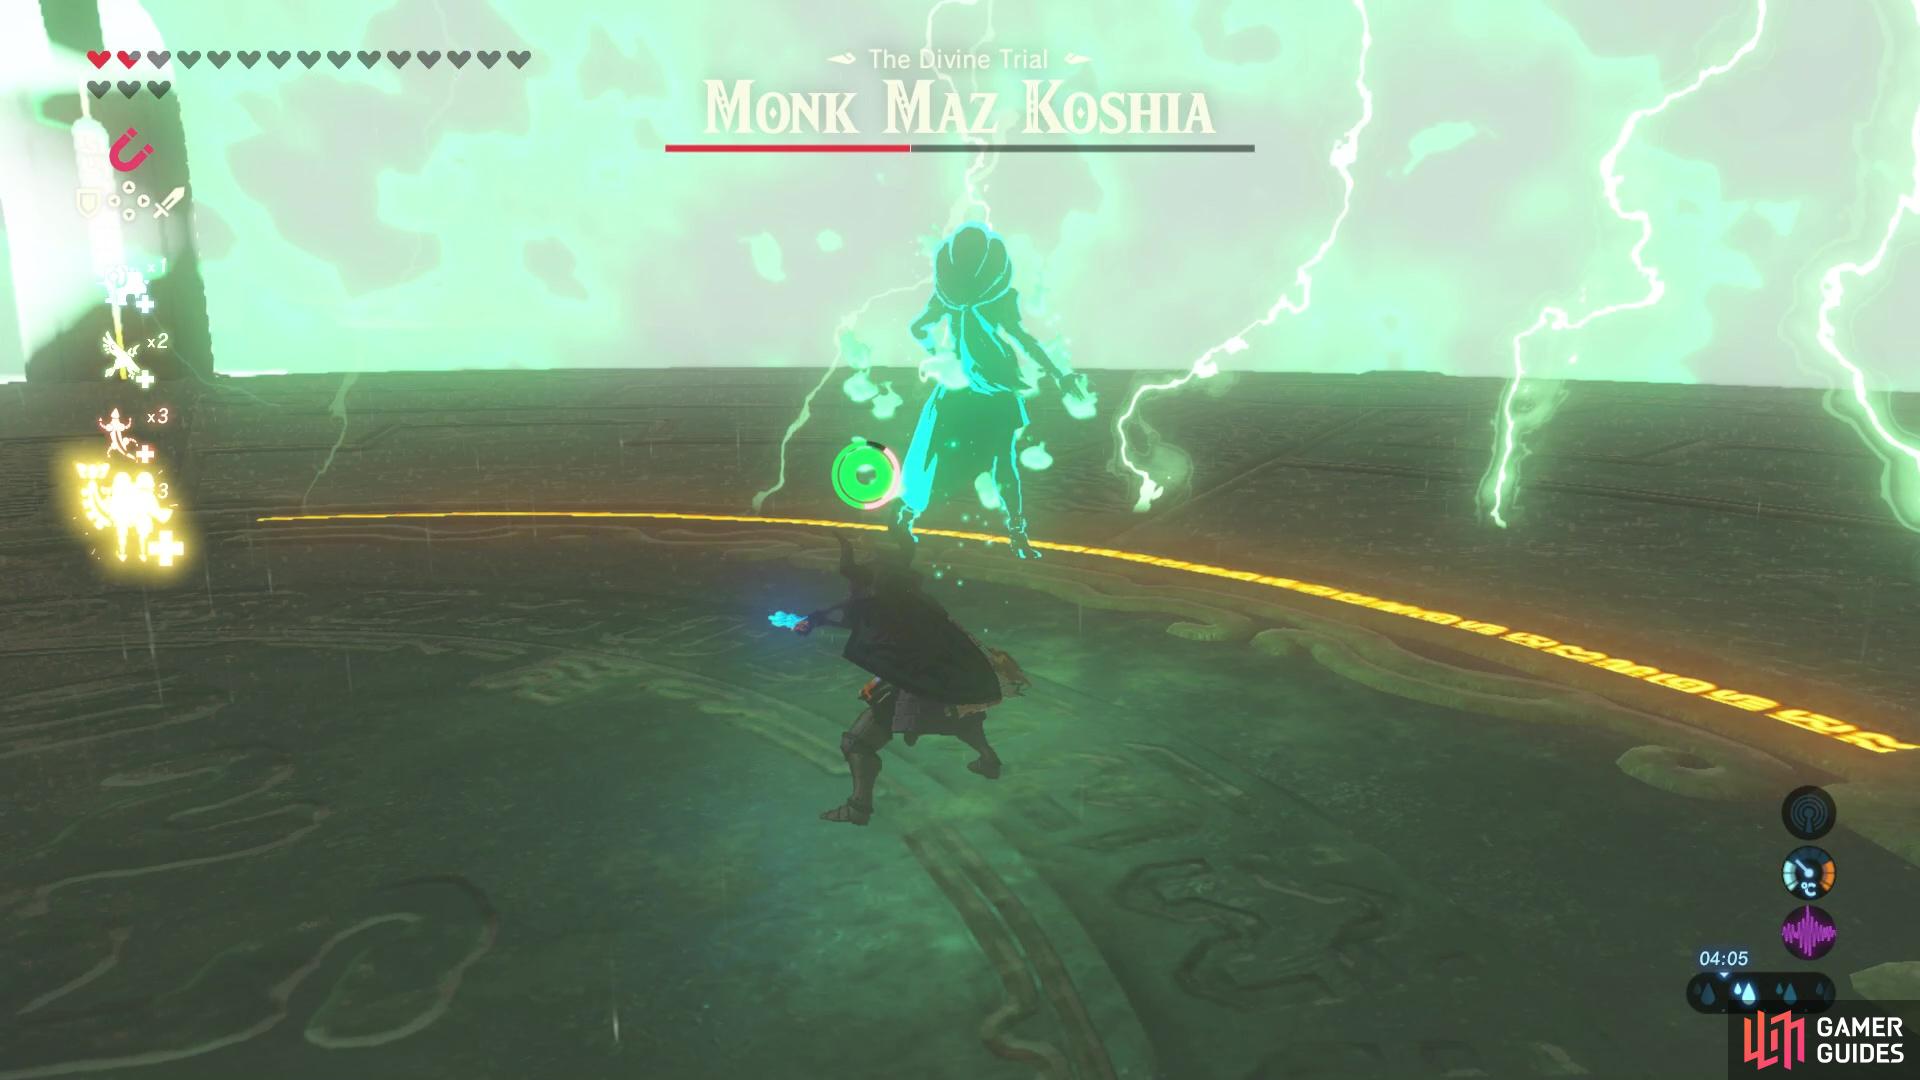
Once you’re in phase two, it gets a bit manic! The monk will make several duplicates of himself and your task is to weed out the real one. The easiest way to do this is with a bow and arrow - the duplicates all get one shot so if they disappear in a puff of smoke you know they’re the fakes! Each time you hit the real Monk, he’ll reset and re-duplicate himself so it’s in your best interest to find him quickly to avoid being chased and hit by the duplicates. This section can feel super chaotic, especially when they do coordinated attacks, run at you and hit you with elemental arrows. Your focus is to find the real one, hit him and repeat the process until you damage the real Monk to half health.
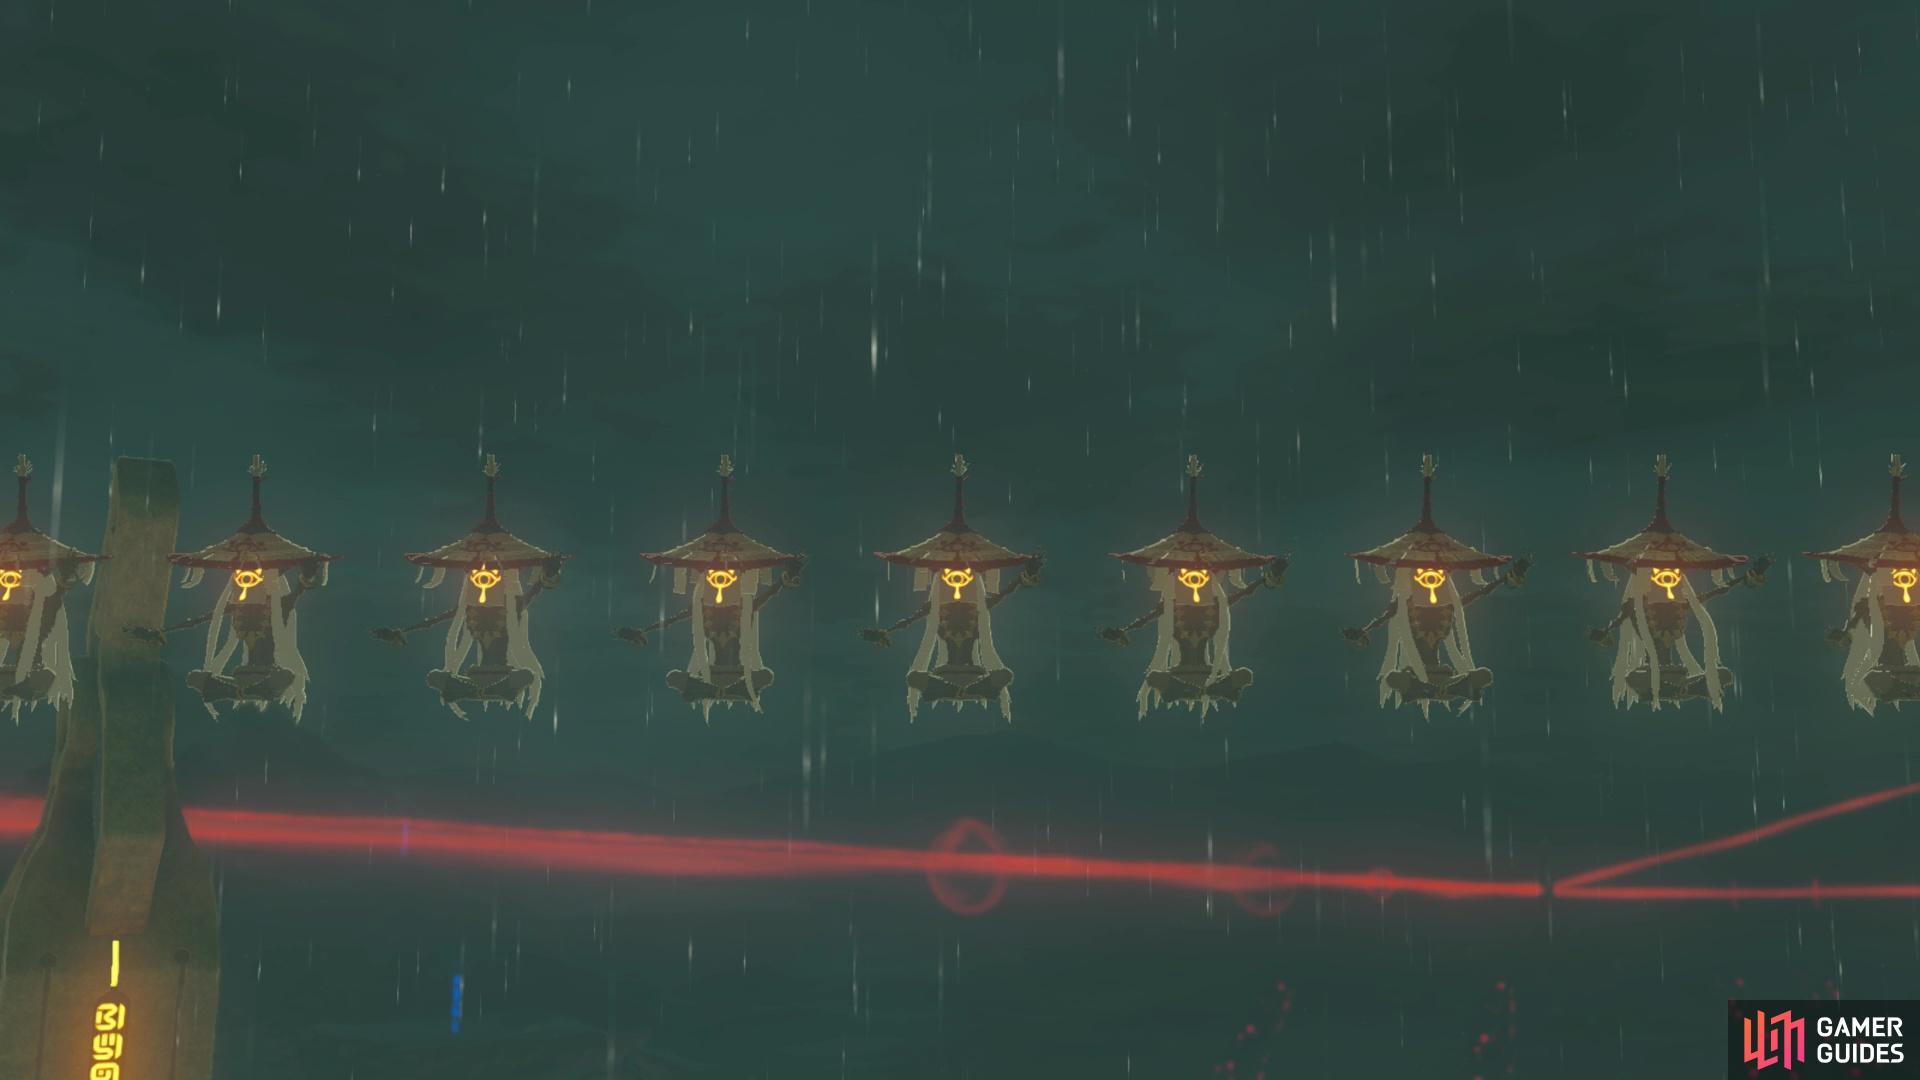
It’s time to fight a bunch of monks - get ready for chaos!
Unfortunately, there isn’t much strategy to this section, just avoid being overwhelmed by the fake Monks and don’t try to hit them with your weapon or get into close range as you’ll quickly be overrun by them. This phase can take a little while since it can take a bit of time to find the right monk and hit him for enough damage.
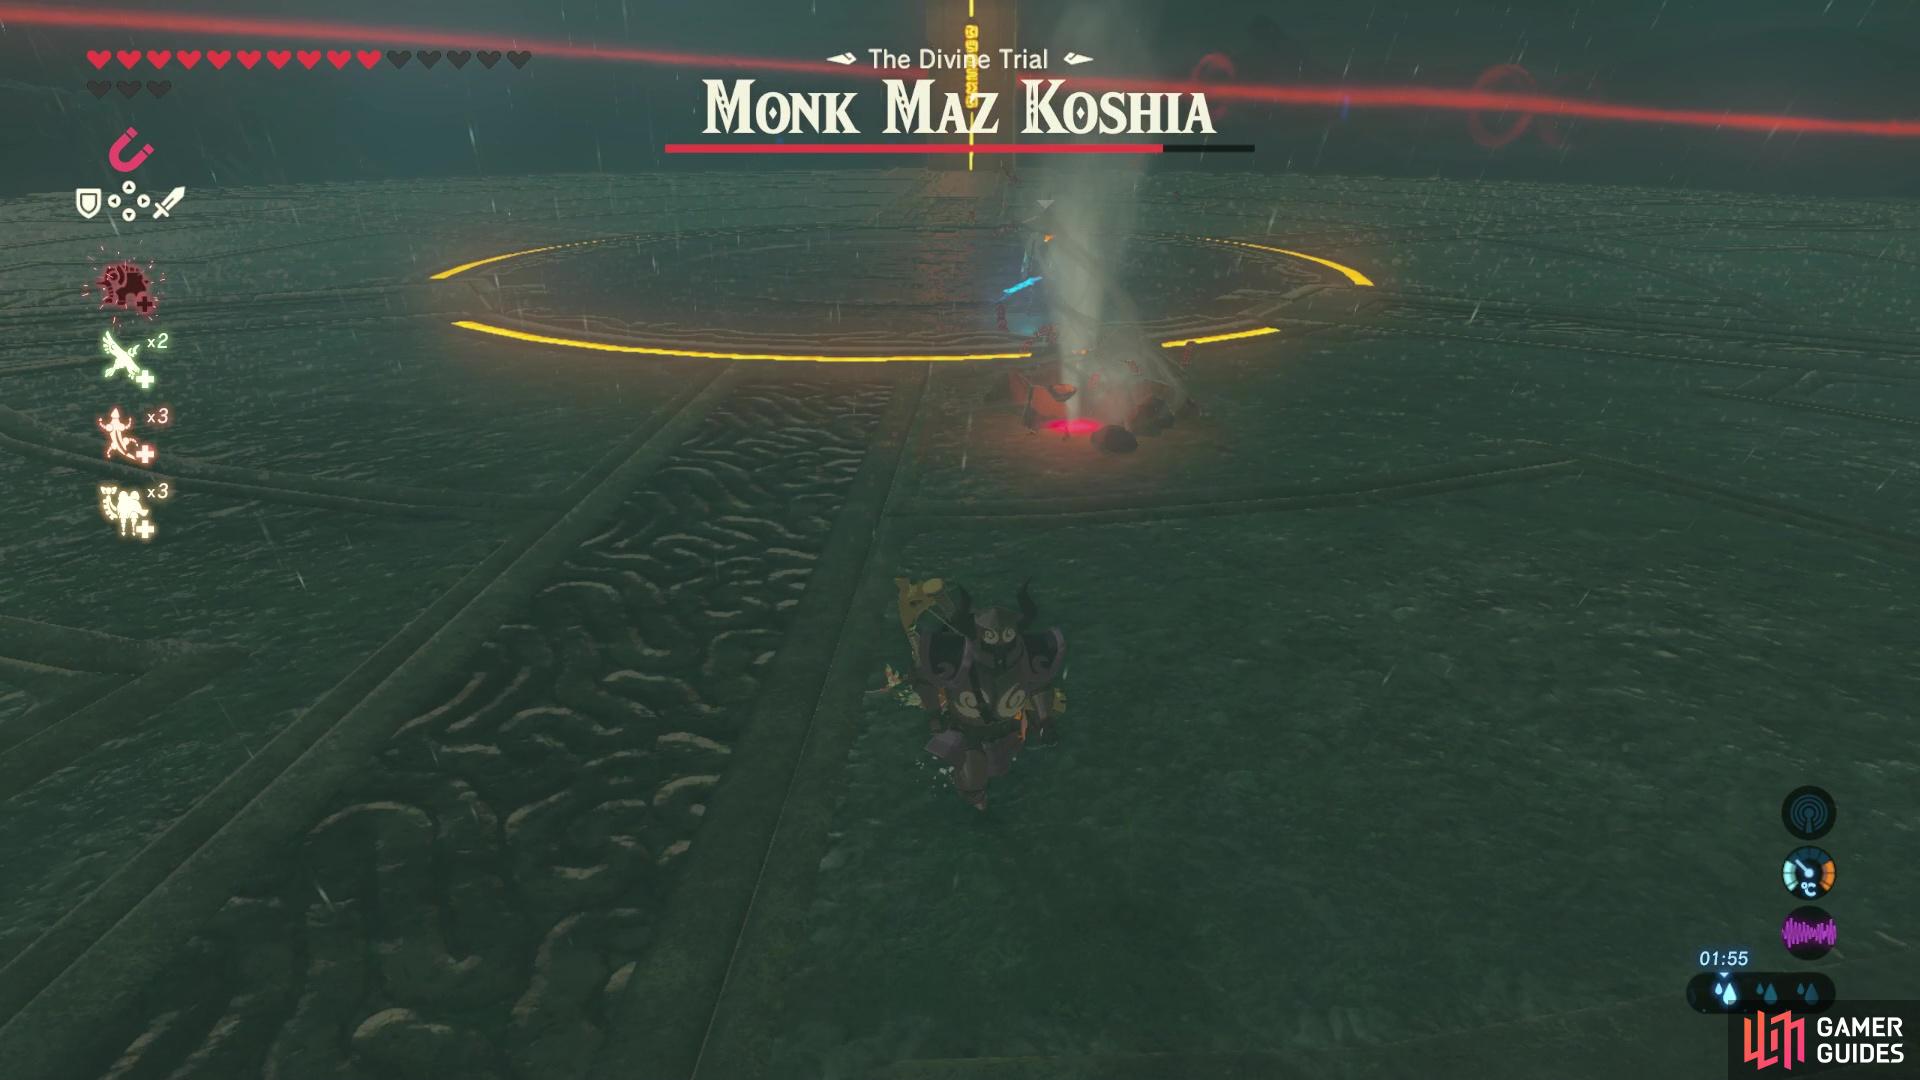
Phase Three
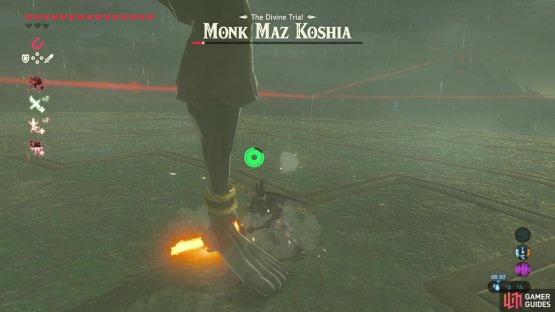
Phase three is triggered when the Monk is damaged for half health. He begins this phase by shooting you with a guardian laser from his eye. You’ll want to shoot him in the eye to stun him and stop him from lasering you! If you have a Guardian Shield or your Master Sword you could parry the attack to deflect the beam back at him! After two laser attempts, he’ll go into the second sub-phase.
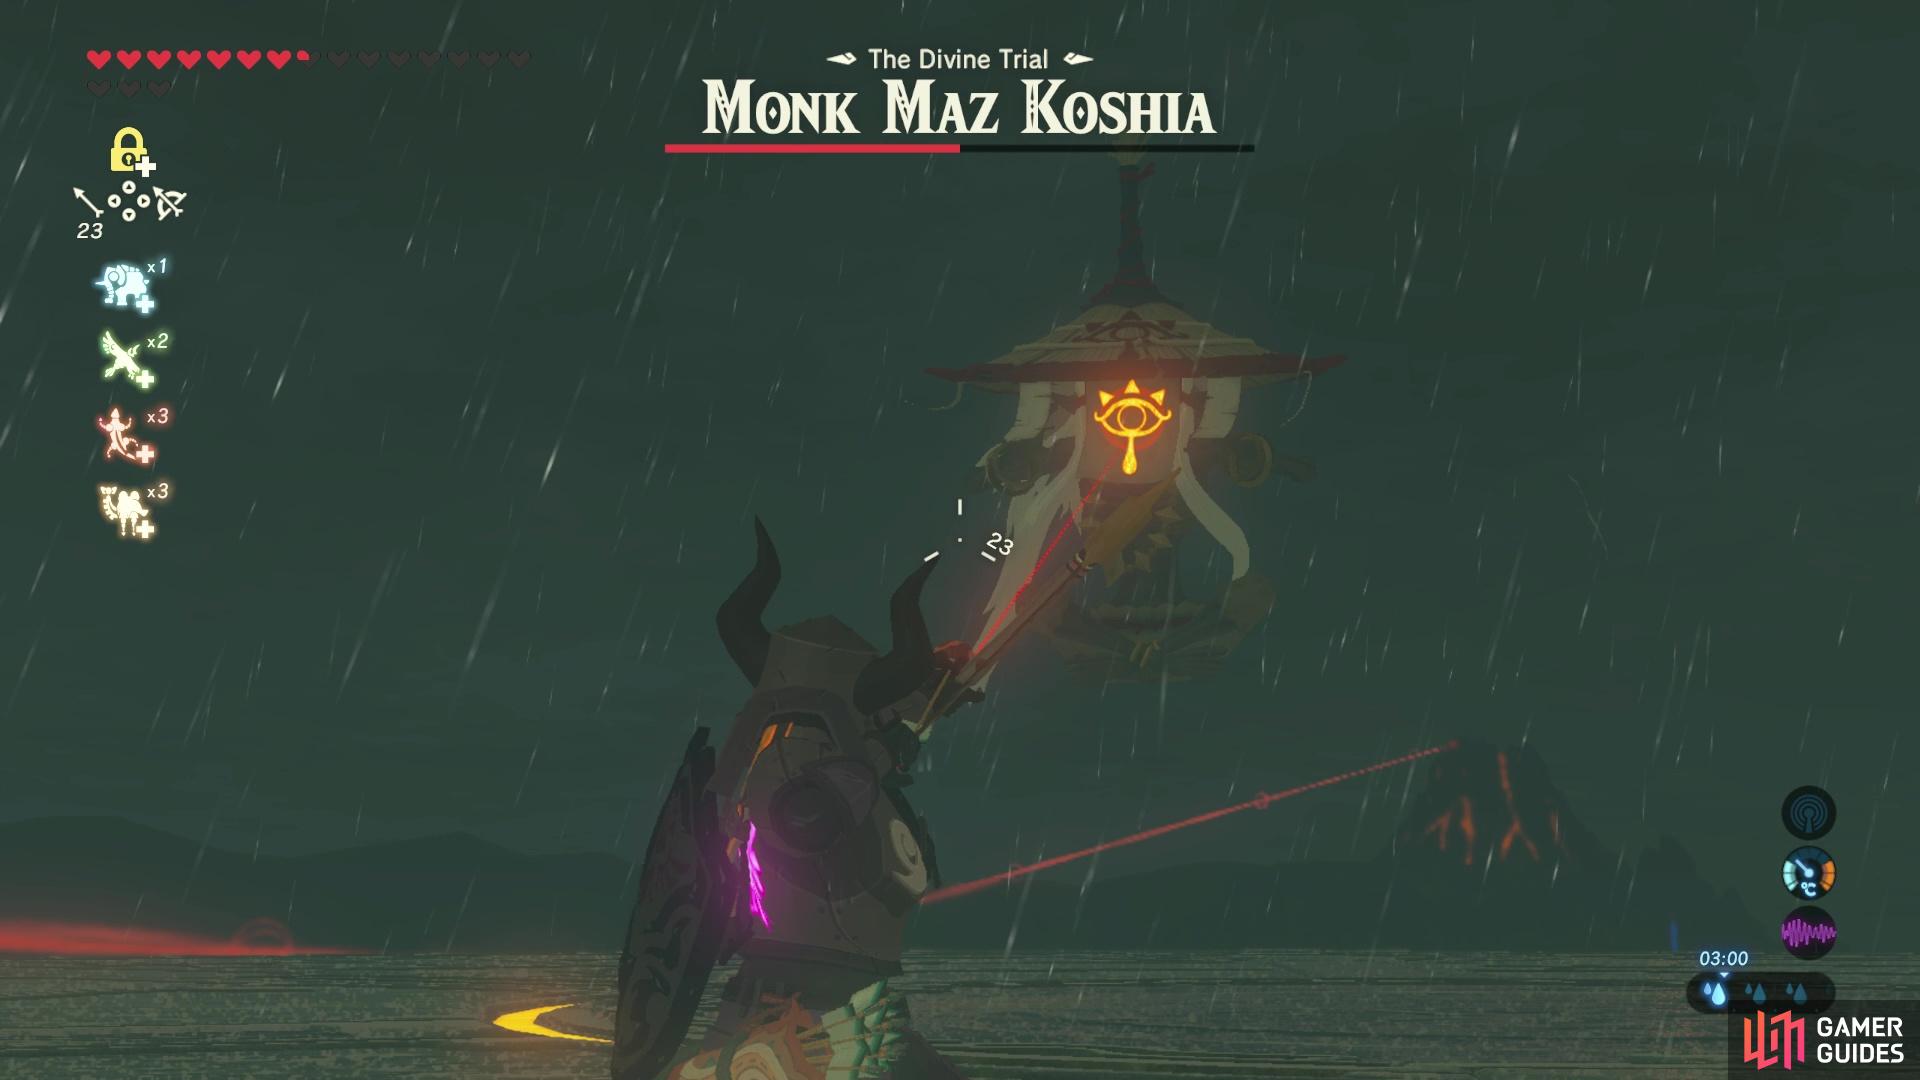
Watch out for his laser eye attack!
In the second sub-phase, he grows to a giant size and mimics the Master Kogha fight in Yiga Clan Hideout. He’ll spawn out giant spiky metal balls, and you’ll need to avoid being hit by them. Then, he’ll use lightning to strike the metal balls in hopes of damaging you with electricity. Your task is to move one of the balls to near him using magnesis and wait for him to stun himself with his own lightning.

(1 of 2) Use magnesis to drag one of the metal balls to near the Monk
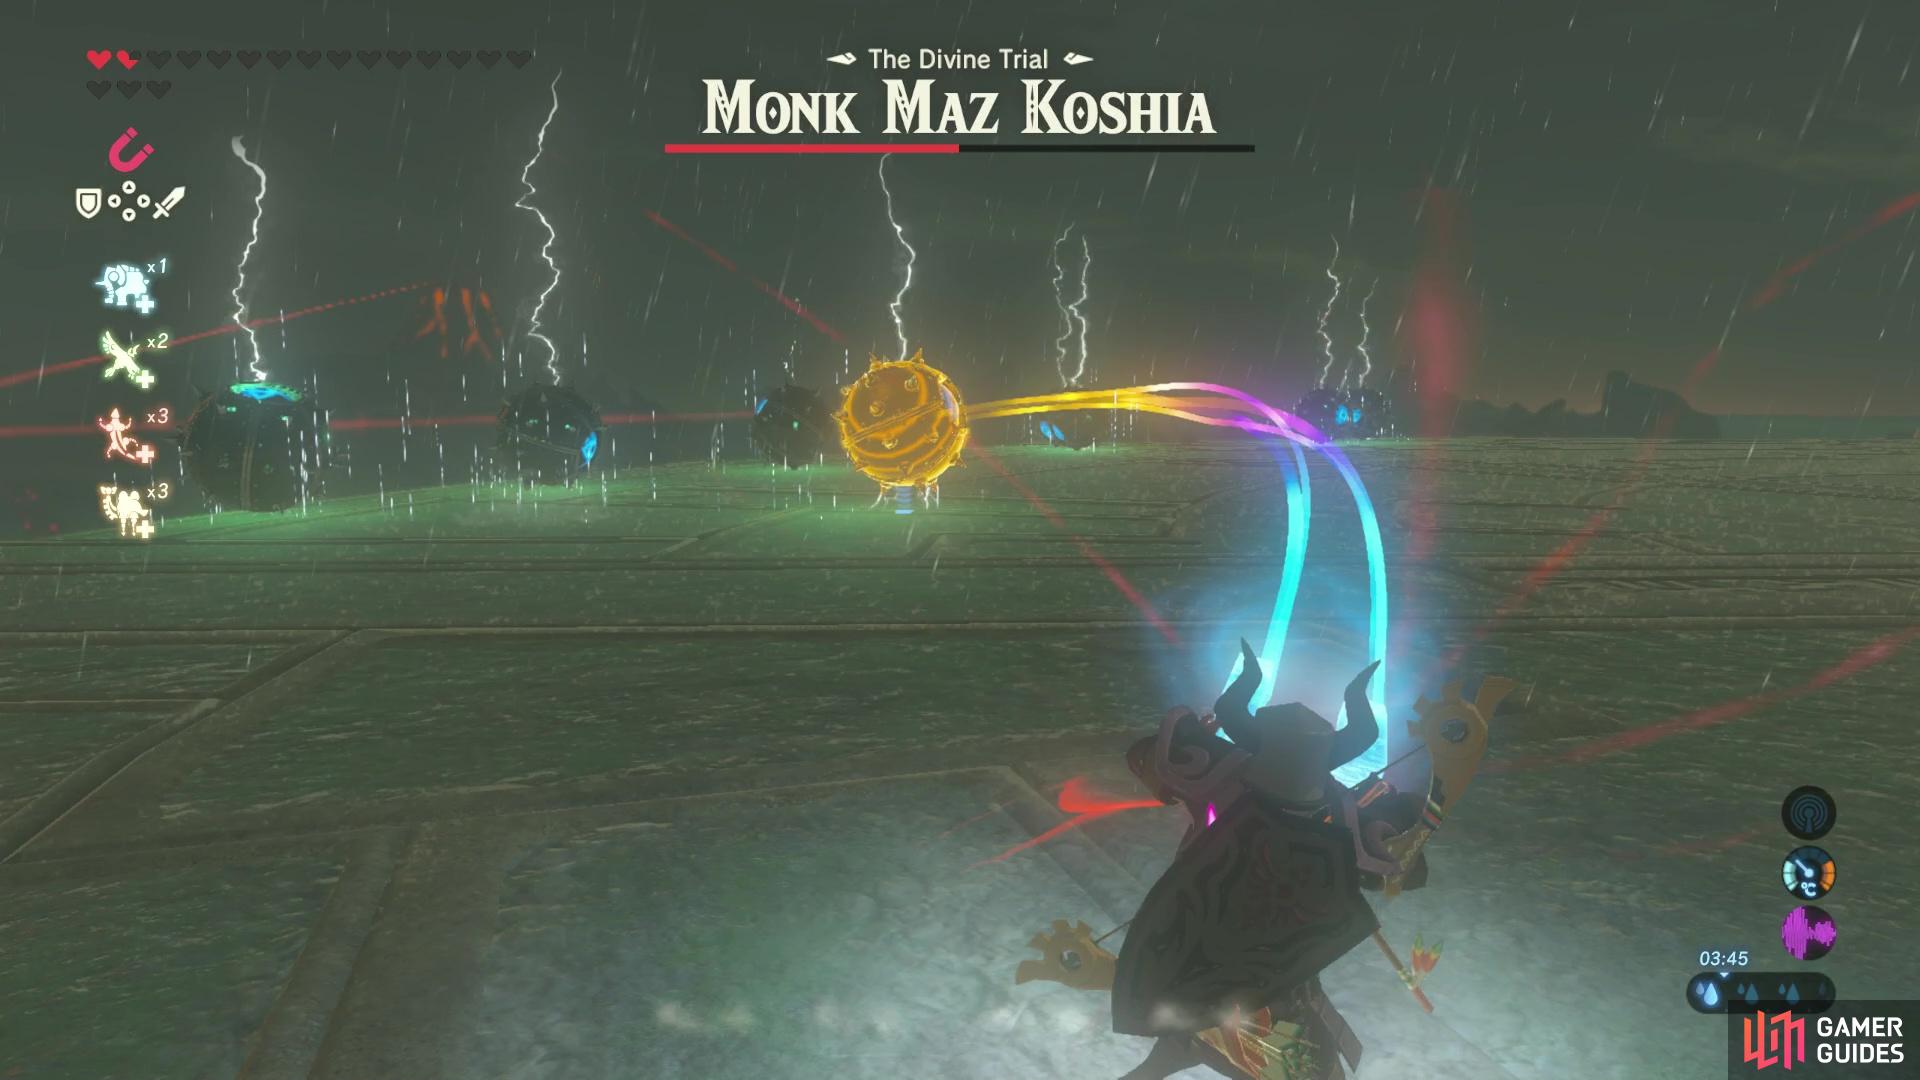
Use magnesis to drag one of the metal balls to near the Monk (left), then he’ll stun himself with his own electric attack. (right)
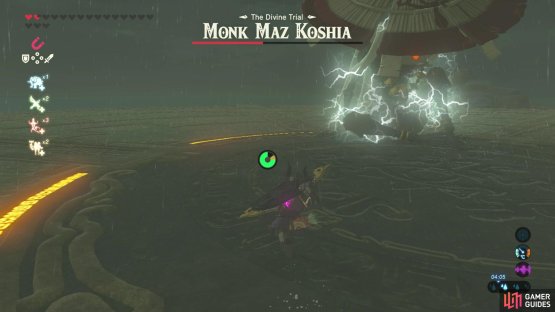
This will give you a short period of time where he’s on the ground and incapacitated, a small window to get a bunch of attacks in. Here’s where abusing Urbosa’s Fury can come in handy! This is one of the only chances to far that you’ve had enough time to trigger a useful charged attack (you could do it at any time but it would be hard to time). Do it right as he flies upwards, then when he’s hit with the lightning damage from Urbosa’s Fury, he’ll be stunned again and allowing you to get even more damage in straight away.
You could utilise this technique up to three times, if you have all the Urbosa’s Fury charges up! It will save you a lot of time and you can do a bunch of damage.
Use charged attacks to trigger Urbosa’s fury!
After you’ve done that chain of Urbosa’s Fury attacks, he’ll move onto the second sub-phase of phase three. He’ll tilt the platform and spawn in a bunch of metal balls again. They’ll all roll towards you and you’ll need to dodge them and simultaneously grab one to repeat the process of placing it next to him to stun him with his own electricity attack.
Once he’s at a quarter of his health, he’ll enter into the final phase! Yay you’re almost there.
Final Phase
During this phase, he’ll exit from his meditative state and stand up! At this stage, you want to frantically smack his ankles and shins, but do avoid his stomp attacks! They’re slow and easy to spot but if you get caught by one it’ll hurt! He’ll occasionally spawn in some small duplicates of himself, you’ll want to get rid of them so they aren’t annoying you but you also want to make sure you’re prioritising hitting the big Monk. His health is so low, and you just want hit him as much as you can.
Once you’ve hit him for all your health you’ll be glad to hear that the fight is over and done with and you’ll be rewarded with the Master Cycle Zero. Woo!

(1 of 2) Smack his ankles!
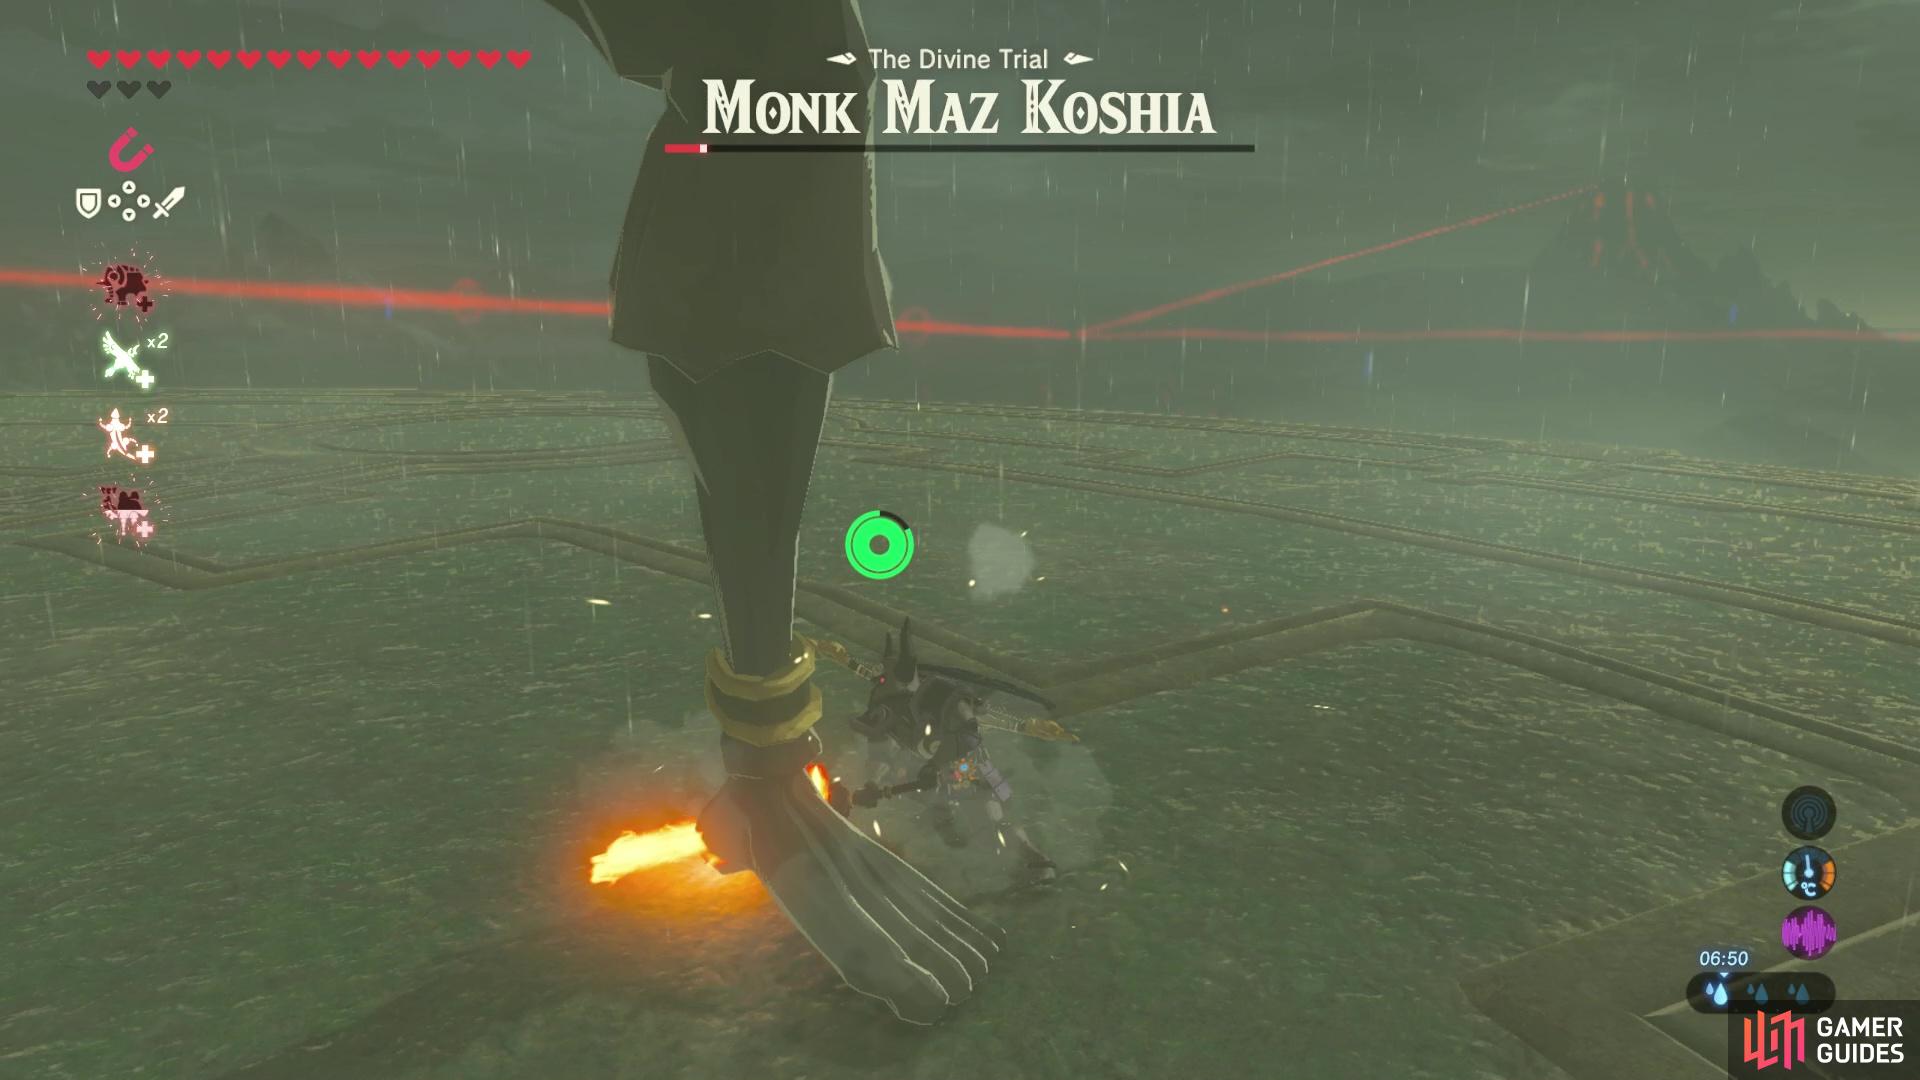
Smack his ankles! (left), Keep hitting his legs and he’ll eventually fall and you’ll have won the fight! (right)
No Comments