
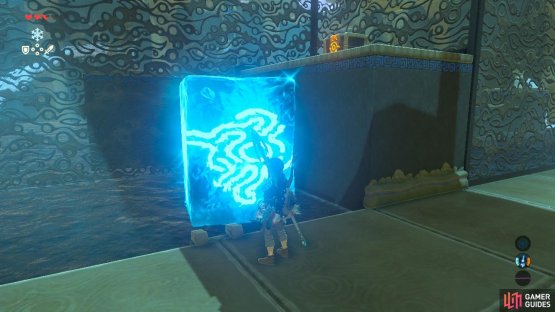
(1 of 2) This Shrine is blocked by vines. Burn them or bypass with Revali’s Gale.

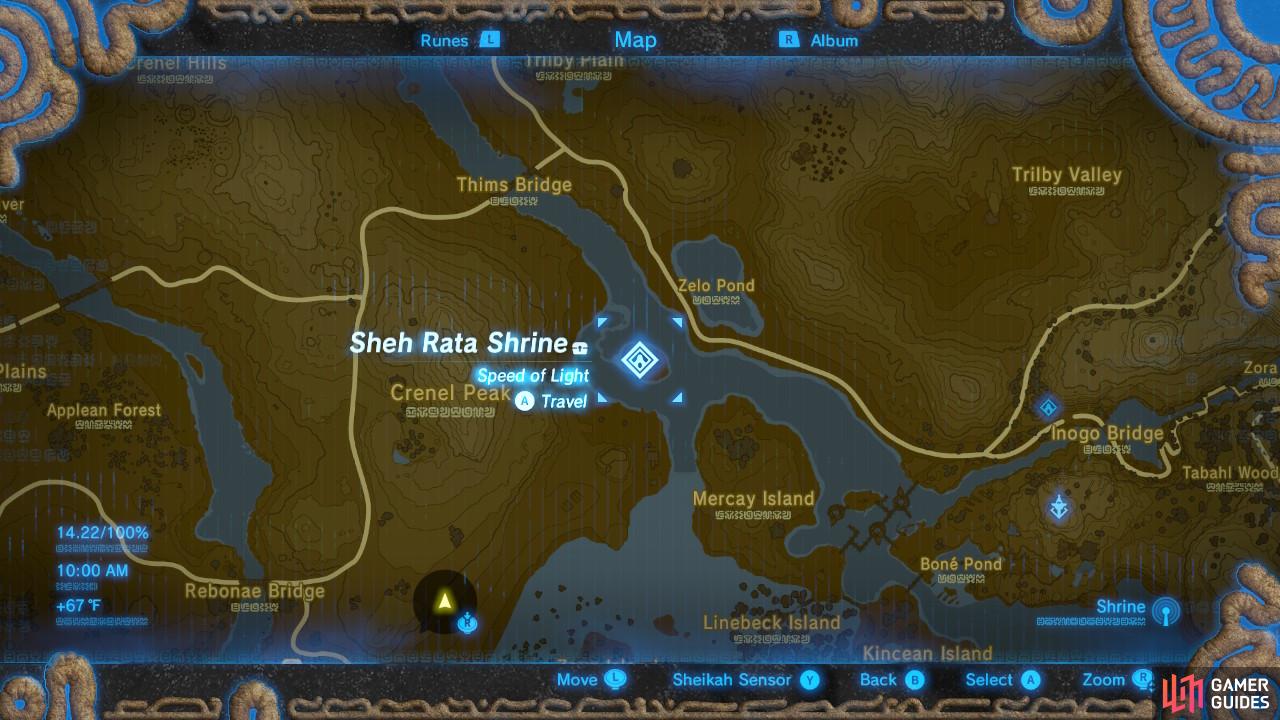
This Shrine is blocked by vines. Burn them or bypass with Revali’s Gale. (left), This is the specific location of the Sheh Rata Shrine (right)
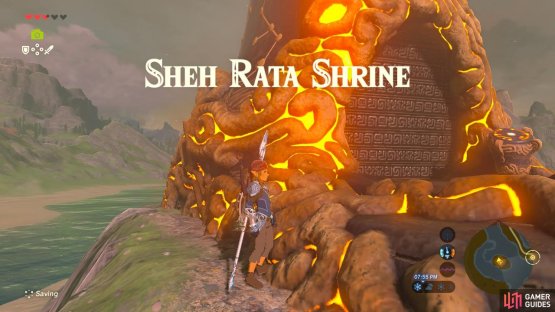
Sheh Rata Shrine
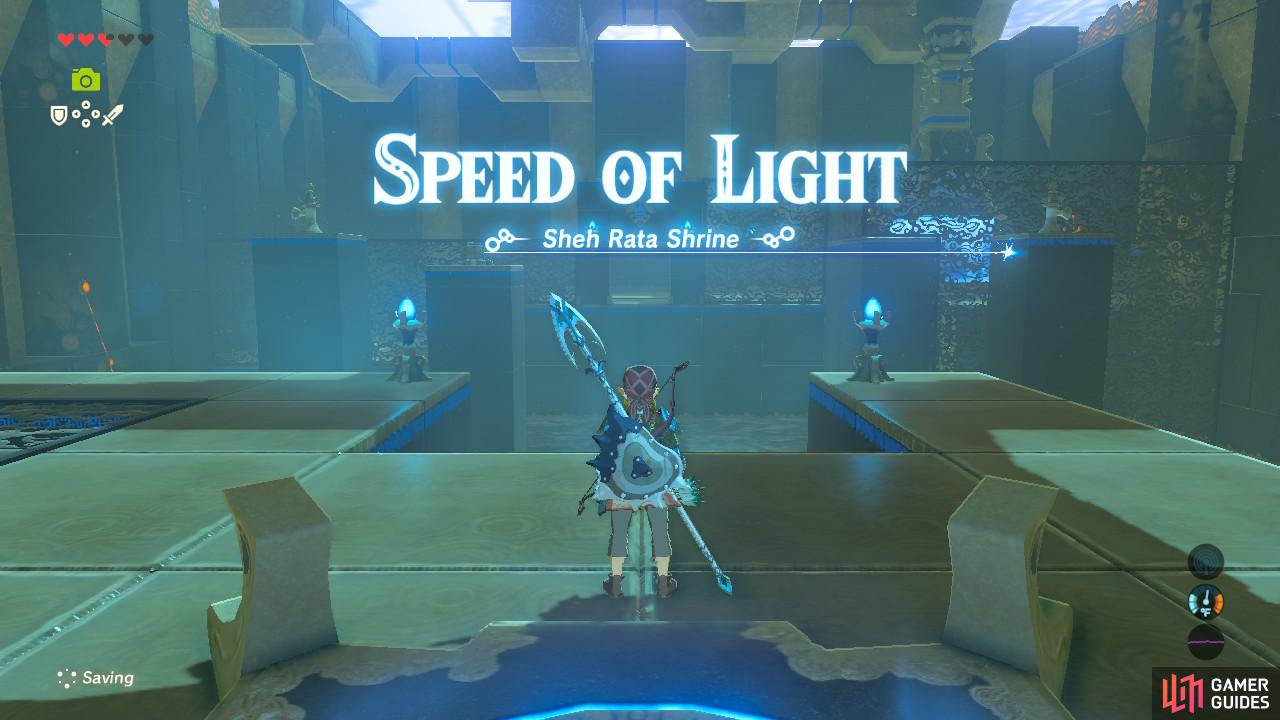
The trial name implies that the bulk of the trial will have something to do with that laser that you see, and you are correct. This trial’s puzzles focus mostly on activating, aiming, and managing lasers.
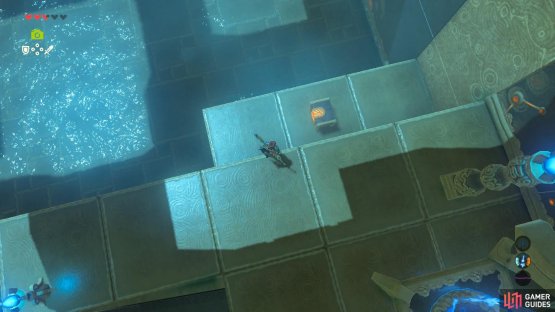
(1 of 2) Tilt your camera way down to see a hidden treasure chest
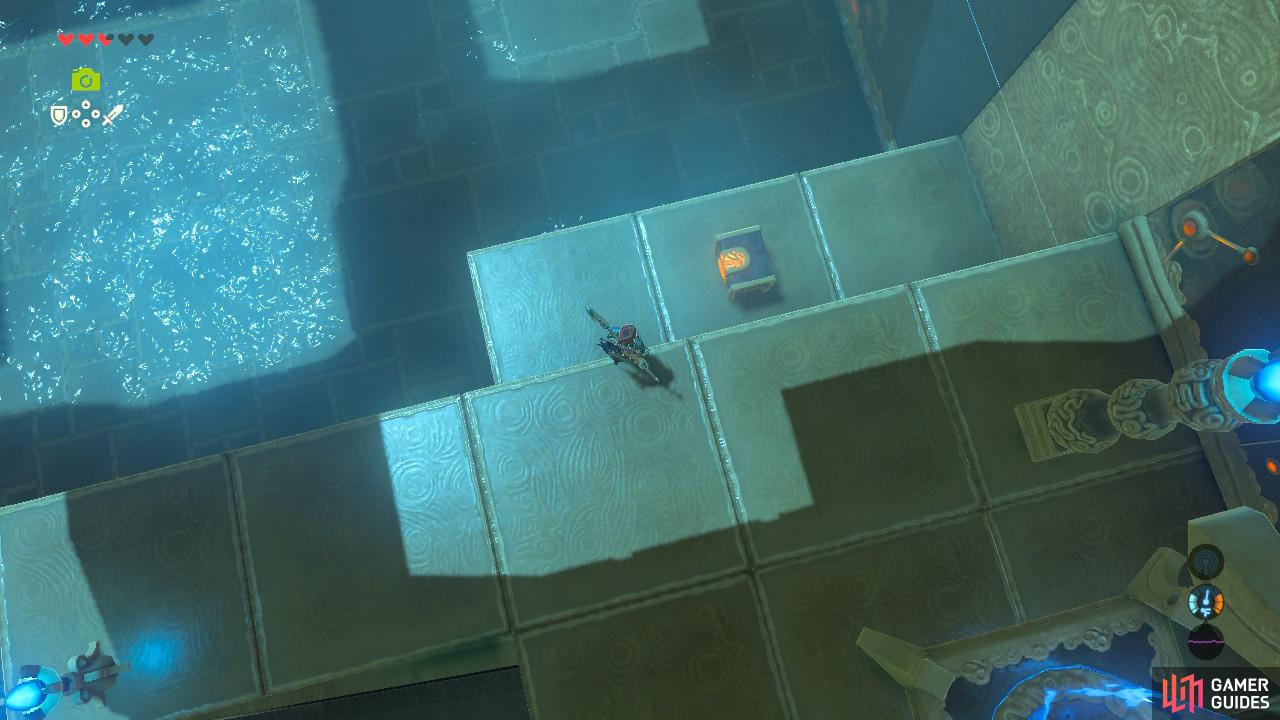

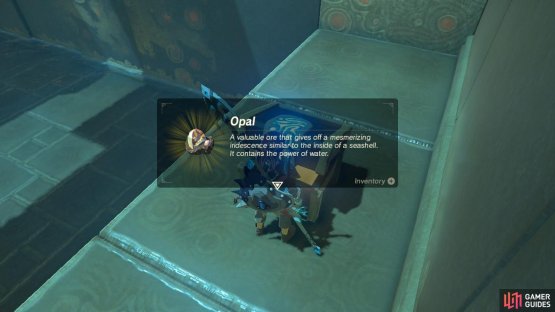
Tilt your camera way down to see a hidden treasure chest (left), Opals can sell for a lot of rupees (right)
Before we do anything though, go to your right and jump down to the skinny ledge sticking out from the wall. The treasure chest contains an Opal. Then climb back up the stairs to where you first started.
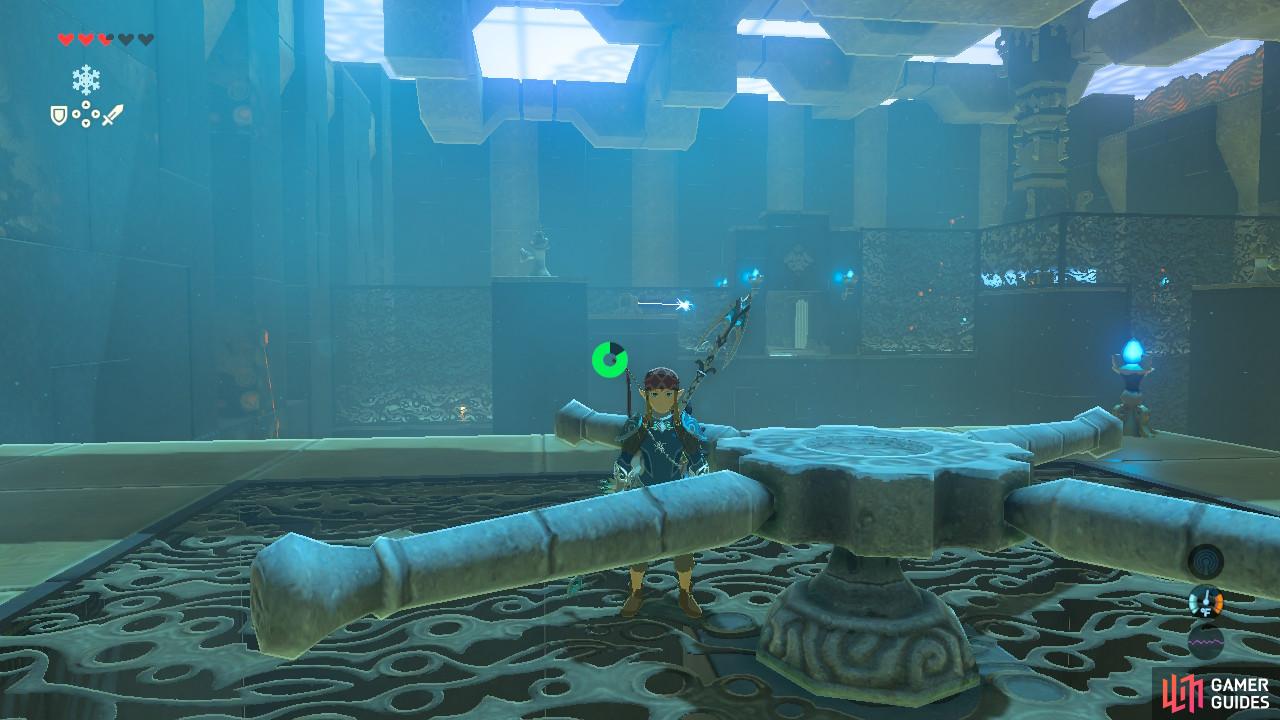
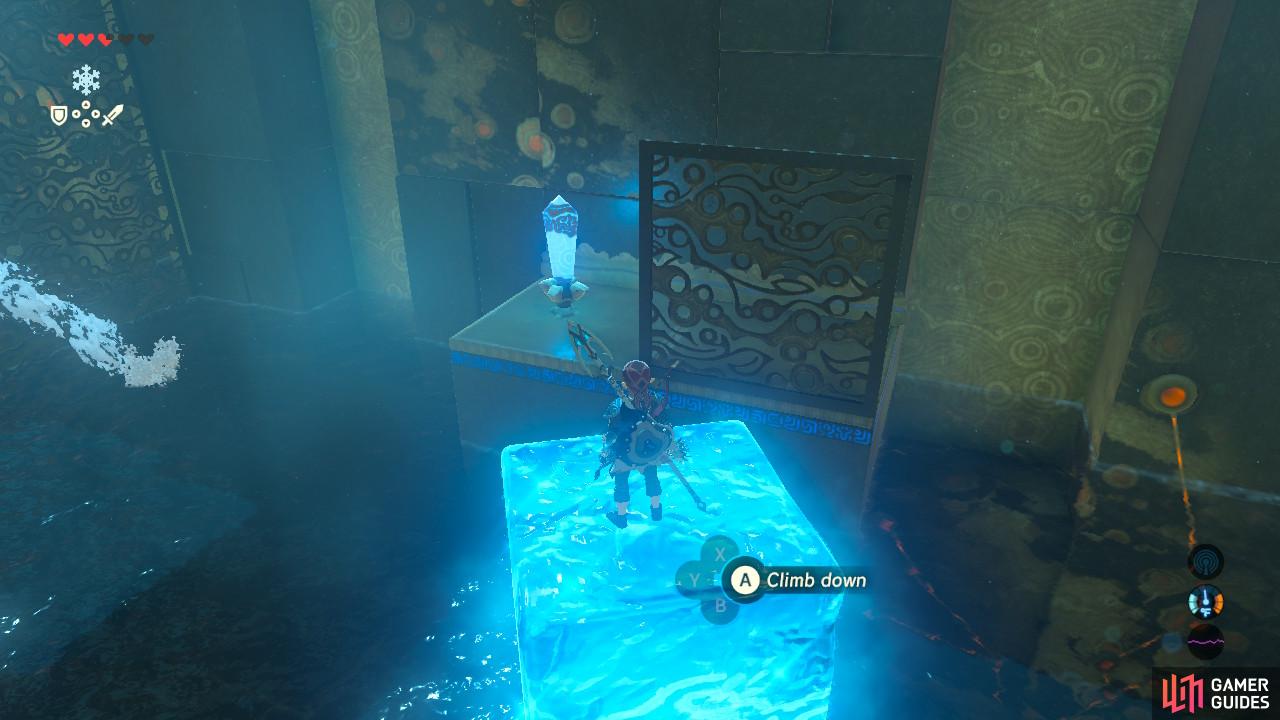
To begin the trial, push the device to your left a little bit so that it spins. This will cause the laser to make a round around the room, eventually tripping a sensor that will raise the water level. The next thing we will do will seem unintuitive, but there is a second treasure chest in this shrine that will be easily obtained if we do some preparations now.
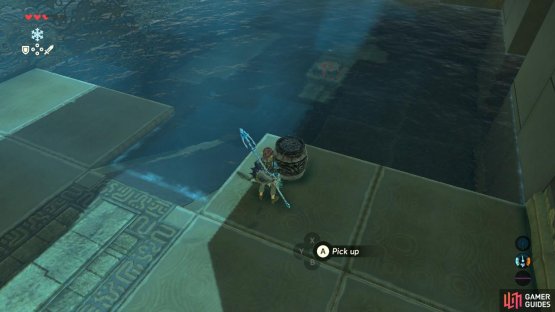
(1 of 2) Get to within throwing range

Get to within throwing range (left), Throw the bomb so it lands right next to the switch. It will help us later (right)
Using Cryonis, stepping stone your way to get closer to the sensor, the bright blue crystal that the laser tripped earlier. Once you are close, create a Square Bomb using your Sheikah Slate and throw it next to the sensor. Leave it there, do not detonate it. Now swim forward into the next room.
(1 of 2) You can see the switch under the pool of water


You can see the switch under the pool of water (left), Shoot that blue sensor you see in the distance, DO NOT detonate the bomb (right)
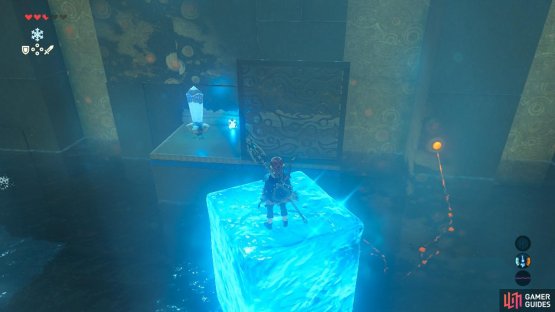
You will see a switch under the water, and a barrel next to you. The barrel will float and be unable to press the switch, so we have to lower the water level. Do not detonate the bomb for this! This is not what the bomb was for. Instead, use Cryonis to create an ice block along the leftmost edge of the pool. This will let you see the sensor.
Using your bow, shoot the sensor and trip it. This will lower the water level. Place the barrel on the switch and the gate will open, leading to the monk. Instead of going to the monk, however, turn right and you will see a treasure chest high up on a ledge.
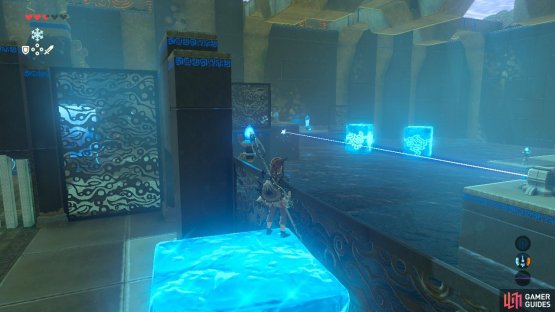
(1 of 2) You can see the treasure chest if you turn around


You can see the treasure chest if you turn around (left), Now you can blow up the bomb to get to the chest (right)
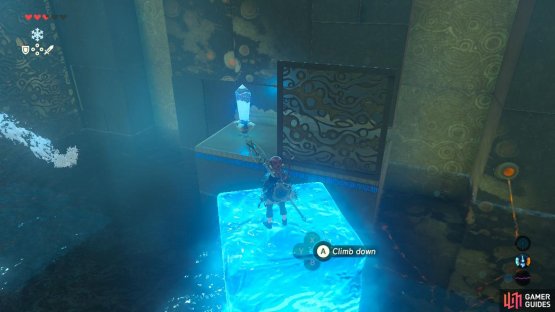
Now, detonate your Square Bomb. The water level will rise up. The monk’s gates will close, but that doesn’t matter since you are already inside. Use Cryonis to reach the ledge and open the chest for a Giant Boomerang. This is a great weapon.
Finally, the trial is done. Go speak with the monk and claim your Spirit Orb.
No Comments