

(1 of 2) Glide south from the Great Plateau Tower.
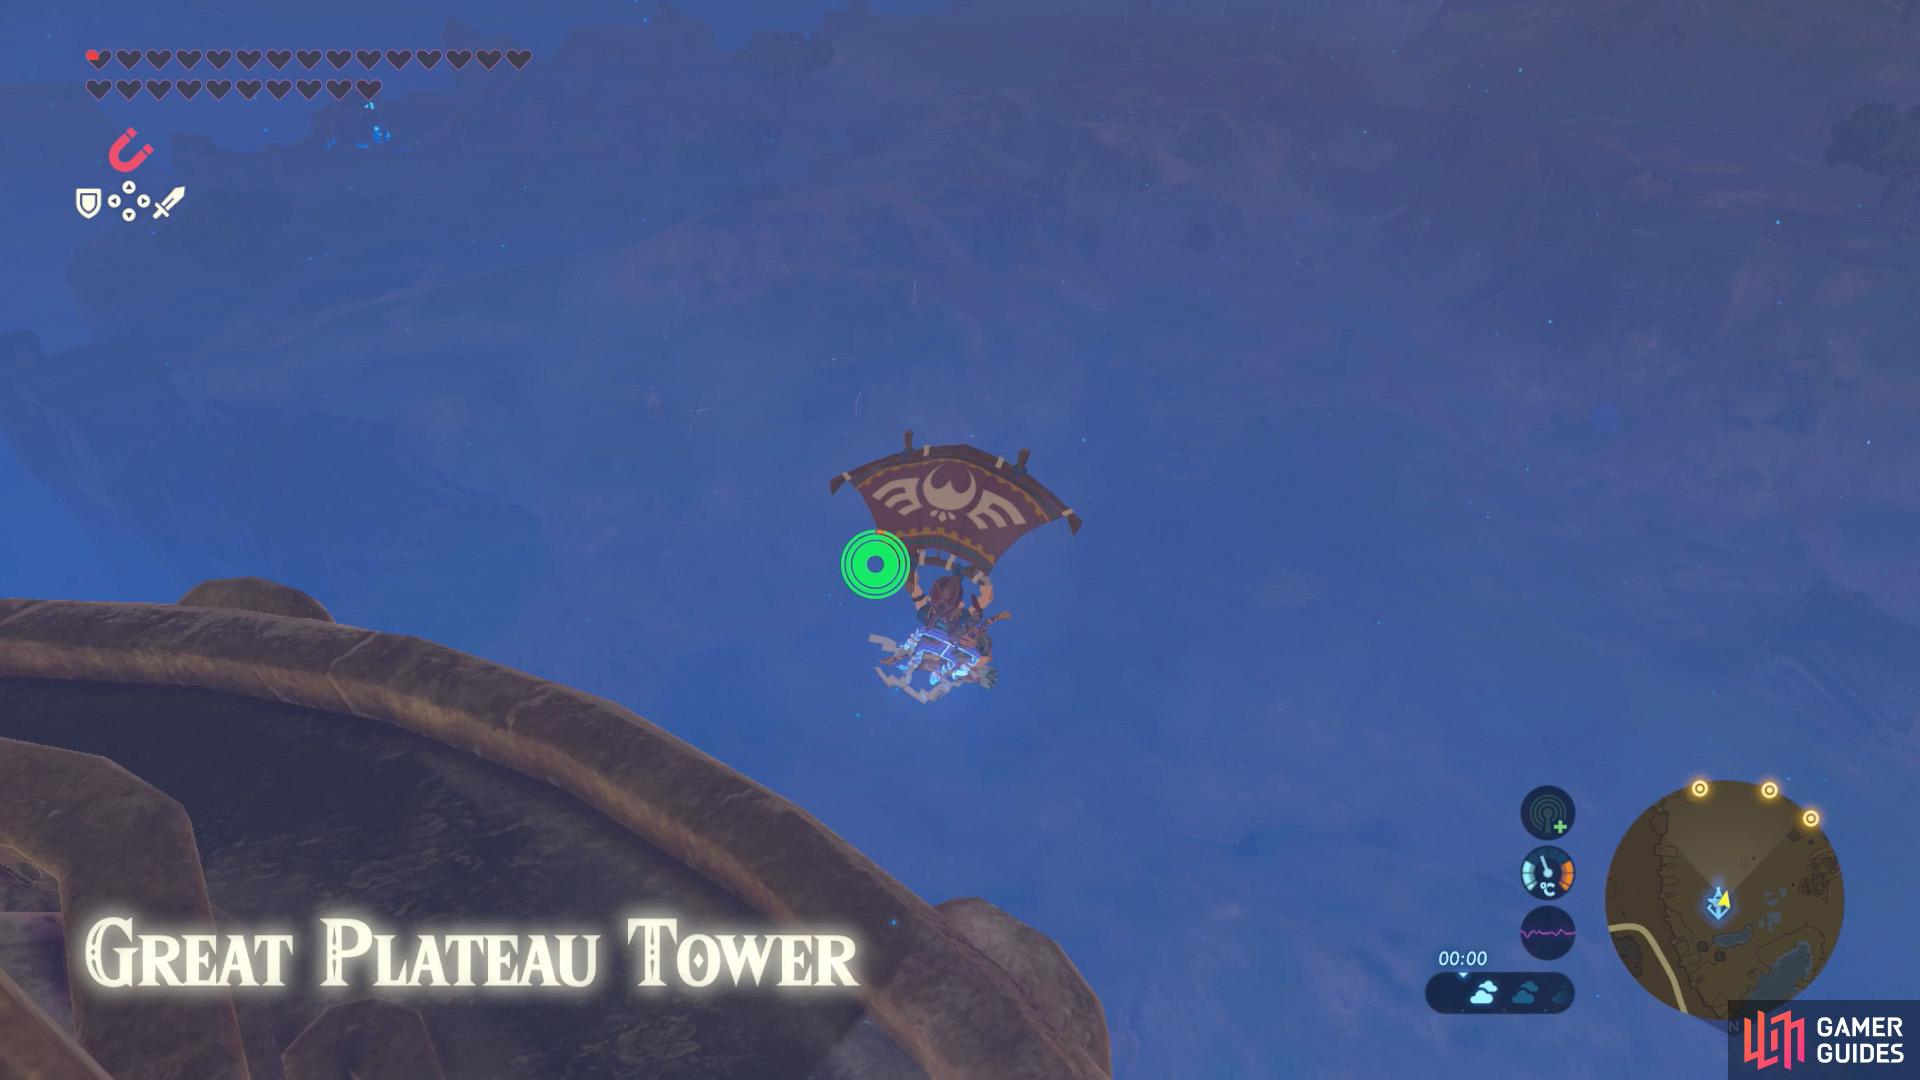

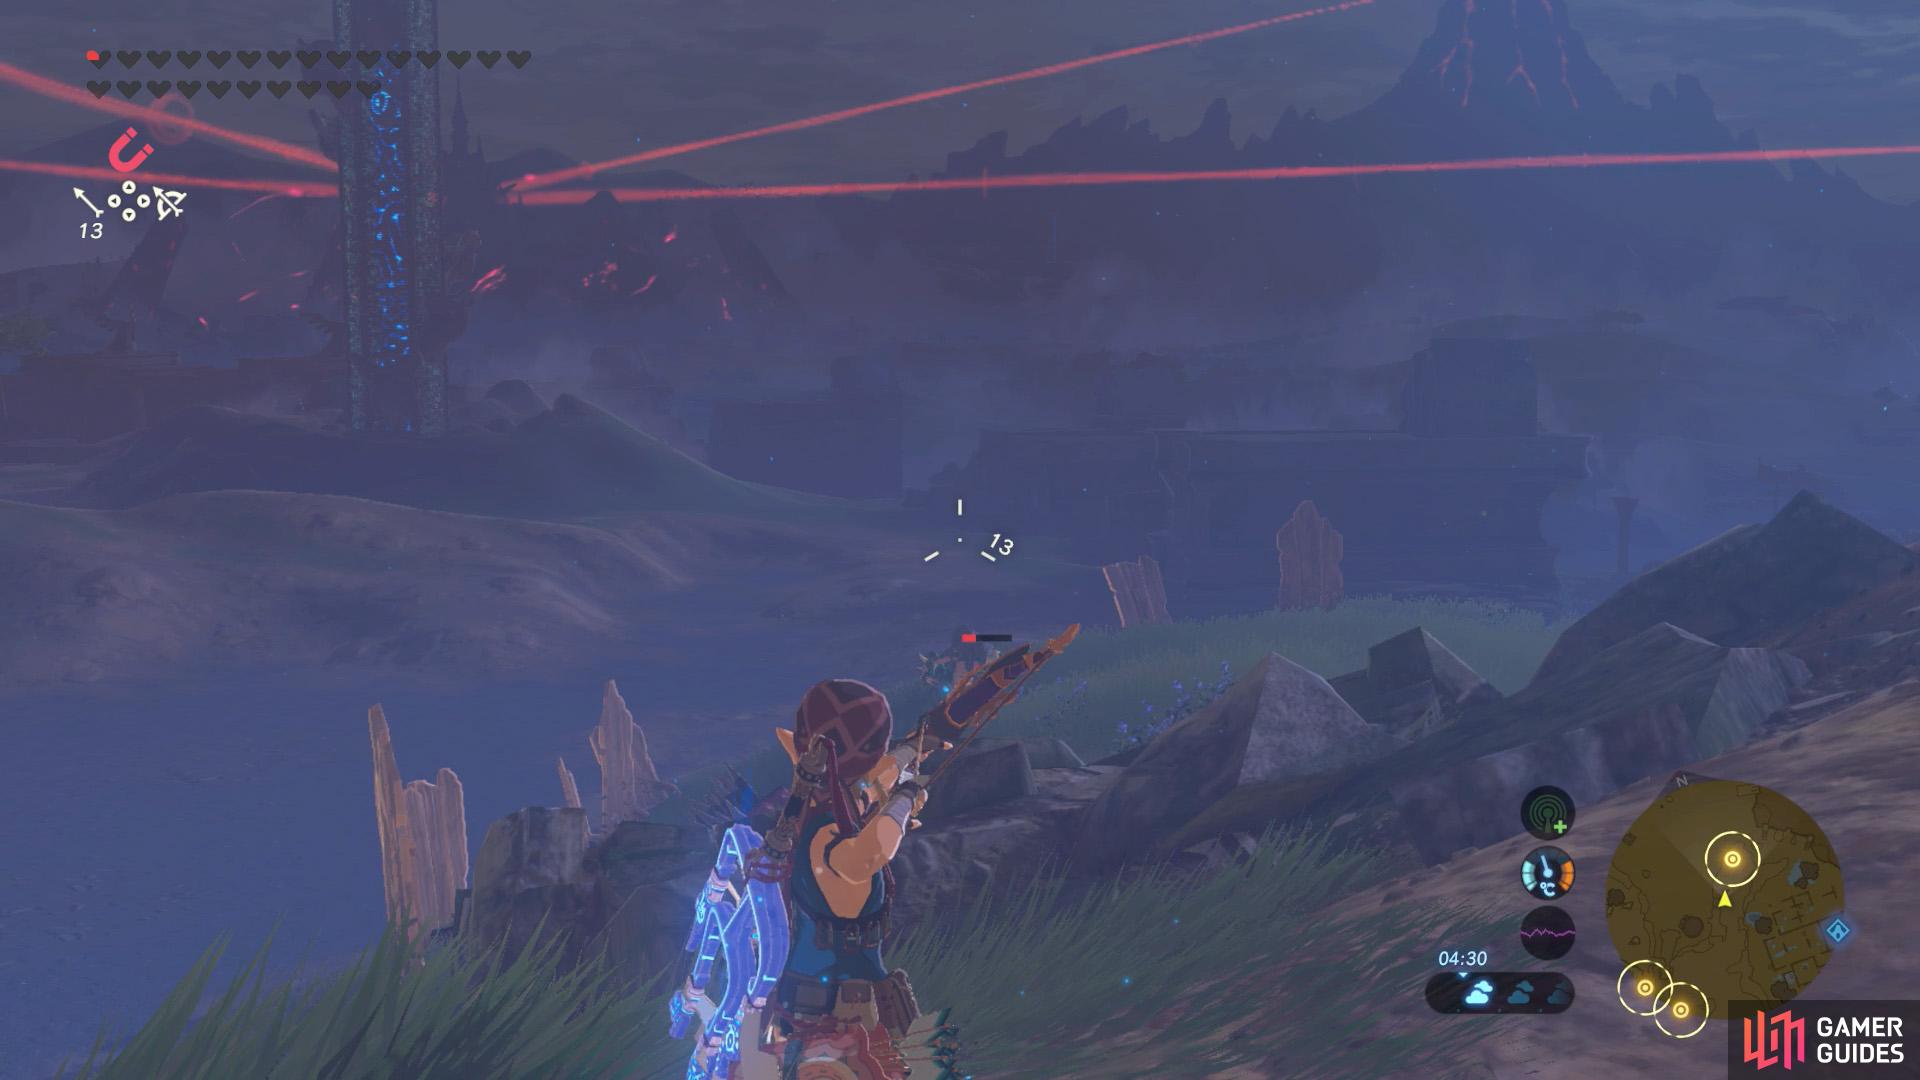
Glide south from the Great Plateau Tower. (left), While gliding, snipe the Lizalfos patrolling near the foot of the hill. (right)
To reach the second shrine, fast-travel to the Great Plateau Tower, then glide south. After a while, on the side of the hill north of the Eastern Abbey, there’s a Lizalfos camp. To avoid being seen, veer right (west). If possible, draw your bow and shoot the nearest Lizalfos, near the foot of the hill.

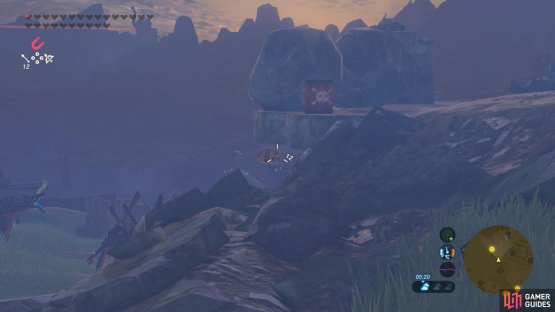
(1 of 2) Crouch behind this mound and snipe the nearby Lizalfos.

Crouch behind this mound and snipe the nearby Lizalfos. (left), Then snipe the Lizalfos scout further back, near the edge. (right)
Once it’s dead, continue south to the nearby abandoned skull camp, then go behind the camp and climb up to the top of the hill. Face north and slowly go forward. There are two Lizalfos around here, facing away from you. Hide behind the terrain and snipe them with your bow and arrow.
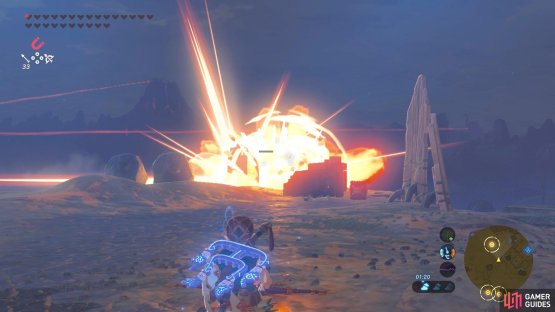
Next, turn right (eastward) to find another Lizalfos patrolling a side slope. If possible, try to shoot it from as far away as possible. Just before that Lizalfos, there’s a Decayed Guardian, who will wake up if you get too close. You don’t need to defeat this Guardian, so it’s best to leave it alone.


(1 of 2) Aim to kill this Lizalfos from a distance.
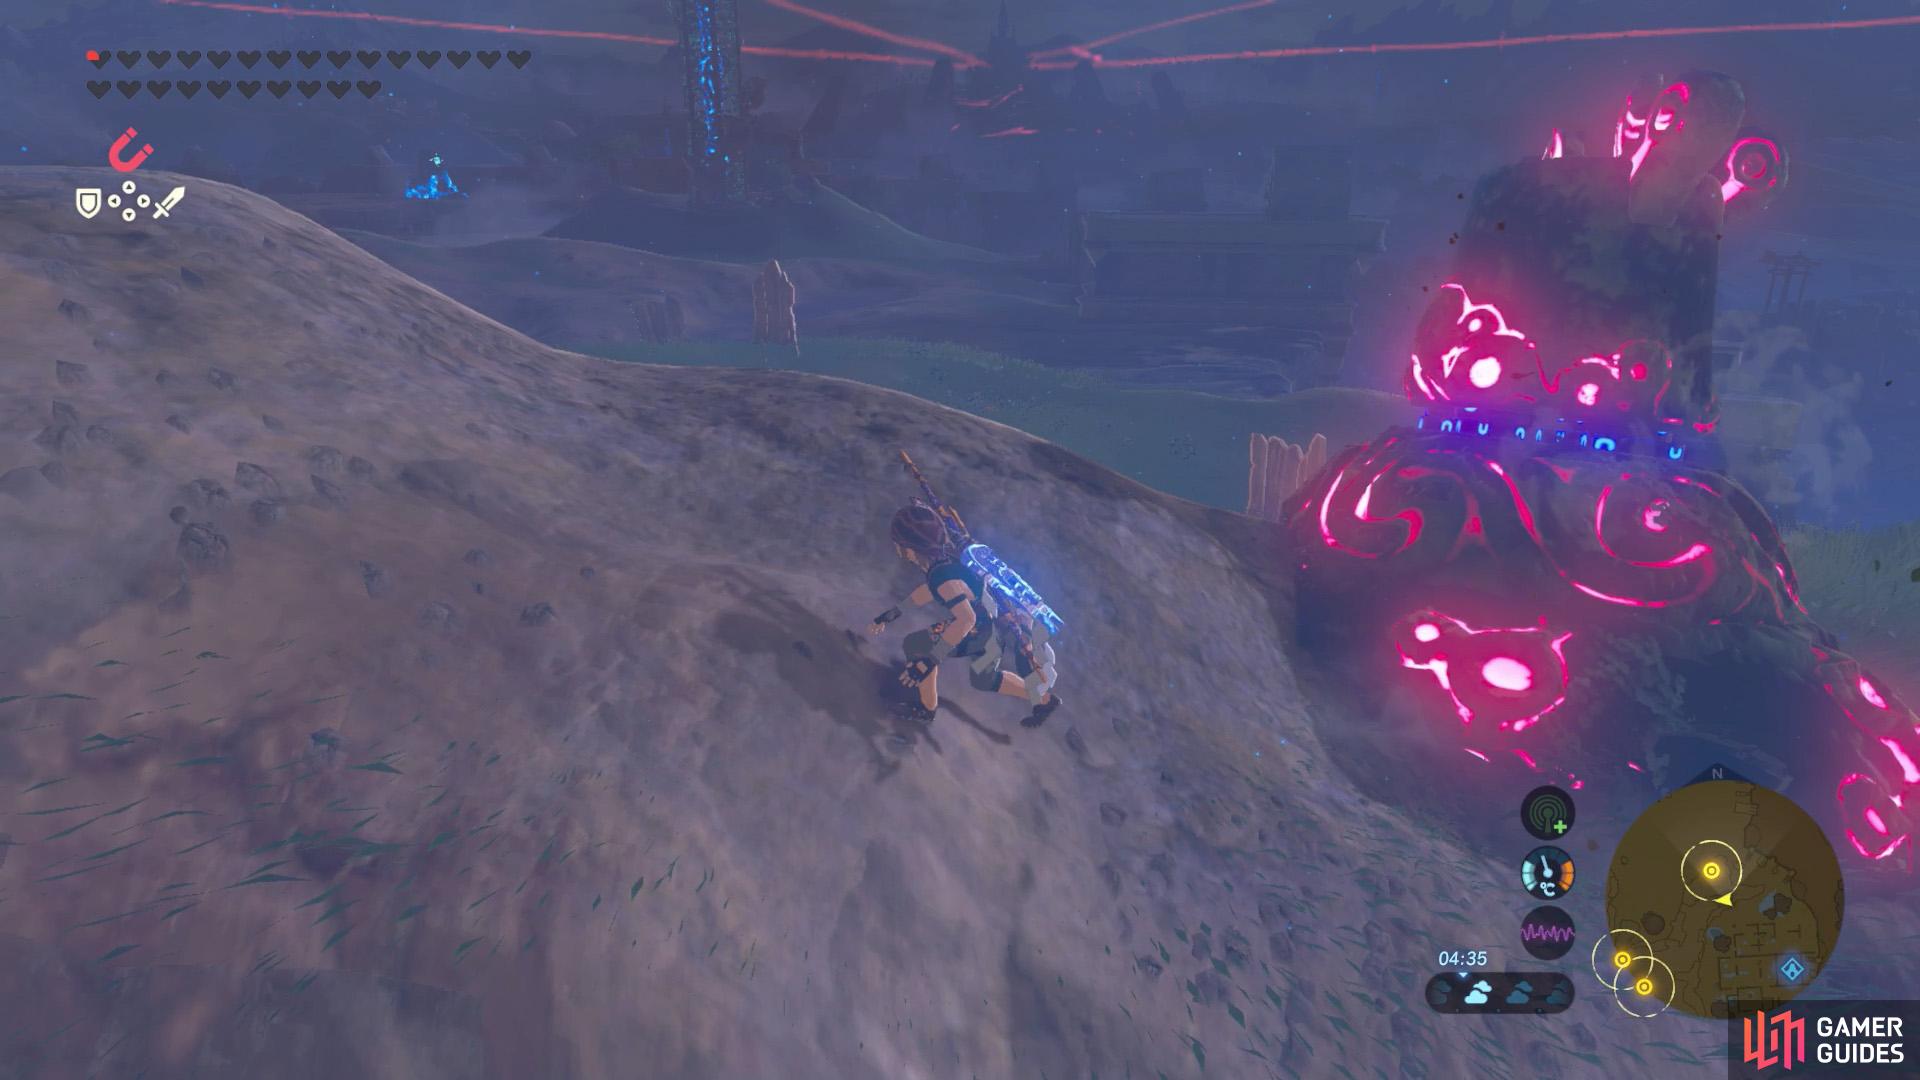
Aim to kill this Lizalfos from a distance. (left), If you get too close, you may awaken a Decayed Guardian… (right)
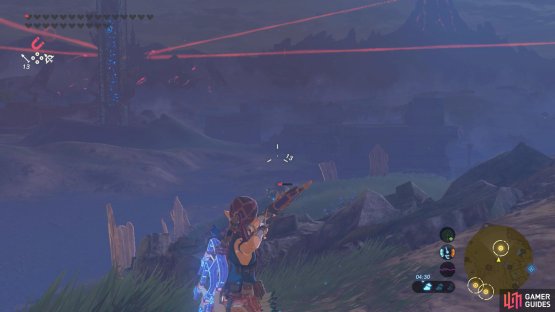
Return to where the Lizalfos was overlooking the rest of the camp. Have a good look down, while being careful not to alert the Lizalfos below. There should be three Lizalfos by a campfire: two Black ones and a scary Silver one. Also, there’s a Lizalfos patrolling around further back.
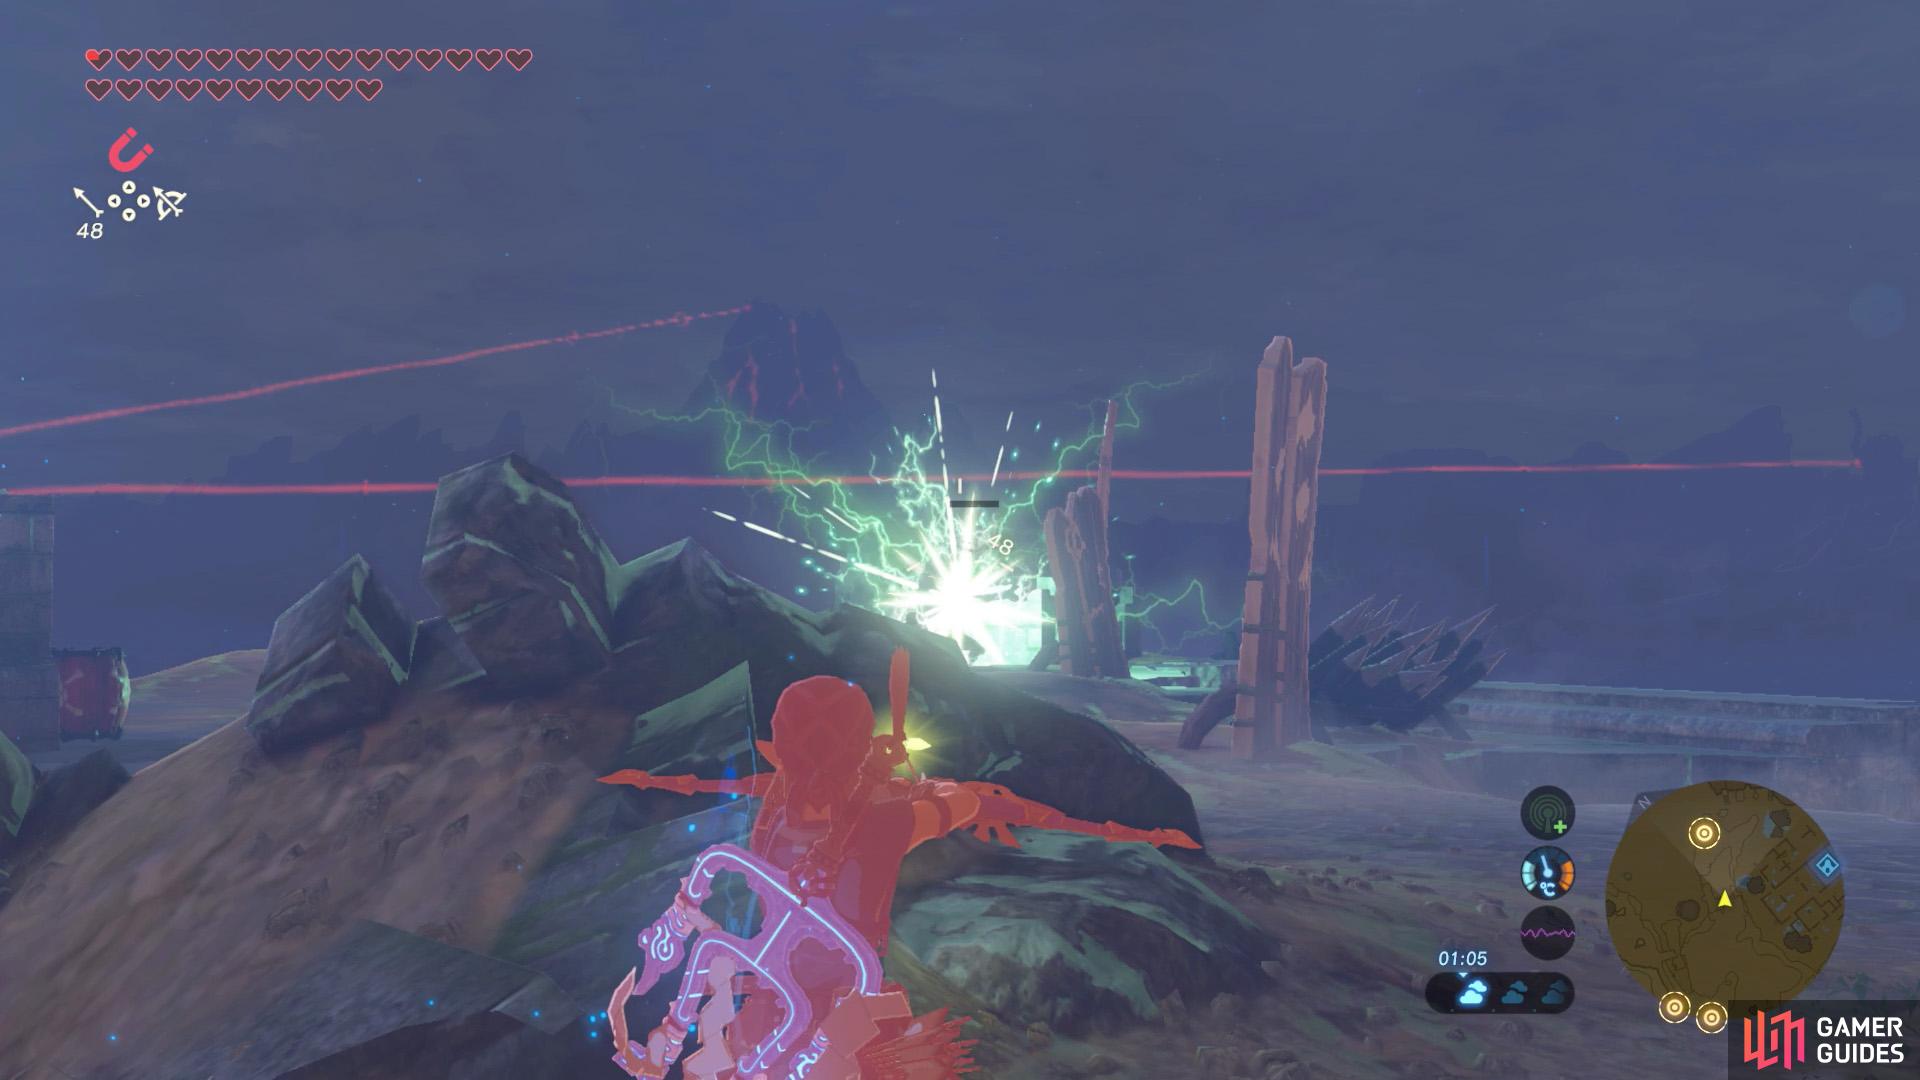
Before anything, snipe the patrolling Lizalfos. You probably want to wait until it’s faraway from the trio. So far so easy (hopefully). The next part can be somewhat tricky, since there are three strong Lizalfos who can’t be one-shot with arrows and your One-Hit Obliterator needs to recharge every two hits.
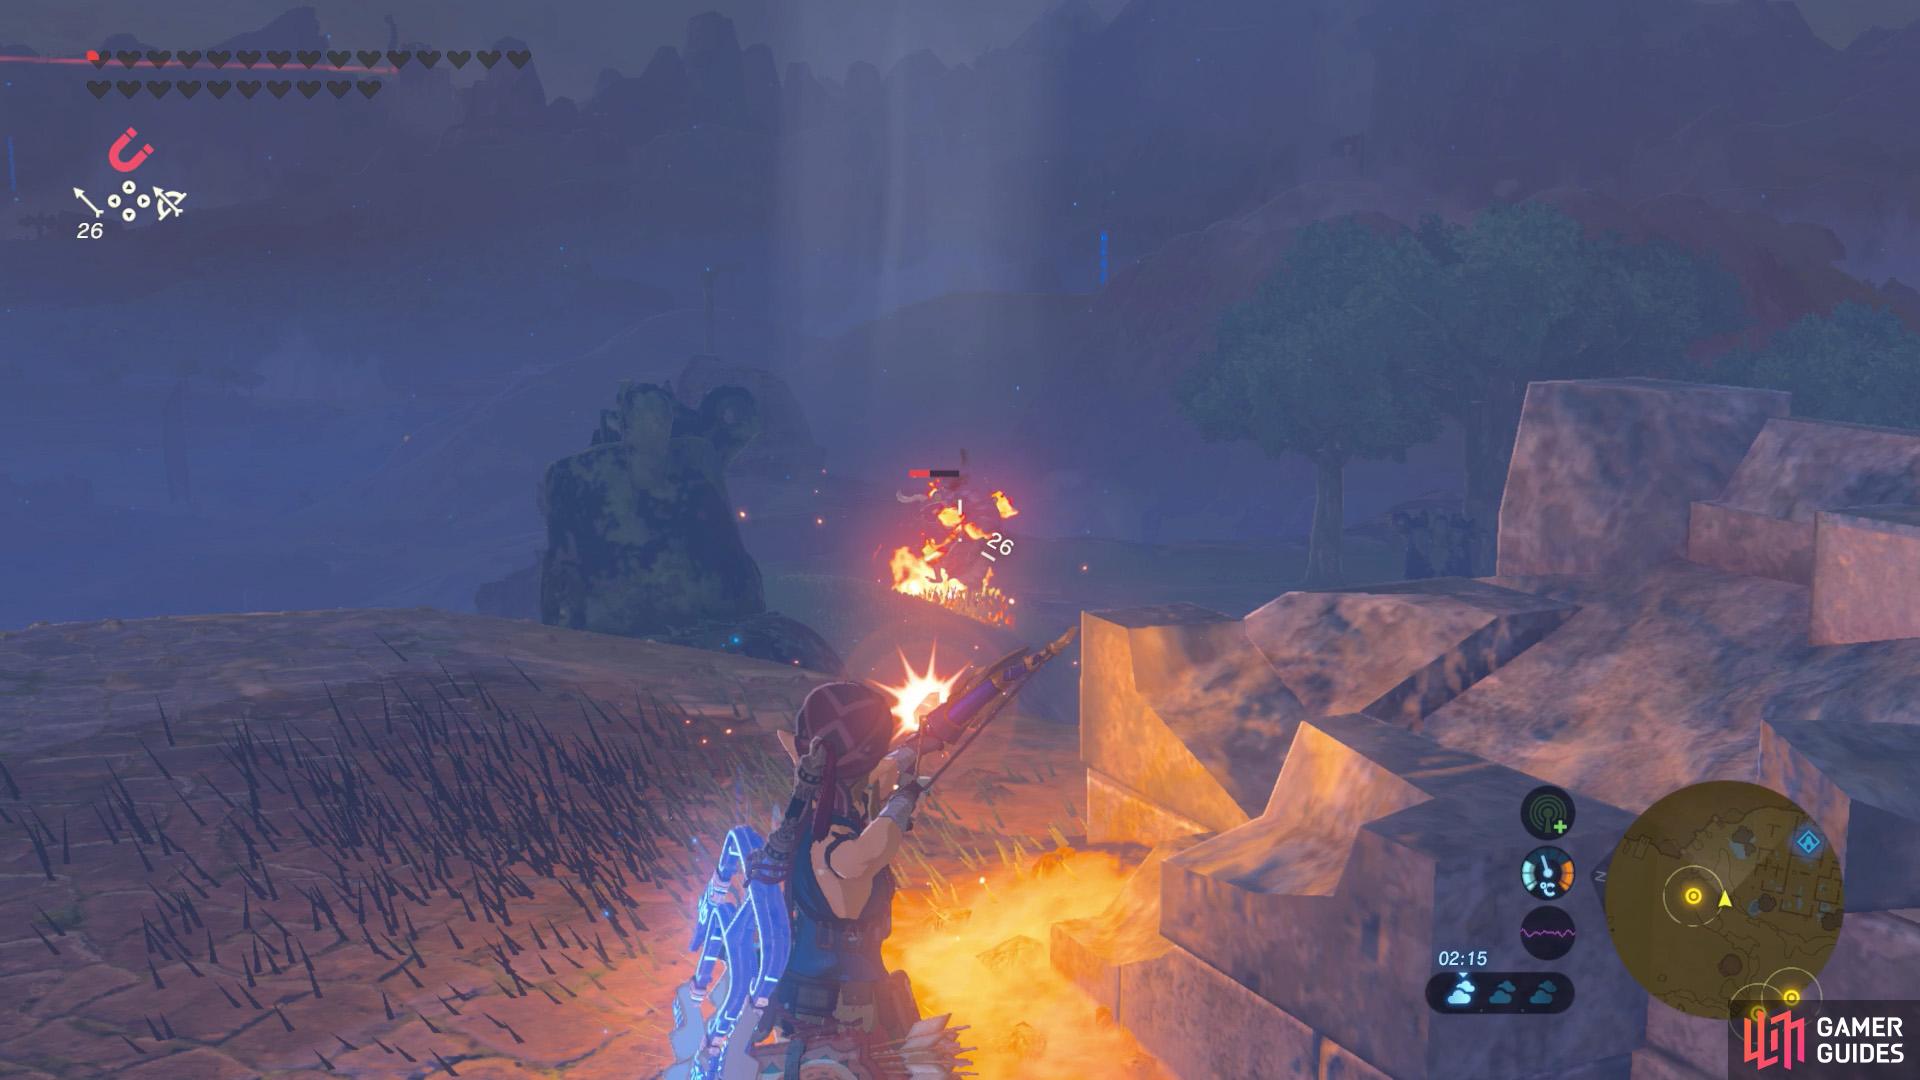
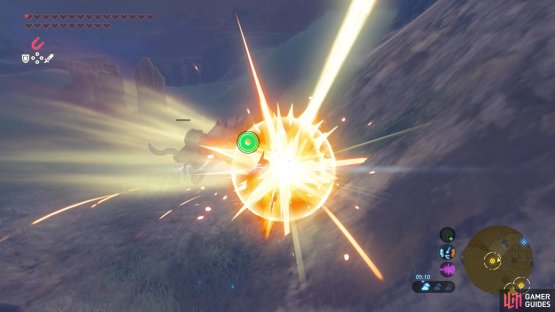
(1 of 2) Snipe this final patrolling Lizalfos towards the left.

Snipe this final patrolling Lizalfos towards the left. (left), Then aim for the hornet nest near the campfire. (right)
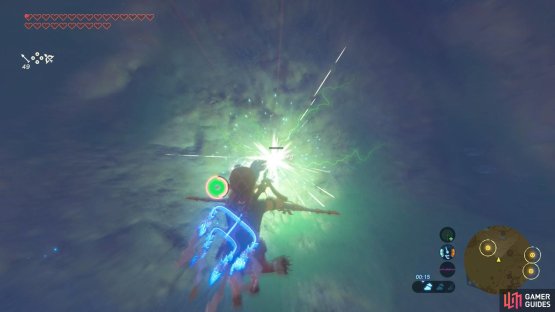
Slowly move west, towards the edge of the wall protruding from the hill, while facing the campfire. Underneath the ledge where the boulders are, you might notice a hornet nest. Pop an arrow at the nest to knock it down, causing the bees to swarm one of the Lizalfos. Without rushing, go back so you’re above the campfire.
While one of the Lizalfos is trying to run from the bees, glide down and shoot Ice/Shock Arrows at the other two Lizalfos. Then smack them with the One-Hit Obliterator, prioritizing the Silver Lizalfos. You can then run away, before coming back and impeding the remaining Lizalfos with an Ice/Shock Arrow.

(1 of 2) Freeze or electrocute the two Lizalfos not running from the bees.
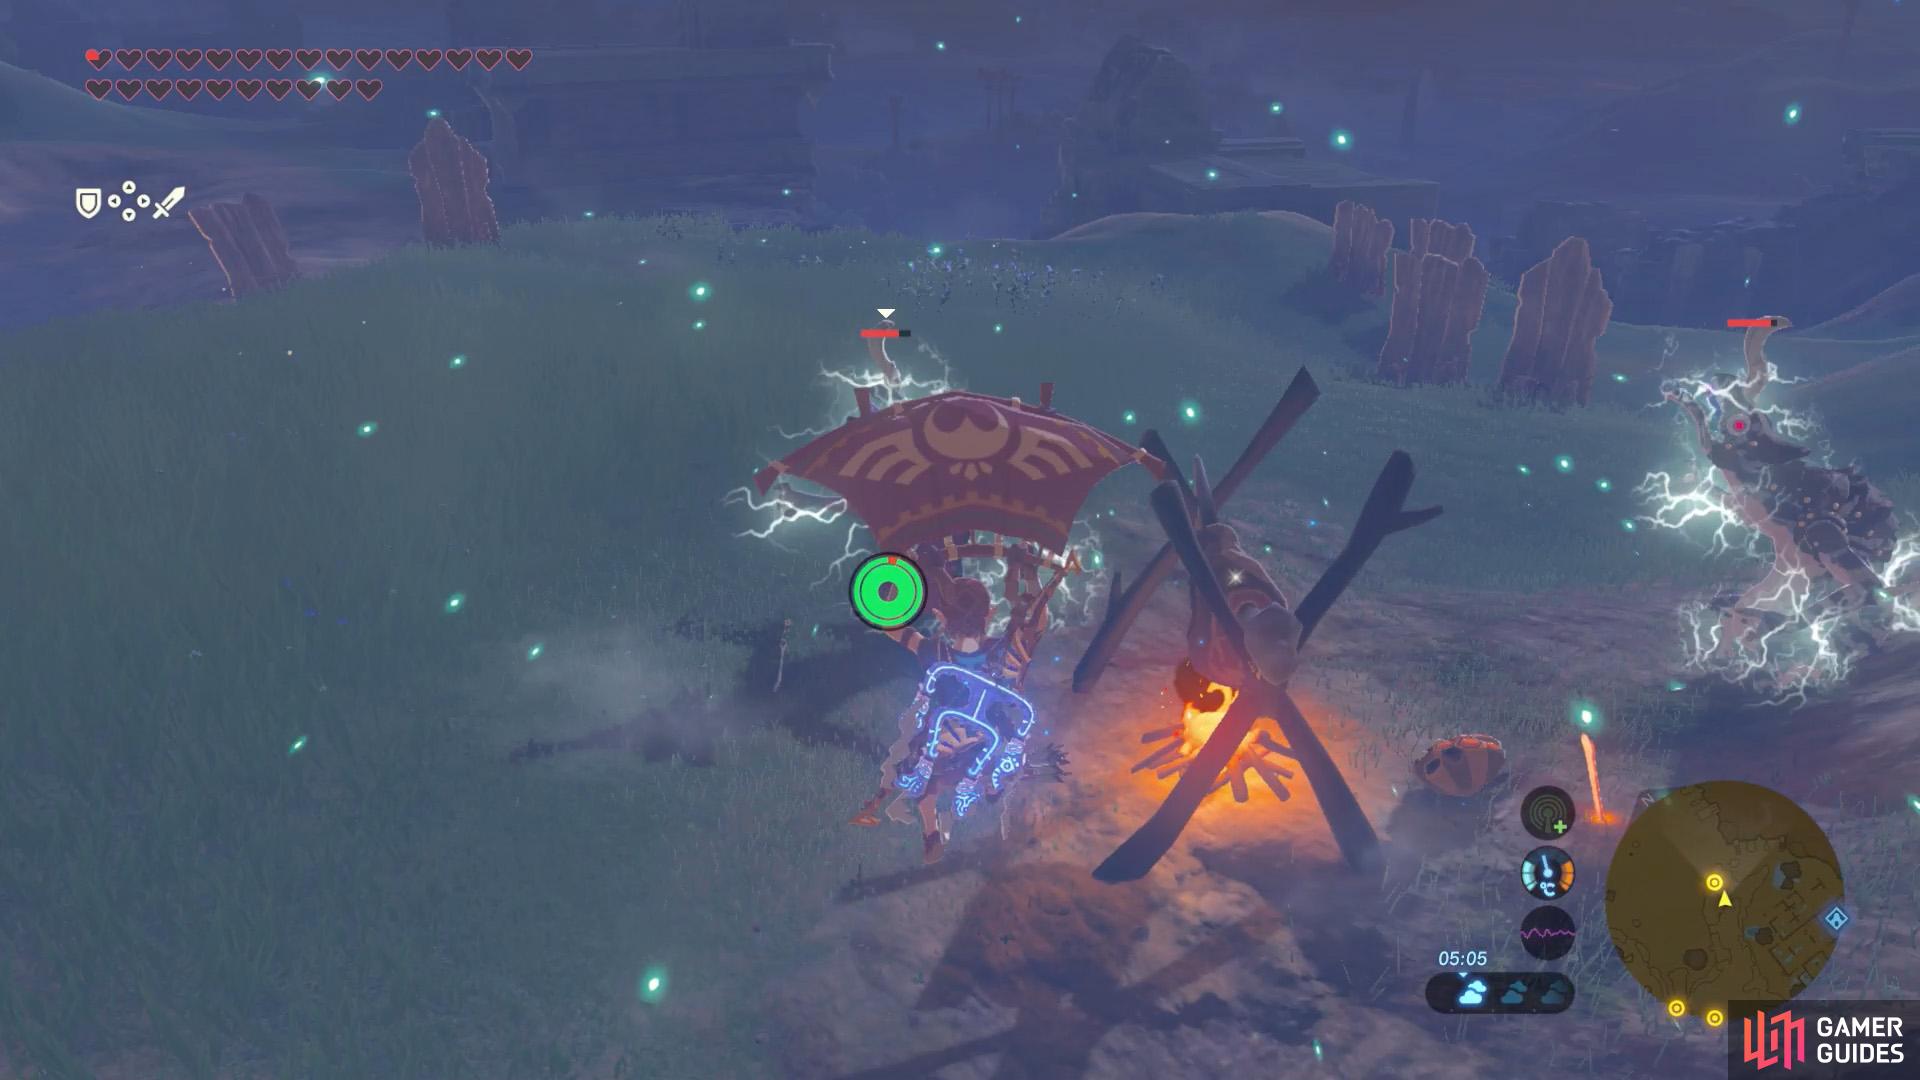

Freeze or electrocute the two Lizalfos not running from the bees. (left), Then run in and smack them with the One-Hit Obliterator. (right)
Having slain all eight Lizalfos, the Rohta Chigah Shrine will appear to the north.
No Comments