
A guide on how to complete Kee Dafunia Shrine, found in the waters west of Knuckel and Ankel Islands. To unlock this shrine you’ll first have to start Ex Champion Mipha’s Song, which is a part of The Champions’ Ballad DLC.
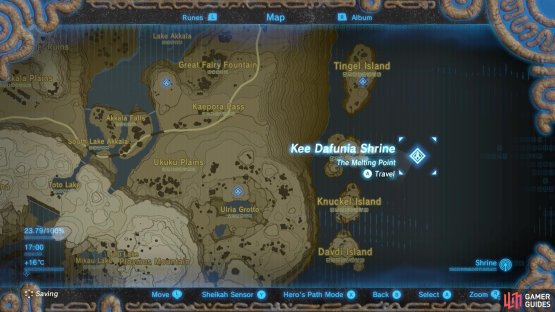

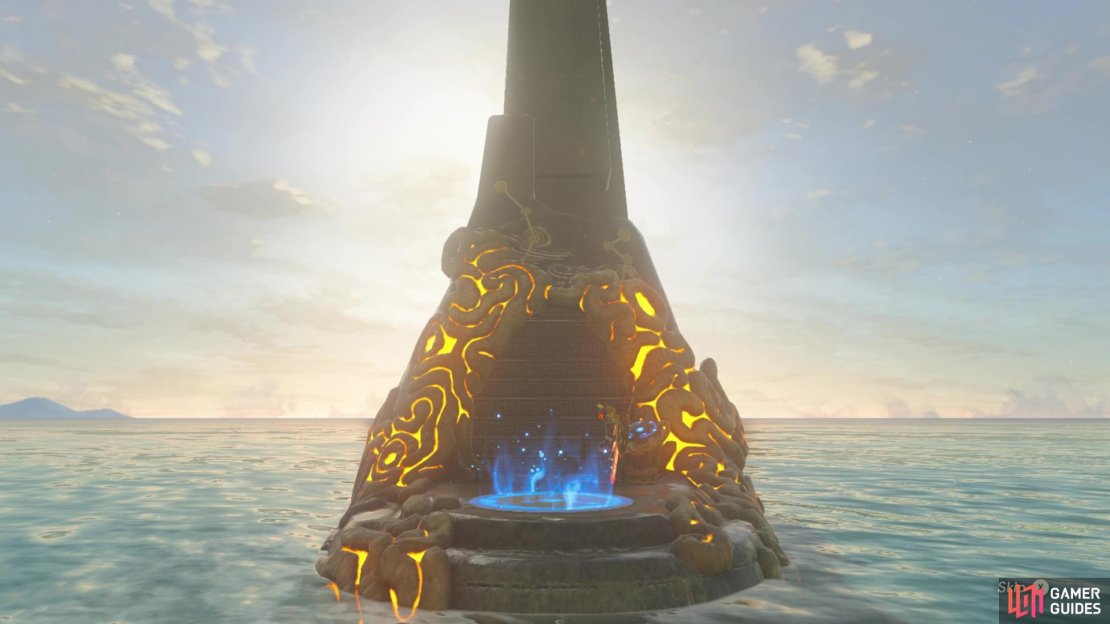
(1 of 2) Kee Dafunia is found just west of the three islands of Lanayru

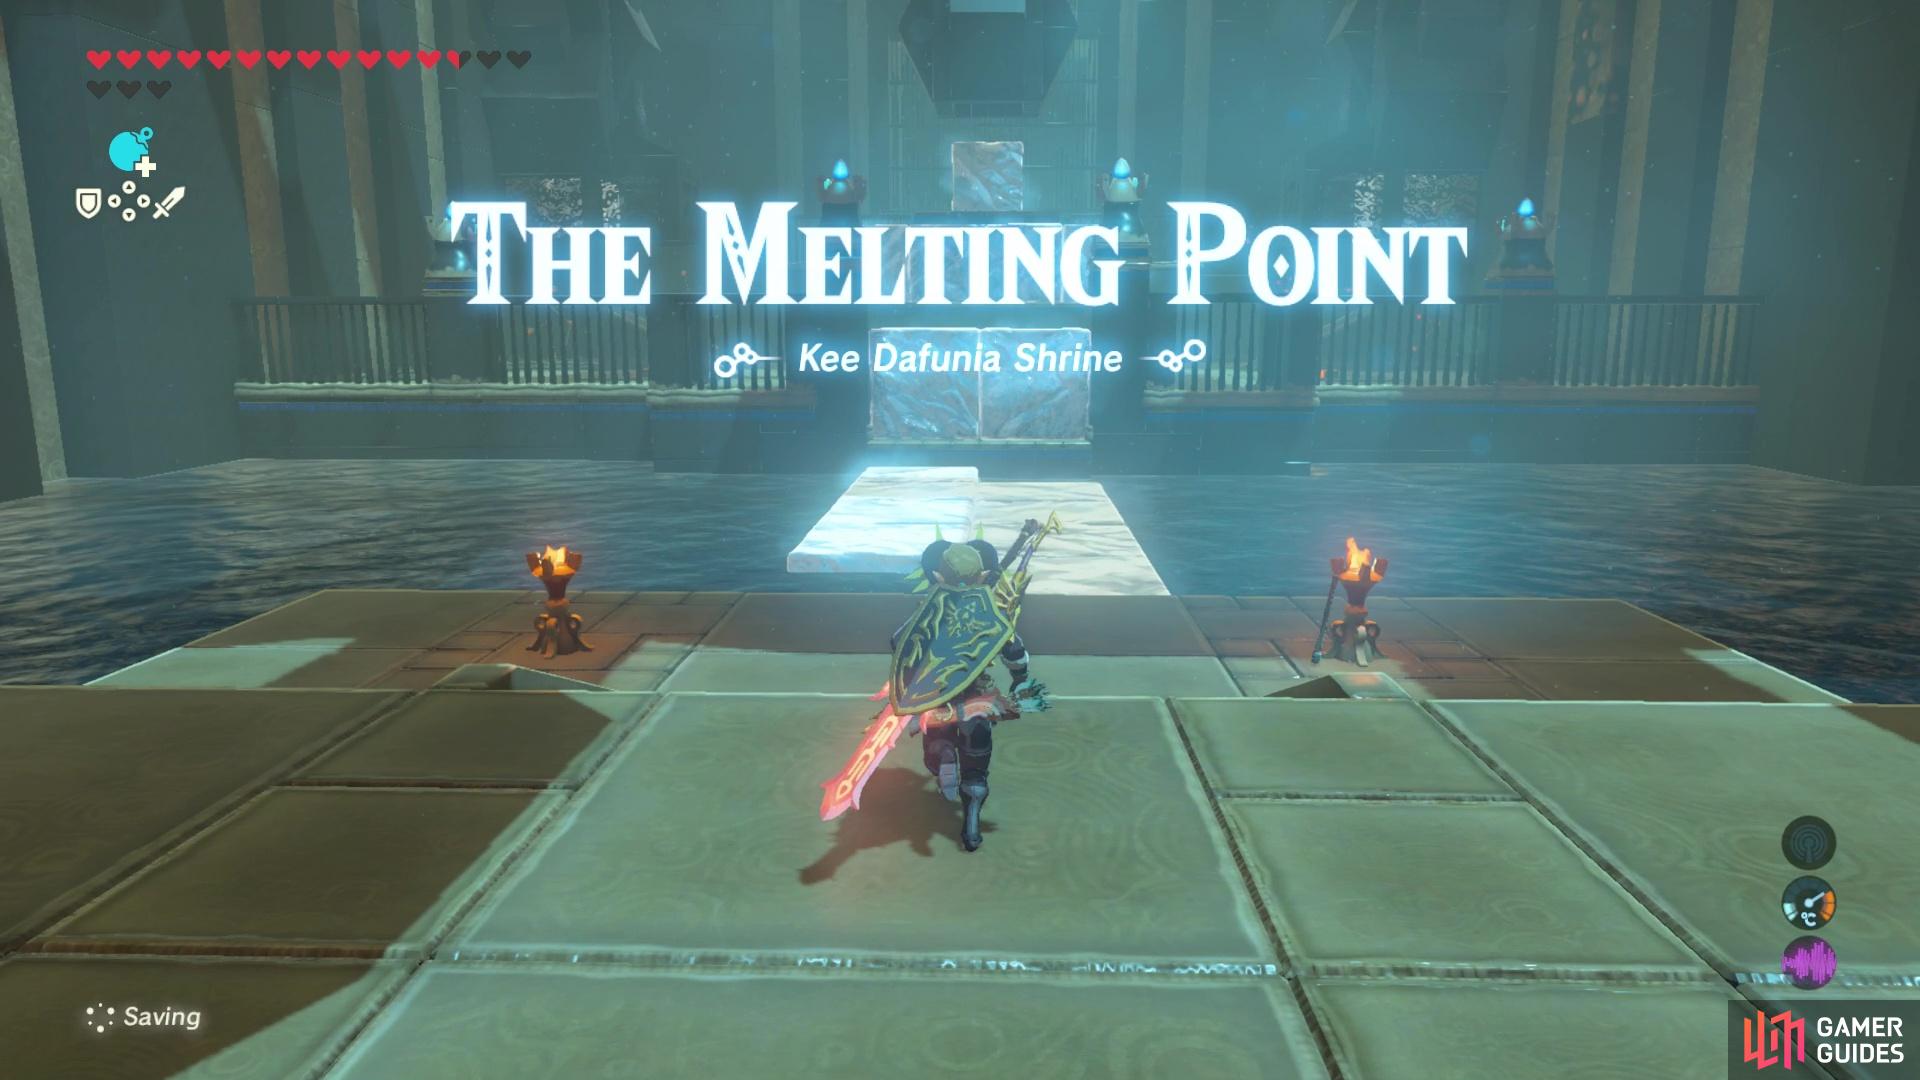
Kee Dafunia is found just west of the three islands of Lanayru (left), its titled ‘The Melting Point’. (right)
How to “find what the light’s path shows”
Kass suggests that you speak to Sidon to get another clue about the first shrine’s location. Sidon can be found in Zora’s Domain. Ask him about the trial and he’ll give you a clue that he sent out Muzu and Tottika to guard east of Ulria Grotto. You’ll want to head over to Ke’nai Shakah shrine if you have it unlocked and then walk east towards the cliff. You should be able to spot them on the cliff’s edge overlooking Knuckel Island.
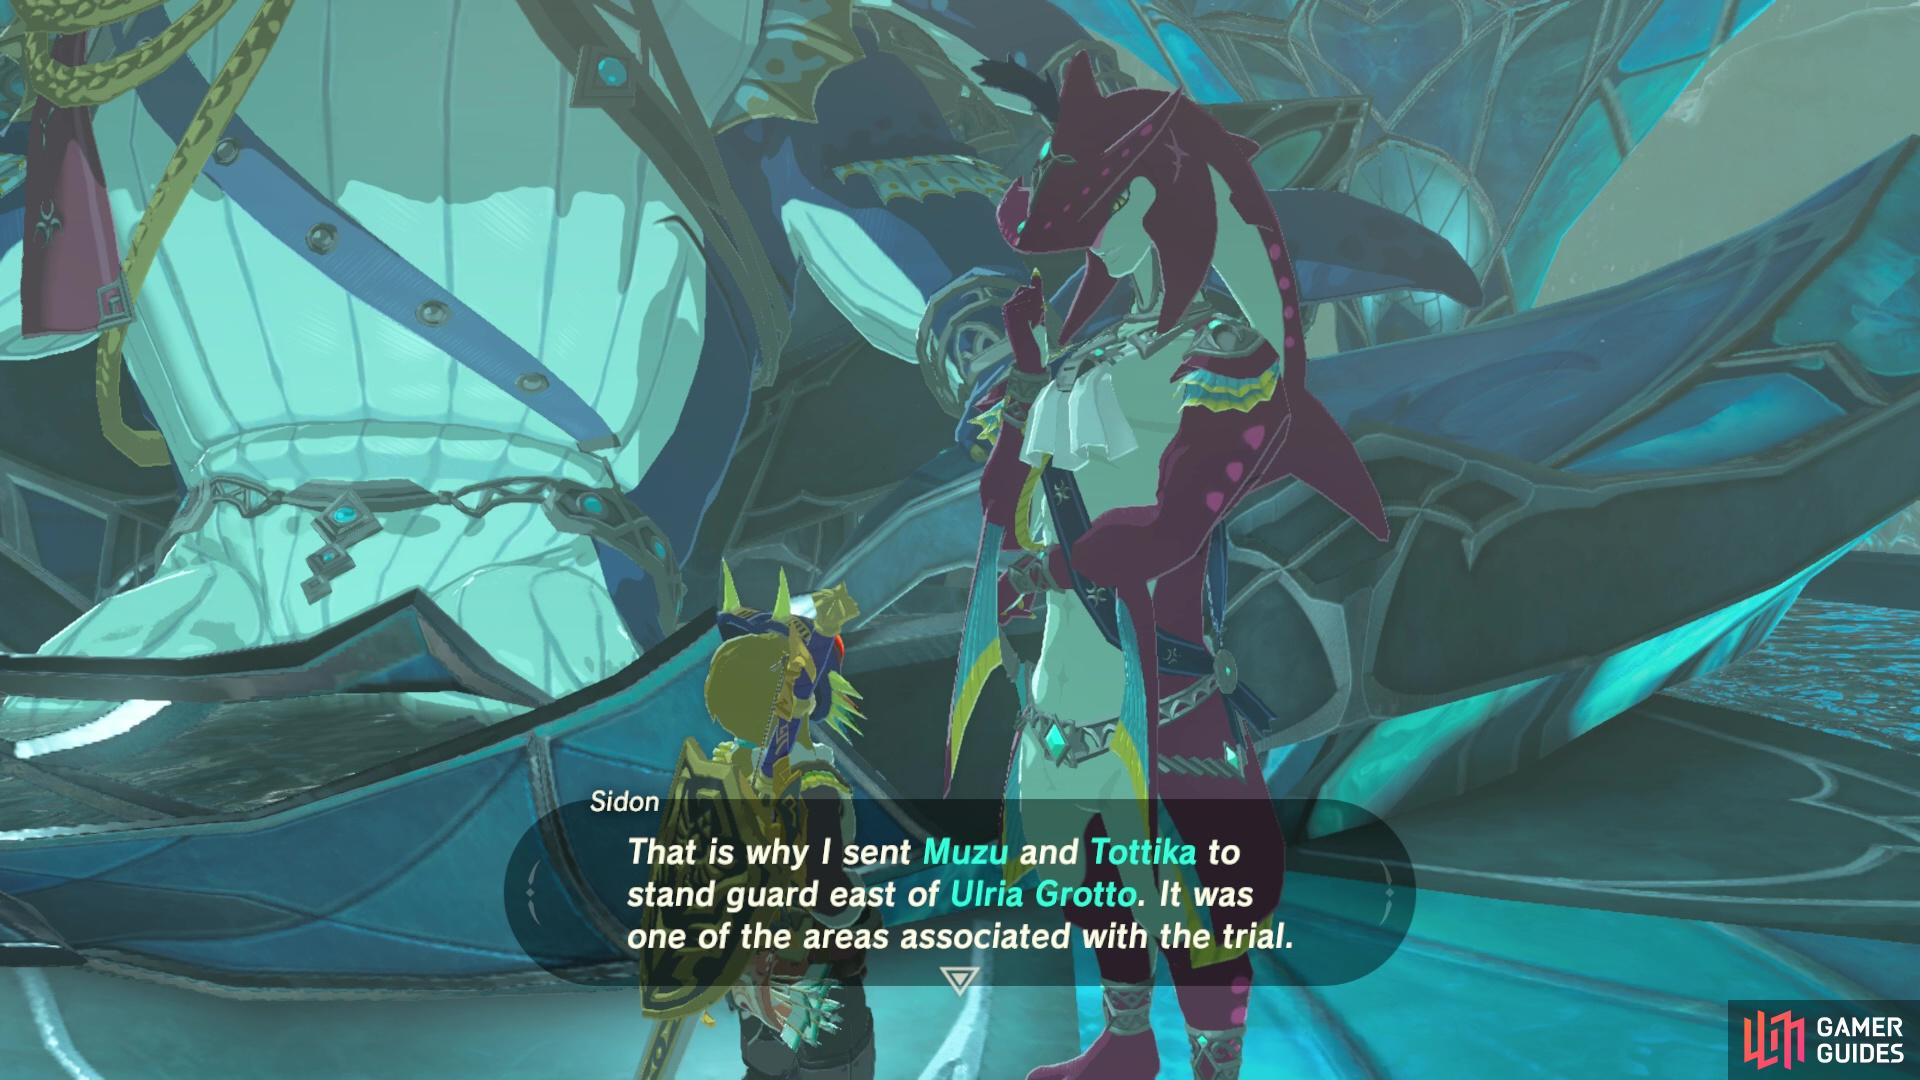
Speak to Sidon to get more information on where to find one of the shrines.
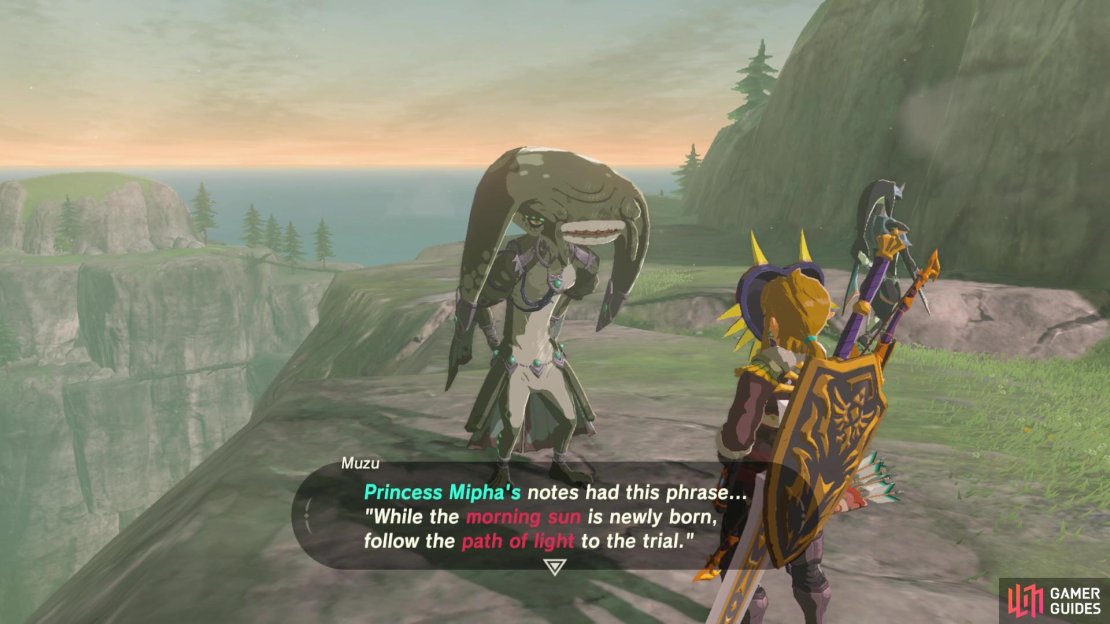
Speak to Muzu and he’ll reveal that Mipha noted this phrase While the morning sun is newly born, follow the path of light to the trial. After speaking to Muzu, light the camp nearby with either flint and sticks or flame weapon and wait at it until morning.
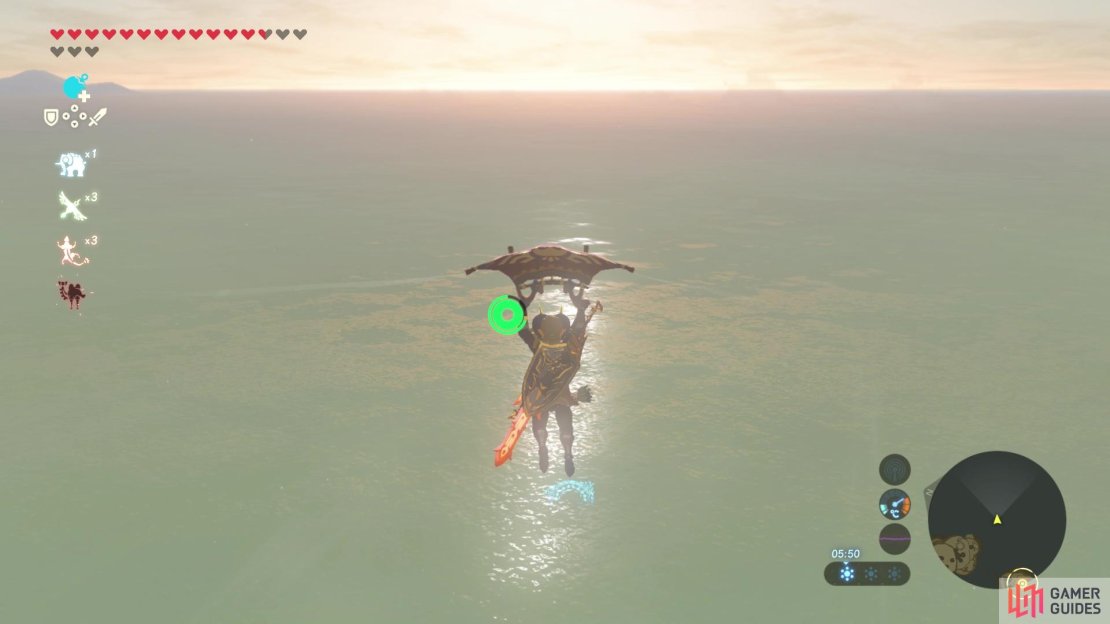
Then, when it’s morning, paraglide out between Ankel Island and Knuckel Island towards the rising sun. Follow its beams across the water and you’ll soon spot a glowing blue ring in the water. Fly or swim through it to trigger the spawning of Kee Dafunia Shrine.
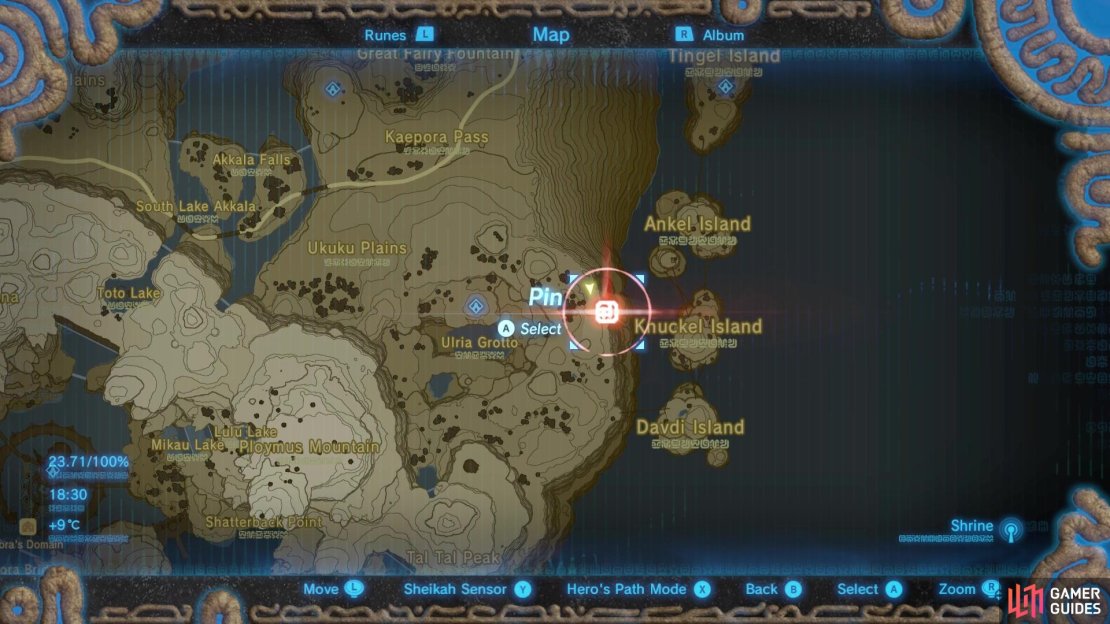
(1 of 4) Head to this area to meet Muzu and Tottika.
How to Complete Kee Dafunia: The Melting Point
First off you’ll want to grab the torch to the right of the entrance and light it on one of the sconces. Then, hop over the ice blocks and use your torch to melt the ice cubes blocking your path to the next area.
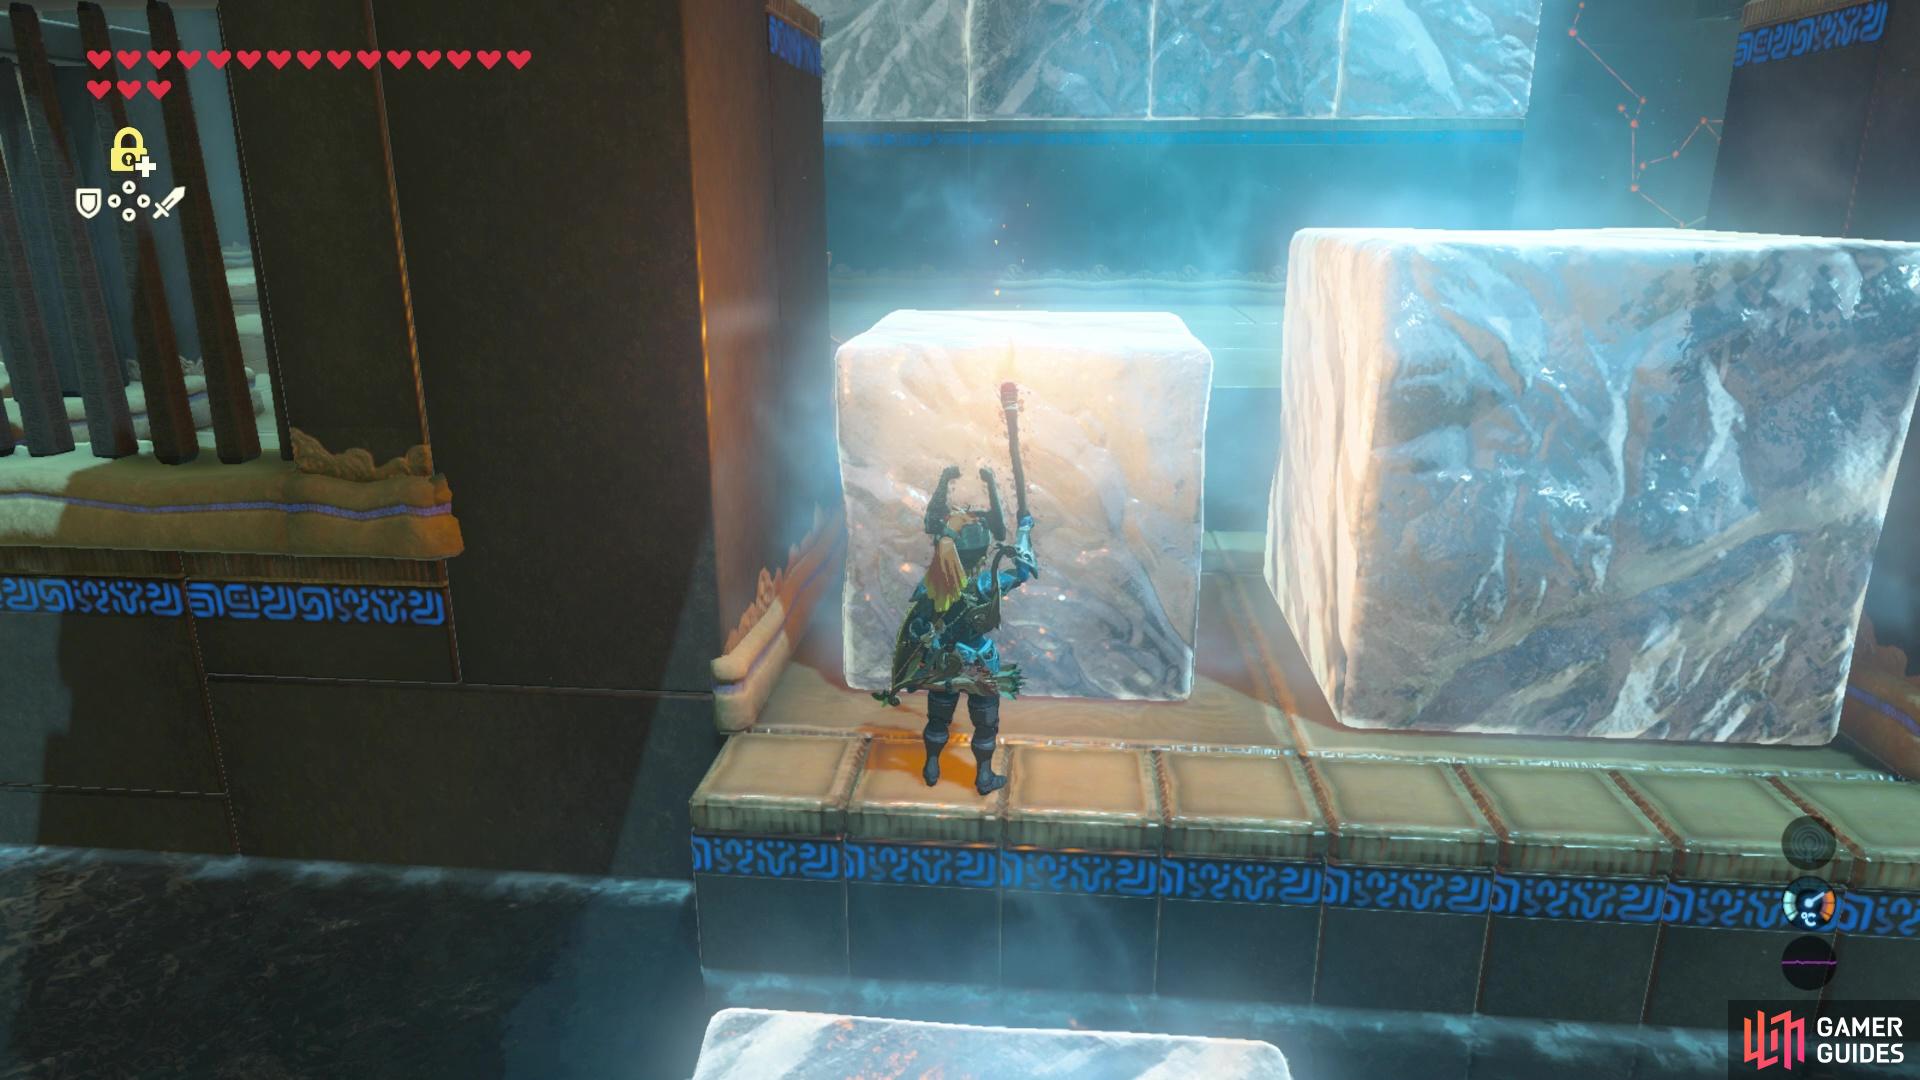
Use the torch to melt the ice cubes so you can get to the other side.
Next, head either to the left or right and stand on the pressure plate to release an ice cube. Then, stand on it againt to release a second ice cube. You’ll want to stand closest to the second ice cube and melt it with the torch until it’s small enough to jump up onto like a step. Don’t make it too small though, as you’ll need to be able to jump up onto the next ice cube and then from that ice cube onto the ledge above. Once on the upper ledge, repeat the same process with the cubes here to create a set of icy steps onto the higher up platform.
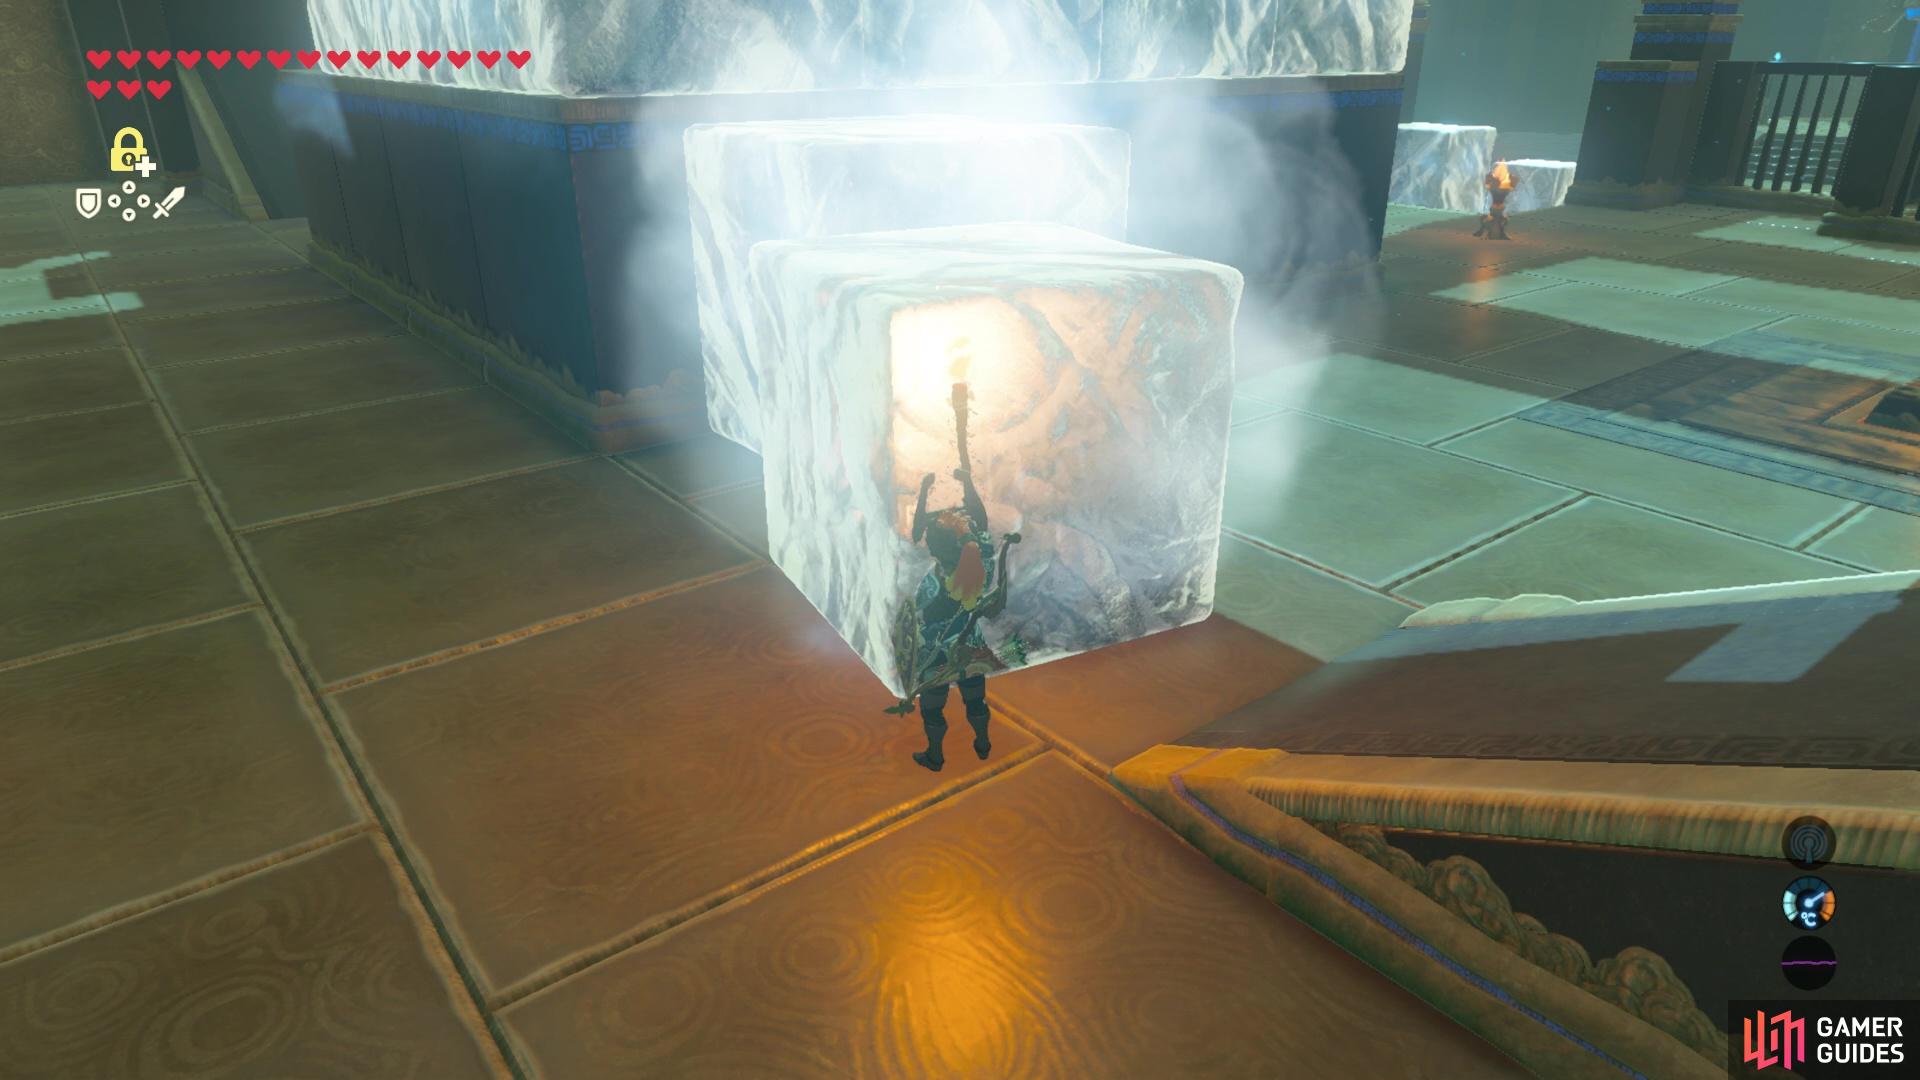
Make some steps using the ice cubes.
Once up on the highest platform, you’ll want to melt the ice cube so it’s just small enough to carry - again, don’t make it too small! Once carryable, take the ice cube over through the water to the very back wall. Then, use cryonis to form an ice block beneath you and the ice cube. If the cube isn’t too small then you can use it as an extra ledge to get to the highest platform of the shrine and claim the first of three Ruta’s emblems.
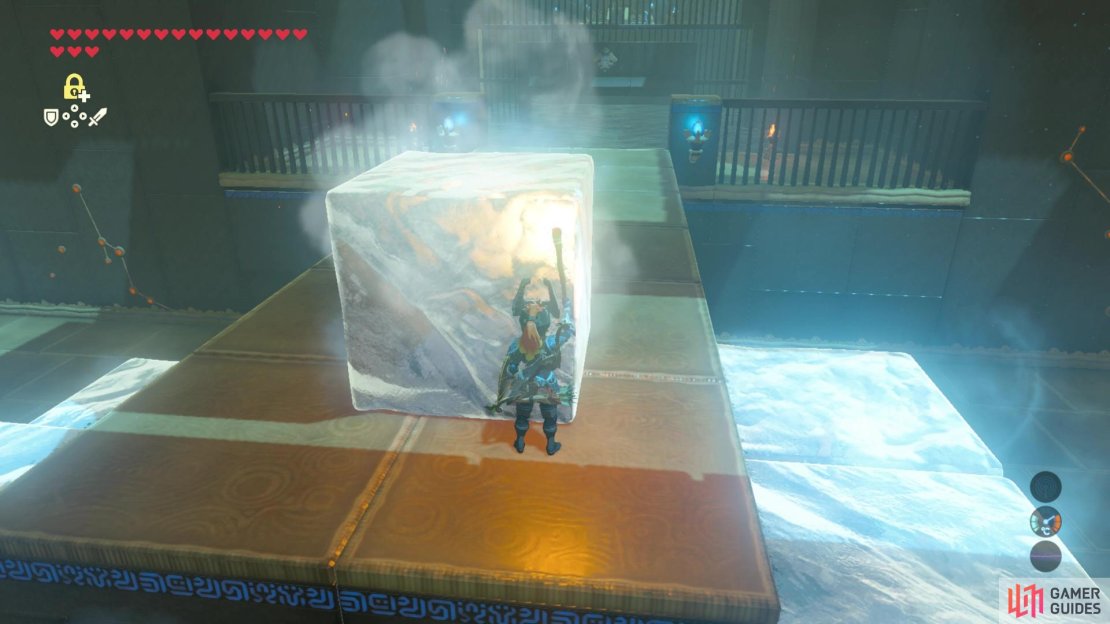
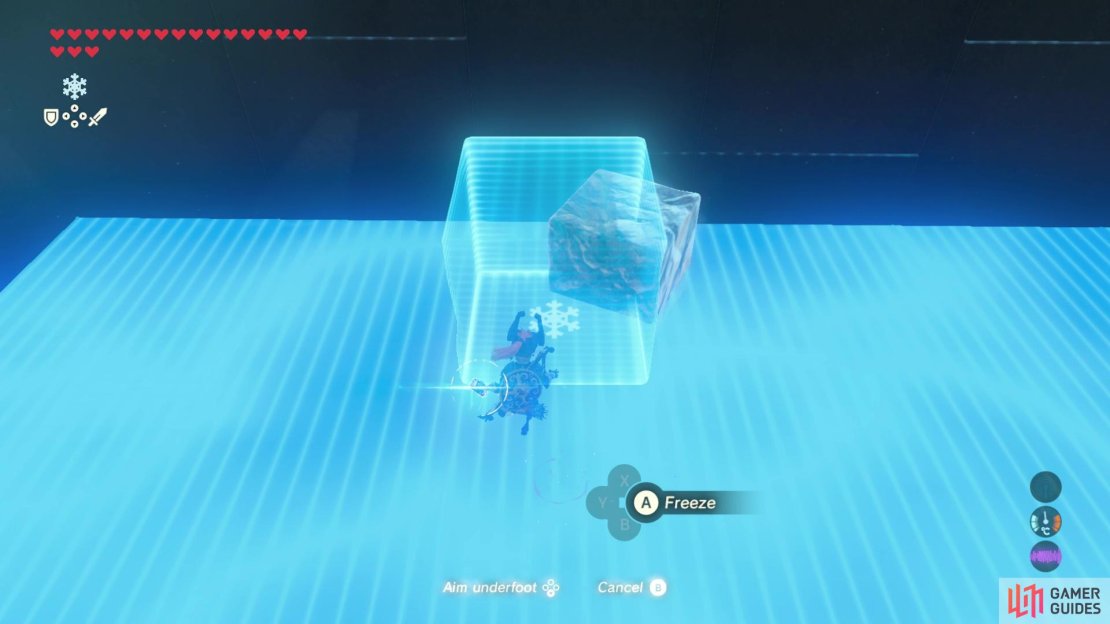

(1 of 3) Shrink the final ice cube so you can carry it
No Comments