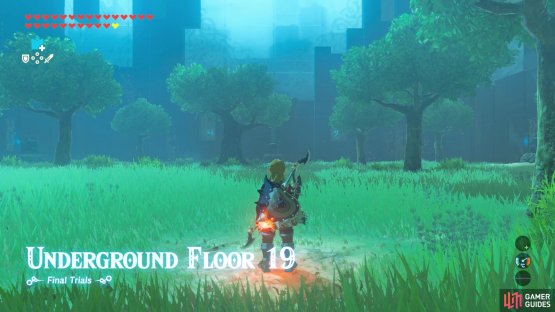
(1 of 2) Guardians and other strong foes await in the final stretch.
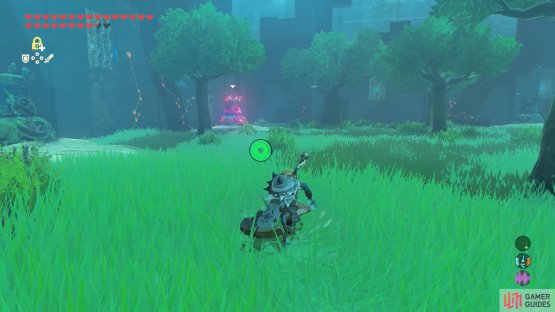
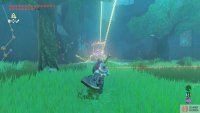
Guardians and other strong foes await in the final stretch. (left), Run towards the Decayed Guardian directly ahead. (right)
| Difficulty | Monsters |
|---|---|
| ★★★★★★★☆☆☆ | Decayed Guardian x6 |
The last quarter of the Final Trials has no fancy gimmicks. Instead, you’ll be facing many of the game’s toughest enemies: Guardians and Lynels (well, just one Lynel). This is why we told you to save up those Ancient Arrows!
This particular floor has a few trees dotted around, which you can use to hide from the Guardians’ lasers.
Strategy
First things first, you’ll be facing six stationary Guardians. Even though they can’t move, they’re still dangerous foes with immense firepower and exceptional range. Fortunately, the game isn’t cruel enough to set all six Guardians on you at once. To begin with, only one Guardian will be active, then more will awaken as you destroy them.
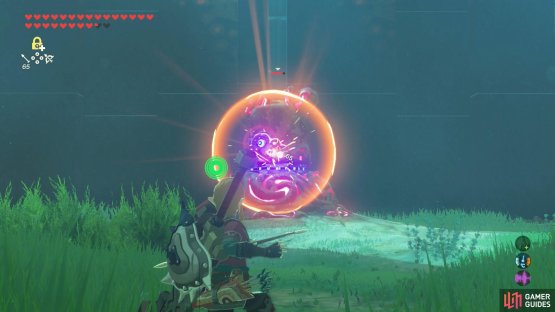
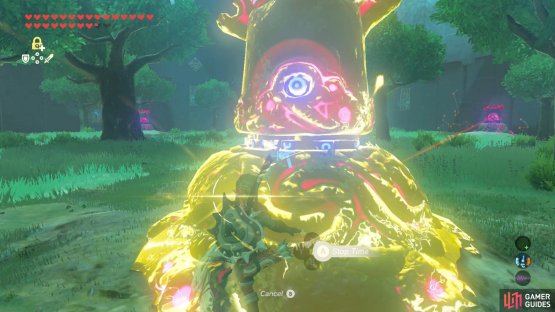
(1 of 2) Shoot the Guardians in the eye to stun them.
Shoot the Guardians in the eye to stun them. (left), Then hit them with melee weapons when they’re not looking. (right)
When you enter, the first Guardian to awaken is the only directly ahead. To save time, dash forward and Stasis the Guardian or use the nearby thick tree as cover. Shoot the Guardian in the eye to stun it, then keep hitting it with a strong melee weapon. When it aims at you again, shoot its eye or Stasis it to keep it busy.
(1 of 2) After killing the first Guardian, dash towards one of the Guardians at the two farthest corners.
After killing the first Guardian, dash towards one of the Guardians at the two farthest corners. (left), Use Stasis to stop the Guardian from attacking. (right)
After destroying the first Guardian, the two Guardians at the farthest corners will awaken. Similar to before, dash to one of the corners while you have the chance. Then Stasis the Guardian you’re running towards or shoot them in the eye. Use the trees along the way to protect yourself from the other Guardian who’s aiming at you from the other side.
When you reach the second Guardian, stand behind it to protect yourself from the other Guardian. Then defeat it in the usual way. Once the second Guardian’s gone, cautiously head to the third Guardian on the opposite side–the one that was shooting at you before. Then dispatch it just like the other two.
(1 of 2) No matter where you go, you’ll be targeted by the two Guardians further away.
No matter where you go, you’ll be targeted by the two Guardians further away. (left), However, if you position yourself well, you may be able to escape their line of sight. (right)
Now things get a bit more tricky as the remaining three Guardians will awaken simultaneously. They’re located in-between the second and third guardians, as well as the remaining two corners. Forming a kind of Y shape. Don’t stick around for long; quickly choose one of the Guardians to dash to. It doesn’t really matter which one.
Due to the positions of the Guardians, it’s slightly harder to hide behind the Guardian you’re attacking. There’s a good chance you’ll be out of range of one Guardian, but within range of another. However, if you move left and right while attacking, you can move in and out of their ranges and delay them from shooting.
(1 of 2) It’s not terribly important, but there’s a buried chest near one of the perimeter walls.
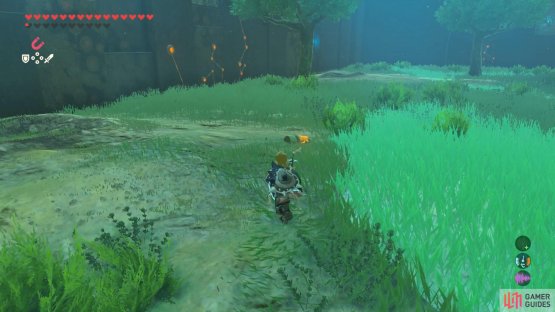
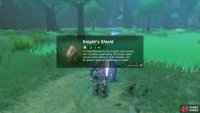
It’s not terribly important, but there’s a buried chest near one of the perimeter walls. (left), Inside is a shield you can use for parrying lasers. (right)
After slaying the fourth Guardian, it should be much simpler to deal with the remaining two. You can use the same strategy for the second and third Guardians. Once all the Guardians are dust, look around near one of the walls, about halfway between two corners. There’s a buried chest that you can dig up with Magnesis, containing a Knight’s Shield.











No Comments