

(1 of 2) To unlock this shrine, you must eliminate the Bokoblin outside.
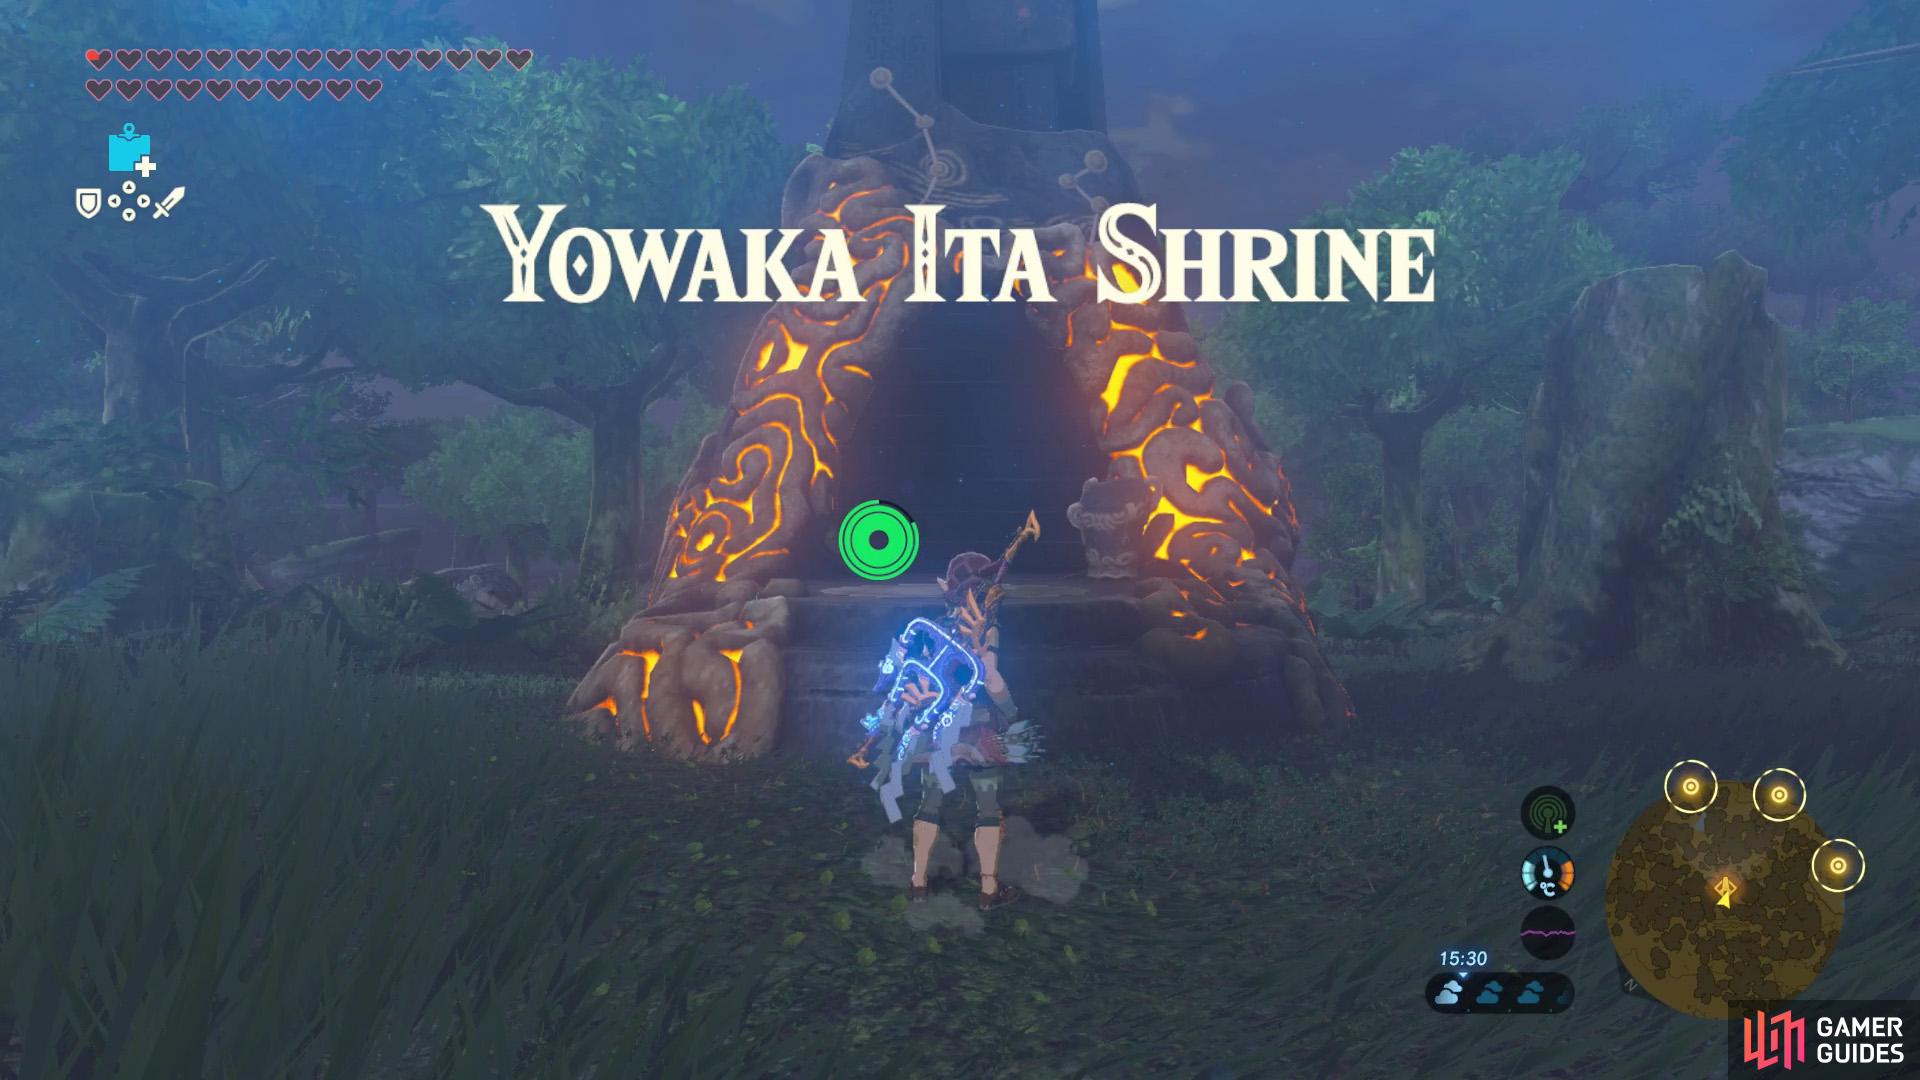

To unlock this shrine, you must eliminate the Bokoblin outside. (left), This is the least dangerous of the four shrines, but you can still die. (right)
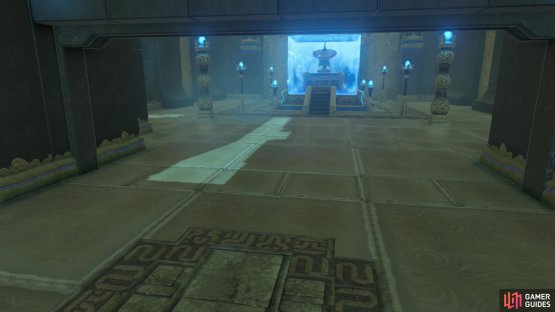
The Yowaka Ita Shrine is one of the four DLC shrines located on the Great Plateau. When you enter, there’s a hole directly ahead that fits a small ball. Once the hole has been filled up, the gate on the left will open, enabling access to the monk. Right, time to find the ball then!
Begin by moving forward. Up ahead, there’s a downward slope that resembles a mini pinball machine. On the left and right are a pair of chutes where spiked and stone balls come rolling from. These balls will crash into the pillars in the center, before rolling down to the bottom of the slope and into the abyss.
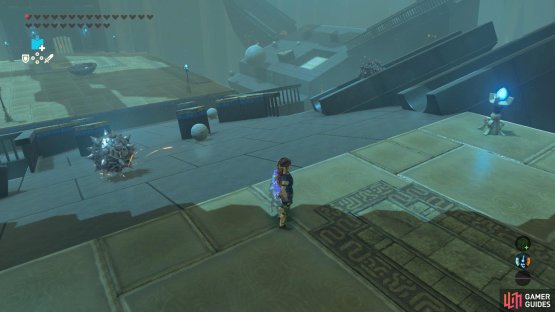
(1 of 2) Getting hit by any ball, spiked or not, spells doom.
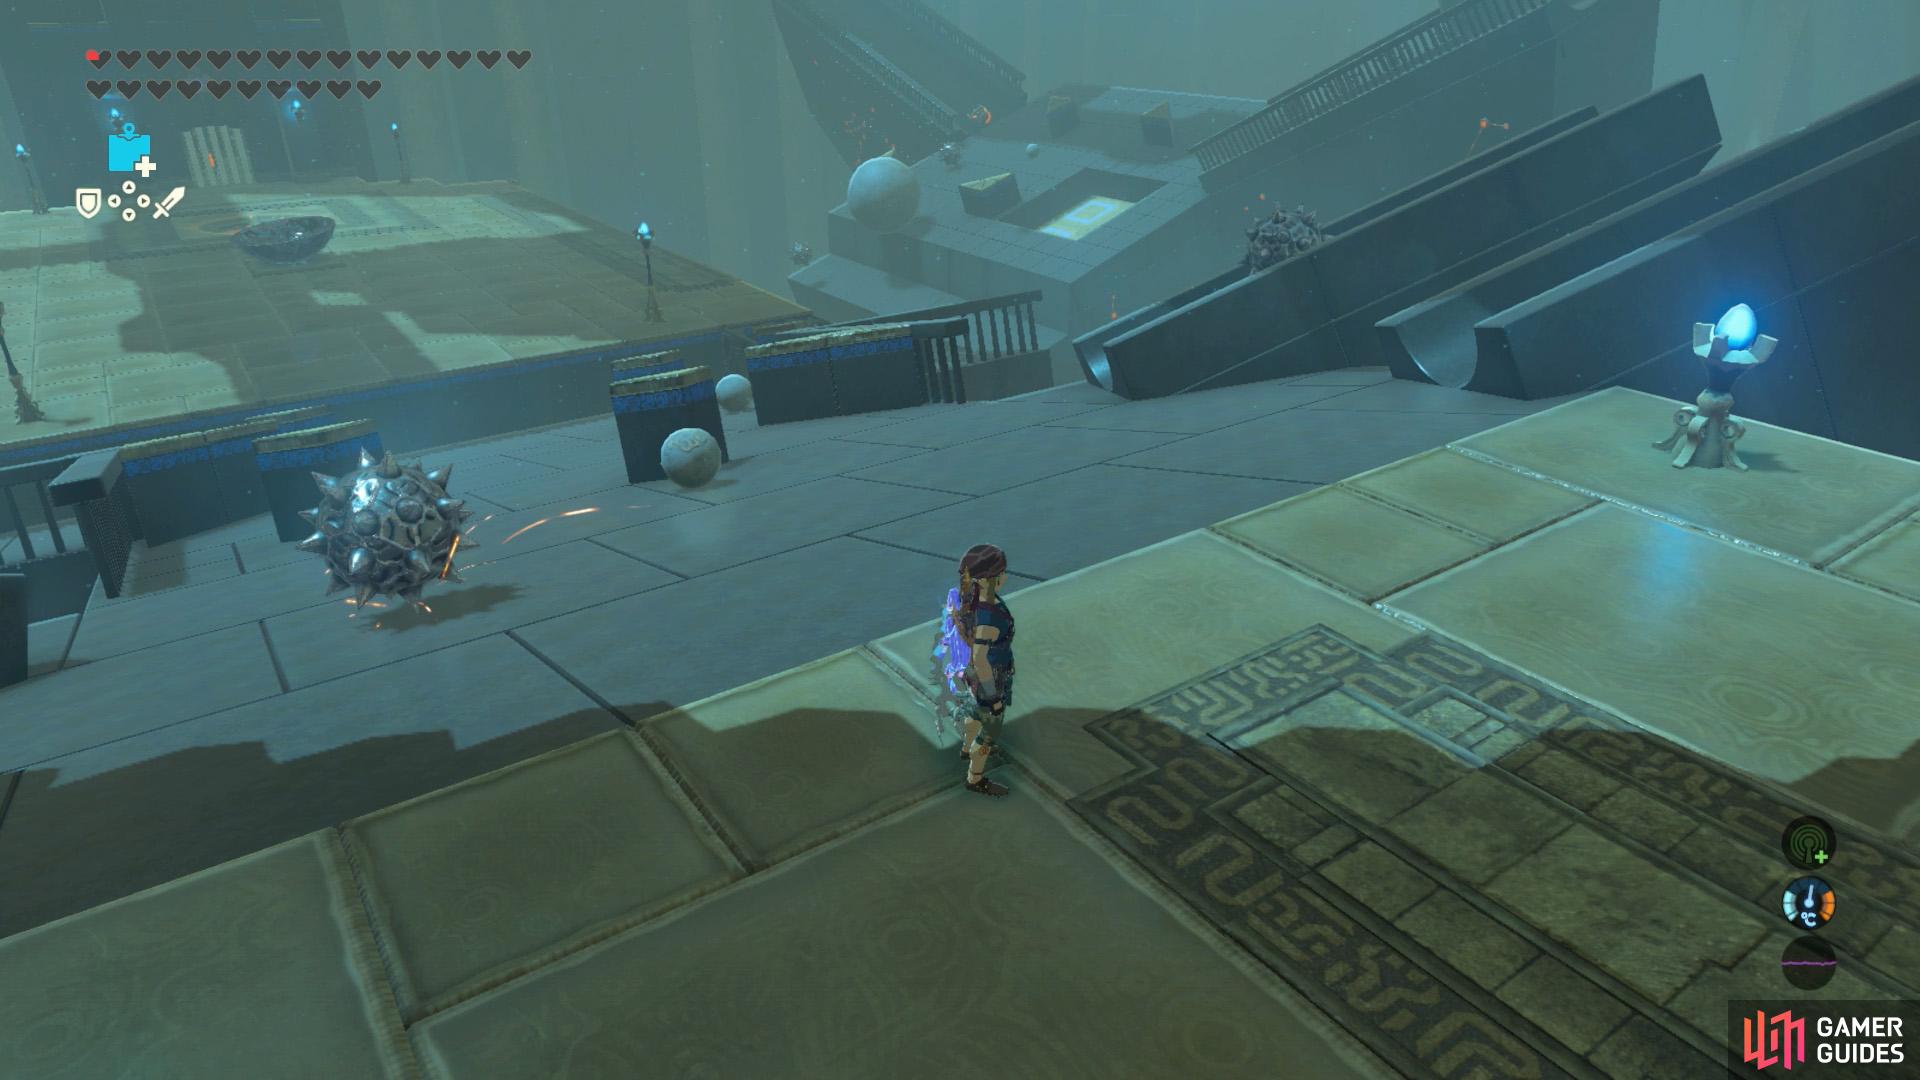

Getting hit by any ball, spiked or not, spells doom. (left), The left side is the safest place to go through. (right)
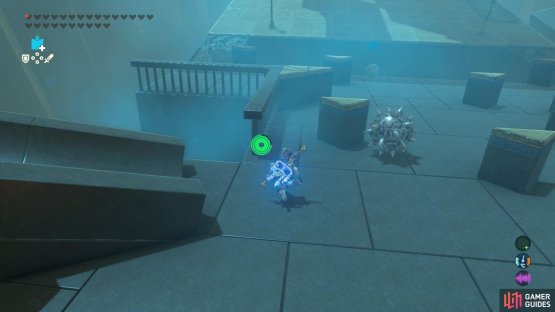
Nevermind the spiked balls, due to the momentum, even the round balls will damage Link if he’s hit by them. Which equates to instant death due to the One-Hit Obliterator in your hands. We recommend going down the slope from the left side. Patiently wait for the balls from the left chutes to pass, then run towards the nearby triangle alongside the wall.
Look out for an incoming spiked ball coming from the right-hand side chutes, which will crash towards the side of the triangle. Once it’s gone, go around the triangle and then head left, escaping the pinball madness (for now). Head across the bridge to the next section, which is much less dangerous.


(1 of 2) Scoop up the large ball and drop it into the hole in front of the gate.

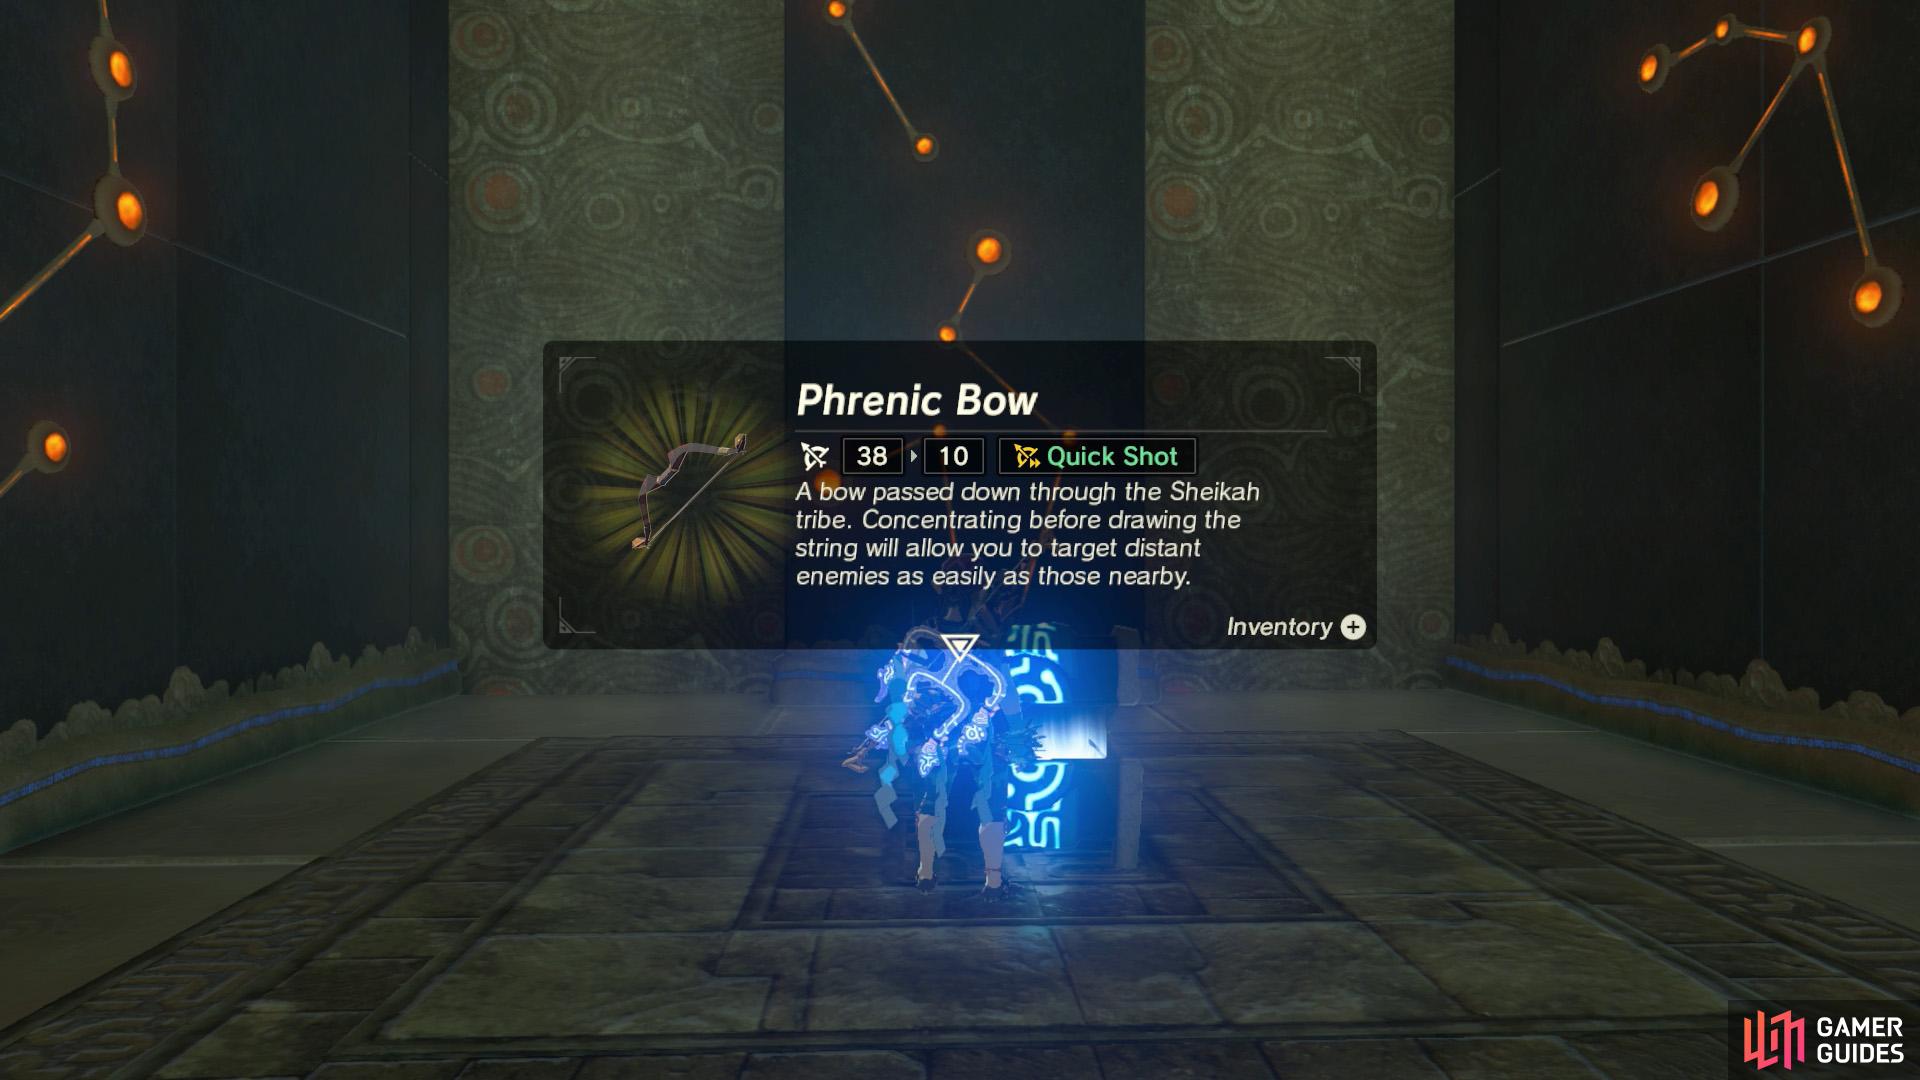
Scoop up the large ball and drop it into the hole in front of the gate. (left), This will unlock the gate, allowing access to a chest with a Phrenic Bow. (right)
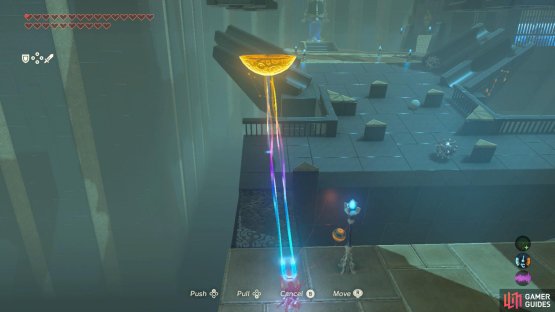
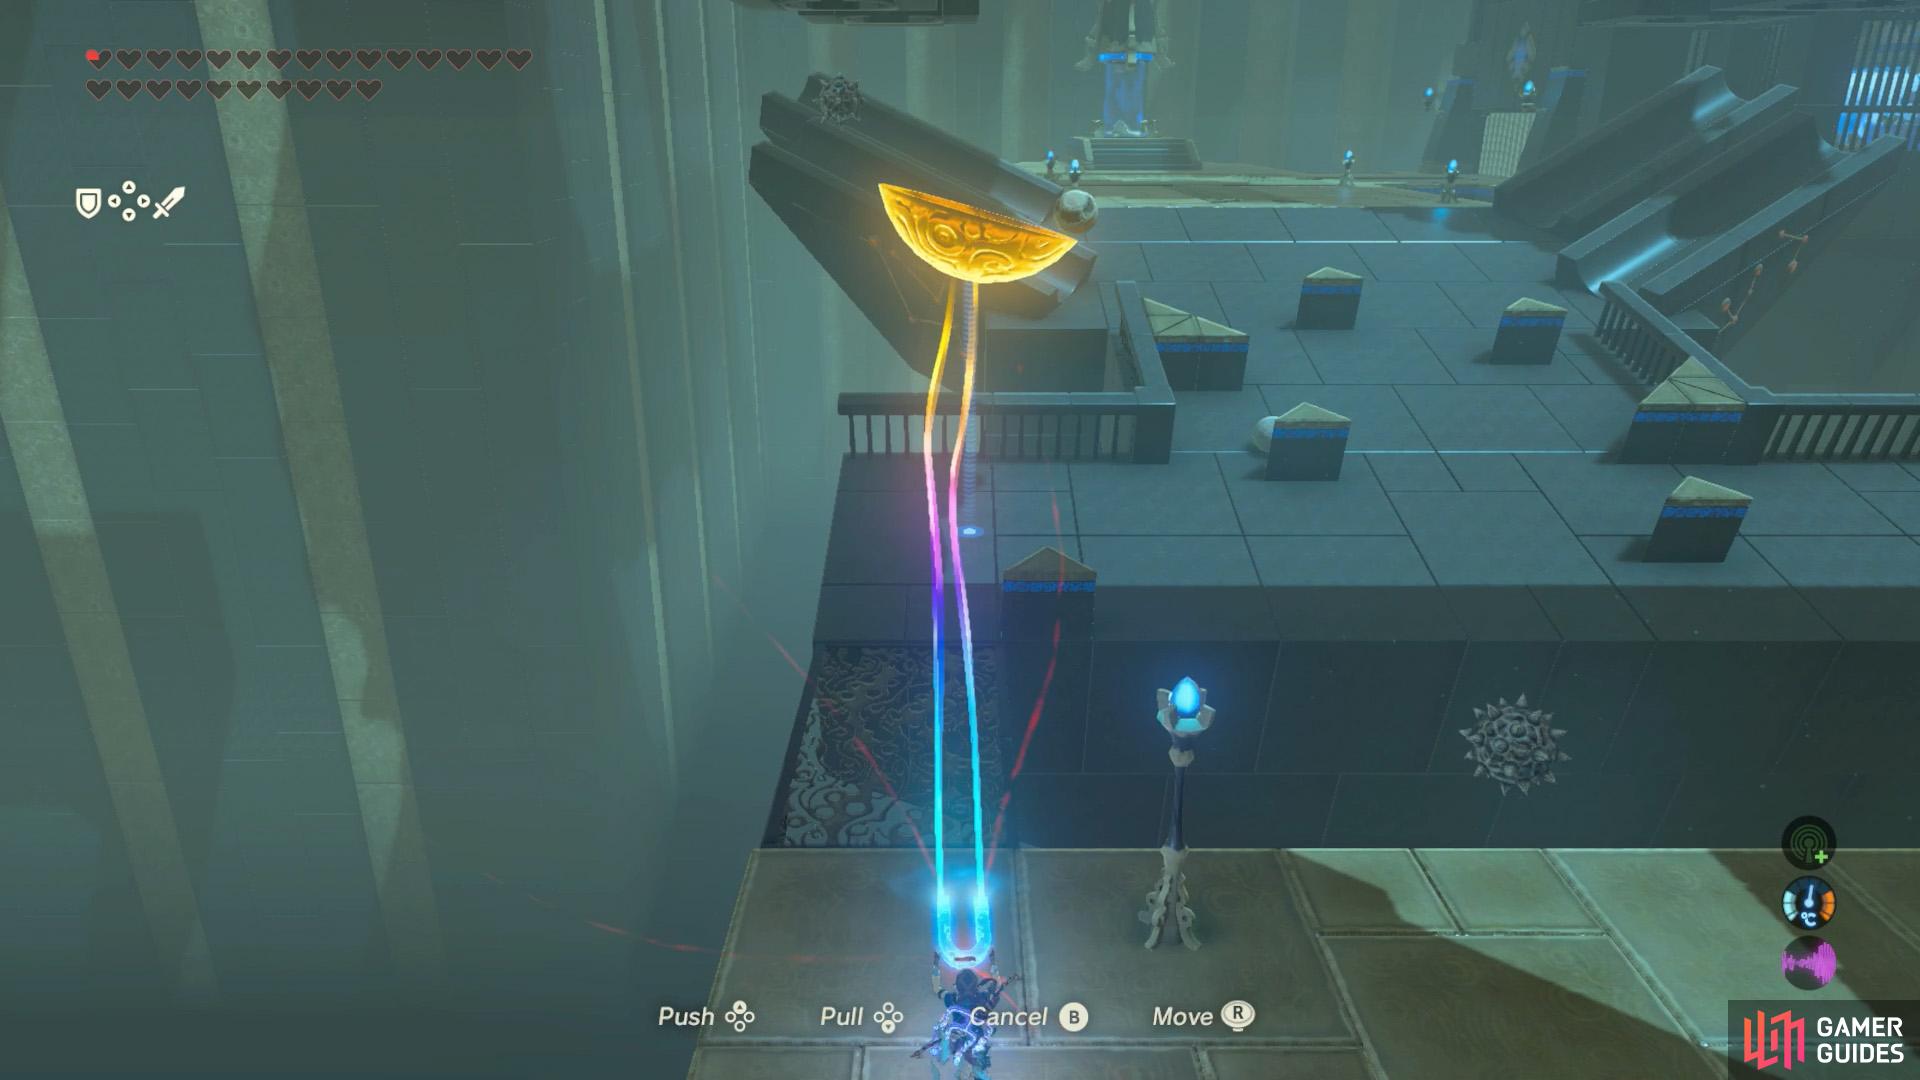
Here, there’s a metal bowl and a hole nearby that fits a large ball. At the far end is another gate, which is activated when the hole is filled. Beyond is a chest containing a Phrenic Bow. To the right, separate by a sizable gap is another slope that’s designed like a pinball machine. But you won’t need to run around it this time.
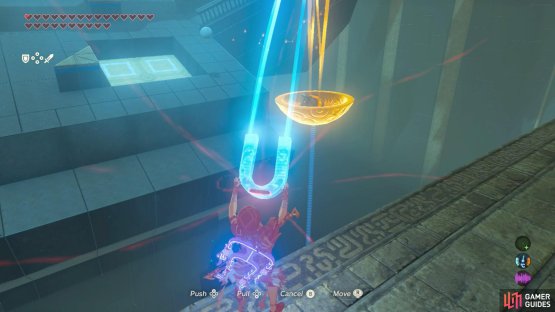
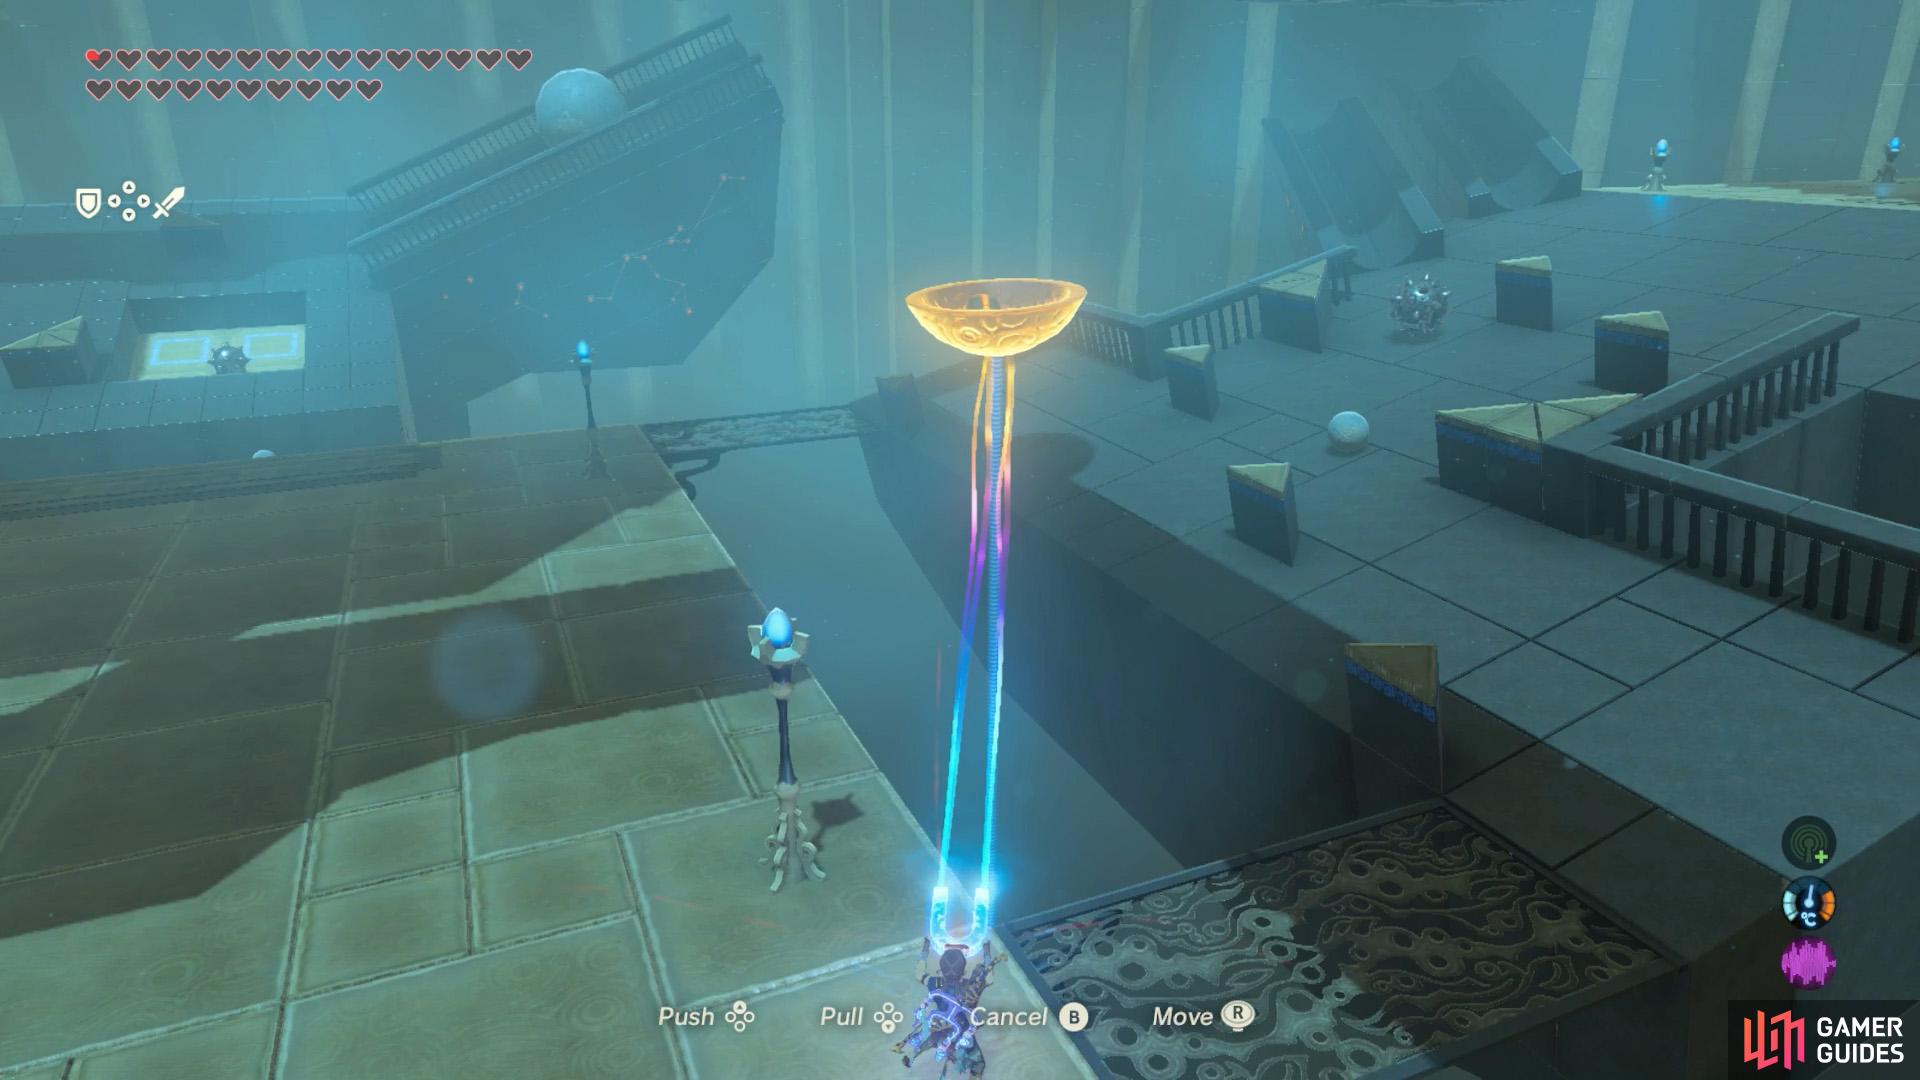
Use Magnesis to lift the metal bowl, then drag it towards the slope on the right. Your goal is to scoop up the glowing balls that emerge–one small and one large–as well as a treasure chest with 5 Bomb Arrows. To pass the trial, you only need the small ball, but you might as well scoop up everything useful while you’re here.
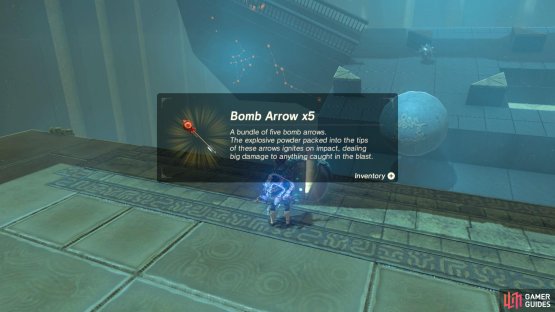
(1 of 2) Scoop up the treasure chest bouncing around.


Scoop up the treasure chest bouncing around. (left), Inside, there are 5 Bomb Arrows that you can use very soon. (right)
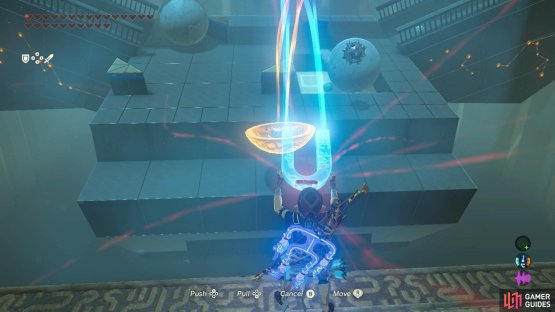
We suggest positioning the bowl so it’s near the edge of the main slope and above the step on the bottom. For the larger ball, lower the bowl so it’s touching the step. Otherwise, it’ll likely roll off the bowl if it’s too high up. If it still rolls off, move the bowl nearer to you.
Unlike the previous slope, there are a lot more objects rolling around and they’ll frequently crash into other, causing their paths to be random and chaotic. To improve your chances, stay near the center to begin with. Then move left or right to chase after the object you want.

(1 of 2) Whatever you do, don’t rush…

Whatever you do, don’t rush… (left), …Or the ball may roll off the bowl and into the abyss. (right)
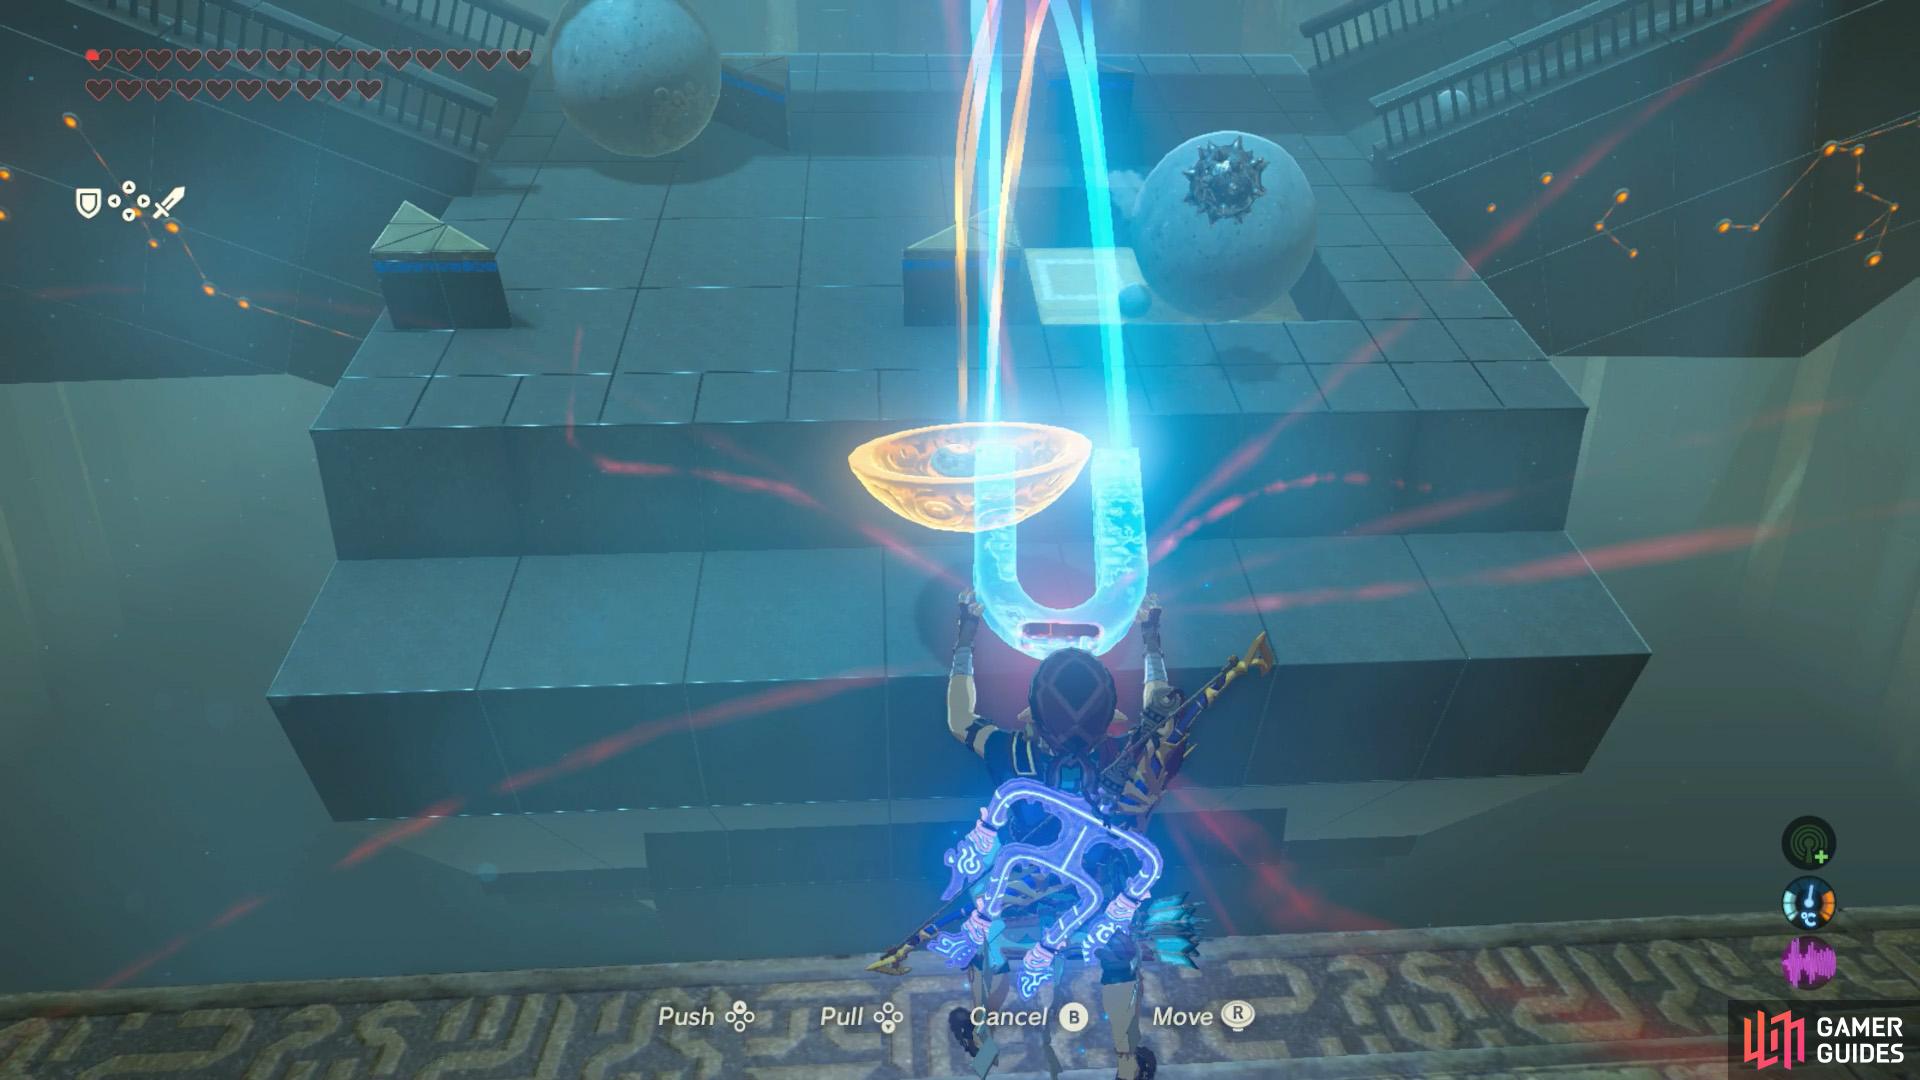
Once you’ve scooped up the object you want, don’t rush! If you move too fast, due to the shallowness of the bowl, there’s a good chance the object will roll off the bowl and into the abyss. We suggest lifting the bowl high up first, in case it gets hit by other objects. Then move Link himself backwards (there’s plenty of space behind).
Now for the deceptively tricky part: getting the ball off the bowl. If you scooped up the large ball, position the bowl so it’s above the hole it’s meant to be in, then jerk the bowl left or right, then back again. Hopefully it should wobble off the bowl and then into the hole. You could also try dropping the bowl near the edge of the pit.

(1 of 2) Finally, scoop up the small ball.
Finally, scoop up the small ball. (left), Then carefully carry it back towards the entrance. (right)
Meanwhile, if you scooped the small ball, you have to painstakingly transport it to the hole near the entrance. Which means going back through the first pinball machine. However, it’s not a difficult as it may seem. Firstly, we recommend only moving Link (so don’t swing the bowl around). This is because Link walks at the perfect speed.
Walk backwards until you’re at the bottom-right corner, near the bridge you went across. Don’t worry about falling off; it’s impossible to fall off a flat platform when Magnesis is in effect. Go right, back across the bridge, and then forward, stopping before you’re parallel to the triangle on the right.
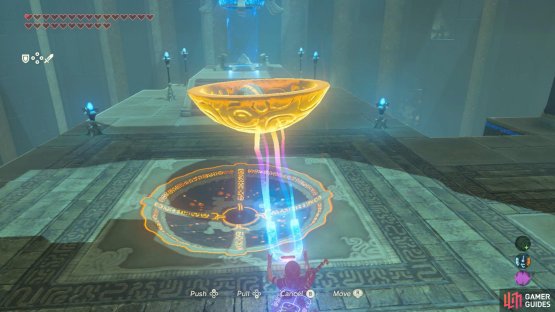
(1 of 2) Move the bowl so it’s above the hole, then shake it left and right.


Move the bowl so it’s above the hole, then shake it left and right. (left), When the small ball falls into the hole, the gate to the monk will open. (right)
Remember there’s a spiked ball that will crash into the triangle. Wait for it to pass, then go around the triangle and along the right. Afterwards, wait for the balls to come out of the nearby chutes, before making your daring escape to the right. If the camera isn’t co-operating, feel free to swing the bowl until you can see, but do it slooowly.
Finally, similar to the large ball, move the bowl so it’s above the hole it needs to be in, then jerk the bowl left/right and back again. Doing so should dislodge the ball from the bowl and into the hole. From there, go through the newly opened gate and meet the monk who devised this “clever” shrine.
No Comments