
This page offers a guide on how to complete the Divine Beast Vah Naboris Dungeon, including where to find all terminals.
Inside Divine Beast Vah Naboris
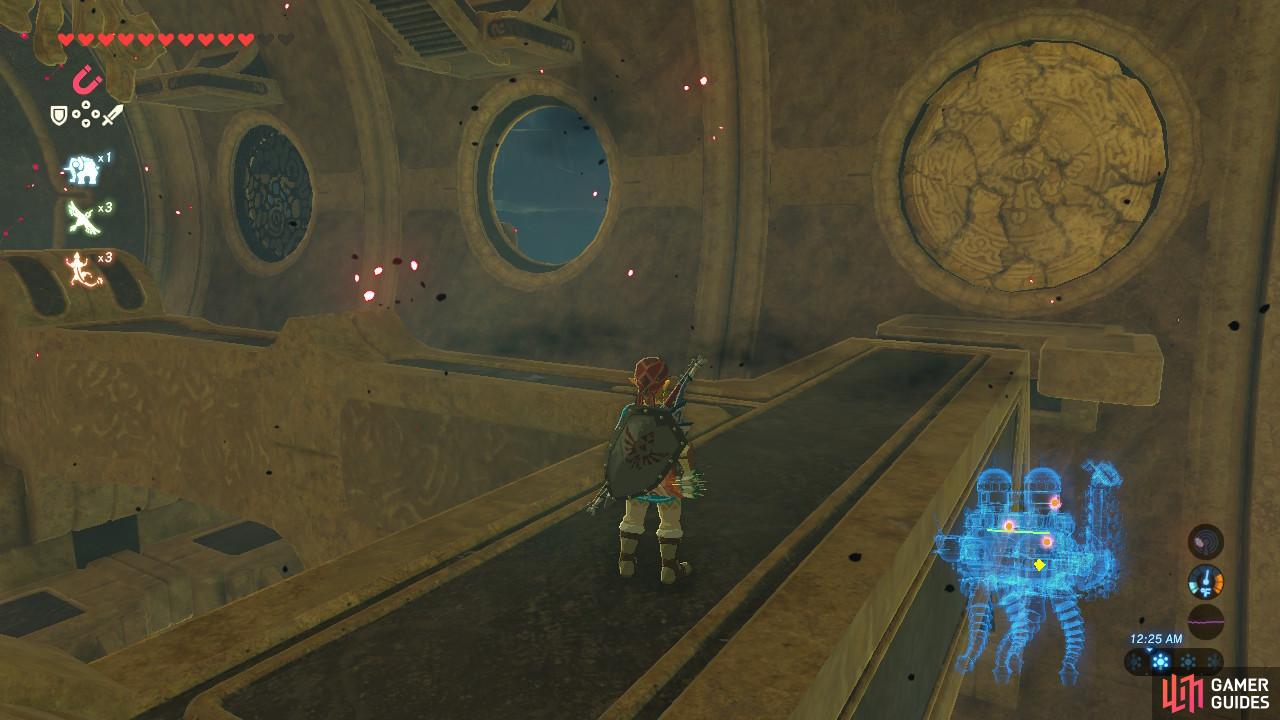
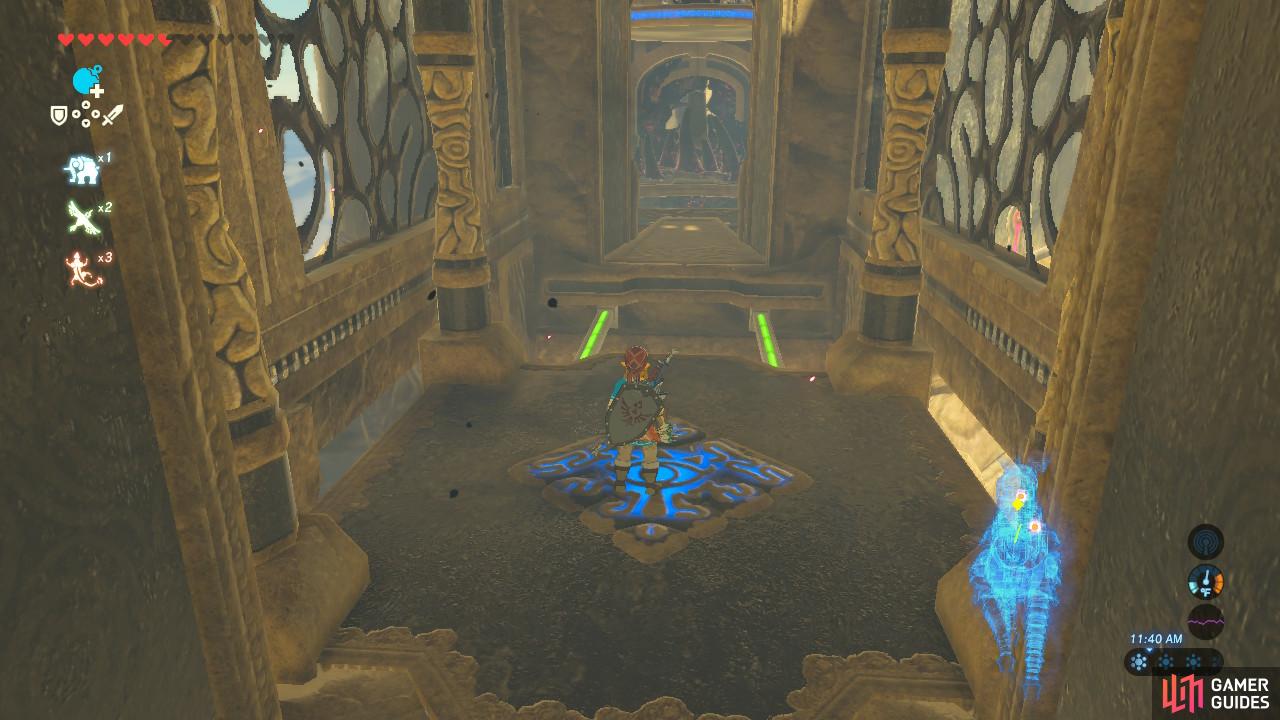
This is the final Divine Beast. First, let’s grab that Guidance Stone so we can have a map of the area and controls to manipulate Vah Naboris. Defeat the Guardian Scout right up ahead and then go up the stairs.
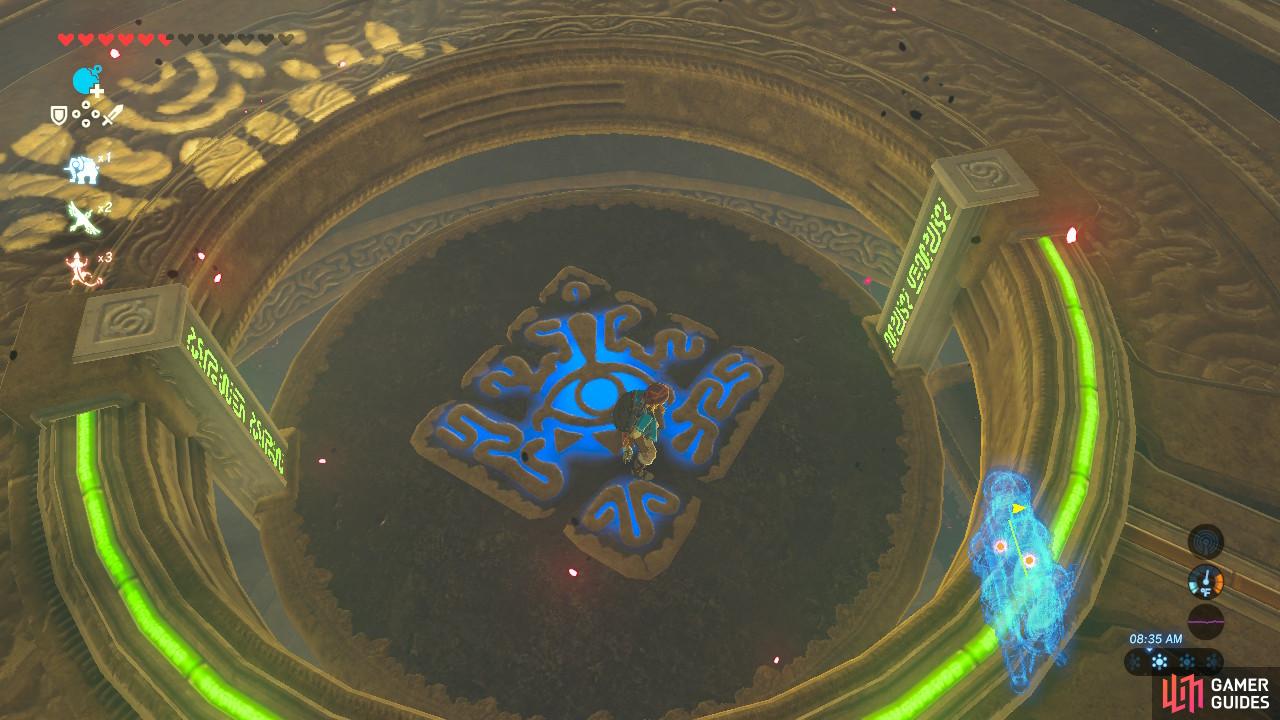
Destroy the eyeball to your right and enter the huge chamber that will serve as the main room for this dungeon.
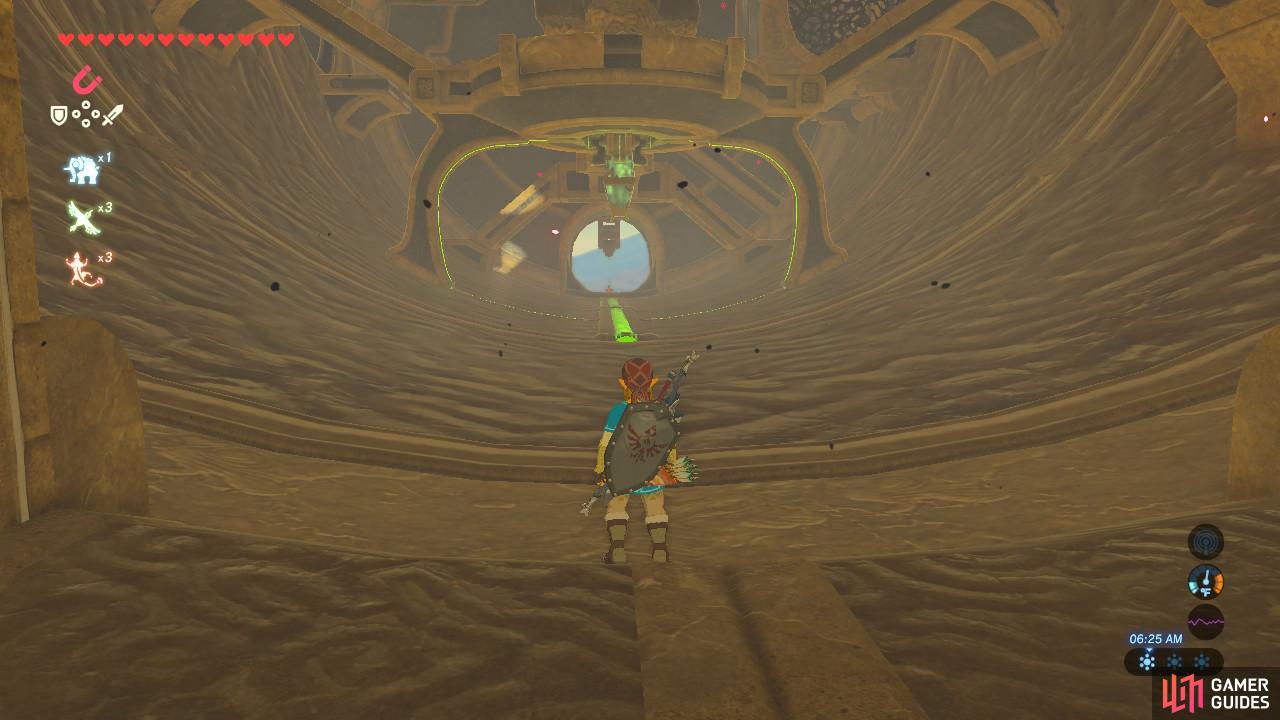
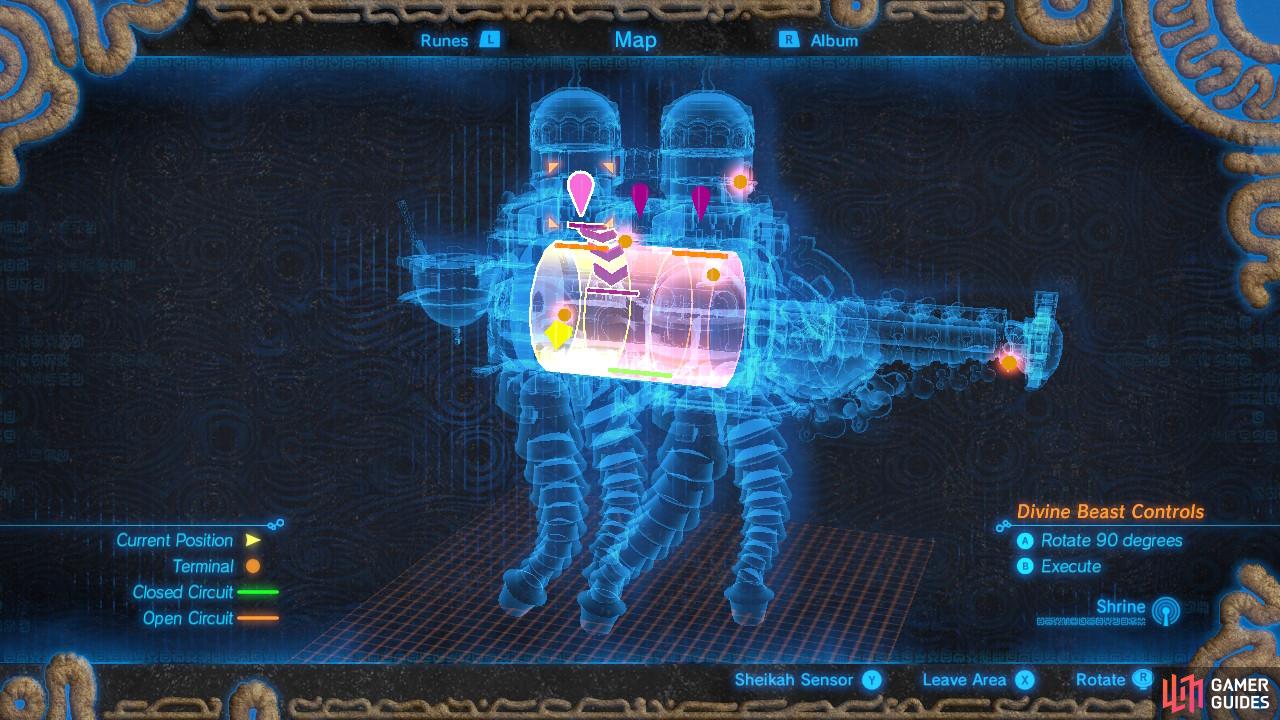
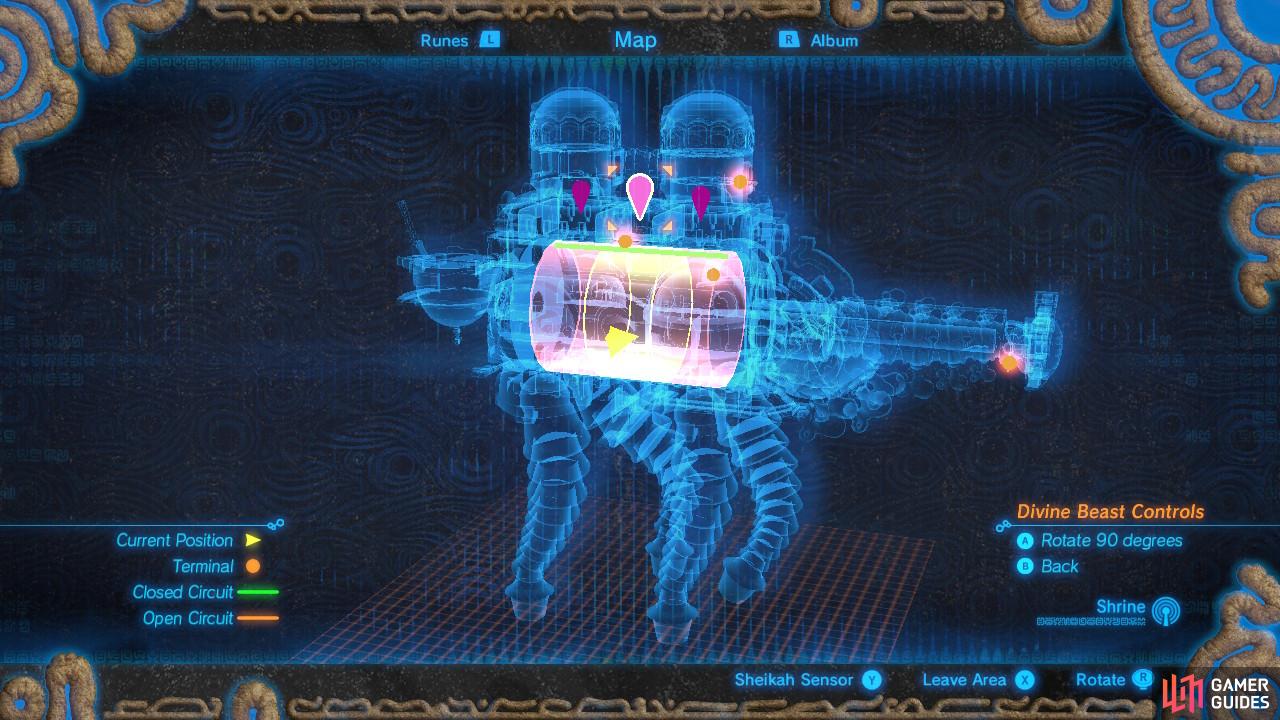
At the far right corner of the room there is a ledge. Run up to it and you will be able to follow the ramp up to an alcove containing the Guardian Stone. Activate it for the map. You will be given the location of the five terminals you need to activate, plus controls. In this case, the main room of Vah Naboris is divided into three cylinders. Each cylinder can be turned 90 degrees. This makes for a lot of combinations.
Terminal 1
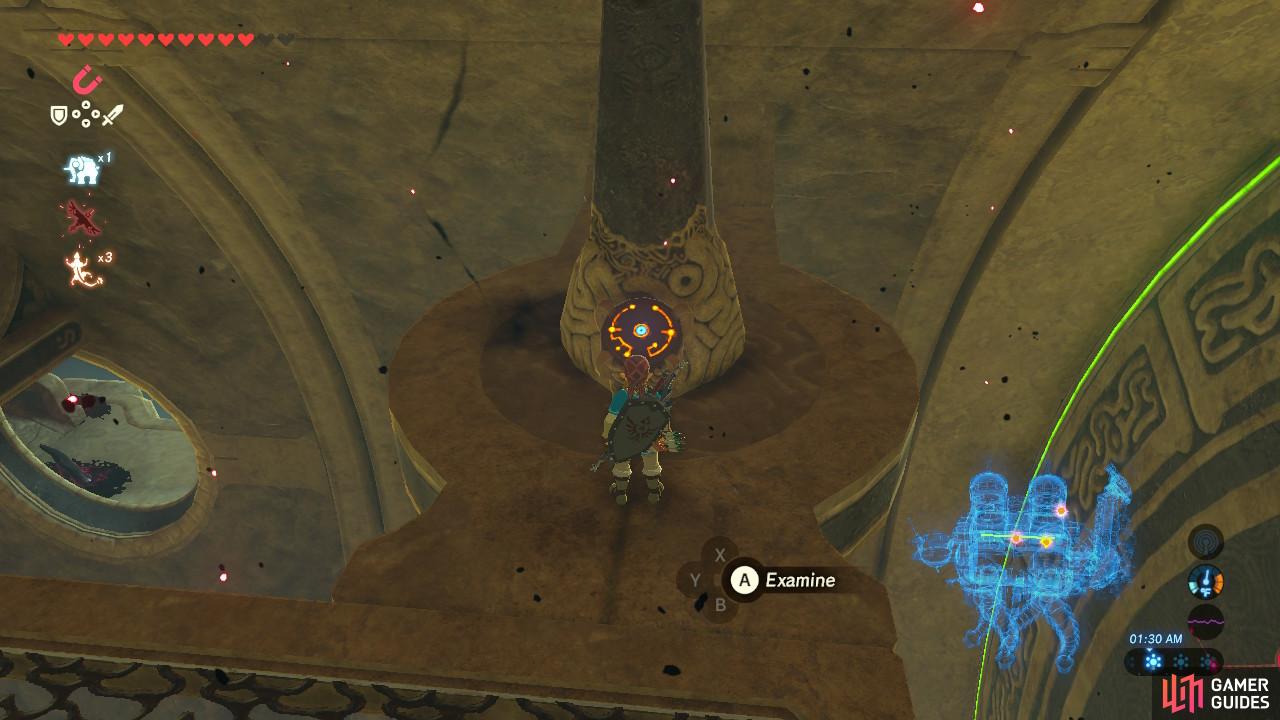
Rotate this cylinder to get the terminal aligned with the windows on the side of the main room
Then run through an adjacent window
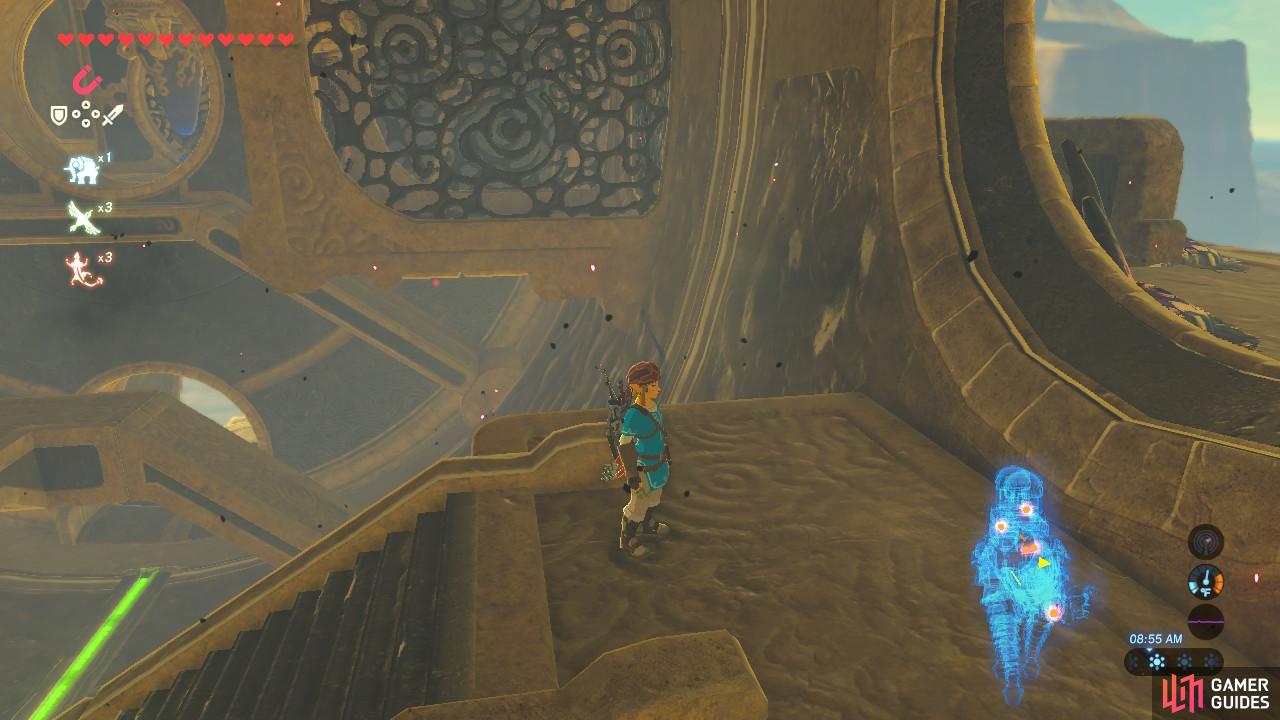
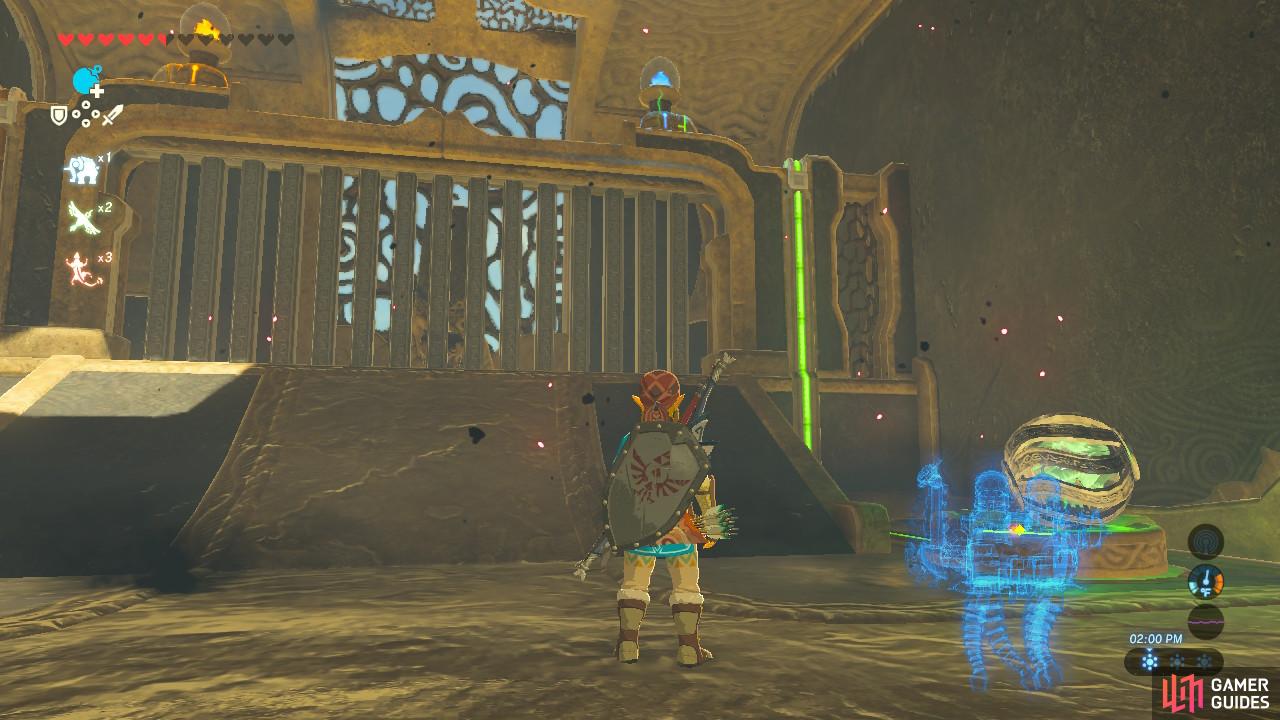
The first terminal is enclosed within a box on the wall. Rotate the third of the cylinder closest to the rear of Vah Naboris twice. Then run past the main control unit out the round window adjacent to the cage.
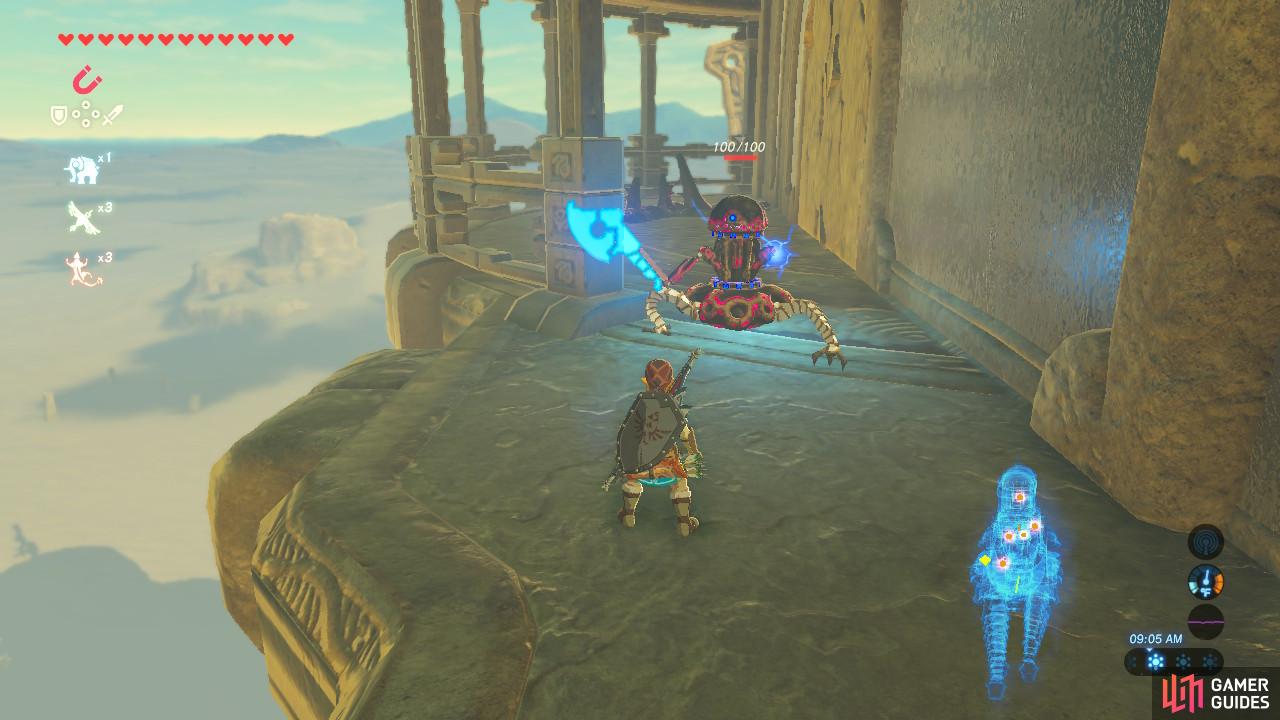
Defeat the Guardian Scout in your way and enter the cage where you will see that the terminal is currently sideways. Rotate the cylinder one more time and the terminal will be upright so that you can activate it.
Terminal 2
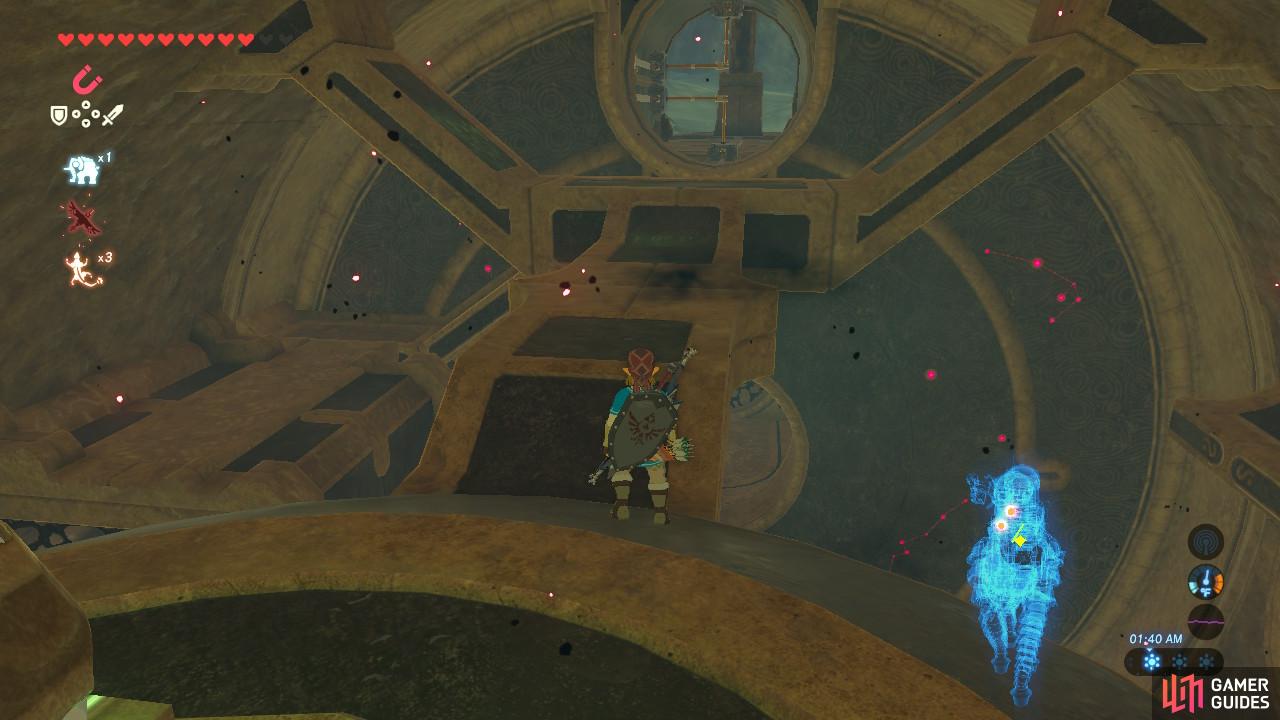
Exit the cage by rotating the cylinder back to the round window. Exit and take a look at your map of Vah Naboris. You will see green and red lines. You want to rotate all the cylinders such that all the circuit lines are on the ceiling.
From this angle it can be a bit hard to aim at, so aim a little higher than the eye
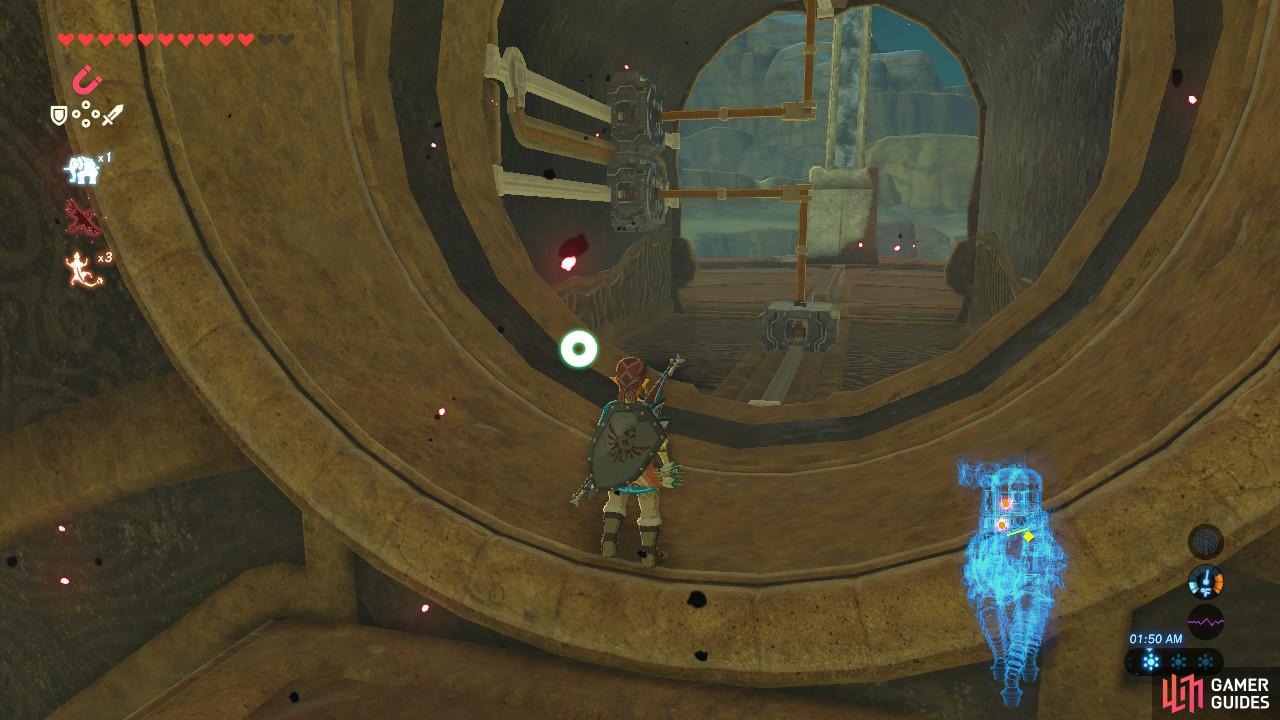
This large spinning wheel is the key to our next terminal
Now a wheel at the end of the main room will start rotating. We will be taking a brief detour to grab a treasure chest. First, shoot the eye hanging around on the platform in the middle of the main room so that the Ganon mouth doesn’t spawn enemies on you.
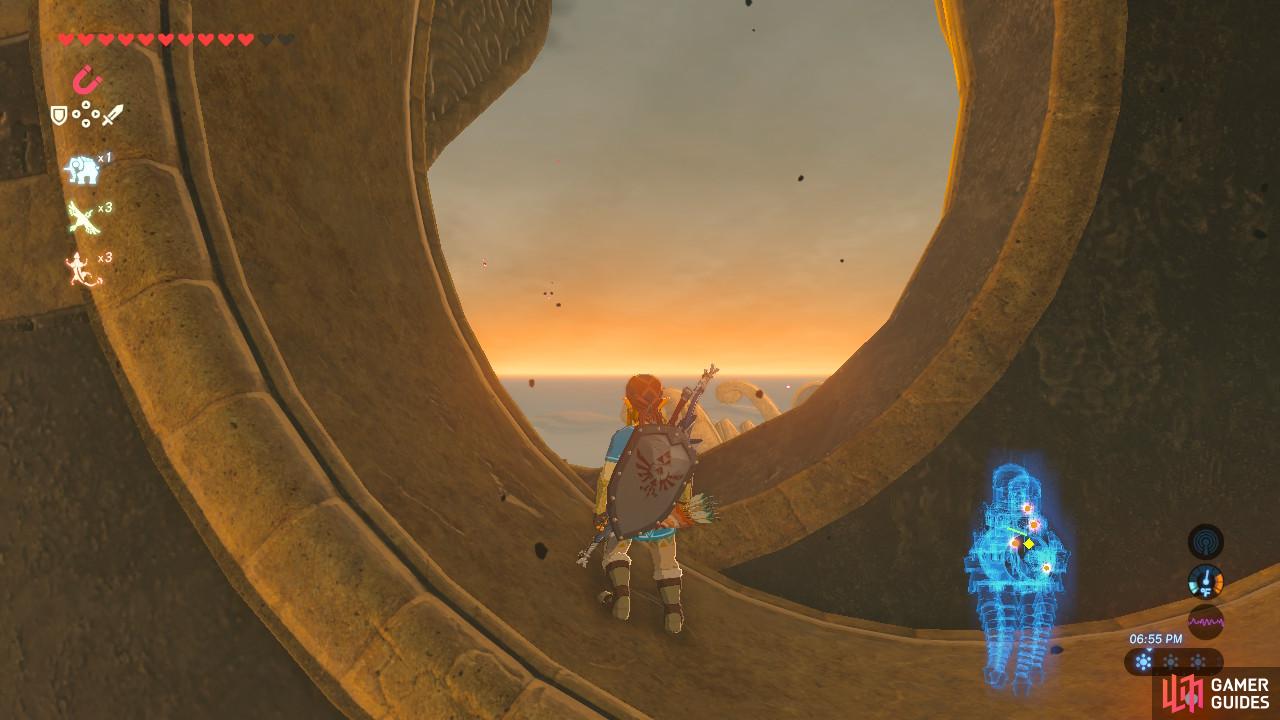
Taking a look at the rotating wheel, there are two holes on opposite ends of each other. There is also a hole in the middle of wheel, with a platform near it. Stand in either one of the holes and ride it up to the top of the wheel, then jump down to the platform near the middle hole.
If you landed on the side of the platform above the hole, drop off and Paraglide down into the hole or drop down to the main room and try again but enter the other hole. Either way, your goal is to get to the hole right in the middle of the wheel and into the tunnel extending behind it.
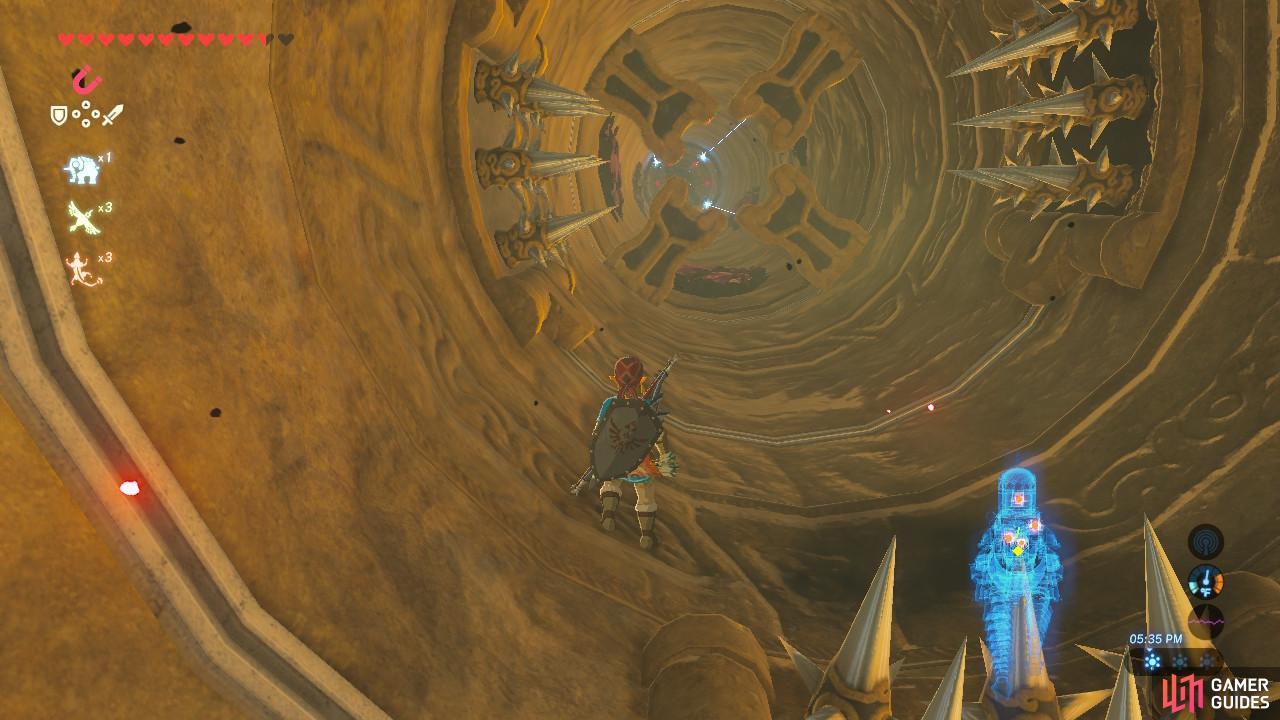
Once you are inside the tunnel, you will see spikes, lasers, and Ganon goop. Dodge it all as you run to the end, where you will see a treasure chest and an enormous eye. Destroy the eye and then pop open the chest for a Knight’s Shield. Handy! Make your way back through the tunnel. It will be easier this time with all the Ganon goo gone.
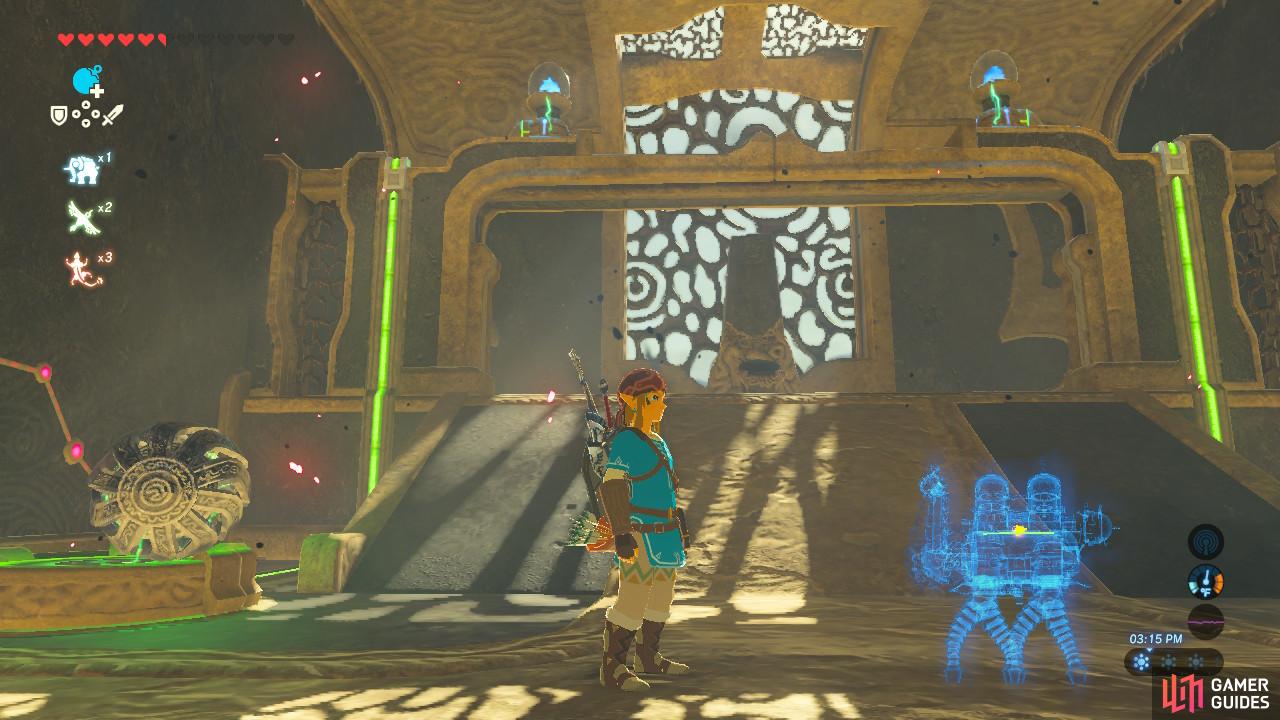
Once the wheel hole and the entranceway match up walk on through
Right now the head of Vah Naboris is down because it has no power
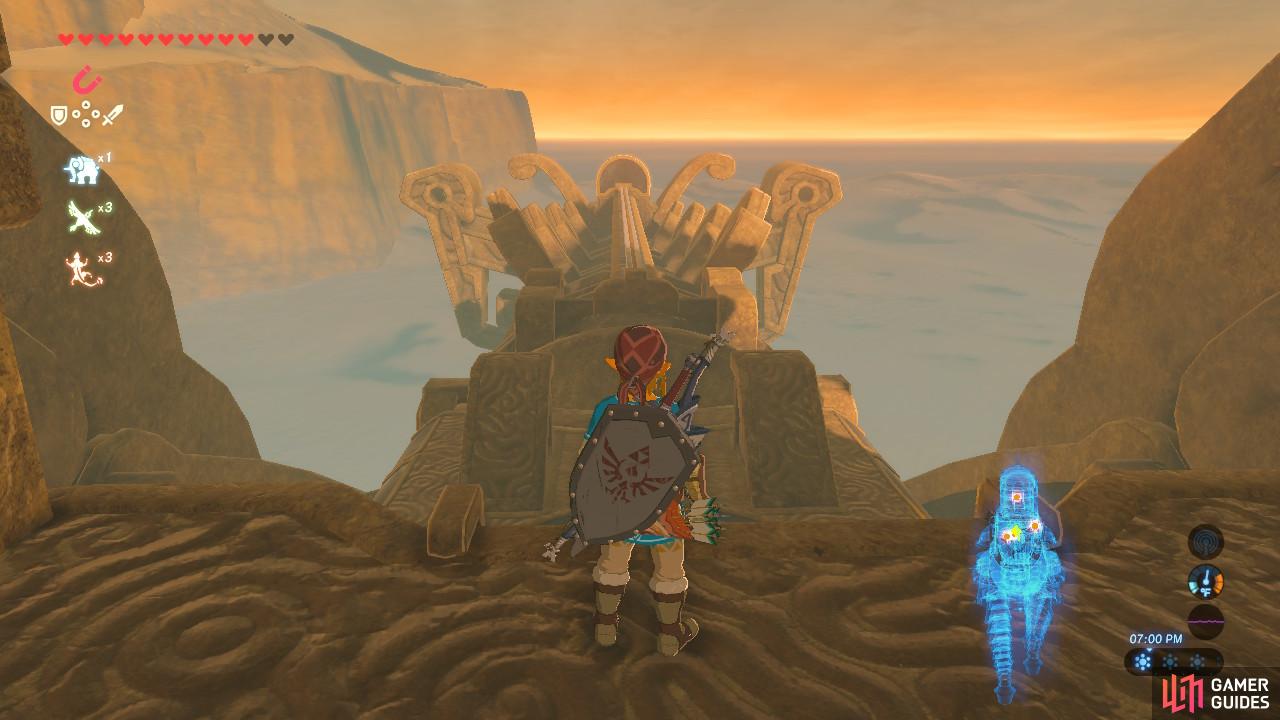
Again, get into either hole of the wheel. Ride all the way up to the top like before, but this time run through the opening on the top instead of dropping down onto the middle platform.
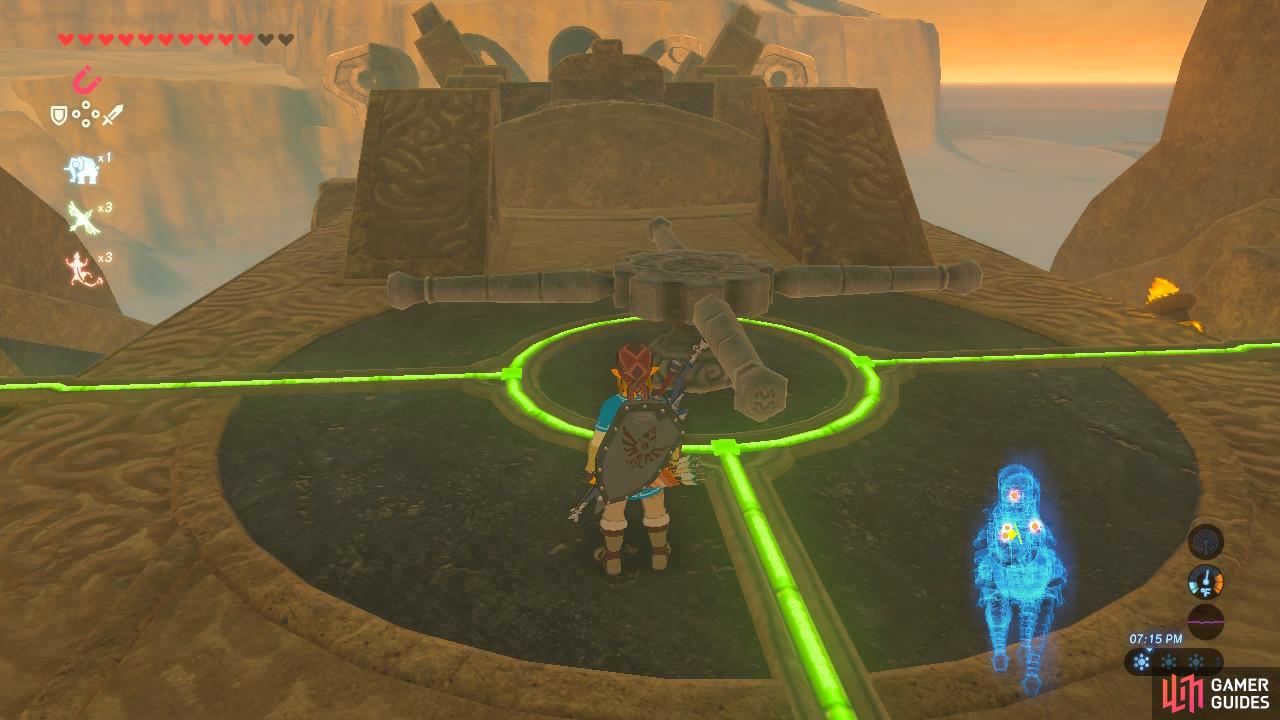
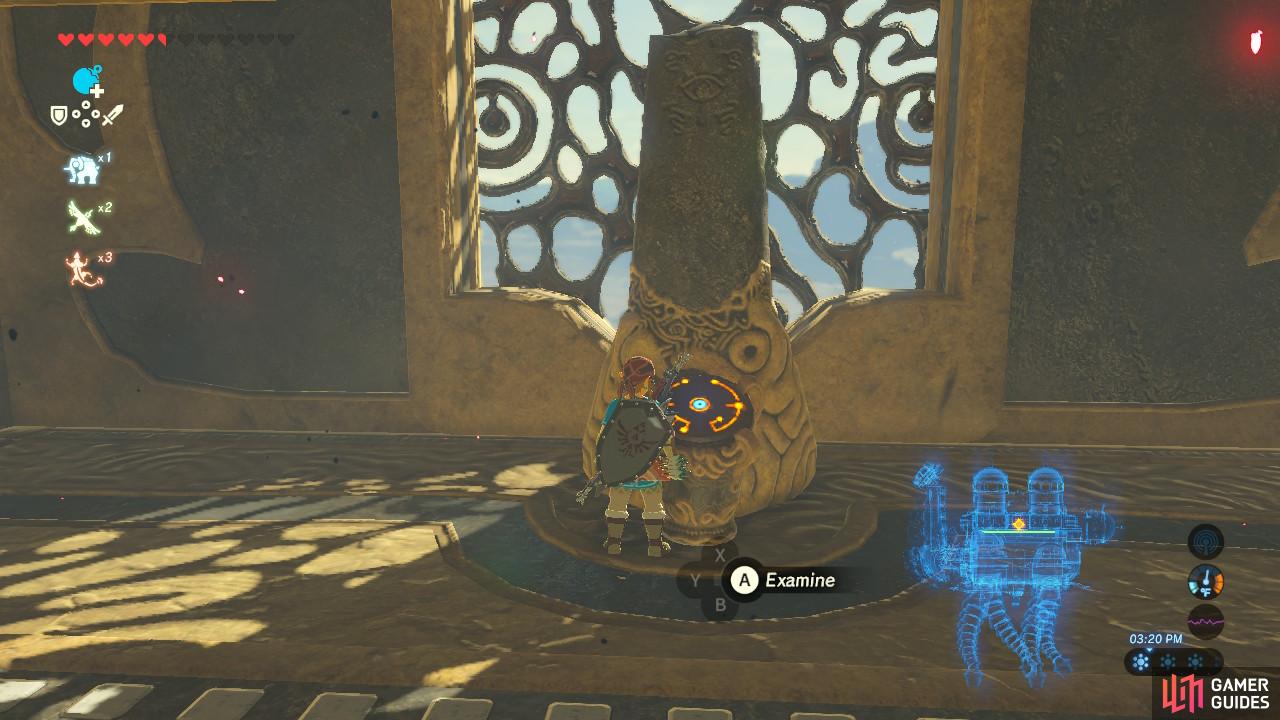
Spin this device by pushing it
Stop when the bulb turns blue
You will see a device that you can rotate. Rotate it one way and you will see a gear turn with a bulb attached to it. Turn it and then stop once the bulb turns blue and is connected to the circuit. Then turn the device the other way to turn the gear on the other side and light that bulb too.
An elevator will activate on the neck of Vah Naboris as it lifts its head into the air. Ride the elevator up and the terminal is right in front of you.
Terminal 3
Look up from here and you will see the terminal on the right
Paraglide from the wheel or use Revali’s Gale to get up here
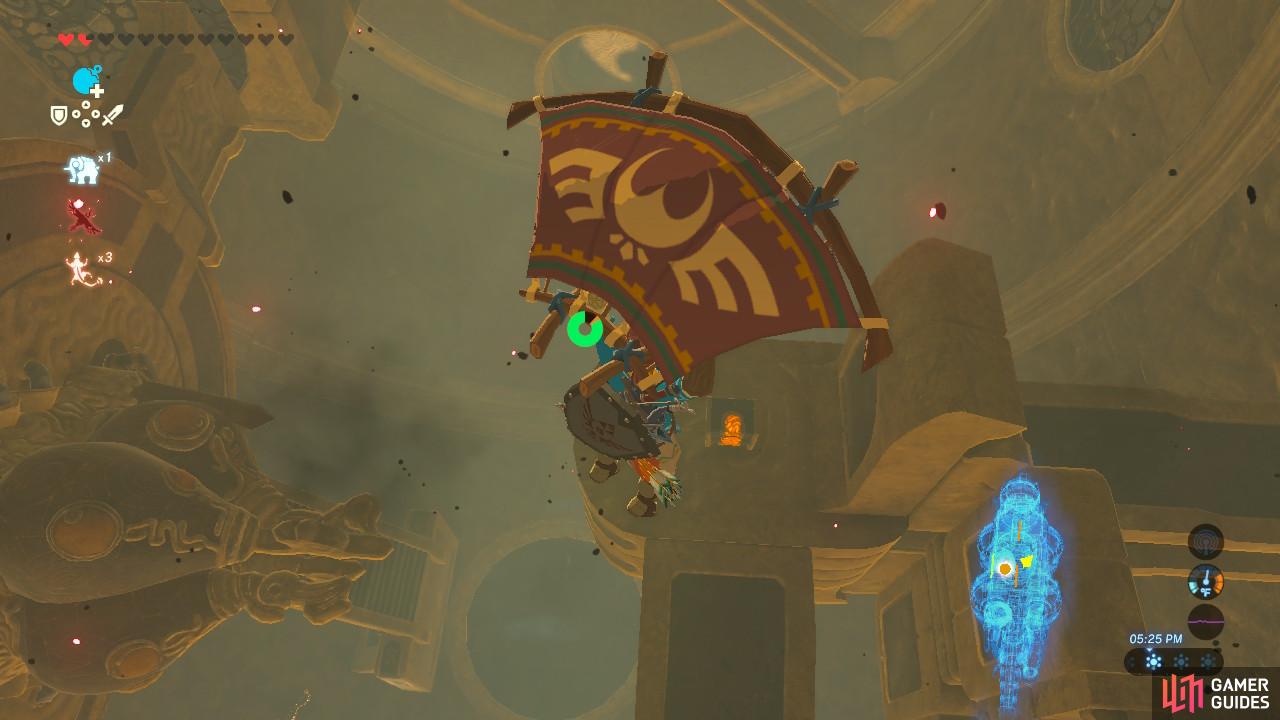
Return to the main room the way you came and from the top of the wheel Paraglide down to a lower platform.
The terminal is right above you on the right platform which is easily accessible using Revali’s Gale. If you do not have Revali’s Gale, you can use the wheel as a jumping off point to Paraglide to. Stand on the middle platform and as it becomes vertical, stand on its side for a high vantage point and then Paraglide.
Terminal 4
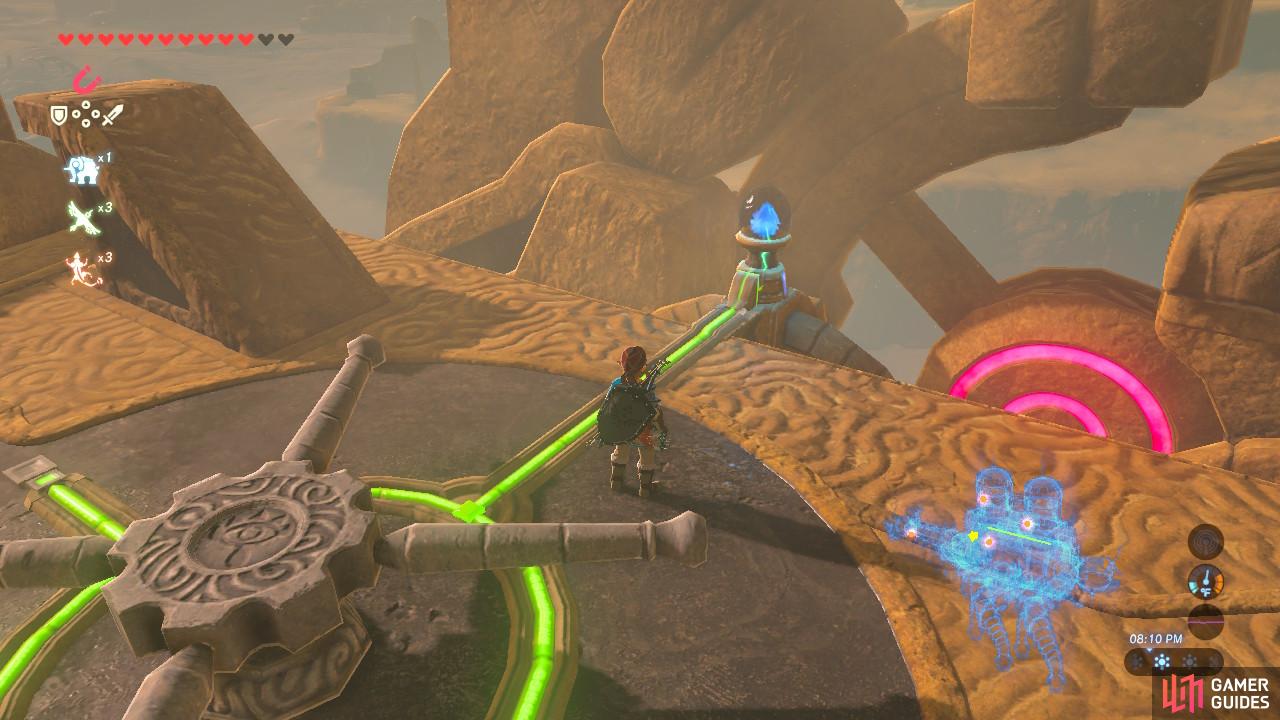
Run and jump along these platforms
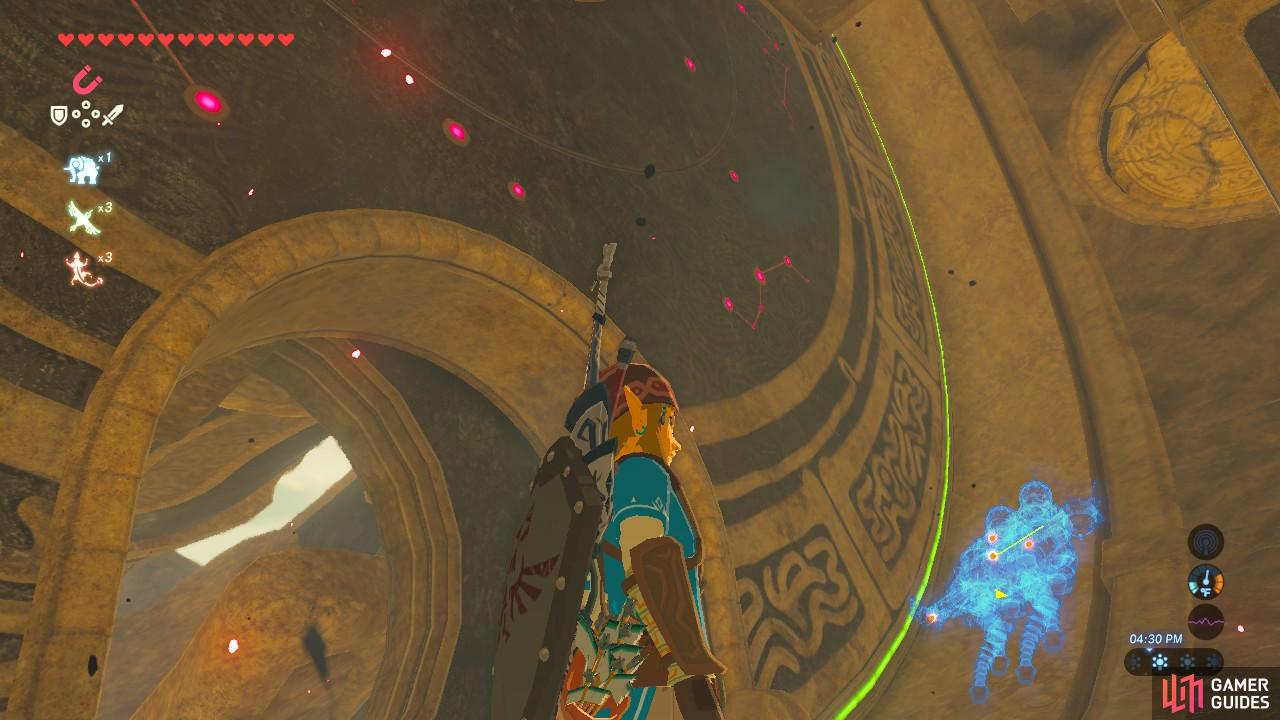
This hallway is your goal
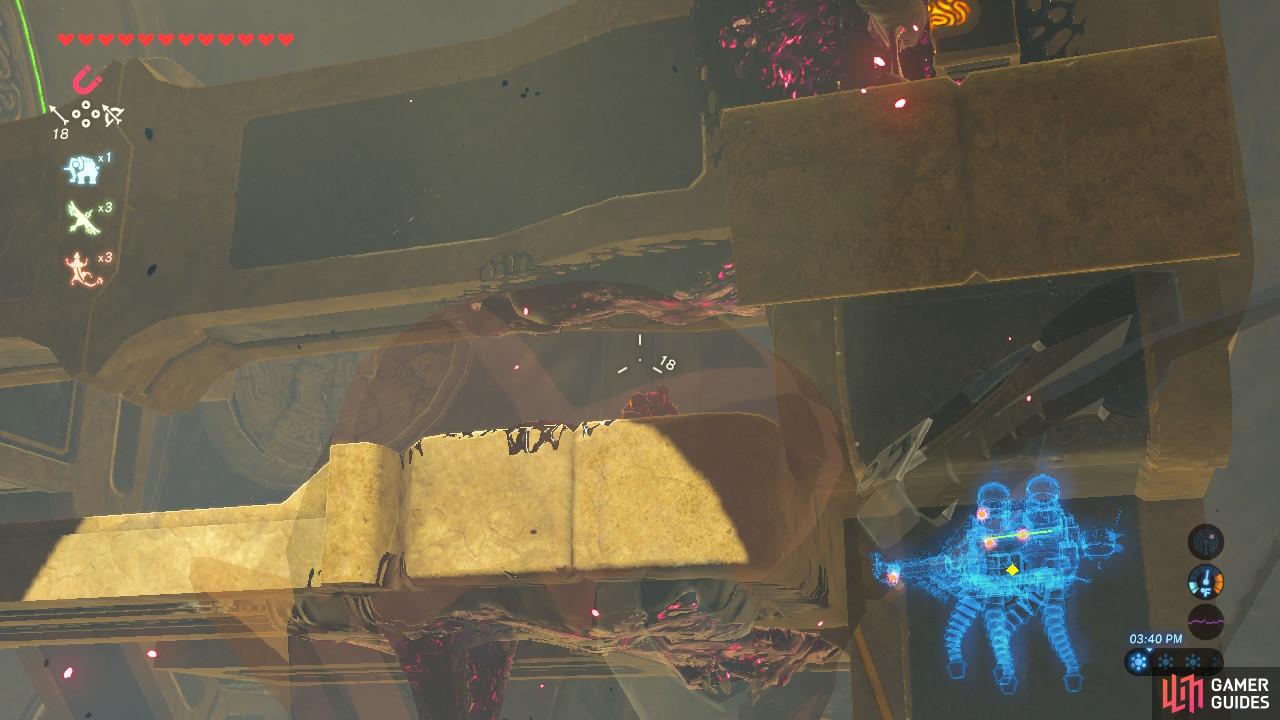
Continue along the network of platforms closest to the ceiling after activating the third terminal. You will see a short hallway where the electric circuit is broken.
Use Magnesis to rearrange the blocks so that the electric circuit can be carried all the way to the rear of Vah Naboris. The back of Vah Naboris will then lift up and a ramp on the top will lead to the humps. Unfortunately, you are currently unable to access the ramp because the back is now perfectly vertical and you cannot climb.
Move one of the blocks away to break the circuit and then put it right back. Vah Naboris will go through the entire motion of lowering and raising its back again. Run towards the end of its back as the back lowers and run up the ramp as the back raises.
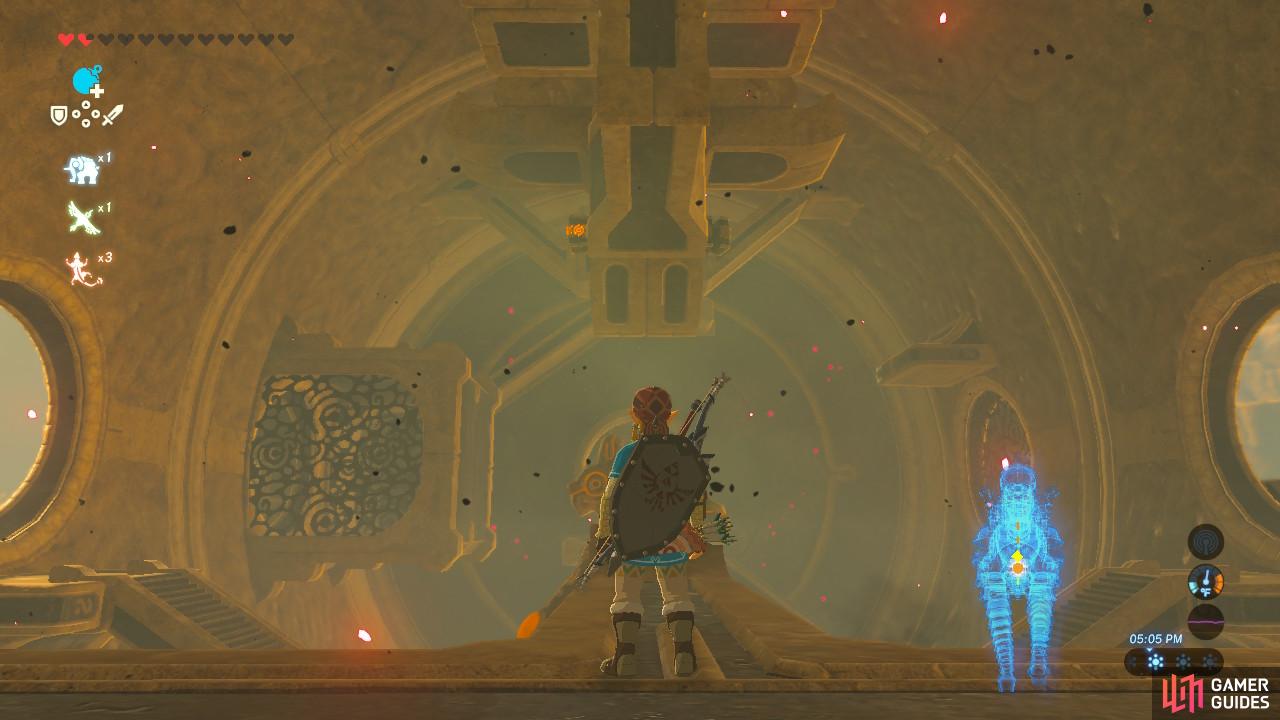
You can only hit it if the eye is open, so this Bomb will not work
Shoot the eye before you enter
Defeat the eye that is blocking your path. Note that it will be impervious to all damage unless you are close enough that it opens its eyelids to stare at you. In the next room, shoot the eye on the far wall so that it will not bother you.
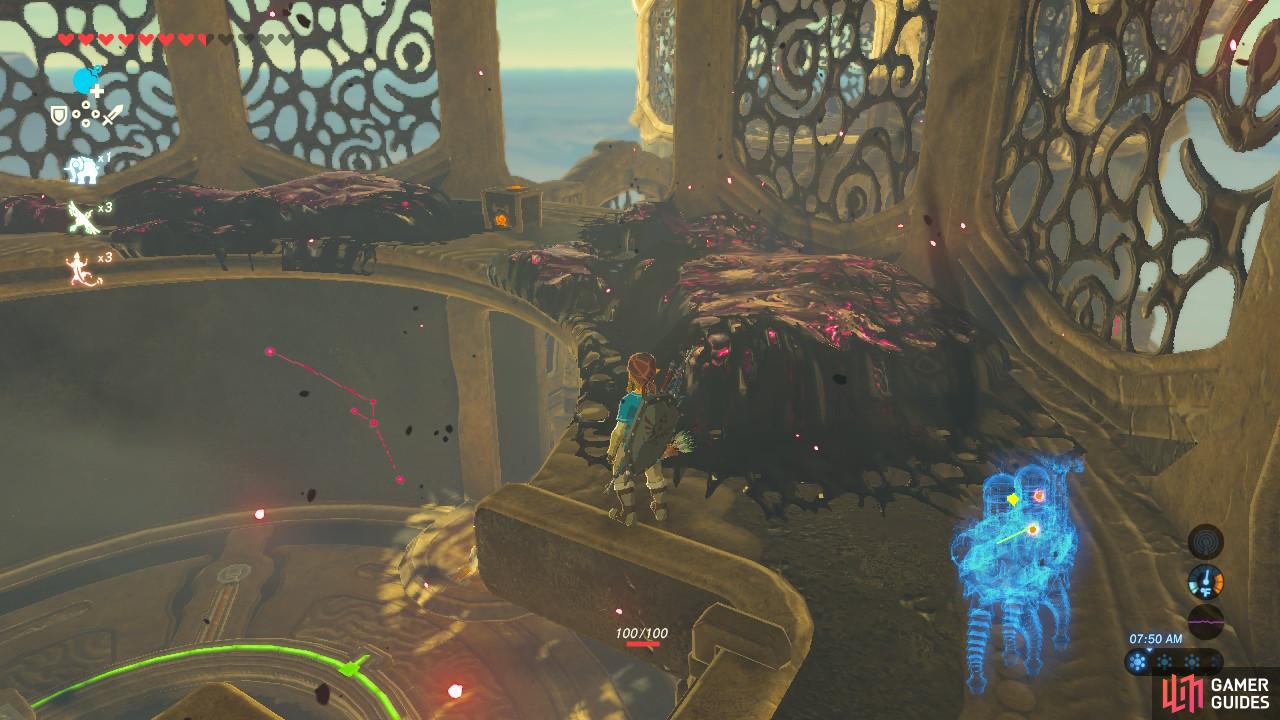
You can get this chest later if you want
But we were impatient so we grabbed it now
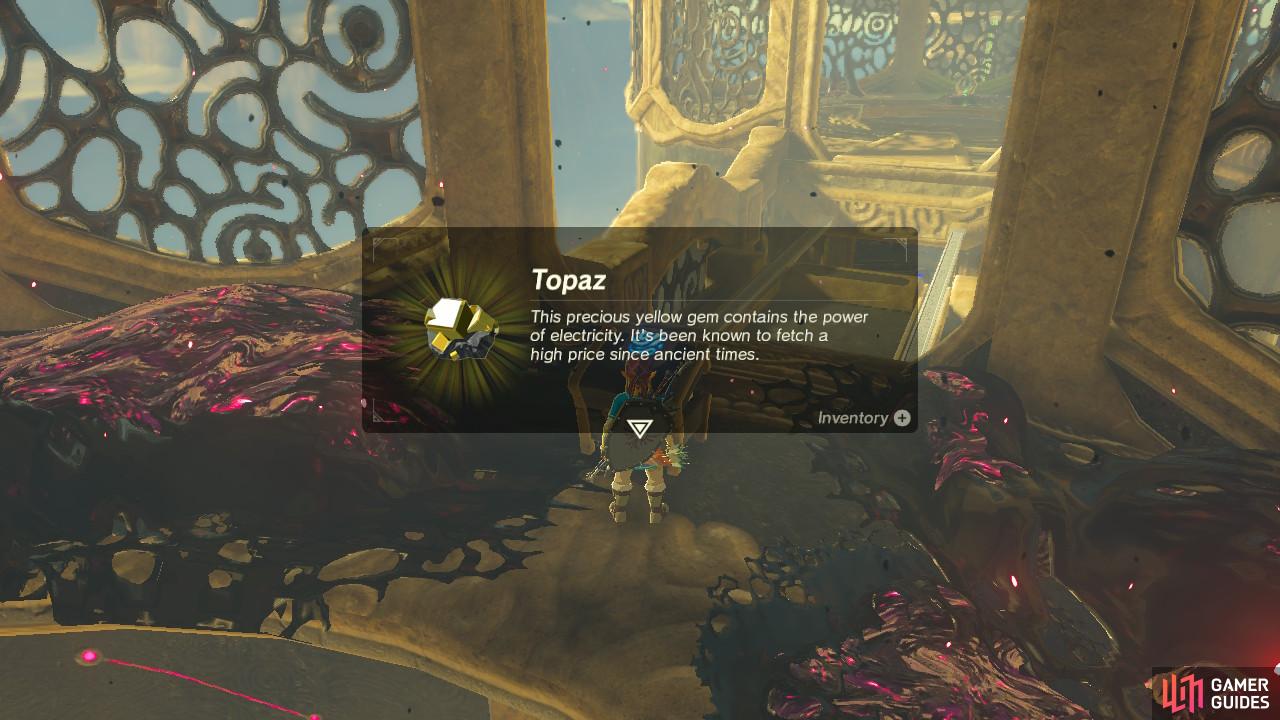
Climb up the climbable wall and bypass the goop with either Revali’s Gale or healing food to open a treasure chest containing a Topaz. You can get this later but if you are impatient it is easy to grab now.
Return to the circular room and board the platform that goes up and down. Shoot the eye in the corner of the bottom room so that the enemies will not spawn on you. On either side of the walls is two ledges. One contains a chest with an Ancient Screw. The other has a green ball resting on it. You access either of these ledges by Paragliding down when the platform is higher up.
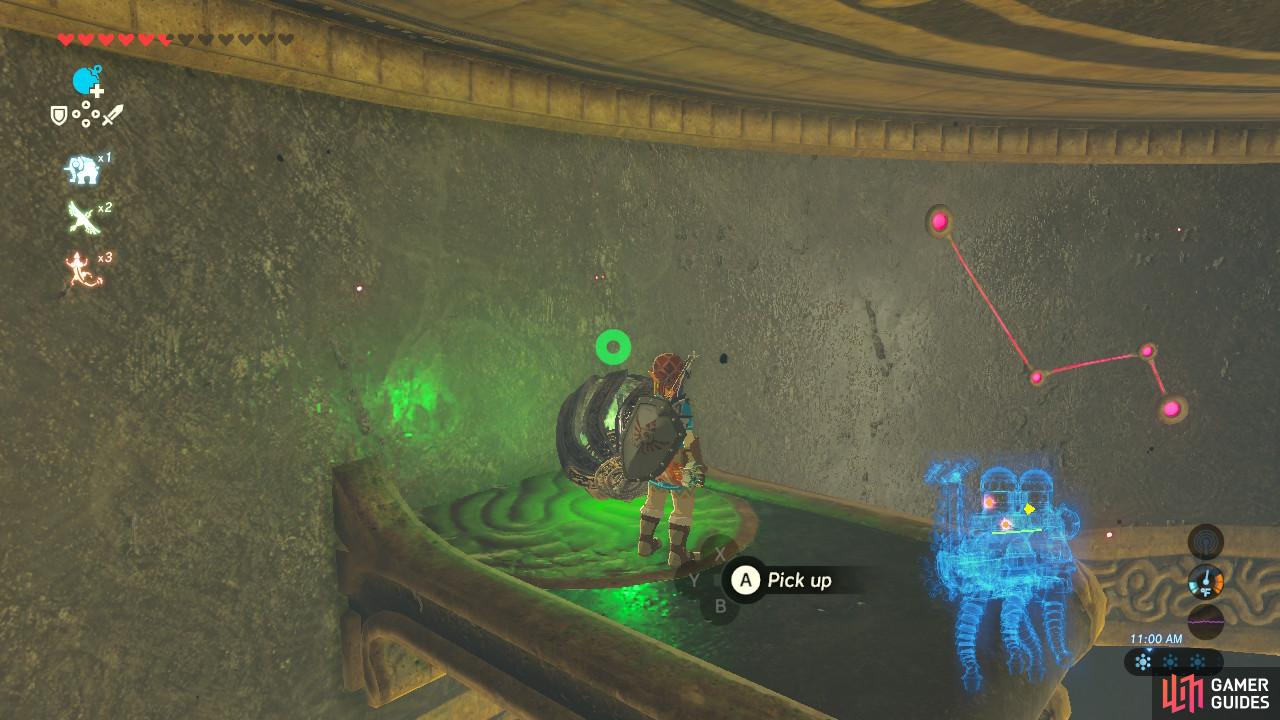
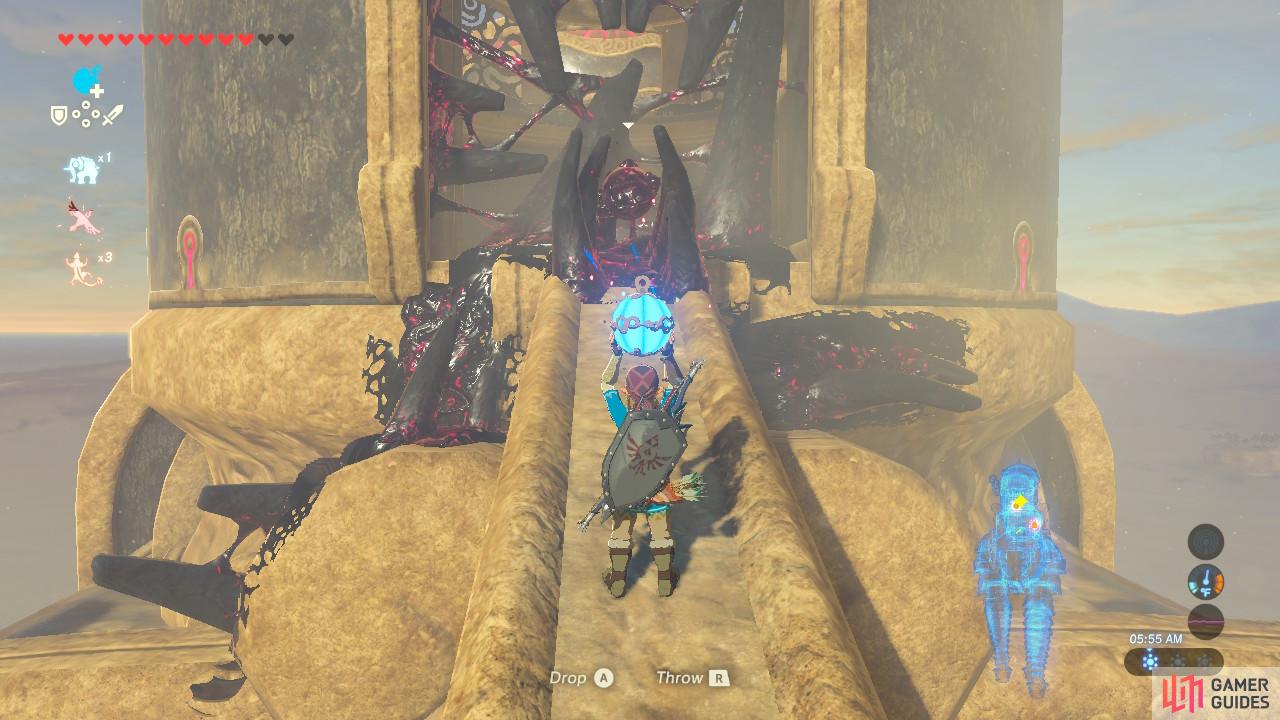
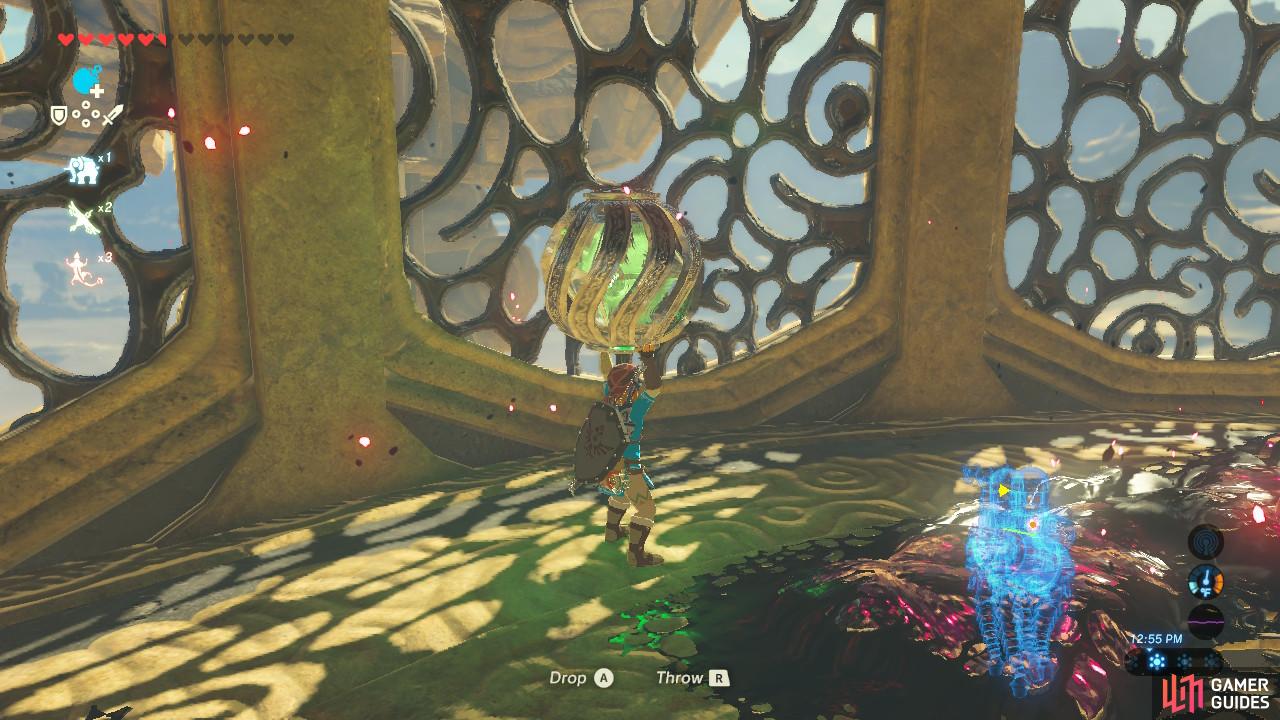
Grab this green sparkly ball
You can drop down to the floor with it safely to return to the platform
After grabbing the treasure chest, pick up the green ball. Then drop down to the floor of the room and walk up the ramp onto the platform when it arrives at the bottom.
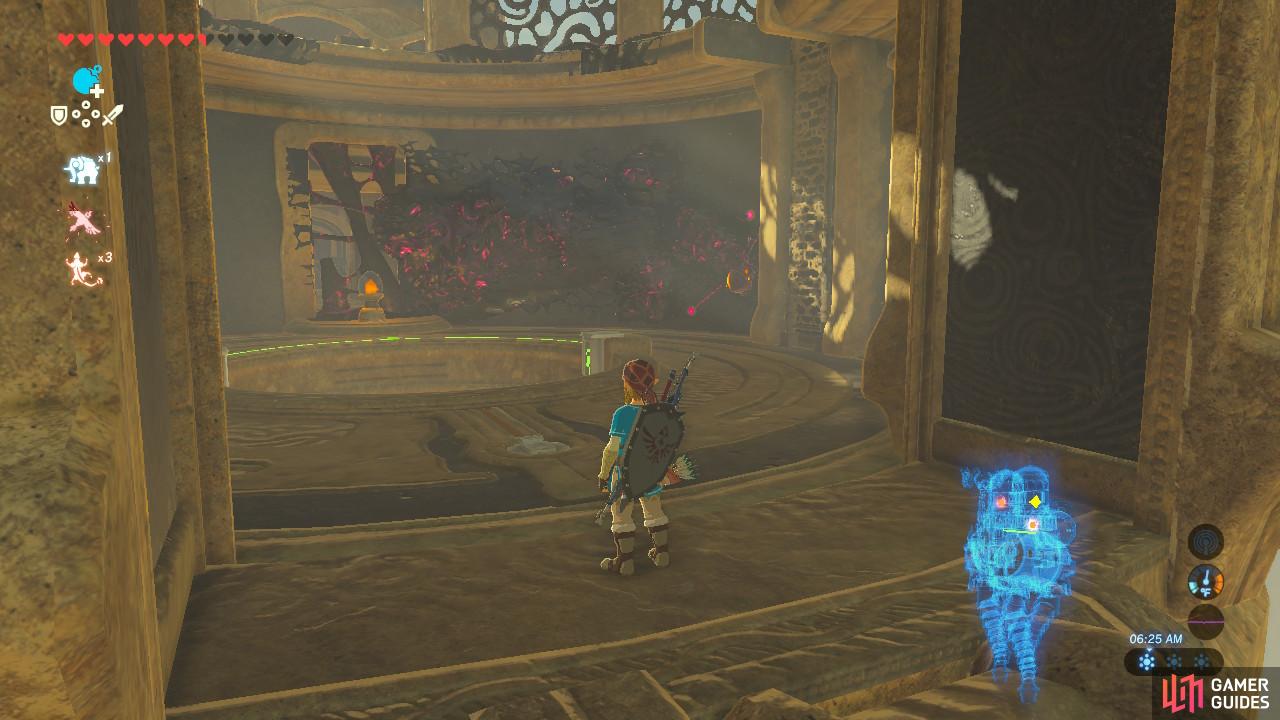
Once you are back in the circular room, put the green ball next to the orange bulb. It will turn blue as it powers up and a platform next to it will move back and forth.
Board the platform and kill the Guardian Scout and the Ganon eyeball in the next room. Then you can activate the terminal.
Terminal 5
The circular platform for this hump will go down and then up so be patient
This platform will let you travel easily between the tops of the two humps
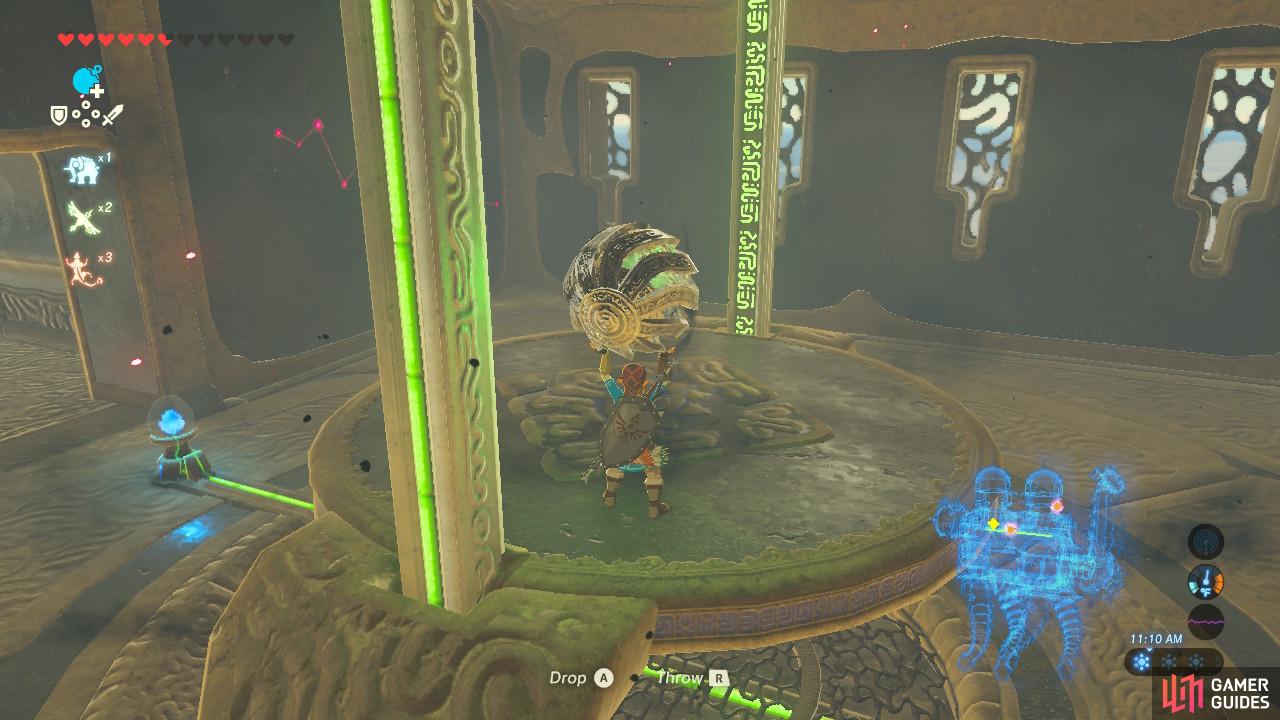
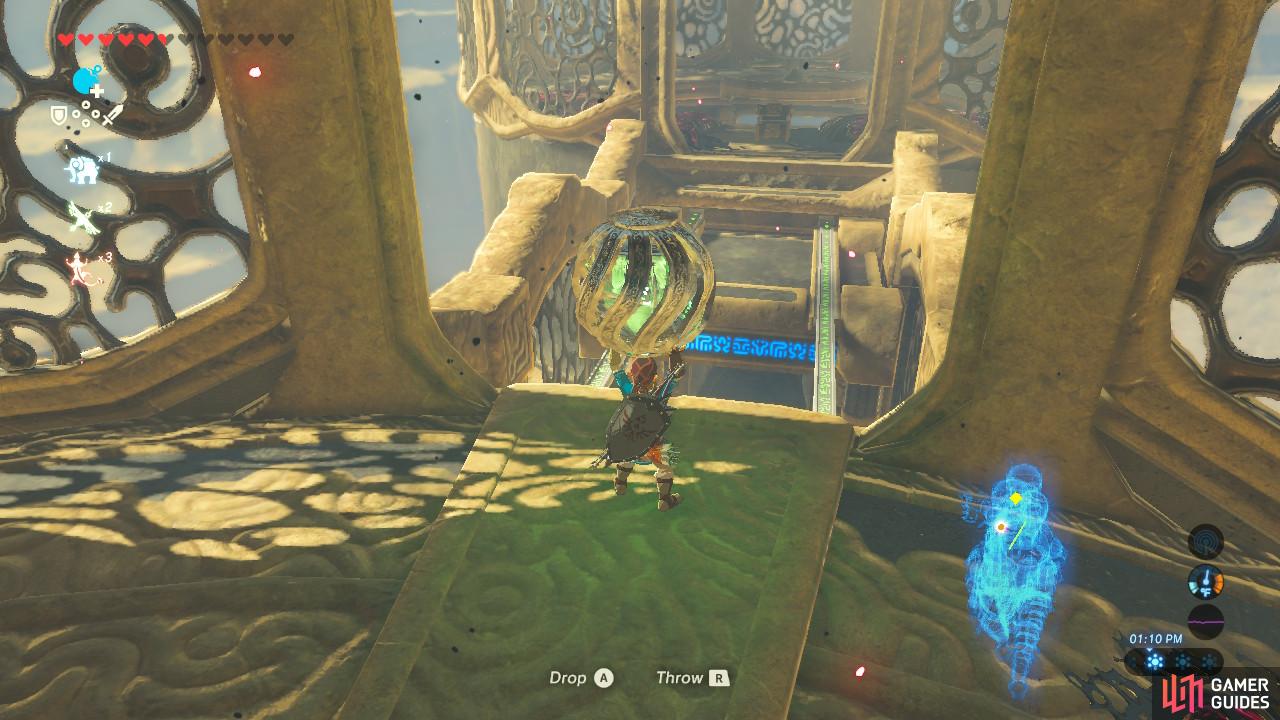
Ride the circular moving platform in the same room as the fifth terminal up a level. There is a green ball. Pick it up and walk around the perimeter of the room to see a platform moving between the two humps of Vah Naboris. You can ride this platform the get the Topaz treasure chest we grabbed earlier.

If you wish to proceed with the terminal, ignore the platform and drop down onto the back of Vah Naboris when the platform is away from you. You will land in front of a square-shaped opening.
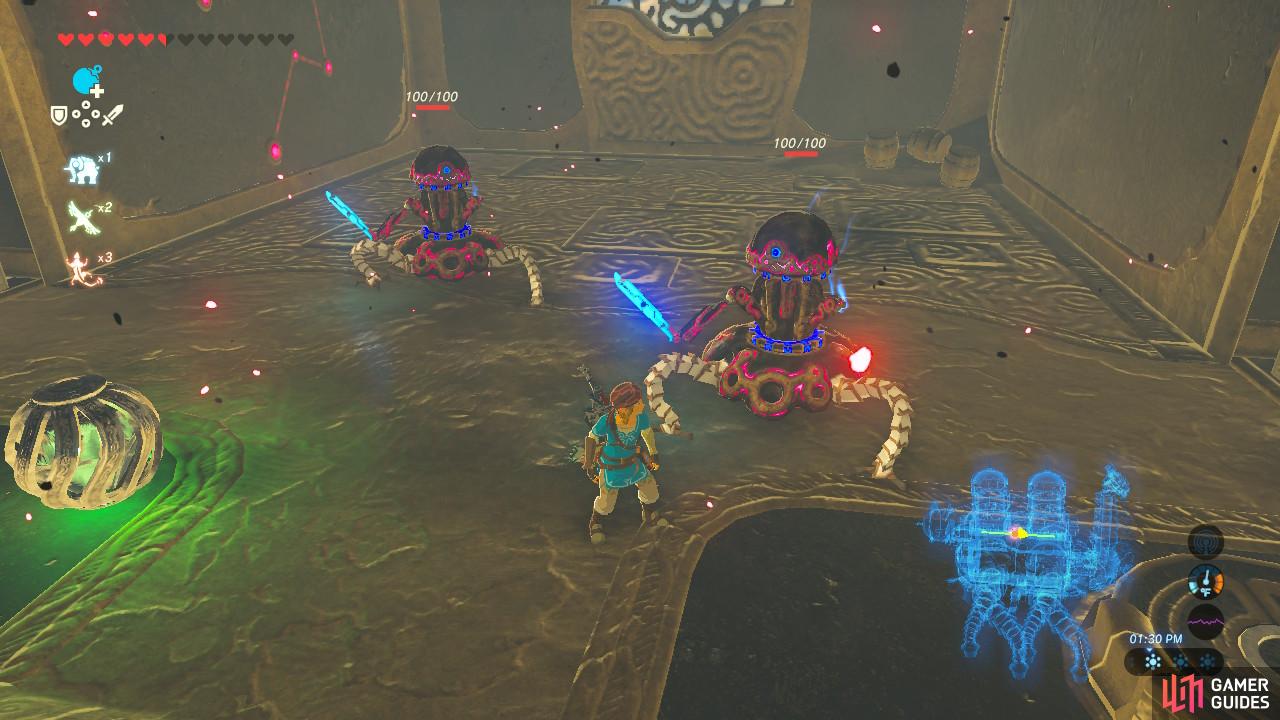
Defeat these two Guardian Scouts to open the gates and make the area safe
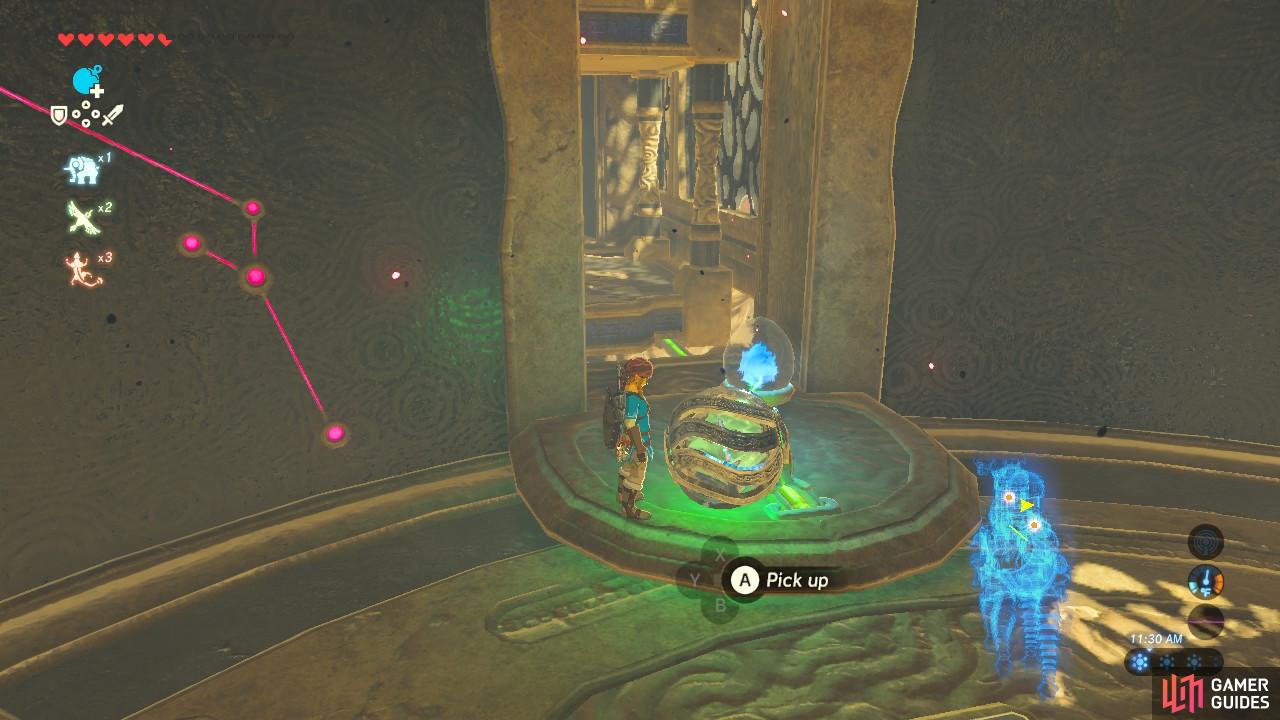
We need to get the green ball from earlier
Drop down into the hole and defeat the two Guardian Scouts that await you inside. A gate to the room adjacent to it will then open. Pick up the ball you carried all the way from the hump and place it in one of the platforms. We need one more ball to open up the gate blocking the terminal from us.
Complete the puzzle to open the gate
Now it’s time to return to the main control unit
Ride up either one of the moving platforms to either side of you to grab the green ball you placed next to the bulb earlier. Then come back down and place that ball onto the second platform, completing the circuit. Now you can activate the fifth and final terminal.
Main Control Unit
You now can finally access the main control unit. Urbosa will point you to it on your map. Return to the main room, and let’s first grab some more treasure.
In this screenshot we have already opened one chest but you can see how they are stuck to either side of the platform
Revali’s Gale is by far the easiest way to access them once you rotate the cylinders
You will see two treasure chests that are glued to opposite sides of a platform. While standing away from it, rotate the middle cylinder so that one of the chests is upright. Revali’s Gale is the easiest way to get to the chest, or you can climb up the ramps and stairs or Paraglide from a higher point like the spinning wheel. Then rotate the cylinder so that the second chest is upright and repeat. You will earn a Knight’s Bow and an Ancient Shaft for your efforts.
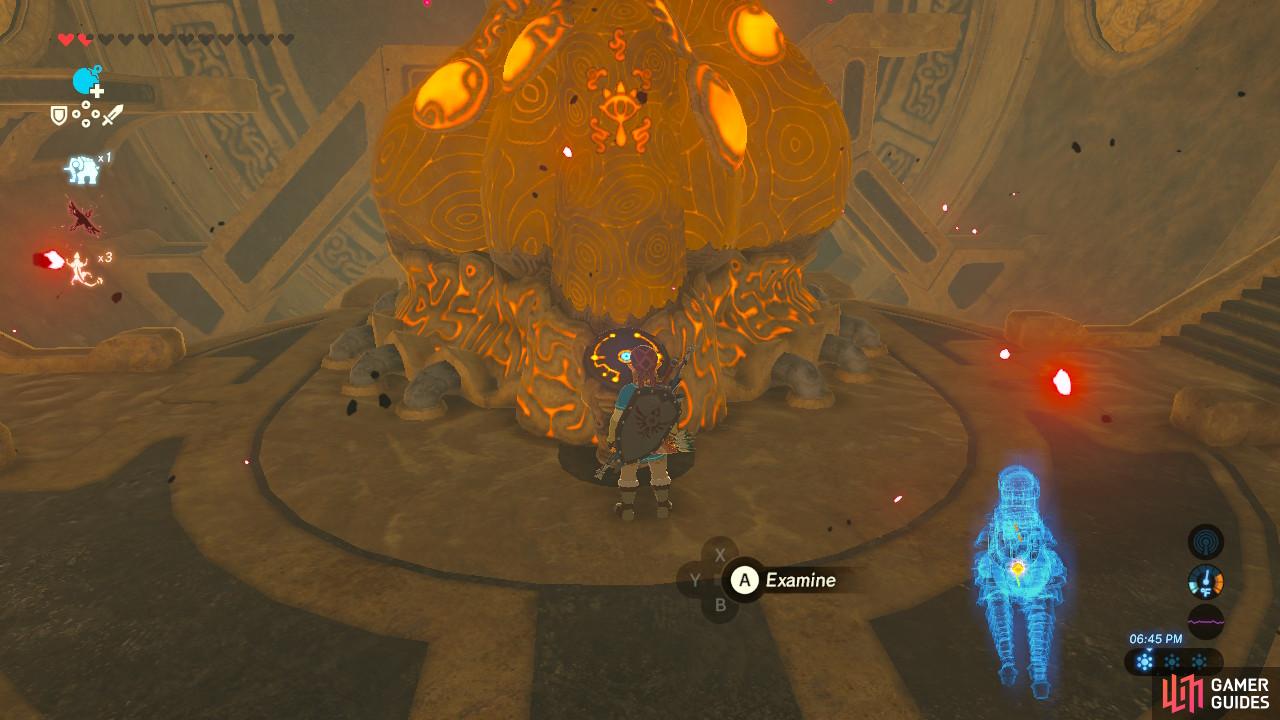
Now, rotate the cylinders such that the main control unit is upright, and activate it. Be prepared to head into your fight with the Thunderblight Ganon.
No Comments