
This page details all the floating platforms found in the Woodland, Eldin and Akkala regions when playing Master Mode.
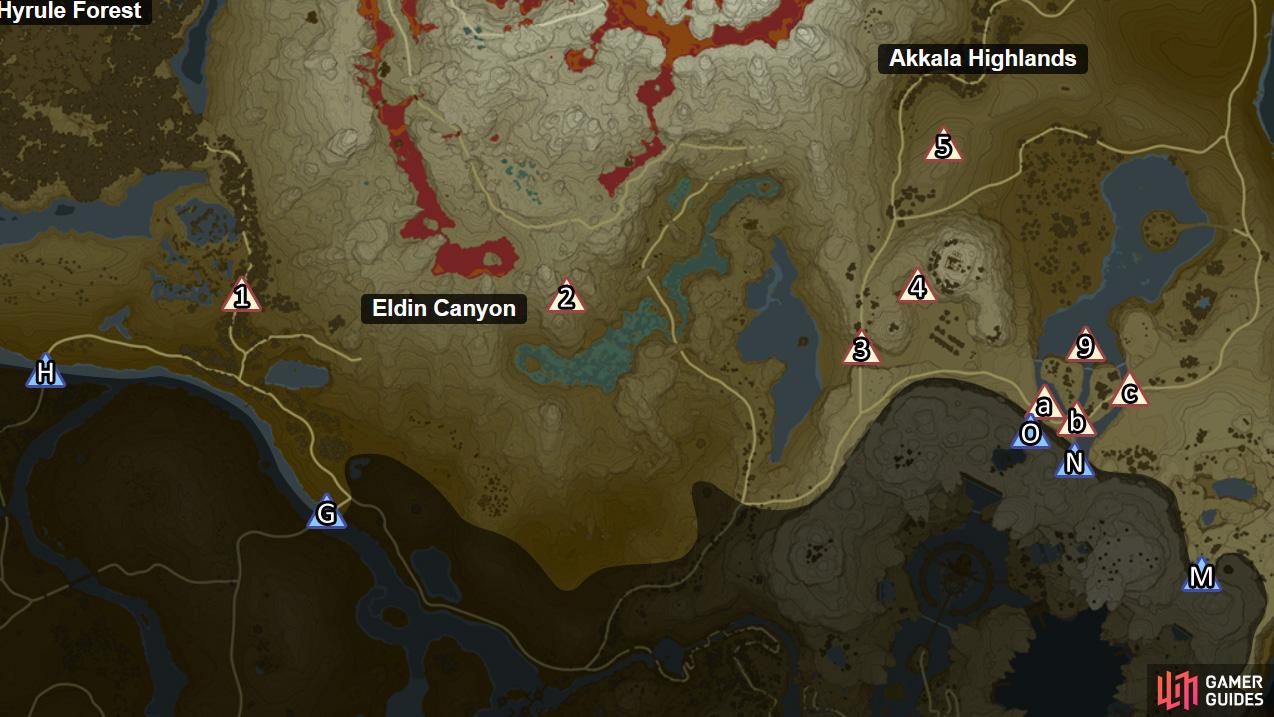
Locations of the floating platforms in the Woodland, Eldin and Akkala regions.
To simplify things, we’ve split the platforms into two categories. The first are those that are well within the boundaries of the three listed regions. Meanwhile the second are those that border another region. Platforms in the second category will also be listed in the other region’s section.
Within North-East Hyrule
Group 1


(1 of 2) These platforms aren’t immediately visible from Woodland Tower.
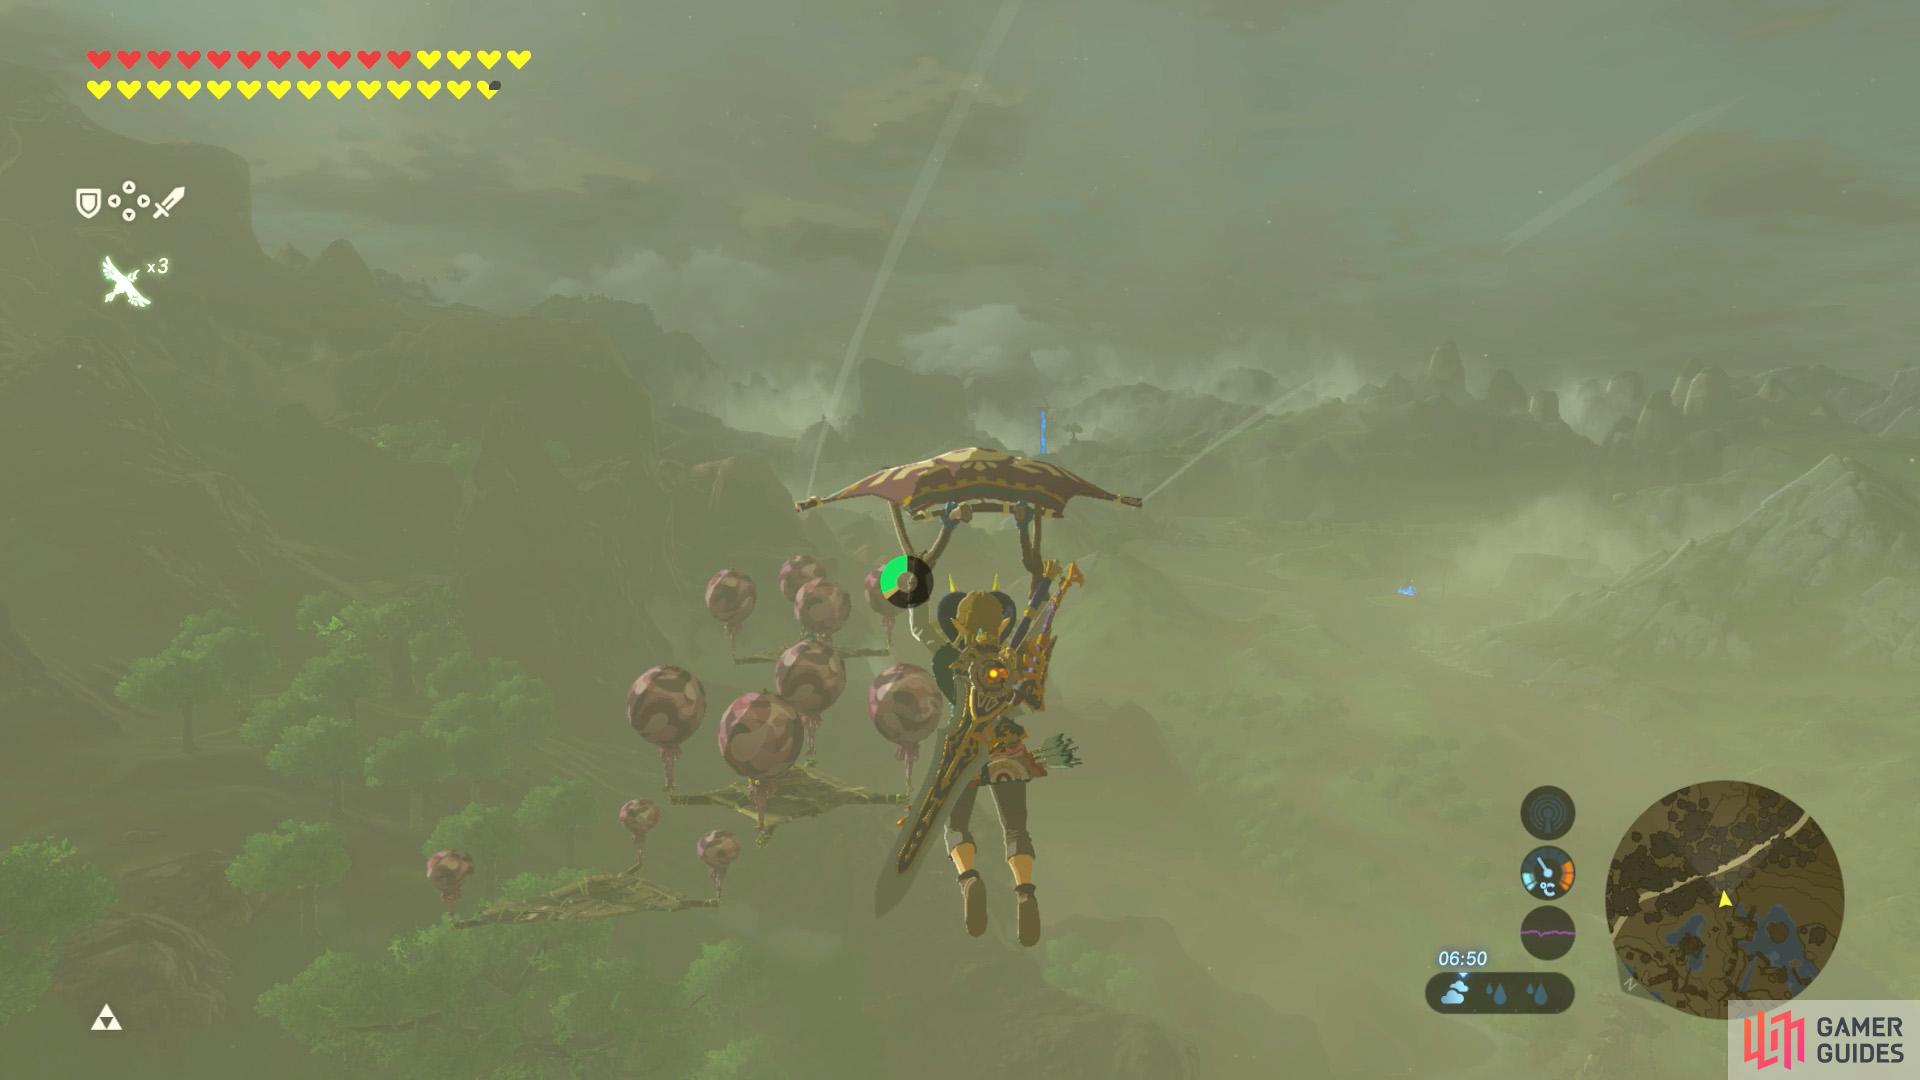
These platforms aren’t immediately visible from Woodland Tower. (left), By the way, if you need extra height, you can climb up the skull surrounding the tower. (right)
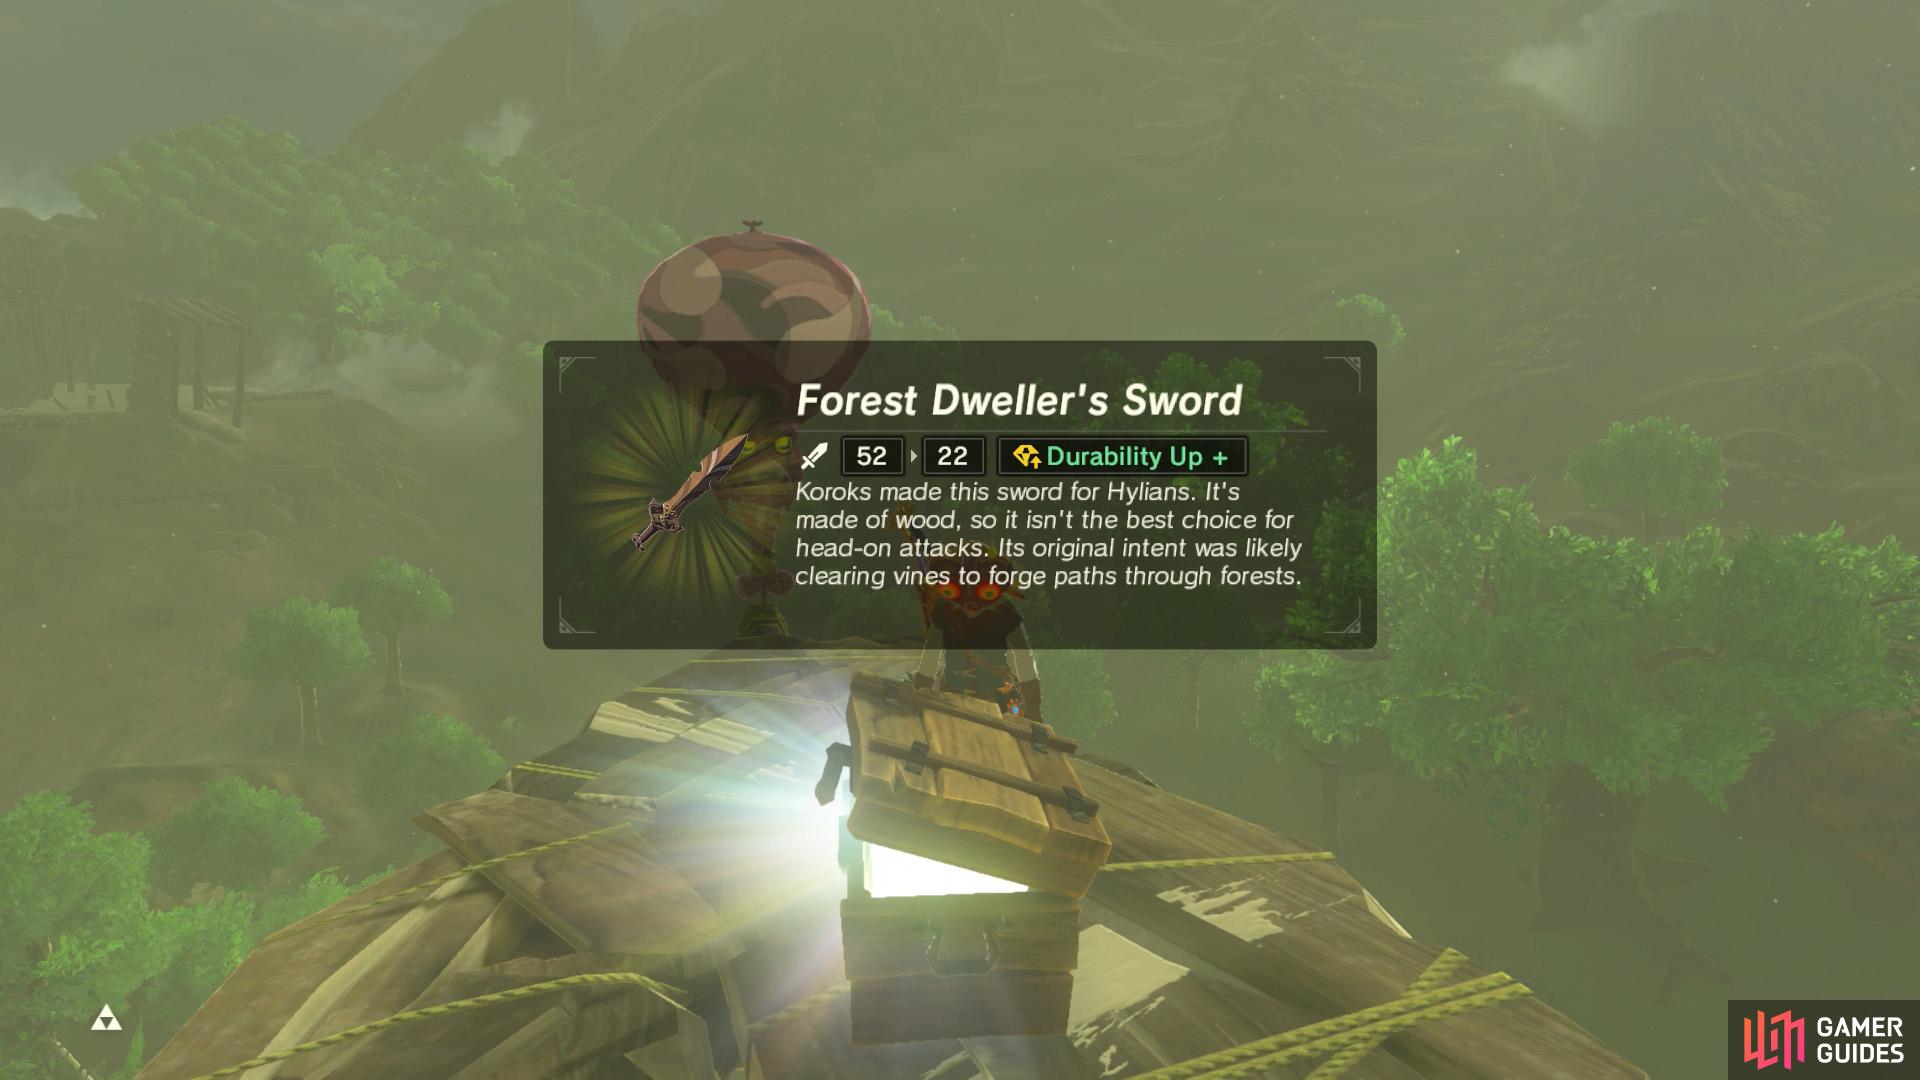
South-east from Woodland Tower, there are 3 platforms high above Minshi Woods. The south-east platform is guarded by a Bokoblin archer. Meanwhile, the other two platforms have chests with a Sapphire (west) and Forest Dweller’s Sword (east).
You can glide to the platforms from atop Woodland Tower, although you may not see the platforms initially due to the draw-distance. As you approach the platforms, aim to land on the higher of the two nearer platforms with a chest, so you can glide to the remaining chest.
Group 2

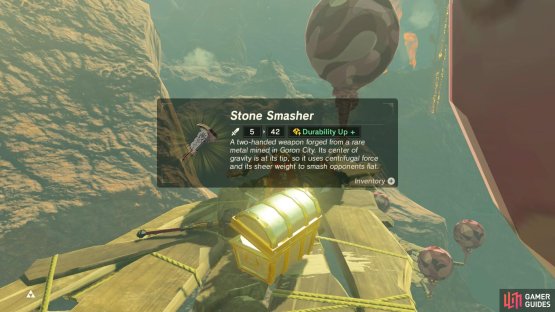
(1 of 2) To reach all the platforms, glide down from atop the nearby crag to the north.
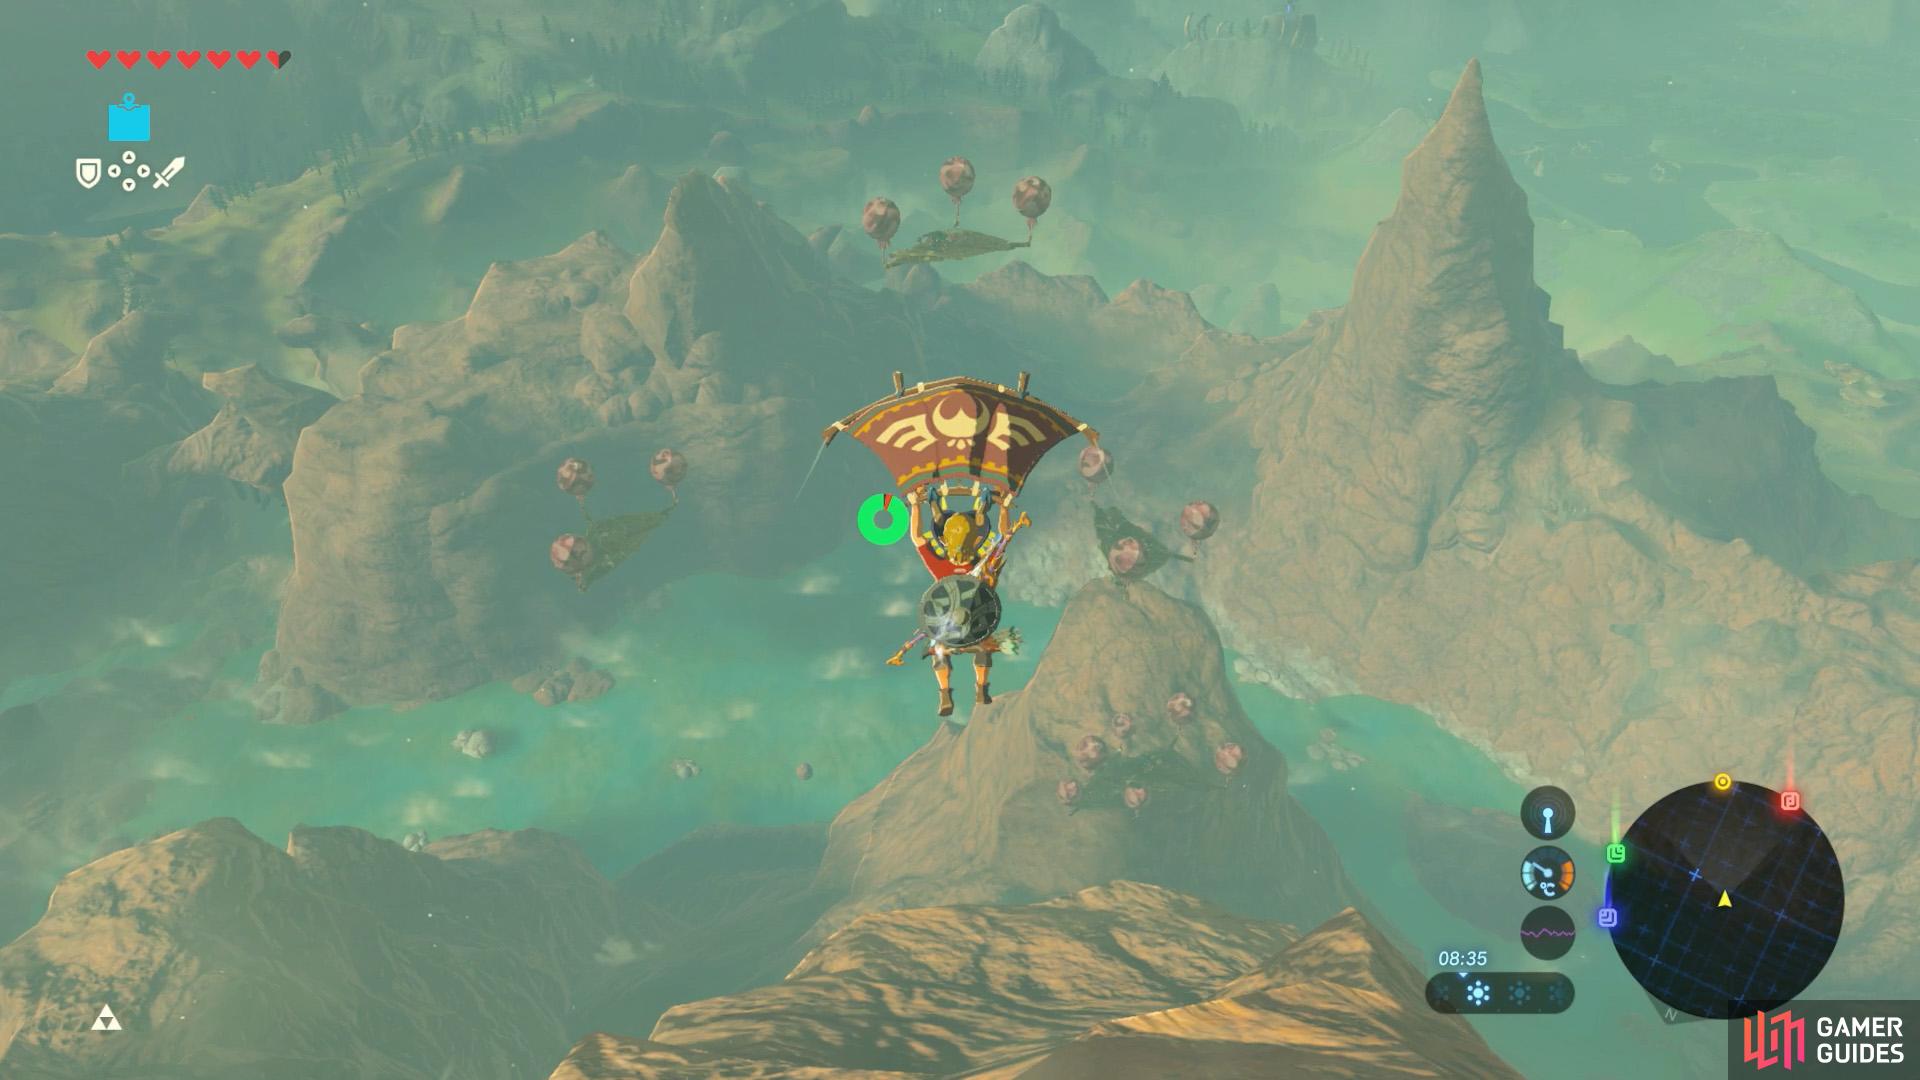
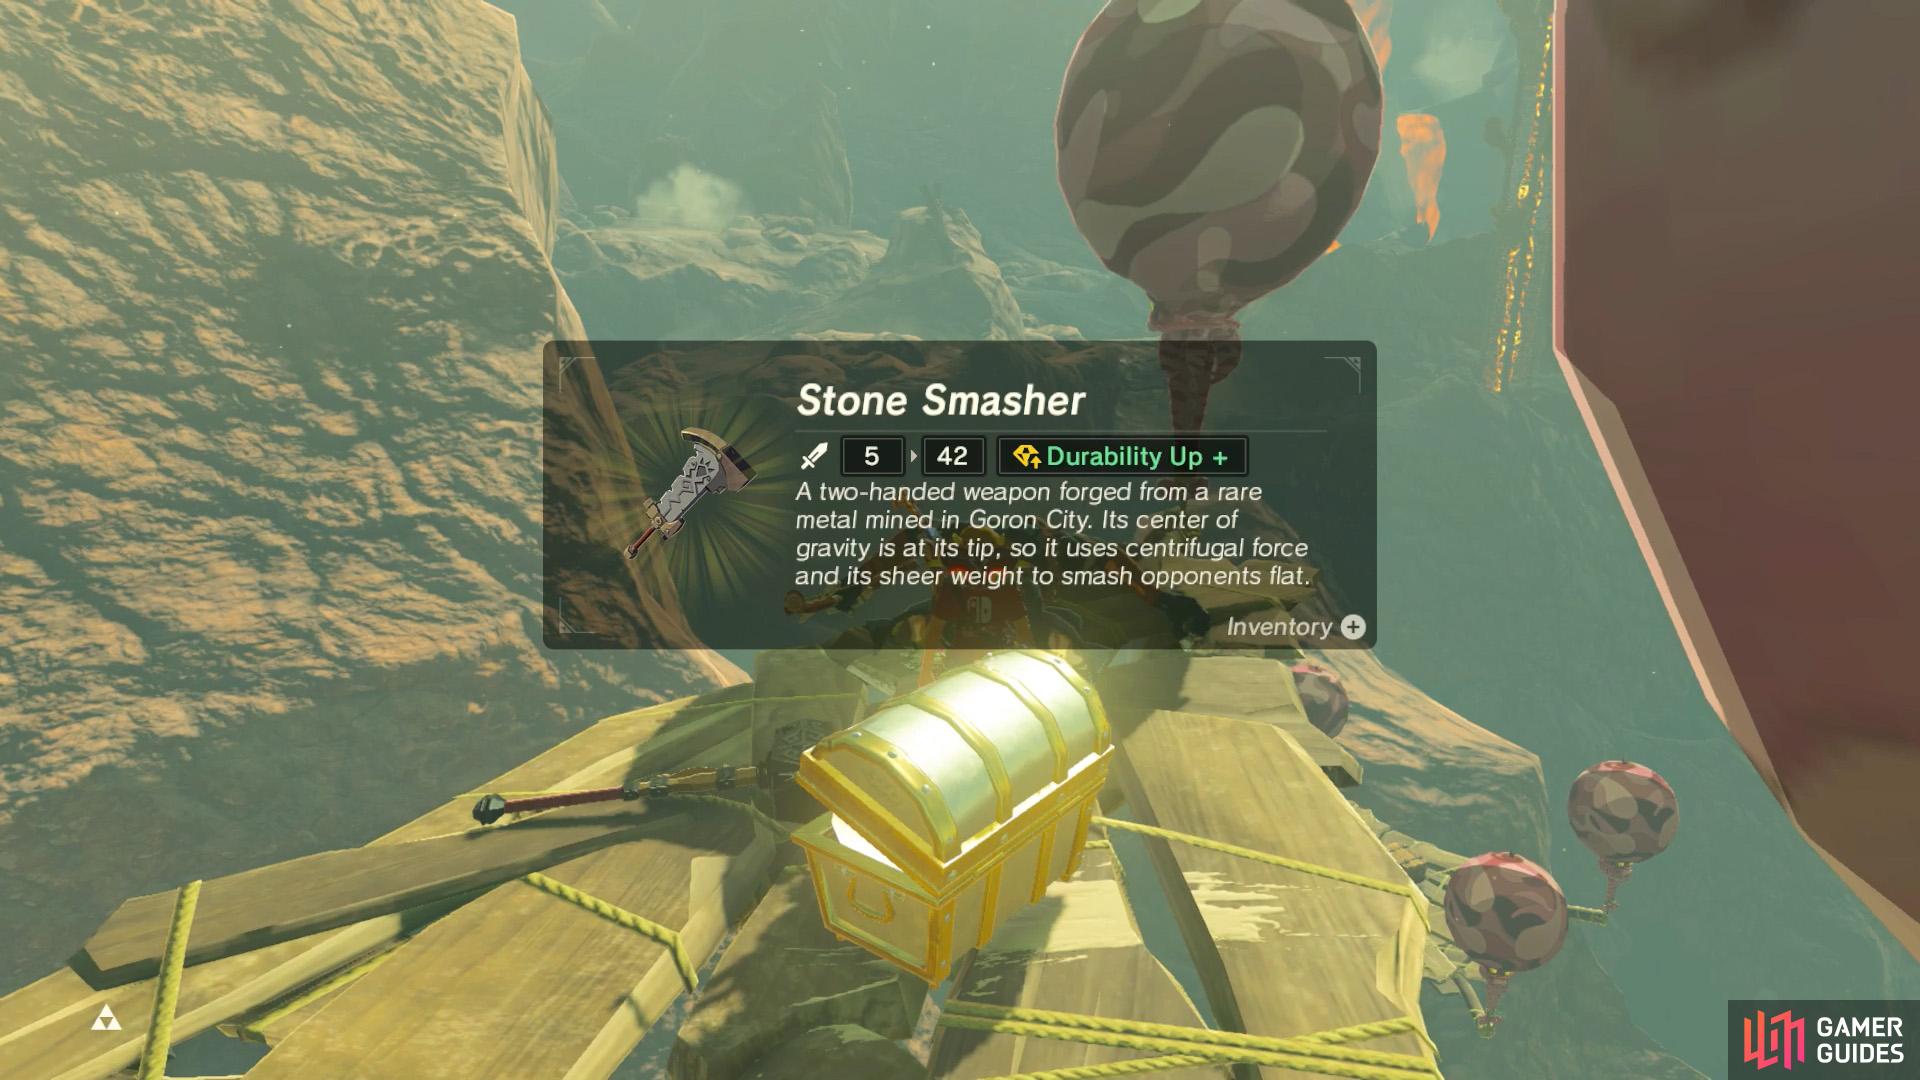
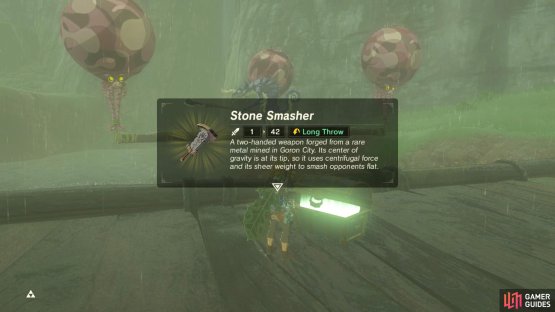
To reach all the platforms, glide down from atop the nearby crag to the north. (left), The highest platform has a chest with a Stone Smasher. (right)
A short distance south-south-west from Eldin Tower, there are 5 platforms floating by the side of the cliff. Three are occupied by Bokoblin archers. The north-east platform, closest to the tower, has a wooden chest with a Sapphire. Meanwhile, the highest platform has a metal chest with a Stone Smasher.
If you glide from the tower, you can reach most of the platforms, but not the one with the metal chest. For that one, you’ll want to climb up the crag directly north of the platforms, then glide down from near the top. Alternatively, you could shoot down the highest platform, then search for the chest on the ground.
Group 3


(1 of 2) No need to get your hands dirty with Magnesis available.
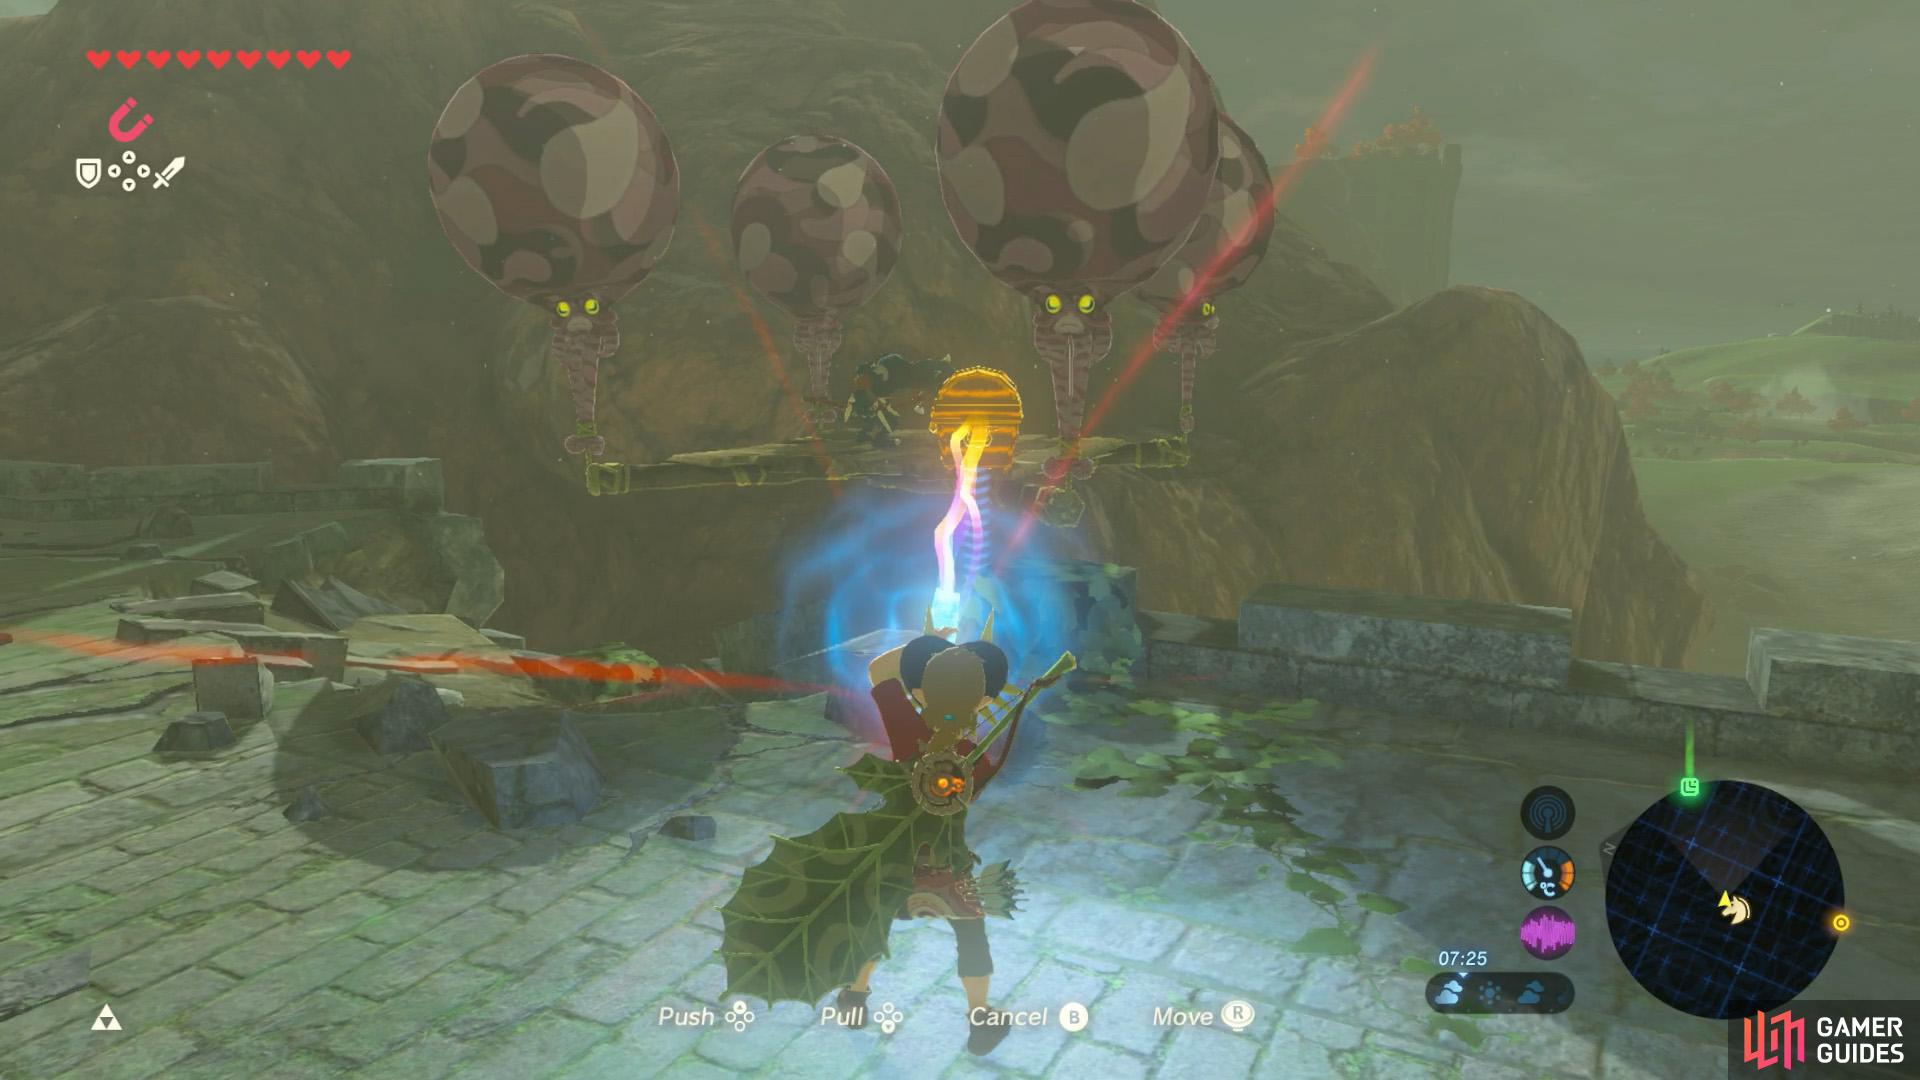
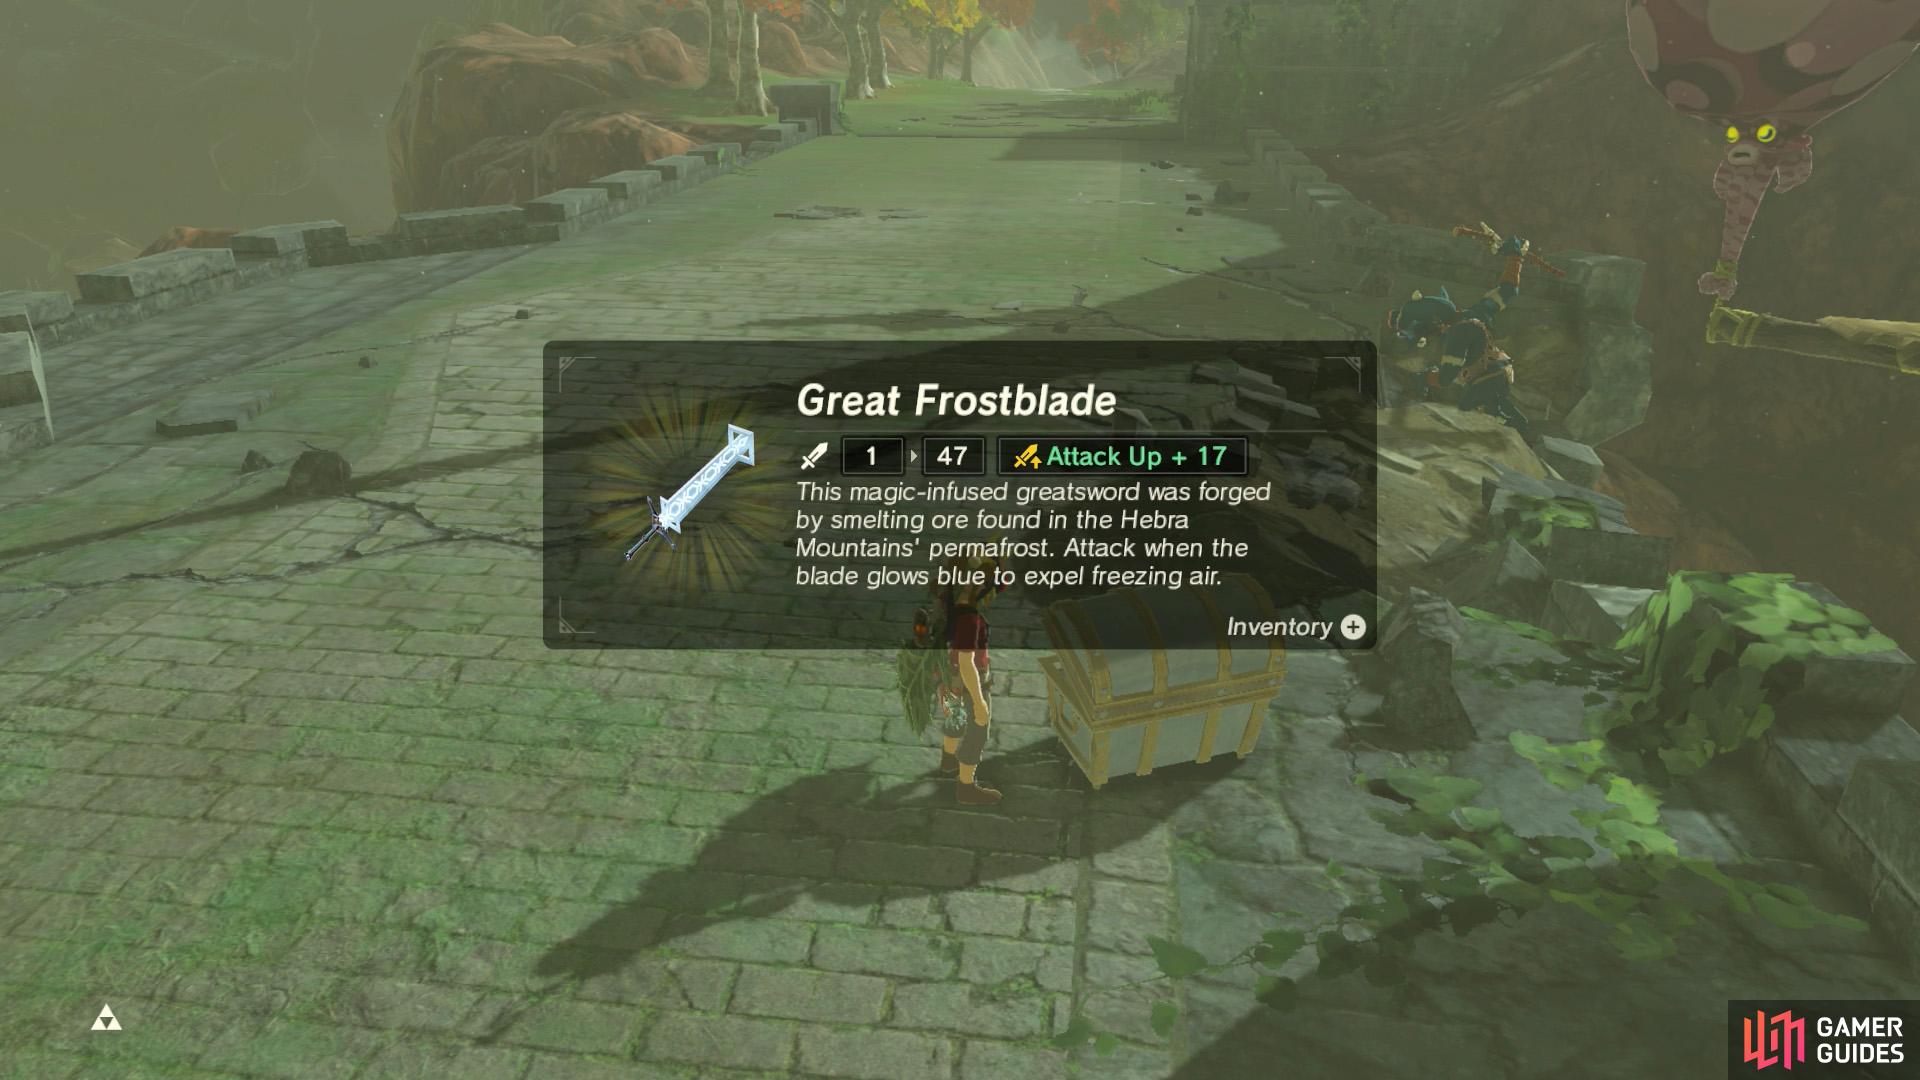
No need to get your hands dirty with Magnesis available. (left), Use this Great Frostblade to turn foes into popsicles. (right)
East from Foothill Stable, there are 2 platforms next to Akkala Span, en route to the Akkala Citadel Ruins. Both are protected by Bokoblins with explosive Bomb Arrows. The platform near the north end of the bridge has a chest with a Great Frostblade.
Due to the proximity of the platform and the chest being metal, you can use Magnesis to claim your treasure. Otherwise, you could climb up the hill just beyond the bridge, then glide down.
Group 4

(1 of 2) Should we feel sorry for the Bokoblin that’s literally scared to death?
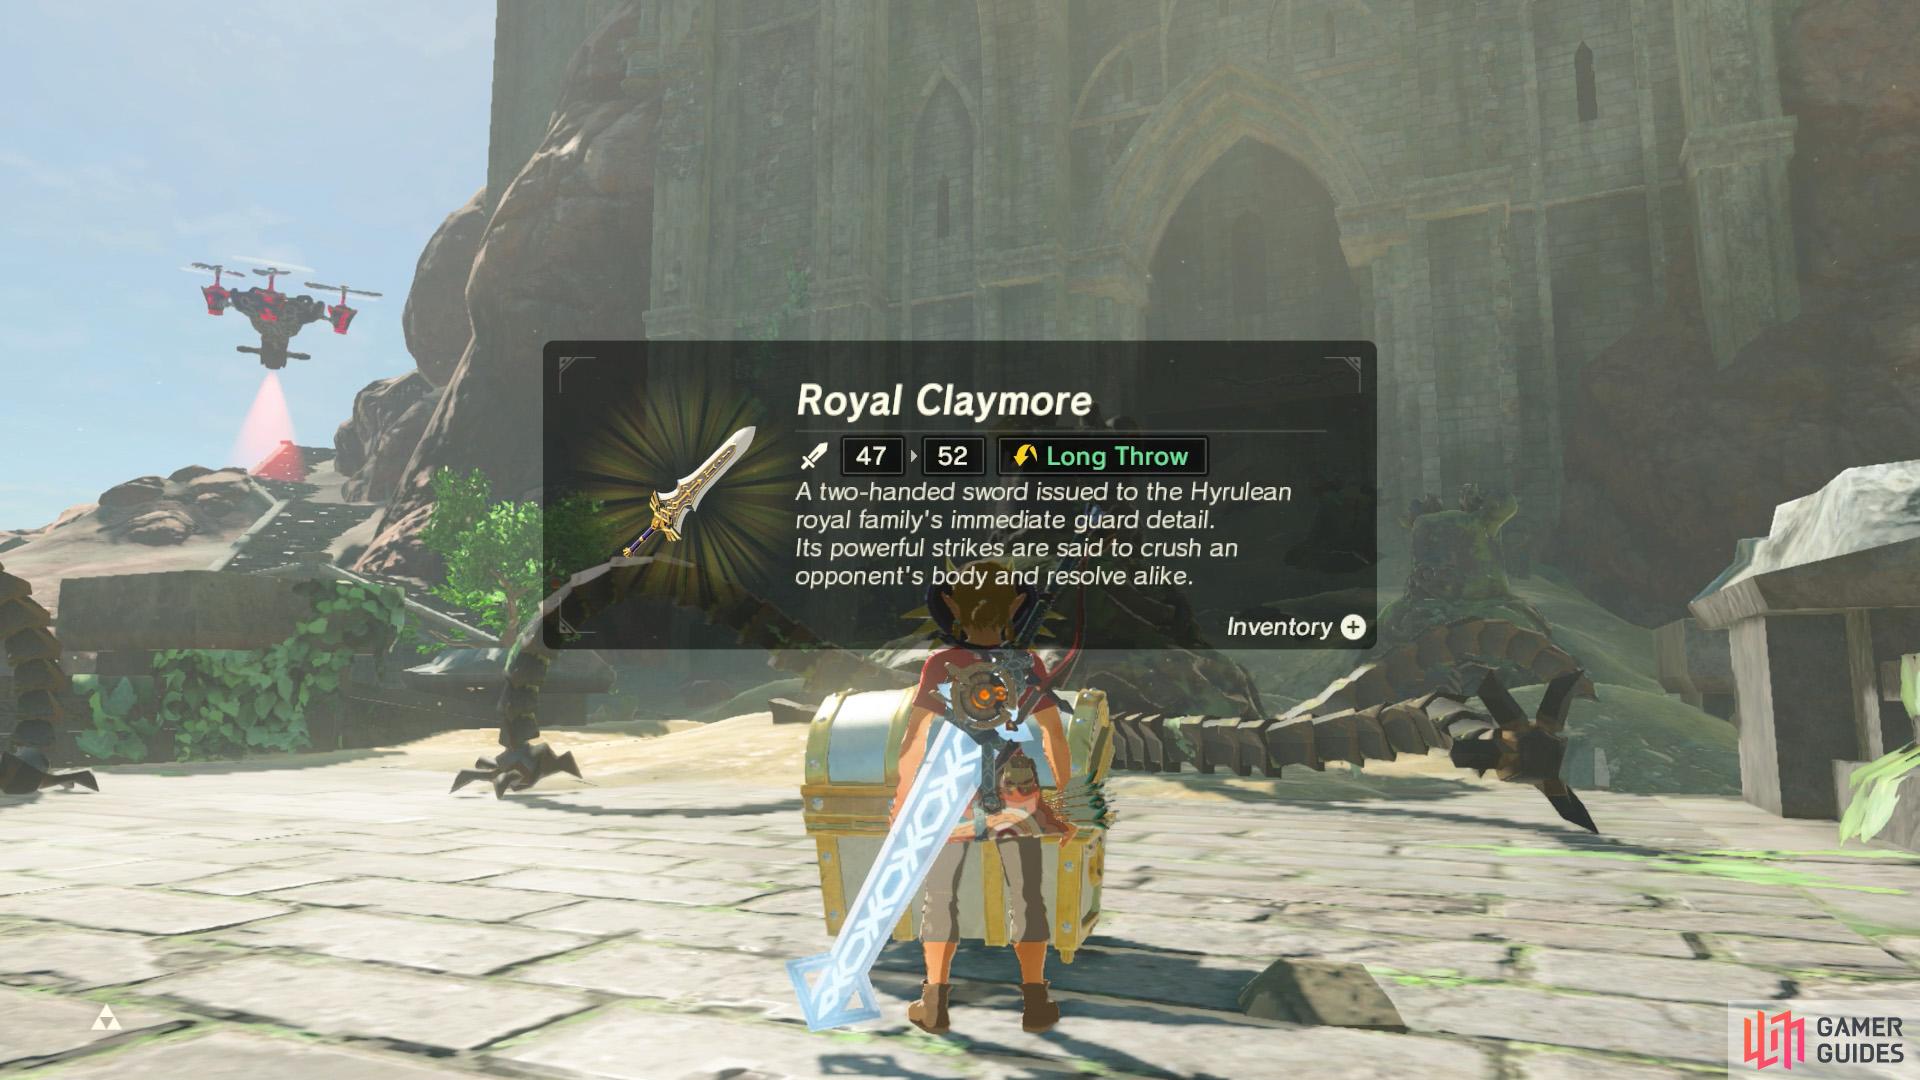
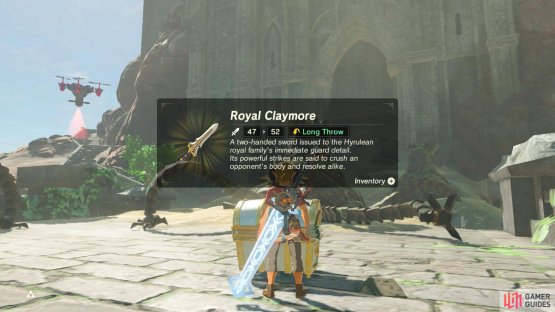
Should we feel sorry for the Bokoblin that’s literally scared to death? (left), Anyway… Here’s a Royal Claymore for your efforts. (right)
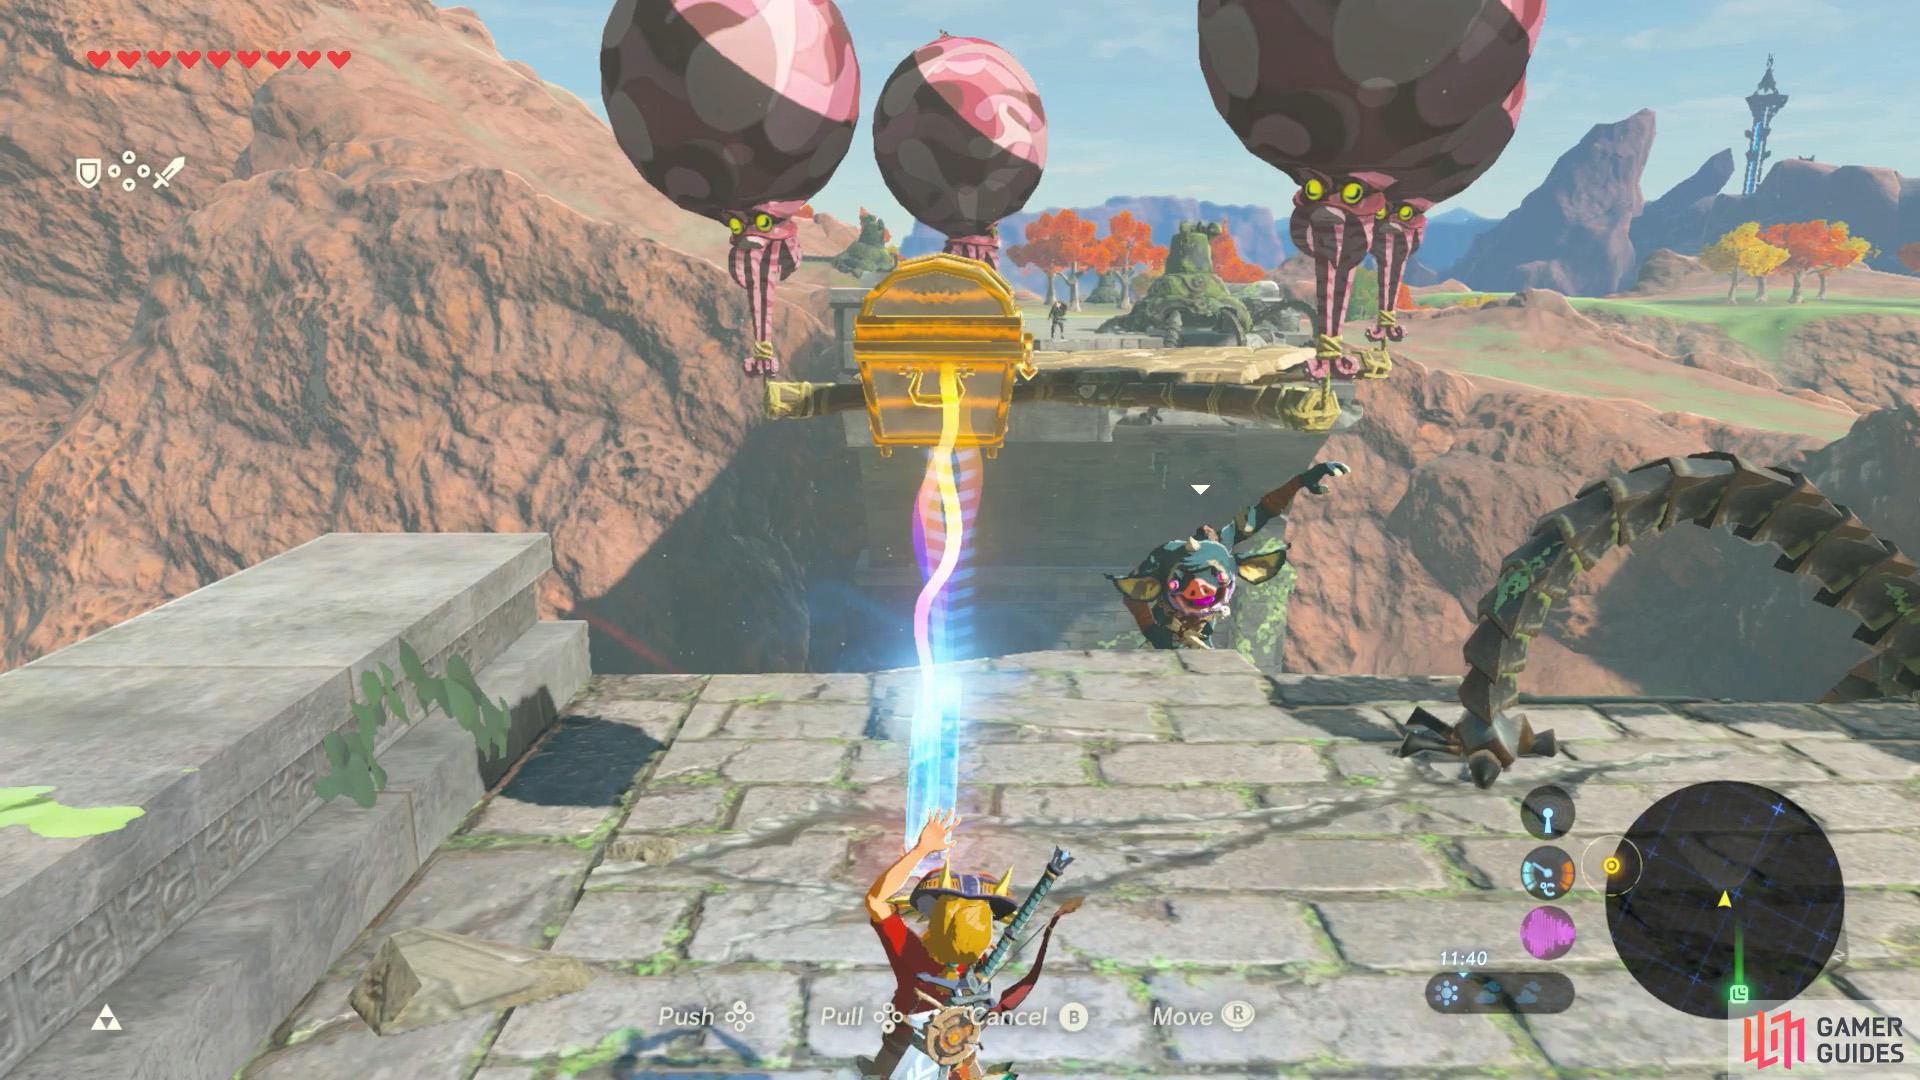
North-east from the previous group, there’s a single platform next to the east end of the Akkala Bridge Ruins. Another Bokoblin armed with Bomb Arrows is here to deter intruders. Next to it is a chest with a Royal Claymore.
Again, you can use Magnesis to draw in the chest if you’re standing near the platform, on the citadel side. To get across to the citadel side, you can go around from the north or glide across from the hill to the south. Be wary of the Guardian Skywatcher patrolling the stairs.
Group 5

(1 of 2) Take to the skies from Akkala Tower to easily reach these platforms.
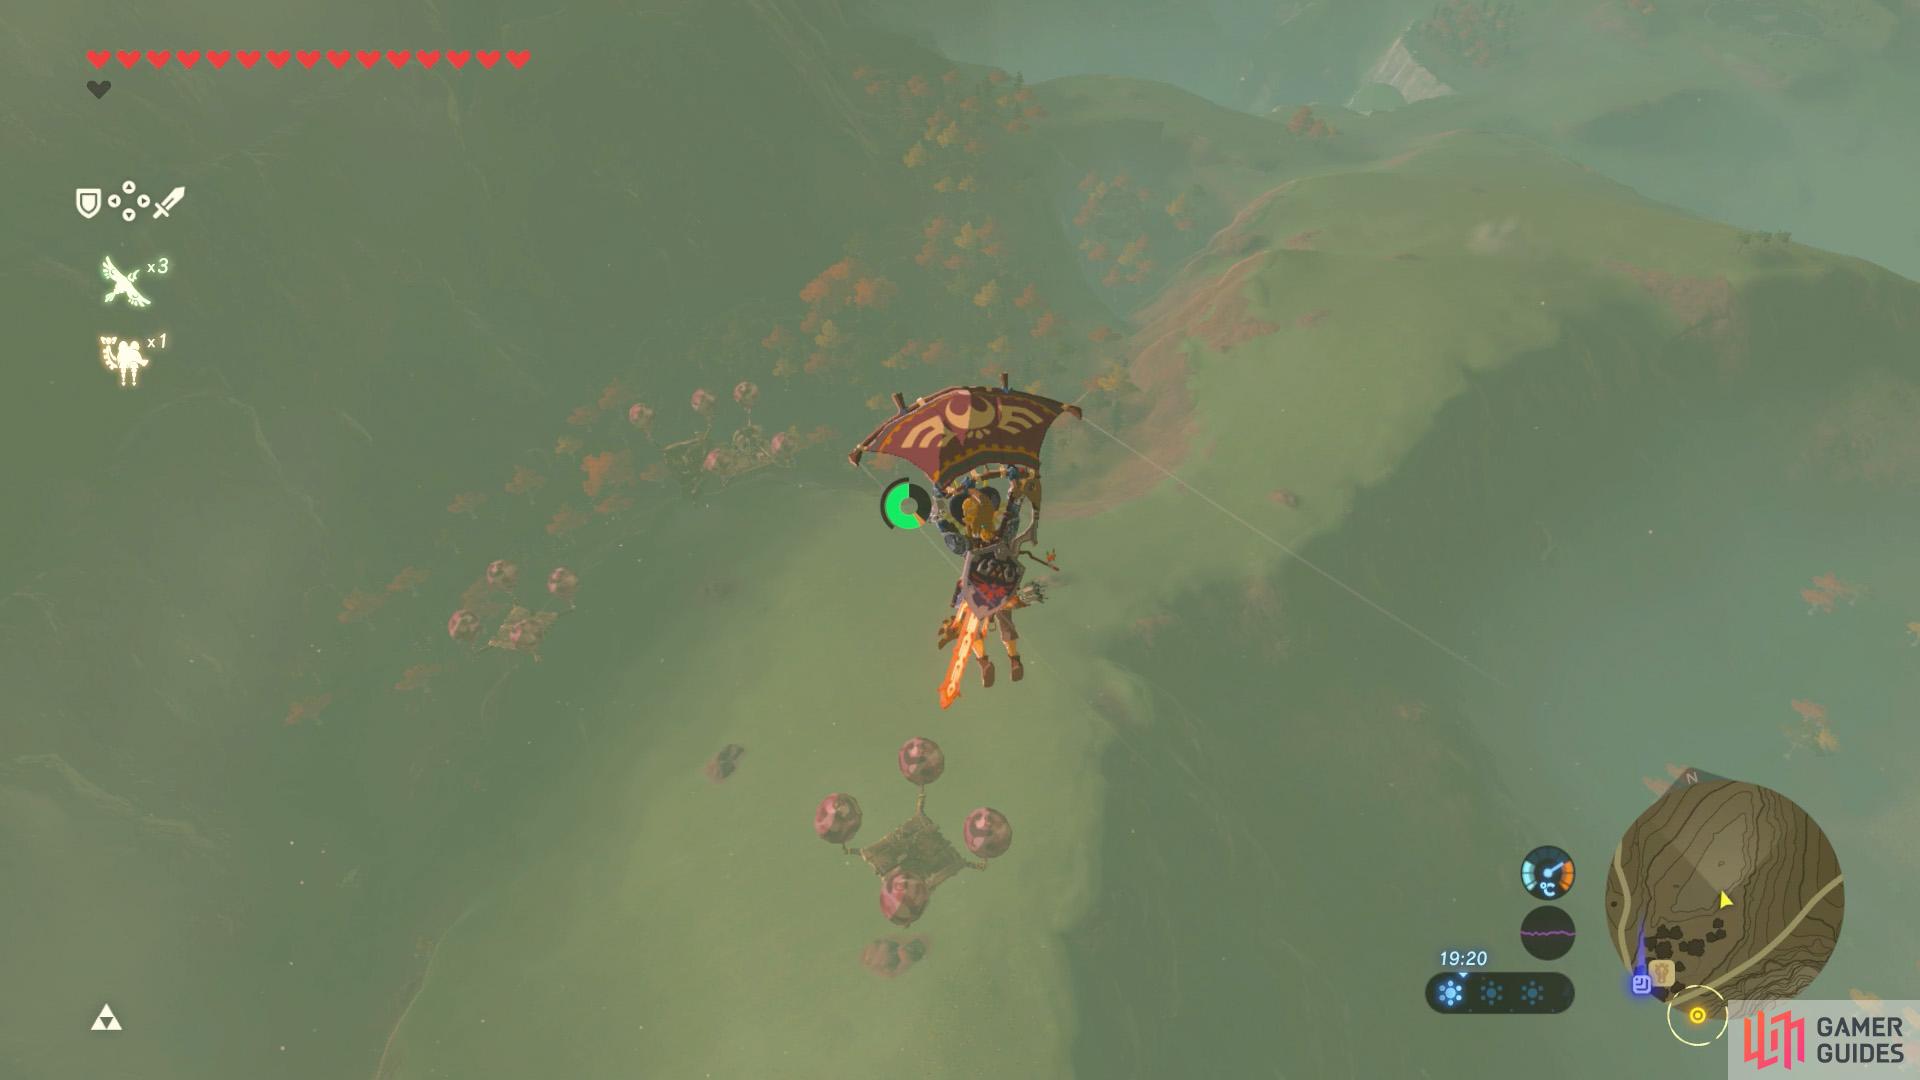

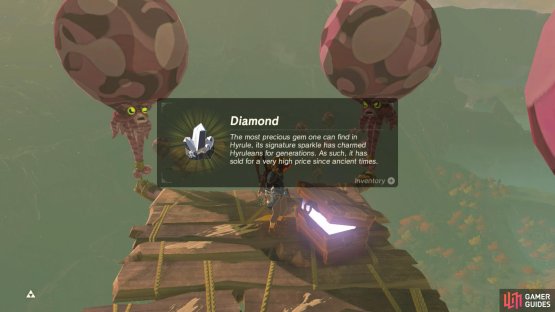
Take to the skies from Akkala Tower to easily reach these platforms. (left), Diamonds are forever, unless you use them for gear upgrades or sell them. (right)
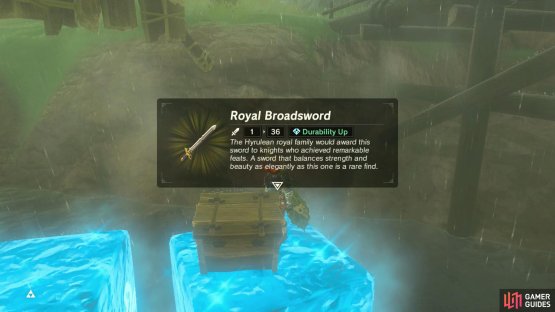
North from Akkala Tower and not far from South Akkala Stable, there are 3 and a half platforms floating high above Kanalet Ridge. The south-east platform, nearest to the tower, has a wooden chest with a Diamond. The northernmost platform is manned by a Moblin archer; next to it is a chest with a Royal Broadsword.
The “half a platform” refers to a platform right next to the Moblin platform that has 2 out of 3 Octoroks and is thus lop-sided and impractical to land on. We recommend gliding from atop Akkala Tower. Aim for the nearest platform with the wooden chest, then glide to the platform with the Moblin.
Group a

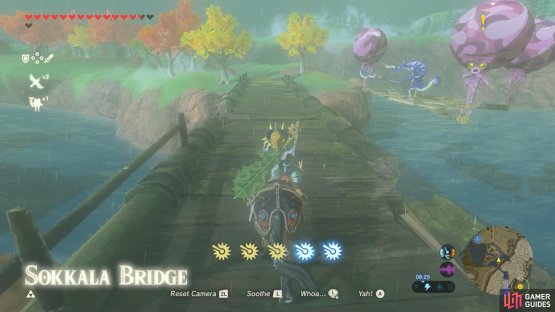
(1 of 2) Each of the three Sokkala bridges have a platform next to them.
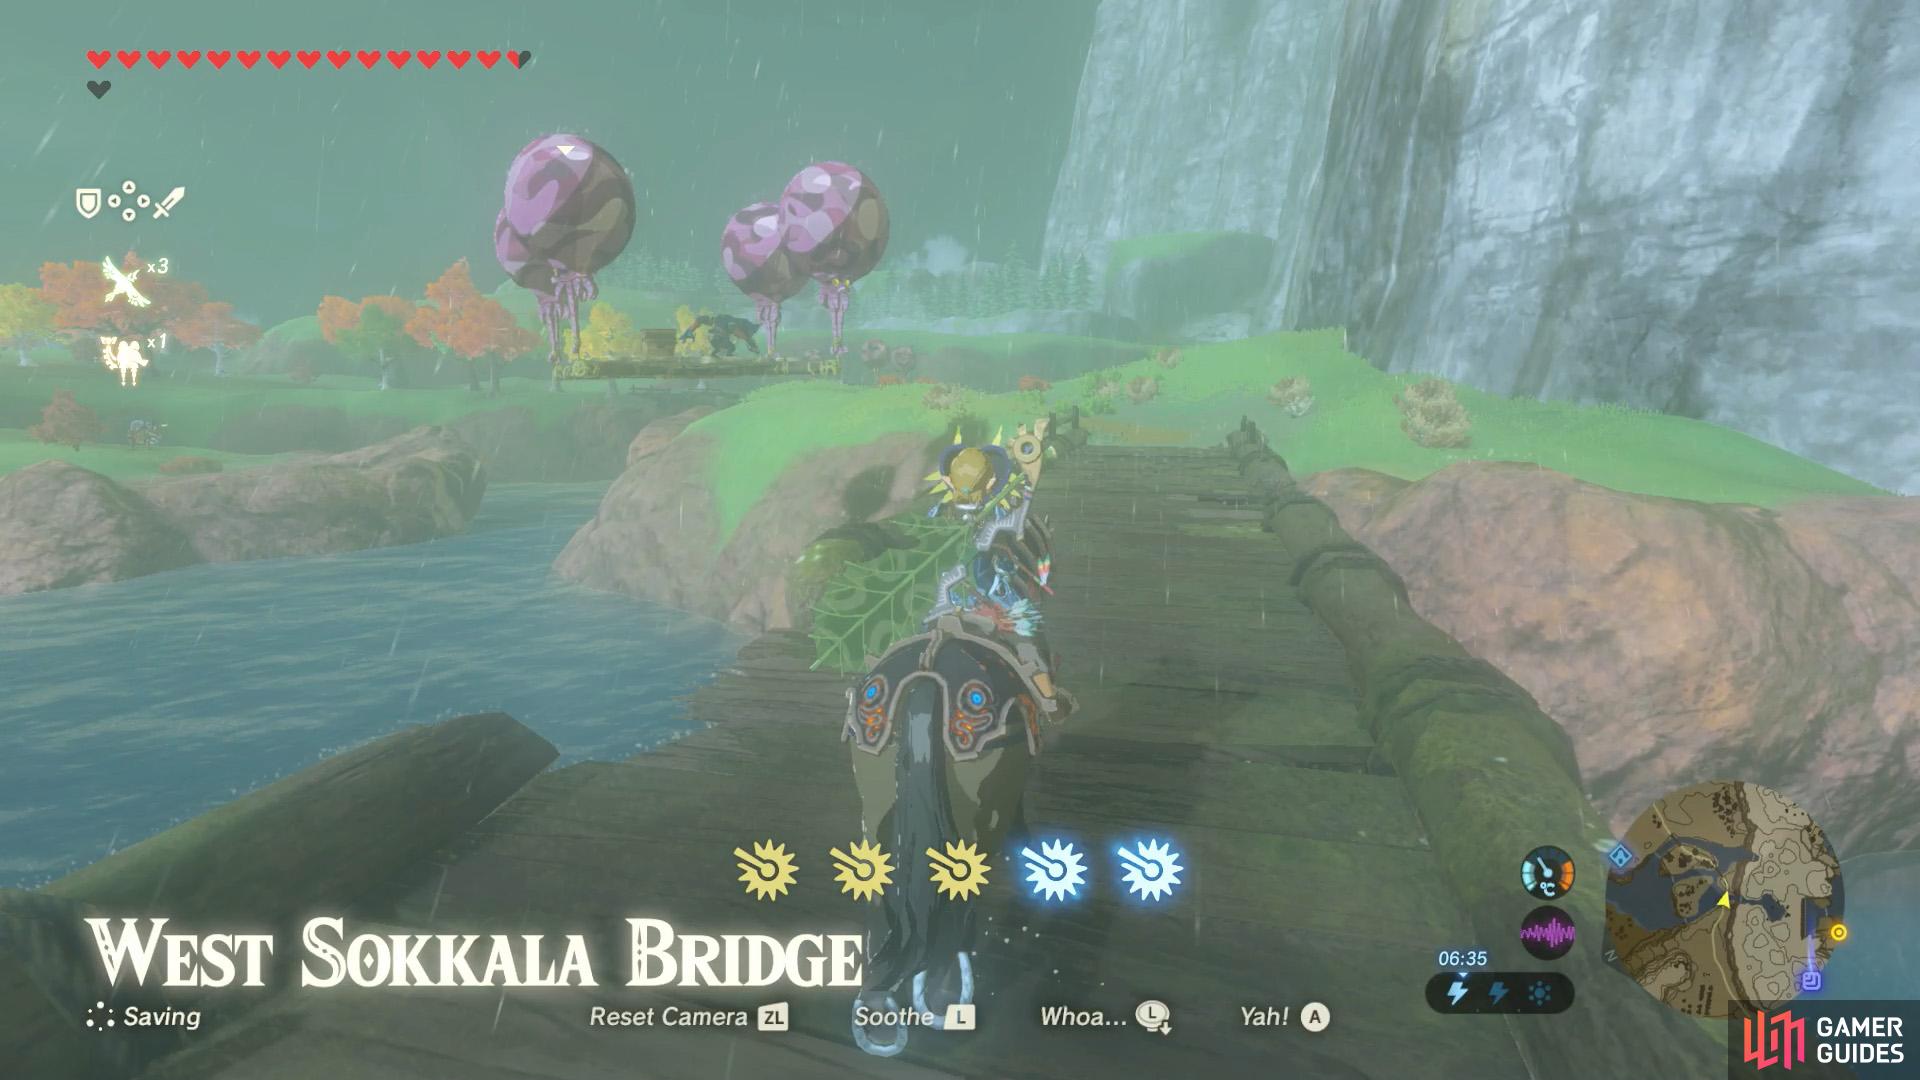

Each of the three Sokkala bridges have a platform next to them. (left), The west bridge has a broadsword you can loot. (right)
South-east from Akkala Tower, there’s a series of bridges at South Lake Akkala, close to the border with the Lanayru region. At the westernmost bridge, West Sokkala Bridge, there’s a lone platform with a Bokoblin armed with Shock Arrows and a wooden chest containing a Knight’s Broadsword.
The quickest way to deal with this platform is to shoot it down, then recover the chest using Cryonis.
Group b
(1 of 2) Here’s the middle of the three bridges.


Here’s the middle of the three bridges. (left), You can claim a “smashing!” weapon here. (right)
East from the previous platform, there’s another lone platform next to Sokkala Bridge, which is the middle of the three bridges. This one’s occupied by a Lizalfos wielding a Lynel Spear. The metal chest next to it is holding a Stone Smasher.
Feel free to grab the chest using Magnesis. The Lynel Spear might be worth stealing as well–either by defeating the Lizalfos or disarming it with an electric weapon.
Group c


(1 of 2) If there’s a storm happening, you could wait for your foes to be struck by lightning.
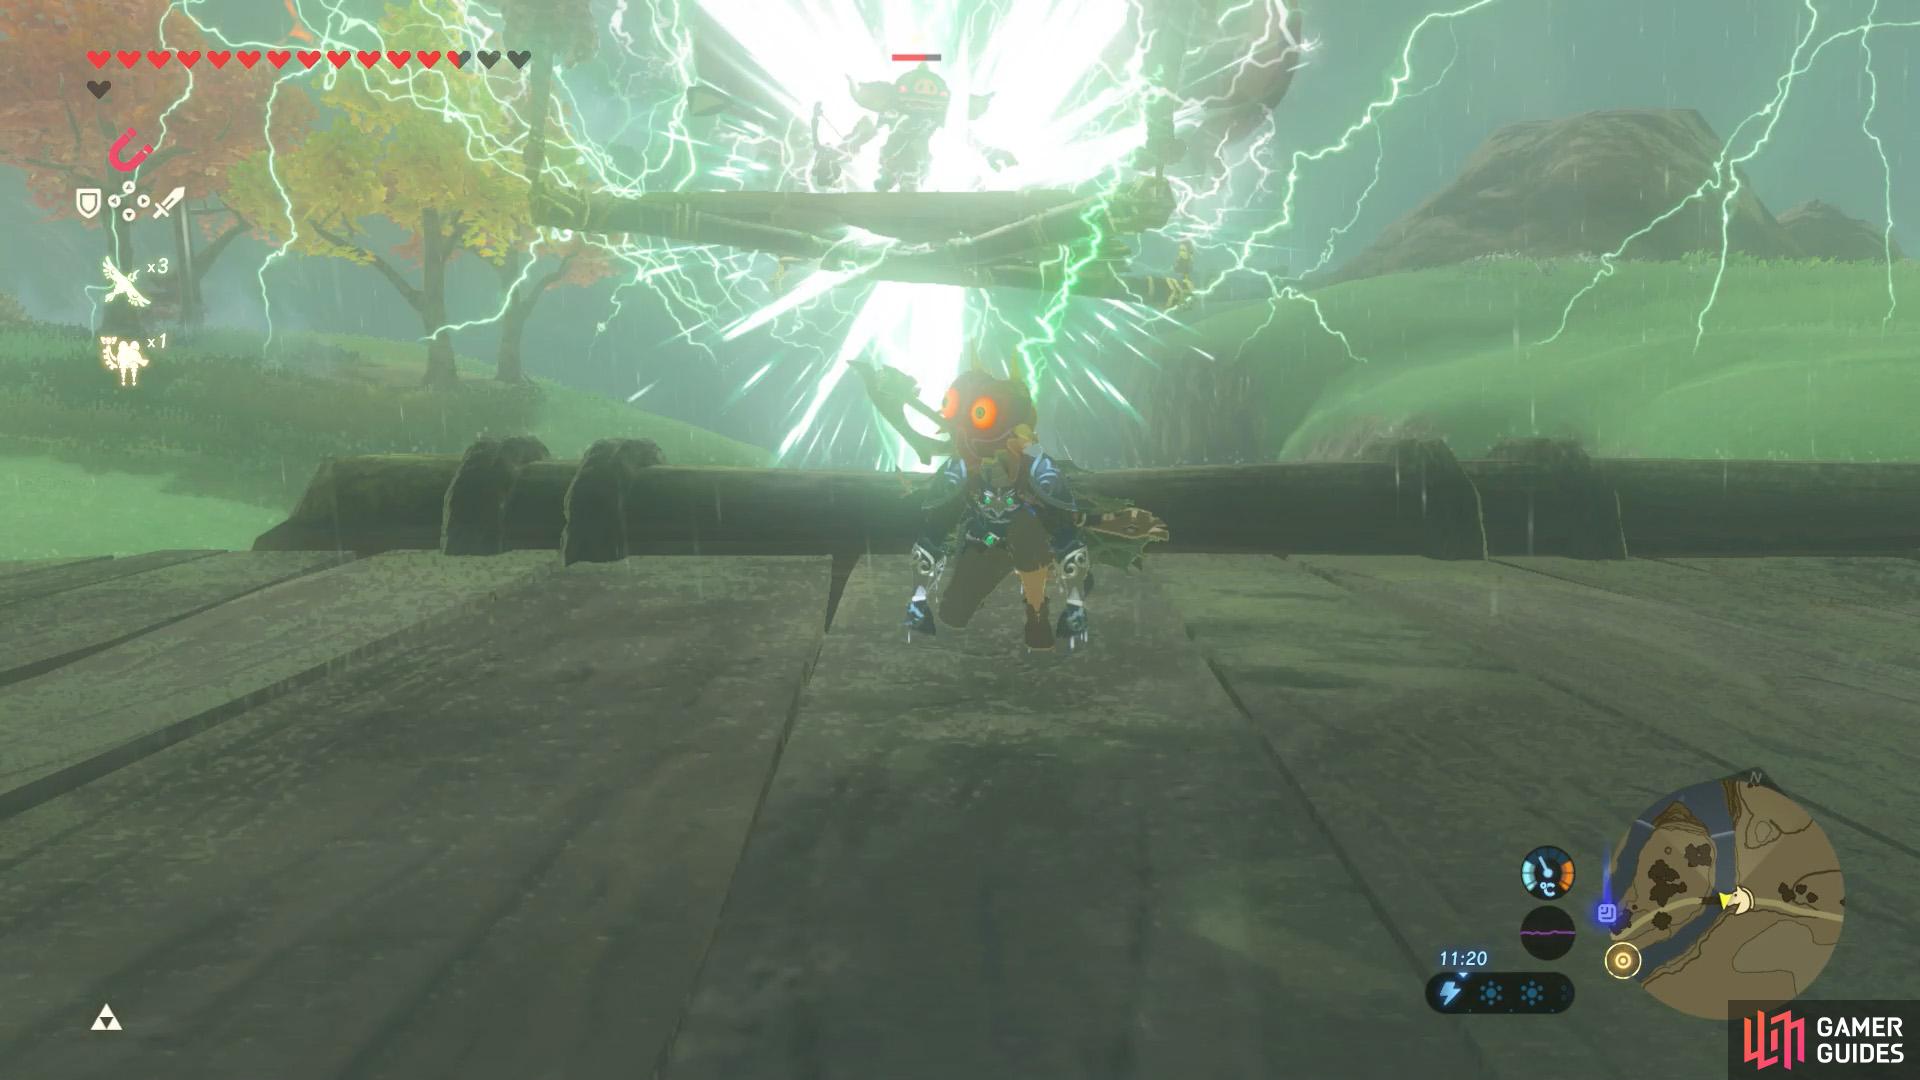
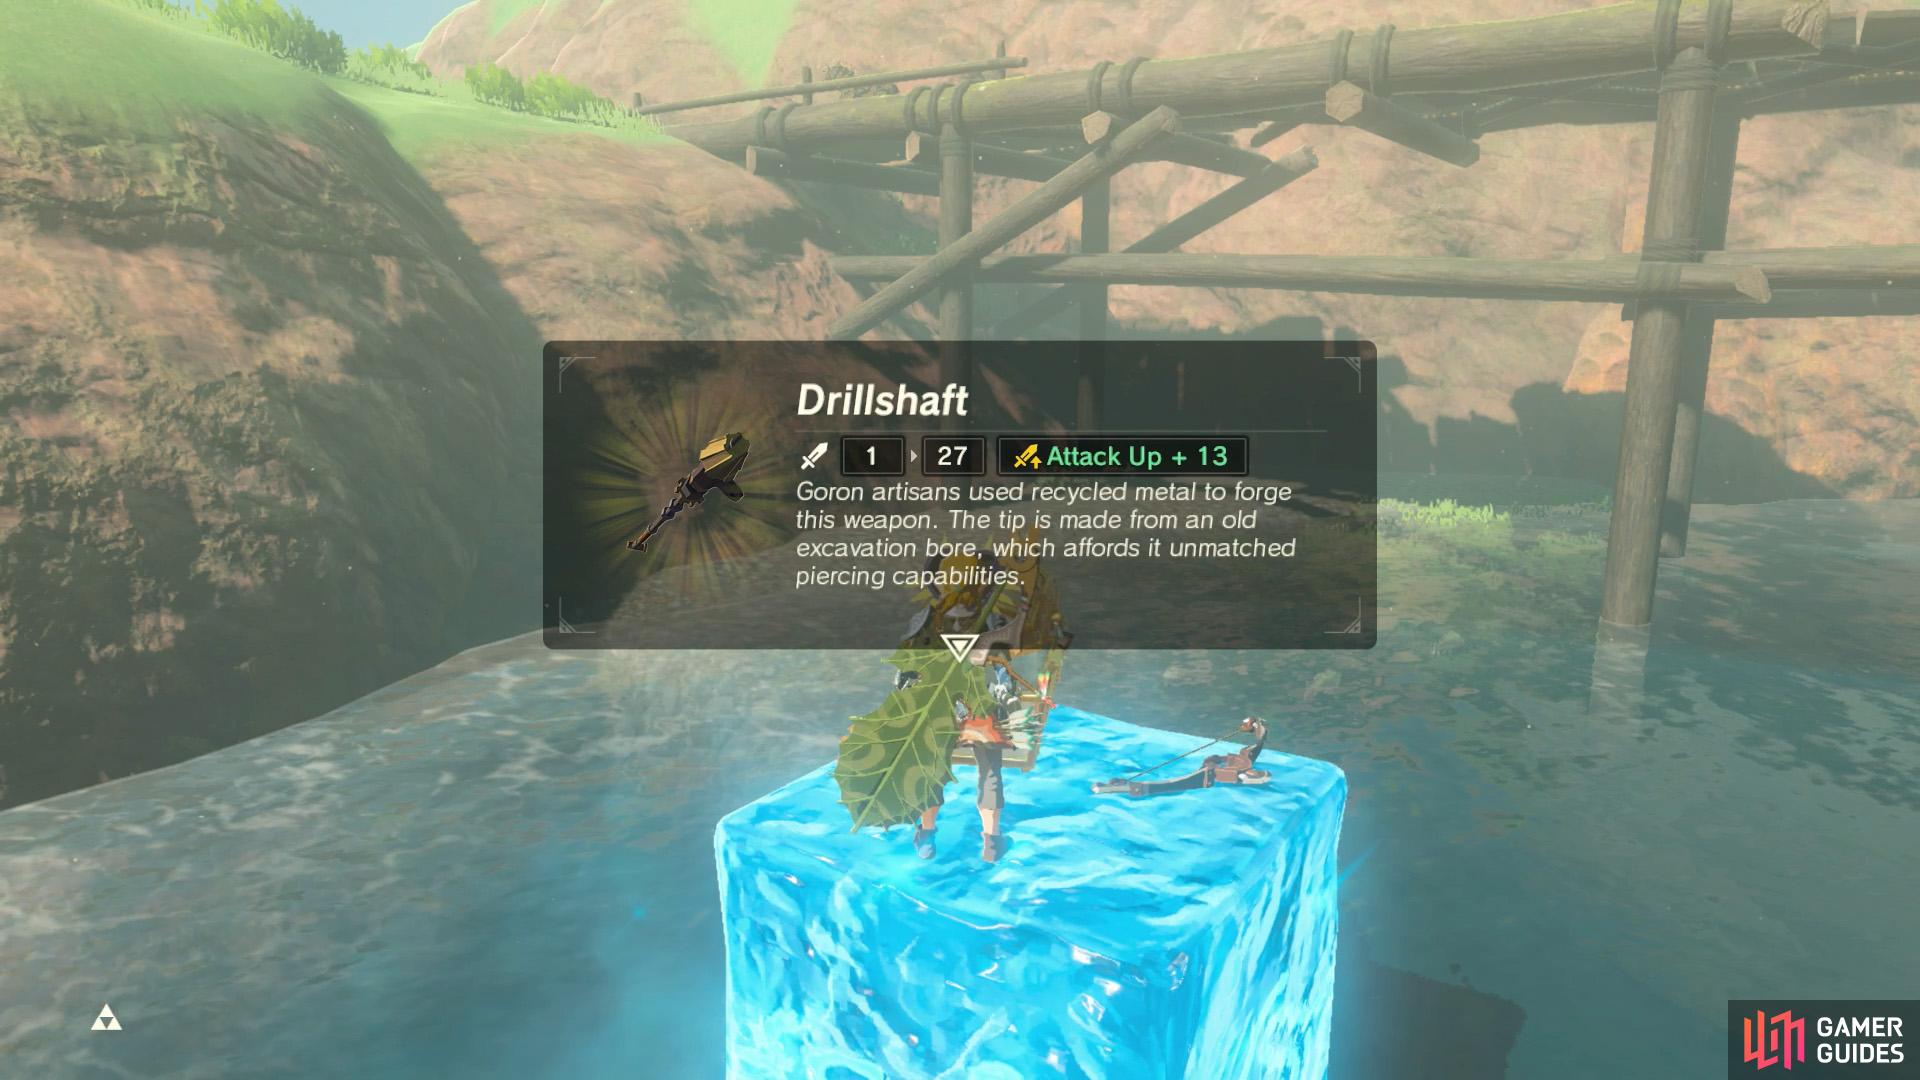
If there’s a storm happening, you could wait for your foes to be struck by lightning. (left), Poor Bokoblin shafted by the weather… (right)
Further east, there’s one more lone platform next to East Sokkala Bridge. Here, another Bokoblin with Shock Arrows awaits. Behind it is a metal chest with a Drillshaft inside. This is another easy job for Magnesis.
Group 9
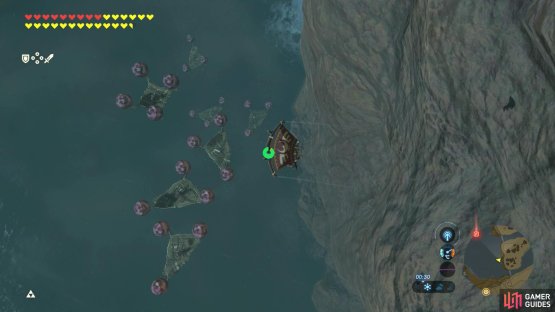
(1 of 2) Seven lucky platforms can be found next to Akkala Falls.
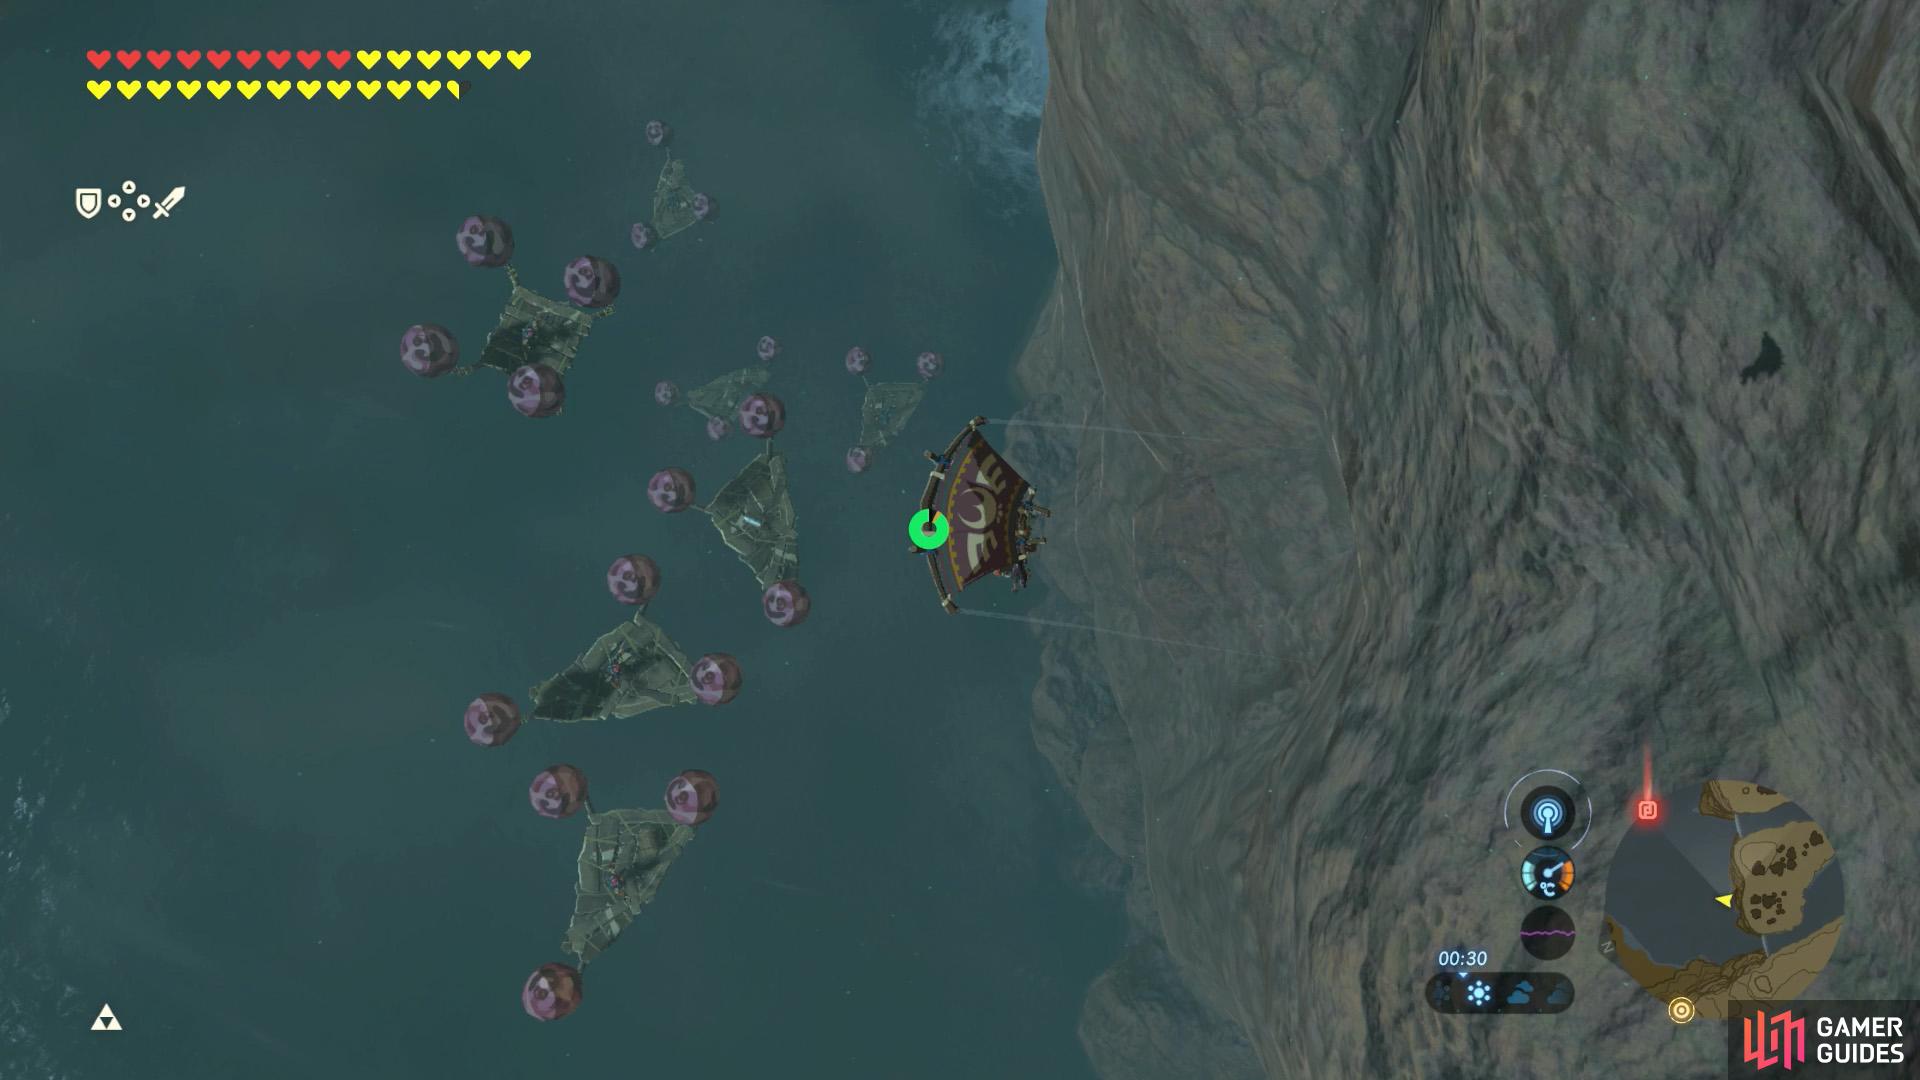

Seven lucky platforms can be found next to Akkala Falls. (left), Many of the gear here is fire-based; perfect for roasting foes. (right)
North from the previous three bridges, there are a whopping 7 platforms in front of Akkala Falls. Five of them are manned by Bokoblin archers.
These platforms can be divided into 3 mini-groups.
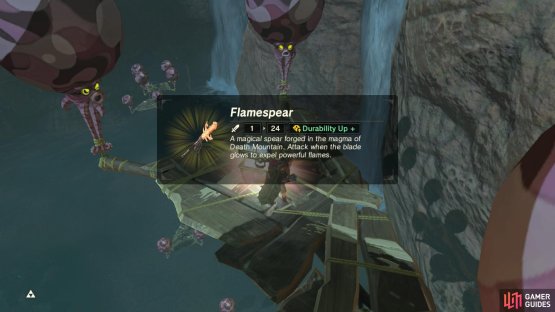
Towards the west, there are 4 platforms positioned halfway up the cliff. Of these, the westernmost one has a wooden chest with a Topaz, while a nearby one without a Bokoblin has a metal chest with a Flamespear.
Towards the east, there are 2 platforms positioned a quarter way up the cliff. Of these, the easternmost platform has a metal chest with a Flameblade.
Lastly, near the center, there are 3 platforms positioned near the lake surface. The easternmost of these has a wooden chest containing a Ruby, while the one west from it (on the lake with no Bokoblin on board) has a metal chest with a Meteor Rod.
Naturally, the easiest way to reach any of these platforms is by gliding from near the top of the waterfalls. We suggest heading for the westernmost platforms first, then gliding down to the rest.
Bordering North-East Hyrule
Group G
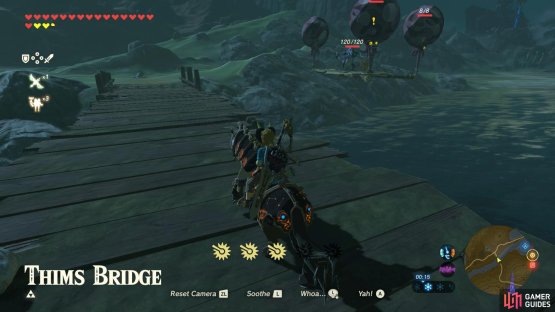

(1 of 2) A well equipped Lizalfos is guarding Thims Bridge.
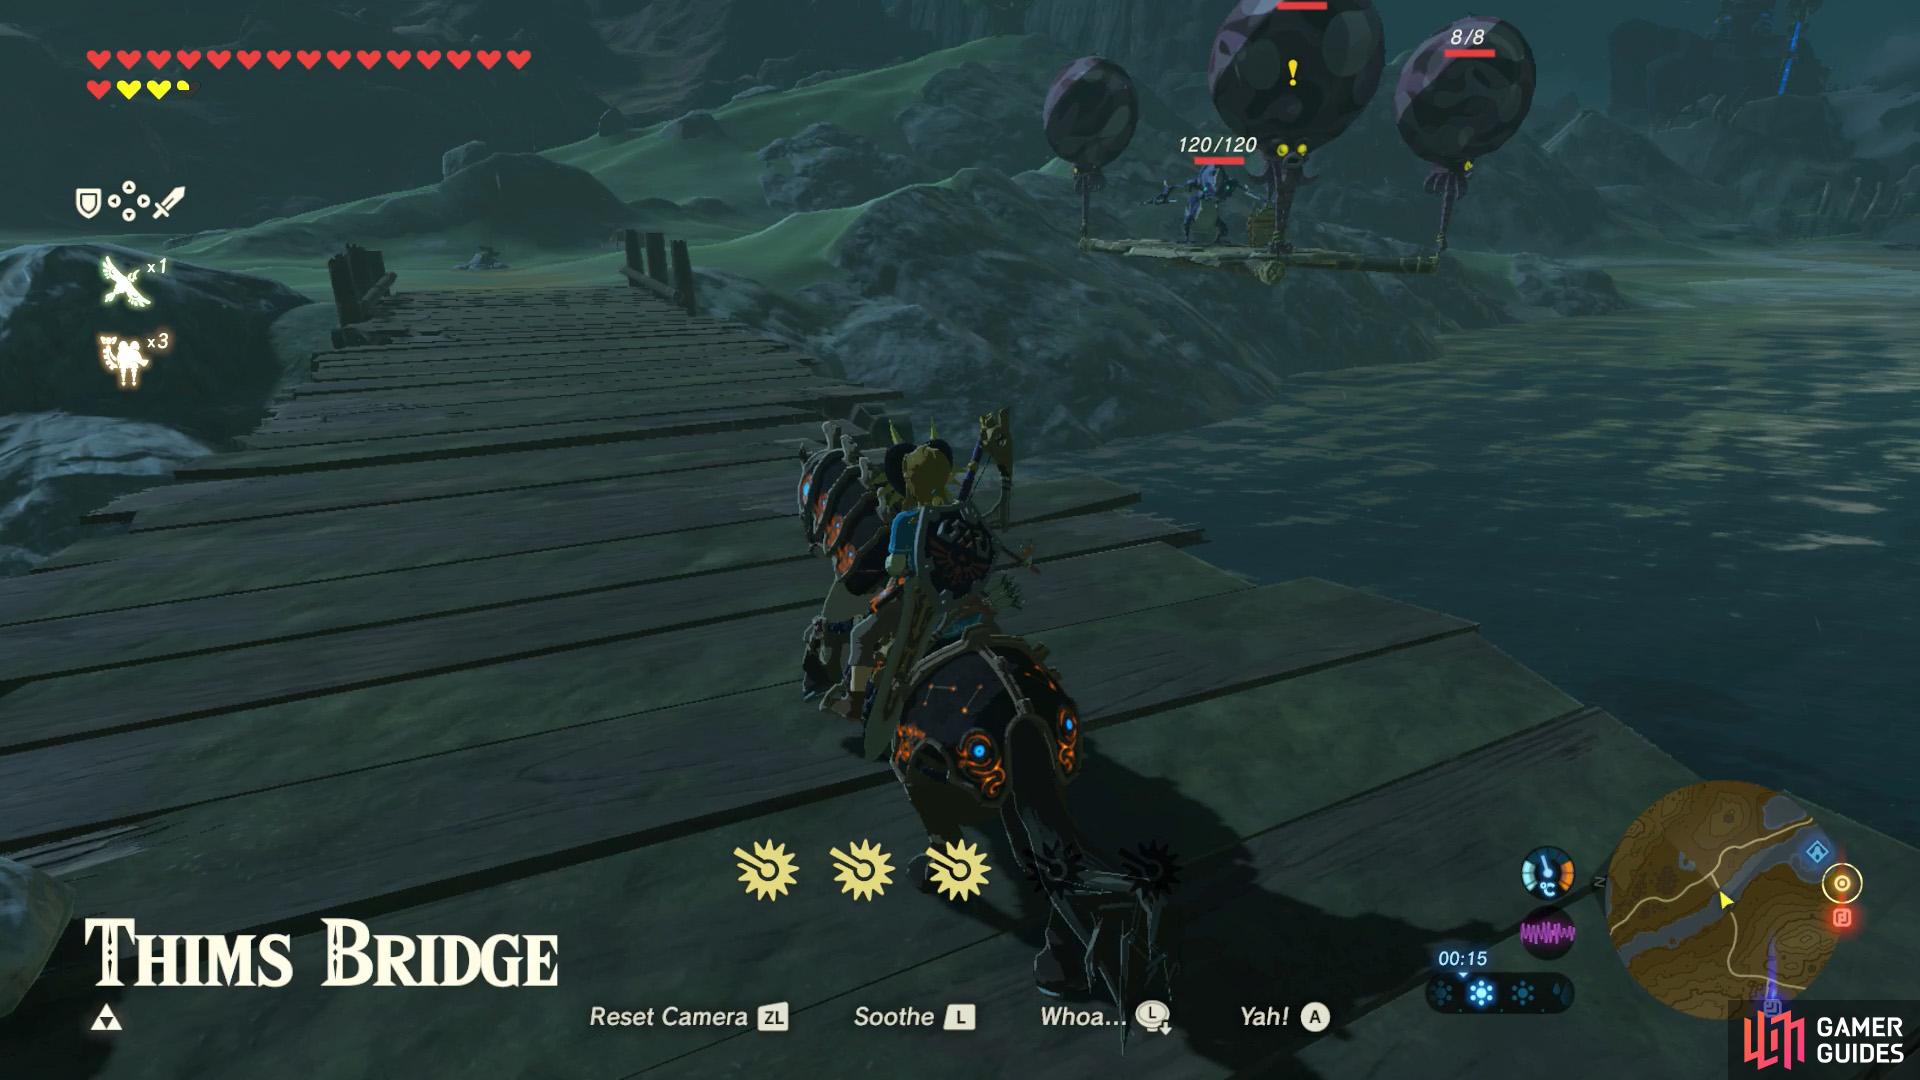
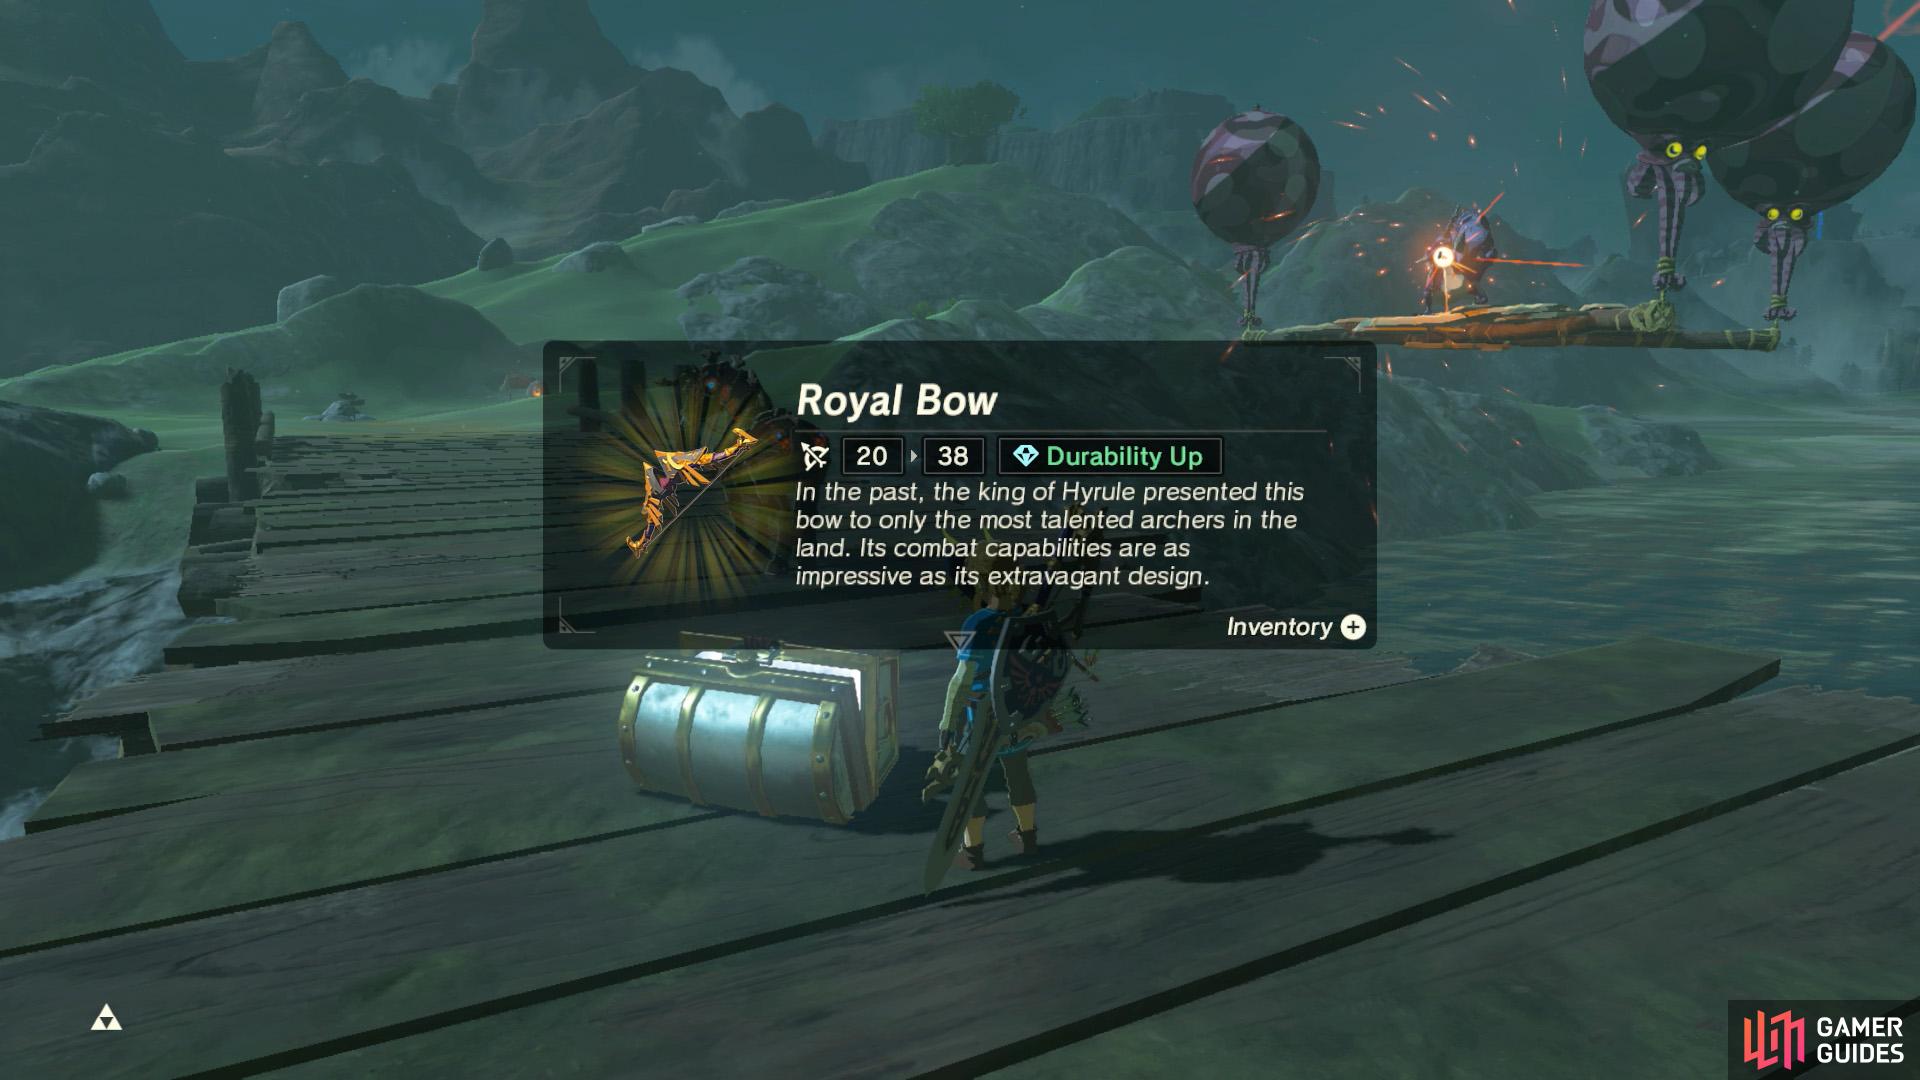
A well equipped Lizalfos is guarding Thims Bridge. (left), The chest contains a Royal Bow. (right)
Towards the far north-east of Central Hyrule, there’s a platform near Thims Bridge, past Crenel Hills. The Lizalfos here is carrying a Mighty Lynel Bow and Fire Arrows. Next to it is a chest with a Knight’s Bow.
You can easily snatch the chest using Magnesis.
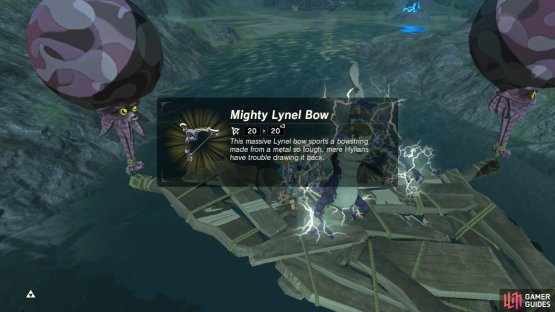
(1 of 2) If you’re lucky/quick, you can grab the bow before it falls.

If you’re lucky/quick, you can grab the bow before it falls. (left), Otherwise, enjoy fishing for it from the riverbed… sjshhd (right)
Group H

(1 of 2) You can use Magnesis from the riverbank.

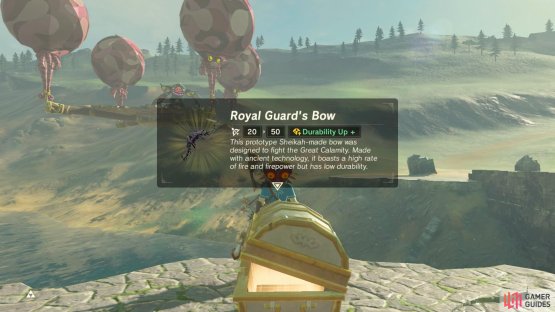
You can use Magnesis from the riverbank. (left), The chest contains a Royal Guard’s Bow. (right)
East from Hyrule Castle, there’s yet another lonely platform near Helmhead Bridge, at the north end of Hyrule Forest Park. The foe that awaits is a Bokoblin armed with Ice Arrows. The chest here contains a Royal Guard’s Bow.
If you stand on the riverbank on the Hyrule Forest Park side, you can just about reach the chest with Magnesis. Be wary of a Guardian Stalker near the park.
Group M
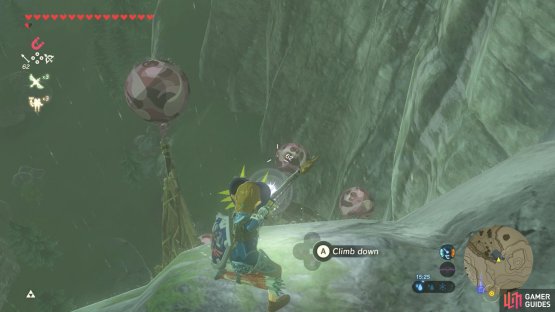

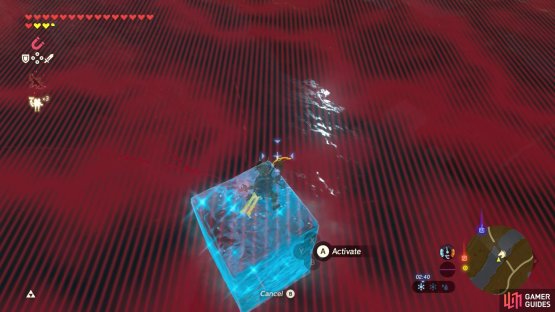
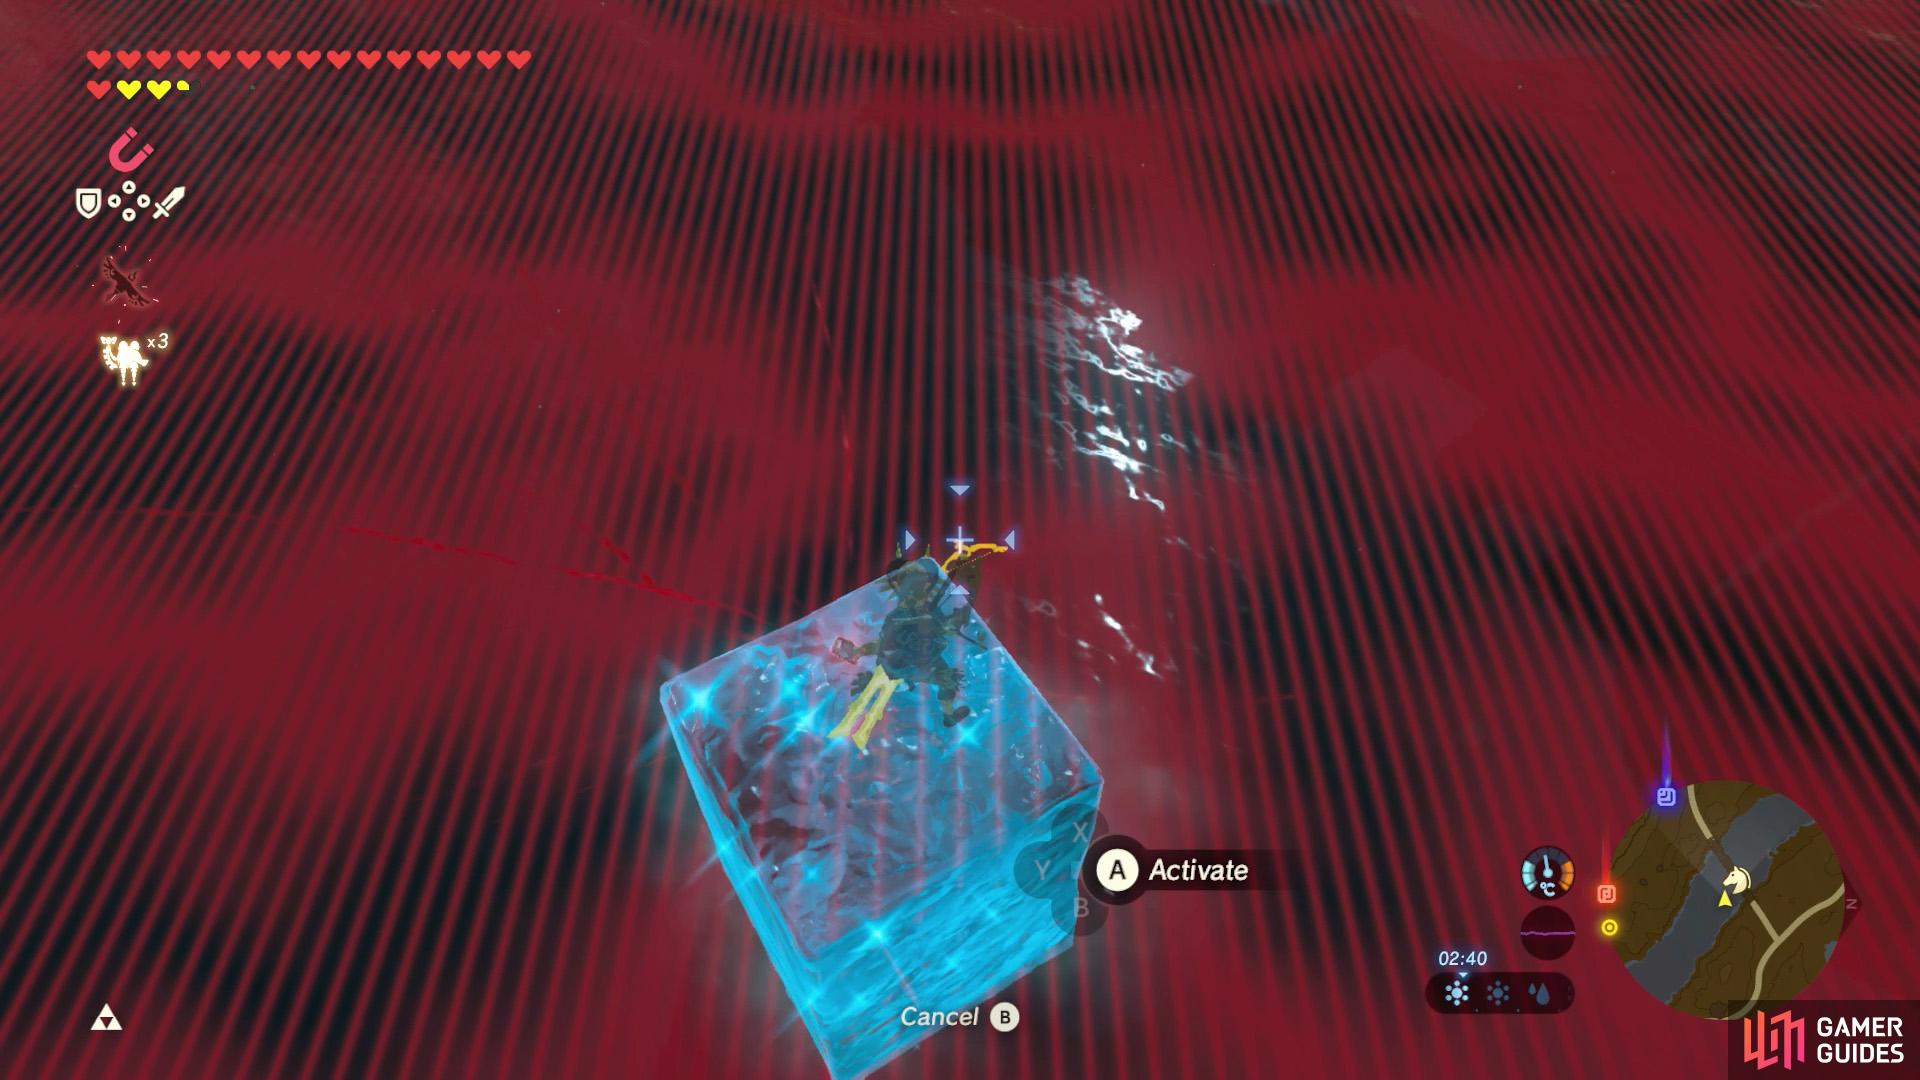
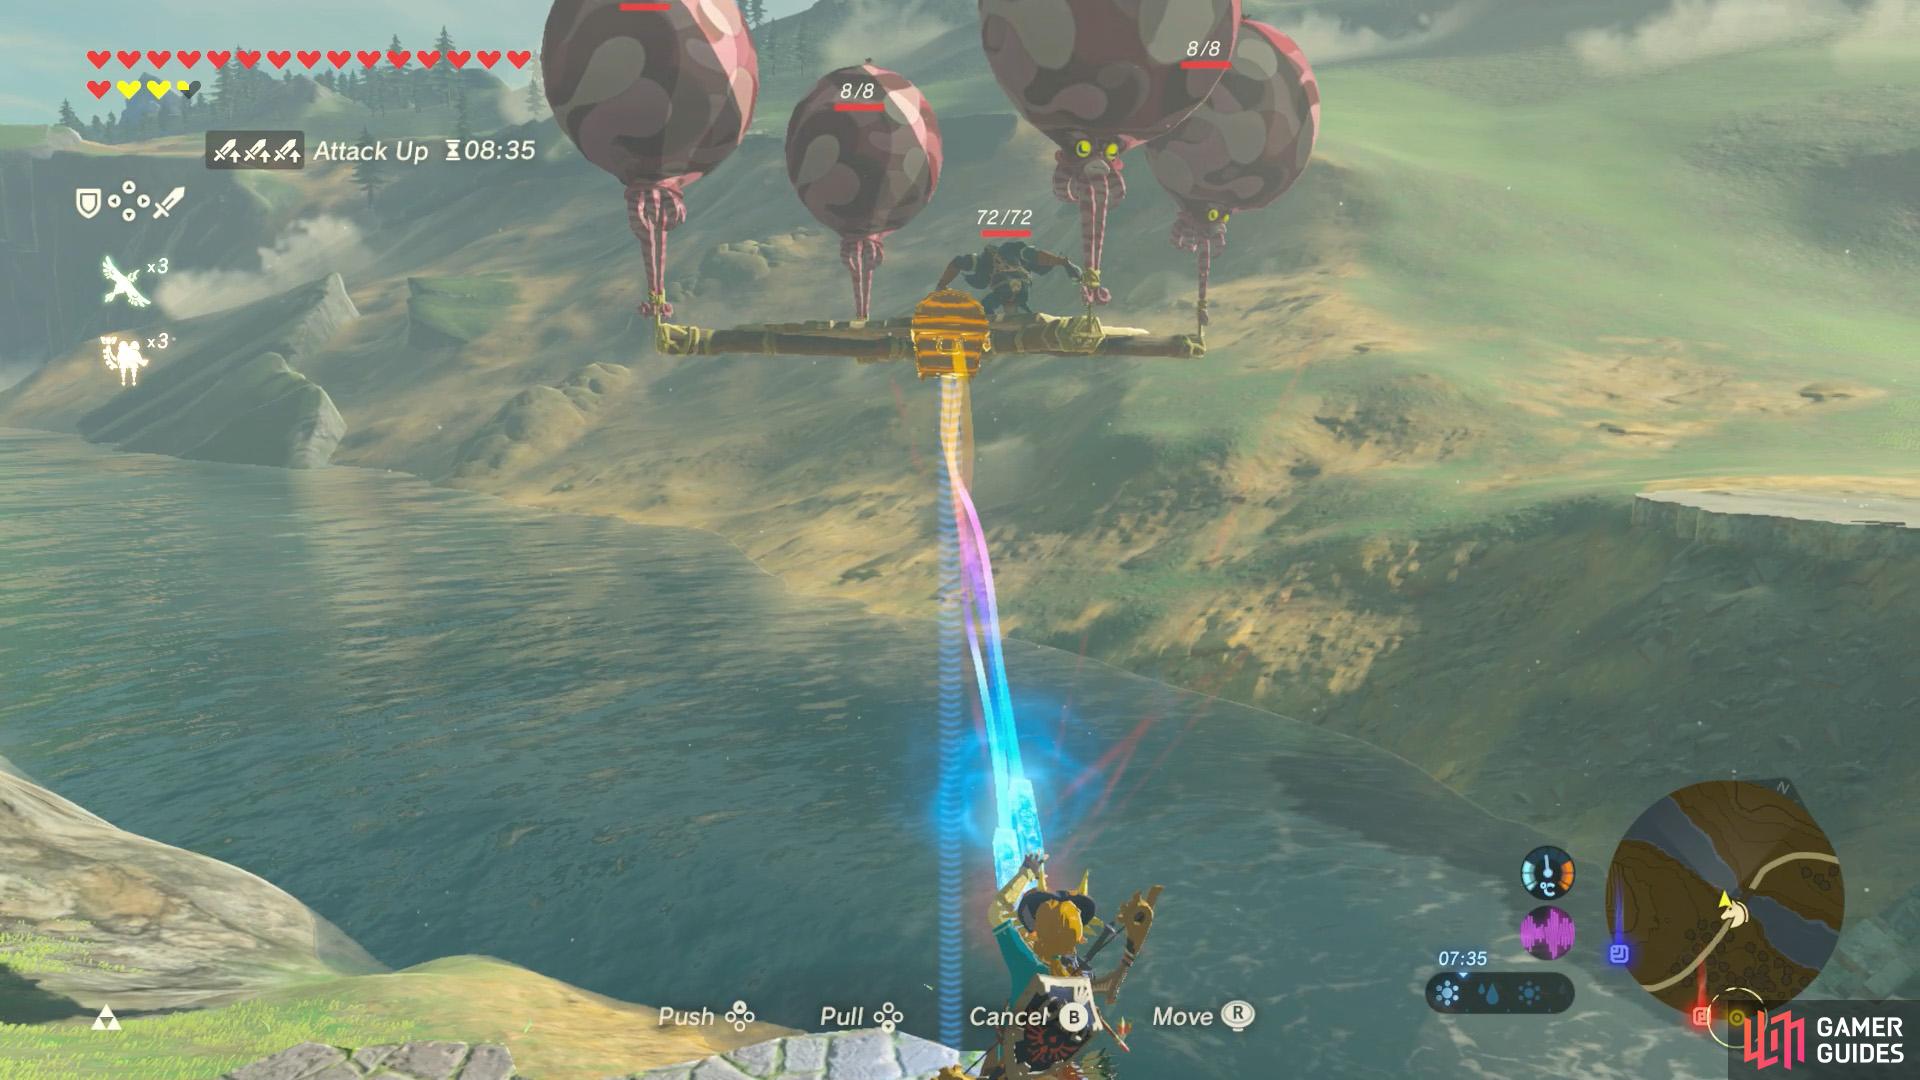
(1 of 2) If you’re feeling murderous, you could shoot the platforms down.

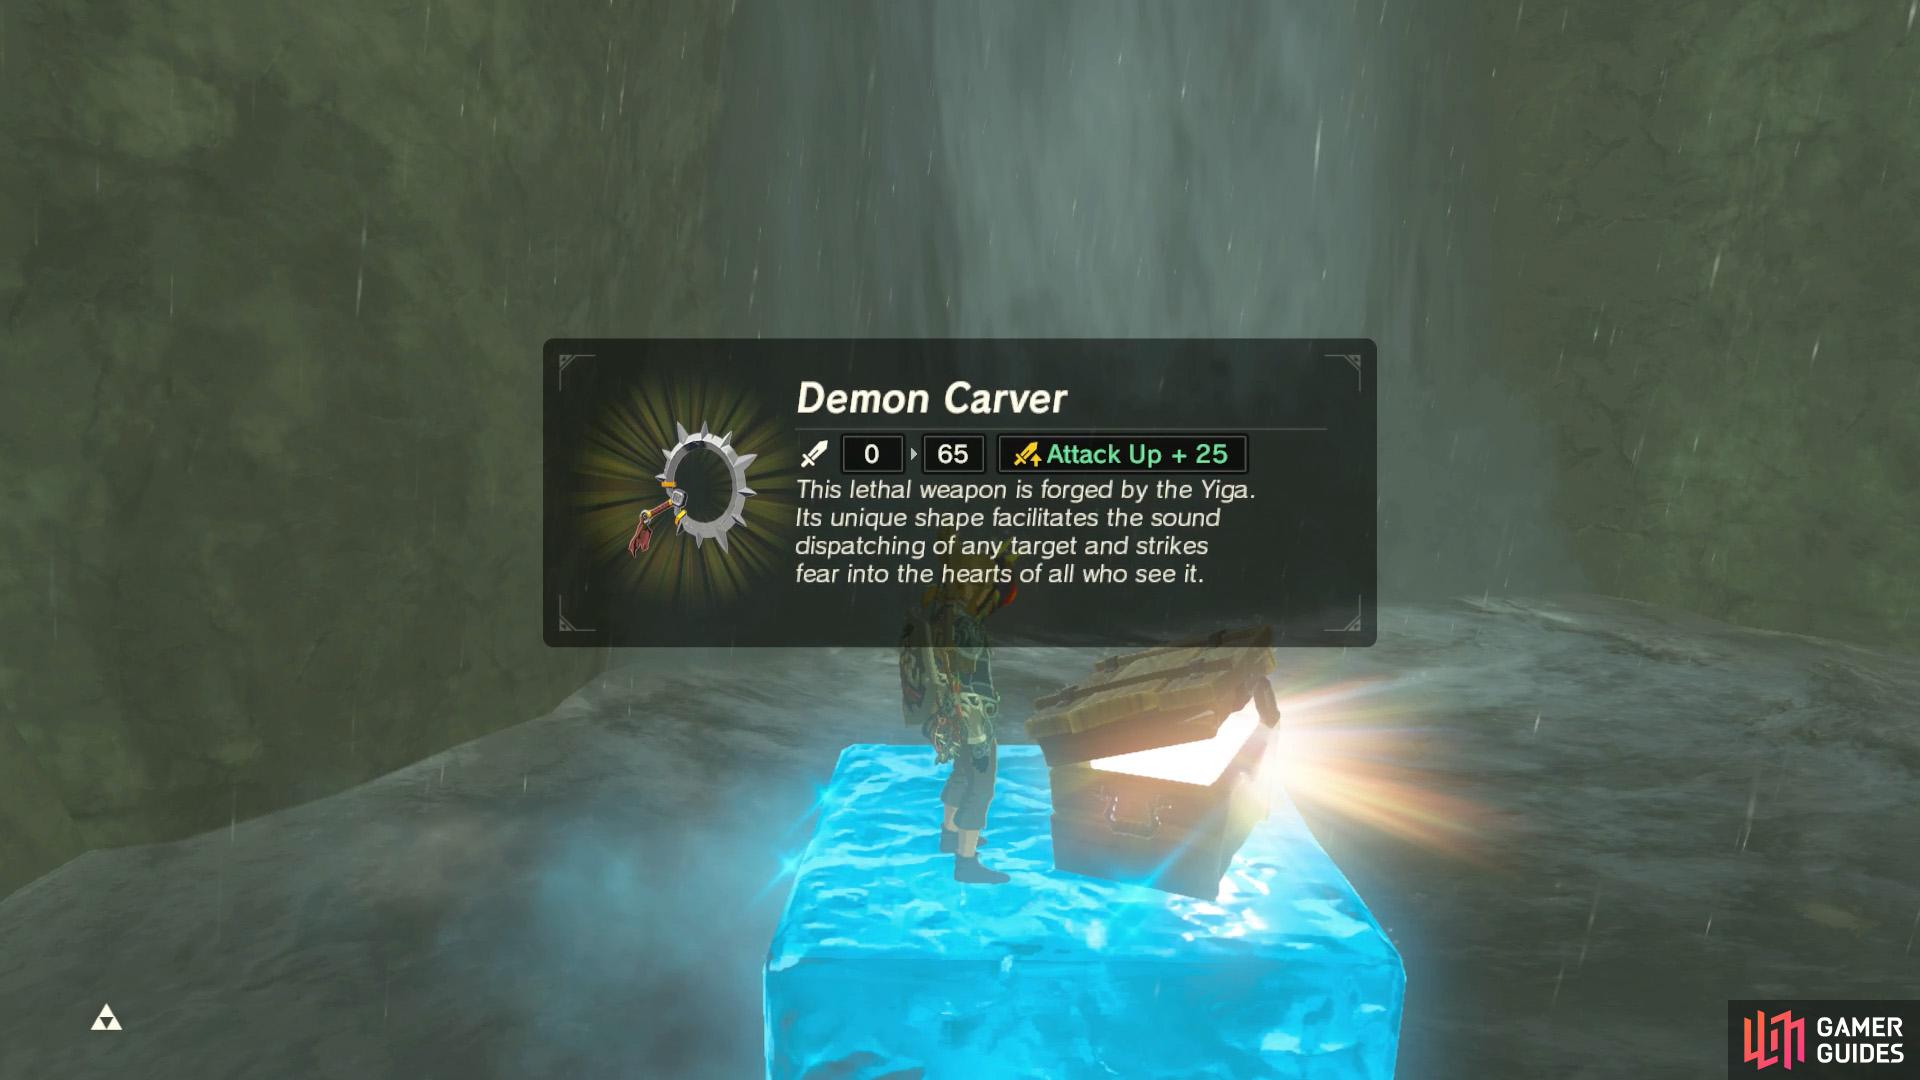
If you’re feeling murderous, you could shoot the platforms down. (left), Afterwards, use Cryonis to recover the treasure chests. (right)
Near the north-east corner of the Lanayru region, there are 4 platforms in front of the waterfall on the north side of Tal Tal Peak. It’s also south from Ulria Grotto, where the Ke’nai Shakah Shrine is. Get ready to encounter 4 Bokoblins with Shock Arrows.
The highest platform has a wooden chest with a Topaz, while the third platform has a wooden chest with a Demon Carver. We suggest gliding down from the top of the waterfall. If you came from the Lanayru region, you’re probably already high up. Otherwise, if you came from Akkala, you can swim up using the Zora armor.
Group N
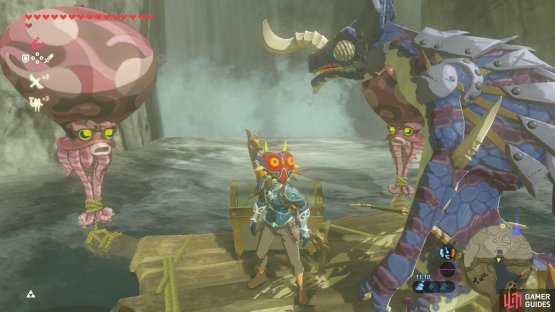
(1 of 2) Whatcha lookin’ at, punk?

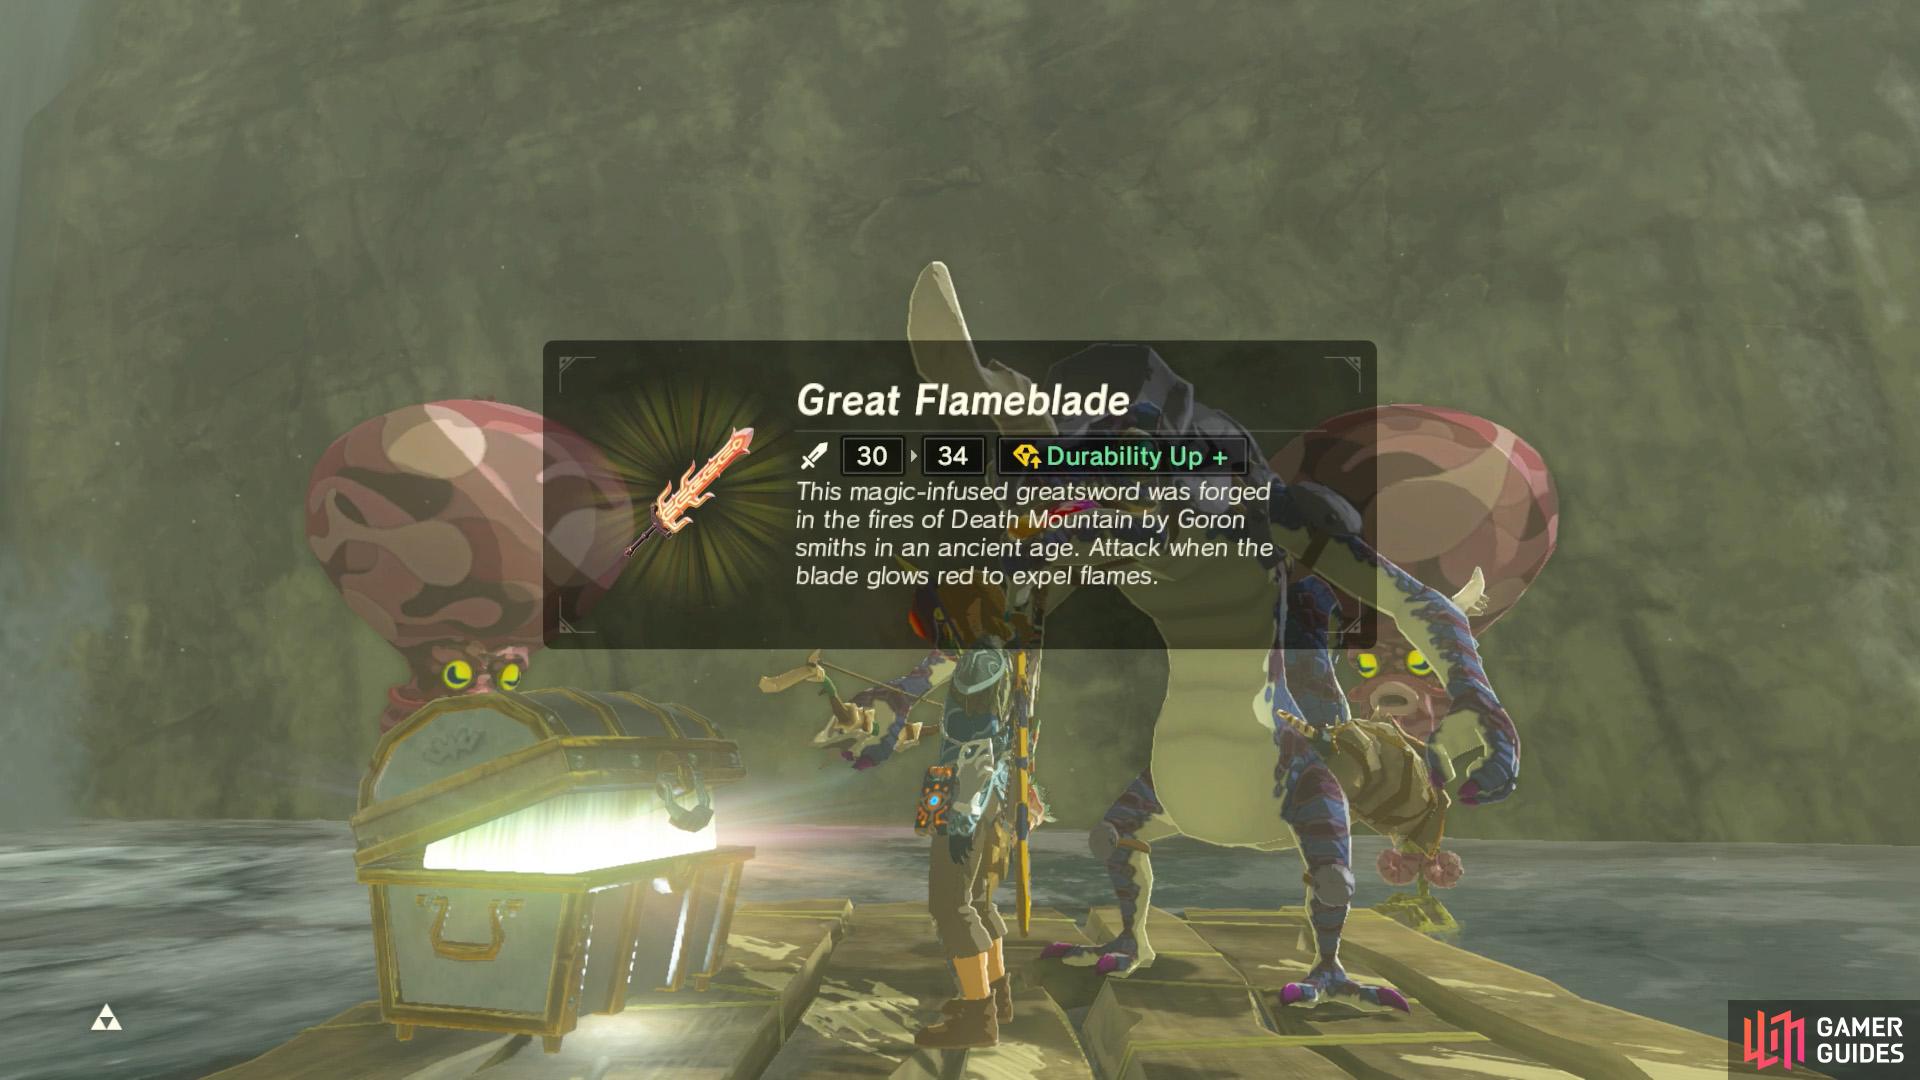
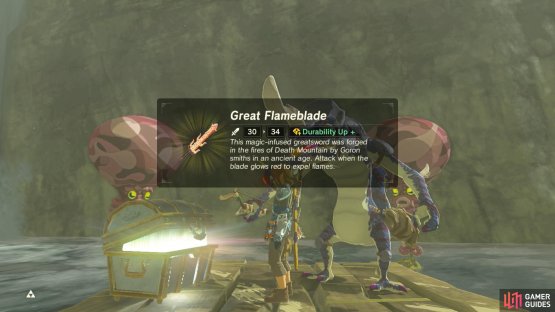
Whatcha lookin’ at, punk? (left), Great Flameblade get! (right)
Near the boundary between the Lanayru and Akkala regions, there’s a waterfall in-between Akkala Falls and Mikau/Lulu Lake. Here, a single platform can be found, near the base of the falls. A Lizalfos with Shock Arrows is keeping a watchful eye. Next to it is a chest with a Great Flameblade.
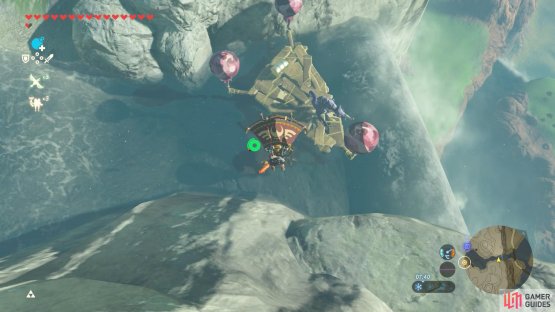
The platform is resting on the river to begin with, so you could swim across or glide to it from somewhere nearby.
Group O

(1 of 2) This platform’s located north-east from Toto Lake up on the Lanayru highlands.

This platform’s located north-east from Toto Lake up on the Lanayru highlands. (left), Besides the treasure, the view from here is quite nice as well! (right)
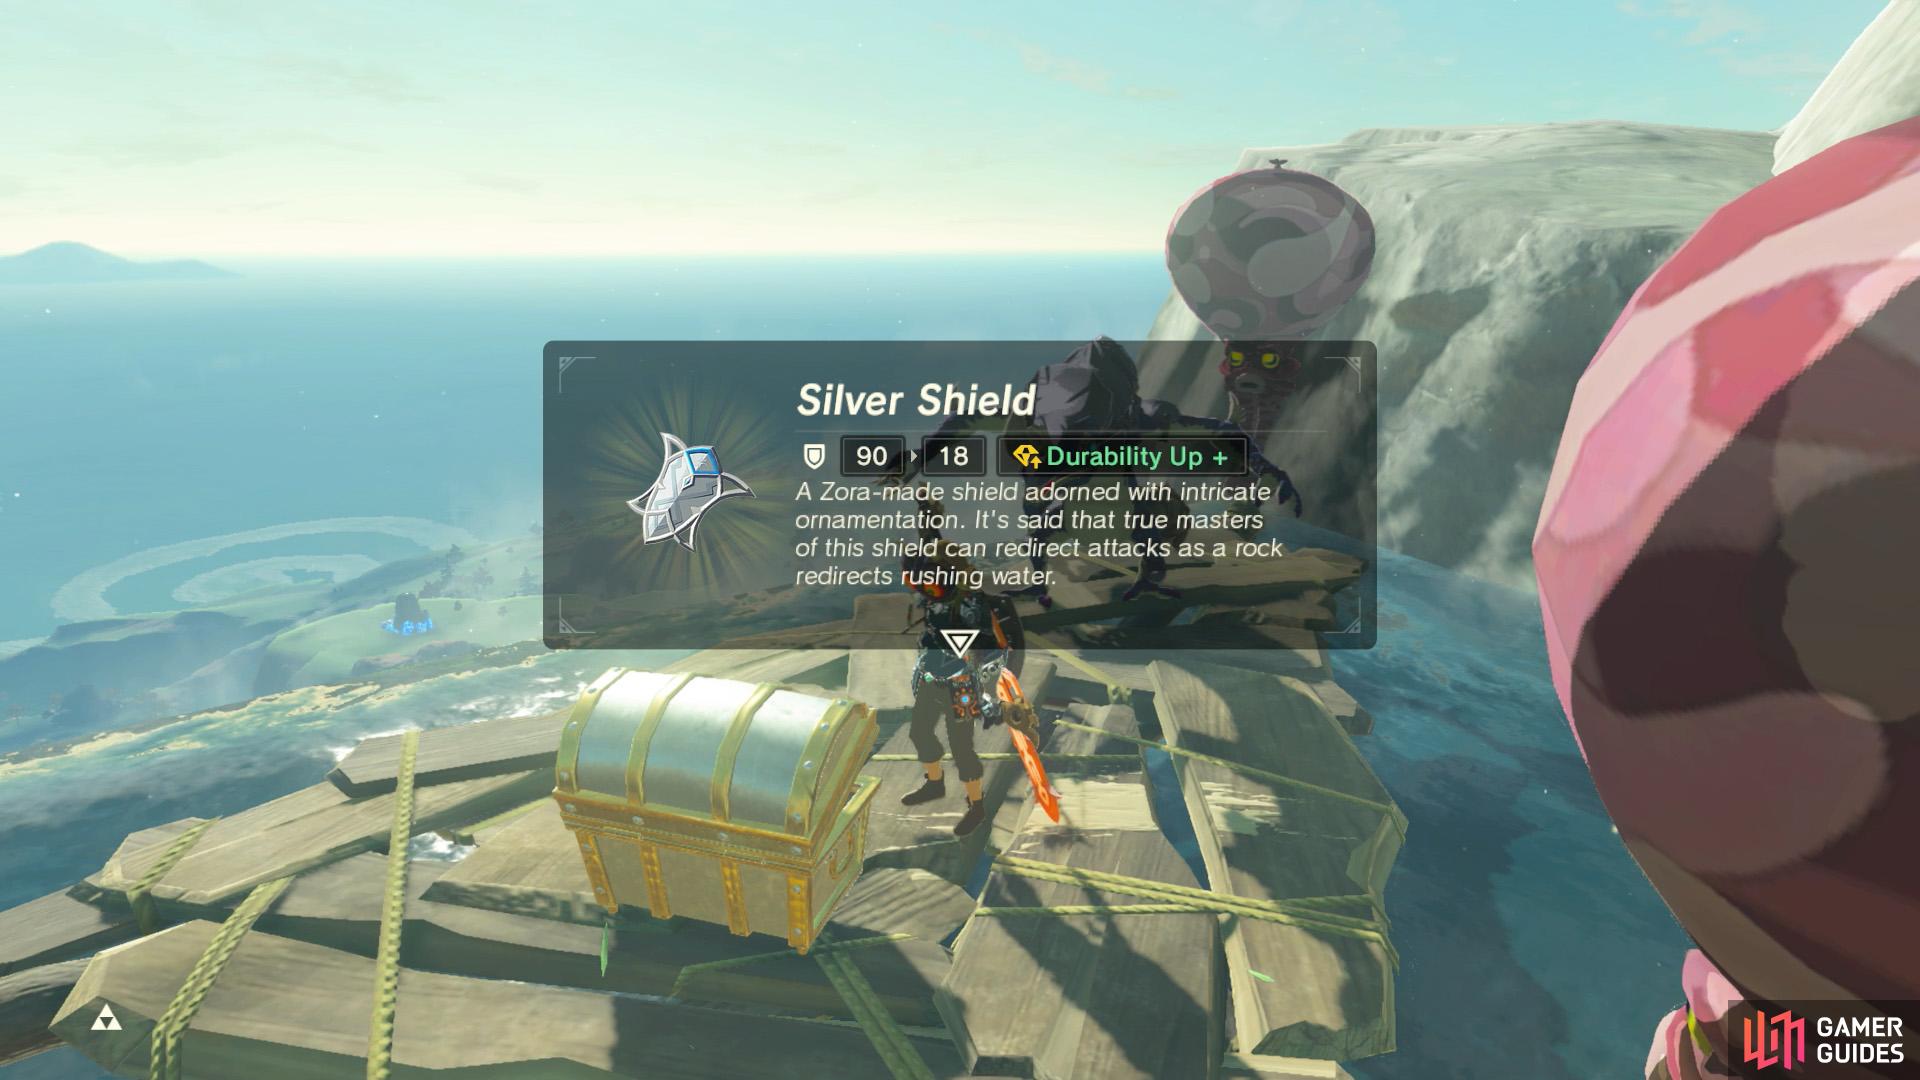
Near the boundary between the Lanayru and Akkala regions, there’s a waterfall in-between Akkala Falls and Toto Lake. It’s a short distance north-west from Group N. Just before the waterfall spills into the Akkala region, there’s a platform guarded by a Lizalfos armed with Shock Arrows. The chest next to it contains a Silver Shield.
Technically this platform is within the Lanayru region, but it’s so close to the border. In any case, if you’re in the Lanayru region, you’re probably atop the highlands and can glide down from nearby. Or if you’re in Akkala, you can swim up the waterfall using the ever-useful Zora armor.
No Comments