This page offers a guide on taking down the Divine Beast Vah Rudania. You can only do this once you’ve rescued Yunobo.
How to Calm the Divine Beast Vah Rudania
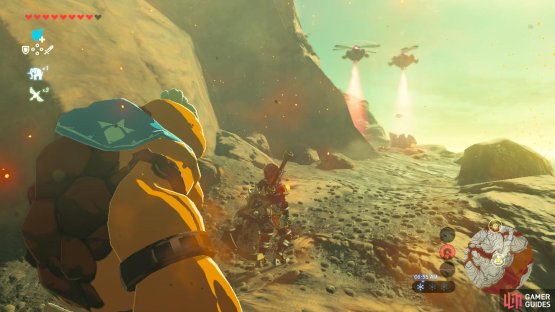
To calm the Divine Beast Vah Rudania, you’ll need to use the cannons to shoot Yunobo at the beast. But to reach the cannons, you’ll need to skillfully maneuver the paths to avoid the patrolling sentries. Use the whistle function to stop Yunobo from following you so you can time your movements to avoid being caught.
(1 of 2) This sentry simply moves back and forth
This sentry simply moves back and forth (left), Hide under this overpass (right)
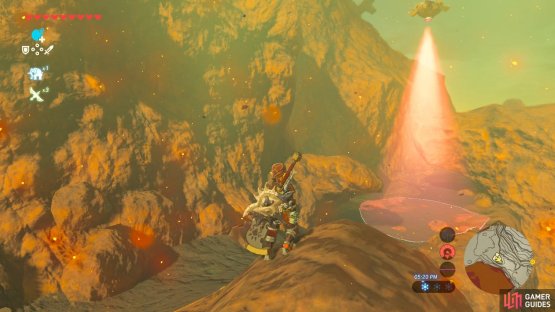
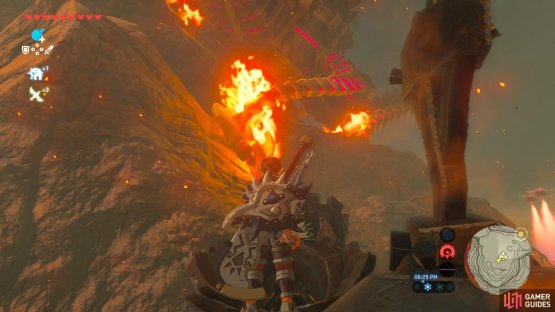
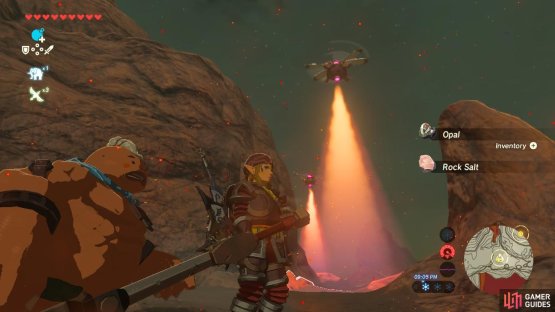
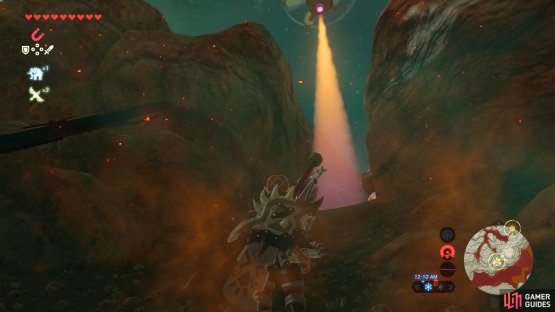
The first sentry up ahead moves back and forth between a strip of the path. However, you will notice an overhang that it cannot see. When it is furthest out, run towards that overhang and chill out underneath the rocks. Then, when the sentry is furthest away from you again, run on forward along the path.
(1 of 2) This sentry is blocking your way forward by just parking there
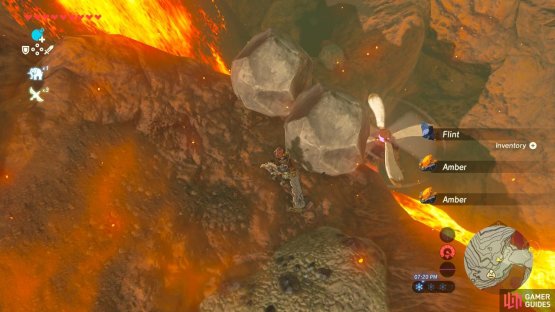
This sentry is blocking your way forward by just parking there (left), Push either of these rocks. We pushed the right one. (right)
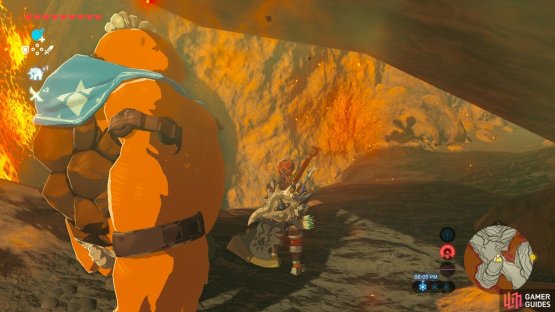
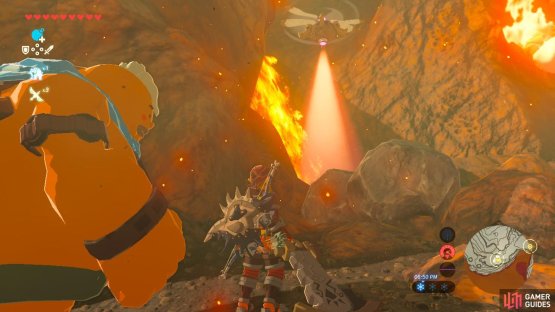
The second sentry is completely stationary. Have Yunobo wait in front of the pile of rocks and climb up the cliff to your left. There will be a rock you can push down. It will destroy the sentry, allowing you safe passage.
(1 of 2) Make sure the cannon is in the left position
Make sure the cannon is in the left position (left), Yunobo will hit Vah Rudania where it hurts (right)
Right around the bend is a cannon. There are three cannons scattered along this path, and you will need to make sure you use all of them or else Vah Rudania will not become accessible to you at the end. If you ever reach a cannon and you do not see Vah Rudania right in front of it on the side of the mountain, you missed one and must backtrack.
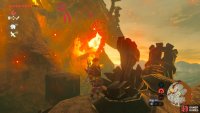
As you approach the cannon, Yunobo will automatically board it. Move it left and fire. A short cutscene will play where Yunobo causes an explosion and Vah Rudania moves further up the mountain to escape you.
(1 of 2) These two sentries can be destroyed so that you don’t have to stealth through them
These two sentries can be destroyed so that you don’t have to stealth through them (left), As you can see by the health bar, the sentries are very fragile (right)
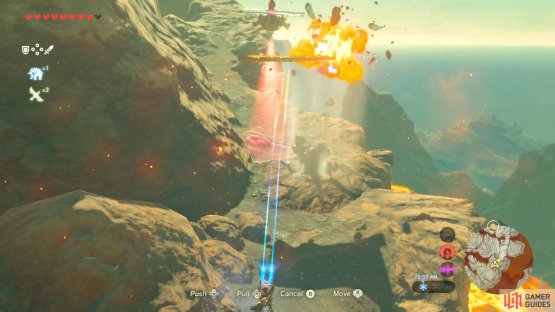
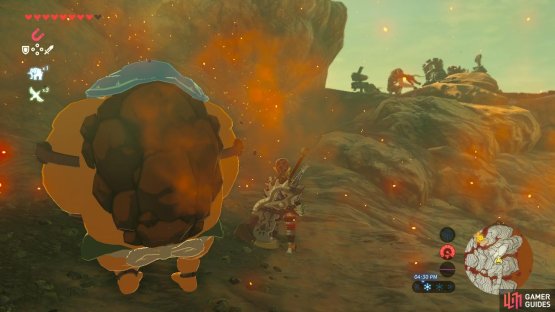
Up ahead are two sentries. Stop Yunobo and again, climb up the cliffs to the left. This time there are metal boxes sitting on top of the cliff. Pick them up using Magnesis and give the sentries a poke. They will not set off the alarm if they see the inanimate boxes and you don’t even need to try dropping it on them. Just a light whack and they will fall. The sentry that is to your left might need you to move left so that your Magnesis can reach it.
(1 of 2) Another sentry is parked right in your way
Another sentry is parked right in your way (left), This time, use the metal plank. Make sure Yunobo is stopped so he doesn’t try to follow you into the sentry’s path (right)
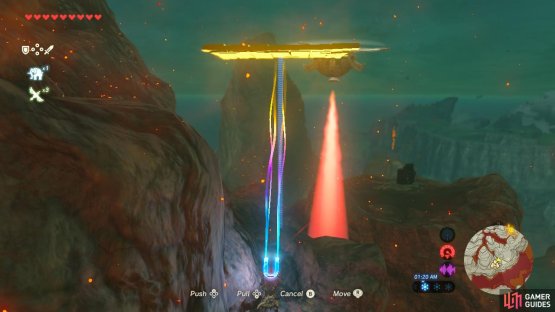
Continue along the path until you reach a stationary sentry guarding a narrow valley between two tall cliffs. Again, stop Yunobo. Take the metal plank you see on the ground and use it to destroy the sentry. You might need to first put the plank on top of the left cliff, and then climb up, so that you can actually reach.
(1 of 2) You will need to defeat this Black Moblin to pass through
You will need to defeat this Black Moblin to pass through (left), Again, point the cannon left (right)
Go around the bend and continue up the mountain. You will come to a second cannon, and Vah Rudania will be waiting there. A Black Moblin is hanging around the cannon. Defeat it so that Yunobo can get into the cannon. Again, you will need to hit the switch to move the cannon left so that you can hit Vah Rudania. After Yunobo gives it a good whacking, Vah Rudania will flee further up Death Mountain.
(1 of 2) Again make sure you stop Yunobo if planning on backtracking to grab the metal planks
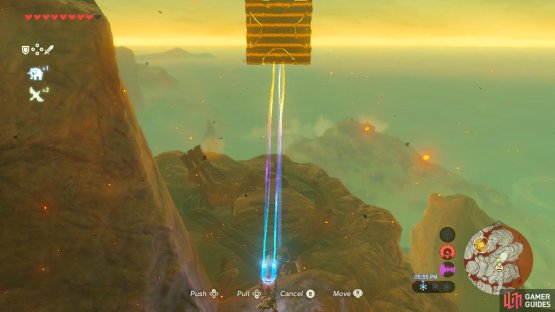
Again make sure you stop Yunobo if planning on backtracking to grab the metal planks (left), Push Magnesis as far as it can go to reach them (right)
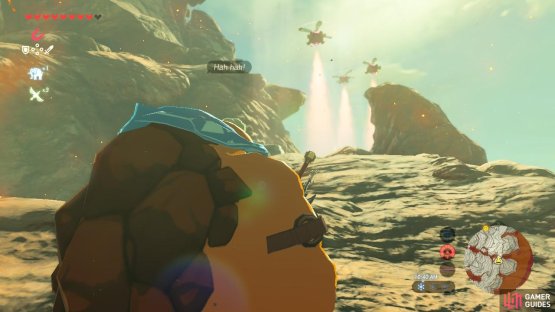
The next two sentries are right up ahead. One of them is stationary, and the other revolves around it. There are multiple solutions to the puzzle. The first is to time precisely when you and Yunobo run through the sentries’ blockade. Hug the left cliff wall so you do not set off the stationary sentry, and move when the rotating sentry is rotating away from you.
The second solution (and the one that we chose to employ) is to return back to where the metal planks were, pick one up, and haul it back up the path. From the ground you can reach the sentries. Give them a good whacking to have safe passage.
(1 of 2) This is the last sentry puzzle
This is the last sentry puzzle (left), Ride the updraft up to this cliff (right)
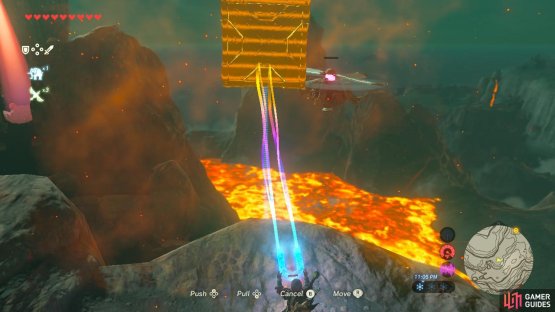
The next three sentries are all moving in a pattern together. This time they are too high up to hit with your metal plank, but you can still destroy them. Stop Yunobo and run past the first sentry, aiming for the updraft you see between it and the second sentry. Ride the updraft up to the cliff. There will be more metal boxes for…you guessed it! Smash up the sentries, but don’t move yet.
(1 of 2) Two Black Moblins are hanging out now
Two Black Moblins are hanging out now (left), Cheese this fight by dropping boxes on them (right)
The final cannon up ahead this time has two Black Moblins. You can see them if you move forward alongside the cliff top a bit, and if you want to you can choose to engage them with your melee weapons. But there is an easier way. Pick up a metal box, position it over their heads, and drop it. It will kill them in one hit! The second Black Moblin might notice your presence but will be unable to do anything other than throw pebbles.
(1 of 2) Turn the cannon to the left once more
Turn the cannon to the left once more (left), Deal the final blow to open up Vah Rudania (right)
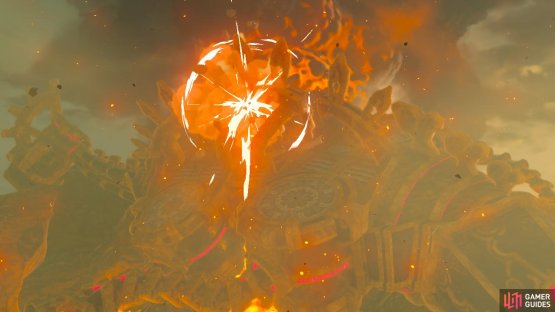
Once the Black Moblins are gone, load up Yunobo in the cannon, hit the switch, and detonate the cannon for a final hit at Vah Rudania. At long last, Divine Beast Vah Rudania will enter the crater of Death Mountain and settle there. Link will Paraglide in to follow and Vah Rudania will become a fast travel point as you work on completing it. We’re not sure how Link isn’t dead from the heat and radiation either.
Daruk will speak with you and point you to the Guardian Stone. Once you are ready to tackle this Divine Beast, enter and let’s begin.













No Comments