(1 of 2) The first few floors have terrible weather.
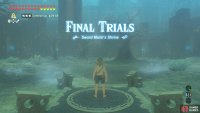
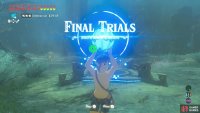
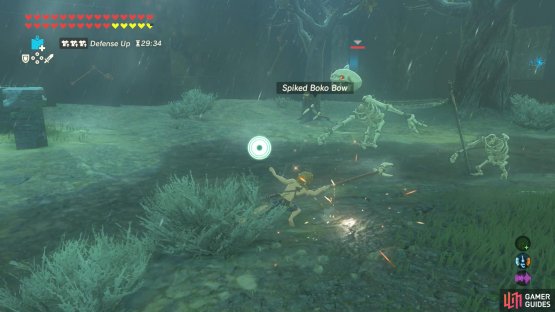
The first few floors have terrible weather. (left), Begin by moving backwards and throwing a bomb ahead. (right)
| Difficulty | Monsters |
|---|---|
| ★★★★☆☆☆☆☆☆ | Stalkoblin x4 |
The first quarter of the Final Trials occurs in an environment with heavy rain and frequent lightning strikes. Unless you want to risk electrocution, avoid metal-based equipment and stick to stuff that’s made of wood or bone. Against weaker foes, you can also use good ol’ bombs.
Strategy
When you enter, three Stalkoblins will emerge from the ground in front of you. Since you’ve got no physical weapons and there aren’t any good ones close by, you’ll want to rely on bombs to dispatch them.
After blowing up a Stalkoblin, its head will fly off and any headless Stalkoblin bodies will try to chase it. Also, the head itself will bounce around to locate a usable body. To finish off the Stalkoblin, you must hit the dislocated head before it’s picked up (otherwise you have to knock it off again).
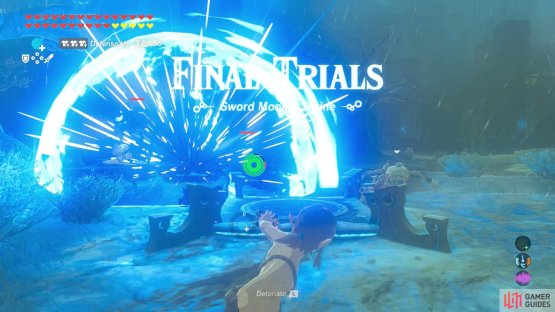
(1 of 2) Blow up the Stalkoblin using bombs.
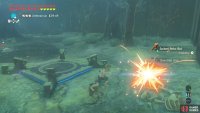
Blow up the Stalkoblin using bombs. (left), Then finish them off with a second bomb or a weapon they dropped. (right)
At this stage, you can cycle to a different bomb (eg. from round to square) and use that to blow up the head (and damage any nearby Stalkoblins). Or grab a weapon dropped after an explosion (such as a Bokoblin arm…) and thwack the head with that.
Once you’ve vanquished the first three enemies, head forward from the entrance. There should be a fourth Stalkoblin shooting arrows from behind a large tree (occasionally, it’ll revert to a corpse if it’s bored). Either chuck a bomb in its direction or go around the tree, using it as cover, then smack the archer with a weapon.
(1 of 2) There’s one more Stalkoblin further away. Grab its bow after slaying it.
There’s one more Stalkoblin further away. Grab its bow after slaying it. (left), It would be a smart idea to search for arrows, so you can use the bow. (right)
When the coast’s clear, continue to the nearby corner and destroy the two wooden crates to obtain arrows. Also, grab all the weapons dropped by the Stalkoblins, especially the Spiked Boko Bow. If you’re interested, there are various rusted equipment (a halberd, claymore, shield and broadsword) dotted around. But they’re largely superfluous.





No Comments