A guide on how to unlock and complete Kihiro Moh Shrine, which is the third trial in Ex Champion Urbosa’s Song, which is a part of The Champions’ Ballad DLC.
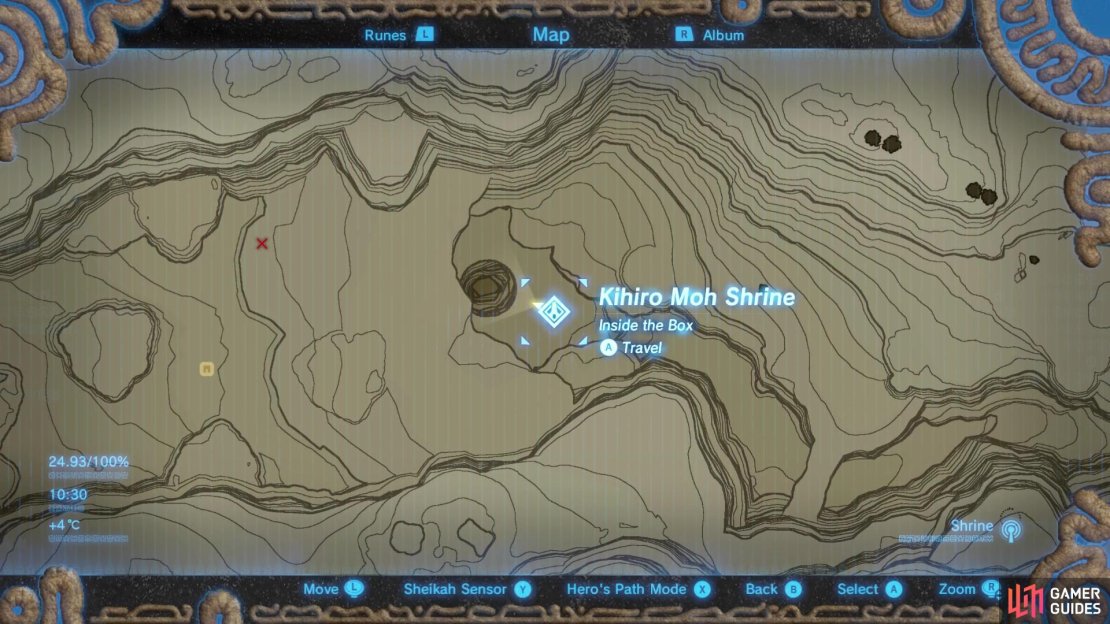
This shrine is found near the pit at Yiga Clan Hideout once you’ve retrieved the orb.
How to “throw the orb underground”
The first thing you’ll want to do regarding this third trial is speak to Riju in Gerudo Town. She’ll tell you that the orb you’re looking for has been stolen by the Yiga Clan, and is being held at Yiga Clan Hideout.
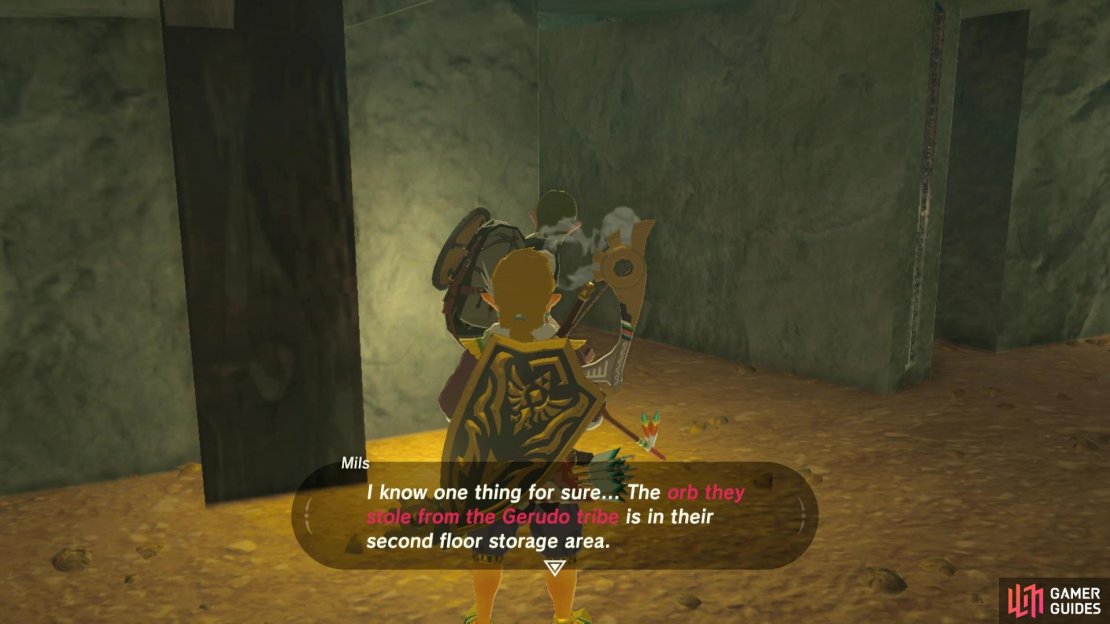
So, to retrieve the orb, you’ll need to return to the hideout. But you need to head over to the giant pit where you fought Master Kogha, as the main entrance is shut off. When you reach the giant pit, you’ll see two Hyrulians near an opened door. They’ll tell you that the orb they’ve stolen is found on the second floor storage area.
Mils will tell you that the orb is found on the second floor of the storage room.
Before you head in here, equip some stealthy armor, such as the Stealth Set. Alternatively, you could also take a potion of stealth or just try your luck in any armor you have!
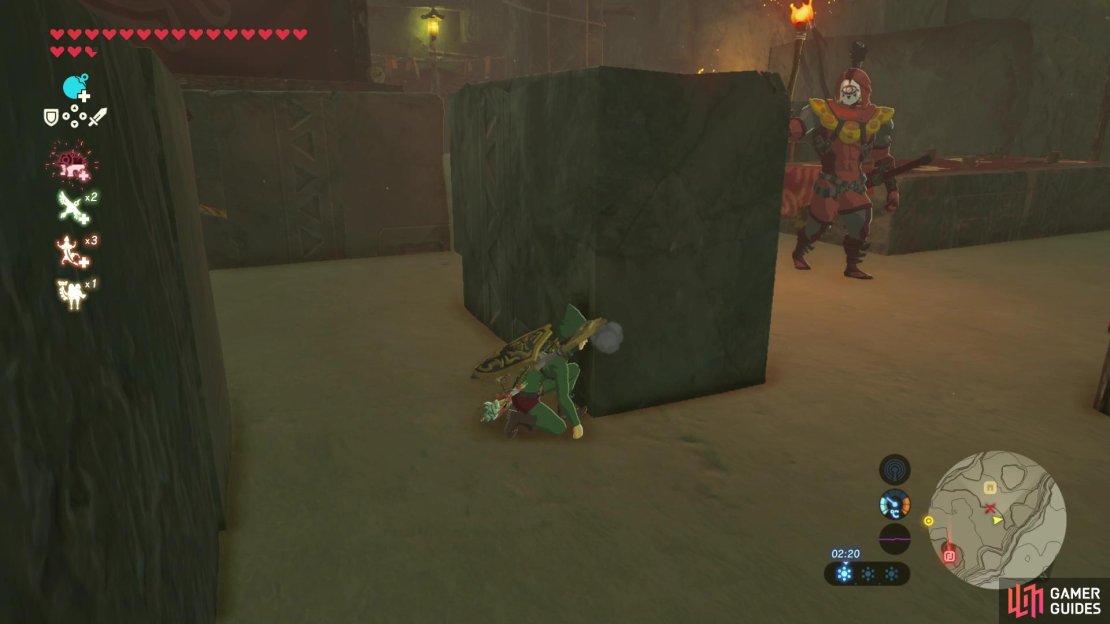
As you head in, the first room is filled with bananas. You can pick some up if you want, but once you’re done in there head through to the entrance to the main storage area. To the left, is the first patrolling guard that you need to sneak past. You want to time when he’s not looking towards the entrance and then run to the right and hide behind one of the small walls.
Continue along the right side of the room until you spot a second guard patrolling the area. As he walks forwards and away from you, begin to sneak behind him and then to your right you’ll spot a set of ladders. Whilst he’s still looking away from you, jump up the ladder onto the top level of the room.
Wait for this guard to walk in the opposite direction then sneak past to the ladder on the right.
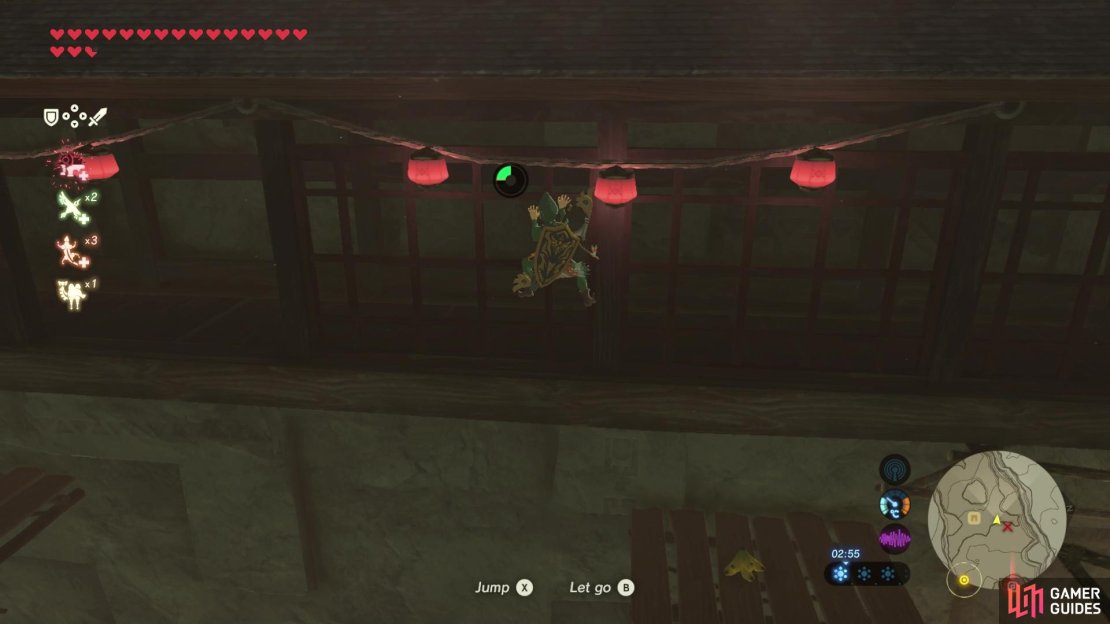
Near the top of the ladder you’ll spot a room with the orb. To get into the room you either need to walk over to the opposite end of the room by making your way across the beams, or you can take a little short cut. You can climb along the exterior wooden walls of the storage room. You’ll want to climb to the left until you reach an opening that’ll take you to the orb.
Climb along the wooden walls to reach a small gap in the wall to the left.
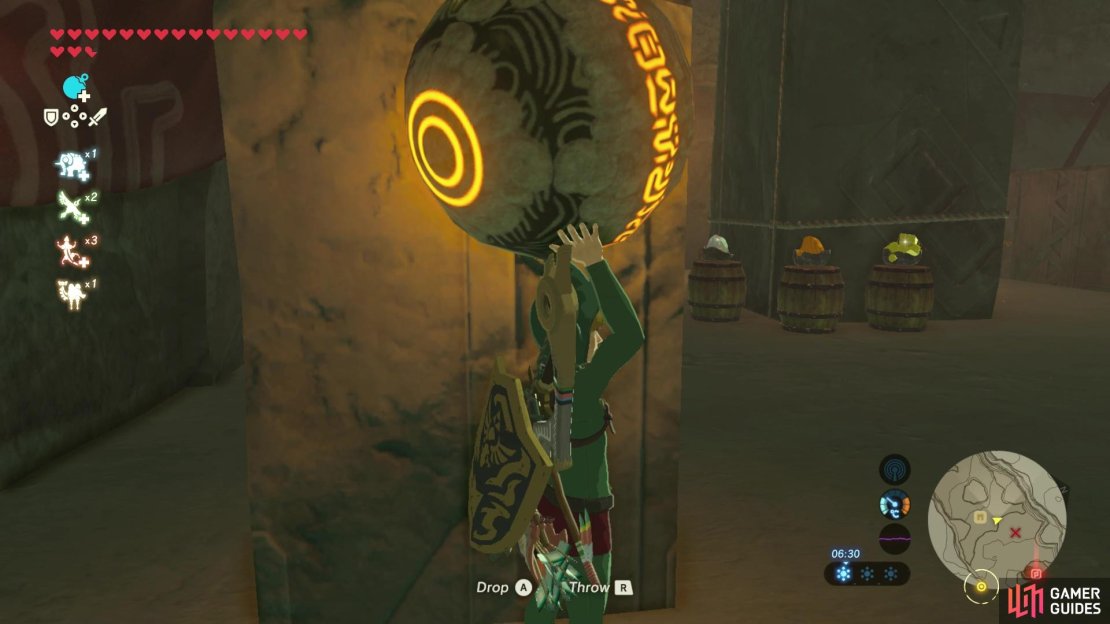
Around the orb, you can also pick up a bunch more bananas if you want! Once you pick up the orb, however, this is where it gets tricky. You can’t crouch or sneak when holding the ball so you’ll have to time your movements well and use walls to hide from the guards. You want to first make your way back out onto the upper level beams, then try to orient yourself so you know where the entrance you came from is. Then, get as close as you can to the entrance before you jump down with the ball - and make sure you don’t jump down right in front of a guard!
Hide behind walls to avoid being spotted by the guards whilst you carry this bright orange orb around!
Remember, if you get caught by guards in this area, they shut all the gates and basically one shot you as soon as they spot you and you’ll have to begin the whole thing again. Just use the walls as cover the best you can and try to time when you move so they don’t hear you. Even though you can’t sneak, you can still walk slowly to reduce your noise.
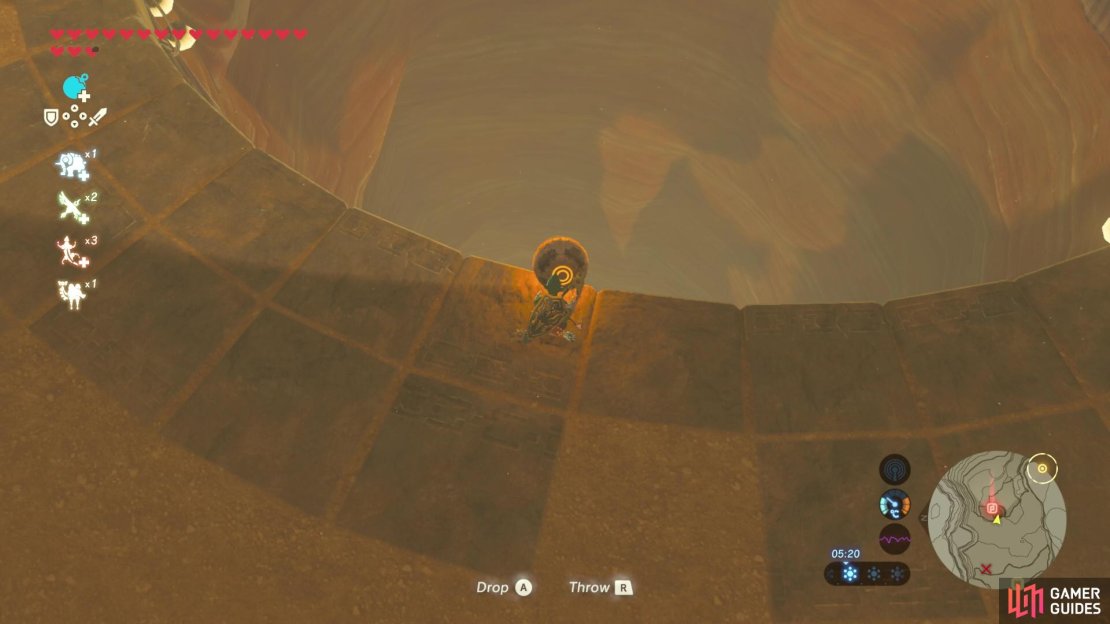
Once you’re out of the room and then the building, you’ll want to throw the orb into the pit. This will then cause Kihiro Moh Shrine to spawn nearby!
Drop the orb into the giant pit to spawn in the shrine!
How to Complete Kihiro Moh: Inside the Box
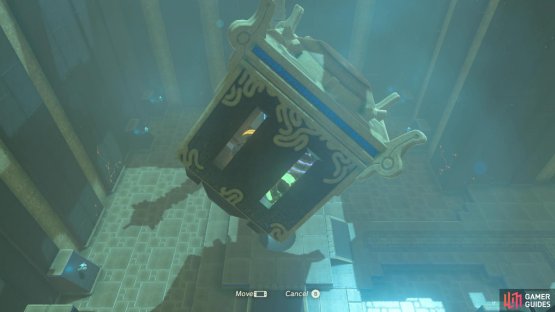
This shrine is similar to Keo Ruug Shrine, in which you place balls in the holes corresponding to the number of lanterns on the side. In Keo Ruug, you placed the balls in holes that matched the number of matching constellations, but in this one you have to count the amount of balls in the box up ahead. You can use the motion controls to rotate and tip the box so you can figure out exactly how many of each color ball is in there. Then, you place the colored ball in holes corresponding to the amount of balls in the box. We have outlined the solution below:
- 1 x red
- 2 x green
- 2 x yellow
- 4 x purple
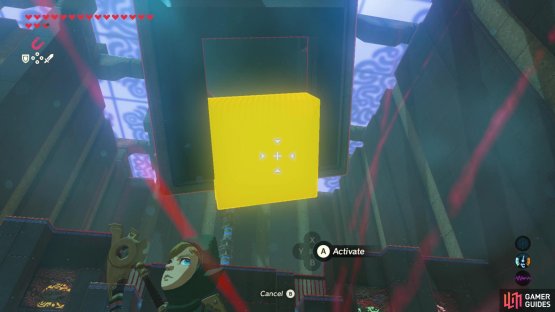
(1 of 2) Rotate the box around and count how many of each colored ball you see
Rotate the box around and count how many of each colored ball you see (left), then place each colored ball in a hole that corresponds with the number of matching balls in the box. (right)
So place the red ball in a hole next to the 1 lantern row, then green in the 2 lantern row and so on and so forth, until the gate to the end of the shrine opens up! You can finish up here and claim your final Naboris’ Emblem, or you can make a quick detour to the right of the shrine and grab some treasure!
How to Get the Kihiro Moh Shrine Treasure Chest
So, to the right you’ll find three more holes and three more sets of lanterns. Above it is a metal ball in a cage. It is suggesting you need to find out how many grey metal balls are also in the box. There are three metal balls in the box, but now you need to figure out where to find a ball to place in the hole in front of the three lanterns.
You can actually pull off the bottom of the large box with magnesis, allowing the balls to fall out. Then, you can use magnesis on one of three metal balls and place it in the hole in front of the group of three lanterns. This will open up a gate nearby and you can loot the treasure chest inside the newly opened room for a Thunderspear with durability up +.
(1 of 2) Open up the bottom of the box to release the balls
Open up the bottom of the box to release the balls (left), then use one of the metal balls to place in the hole corresponding to the correct number of metal balls that were found in the box. (right)




No Comments