

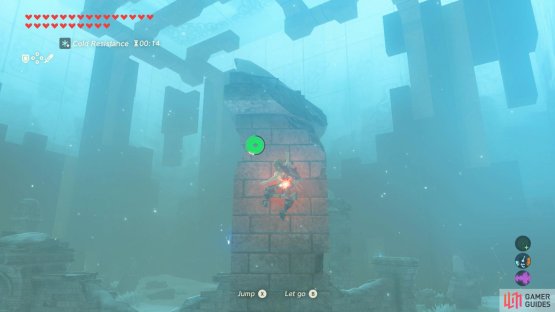
(1 of 2) A ruined wall divides this floor in two.


A ruined wall divides this floor in two. (left), Start by climbing up the tower on the right. (right)
| Difficulty | Monsters |
|---|---|
| ★★★★★★☆☆☆☆ | Blizzrobe x1, Blue Bokoblin x2, Silver Bokoblin x1, Black Moblin x1 |
This floor is divided by a ruined wall directly ahead, with a wide open gate towards the left. On your left and right are a pair of tall towers you can climb to scout the area past the wall. Over the wall, there are three more similar towers towards the left, right and center. Between the center and right towers is a small Bokoblin camp.
Strategy
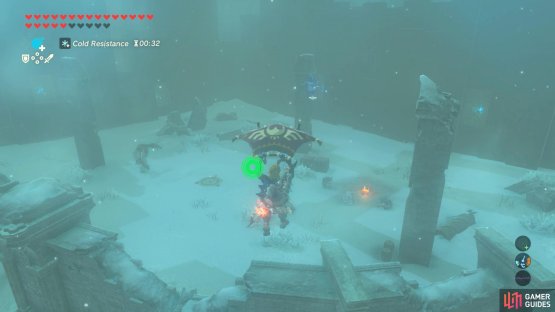

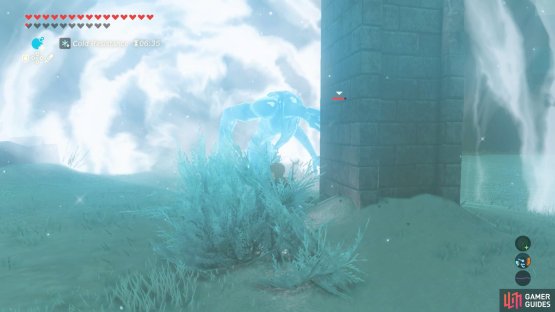
(1 of 2) Glide towards the Wizzrobe.


Glide towards the Wizzrobe. (left), Then pull out your bow and shoot it with a Fire Arrow. (right)
First, climb the tall tower on your right. When you reach the top, you can scope out the enemies across the wall. Among them, the Wizzrobe is probably the most annoying–and it’s just about within reach. Glide off the tower and try your best to shoot it down with a Fire Arrow. Due to the distance, you may have to aim slightly higher.
Don’t worry if you miss the Wizzrobe; you can run back and try again. After dispatching the Wizzrobe, glide back towards the tower. If you travelled past the wall, climb over it back towards the entrance. Then climb back up the same tower. Next, focus on the Bokoblins huddling around the fire towards the right.
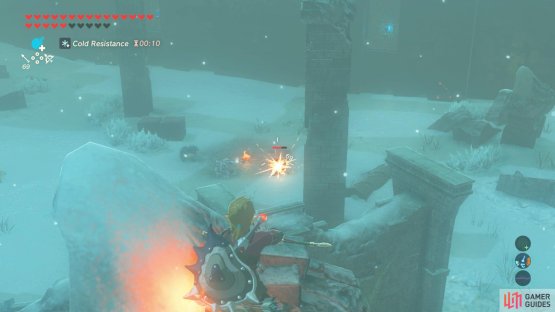
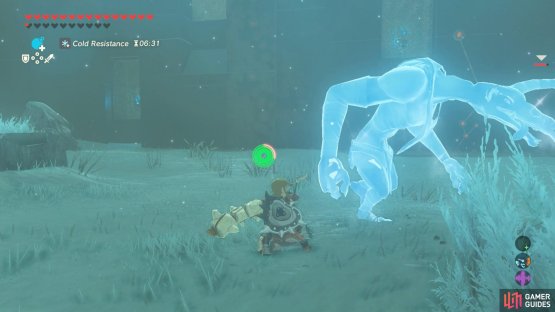
(1 of 2) Snipe the Blue Bokoblins, since they have less HP.


Snipe the Blue Bokoblins, since they have less HP. (left), When the Silver Bokoblin is alone, glide down and freeze or electrocute it. (right)
Shoot the Blue Bokoblins with regular arrows. There’s a good chance the Bokoblins will notice you, but they won’t be able to reach you. Once the Blue ones are dead, glide down and immobilize the Silver Bokoblin with an Ice Arrow from the previous floor. Or by stunning it with a headshot from a regular arrow, then swinging the Frostblade.
From there, whack the Silver Moblin with one of the strong weapons you’ve picked up. You may want to save the Stone Smasher though. Finally, approach the Moblin circling the furthest tower. If it’s close by, grab the Blizzard Rod dropped by the Wizzrobe, then use it to freeze the Moblin. Otherwise, you can freeze it with the Frostblade/Ice Arrows.
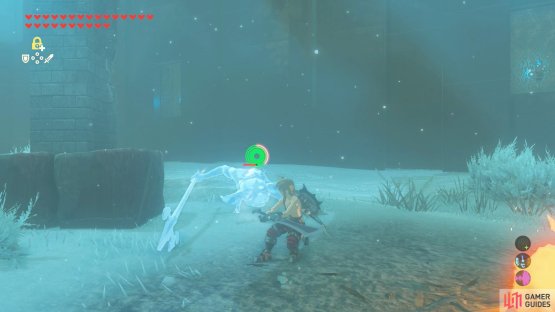
(1 of 2) You can freeze the Black Moblin with the Blizzard Rod dropped by the Wizzrobe.


You can freeze the Black Moblin with the Blizzard Rod dropped by the Wizzrobe. (left), Once it’s frozen, smash the Moblin with a powerful weapon. (right)
Also, there’s a bomb barrel behind the tower. If the Moblin hasn’t noticed you, you could ignite it with a bomb or Bomb Arrow to score some big damage. Once you’ve slain all the enemies, don’t neglect to raid the wooden crates and barrels near the campfire, to obtain handy food items and arrows.
No Comments