
A guide on how to unlock and complete Sharo Lun Shrine, which is the second trial in Ex Champion Daruk’s Song DLC quest.
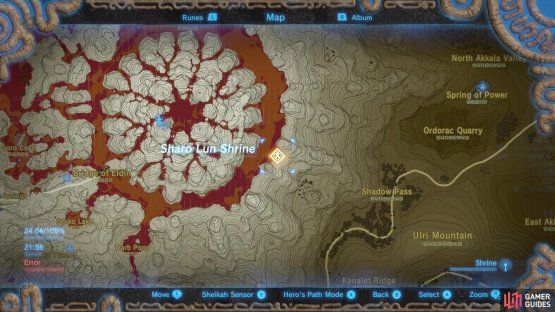
(1 of 2) This shrine is found southeast of Vah Rudania once you’ve unlocked it


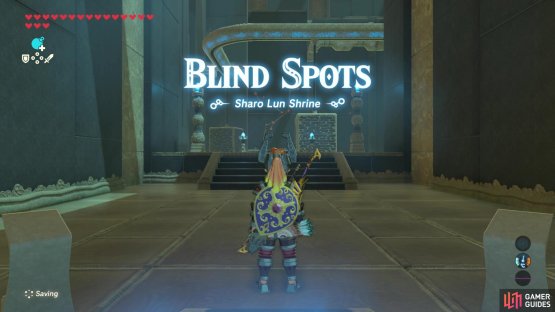
This shrine is found southeast of Vah Rudania once you’ve unlocked it (left), and its titled ‘Blind Spots’. (right)
How to “follow rings of light alone”
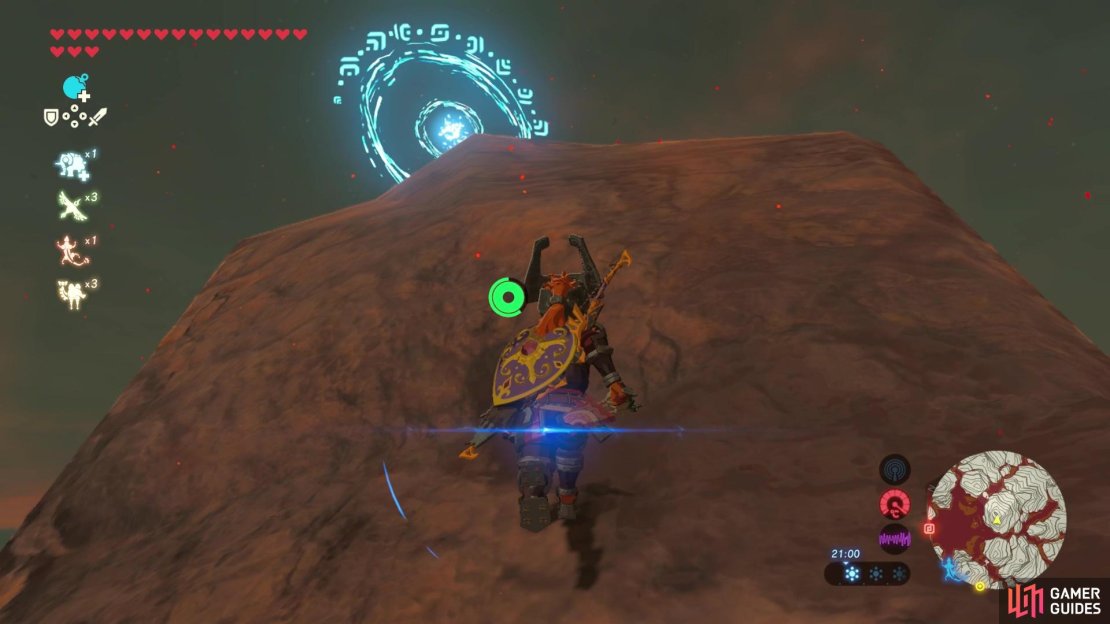
First off, fast travel to Vah Rudania, and then face east and you’ll spot a blue ring in the distance! Climb and run along the mountain side to then hop off a small peak and paraglide through the first blue ring.
The first ring can be spotted from Vah Rudania.
The second ring will spawn on top of a small mountain just up ahead, so quickly climb up it and use the climbing jumps to get there quicker - just keep an eye on your stamina! The third ring will spawn just up ahead on the ridge and you can reach it pretty quickly.
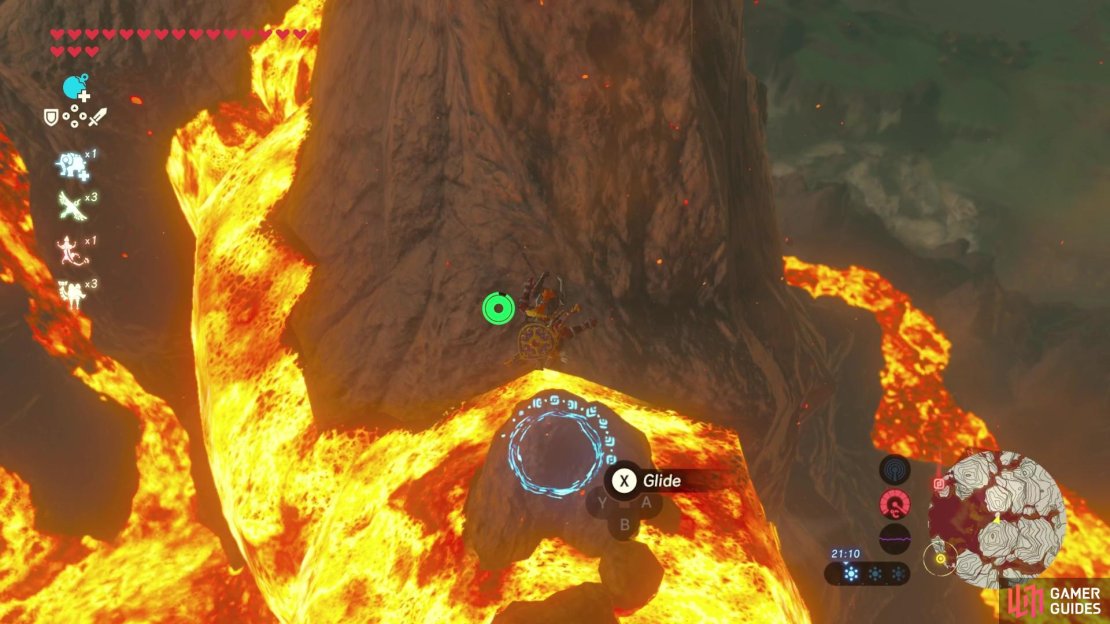
Next, paraglide off the mountain peak towards a lava waterfall below where the next ring is. Yu’ll want to do a nifty trick where you unequip your paraglider to fall momentarily and then re-equip, so that you descend at the right angle to pass through the ring. You’ll have to do a lot of these daring paragliding drops to reach a fair few of the rings in time.
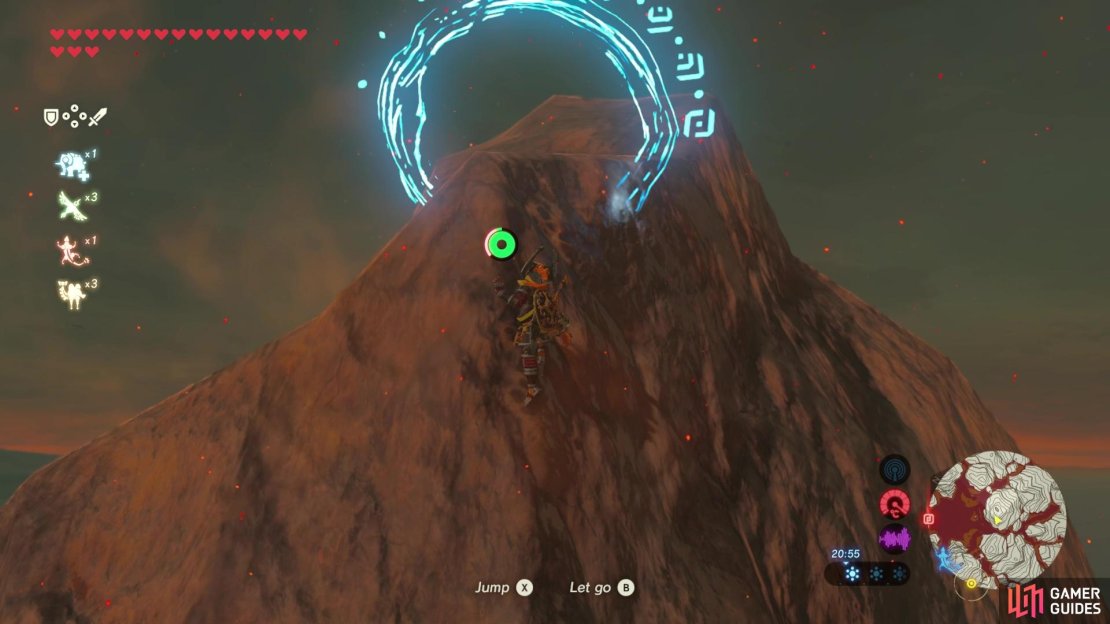
(1 of 3) Climb up the mountain to reach the second ring.
After grabbing that ring, you’ll need to paraglide down the waterfall to the next ring and then the one after that is further down and you’ll probably need to do the paragliding drop to reach the right level in time.
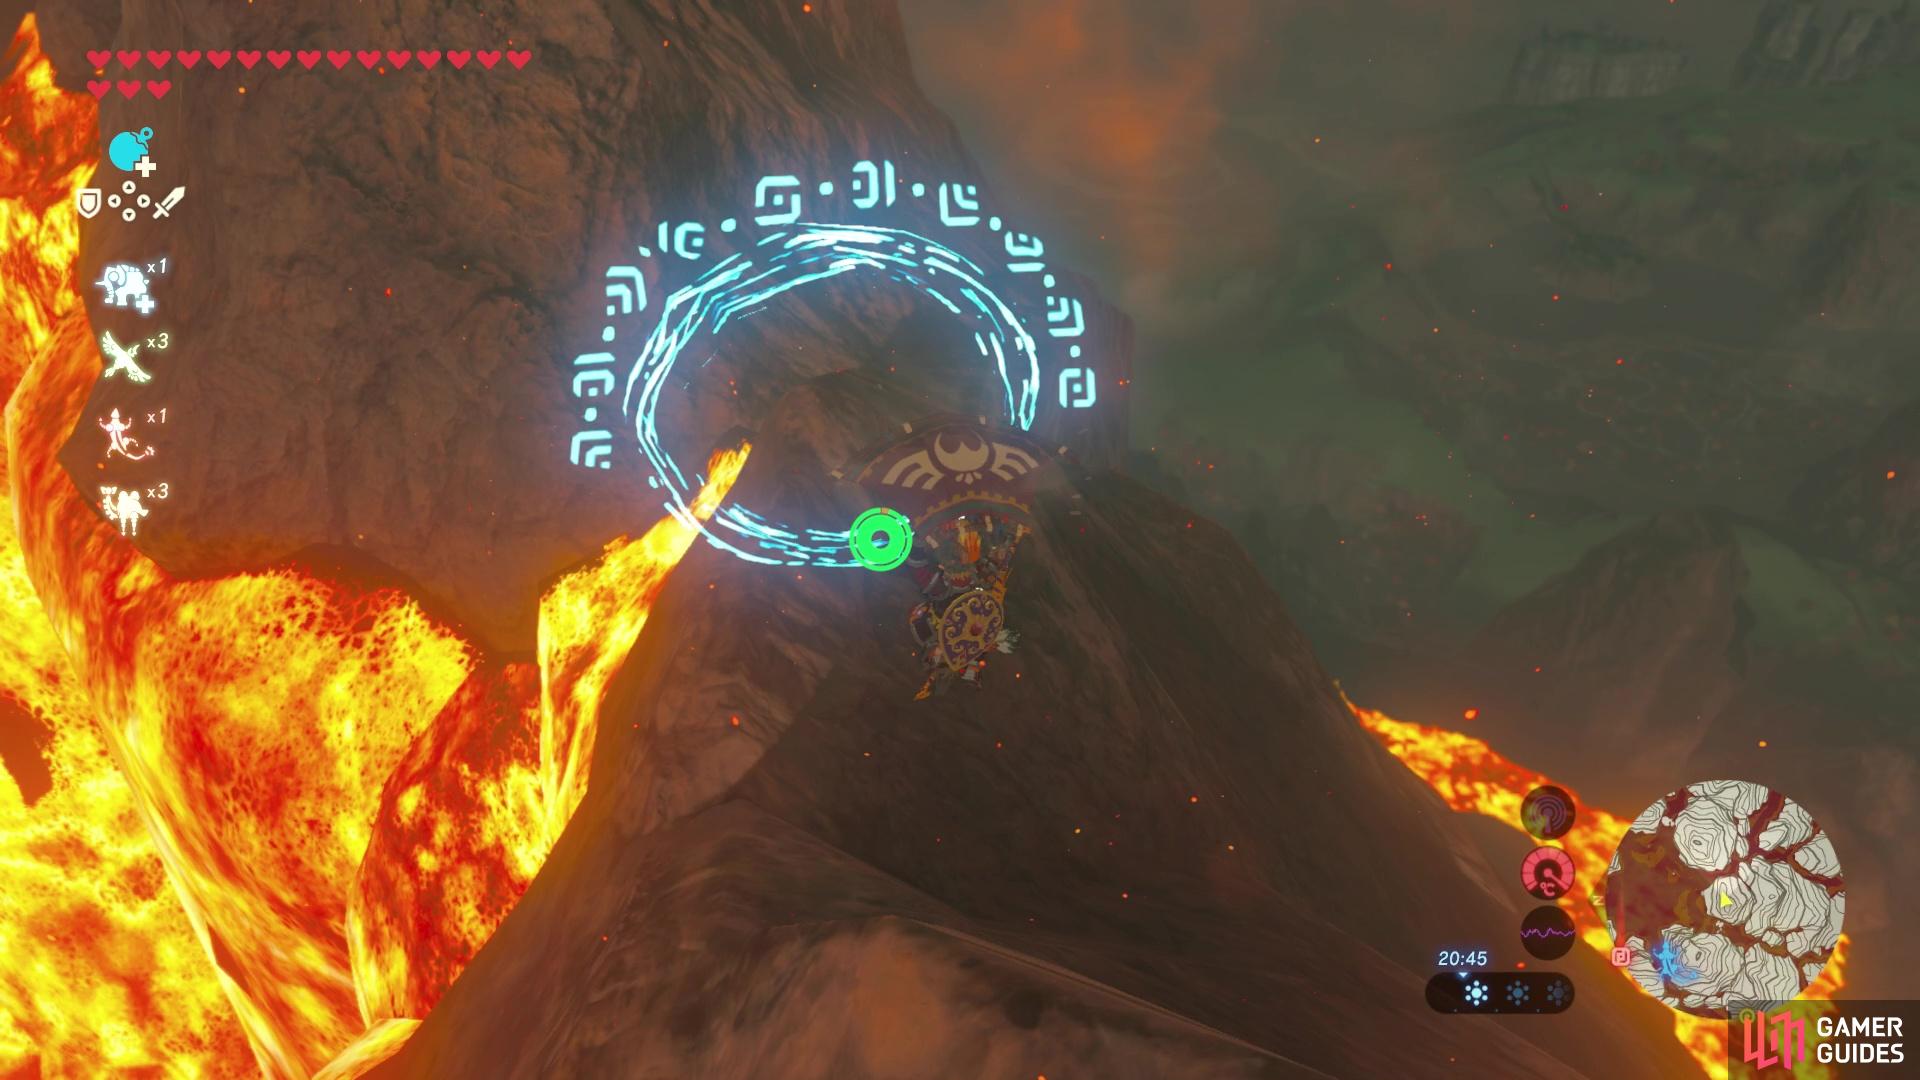
For the next ring you’ll need to do the most daring drop yet! You’ll want to unequip your paraglider for a couple of seconds so that you’re low enough to then pass through the ring. This is all made more exciting by the lava right below!
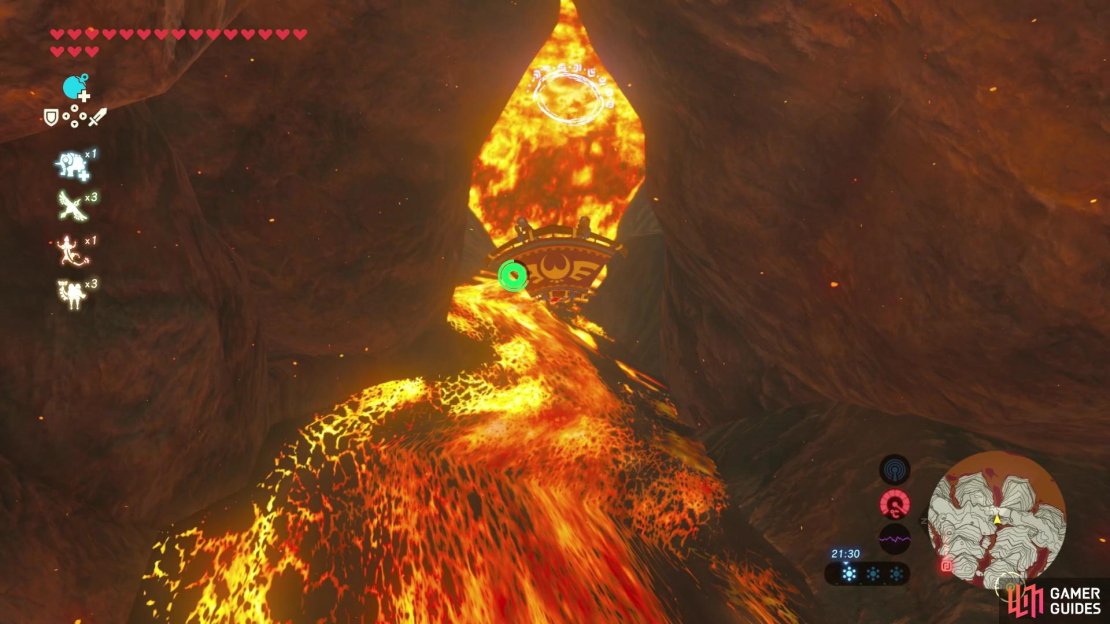
The next ring is through a narrow tunnel through the cliff that you’ll need to pass through carefully whilst also dropping a little to make sure you’re low enough. And then finally, the last ring is found over the lake and when you pass through it Sharo Lun Shrine will spawn near the lake!
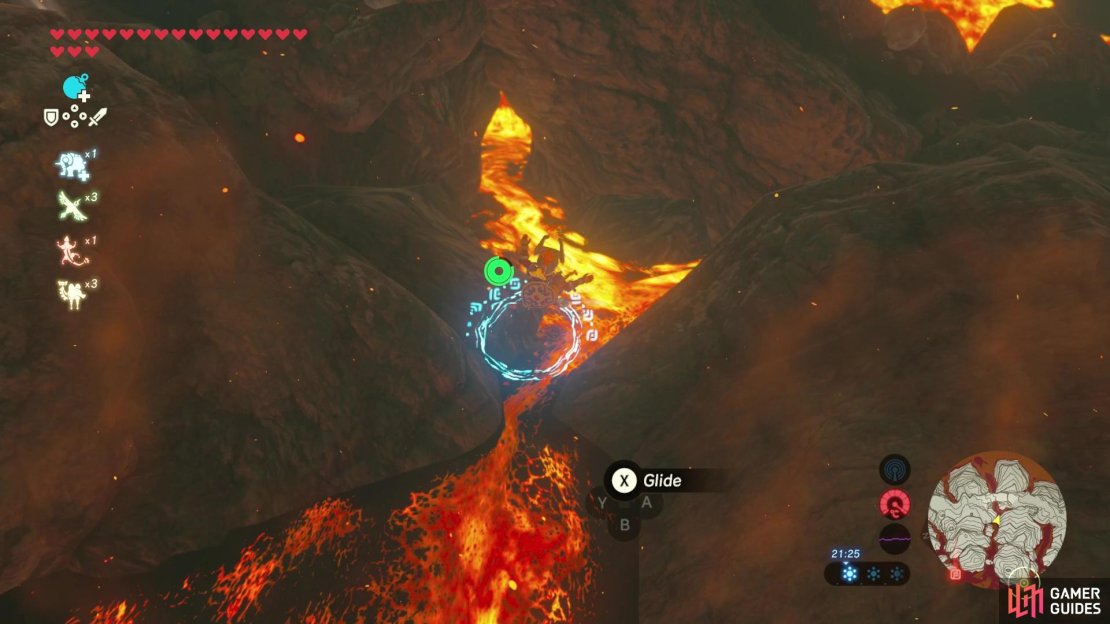
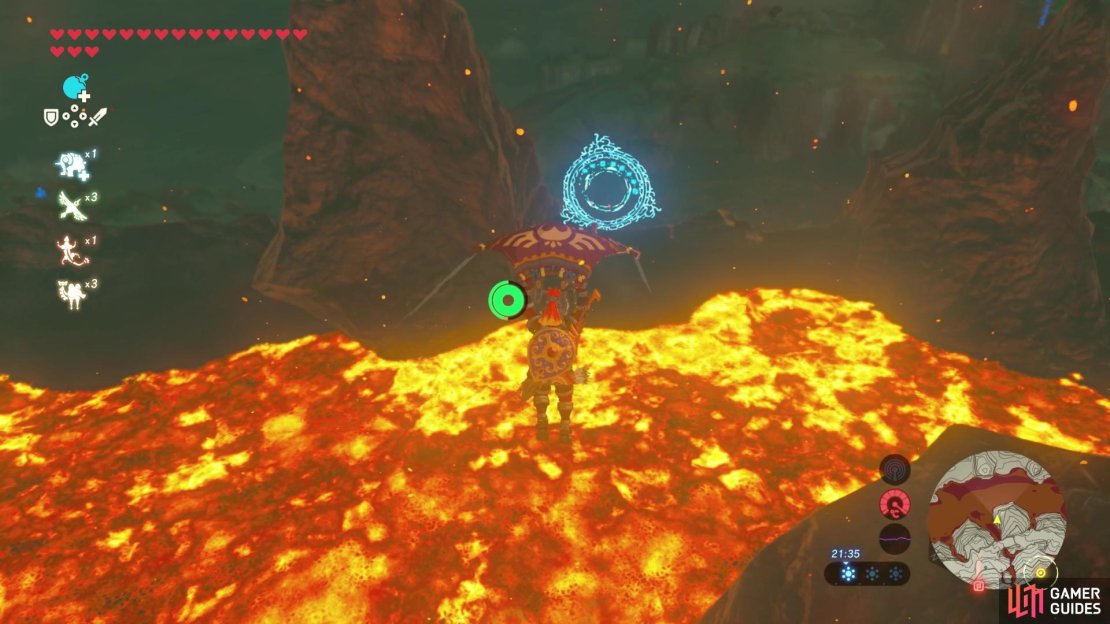
(1 of 3) Drop down a significant amount to reach the ring right above the lava river.
How to Complete Sharo Lun: Blind Spots
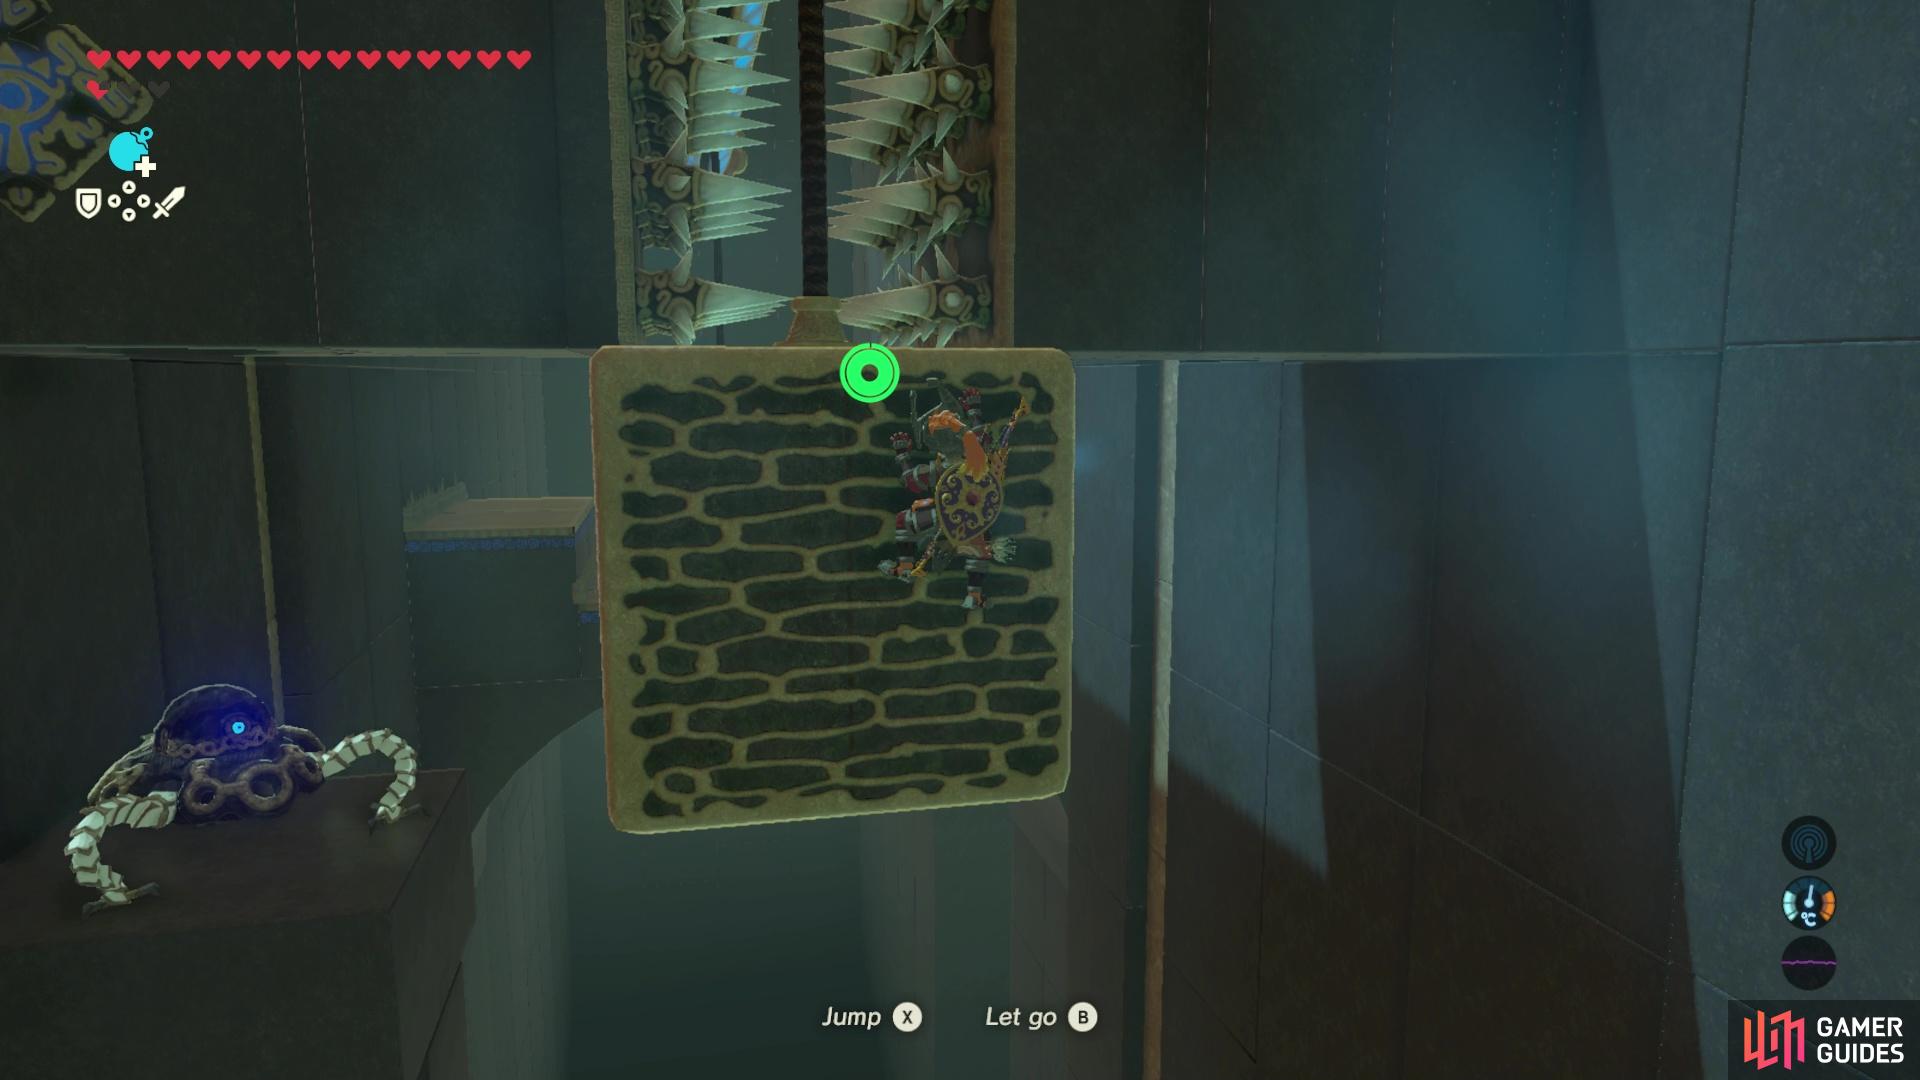
Run up and hop onto a passing block - you can climb on the sides so don’t worry about having to jump onto the top. The block is about to pass through some flames so you’ll want to hang onto the side of the block opposite to the flames so that the cube blocks the flames for you.
You’ll want to repeat this process but move quickly to the opposite side of the cube so you aren’t burned by the next set of flames.
And finally, to avoid the next flames, you’ll need to climb up onto the top of the block so you’re out of reach of the fire. After passing those flames, you’ll need to hop off onto the platform below before the block drops into the abyss.
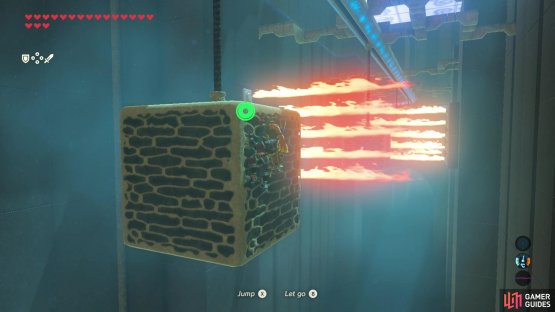

(1 of 2) Position yourself on the block so that you don’t get burned by the flames
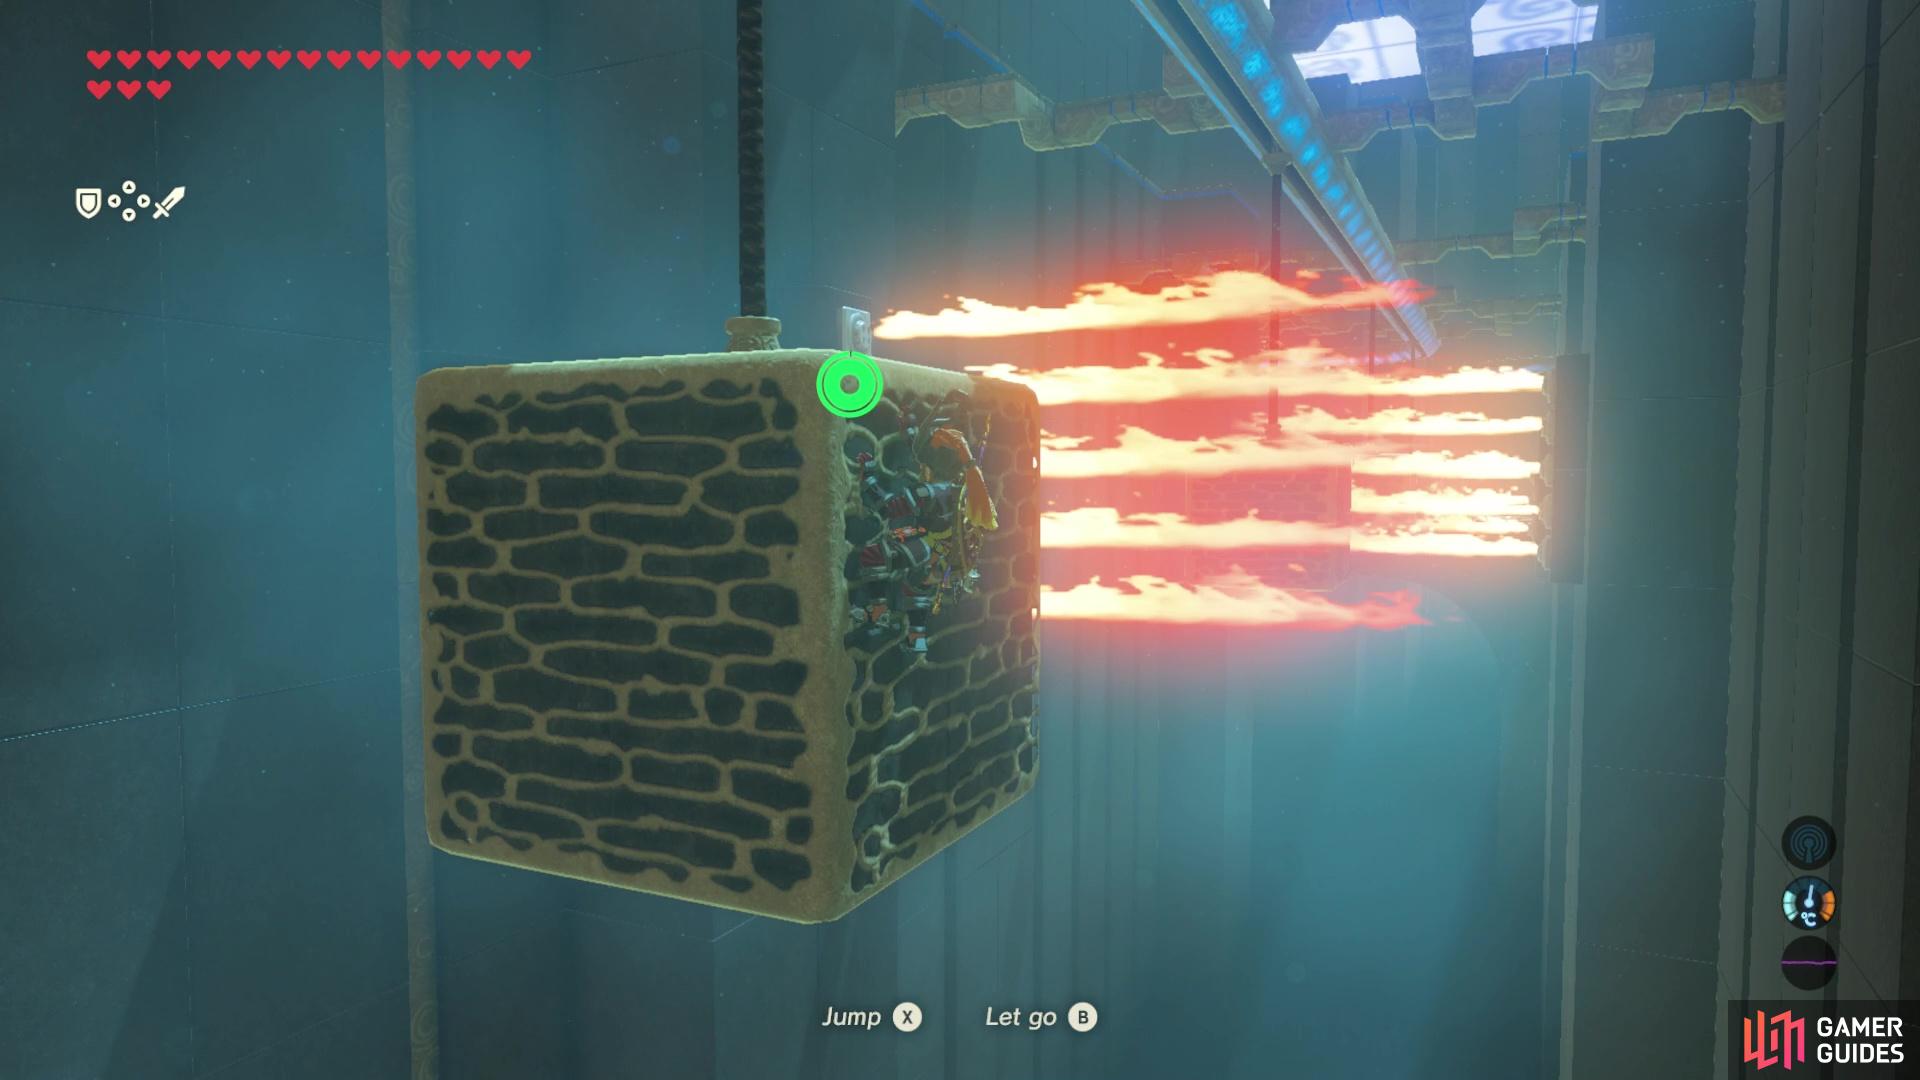
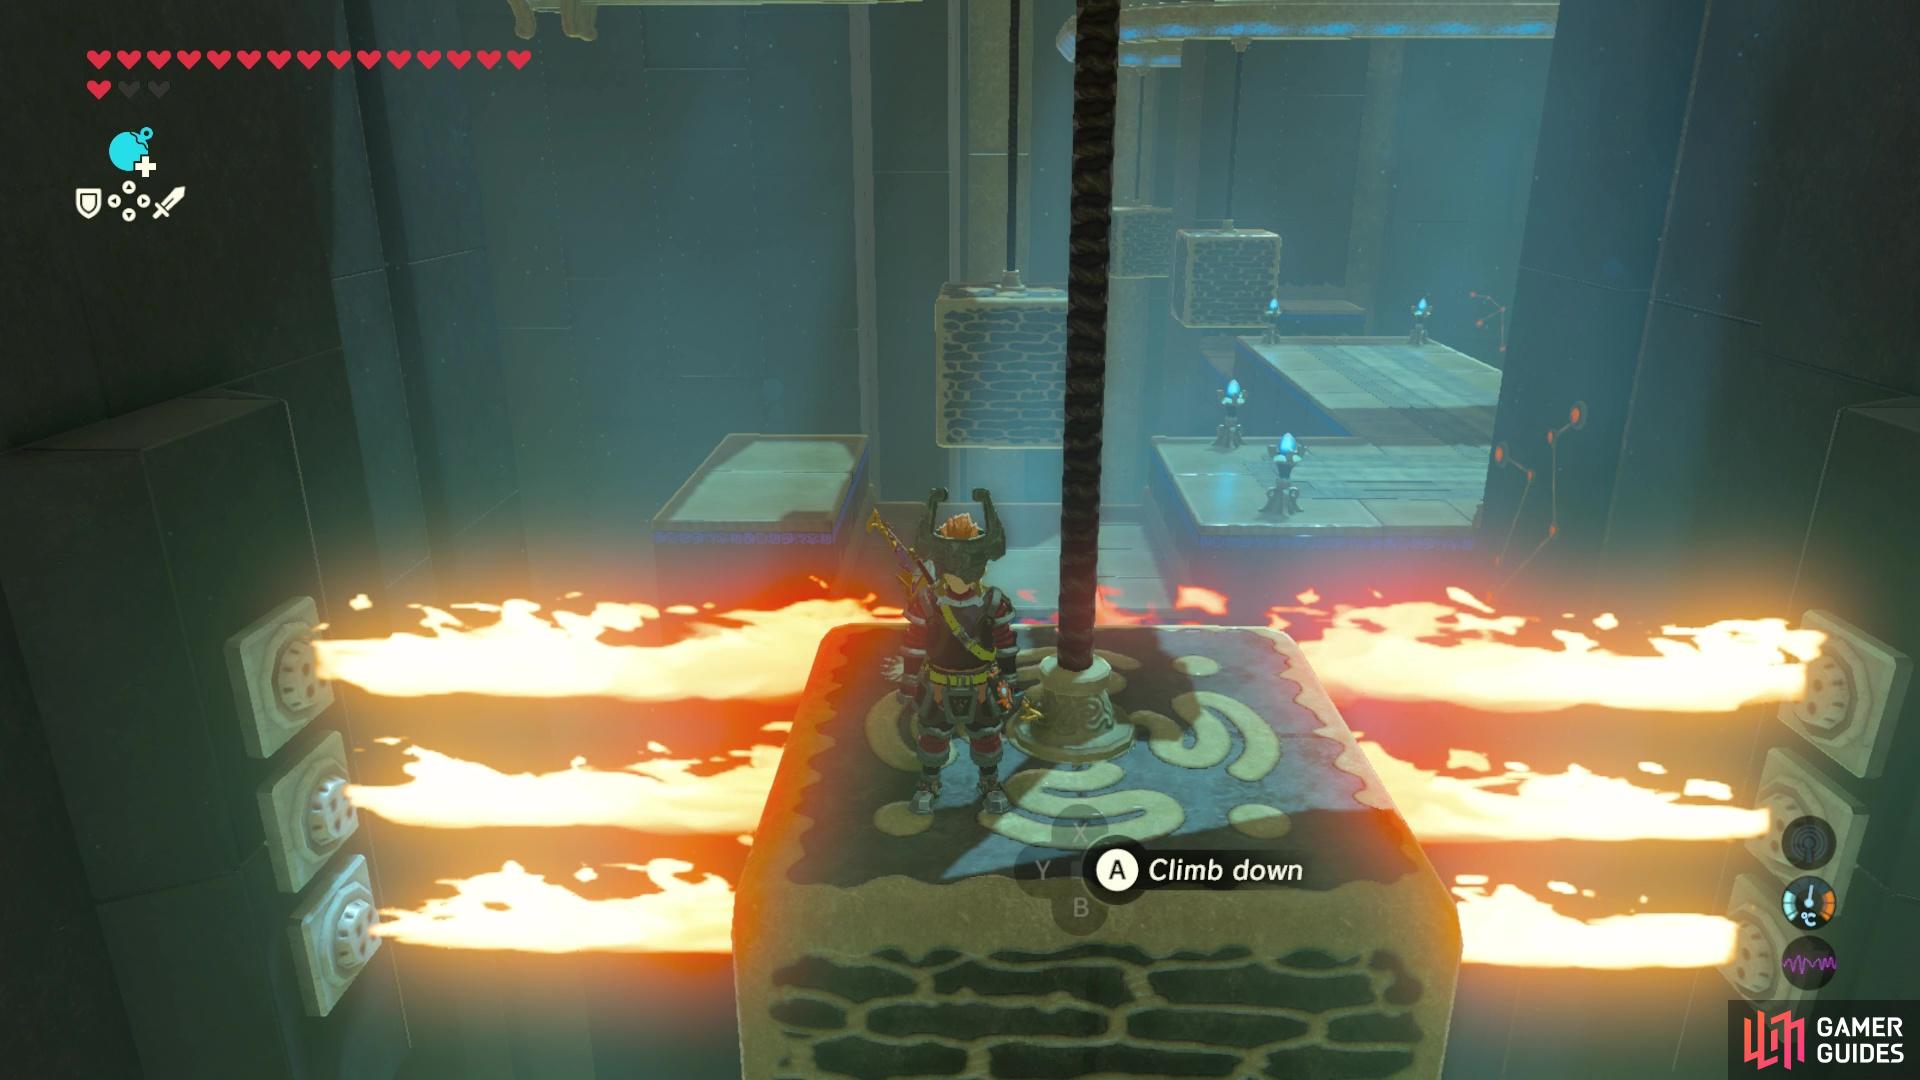
Position yourself on the block so that you don’t get burned by the flames (left), you’ll be need to climb onto the top of the block to avoid these double flame walls. (right)
In the next section, you’ll need to hop onto another block and hang onto one of the sides to avoid the spikes that’ll hit the top of the block.
After that though, you’ll want to climb up onto the top of the block and get your bow and arrow out. As you pass through this section several guardian scouts will spawn, and if they hit you with their laser shots you’ll fall off the block and have to begin this area again. If you have no arrows then you can try to maneuver to sides of the block opposite to the guardian scouts that you pass by.
Once past this section you’ll have to hop off the block onto the platform beneath, and get ready to jump up onto another block.
Watch out for the guardian scouts that want to knock you off!
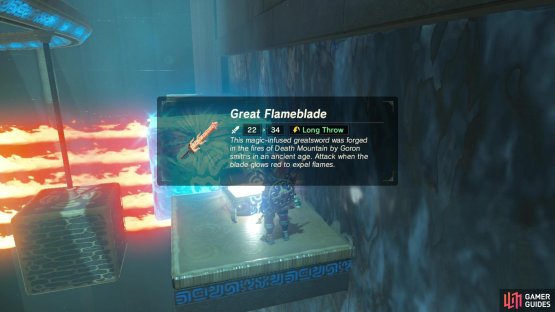
In this next section you’ll need to travel on the top of the block and create a cryonis ice cube on the right water wall next to the ledge. Then, you can stand on the small platform and then place another ice cube betweent the two ledges so that it catches a fallng treasure chest. As the chest falls onto the ice cube you’ll need to grab it with magnesis before it bounces off. The chest contains a Great Flameblade.
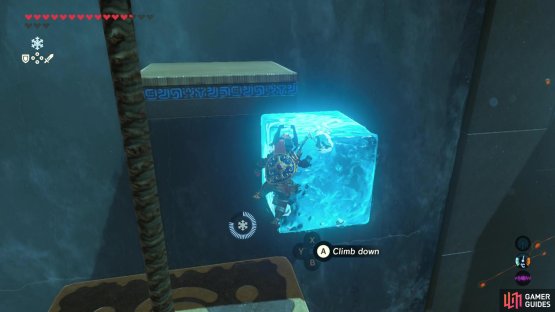
(1 of 2) Create an ice cube and hop off the block onto it


Create an ice cube and hop off the block onto it (left), then, you can grab the treasure chest and loot it for a great flameblade. (right)
From here, hop over to the furthest platform and jump off onto a passing block that’s already gone past the flames. Then, as the block is passing a second water wall, you’ll need to create an ice cube and jump onto it before your travelling block falls off into the abyss. Now you can make an ice cube staircase up to the end of the shrine where you can claim your Rudania’s Emblem.
No Comments