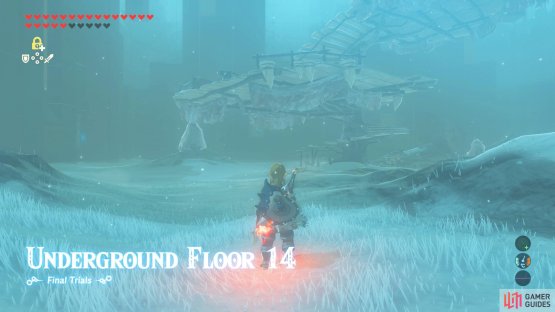
(1 of 2) It’s time to take over another enemy encampment.
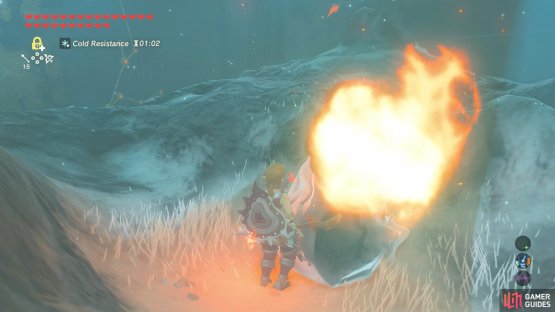
It’s time to take over another enemy encampment. (left), First, shoot the Lizalfos guard with a Fire Arrow. (right)
| Difficulty | Monsters |
|---|---|
| ★★★★★★★☆☆☆ | Ice Chuchu x2, Ice-Breath Lizalfos x1, Blue Bokoblin x2, Silver Moblin x1 |
This floor has a spiral-shaped encampment with a tough-as-nails Silver Moblin at the very top.
Strategy
Turn right and follow the path in-between the snowy hills. Soon, there’s a large pointy ice block on the right. Before melting it, focus on the foes near the entrance, in case they spot you. If the Lizalfos hasn’t noticed you, try to shoot a Fire Arrow to one-shot it. As for the Chuchus, use arrows or bombs.
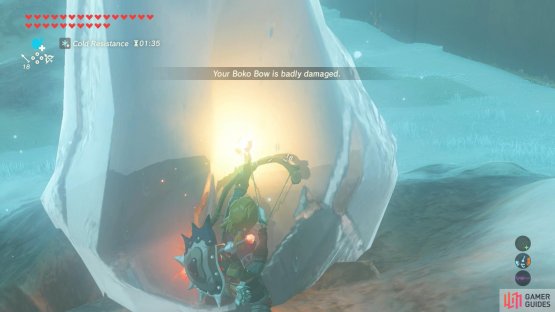
(1 of 2) Melt the giant ice block in front of the encampment stairs.
Melt the giant ice block in front of the encampment stairs. (left), Doing so will reveal an air vent that you can use to glide up. (right)
After clearing the entrance, shoot the large ice block with a Fire Arrow or two. You can also stand near the block with a fire weapon to slowly melt it. We suggest shooting a single Fire Arrow and then standing around. When the block has melted, it’ll reveal an air vent that you can use to glide to the top of the encampment.
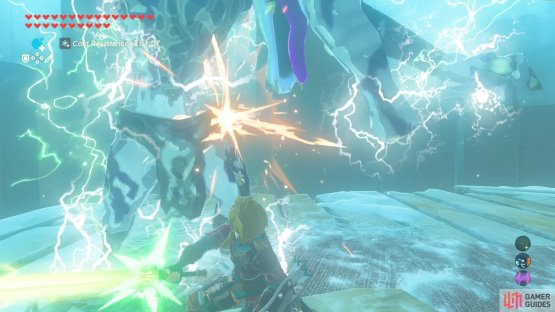
When you’re ready, glide up and prepare to engage the Silver Moblin at the top. If you can spare a Bomb Arrow, aim near the bomb barrel towards the right, partially obscured by the fencing. Otherwise, stun the Moblin by shooting its head with an arrow in mid-air. Upon landing, disarm the Moblin with the Thunderblade or a Shock Arrow.
(1 of 2) Disarm the Silver Moblin with the Thunderblade or Shock Arrows.
Disarm the Silver Moblin with the Thunderblade or Shock Arrows. (left), After slaying the Moblin, snipe the remaining Bokoblins. (right)
From here, you can smack it around with a strong weapon while it’s weaponless. Feel free to use Stasis to freeze it. If the other enemies haven’t noticed you, slowly descend the encampment while sniping the back of their heads. In the event you’ve been spotted, you’ve got plenty of tools like Stasis, the Thunderblade or Frostblade to trap them.
Once the encampment’s been cleared, raid the wooden crates for the usual goodies. There are Ice Arrows, which you can use to freeze more pitiful foes.
(1 of 2) Be sure to melt the smaller ice block as well.
Be sure to melt the smaller ice block as well. (left), Inside is a chest with the final set of Ancient Arrows. (right)








No Comments