
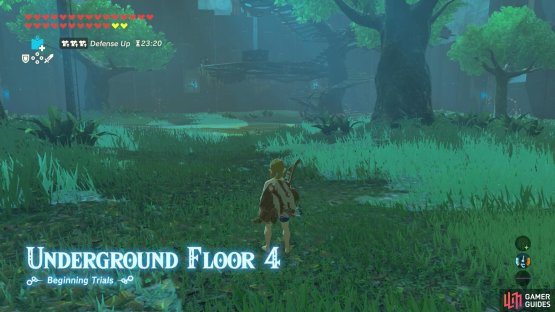
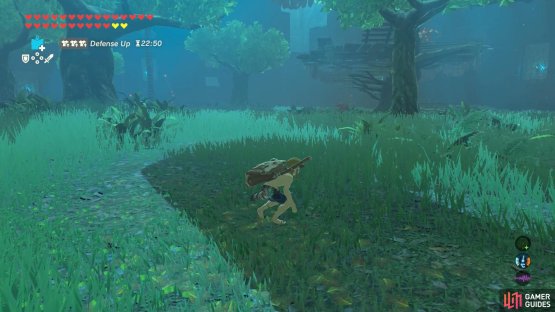
(1 of 2) Floor 4 pits you against 7 Bokoblins, including 2 blue ones.

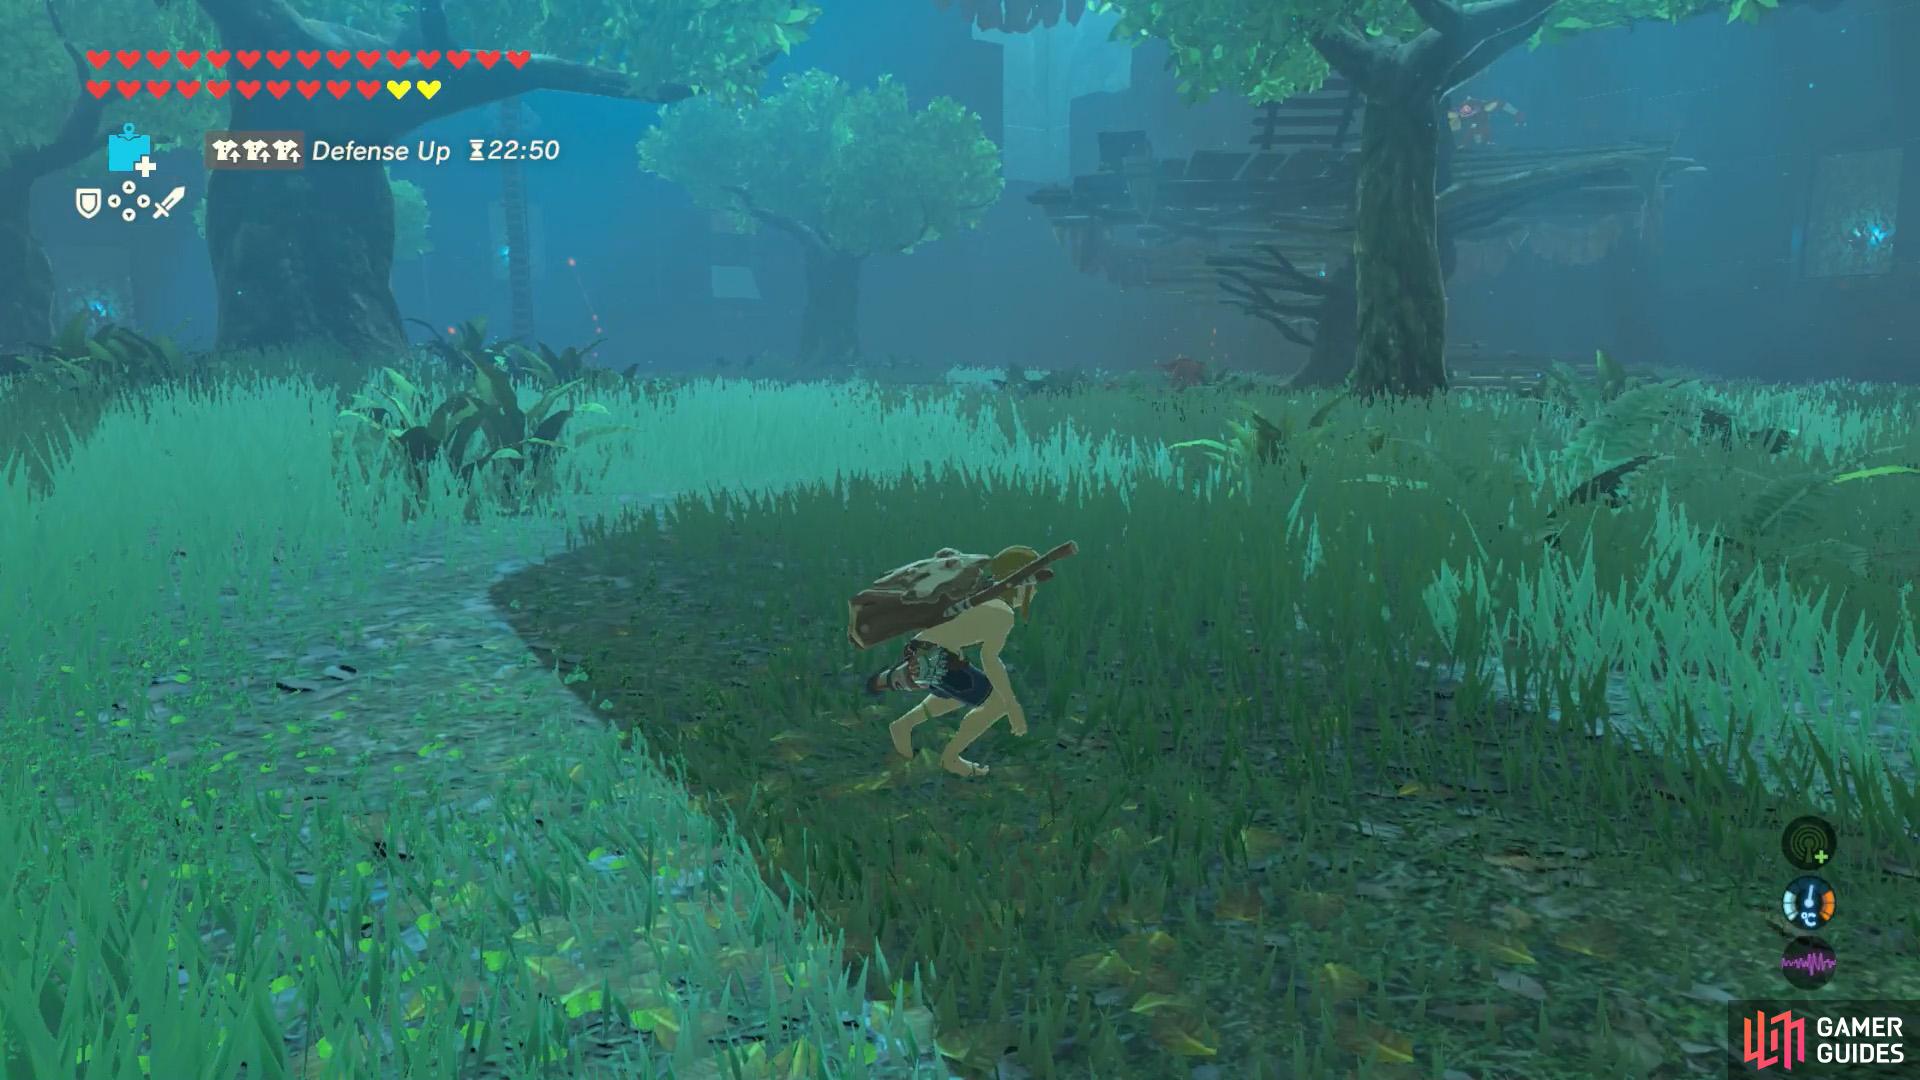
Floor 4 pits you against 7 Bokoblins, including 2 blue ones. (left), To start with, it’s a good idea to approach the main encampment from the right. (right)
| Difficulty | Monsters |
|---|---|
| ★★★★☆☆☆☆☆☆ | Bokoblin x5, Blue Bokoblin x2 |
The fourth floor is where things start ramping up. The main attraction is a spiral encampment with an extremely tall watchtower on the left. Besides a host of regular Bokoblin, there are two stronger blue ones as well.
Strategy
Your first objective is to secure the main encampment. If you try climbing the watchtower, the ladder is facing the encampment so the monsters there are bound to see you and shoot you down.
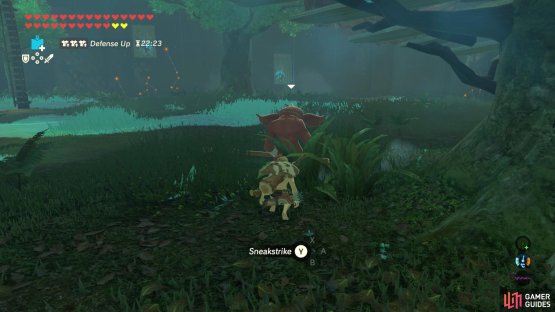
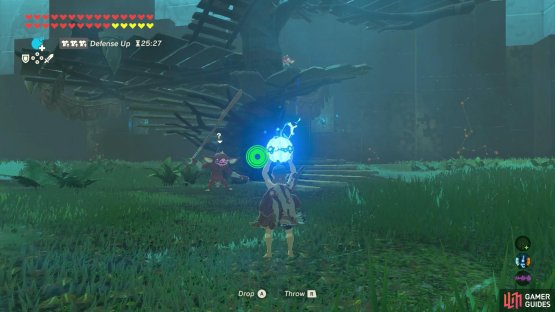
(1 of 2) Occasionally, the Bokoblin is in the perfect position for a Sneakstrike.


Occasionally, the Bokoblin is in the perfect position for a Sneakstrike. (left), But honestly, you’ll probably better off kabooming it. (right)
Slowly approach from the right side. You don’t need to be too sneaky, although if the stars align, you may be able to Sneakstrike the first Bokoblin, in front of the stairs. That said, it’s easier (and faster) to just roll a bomb towards them.
Next, we suggest trying to catch the attention of the second Bokoblin, further up the spiral stairs. If you blew up the first Bokoblin, they should’ve noticed. Otherwise, just start walking up the stairs or something. Then blow them up as well.
From here, there’s a Bokoblin archer at the back of a wide platform. If no other Bokoblins have become suspicious, you can kill this one with a bomb or by sniping them with your own bow or arrow. Occasionally, if you caused a big fuss downstairs, the archer may come down the stairs.


(1 of 2) It’s safer to fight on the ground.

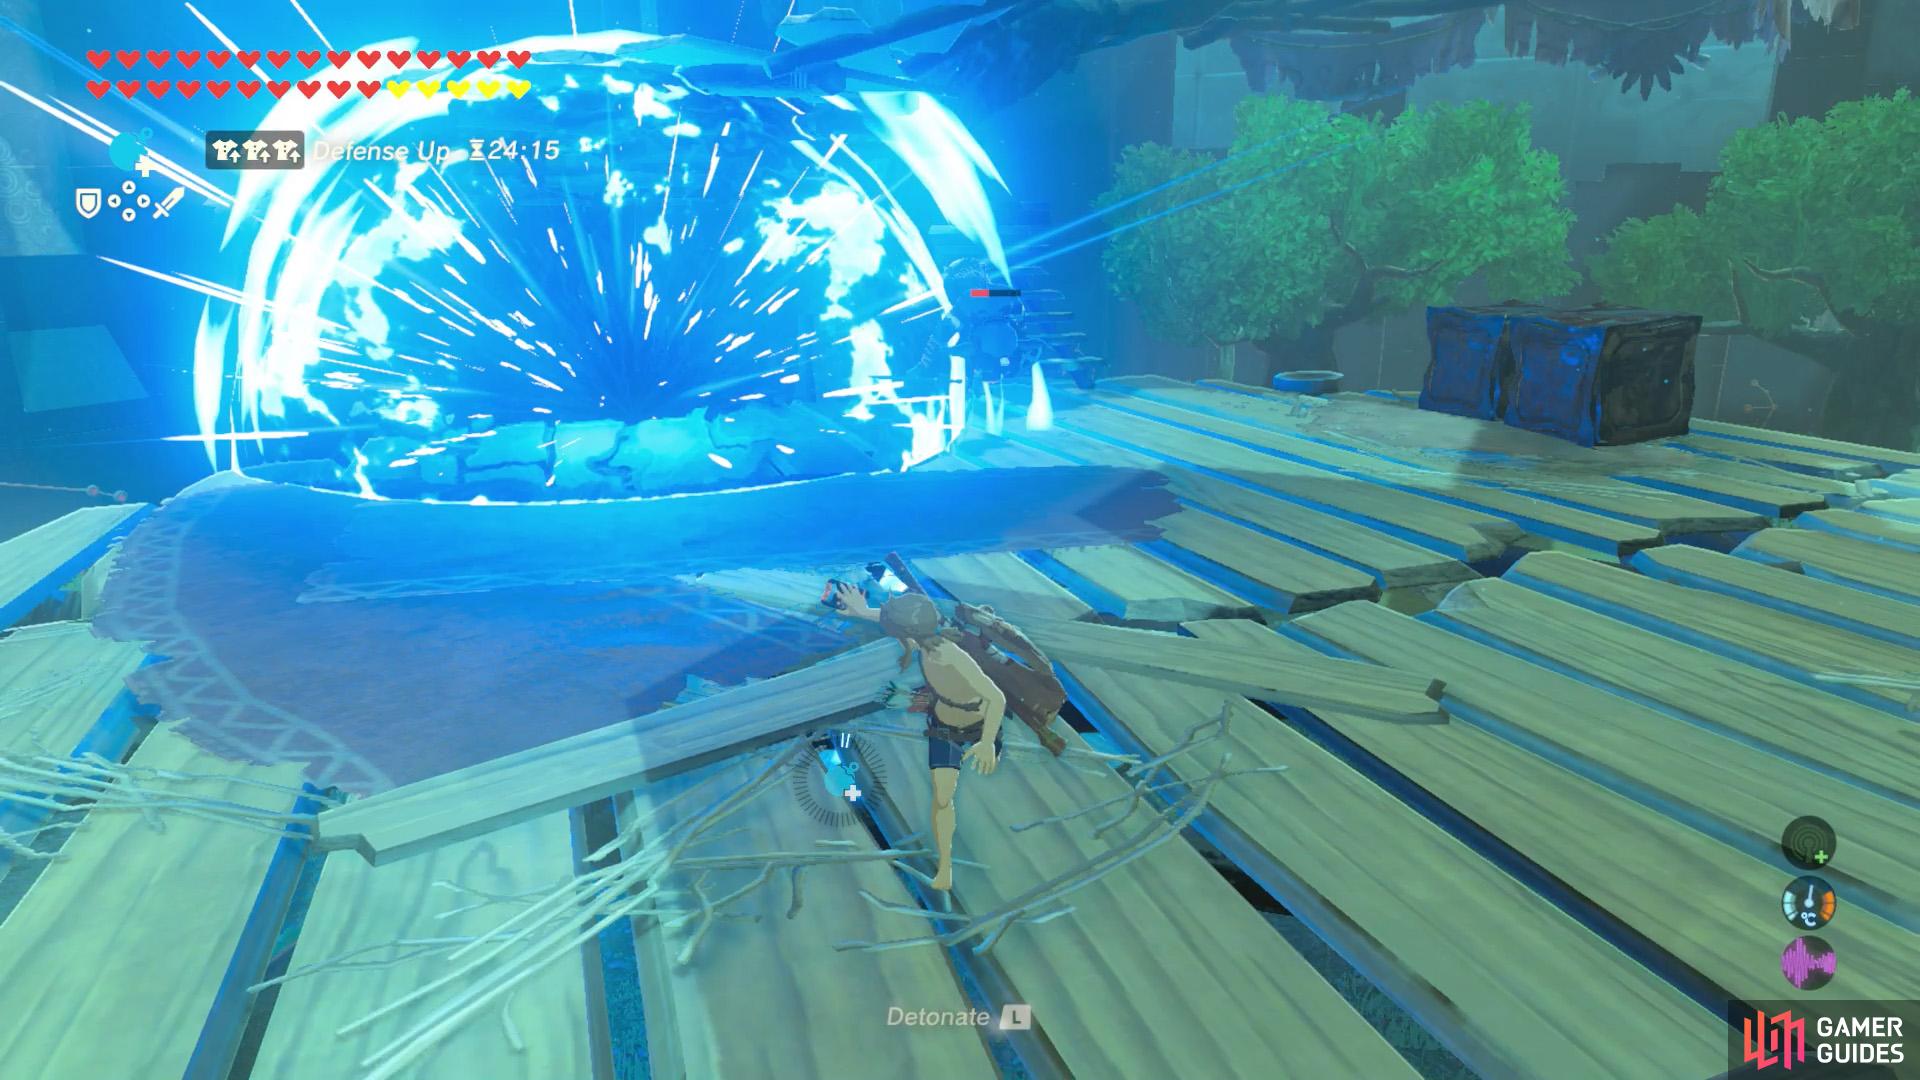
It’s safer to fight on the ground. (left), If you’re in a hurry, you can fight them on the platforms. Just avoid blowing up the metal crates. (right)
Around this time, depending on how noisy you are, one of the Blue Bokoblins further upstairs may come down to look. This is where the fighting gets slightly tougher. We recommend luring it down to the ground, because despite the size of the platform, it’s rather cramped for fighting.
If possible, avoid using your weapons and rely on your bombs. Three explosions will kill them. To save time, you can cycle between round and square bombs while the other is stuck on cooldown.
Next, continue climbing the stairs and lure the second Blue Bokoblin. Then dispose of them in a similar manner.
Almost done. At the very top and far end of the encampment, there’s a Bokoblin archer with fire arrows. If you prefer the all guns blazing approach, you can just run towards them and eliminate them with a bomb, etc.
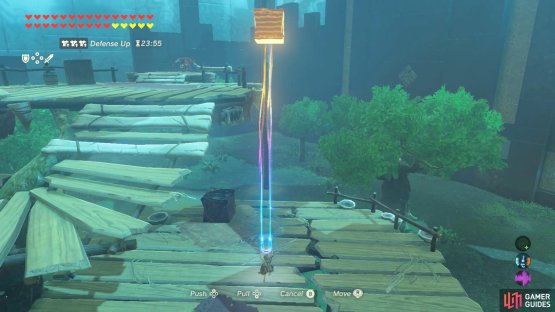
(1 of 2) Hey… are you thinking what we’re thinking?

Hey… are you thinking what we’re thinking? (left), Sometimes, the camera doesn’t co-operate, but you don’t need to be elegant–just swing/push like mad. (right)
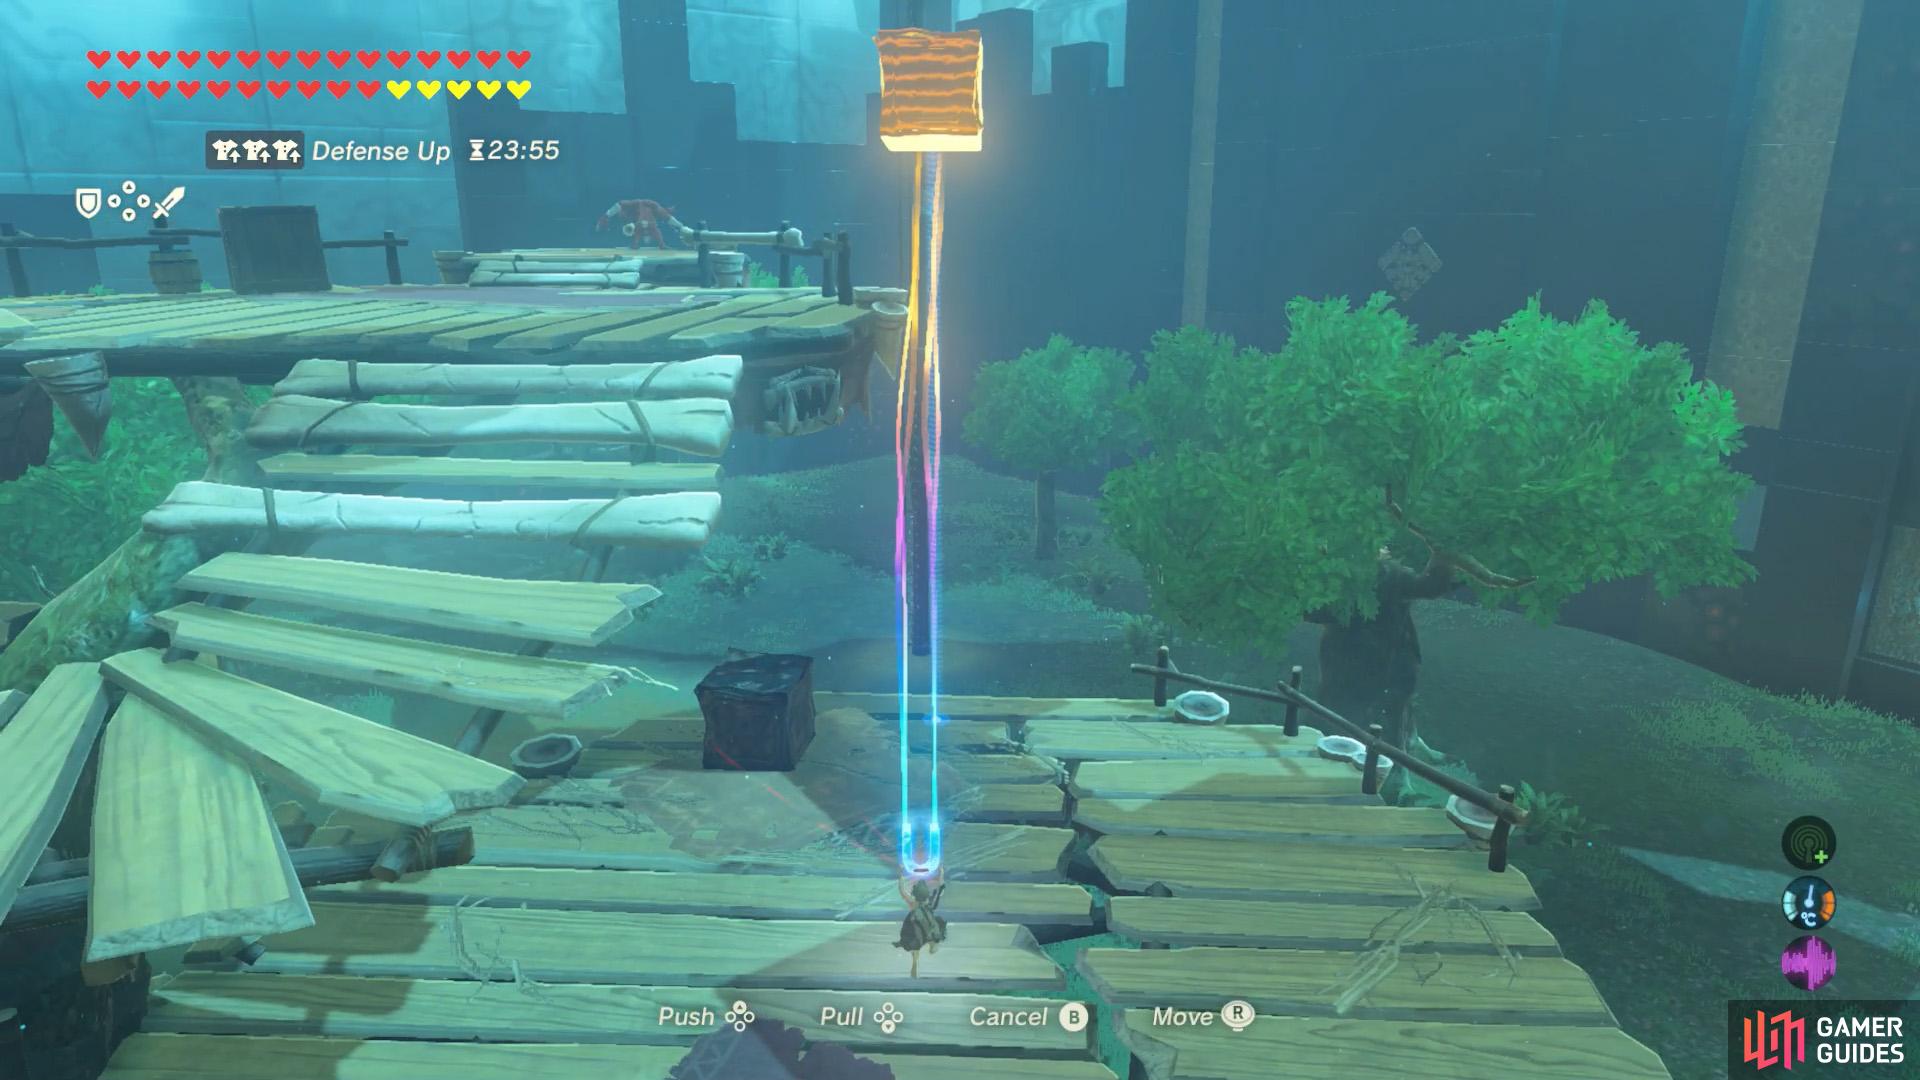
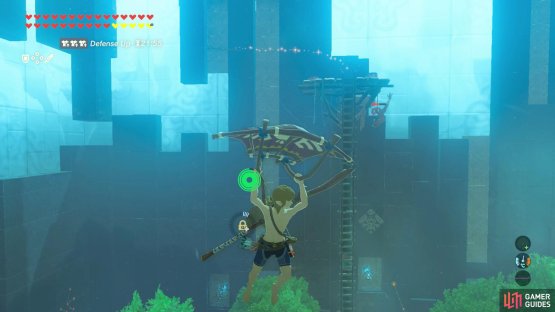
But there’s a more fun way than that. On the middle platform, where the first archer was, there are two metal crates by the side. Pick one up using Magnesis and then lift it all the way up. You’ll notice it can reach the top level. In fact, you can swing/push the crate towards the archer to kill them.
If you used the metal crate as a weapon, don’t haphazardly drop it afterwards. Gently place it down. Now cautiously walk up to the top level. Check to see if the final Bokoblin, at the top of the tall tower has noticed you. They don’t have a bow to shoot you, but they can throw rocks from… somewhere.

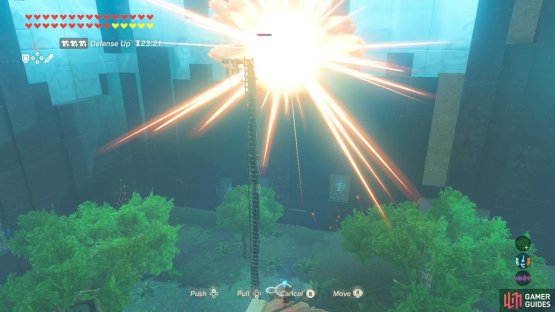
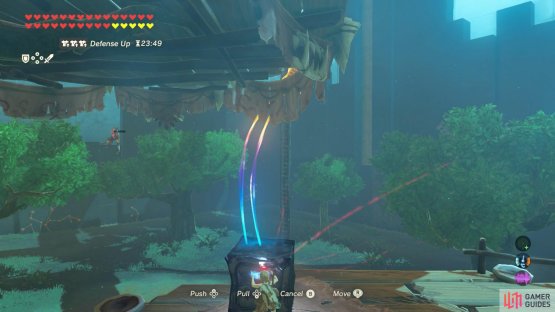
(1 of 2) Pictures taken moments before disaster…

Pictures taken moments before disaster… (left), Well, a disaster for them, but not you. (right)
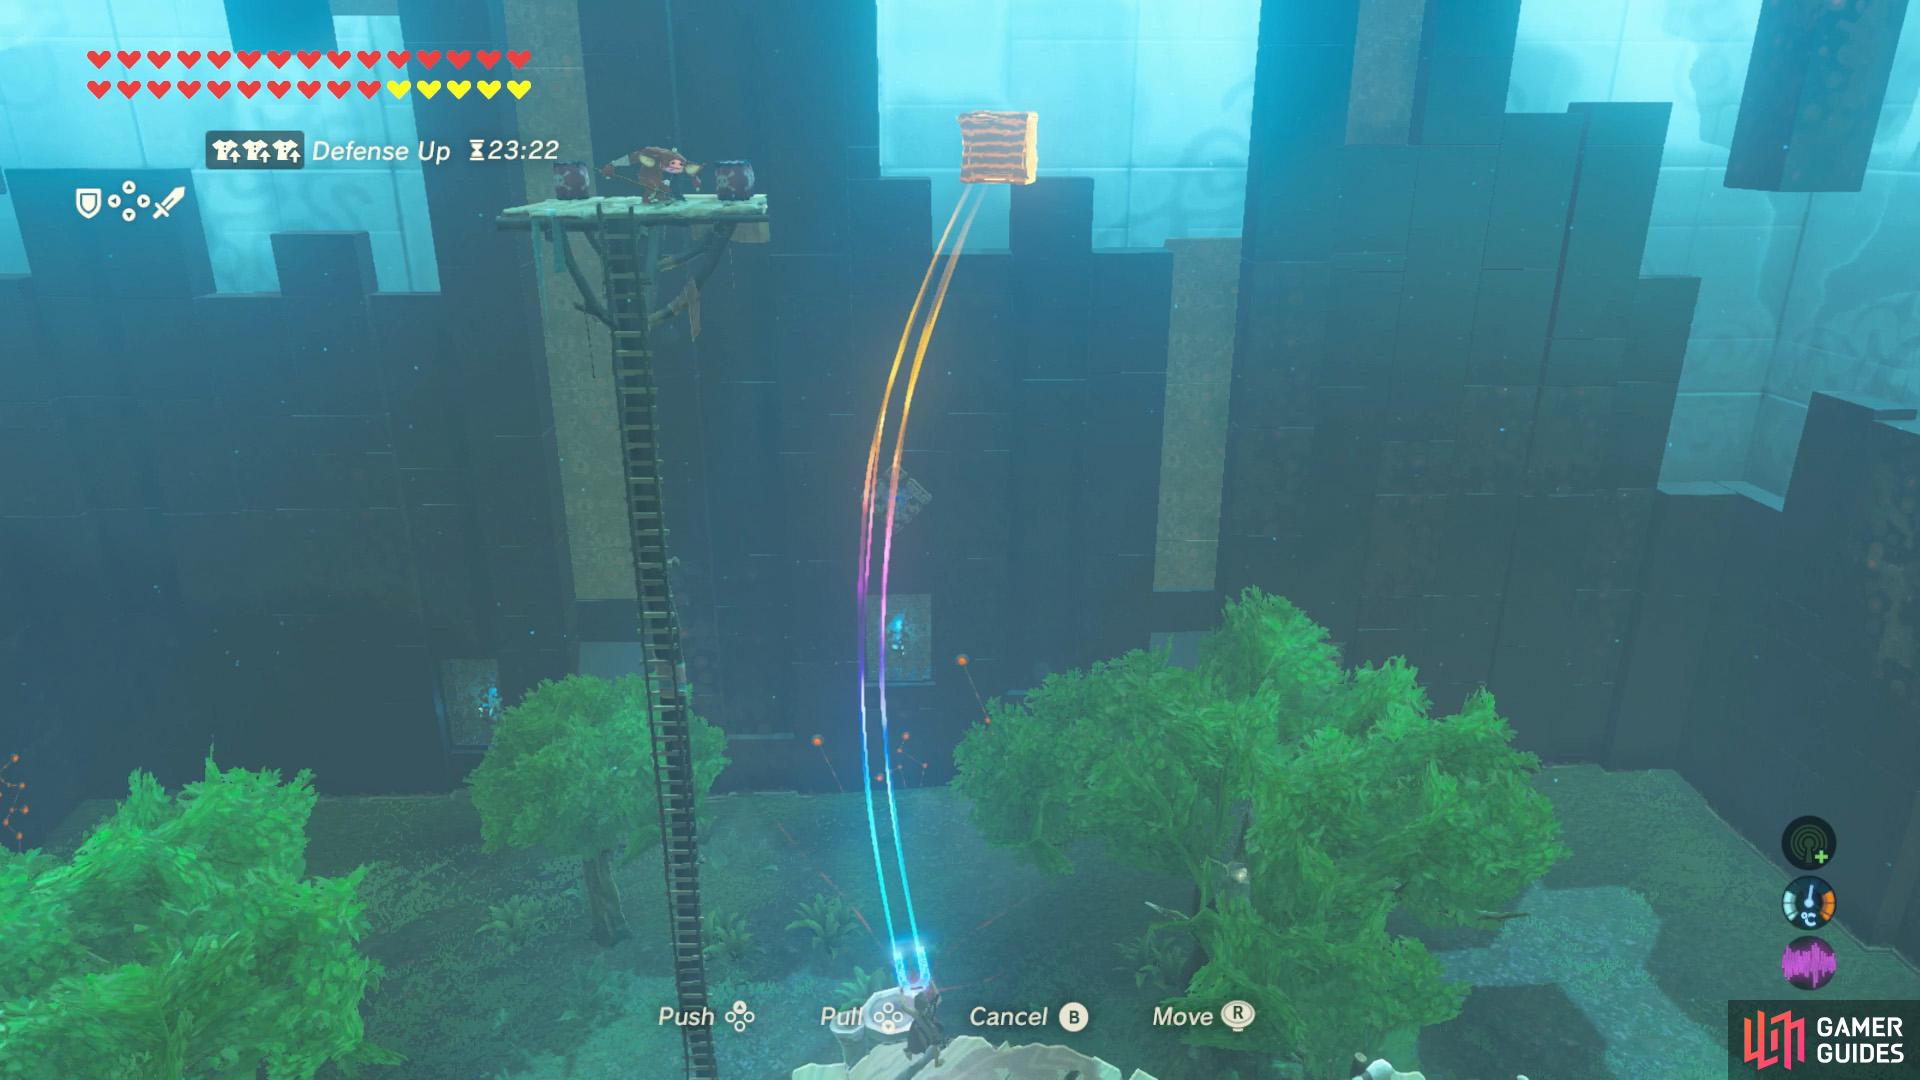
Anyway, if it’s safe, use Magnesis to grab the metal crate and lift it all the way up. If you stand near the far end of the platform, you should be able to reach the final Bokoblin. We suggest swinging it towards the bomb barrels on the right. No way the Bokoblin can survive the explosion and subsequent fall…
Once all the enemies are dust, take your time plundering the encampment. Of note, you can obtain 10 Fire Arrows from the boxes and usually 5 from the second archer. There are some random food items as well that you should try to save up.
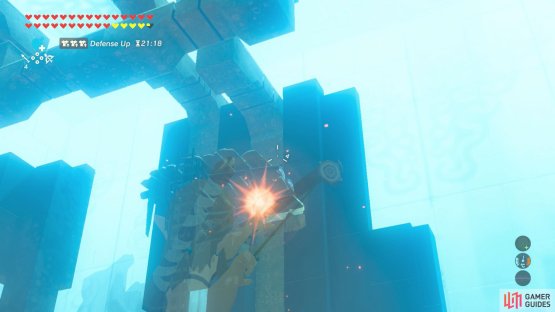
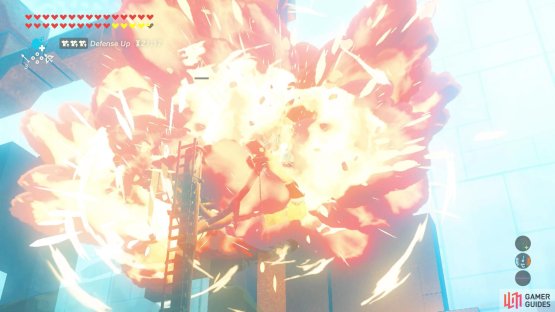
(1 of 2) Aim for the bomb barrels on the right side.


Aim for the bomb barrels on the right side. (left), Gotta love the Bokoblin fireworks! (right)
By the way, if you already destroyed the metal crates before dealing with the watchtower Bokoblin, well, there are many ways to skin a cat. If you stand on the top level, you can shoot Fire Arrows (obtained from the previous floor or this floor) towards the bomb barrels on the right side of the platform.
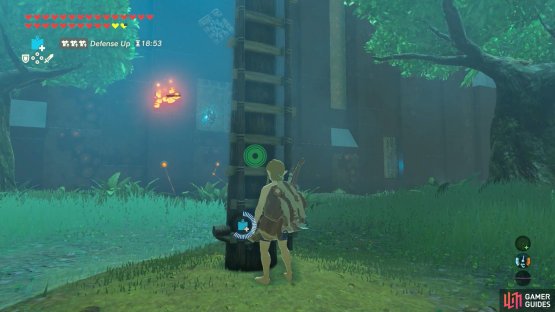
Meanwhile, if you want to save your Fire Arrows or aren’t confident with your aiming, you can climb up the ladder and opt for a more hands-on approach. Even if the Bokoblin spotted you earlier, it won’t notice you again until you’re near the top of the ladder. After climbing up, there’s a very short window for you to make your move.
(1 of 2) If you’re confident, you can place a square bomb by the Bokoblin’s feet.


If you’re confident, you can place a square bomb by the Bokoblin’s feet. (left), Afterwards, detonate it when you’re faraway. (right)
One, you can drop a square bomb and then quickly glide off the platform or descend the ladder. Afterwards, you can casually detonate the bomb. In practice, this can be rather fiddly and you may end up getting hit before you can escape. Should that happen, glide ASAP or you’ll take a considerable amount of fall damage due to the height.

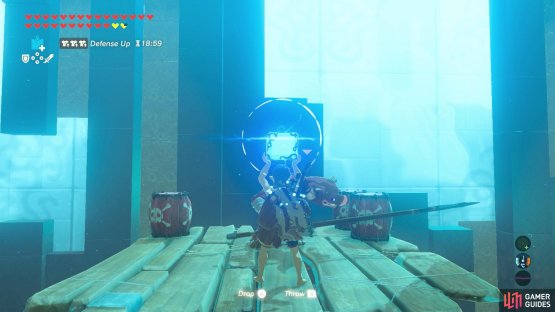
(1 of 2) Once the Bokoblin’s been stasis’d, poke them with a spear a few times.


Once the Bokoblin’s been stasis’d, poke them with a spear a few times. (left), Poor thing ain’t surviving a fall from that height. (right)
Two, use Stasis on the Bokoblin as soon as possible. Make sure you’ve got a spear equipped and then poke the Bokoblin for a bit (say, around three times). Then just before Stasis runs out, quickly glide off the platform. Afterwards, the Bokoblin should fall off the platform or hit the barrels, blowing itself up.
No Comments