

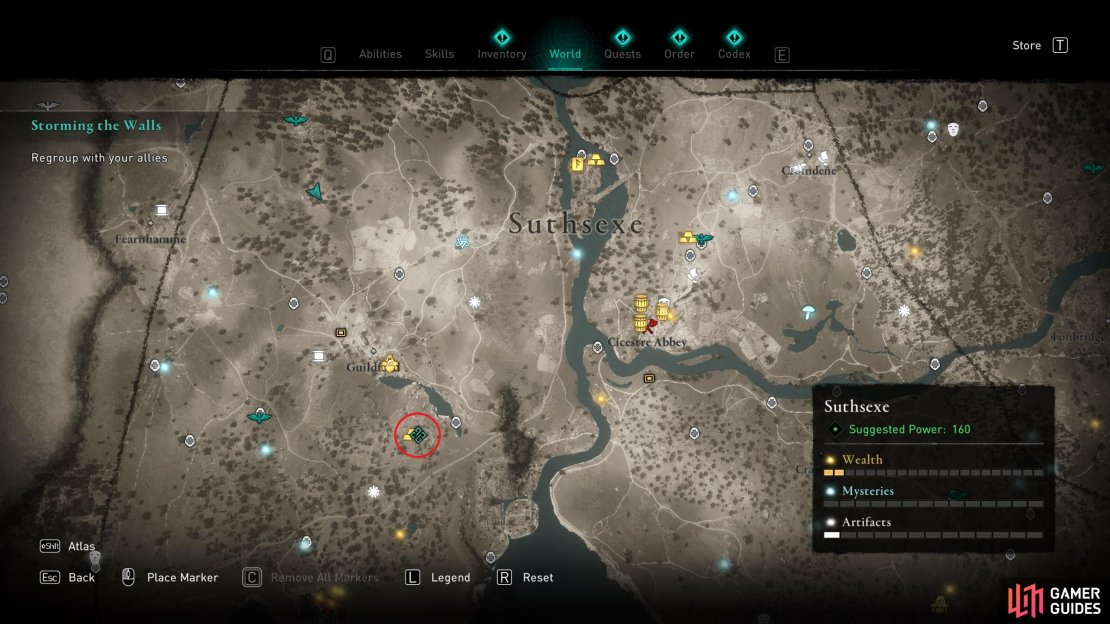
This quest becomes available after completing Let Them Eat Ashes, Scorched Earth, and Severing the Lines. Now that you’ve weakened the Saxon forces in Suthsexe, it’s time to regroup with your allies at the Forward Camp, just south of Guildford.
As you reach the camp, take some time to speak with your allies, then speak with Basim when you’re ready. During the scene, Soma will inform Eivor that Fulke has summoned reinforcements from Wincestre. You can choose to begin the assault now, or you can spend more time speaking with your allies first.
Assault on Portcestre
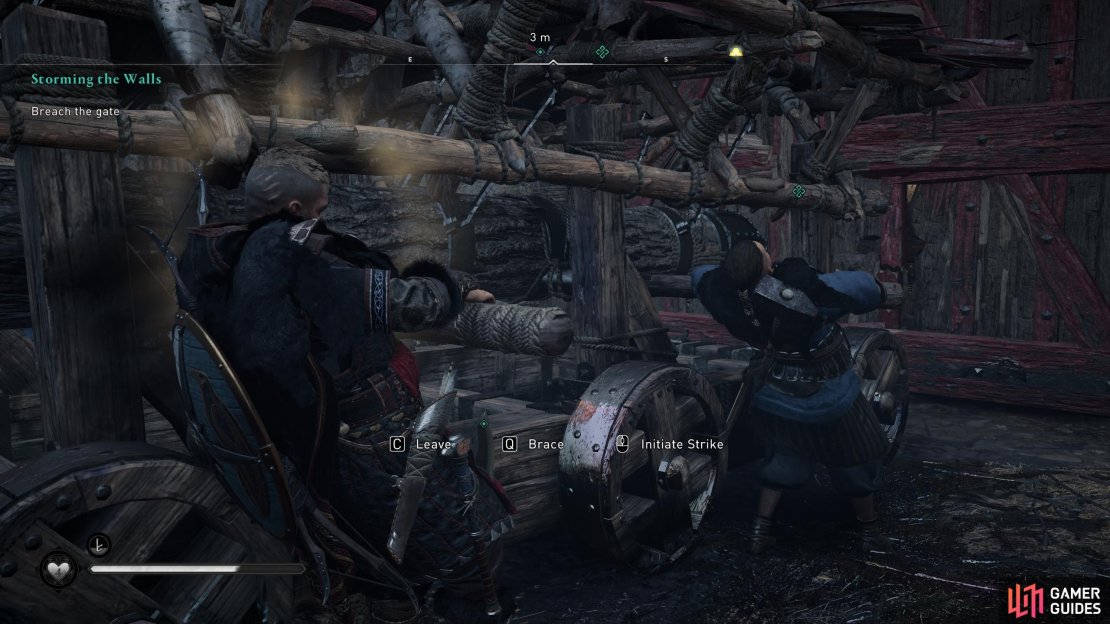
Breach the Gate
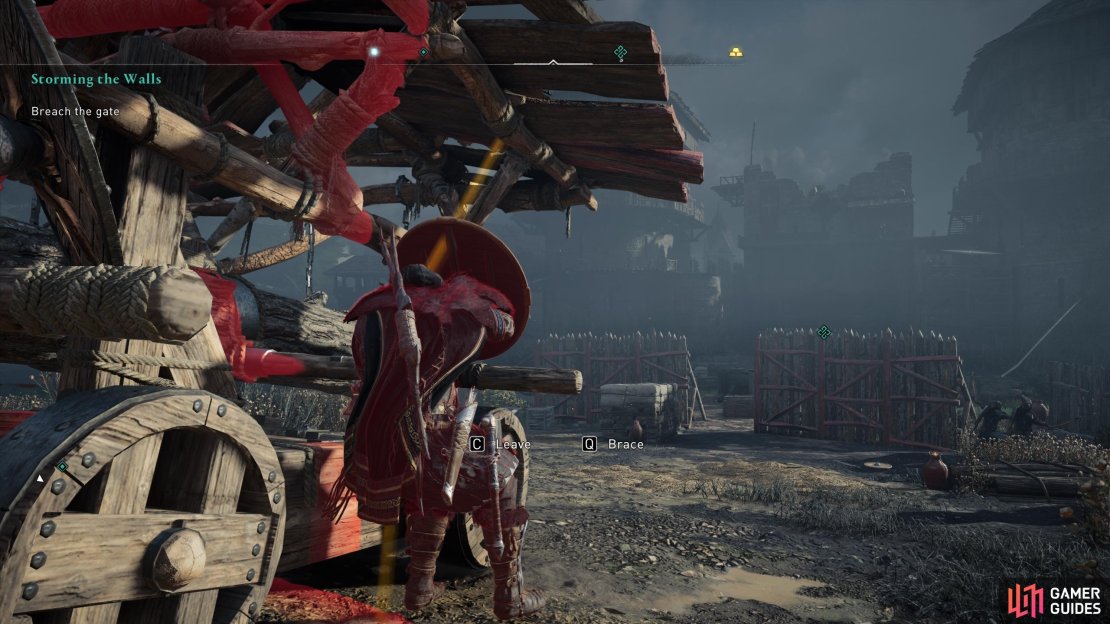
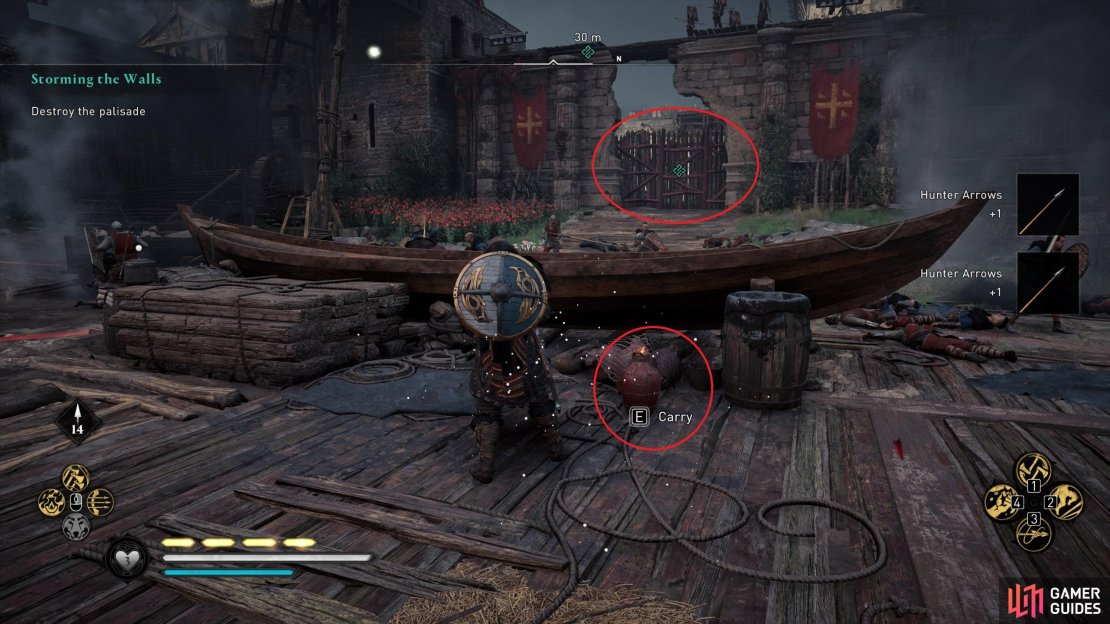
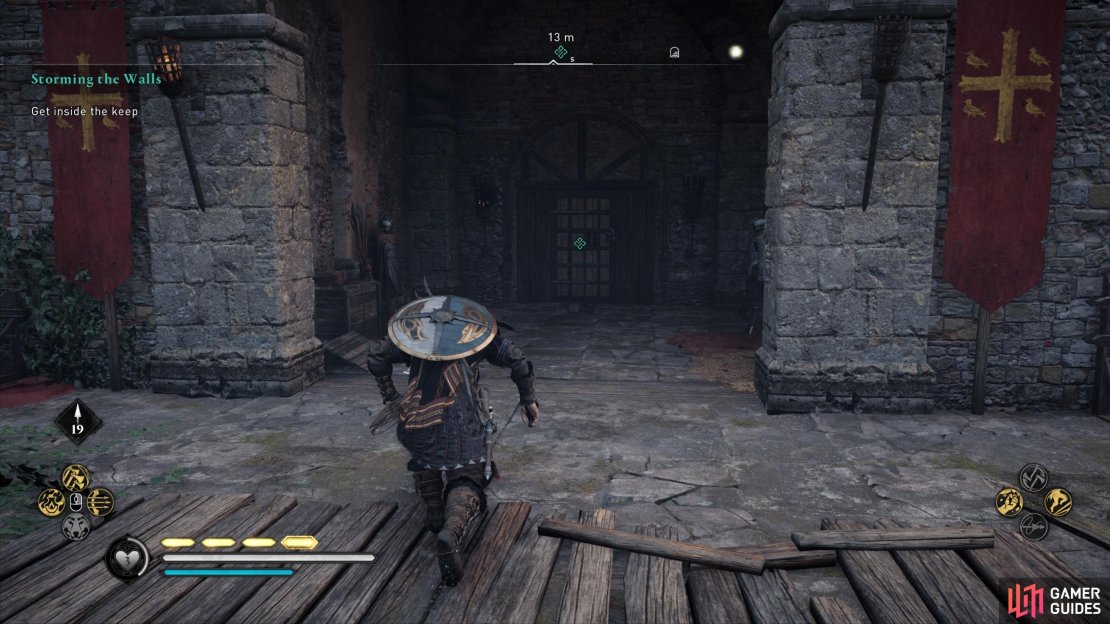
When the battle begins, you’ll need to help your allies with the battering ram. There will be two blockades to destroy before you reach the gate. You can shoot the fire pots in front of the blockades to destroy them, but this will also damage your troops. Instead, we recommend sticking with the battering ram to destroy the blockades. They shouldn’t take more than two hits to crumble. As you move with the battering ram, be sure to brace whenever you see the red circle appear on the ground, indicating an incoming arrow volley. There are no fire pots near the second blockade, so you’ll need to use the battering ram to destroy it regardless.
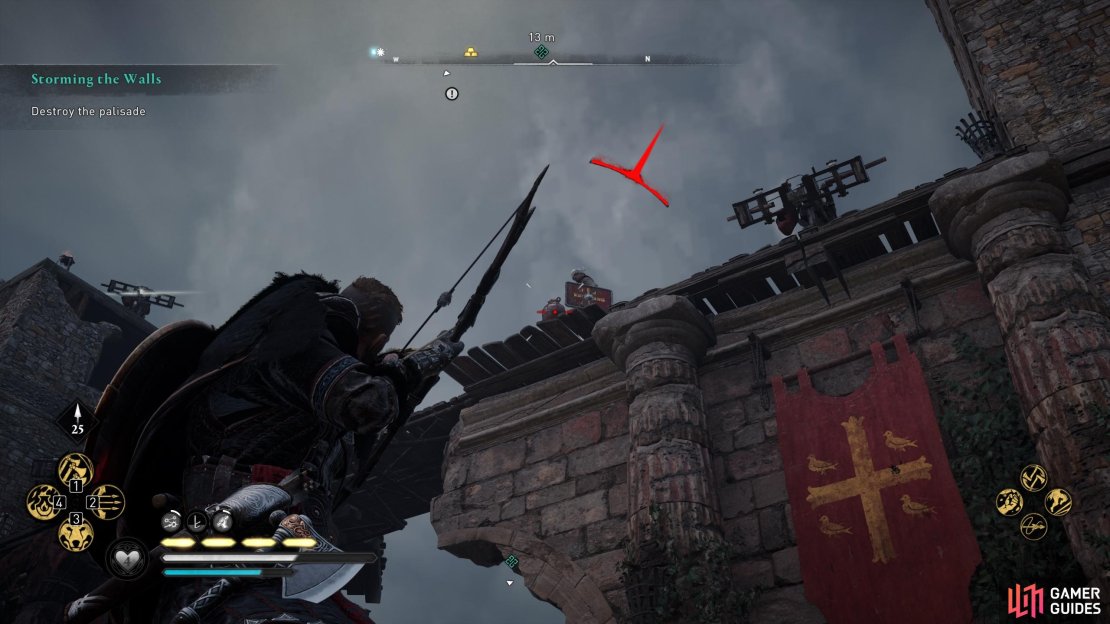
Once both blockades are destroyed, the real challenge begins. This gate won’t be as easy as some others that you’ve encountered so far were. Before you bring the battering ram to the gate, you should take out the springalds on the walls. You can do this by shooting the mechanisms which are highlighted in red. If you don’t destroy the springalds first, you will lose a lot of warriors and there won’t be enough left to move the battering ram forward.
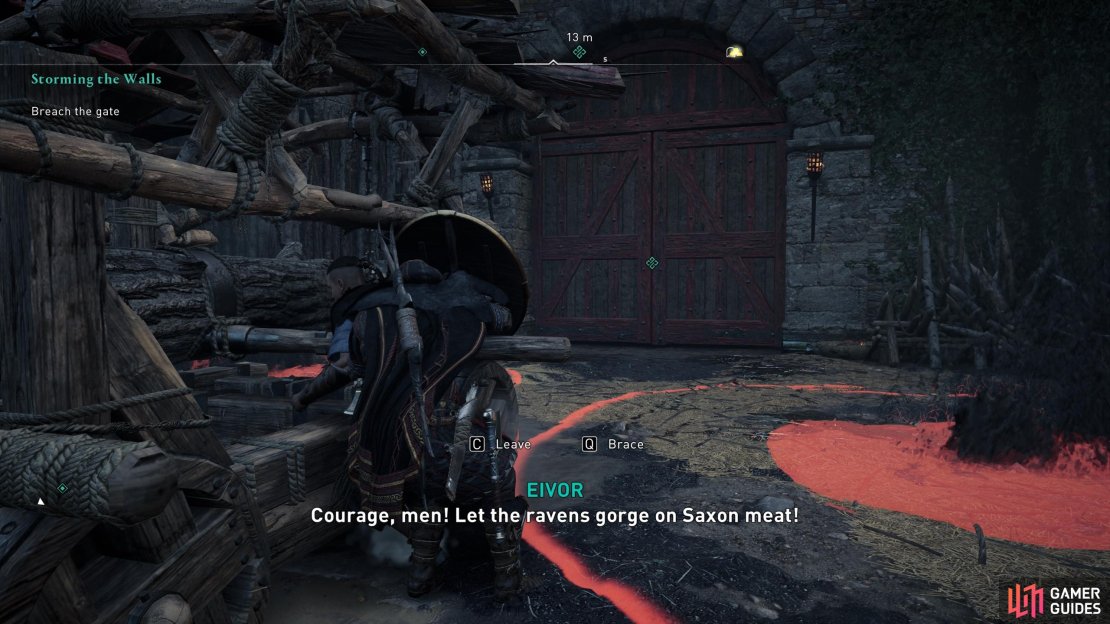
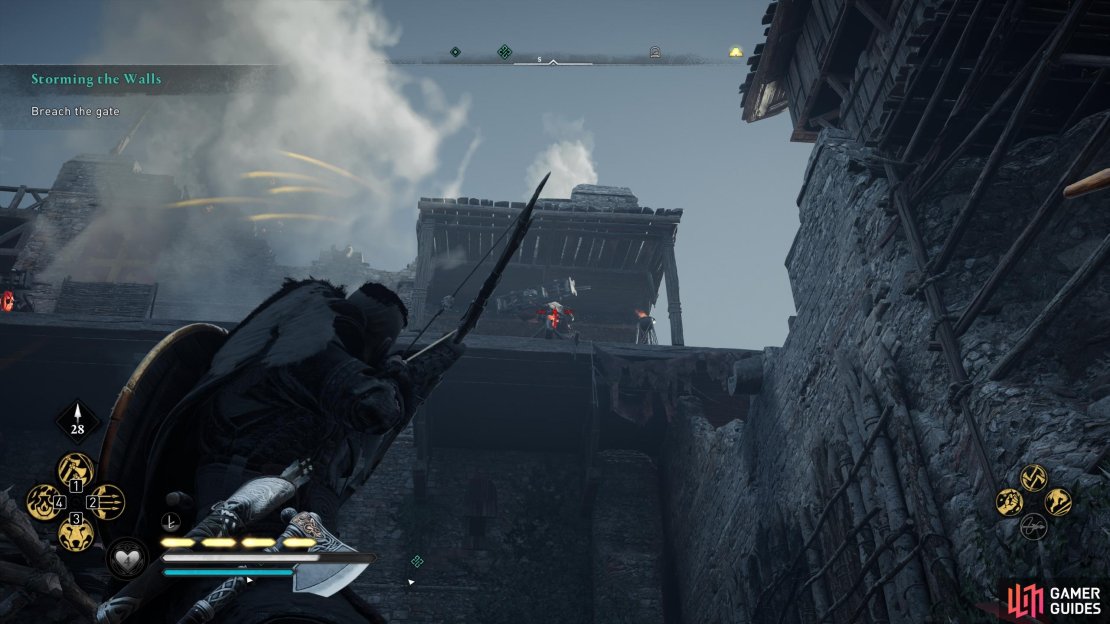

In addition to the springalds, you’ll want to destroy the oil cauldrons on the walls to the east and west. You can do this in the same way that you destroy the springalds; by shooting the mechanism highlighted in red. Once both the springalds and oil cauldrons are destroyed, you should be free to use the battering ram unhindered, leaving your archers to deal with the remaining enemies on the ramparts. For the strongest hits to the gate, wait for a golden aura to appear around Eivor as you draw back with the ram, then release.
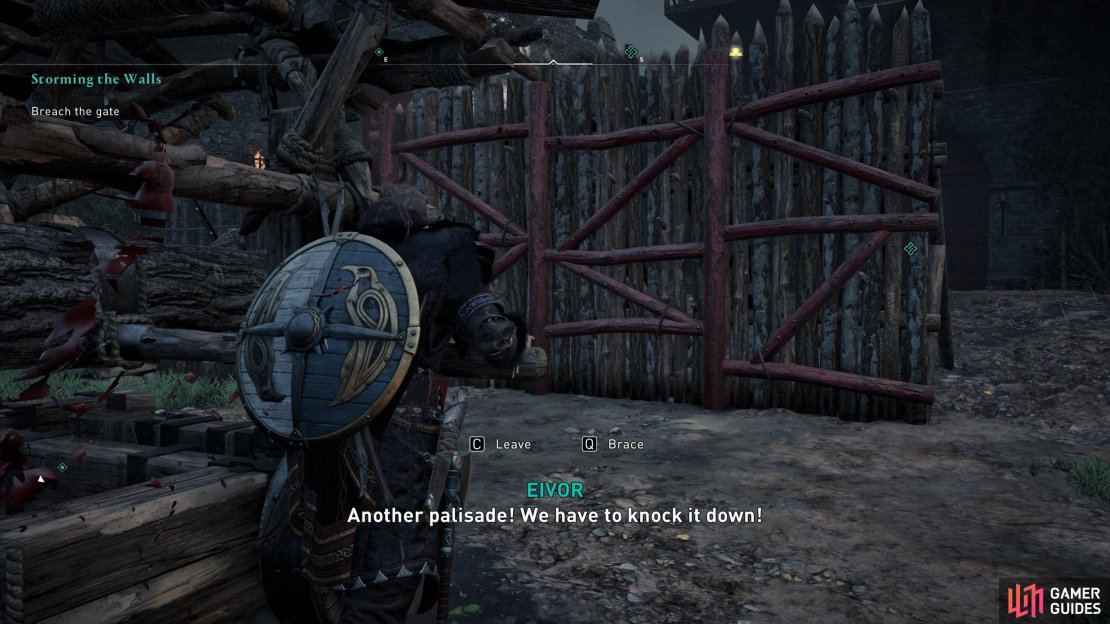
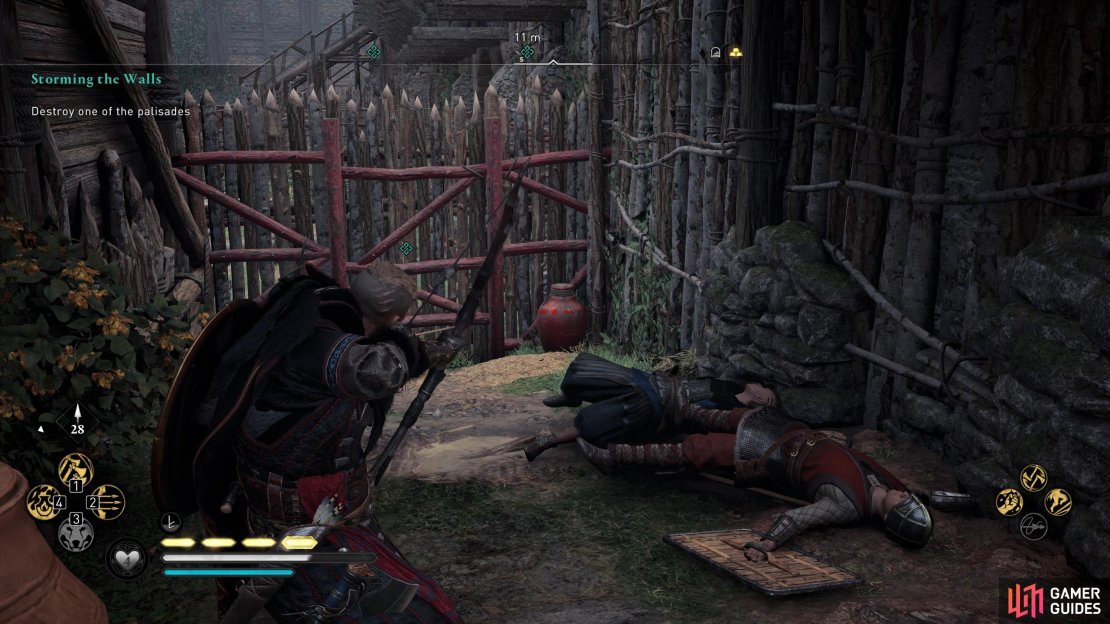
Destroy the Palisades & Raise the Portcullis
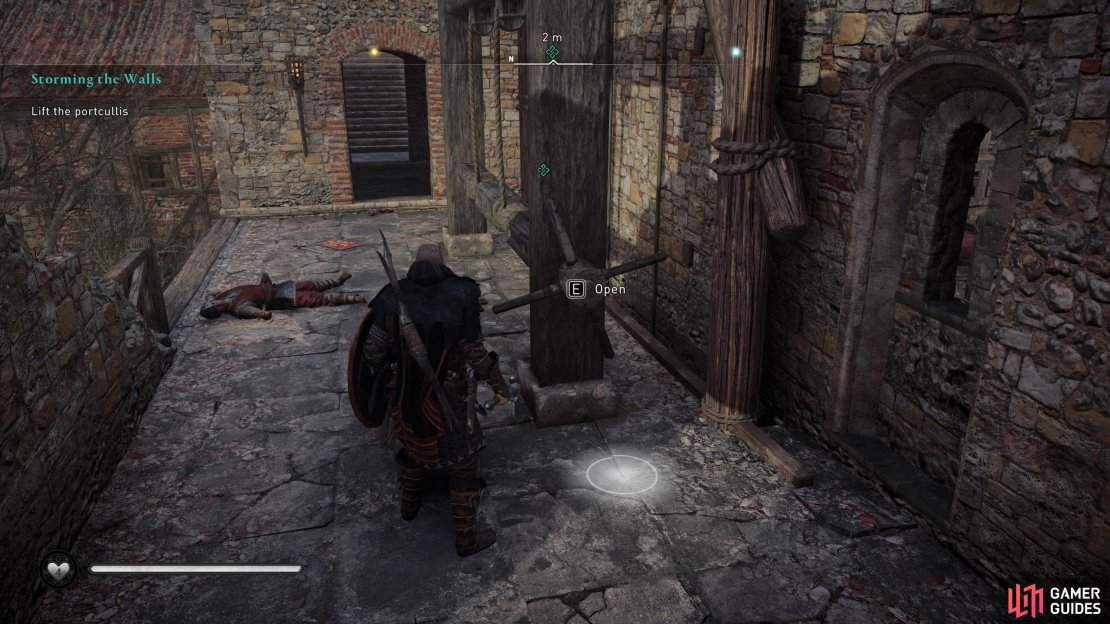
Once you’ve breached the main gate, you’ll need to destroy the palisades inside. There will be a lot of Saxon warriors to contend with here, so you might want to help your allies in thinning their number first. When you’re ready, shoot the fire pot beside the palisade to the south. This will grant you access to the portcullis further south and west up the steps, which you’ll need to raise. Just interact with the lever and hold it down until the portcullis is raised.
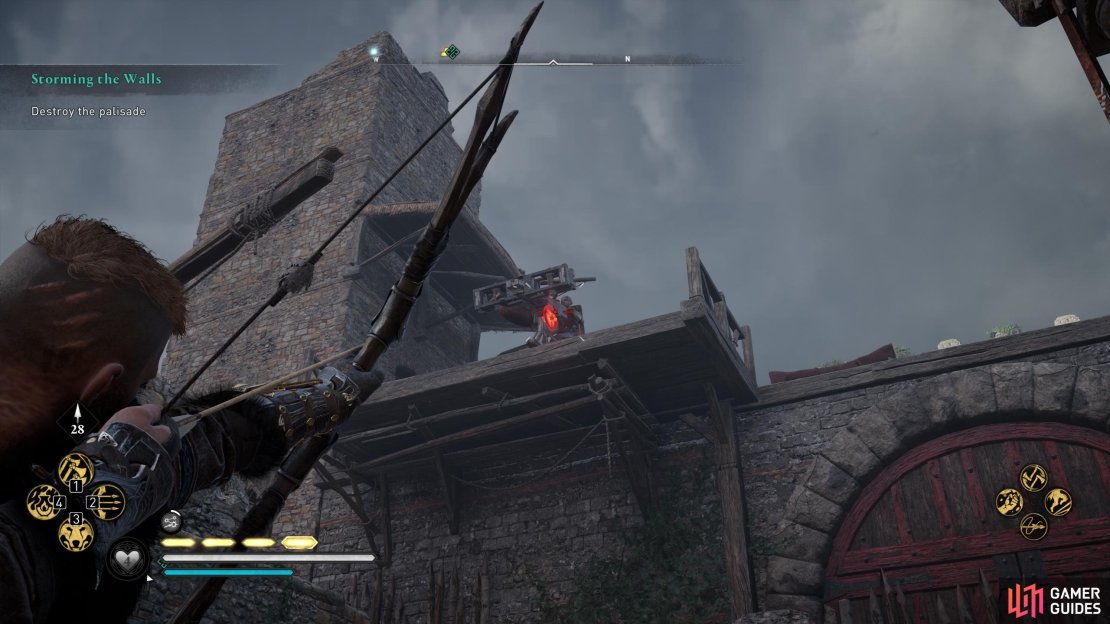
When you’ve raised the portcullis, you’ll need to take out the springalds on the walls to the north in the same way that you did at the first gate, by shooting the mechanisms highlighted in red. While you’re at it, be sure to shoot any fire pots you see next to them to kill the archers on the walls. Once all the springalds are destroyed, take a fire pot from nearby (you’ll find plenty in the area) and throw one at the palisade in the north to destroy it.
Enter the Keep and Chase Fulke
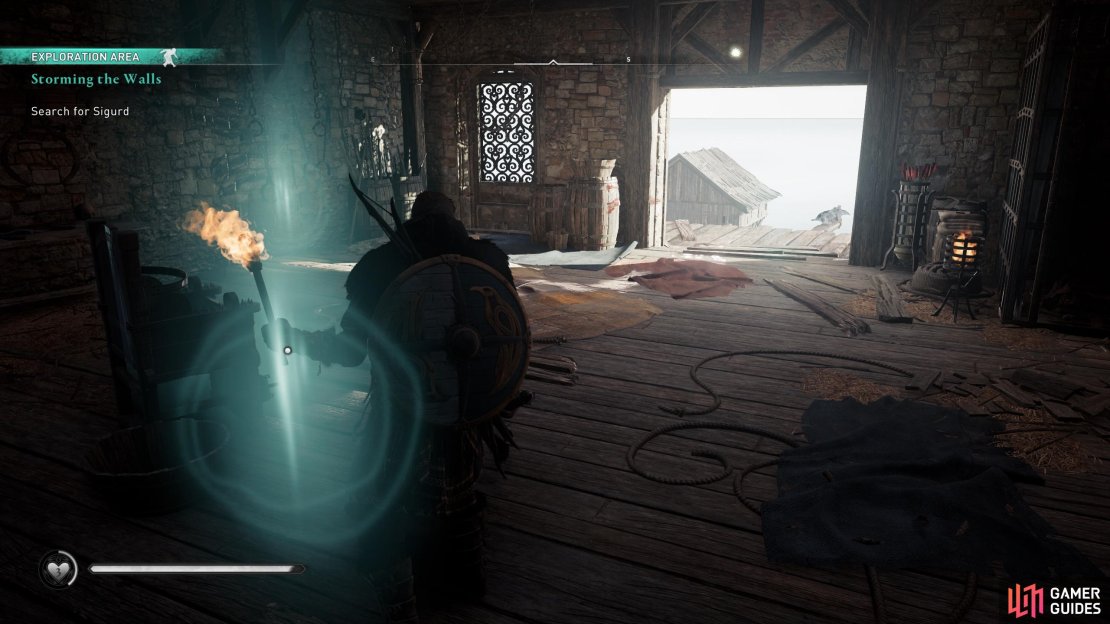
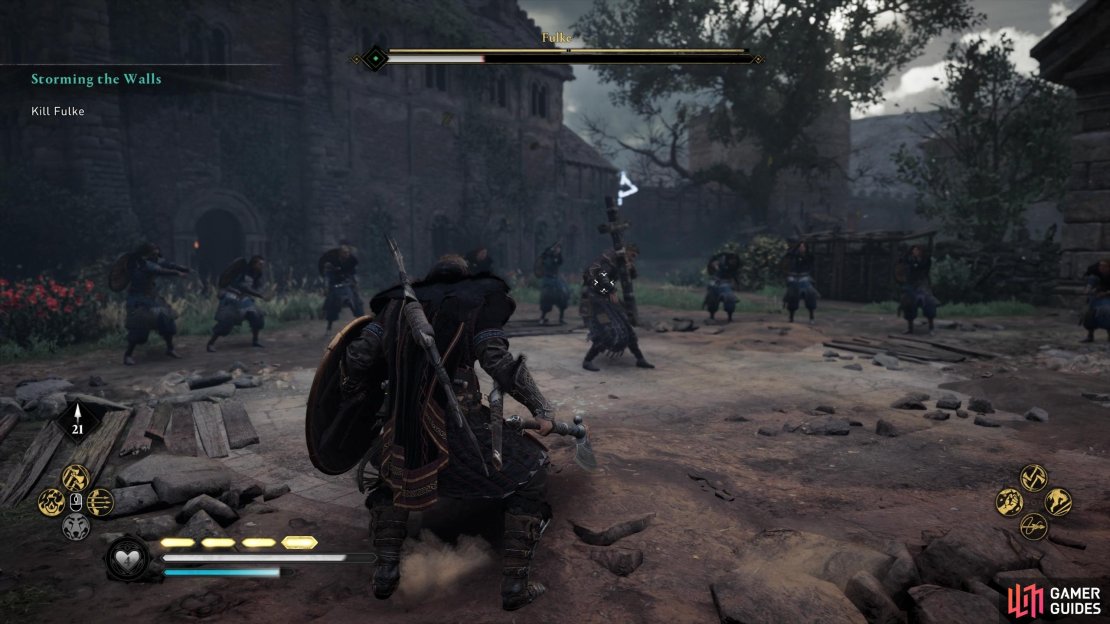
After destroying the last palisade, you can make your way to the keep in the south. You don’t need to bother fighting any more troops here (unless you really want to!). Just run toward the keep until you reach the entrance, then kill the commander and loot the key to the keep from them.
With the key in hand, enter the keep and run up the stairs in search of Sigurd. On the first floor you’ll encounter a Banneret, but they shouldn’t take too long to bring down, especially with your allies beside you. At the top of the keep you’ll find a room containing torture implements. Inspect the blood on the floor in the centre of the room, then the wall to the east. After that, walk out into the light to the south to begin a cutscene.

(1 of 4) You’ll need to defeat Fulke’s Champion if you spared him to obtain the key. Otherwise, it’ll be found on a random elite unit.
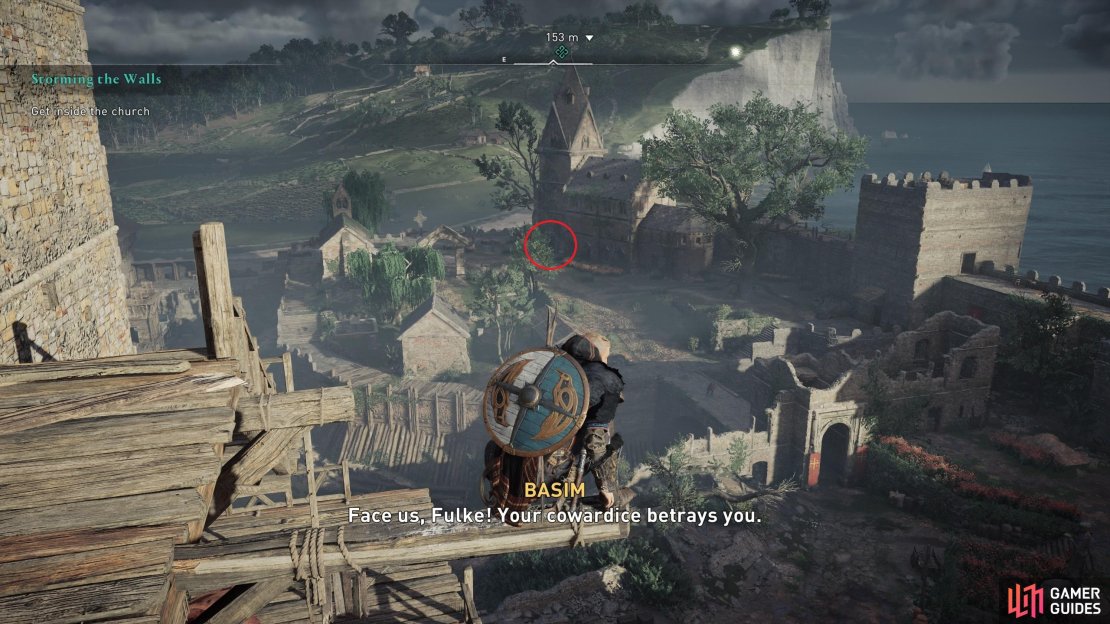
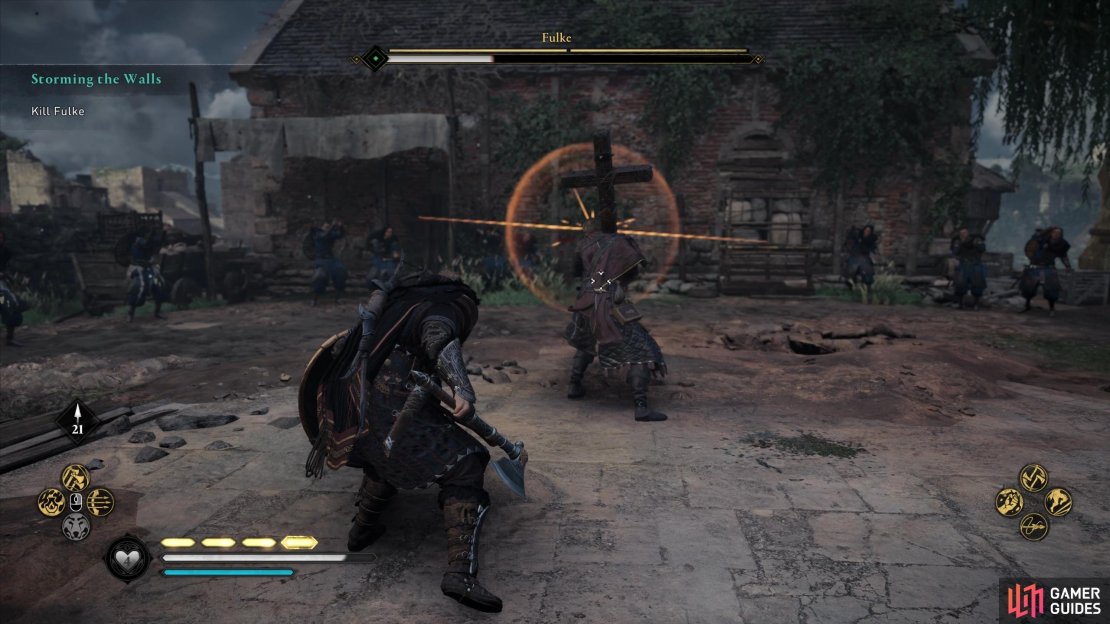
After the cutscene which begins when you step outside, you’ll need to chase Fulke to the church in the east. To get there quickly, dive into the hay beneath you and use the zip wire toward the exit. As you head over the bridge to the east you’ll be confronted by a number of guards. Fight through these with your allies and then continue on to the church.
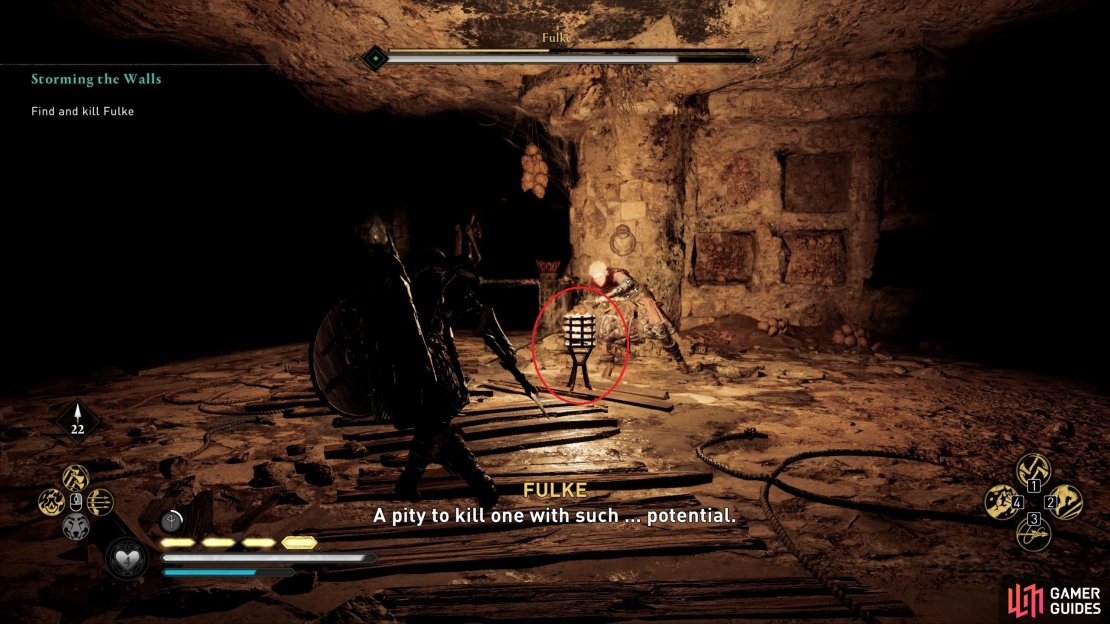
When you enter the church, a cutscene will begin. After this you’ll need to follow Fulke beneath the church and confront her.
Boss Fight: Fulke
First Phase
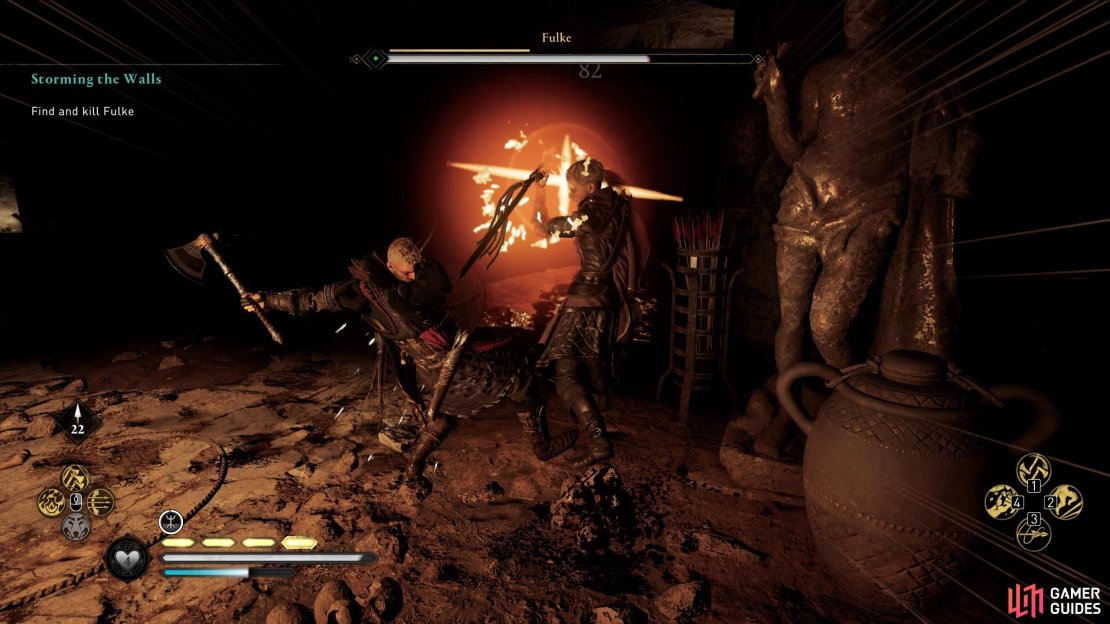
The first phase of the fight with Fulke will involve her running through the darkness and attacking you by surprise. Once she’s in the light, she will stay there most of the time, and you’ll have an opportunity to hit her with a combination of light and heavy attacks. Don’t get greedy though: she will perform a block that you won’t be able to strike through if you attack too often. Instead, you’ll need to create some space from her to reset her stance to neutral.
Most of Fulke’s attacks can be blocked or parried, but you’ll need to watch out for her red rune aura attacks. When you see these, dodge, roll, or run out of the way, as you won’t be able to block or parry them. When Fulke initiates a special attack, this is a perfect time to dodge (especially if you have the Brush with Death skill), allowing you to target her back and hit the weak point there. Her other weak point can be found on her right foot.
Every so often, Fulke will retreat back into the darkness and attempt to flank you. Keep an eye on the boundary of the light when she does this, and you should be able to see glimpses of her movements to get an idea of where she might emerge. If you do get hit by surprise from the dark for a high amount of damage, try to retaliate as soon as possible if you have the Grit skill, as this will replenish the health you’ve lost from the last hit.
Fulke will sometimes stop in the darkness and attempt to throw a fire bomb at you, but this will be indicated by a red mark on the screen, similar to the one which appears when you’re about to be hit by a missile. The fire bombs can be dodged fairly easily, just make sure you perform the dodge or roll at the moment that Fulke throws the bomb.
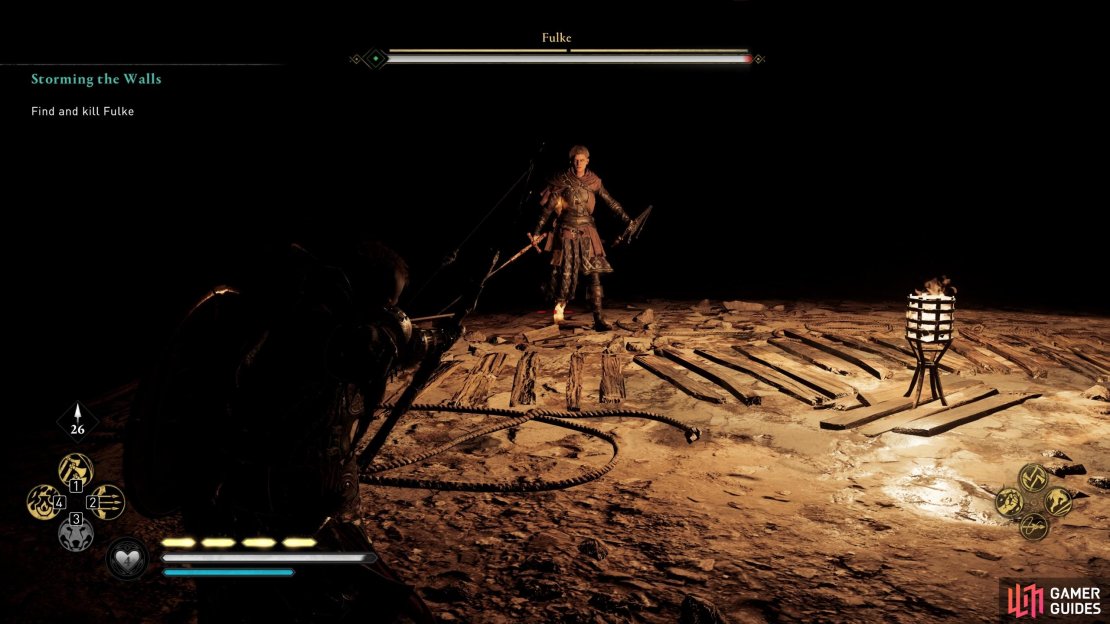
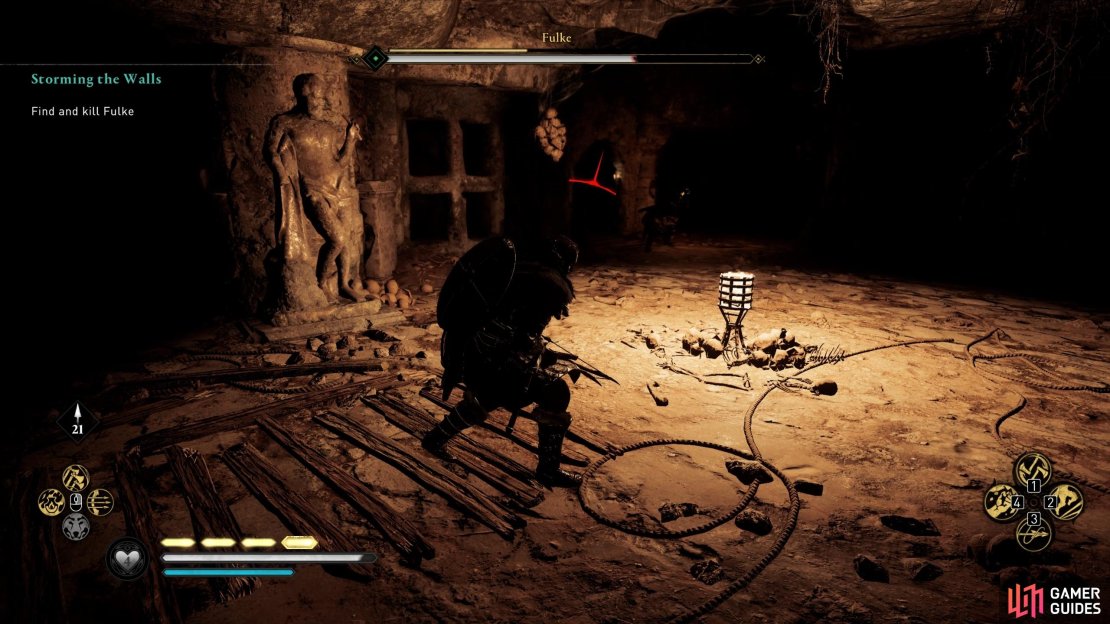
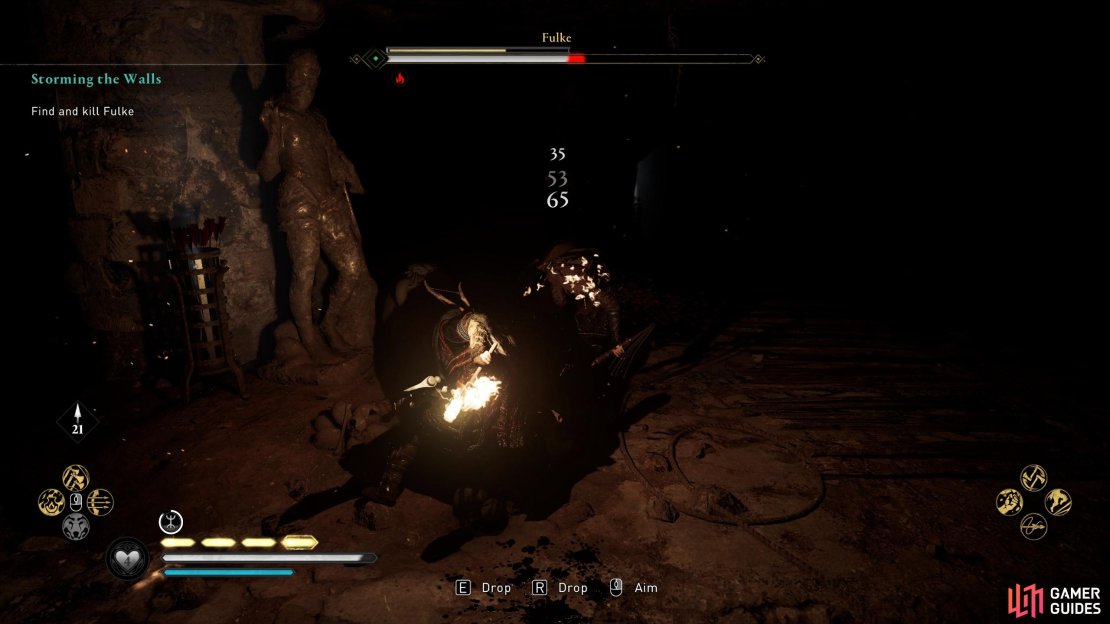
Another option in terms of identifying the location of Fulke is to hold a torch in one hand. This will not only light the area around you, but it will also apply fire damage over time to Fulke upon a successful hit. You won’t be able to see much further than a few metres in front of you with the torch, though.
Second Phase
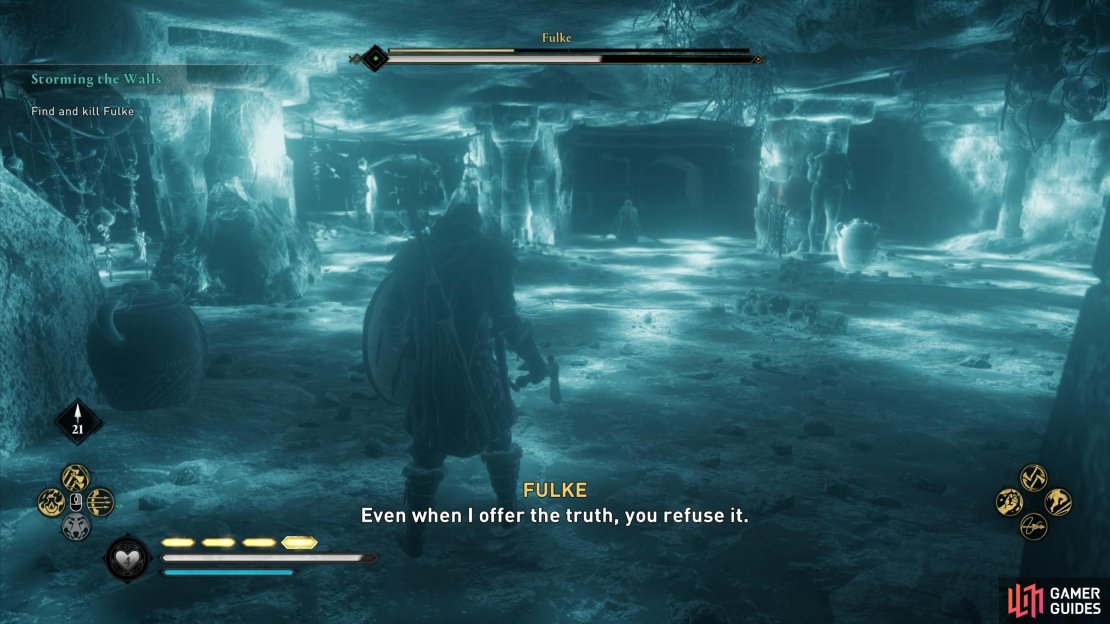
The first phase of the fight will end when Fulke is brought down to between about half and a quarter of her health. At this point a cutscene will begin, and you’ll need to chase Fulke up the steps outside.
This second phase of the fight is shorter than the first. You’ll find that Fulke now has weak points on her right foot and back again. If you manage to hit both of these and perform a stun attack, most of her health should be depleted by that time. It’s a good idea to at least try to hit these weak points from a distance while you still have arrows.
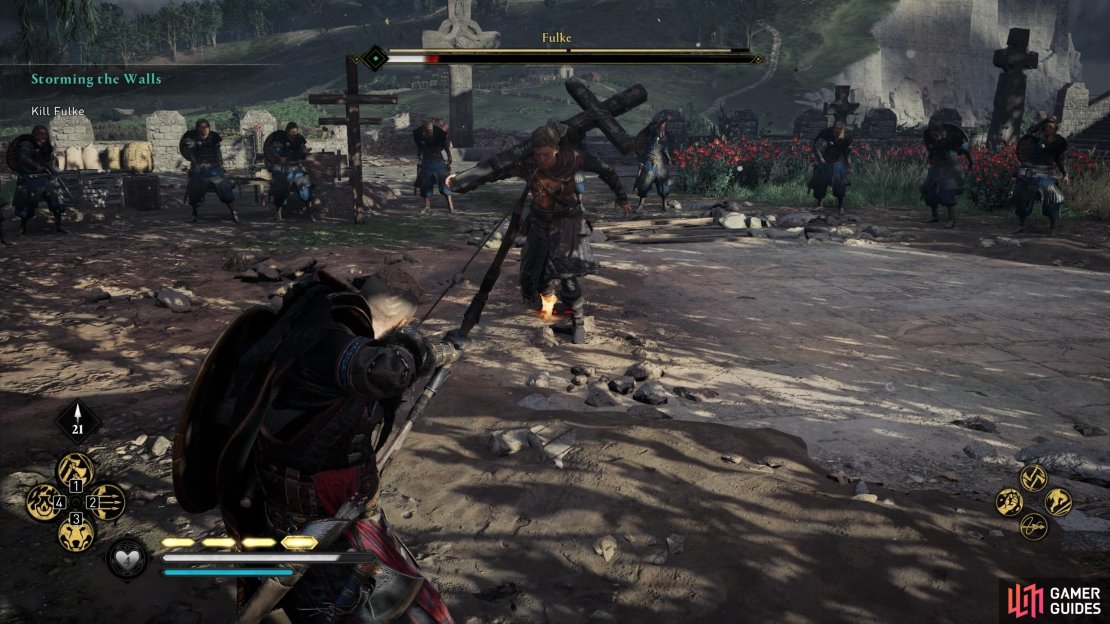
(1 of 3) Avoid being hit by any of Fulke’s attacks when she’s wielding the cross. All of them will inflict a lot of damage.
Whether you perform a stun attack or gradually bring Fulke down with regular light and heavy attacks, you should find this phase of the fight much easier. Fulke will be slower while wielding the large cumbersome cross, but if she does land a hit it will deplete your health significantly.
When you see a blue rune above Fulke’s head, and her cross highlighted in the same color, don’t approach her during this time. If you do, you won’t be able to break through the defence stance and you’ll succumb to a surprise attack which can inflict a significant amount of damage.
Although Fulke is generally slower during this phase, she will sometimes strike surprisingly quickly with the cross if you get too close, so pay attention to her movements and maintain a reasonable distance so you have time to avoid an incoming attack. Sadly, the second phase of the fight doesn’t add much else in terms of fight mechanics, so it’ll be a fairly easy ride from here.
Deal with the Saxons
Once Fulke is dead and the cutscene is over, you’ll need to fight a few more Saxons who have arrived as reinforcements. You should have most of your allies by your side at this point, except for Basim who has already taken Sigurd to Ravensthorpe. You’ll need to kill all the remaining Saxons before the quest completes.
No Comments