This quest begins immediately after The Siege of Paris. Now that you’ve broken through the walls of the city and defeated Bishop Gozlin, the last threat in Paris is Count Odo. You can make your own way into the palace, or you can speak with Nolwenn to go underground. We recommend the latter method.
The Count of Paris, Siege of Paris DLC.
Follow Nolwenn the Smuggler to the Palace
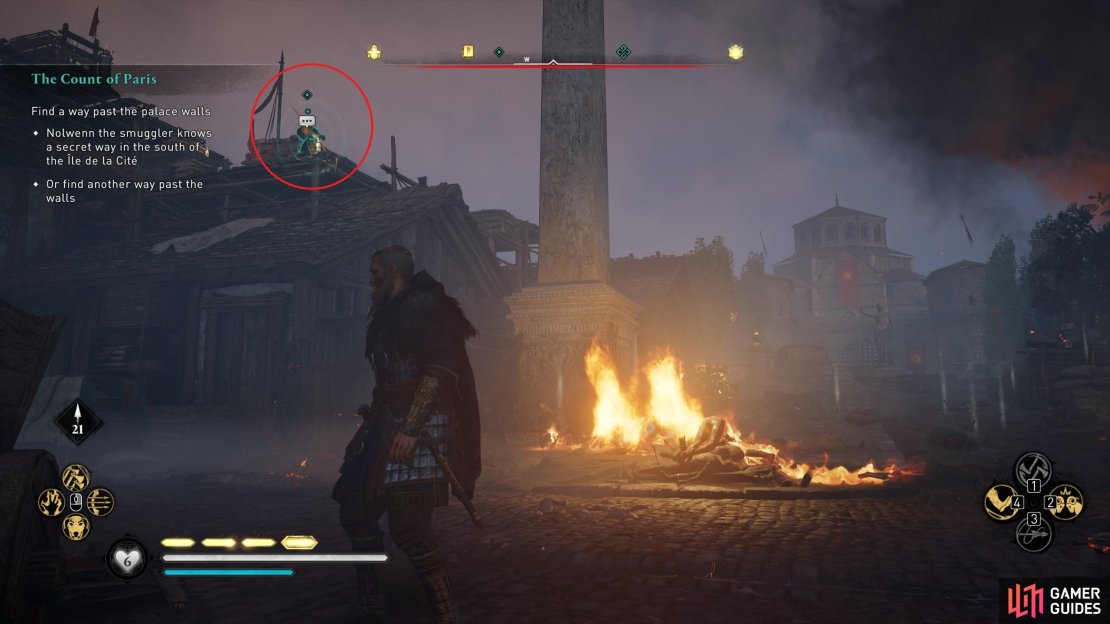
As you’re facing the palace toward the northwest from where the quest begins, head forward and defeat any soldiers that you come across. You won’t be able to speak with Nolwenn if you’re actively engaged in combat. Use Odin’s Sight as you move westward to highlight Nolwenn, then speak with her when you’re ready. You’ll need to look for her atop a house next to a tall pillar. After the brief exchange with Nolwenn, she’ll offer to show you how to enter the palace using the sewer network. Follow her along the rooftops until you reach a group of soldiers. You’ll need to kill them all before Nolwenn will proceed. Once they’re all dead, follow her into the house and down the ladder into the sewer network.
When you reach the sewer network with Nolwenn, she’ll part ways and leave you to make your own way into the palace. The path is fairly simple from here, so just follow the linear route through the tunnel system. You’ll need to run past some rats or force them into the sewer grate by slashing at them with your weapons, but they won’t follow you far if you choose the former method. Eventually you’ll come across some soldiers in the sewer network. You can take these out quietly with assassinations, or kill them in open combat. It won’t matter much. When you emerge from the sewer network, you’ll find yourself inside the palace walls.
(1 of 3) Speak with Nolwenn on the rooftop by the stone pillar.
Find and Confront Count Odo
Follow the Troublesome Maid to the Underground Tunnels
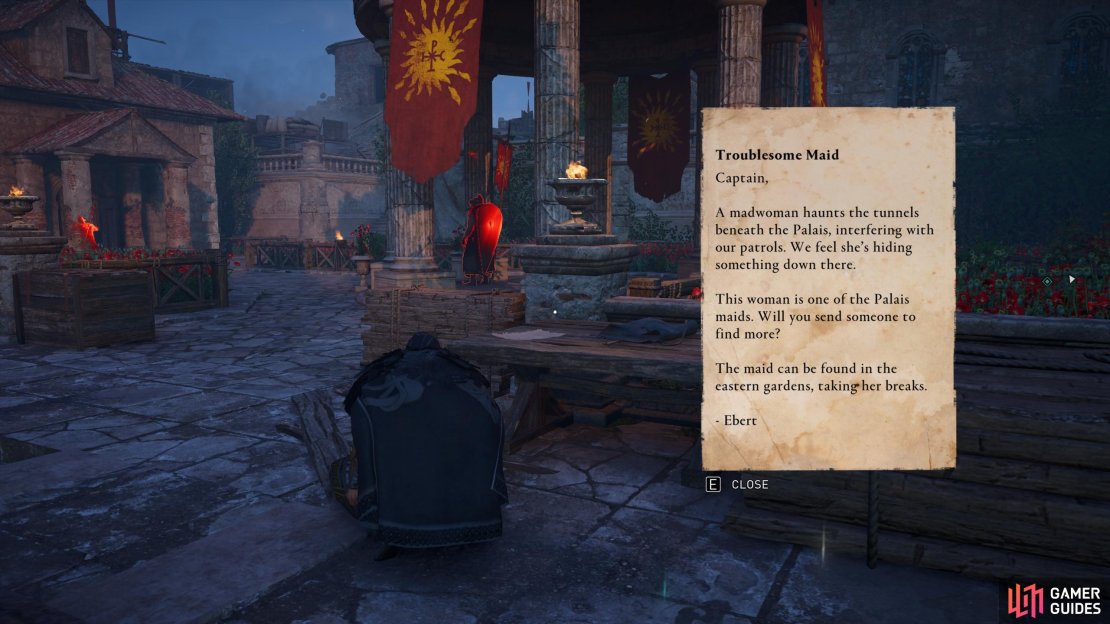
Now that you’re inside the palace walls, it’s time to explore and locate Count Odo. You’ll find your first lead into the palace itself by reading a note about a Troublesome Maid, which can be found just up the steps to the north from where you exited the sewer network. You should be able to avoid detection from the guards here relatively easily, but don’t worry too much if you’re caught. You can kill all the soldiers in the courtyard without raising an alarm. After reading the note, an objective marker will appear on your compass to the north, revealing the location of the troublesome maid. When you find her you’ll overhear some amusing dialogue, then she’ll begin to run away. Follow her to the tunnels underneath the palace to gain entry.
Kill the Jailor and Take the Key
When the maid stops inside the tunnels, you’ll find a way forward being blocked by a barricade to the south. Push the barricade in (this may take a few seconds), then follow the tunnels through the gate on the western side. Here you’ll find a note on a table detailing some Jailor’s Orders, indicating that you’ll find a guard upstairs who holds keys to some of the palace interior doors. From here, run up the stairs to the south until Eivor notes that they’re inside the palace. You should be able to see the guard with the key in the next room from here, but be sure to use Odin’s Sight if you need to highlight them. All you need to do now is kill the guard and take the key, but you’ll likely alert the other soldiers (including two elite Gedrihts and two Standard Bearers) to your presence in the process, so be ready for a fight.
Speak with Henriette in the Kitchen and the Priest Walter du Sens
Once you’ve killed the jailor and taken the key, go back downstairs to where you found the jailor’s orders. You can now open the gate to the west in this room, leading to the underground cells. You’ll find two guards in the first room that you encounter, but these can be easily assassinated. Follow the tunnel system up the flights of stairs until you reach the kitchen, then speak with a woman there named Henriette. You’ll learn from her that Theodrate, Count Odo’s wife, lies mortally wounded in her room. Henriette will ask you to go upstairs and speak with a drunken priest named Walter. To find him, head up the stairs on the northern side of the kitchen, and take the bottle of wine on your right as you reach the top. This will come in handy when speaking with Walter.
Speak with Theodrate in the Master Bedroom
With the wine in hand, break the lock on the door to the south and proceed through it. You’ll find Walter lying on the floor just up the stairs to your left when you enter. An exchange will ensue, during which Eivor hands Walter the wine, and Walter reveals where Theodrate can be found, in the master bedroom. Walter will give you the key to the bedroom, so all you need to do is go back downstairs and cross the hall to the west. You can sneak your way there if you remain crouched, but you may need to assassinate a few guards along the way. When you enter the bedroom a cutscene will begin, during which you’ll need to tell Theodrate who you are. It doesn’t matter which option you choose here, as her sight is dimmed by approaching death, but the third charisma option will be the most seamless. By the end of the scene, Eivor will have the key to Count Odo’s sanctum, located just across the hall from the master bedroom, on the eastern side. When you enter, a cutscene with Odo will begin, leading to a boss fight.
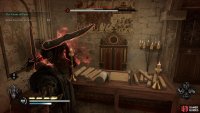
(1 of 6) Read the note in the grounds of the palace which leads you to the troublesome maid.
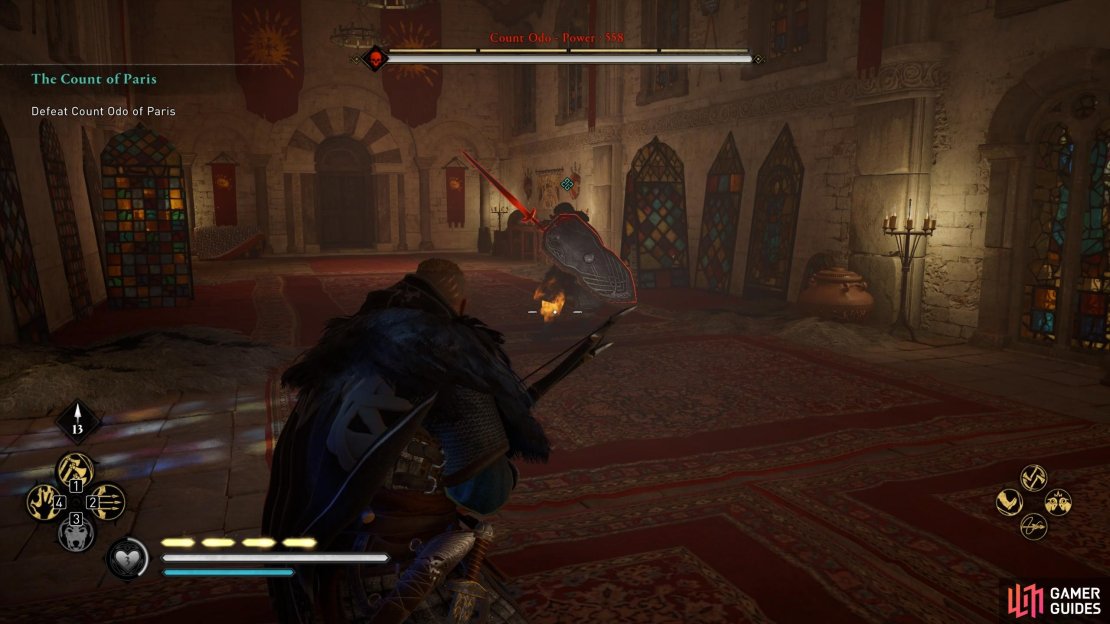
Boss Fight: Count Odo
The fight with Count Odo will be one of the most challenging during the Siege of Paris DLC so far, at least if you’re playing on the highest difficulty and scaling settings. Count Odo can kill you with just a few swipes of his sword if you’re caught off guard, so it’s important to know how to counter his attacks. However, the first thing you should be aware of is Count Odo’s weak points, which are located on his right leg, and on his back. Hitting these will briefly stun Count Odo, and make him vulnerable to a stun attack. The weak point on his right leg is easy enough to hit by waiting for him to initiate an attack, leaving his leg open while his shield is no longer protecting his front. The weak point on his back can be more tricky to hit, but the easiest way to do it is by dodging an attack to slow time (requires Brush with Death skill), then shooting the weak point while time is slowed and Odo is stationary.
Count Odo has a number of special red rune aura attacks, the most common of which comes in the form of a quick charge and stabbing attack. This cannot be blocked or parried, but you can easily dodge or roll out of the way if you react quickly and move as soon as you see the red rune aura above his head. You’ll also be able to tell when this attack is incoming when Odo raises his sword backwards and in the air. Aside from dodging or rolling away, you can actually stop this attack and briefly stun Odo by shooting at him as he charges, but this will be difficult to pull off while his shield blocks most of his front body.
Another red rune aura attack to look out for comes in the form of Odo throwing projectiles at Eivor. This will happen if you maintain your distance from Odo for too long, and the projectiles will stun Eivor if they hit. You can easily avoid these projectiles by moving out of the way with a dodge or roll as soon as you see the red rune aura appear, but don’t dodge or roll directly toward Odo, as this will put you in his line of fire. The third red rune aura attack is a retaliatory blow which Odo will use if you corner him or chain too many attacks in a row. The attack consists of Odo smashing you with his shield, which will knock you over and stun Eivor for a brief time. This one is difficult to avoid once initiated, as the strike is swift, but it can be done if you’re fast enough.
Aside from the red rune aura attacks, Odo will spam chain attacks with his sword. If you’re playing on high difficulty settings, it will only take 2 - 4 hits of these basic attacks to completely deplete Eivor’s health, so it’s worth avoiding them at all costs. The most effective way to counter these attacks is by parrying or blocking them, which will in turn stun Odo for a brief moment, allowing you to counter. This won’t always be possible however, and if you’re not too confident with your timing of parries and blocks, you’ll find it easier to dodge or roll away from the chain attacks. However, you should also be careful using this method, as you can quickly run out of stamina if you dodge or roll too much, leaving you vulnerable to attack with no way out for a few seconds.
Count Odo’s shield provides him with excellent defence, so you’ll need to flank him frequently if you want to strike with a few light attacks. Heavy attacks will be sufficient to break through Odo’s shield defences, but these can leave you vulnerable to a depletion of stamina, so try not to spam these too much. Another way to eat away at Odo’s health is to aim for his head with your arrows, inflicting maximum damage with projectiles (at least after you’ve hit all of his weak points). Finally, you’ll want to utilize all your high damage special abilities whenever you can, which should provide you with some breathing space as they stun Count Odo, while also inflicting significant damage.
Once Odo loses around half of his health, he’ll begin to drink healing potions to replenish it. You’ll need to pay close attention to when this occurs, indicated by a white rune aura above his head, since he can heal a great deal of health in a short amount of time if you don’t interrupt him. A shot with the bow won’t be sufficient to interrupt the heal, so you’ll need to charge him with melee attacks instead. Alternatively, you can quickly use a special attack such as Throwing Axe Fury or Harpoon Impalement, which will swiftly interrupt Odo and stun him for a brief moment.
So long as you’re aware of what Odo is capable of in terms of the combat mechanics noted above, you should be prepared to take him out first try. The key is to be patient with your attacks and time them at the right moment to avoid swift retaliation, which can be punishing at high difficulty settings. By maintaining your stamina and countering Odo’s special attacks, you’ll always have the upper hand.
Should You Encourage Sigfred to Take King Charles’ Silver?
After the fight with Count Odo, a cutscene will begin during which you’ll need to make a decision with Sigfred and Toka. You can choose from the following dialogue options:
“Take the King’s money.”
“Charles cannot be trusted.”
“You lead this army.”
Regardless of your own choice preference, the scene will result in Sigfred accepting Charles’ offer and taking the silver in exchange for a truce.
Should You Give the Boy (Bernard) to King Charles?
Once you’ve dealt with the matter of the silver from Charles, he will ask Eivor to hand over Bernard, the king’s only heir. At this point you’ll need to decide between the following dialogue choices:
“You may have the boy.”
If you choose to give the boy to Charles, Bernard will be happy enough about it, since he doesn’t know the true nature of his father yet. Charles will welcome him into his arms and all will seem well, for now.
“I will not hand over the boy.”
If you choose not to hand over the boy to King Charles, Charles will become infuriated and begin a fit of rage, before Sigfred interferes and forces Charles into silence. However, Charles will state that the matter is not over between him and Eivor.
If you want to find out what happens as a consequence of your choice at a later stage in the story, see the spoiler below.
Ultimately, whether you give Bernard to Charles or not doesn’t impact the story in any lasting significant way, as Bernard will quickly run back to his mother, Richardis, once he sees the true nature of his father. However, Bernard will be less trusting of Eivor later in the story if he was given to the king, and Count Odo will not approve of the decision either. Toka will also thank Eivor if they didn’t hand Bernard to Charles. If you want to maintain good relations with them for roleplaying preferences, we recommend that you don’t give the boy to Charles.















No Comments