
This page details how to complete the Boudicca Tomb of the Fallen, including where to find the tomb, how to activate the pressure plates, and where to find the Fallen Hero Bracer and Fallen Hero Greaves.
Boudicca Tomb, Tombs of the Fallen.
Where to Find the Boudicca Tomb
The Boudicca Tomb of the Fallen can be found in East Anglia, just northeast of Brisleah Farm, or southwest of Elmenham. This one is significantly more complicated than the first tomb Manius’s Sanctum, located south of Ravensthorpe. You’ll need to activate four pressure points in total. The first two are relatively easy, but the second two require you to carry a spherical object through obstacles, even requiring you to throw them over gaps in the tomb floor at times.
Activate the Stone Pillar Pressure Plates
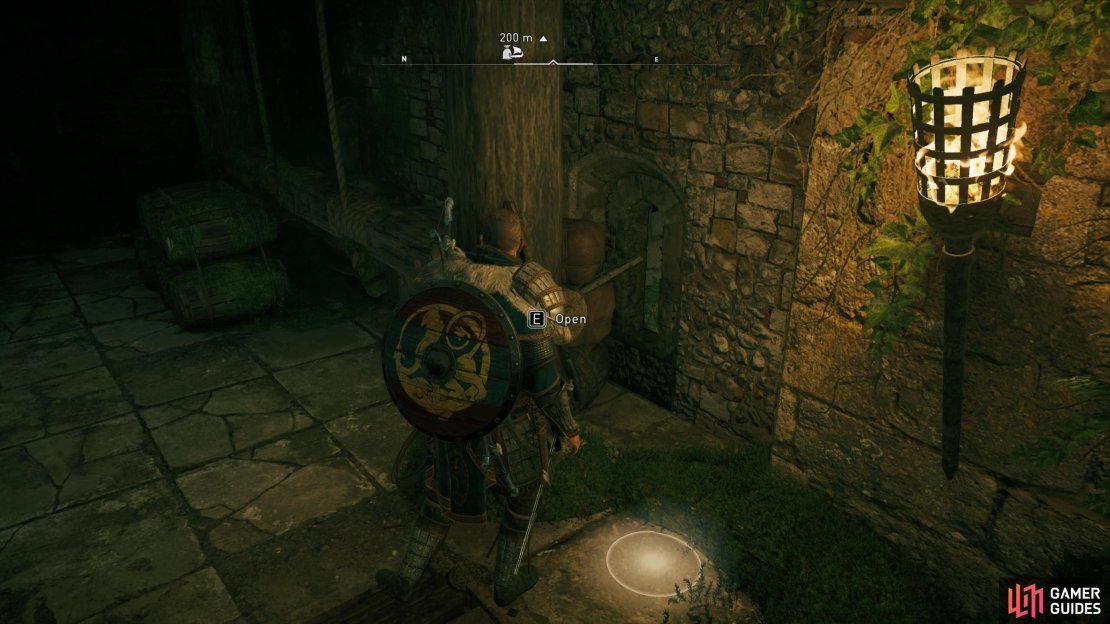
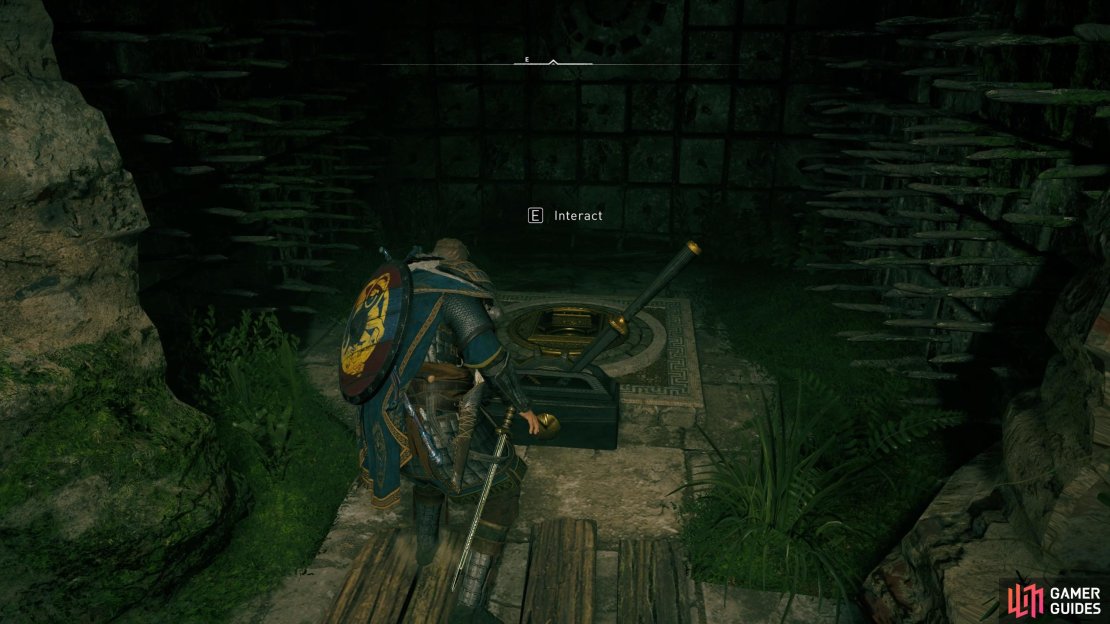
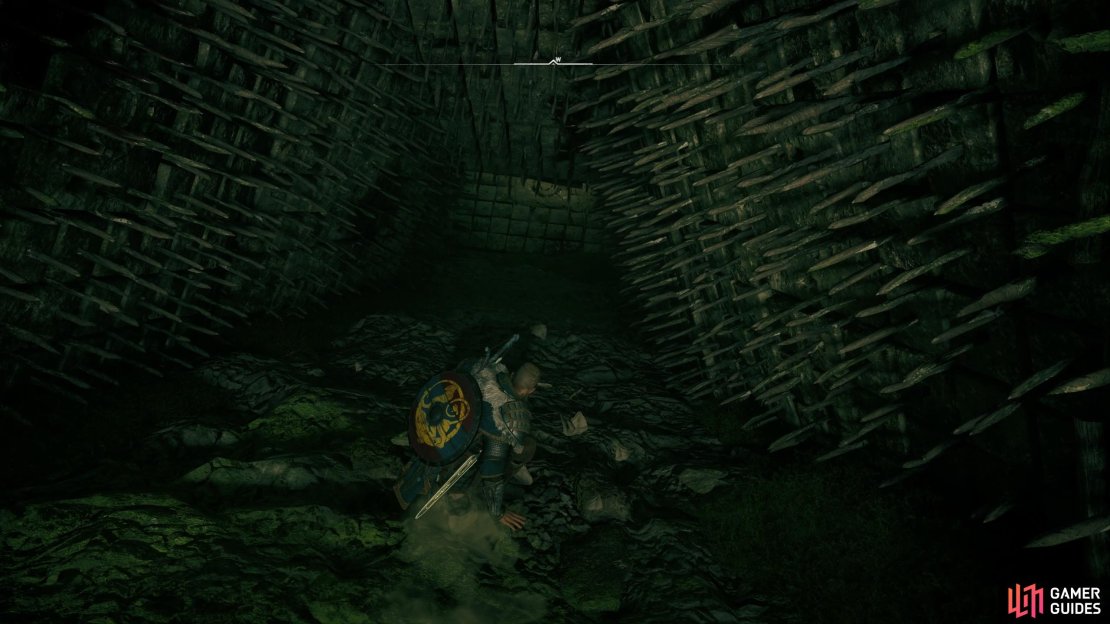
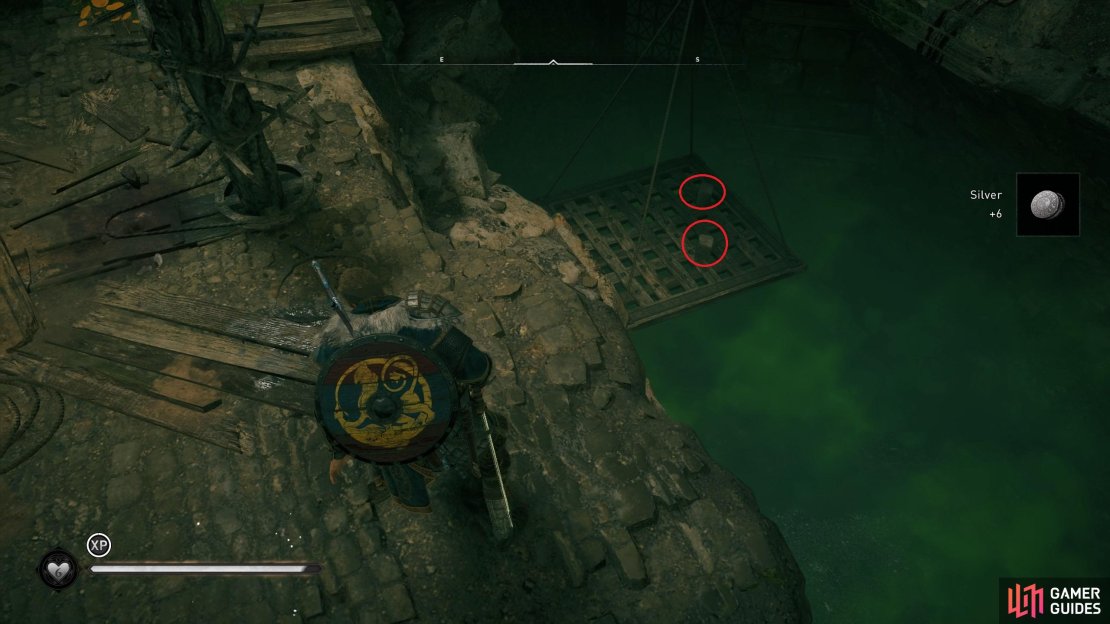
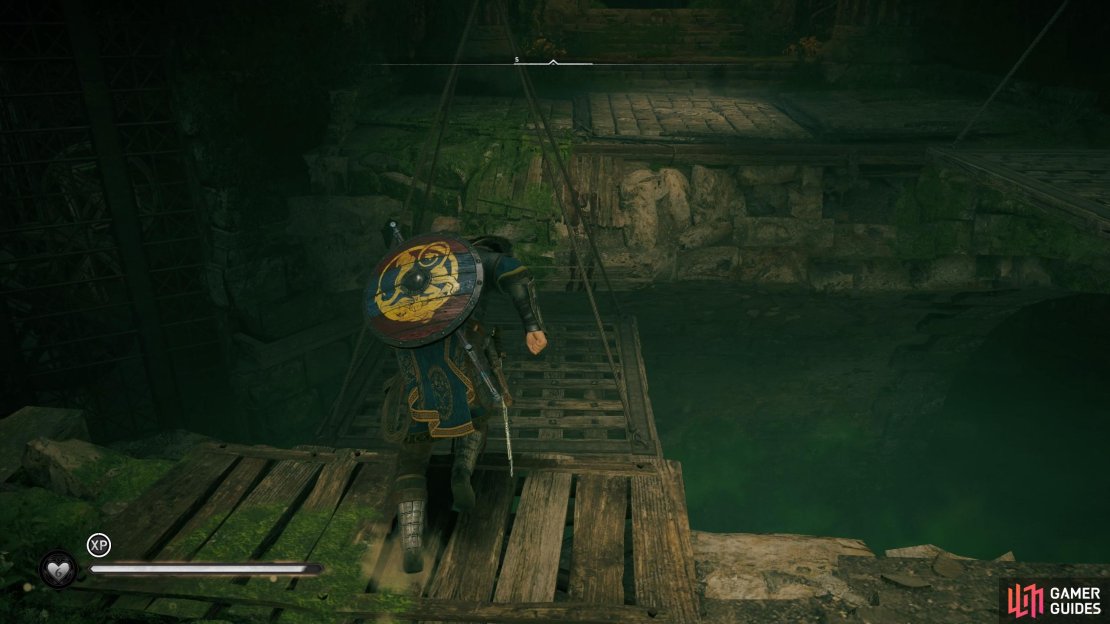
As you first enter the tomb you’ll need to slide down the rock while avoiding the traps all around you. At the bottom you’ll find a breakable wooden barrier. Shoot through this and then continue on to the main chamber. As you enter the main chamber a brief cutscene will play, indicating the general area for each pressure plate puzzle. You can do any of the puzzles in whatever order you prefer, but we started with the one on the eastern side. You’ll notice a climbable platform to the left of the breakable wooden barrier, up here you’ll find some silver and a minor loot chest. When you’re ready, move the stone pillar from behind the wooden barricade onto the pressure plate while avoiding the spikes.
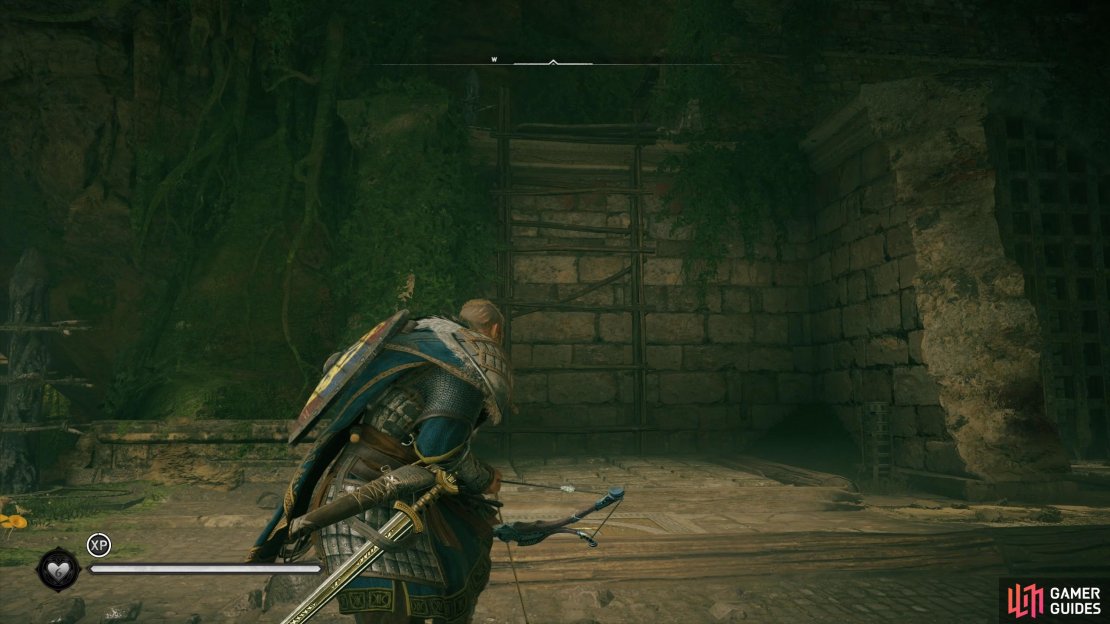
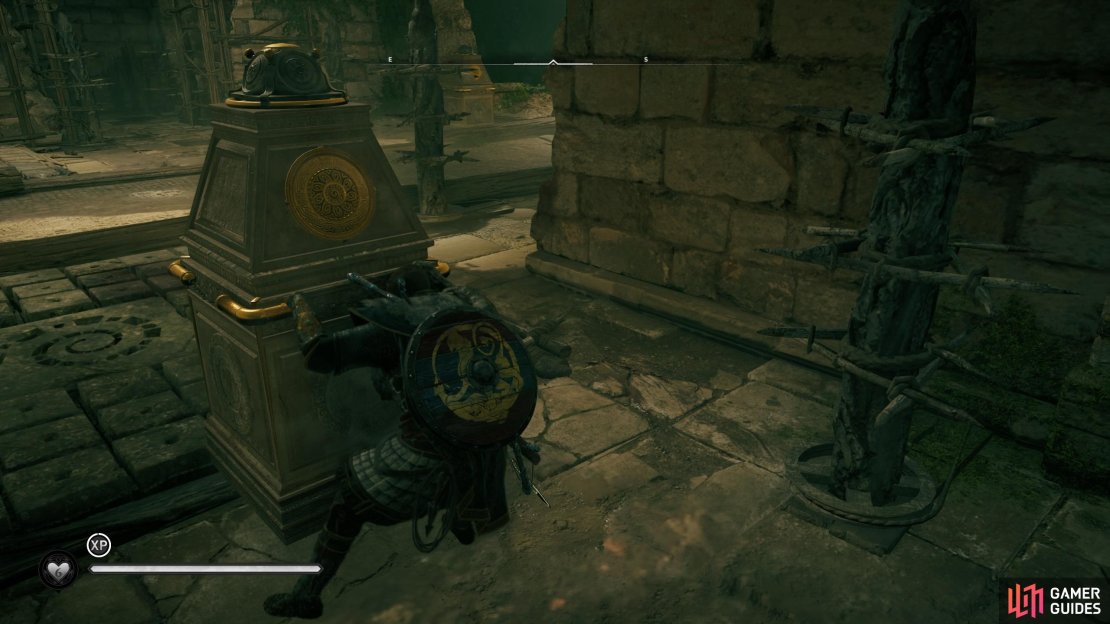
The second large stone pillar can be found on the western side, directly opposite the first. Here you’ll see a large locked gate with some scaffolding to the left of it. You’ll need to climb the scaffolding then turn right and climb the second set. At the top you’ll find a mechanism which you can interact with to raise the gate. Destroy the boxes and pots up here to loot some Opals, then head down and shoot the wooden barricade beneath you. Once you jump down the hole you’ll find the stone pillar and you can move it beyond the gate, onto the second pressure plate outside. Note that you’ll need to push the stone pillar around the spike trap on the floor, so you may need to move it from different angles.

(1 of 6) The location of Boudicca Tomb in East Anglia, northeast of Brisleah Farm.
How to Activate the Spherical Pressure Plate on the East
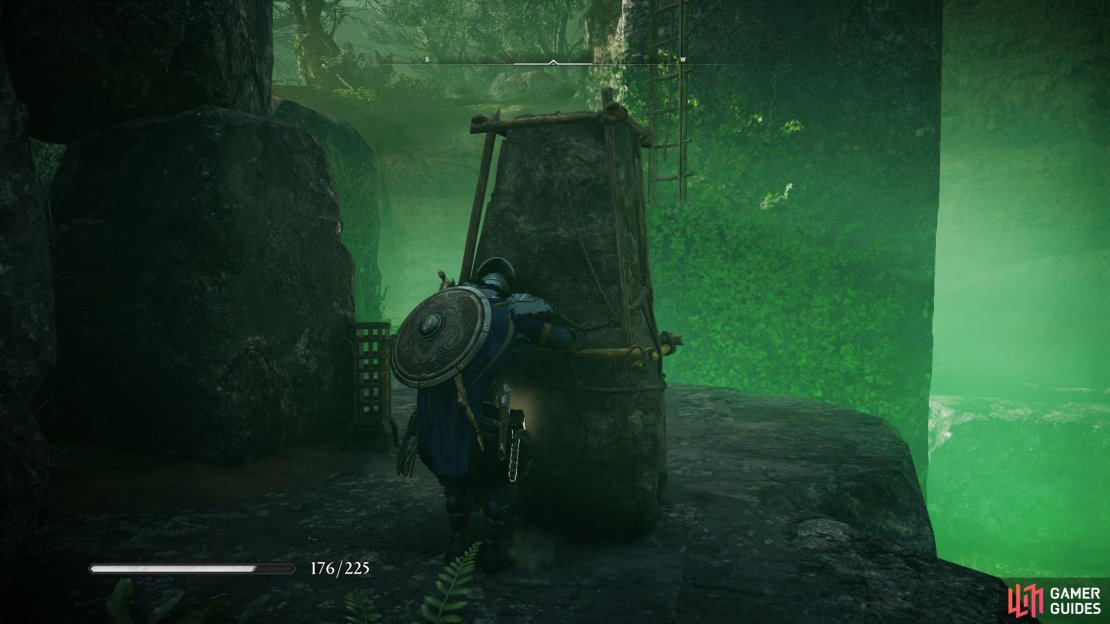
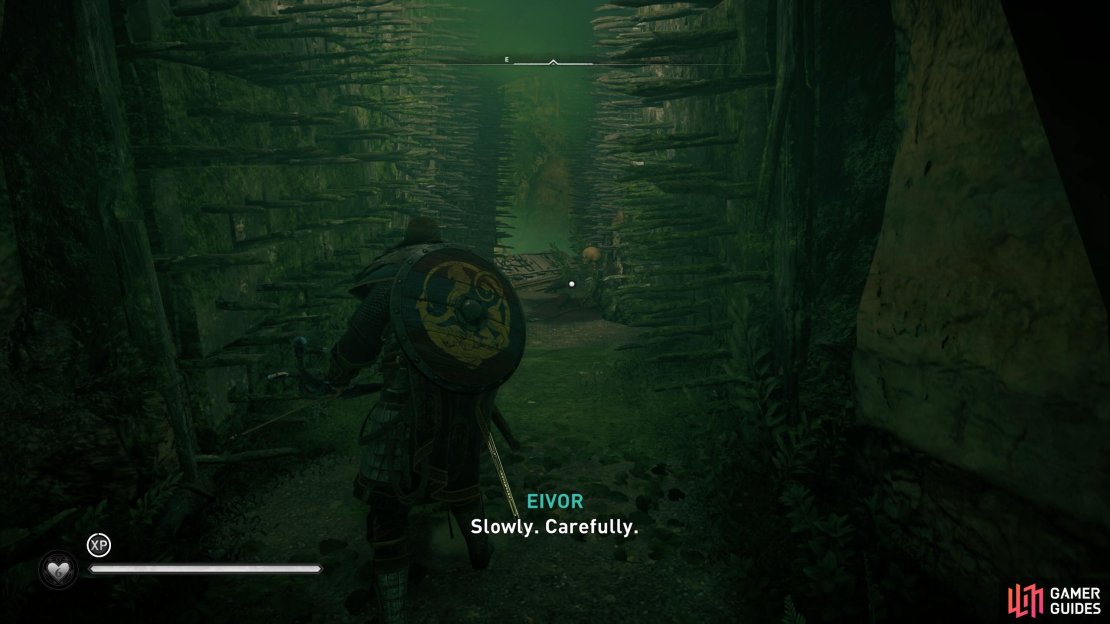
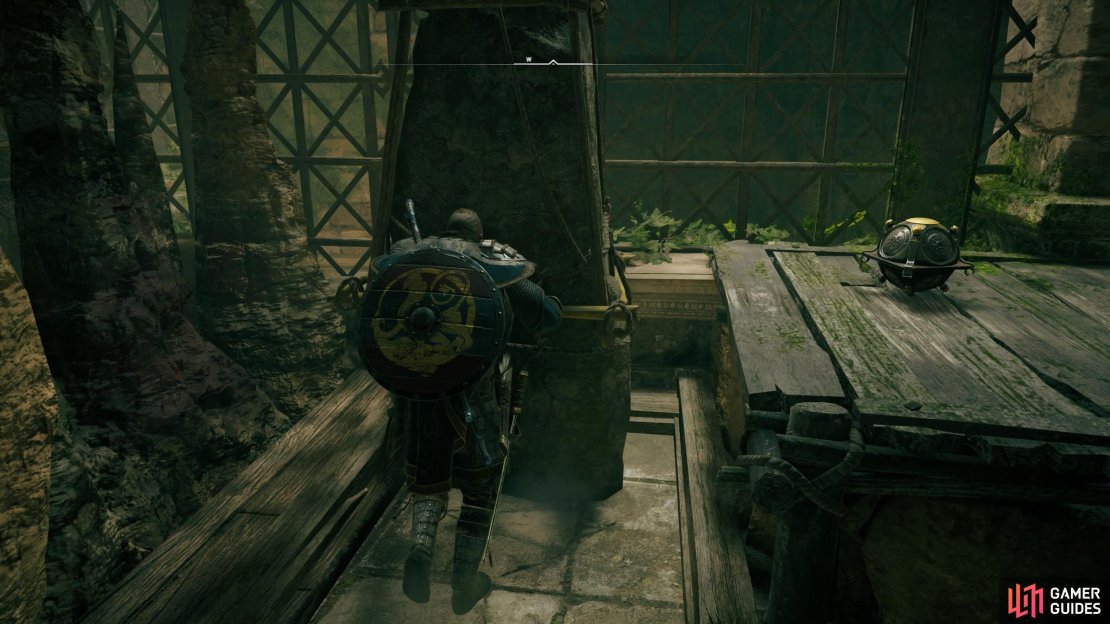
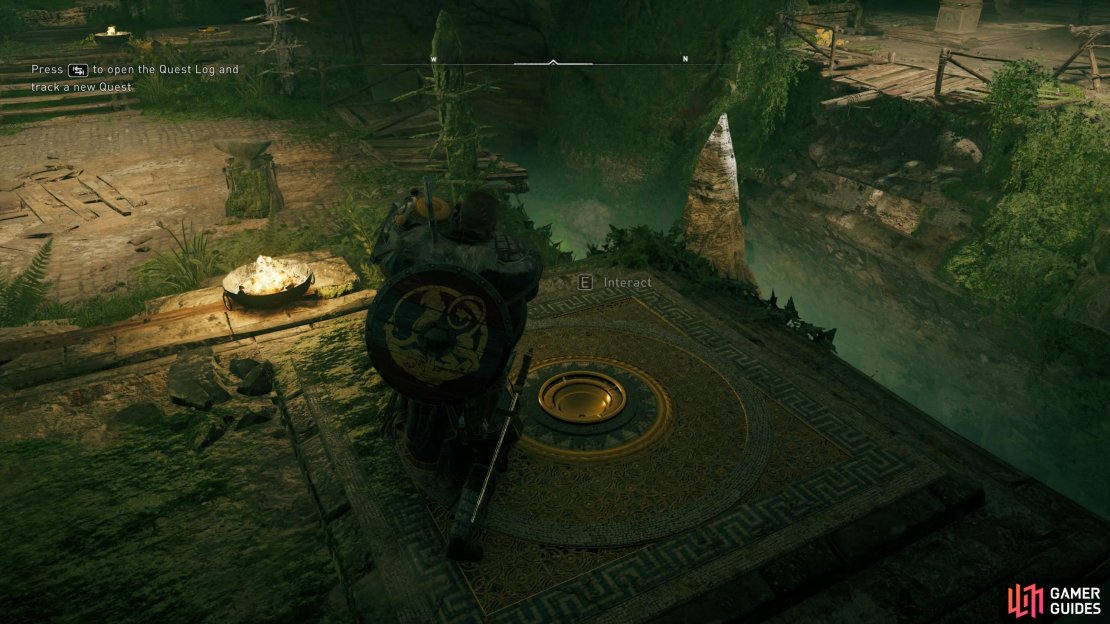
Now that you’ve activated both of the large stone pillar pressure plates, you’ll need to activate the spherical ones beyond them to the south. You can jump from the wooden platform to the stone pillar above the poison, and then onto the next wooden platform. Once again, you can take either path first according to your preference, but we went with the one to the east first. You’ll need to climb up to where the wooden barricade is, shoot it, then slide through the hole in the wall and walk between some spikes on either side of you. Continue on down the rope wire and avoid the spike trap on the ground at the end. Here you’ll need to use the lever to reveal the spherical object, then pick it up and head northward with the object in hand.
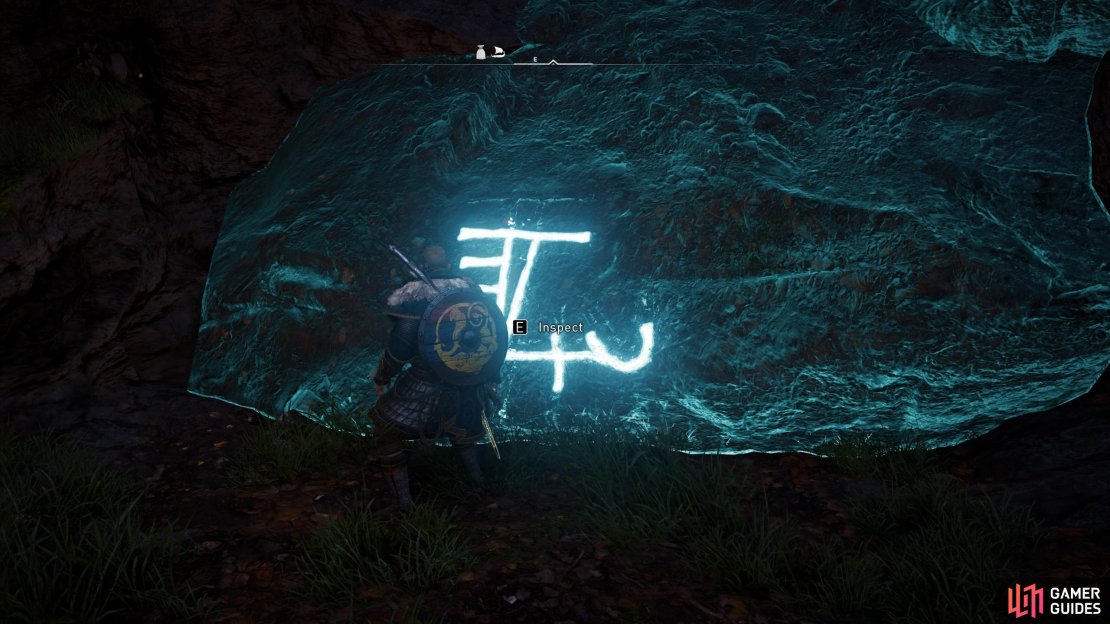
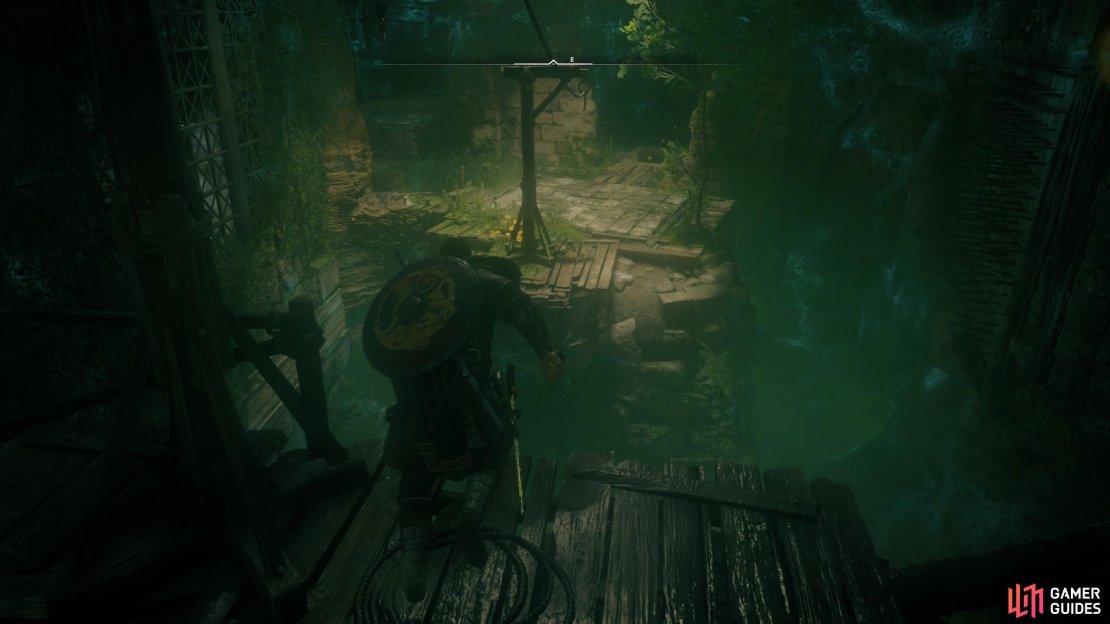
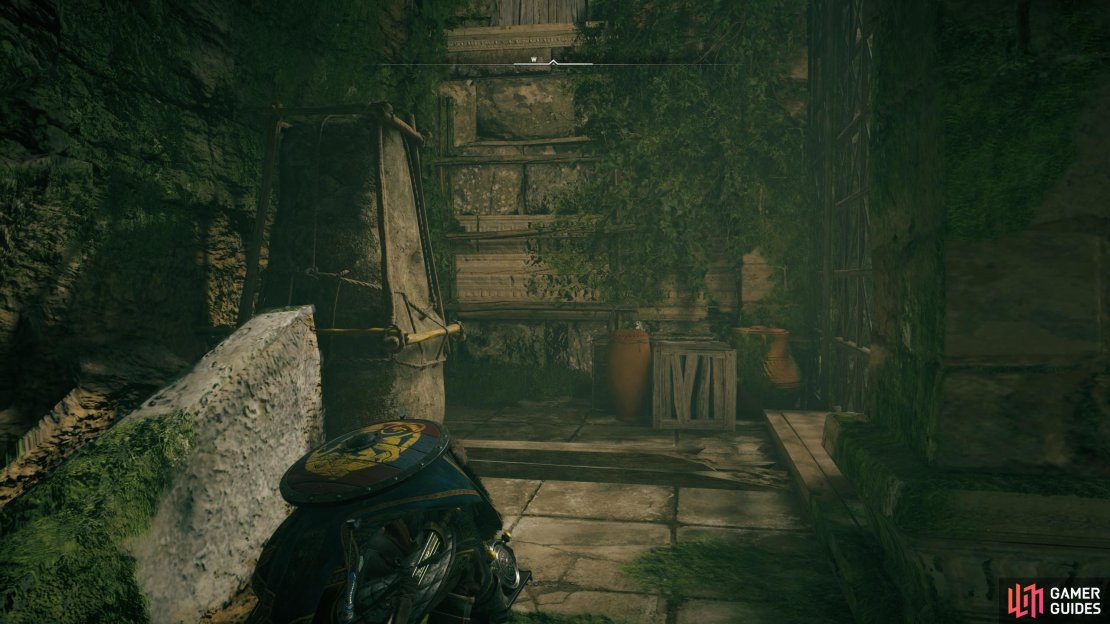
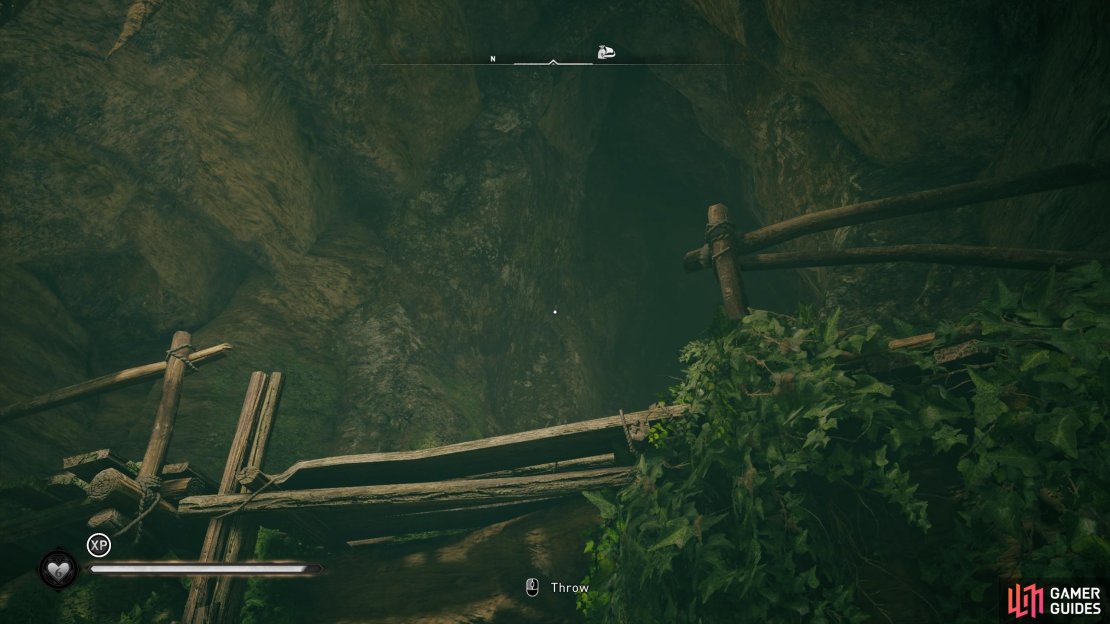
As you move north you’ll turn east and then south as you pass some spinning spike traps. Avoid these until you reach the elevated wooden platform. Here you should put the spherical object down, then look behind you to find a movable stone pillar. You’ll need to move this to the other side of the elevated wooden platform, then pick up the spherical object again and jump on top of the stone pillar to reach the other side. Once you’re on the other side with the spherical object, place it on the ground again and move the stone pillar on this side so that it aligns with the rock which is marked by white chalk, as shown below. You can then shoot the wooden barricade above you to the west, climb on top of the stone pillar with the spherical object, and throw it beyond the hole above you before climbing through yourself.
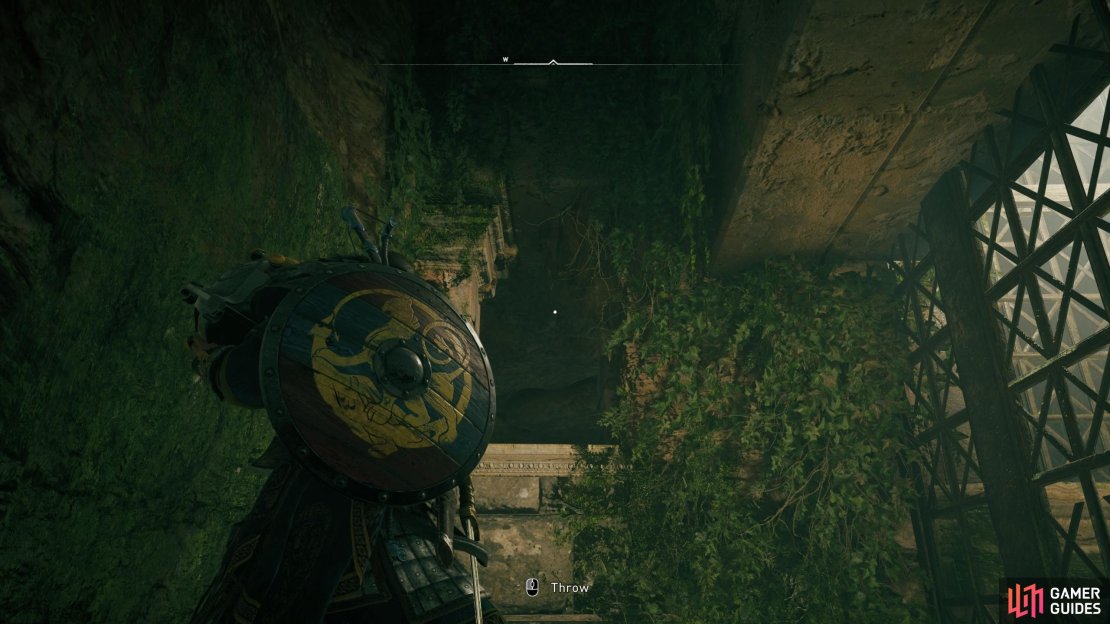
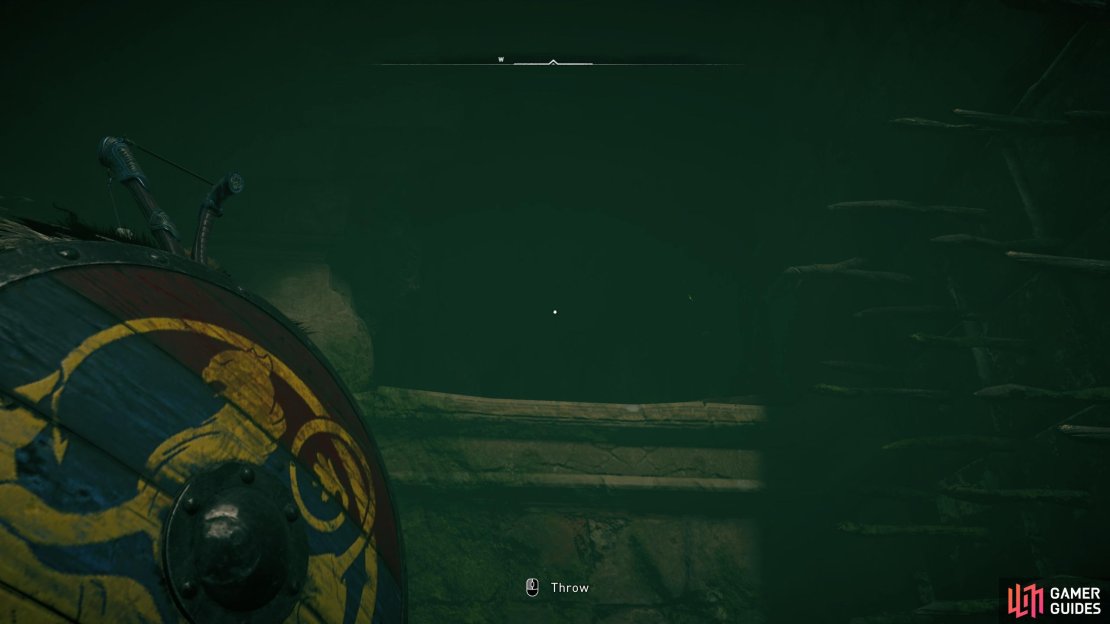
On the other side you’ll find a hole in the ground, filled with poisonous gas. You’ll need to step to the edge of the hole and then throw the spherical object to the other side. You can then jump to the ledge yourself, pick up the object and then jump down onto the wooden platform. All that remains from here is to go back up the narrow walkway with the spikes on either side, then back to the main chamber where you can place the spherical object on the pressure plate.

How to Activate the Spherical Pressure Plate on the West
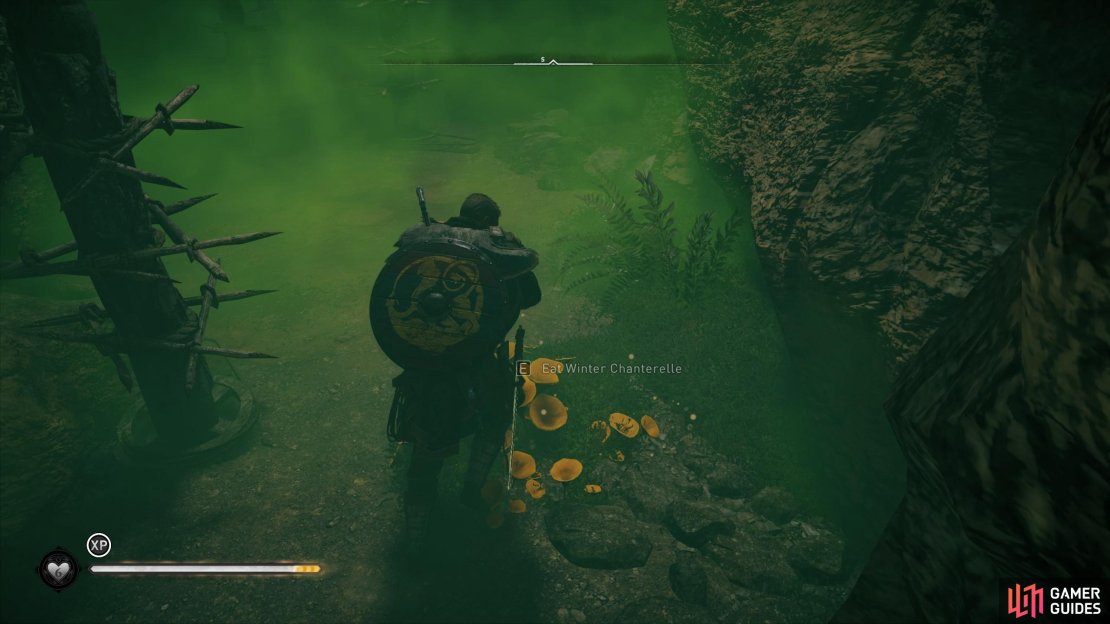
This one is much easier than the first. To reach it, you’ll need to slide down a hole which is surrounded by spikes, with a spike trap at the bottom. Jump off the trap at the bottom as soon as you land, then pull the lever at the bottom to reveal the spherical object. You then need to carry this in much the same way that you did on the eastern side, only this time you’ll be forced to walk through some poisonous gas and avoid spinning spike traps along the way. You’ll find plenty of mushrooms on the ground here which you can use to replenish your health if necessary.
At the other end of the poisonous cloud it’s a relatively easy climb to the top, but you’ll need to throw the spherical object up to a wooden platform near the end. You can then climb the scaffolding, pick up the object and continue to carry it to some suspended wooden platforms. These move when you put weight on them, so once you’re on the furthest one you’ll notice that it moves down, allowing you to jump from it into the main chamber. Don’t leave this too late as the platform will plunge into the poisonous cloud. Once you’re back in the main chamber, all you need to do is turn east and walk over the rope to place the object on the pressure plate.
Where to Find the Boudicca Tomb Artifact
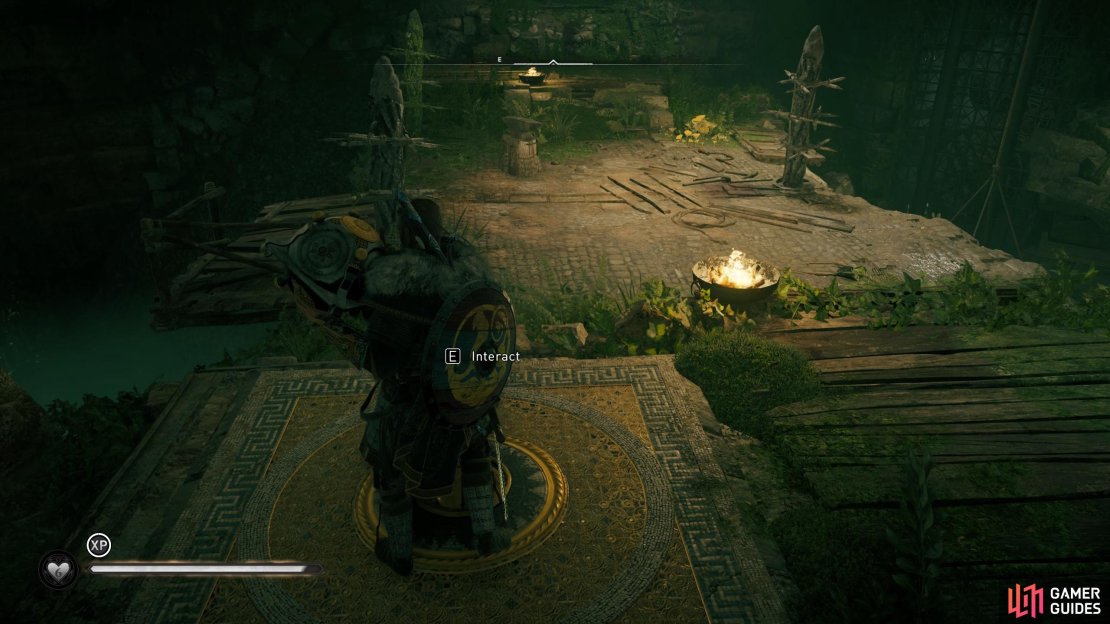
Once you’ve activated all four pressure plates, a brief cutscene will play as the gate to Boudicca’s Tomb opens. To reach it, you’ll need to jump down onto the wooden platform which is nearest the poison cloud, then take the stone blocks off the platform by throwing them, causing it to rise with you on it. As soon as you throw the second stone, turn north and climb the scaffolding. You can then wait for the platform to reach an appropriate height for you to jump onto it, and then over to the other side of the chasm.
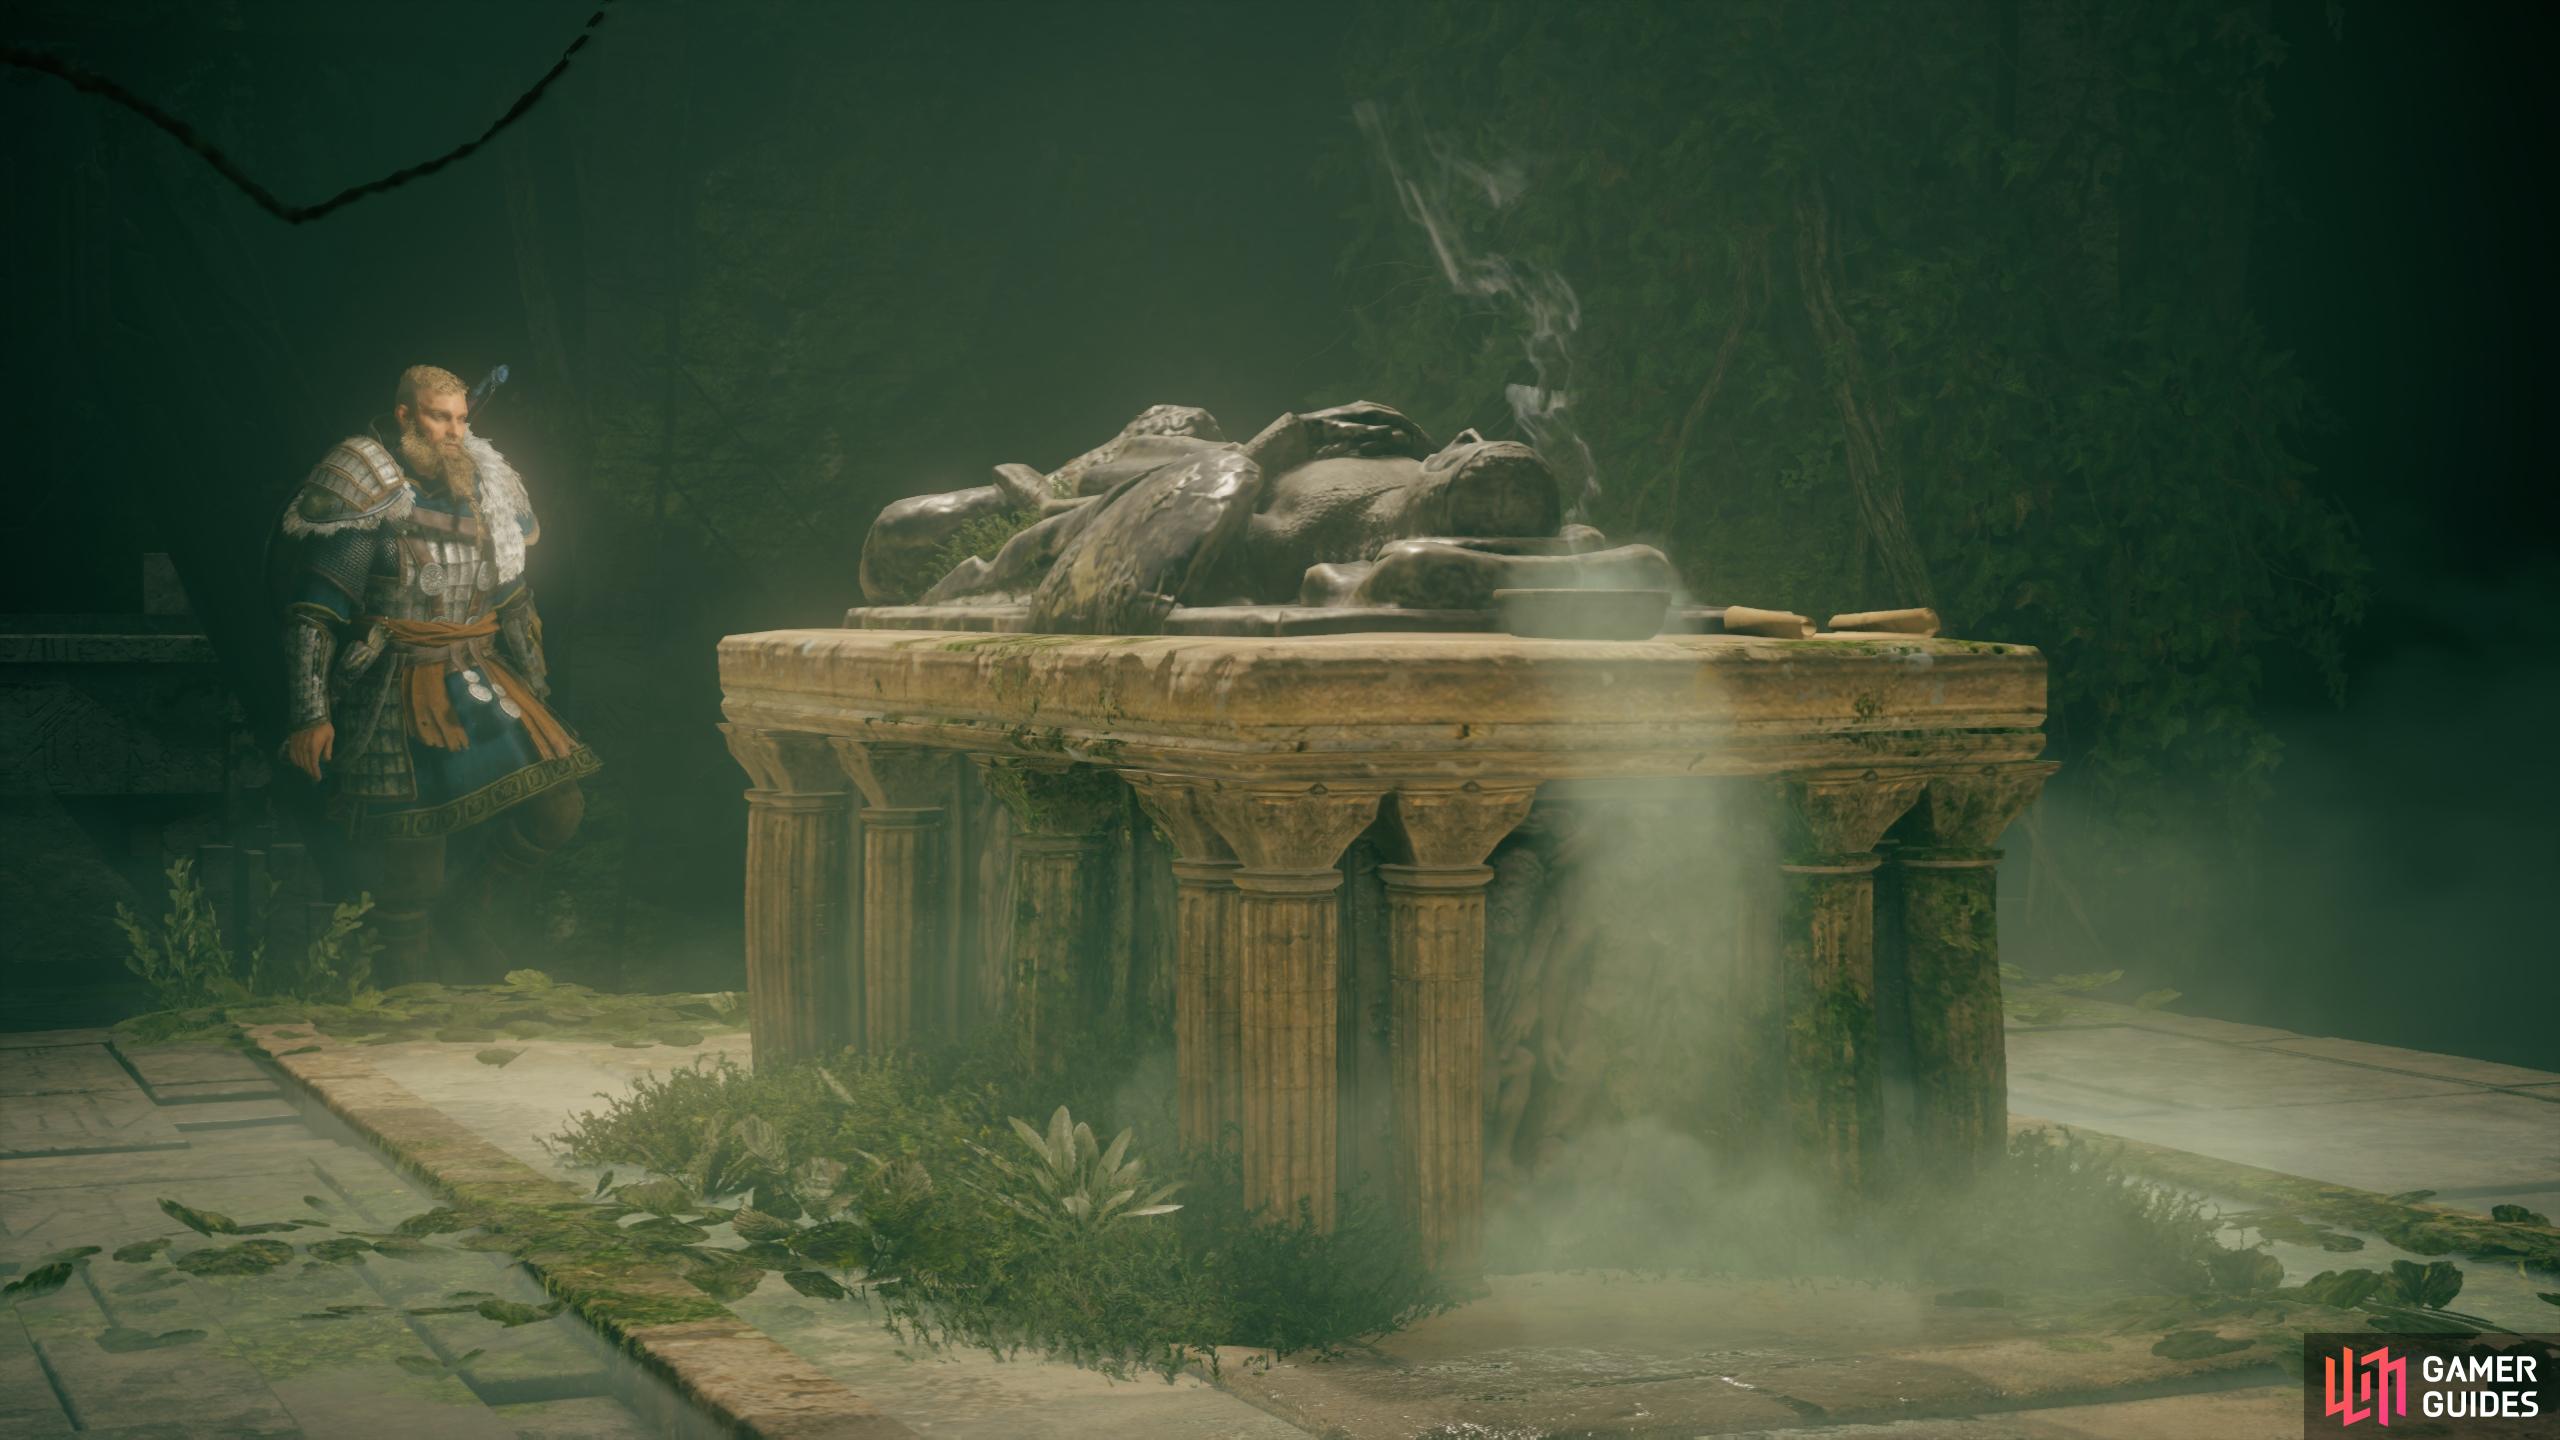
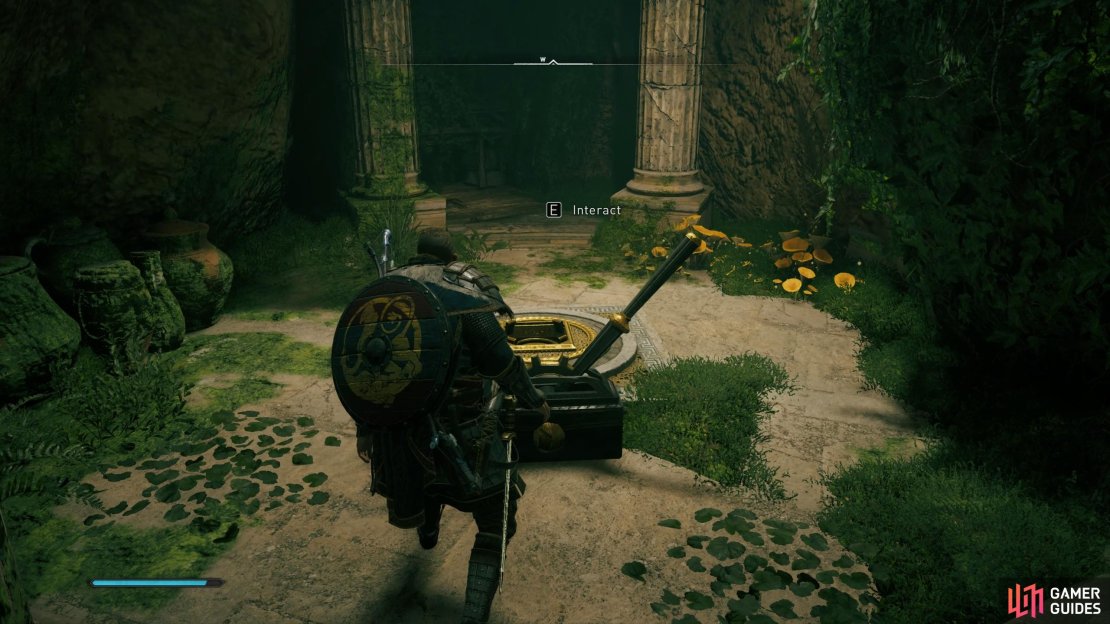
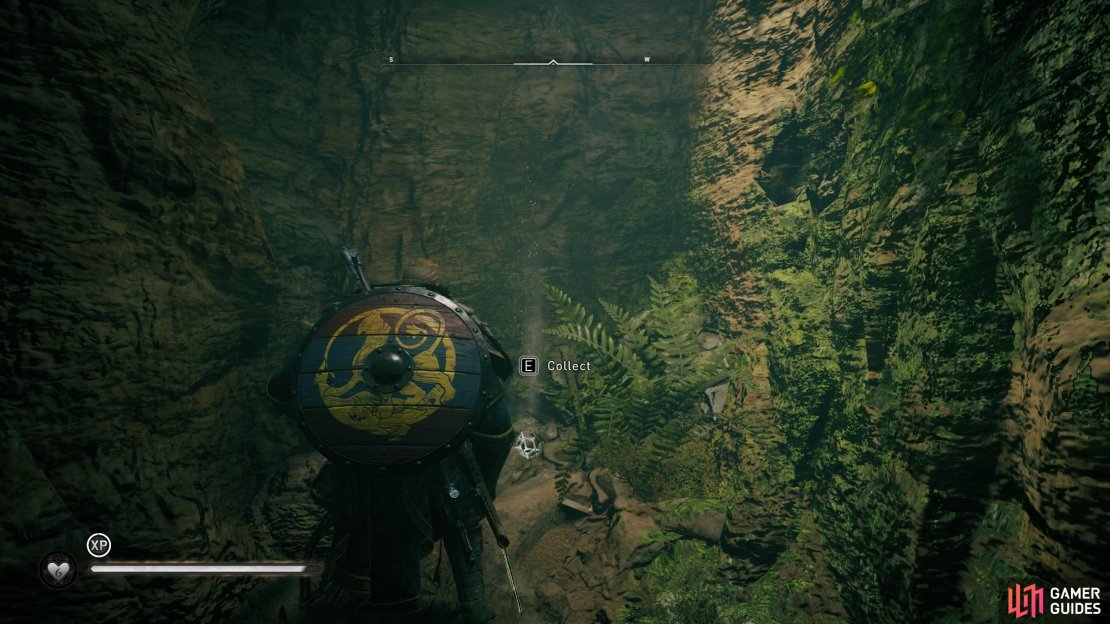
As you enter the area of Boudicca’s Tomb Eivor’s vision will become hazy. This leads to a surreal cutscene in which a representation of Boudicca herself appears, telling you of her deeds. Once the vision ends you can loot the two chests in the room, which provide the Fallen Hero Bracer and Fallen Hero Greaves. Doing so completes the tomb, but don’t be too quick to leave yet. You should first look to the western side of the tomb and break the objects blocking the hole in the bottom of the wall. After sliding under you’ll find the Boudicca Tomb Artifact, which may prove useful later on, as Eivor learns a strange word.

No Comments