Boss Fight: Loki
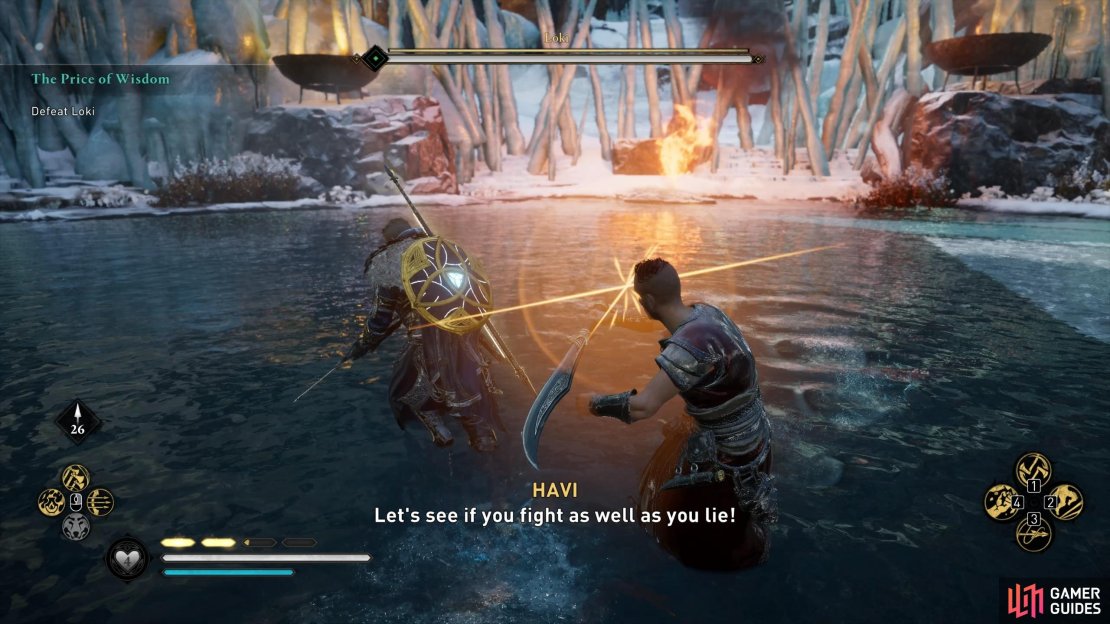
The fight with Loki is relatively simple in terms of the its dynamics. Loki doesn’t have any weak points, so you won’t have to worry about hitting any of them. Instead, his weakness comes in the form of an orb which he will sometimes place on the ground. When he does, you should run to it as soon as possible and interact with it. This will allow you to hit him for massive amounts of damage, potentially ending the fight within a few seconds. You’ll know that you’ve successfully interacted with it when you see Havi’s body glowing in teal.
This mechanic makes the fight incredibly easy, since it isn’t difficult to interact with the orb, but you should still be cautious of Loki’s movements. He’ll spam teleportation, which often results in him appearing next to you just as he’s about to begin a red rune aura attack, which can’t be parried or blocked. You’ll need to quickly dodge or roll out of the way of these, but note that dodging is preferable especially if you have the Brush with Death skill (Way of the Raven), allowing you to slow down time for a brief moment as you retaliate with a number of swift strikes.
(1 of 3) You can block or parry any of Loki’s regular attacks if you’re quick enough.
Other than the teleportation, Loki doesn’t have any special abilities. He will sometimes throw projectiles at you from a distance, but these can be easily avoided, even by running either side of them. You can block or parry any of his regular attacks with the right timing, including those preceded by yellow or orange auras. If you want to end the fight quickly, use the orb and strike Loki with a flurry of light attacks. He won’t last long.
Reach Mimir’s Well
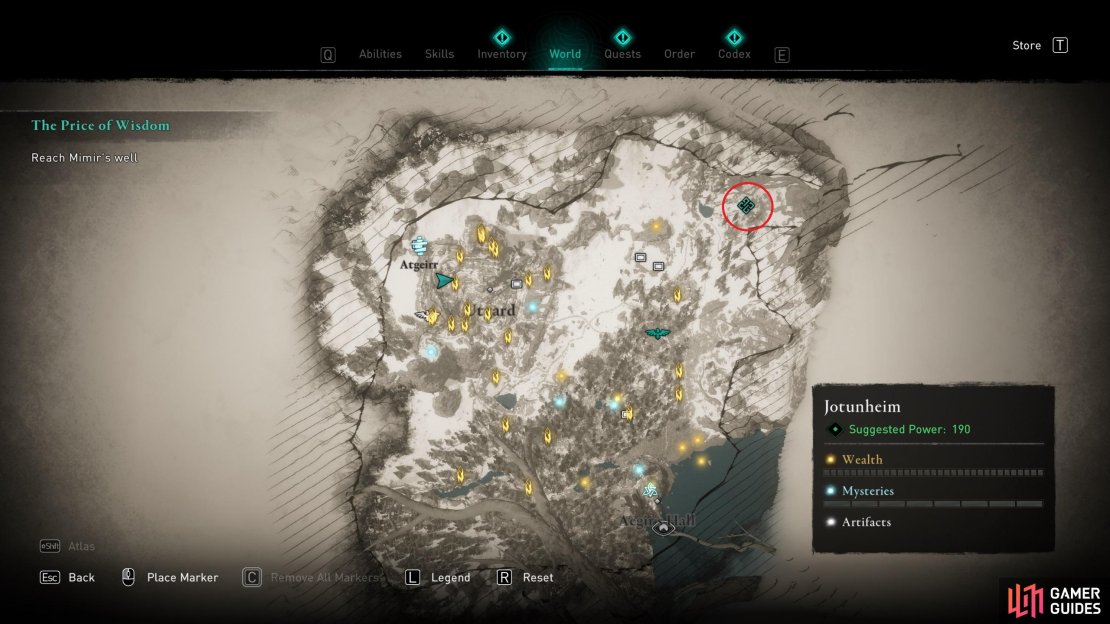
After the fight with Loki, you’ll need to make your way to Mimir’s Well, up the steps to the east. When you reach it a cutscene will begin, during which you’ll have a few dialogue options. Choose as you wish here, the outcome will be the same. After the scene, you’ll need to go back to Aegir’s Hall in the south, and leave Jotunheim, to complete the quest. This will also finalize the completion of Going Deeper….
(1 of 3) You’ll find Mimir’s well in the northeast of Jotunheim.


No Comments