This quest begins once you return to Asgard after completing The Price of Wisdom. When you return to Ravensthorpe, Eivor will inform Valka about all that they have seen in their dreams. She will then advise that you return to Asgard by drinking the potion.
Find and Speak with Tyr
When you return to Asgard, a scene will play during which Ivaldi presents the magical cord, Gleipnir, to Havi. After the scene, you’ll need to speak with Tyr on the island south of Heimdall’s Tower. When you arrive at the highest point of the mountain, you’ll find Tyr waiting. Speak with him to begin a long cutscene, resulting in a boss fight with the wolf, Fenrir.
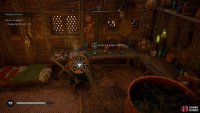
(1 of 2) You’ll need to drink the potion in Valka’s hut to return to Asgard.
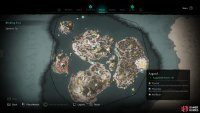
You’ll need to drink the potion in Valka’s hut to return to Asgard. (left), Once in Asgard, you’ll find Tyr on the island to the south. (right)
Boss Fight: Fenrir
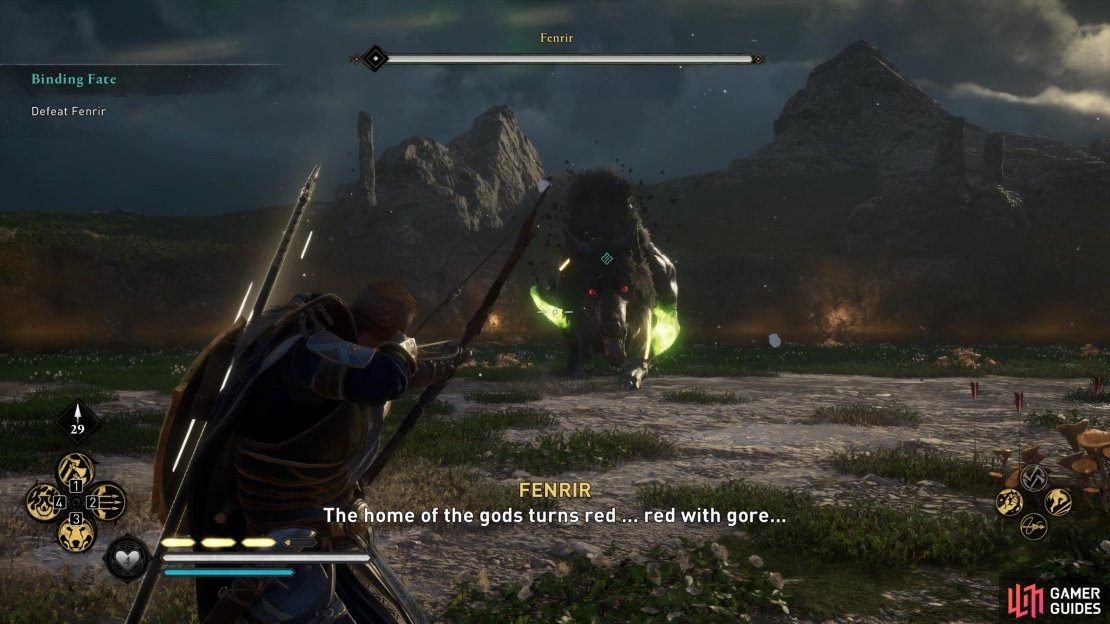
This will likely be one of the longest boss fights you’ll encounter in the game. Fenrir has a massive amount of health, and he doesn’t take much damage from most hits. You’ll find weak points highlighted in green on each of his four legs. These are what you should be aiming to hit, primarily with arrows, to inflict the most amount of damage. You’ll find it difficult to engage Fenrir in melee and target his legs, mostly because he likes to move around a lot when you’re near him, but he will also inflict a lot of damage if he traps you in his jaws. The chances of this happening increase greatly when you’re in melee combat, so you’ll probably find yourself shooting at Fenrir for most of the fight. If you do get caught in his jaws, you’ll need to spam Mouse 1 / R1 / RB to escape.
As you’ll spend most of the fight attacking Fenrir with your bow from range, we recommend that you the Focus of the Nornir ranged ability. This will allow you to slow time and hit Fenrir multiple times in a row at great speed, for as long as your stamina lasts. You don’t need to draw arrows back for too long while using this ability, since they will fire with maximum damage with just one tap. Don’t worry if you’ve started the fight without equipping this ability first, you can do it while in combat from the Abilities menu. You’ll find that most of your hits to the main body of Fenrir won’t do much damage regardless, so focus on his weak points while you have time on your side.
The most basic attack from Fenrir comes in the form of a lunging bite. Although this is indicated by a red rune aura around his head just before it begins, it will be difficult to see due to his large size, so you’ll need to carefully observe Fenrir’s movements to see when the lunge is initiated. A good indicator for the attack can be seen whenever Fenrir assumes a pounce stance. You won’t be able to block or parry the attack, so you’ll need to swiftly dodge or roll out of the way. Try not to spam either too often, as you’ll need a steady pool of stamina to ensure that you can keep firing at Fenrir.
(1 of 3) You’ll be spending most of your time during this fight shooting at Fenrir’s legs, where his weak points can be found.
Aside from the lunging bite attack, Fenrir will sometimes pick up a large branch and hold it in his jaws as he swings from side to side. This will inflict a lot of damage if you’re hit with it, so you’ll want to keep as much distance between Havi and Fenrir while he’s wielding the branch. The range on the branch spans nearly the entire arena, but if you stay near the edges you should be able to avoid most swings. If you’re too close, a dodge or roll will allow you to avoid being hit from one of the swings if you time it right. Later in the fight, Fenrir will begin to throw the branch at you from afar. You should be careful to time this properly, as if you dodge or roll too early, the branch will still hit you. Try to dodge or roll just as the branch leaves Fenrir’s jaws, rather than when you see the attack animation begin.
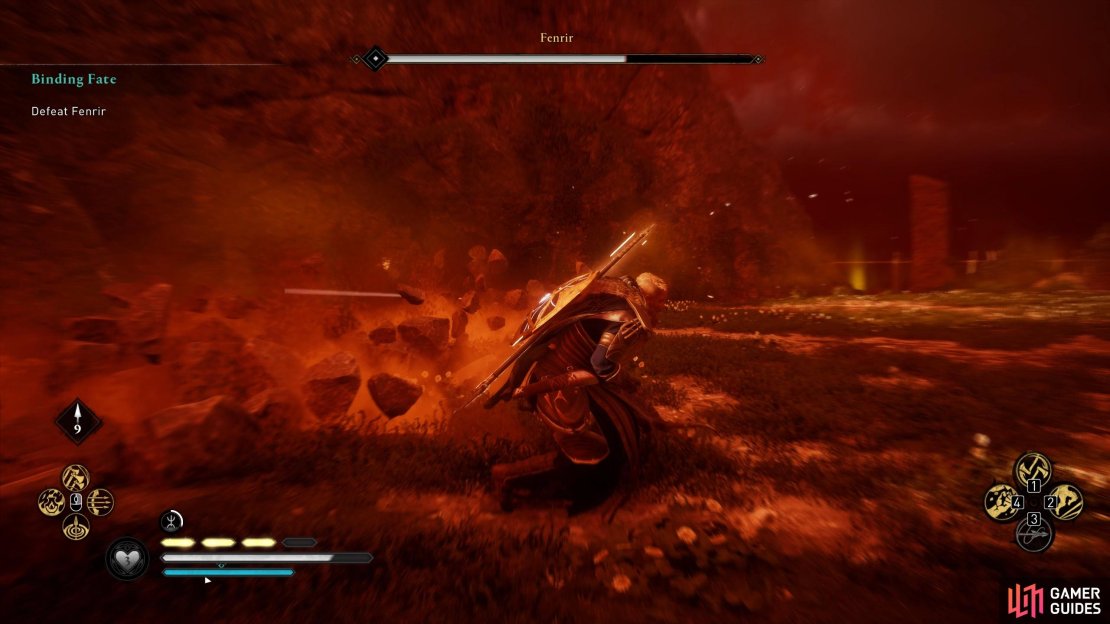
Toward the end of the fight, Fenrir will incorporate two new attacks into his rotation. The first is a twirling animation followed by a short lived tornado. This can be easily avoided if you keep running away from it, but it will sometimes send large rocks flying in your direction, so you’ll need to keep an eye out for these and dodge when they’re close. the second new attack occurs when Fenrir jumps on top of the surrounding hills. While there he’ll begin to throw large rocks from his jaws, but as with those from the tornado, they can be avoided relatively easily just by running either side of them. If you’re caught off guard as one draws near, a quick dodge or roll should ensure that you’re not hit. Otherwise, stick to running to preserve stamina.
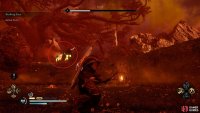
(1 of 5) You’ll need to avoid Fenrir’s burrowing attack when he emerges from beneath the ground.
In addition to the above attacks, Fenrir will burrow into the ground and charge you from below, emerging when he reaches you with a devastating attack. This is exactly the same mechanic as seen during your first fight with him in Extended Family, only this time with a much larger surface area. You’ll need to keep an eye on the movements beneath the ground and dodge or roll just before Fenrir emerges to avoid his attack. This is a good time to make use of the Brush with Death skill (Way of the Raven), which will allow you to slow time after a successful dodge, and give you enough time to shoot at Fenrir’s weak points. Once you’ve bound Fenrir three times, the fight will end and the quest will complete.






No Comments